Editing images can be a challenging task, especially when it comes to making precise selections. Sometimes a simple selection is not enough, and the edges of the selection can be a crucial feature of image editing. In this guide, I will show you how to improve the selection in Photoshop Elements using specific techniques to achieve a smooth and clean result. Your goal is to achieve a precise selection that seamlessly fits into your image.
Key Takeaways
- Selecting the background can often be easier than selecting the subject itself.
- The "Refine Edge" feature allows for more precise edges and accurate selections.
- Working with different backgrounds helps assess the quality of the selection.
Step-by-Step Guide
Editing a selection in Photoshop Elements occurs in several steps, which we will now go through.
First, you should consider what selection you have made. You have already created an initial selection, and it is important to view this in context. For example, when you apply a mask to it, it might look completely different than you envisioned. Often, it is more effective to select the background, as you typically have to make fewer adjustments than when selecting the subject. Once you are aware of this, you can adjust your selection according to your requirements.
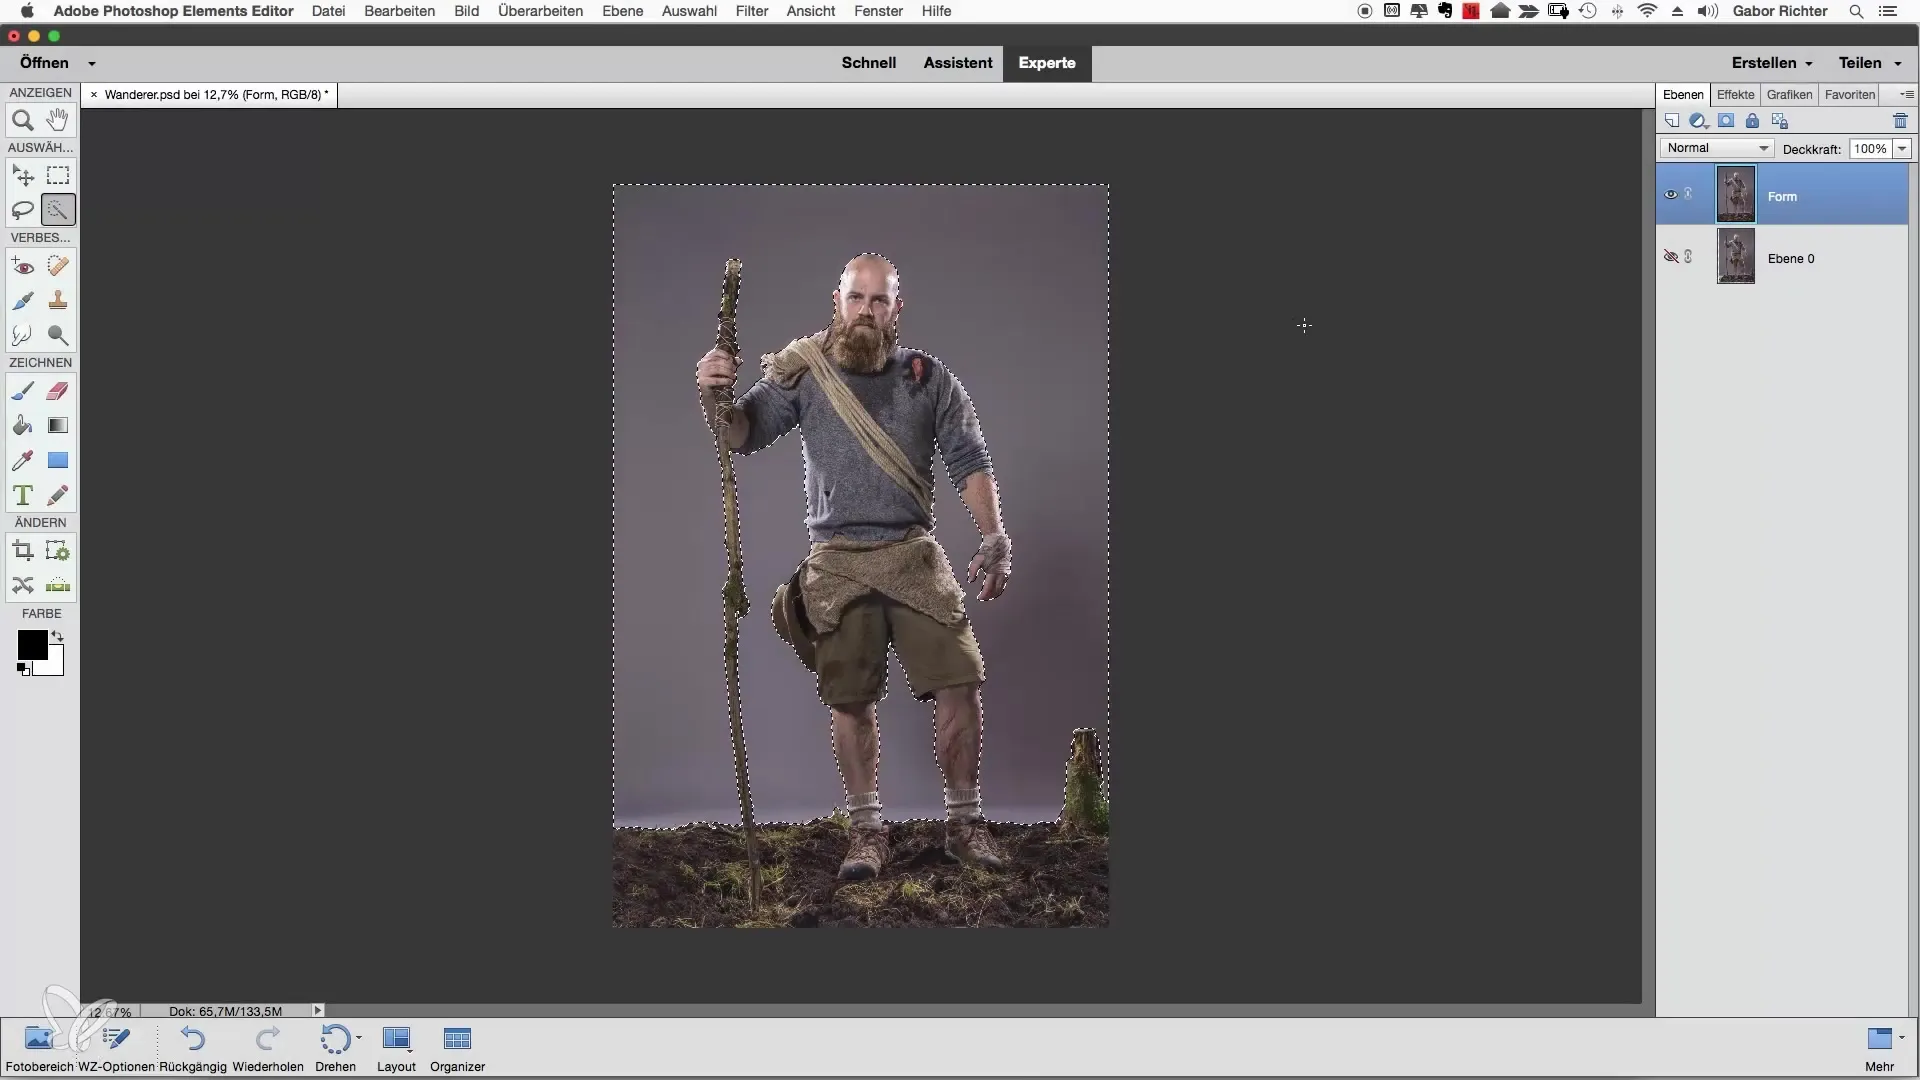
To improve your selection, it is important to reset it first before making further adjustments. Use the undo function with "Command + Z" or click on the relevant undo option in the menu. After resetting, you should invert the selection so that the area of the subject remains selected. You can now apply your corrections more easily and accurately on this new selection area.

With the inverted selection, you are now ready to make improvements. One of the most powerful features you should use is the "Refine Edge" option. Select the quick selection tool and activate the "Refine Edge" feature. This opens a new dialog box where you can choose an appropriate zoom level to view your selection in detail. I recommend choosing around 70% to achieve a good balance between visibility and detail.
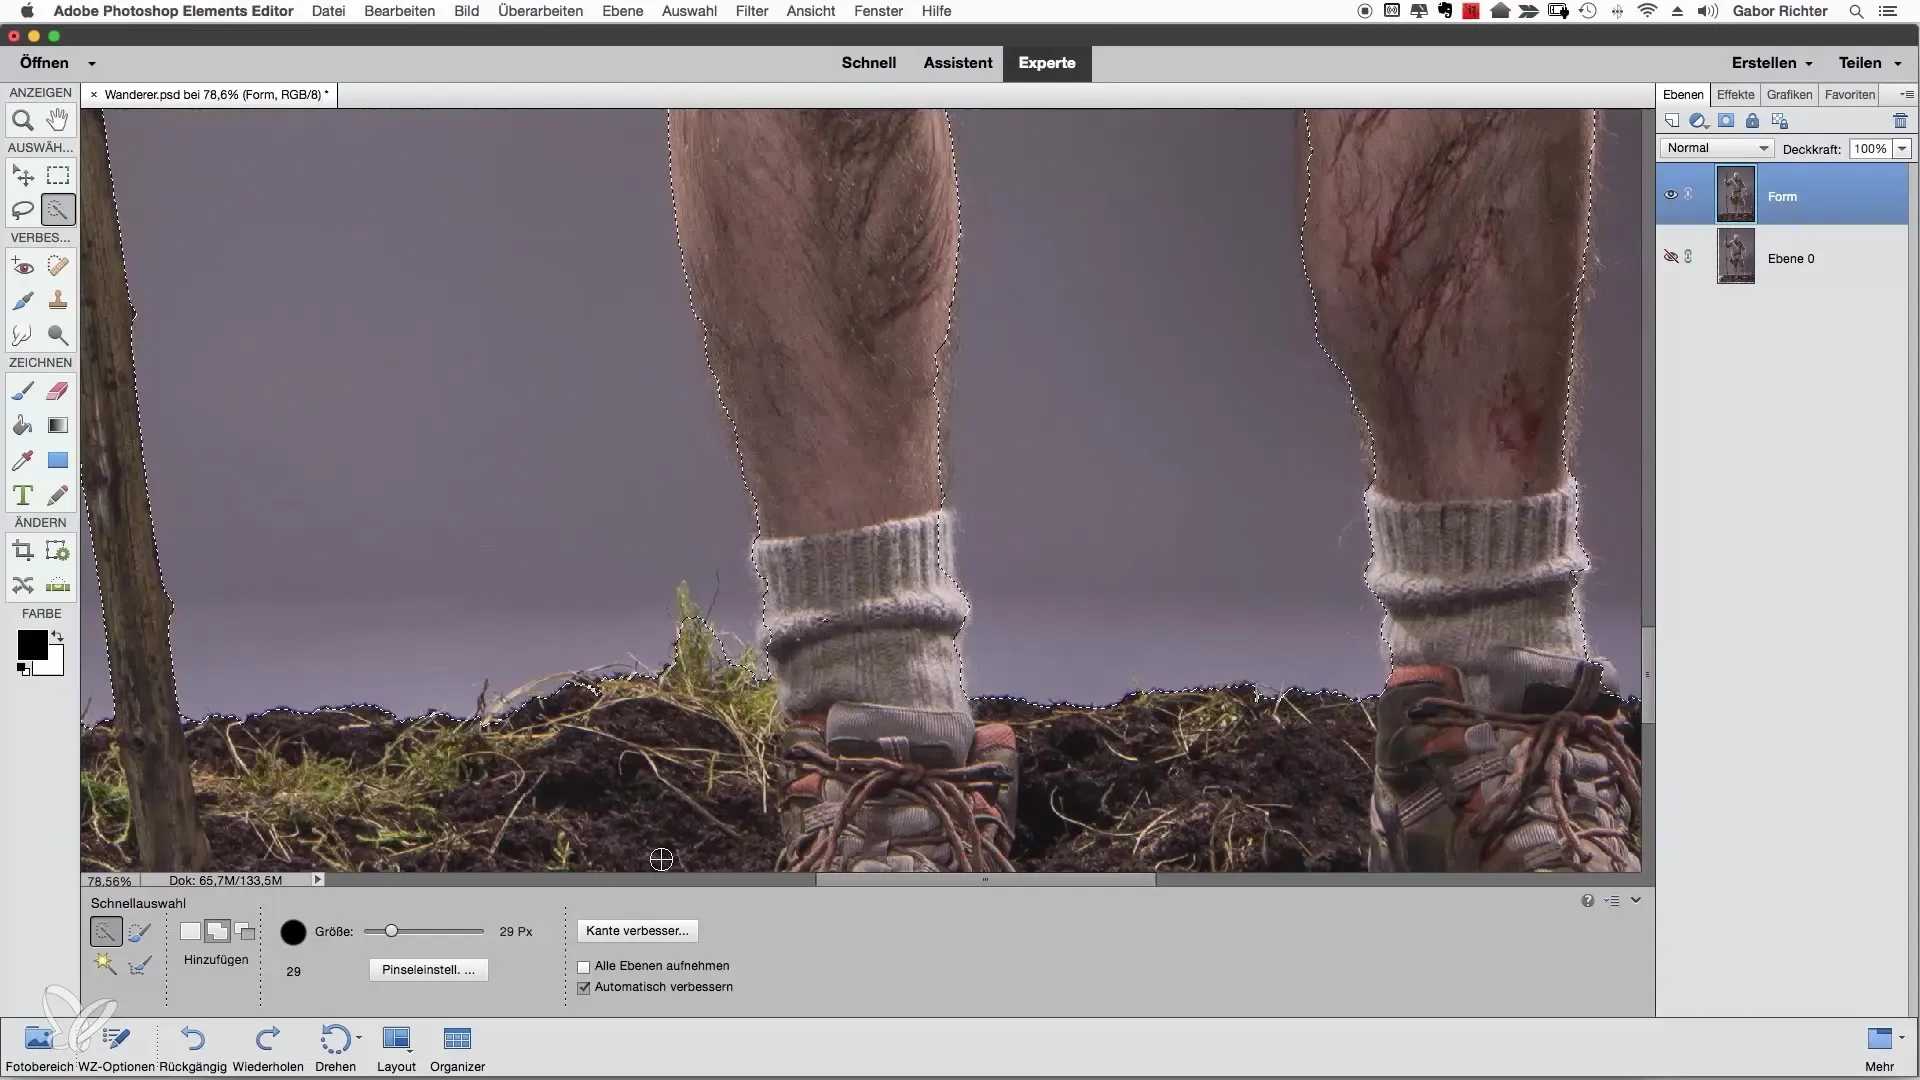
When the "Refine Edge" dialog is open, you can hover over the edges of the selection. This feature allows Photoshop to understand where your selection can be refined. As you move over the contours, the selection will dynamically adjust. Be careful not to move too wildly over the image—focus on editing just the edges.
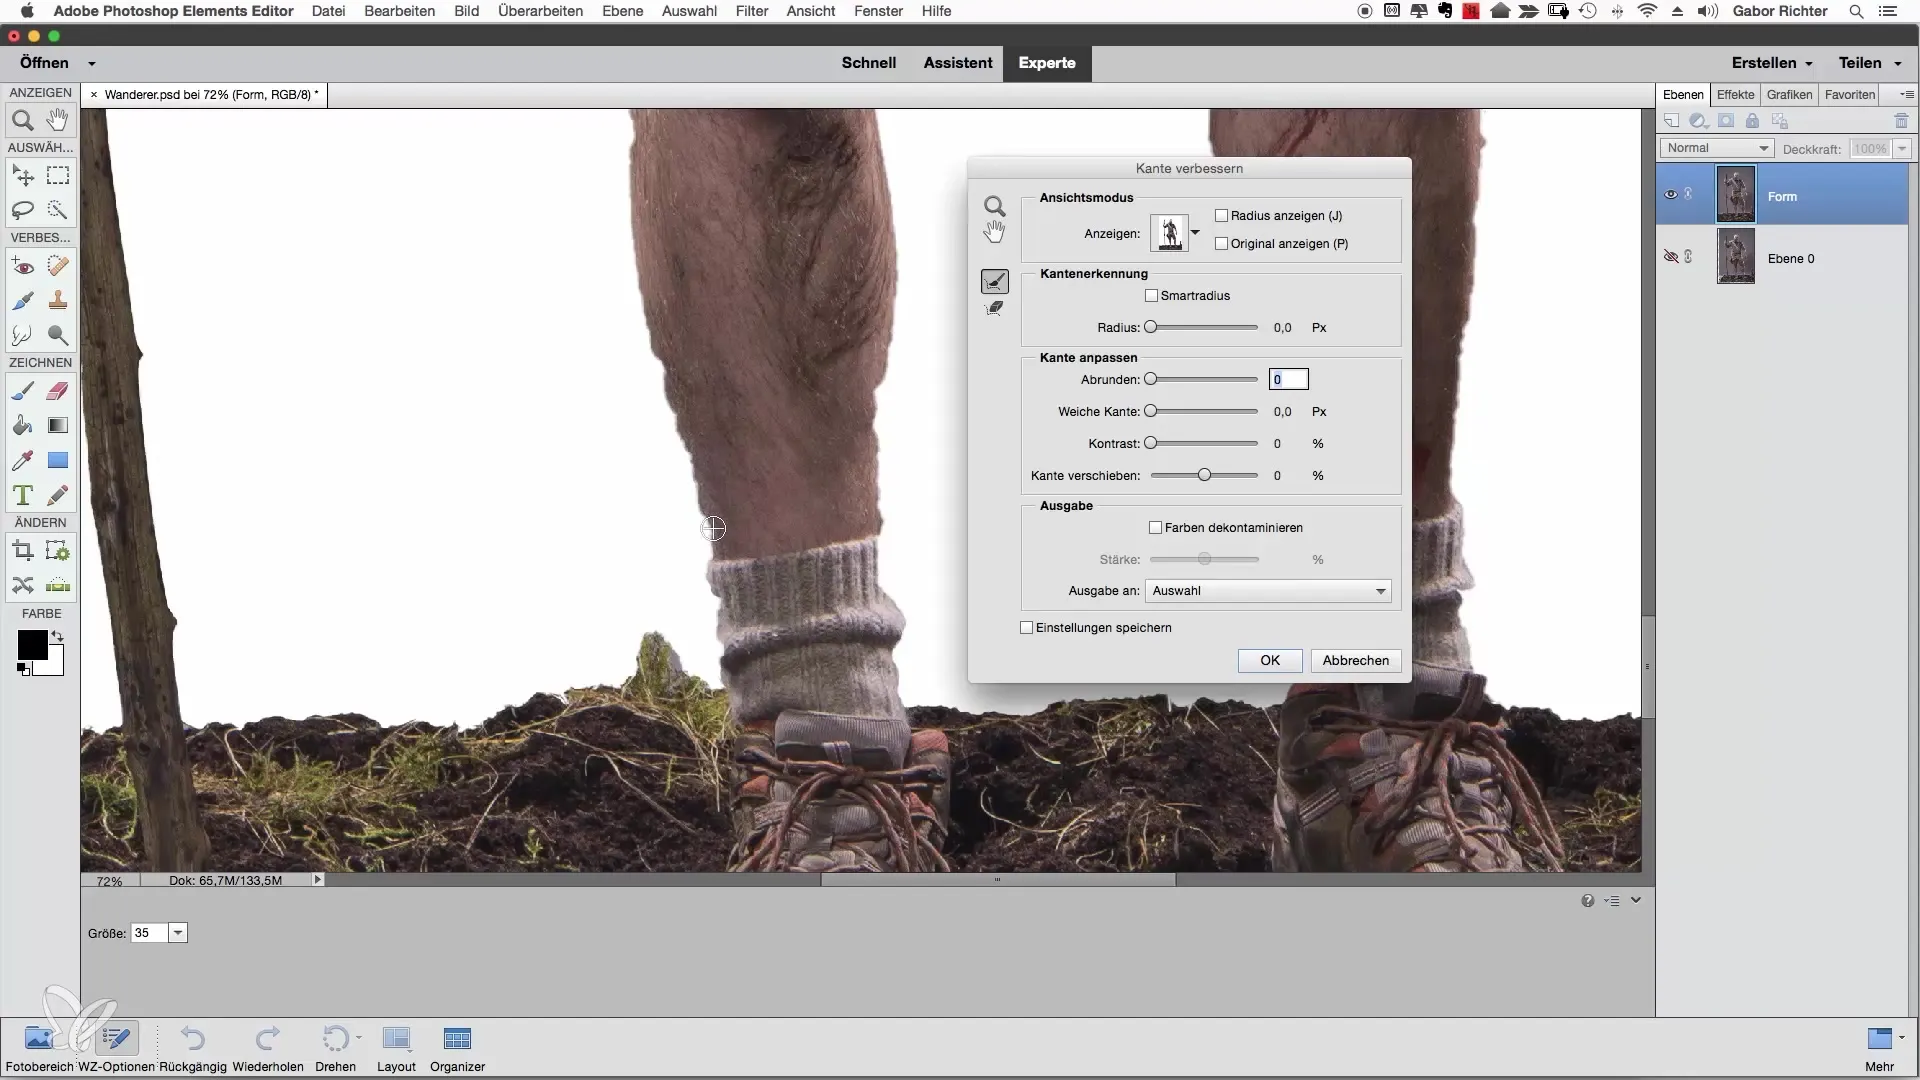
The results may not always be perfect. Sometimes, Photoshop needs additional intervention or a later adjustment. Therefore, you may need to refine the selection to achieve the desired precision. Especially in detail-sensitive areas, such as hair or fine structures, patience is required.
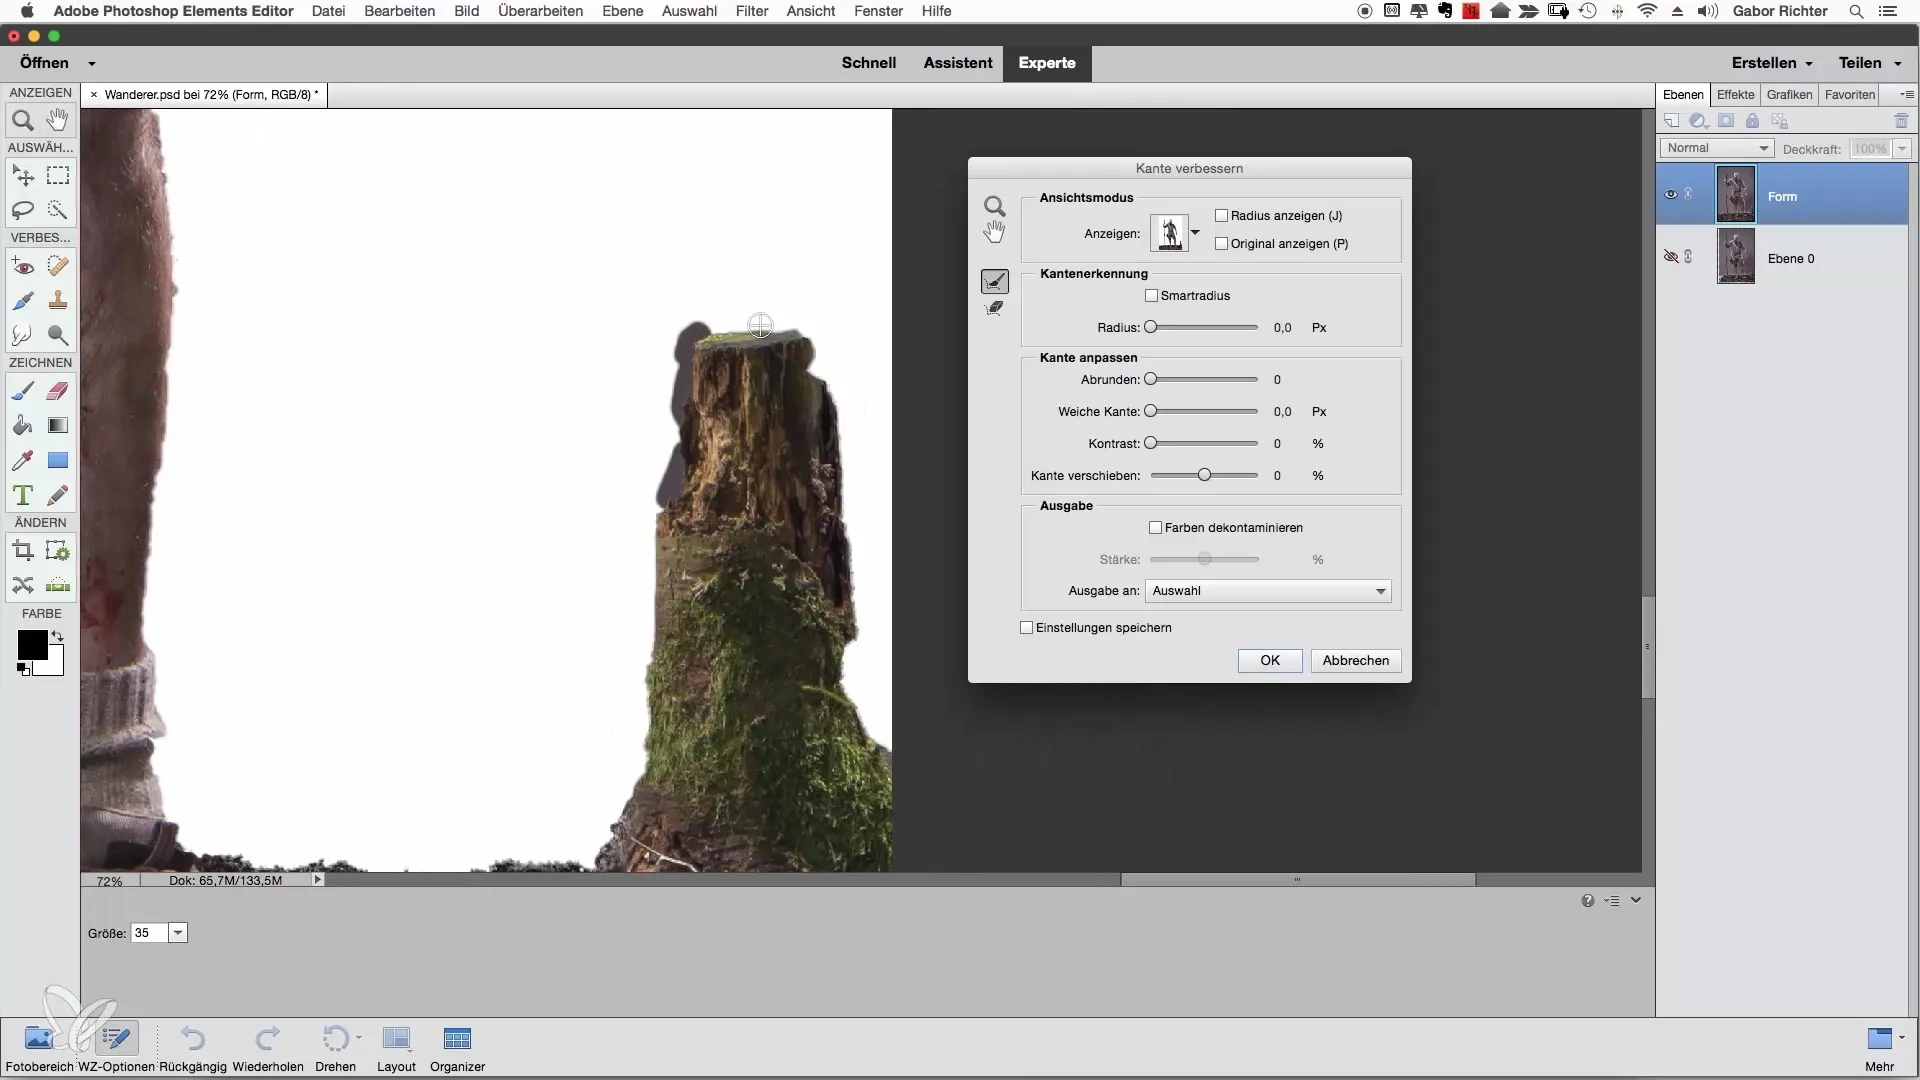
To find out how well your selection has turned out, you can change the background. Go to "View" and select a different background color to better assess the contrast and quality of your selection. Black and white or another high-contrast color can help you evaluate your selection more accurately and spot any mistakes.
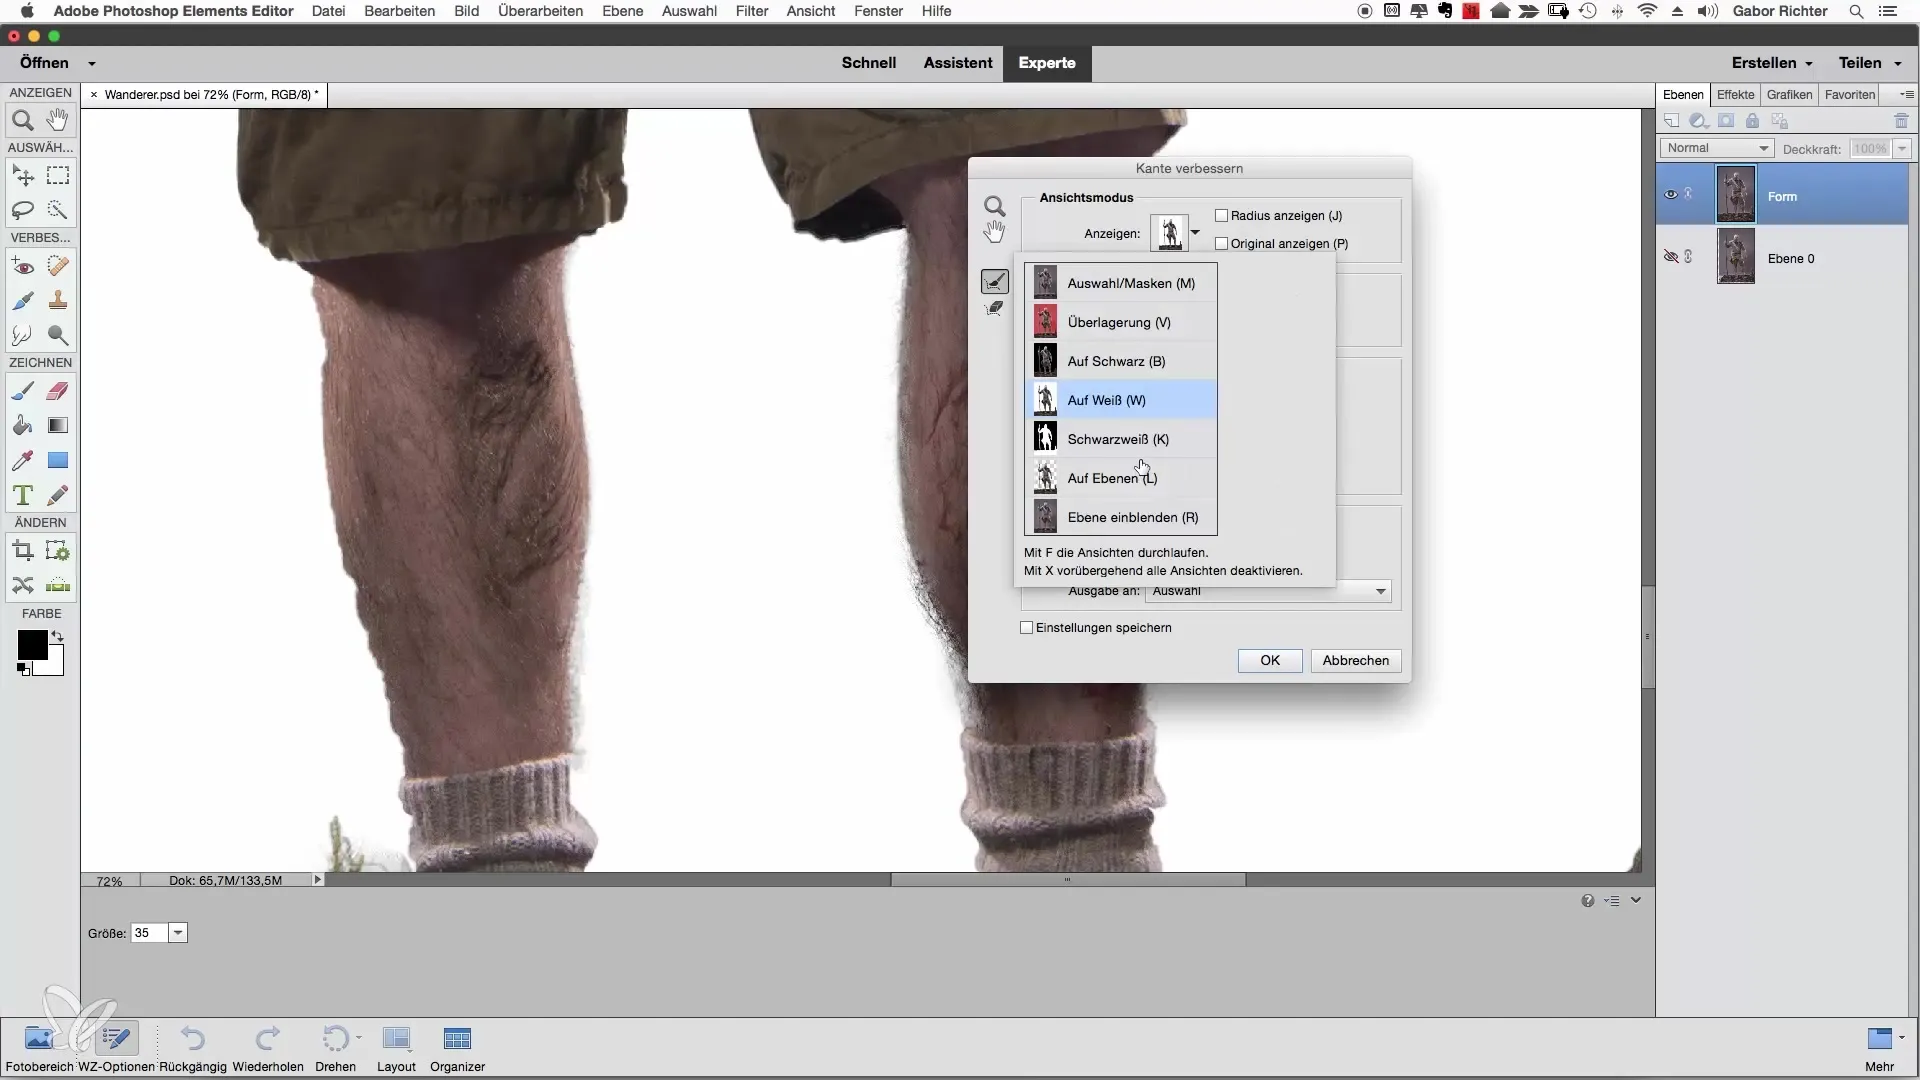
Another helpful trick is the mask view. This feature shows your selection in a simplified form and makes checking the edges easier. Use this feature to see how well your cutout works. Areas that may need further editing will be highlighted in red.
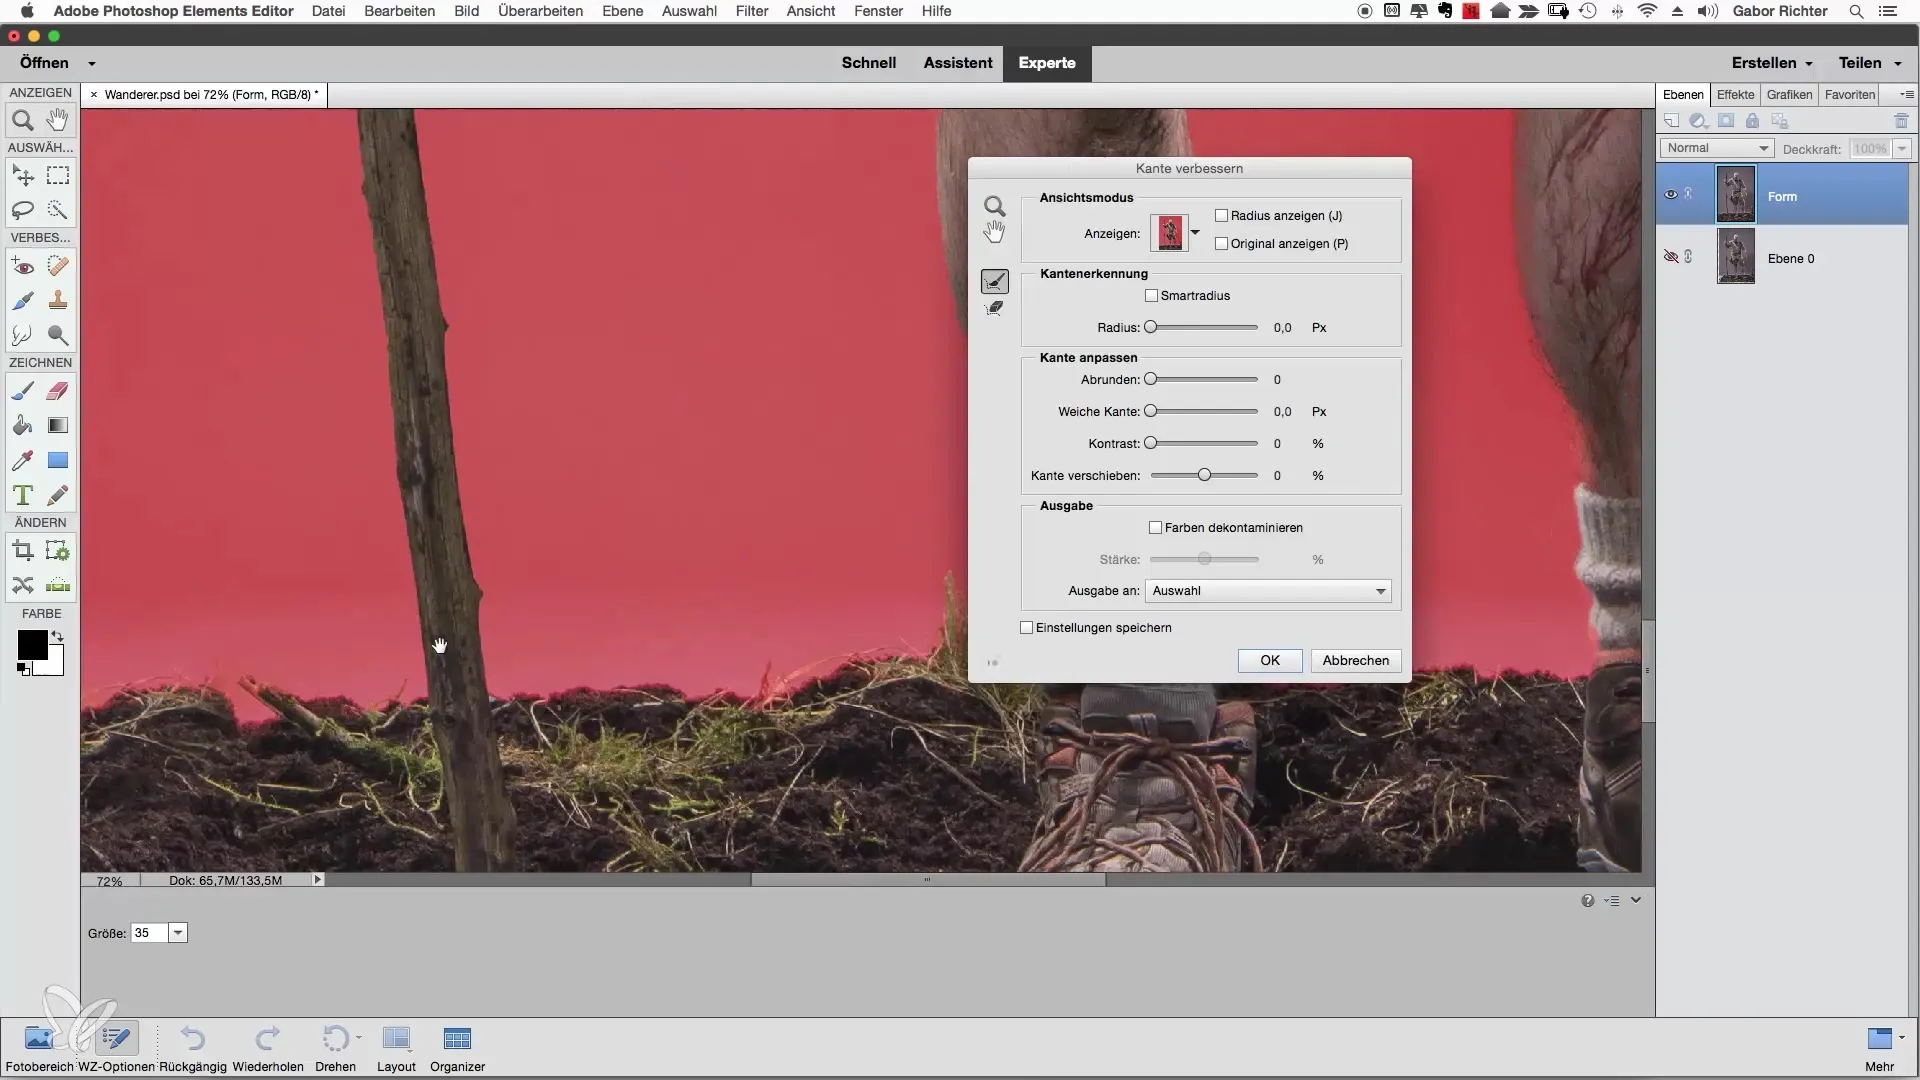
Once you are satisfied with the selection, go a step further and check the details, especially at the fine hair or difficult edges. These fine adjustments often make the biggest difference in the overall quality of your final product. Ensure that you do not overlook any small details, such as frayed edges or irregular structures.
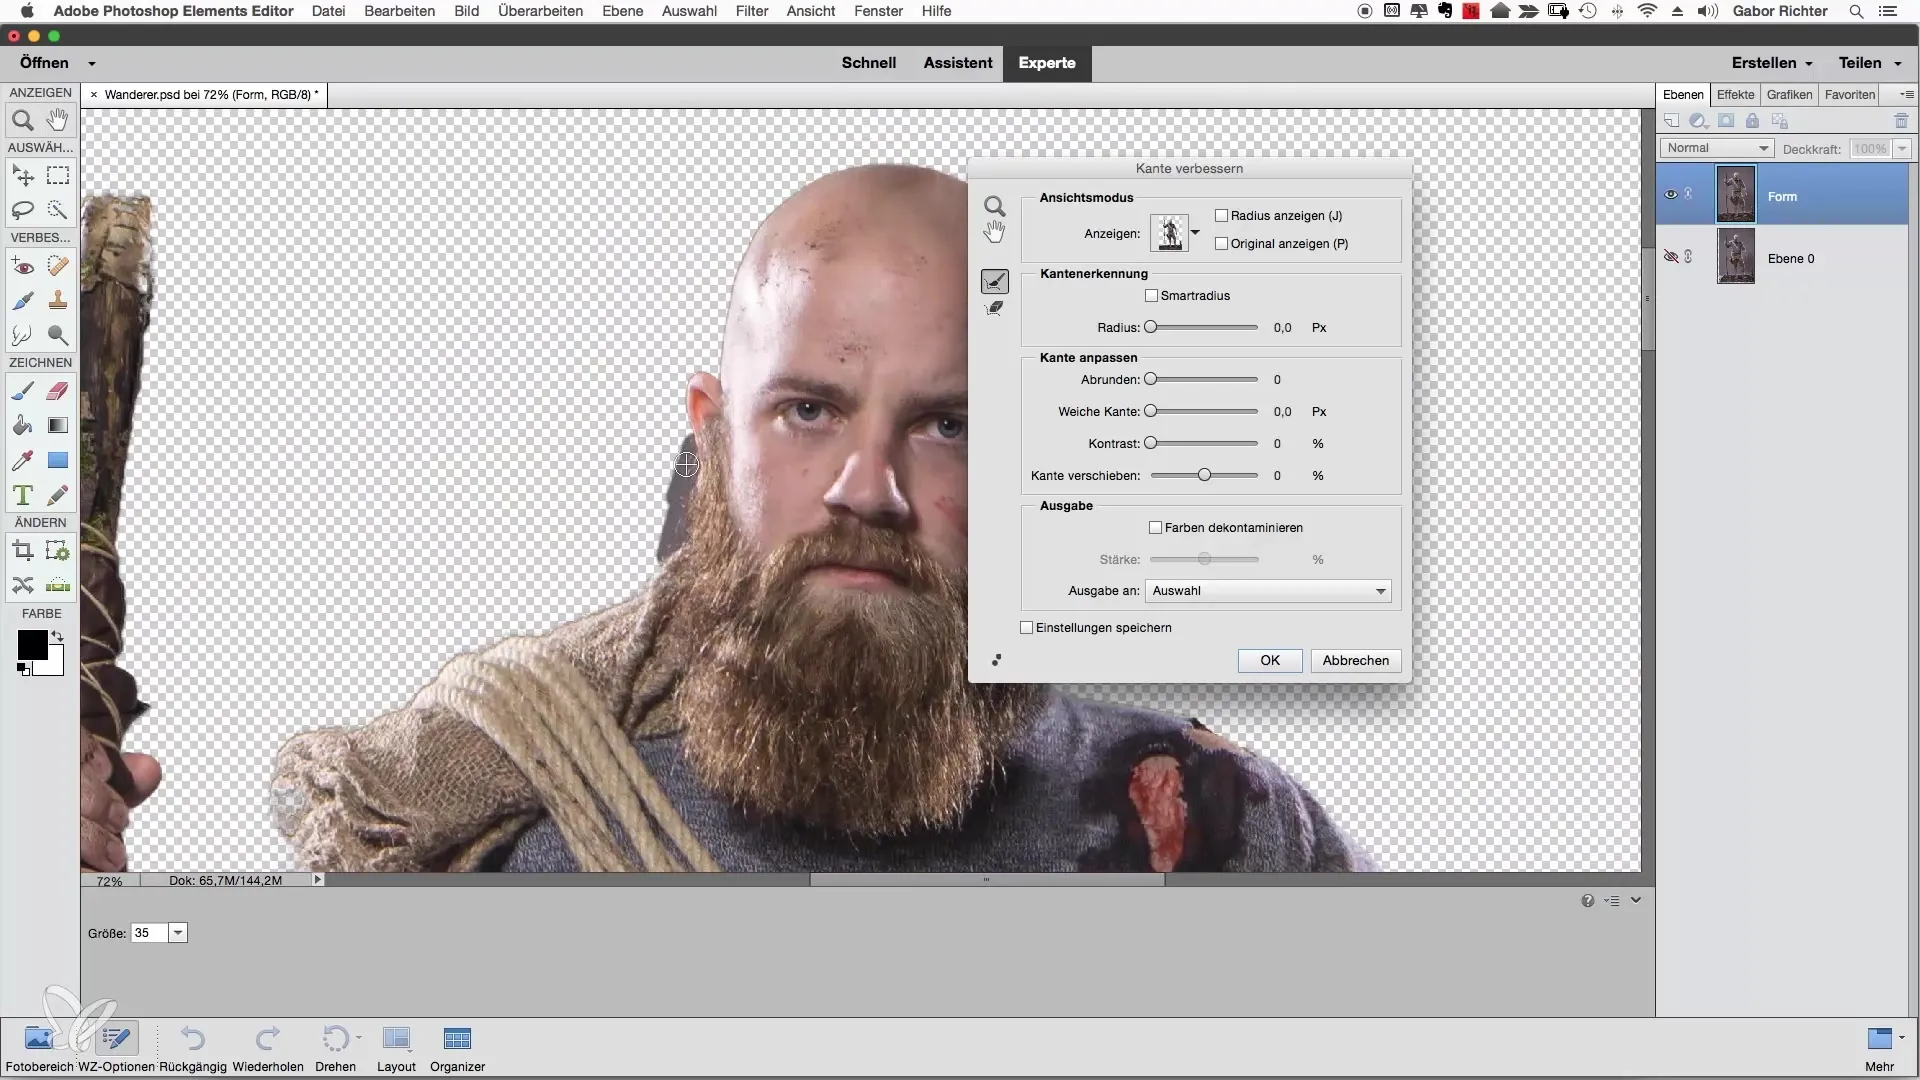
After you have made all the necessary adjustments and achieved a clean selection, you can apply the mask. Confirm the mask and then zoom out to get the big picture and assess your work. Press "Alt" and click on the mask to see the edits applied in more detail. Assess the perfection of the edges and note any areas that may still need improvement.

Through these steps of editing, you have now learned how to effectively improve a selection in Photoshop Elements. The real art lies in the fine-tuning and the patience you put in to achieve the best possible result.
Summary – Improving Selection in Photoshop Elements
In this guide, you learned how to improve the selection in Photoshop Elements. From selecting the right background to applying the "Refine Edge" feature to precisely checking your work—these techniques will help you create a top-quality selection.
Frequently Asked Questions
How can I reset a selection in Photoshop Elements?You can reset the selection by pressing "Command + Z" or using the undo option in the menu.
What is the "Refine Edge" feature?The "Refine Edge" feature helps you refine the edges of your selection more precisely by having Photoshop make adjustments based on image details.
How can I better assess my selection?Change the background to a contrasting color to make the details of your selection more visible.
How can I better select fine areas, like hair?Carefully hover with the quick selection tool over the edges of the fine areas and use the "Refine Edge" feature for better results.
Can I refine my selection?Yes, it is important to review your selection in detail and manually refine it as necessary to achieve a perfect result.


