
Image editing with Photoshop Elements: Composing "The Wanderer"

- Over 2.5 hours of Photoshop Elements video tutorial, including working files
- Get to know professional image editing methods with Photoshop Elements
- Complete workflow, from the image idea to the effective finish
- Apply your new skills in Photoshop Elements directly to your own composings
- From Gabor Richter, who will guide you safely and with experience to your destination on all paths
Get on your feet and let a professional guide you through rough terrain! How to avoid every stumbling block in your Photoshop Elements workflow.
25 Videos, 183 minutes
Composing workflow in Photoshop Elements
Image editing with Photoshop Elements: 01 | The image idea
In this video, Gabor discusses the topic of image ideas. He explains how he came up with his image idea and what approach he uses to convey an image idea to his model and his team.
Image editing with Photoshop Elements: 02 | The light setup
Lighting setups should be customized for image montages so that the basic material later fits perfectly into the new scene. In this video, Gabor explains how he set up his photo set and how he uses the different light sources.
Image editing with Photoshop Elements: 03 | Props
Even the smallest of features can make a huge difference to a motif. In this video, Gabor shows which materials he has worked with and how he uses them.
Image editing with Photoshop Elements: 04 | Raw development
The cornerstone of a good portrait, before it is edited in Photoshop, is raw development in PS Elements. Here Gabor explains which controls are important for this motif.
Image editing with Photoshop Elements: 05 | Deform person
The hiker already has a muscular body. But in this video, Gabor shows you how you can make your physique even stronger and how you can shape a few areas to your advantage.
Image editing with Photoshop Elements: 06 | Determine image section
The crop, as it was created during photography, doesn't always have to be the best - as in this video, in which Gabor explains what you should pay attention to with this motif and how you can correct this.
Editing images with Photoshop Elements: 07 | Add missing pixels
Changing the image section can result in pixels being lost or areas where no pixel information is available. Gabor shows you how to fix this problem in this video.
Image editing with Photoshop Elements: 08 | Selection for cropping
In this video, Gabor shows how he uses the quick selection tool to select a person. Some points are important and crucial for the process to actually work.
Image editing with Photoshop Elements: 09 | Improve selection
After the quick selection, it's straight on to one of the first corrections to the selection. This video shows you how to improve the contours in just a few simple steps.
Image editing with Photoshop Elements: 10 | Fine-tuning the mask
Having already made selections and corrections for the mask, the next step was to improve the mask in detail. In this video, you can see which tools Gabor uses and how he goes about it.
Image editing with Photoshop Elements: 11 | Painting with light: skin areas
In this video, Gabor shows you how he works on a dodge-and-burn plane to reshape the skin areas. This process also creates a subtle plastic look.
Image editing with Photoshop Elements: 12 | Painting with light: Clothing
In this part, Gabor shows how he uses Dodge and Burn to change and reshape the areas of the clothing. As an additional function, the clothes can be made even dirtier.
Image editing with Photoshop Elements: 13 | Positioning a new background
This is where the really big journey of image editing begins. Here, not only is a new background inserted, but a completely new background is created.
Image editing with Photoshop Elements: 14 | Darken background
In this part, Gabor shows how he can change the mood of the background in just a few steps. He also introduces a fine and subtle foggy atmosphere here.
Image editing with Photoshop Elements: 15 | Blur background
There are many ways to add depth to a montage. In this video, Gabor shows how he uses blurring to add depth to the image.
Image editing with Photoshop Elements: 16 | Light sources
In this video, Gabor shows how he artificially adds a non-existent light in Photoshop Elements. This approach is particularly advantageous because the lights can be controlled and moved very selectively.
Image editing with Photoshop Elements: 17 | Brightness adjustments Person
The person does not always immediately match the brightness of a new motif. However, these can be controlled wonderfully by simply brightening or even darkening certain areas.
Image editing with Photoshop Elements: 18 | Color adjustments Person
To ensure that the hiker actually fits more harmoniously into the scene, Gabor will adjust the colors better. The background color plays a major role in this, as do the individual colors of the clothing.
Image editing with Photoshop Elements: 19 | Painting highlights
In this video, Gabor will introduce additional highlights into the motif. In just a few steps, he will explain how easily and quickly you can add non-existent highlights.
Image editing with Photoshop Elements: 20 | Overexposure
By overlighting the person, Gabor will create a fusion with the light from the background. This makes the motif more realistic and gives it a more intense effect.
Image editing with Photoshop Elements: 21 | Nebelschweif
To create a foggy atmosphere, Gabor will add a soft atmosphere to the ground on which the hiker is standing. The fog can be individually determined and shaped.
Image editing with Photoshop Elements: 22 | Dirt on clothes
In this video, Gabor will overlay the clothing with texture. This will have the advantage of making the clothing look even dirtier and rougher.
Image editing with Photoshop Elements: 23 | Image look
The image look is determined in this step. In this video, Gabor shows how to bring a color into play as an image look as required and how these can be adjusted.
Image editing with Photoshop Elements: 24 | Nik-Filter
Gabor will use a free filter to fine-tune the motif. This filter will help to add a fine sharpness and high contrasts afterwards.
Image editing with Photoshop Elements: 25 | Stylish font
Gabor always likes to use a font in his motifs for the finishing touches. Like here, where he adds a little story to the motif with a font.
You might also like

Save time with artificial intelligence

More style, more power, more templates!
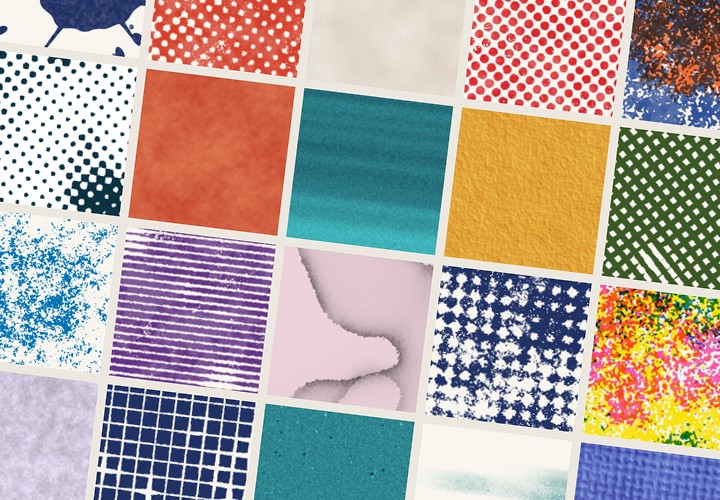
20 sets in 4K (4096 × 4096 px, 300 DPI) as JPG plus Photoshop patterns, calibrated to the fill method

Full power, more inspirations, maximum WOW effect!
Comment now „Image editing with Photoshop Elements: Composing "The Wanderer"“