Removing objects from an image can be a challenging but also very creative task. In this guide, I will show you how to effectively make a selection using the Quick Selection tool in Photoshop Elements to extract a person from an image. You will learn the necessary steps to achieve clean edges and avoid common mistakes.
Key Insights
- The Quick Selection tool is ideal for selecting areas in an image.
- Start by extracting the inner areas before selecting the background.
- Use the ALT key to remove unwanted selection areas.
- A patient approach leads to better results.
Step-by-Step Guide
To achieve effective results with the Quick Selection tool, follow these steps:
1. Preparing the Scene
Start by loading the image you want to extract. You should ensure that you have a clear view of the area to be selected. Once you have opened the image, you can begin with the Quick Selection tool.
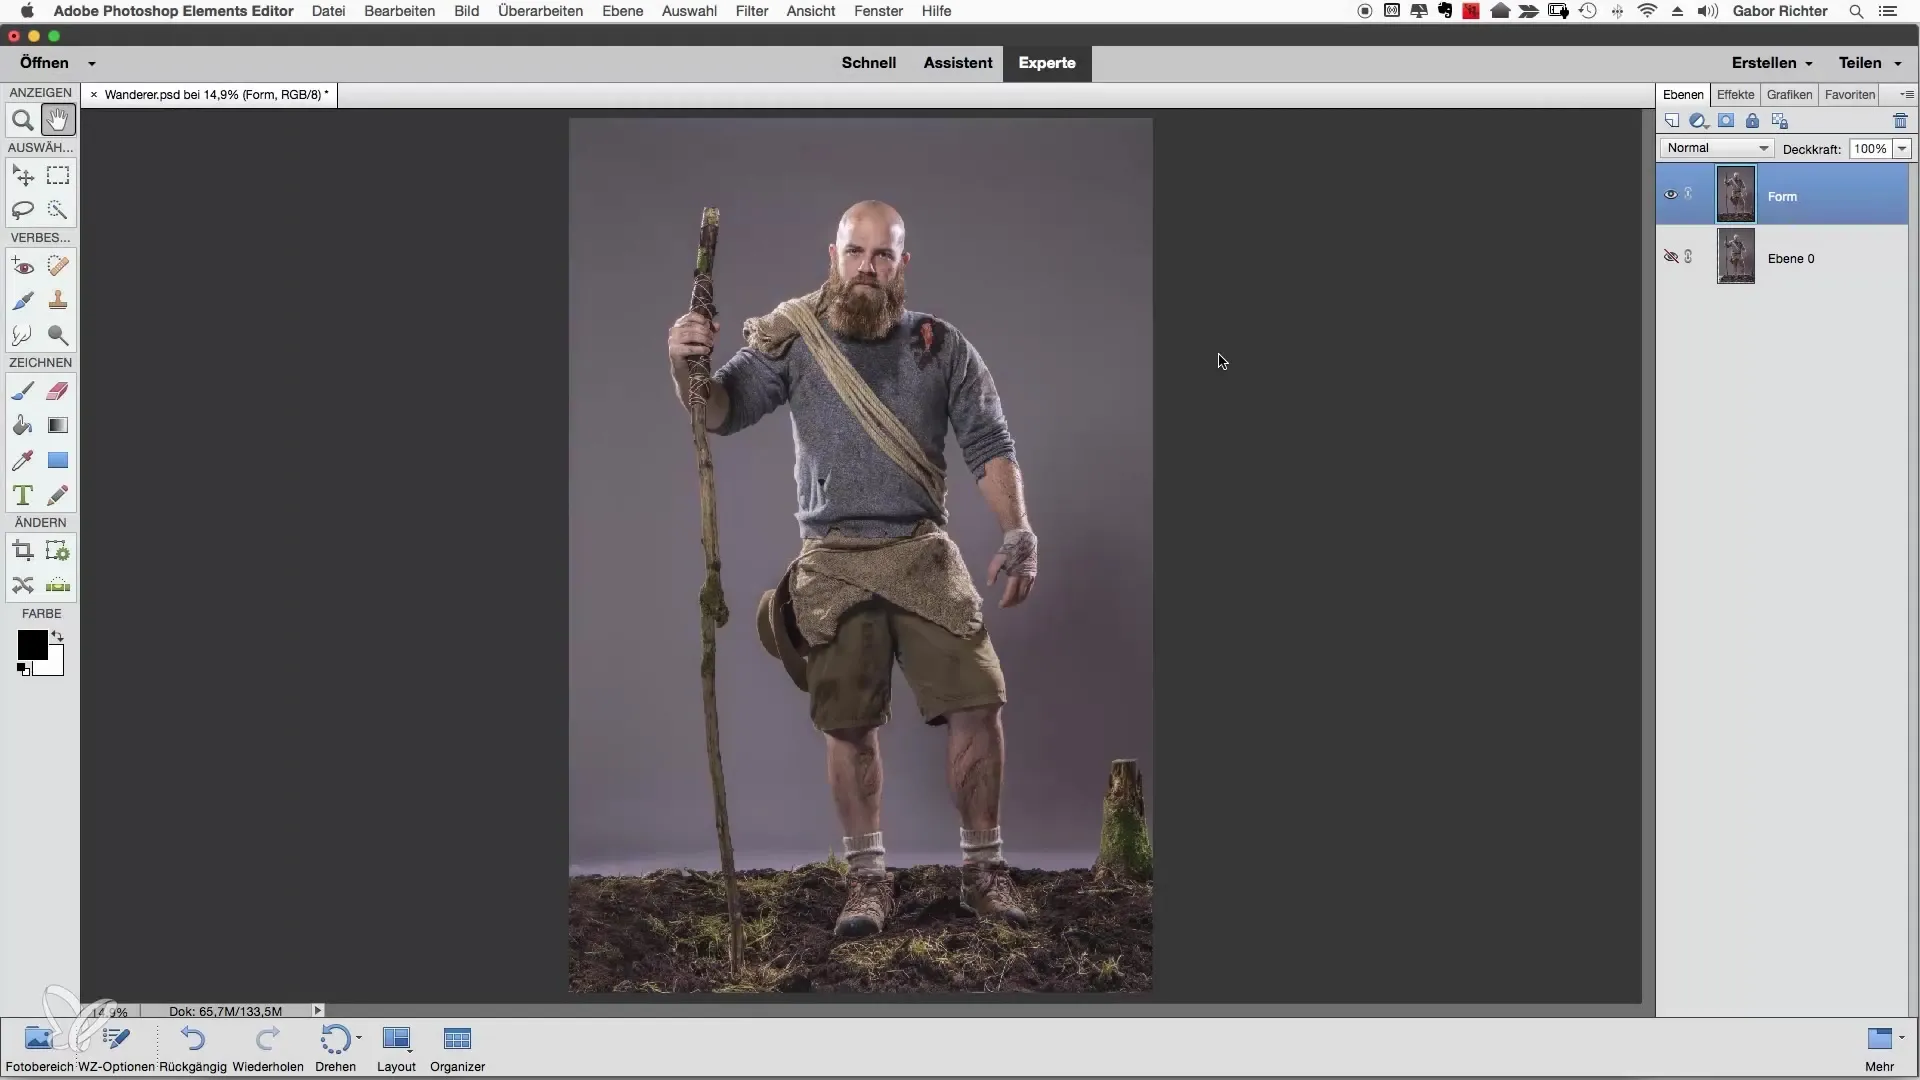
2. Using the Quick Selection Tool
Select the Quick Selection tool from the toolbar. With this tool, you can make a selection simply by brushing over the areas. Photoshop automatically detects the edges, greatly simplifying the process.
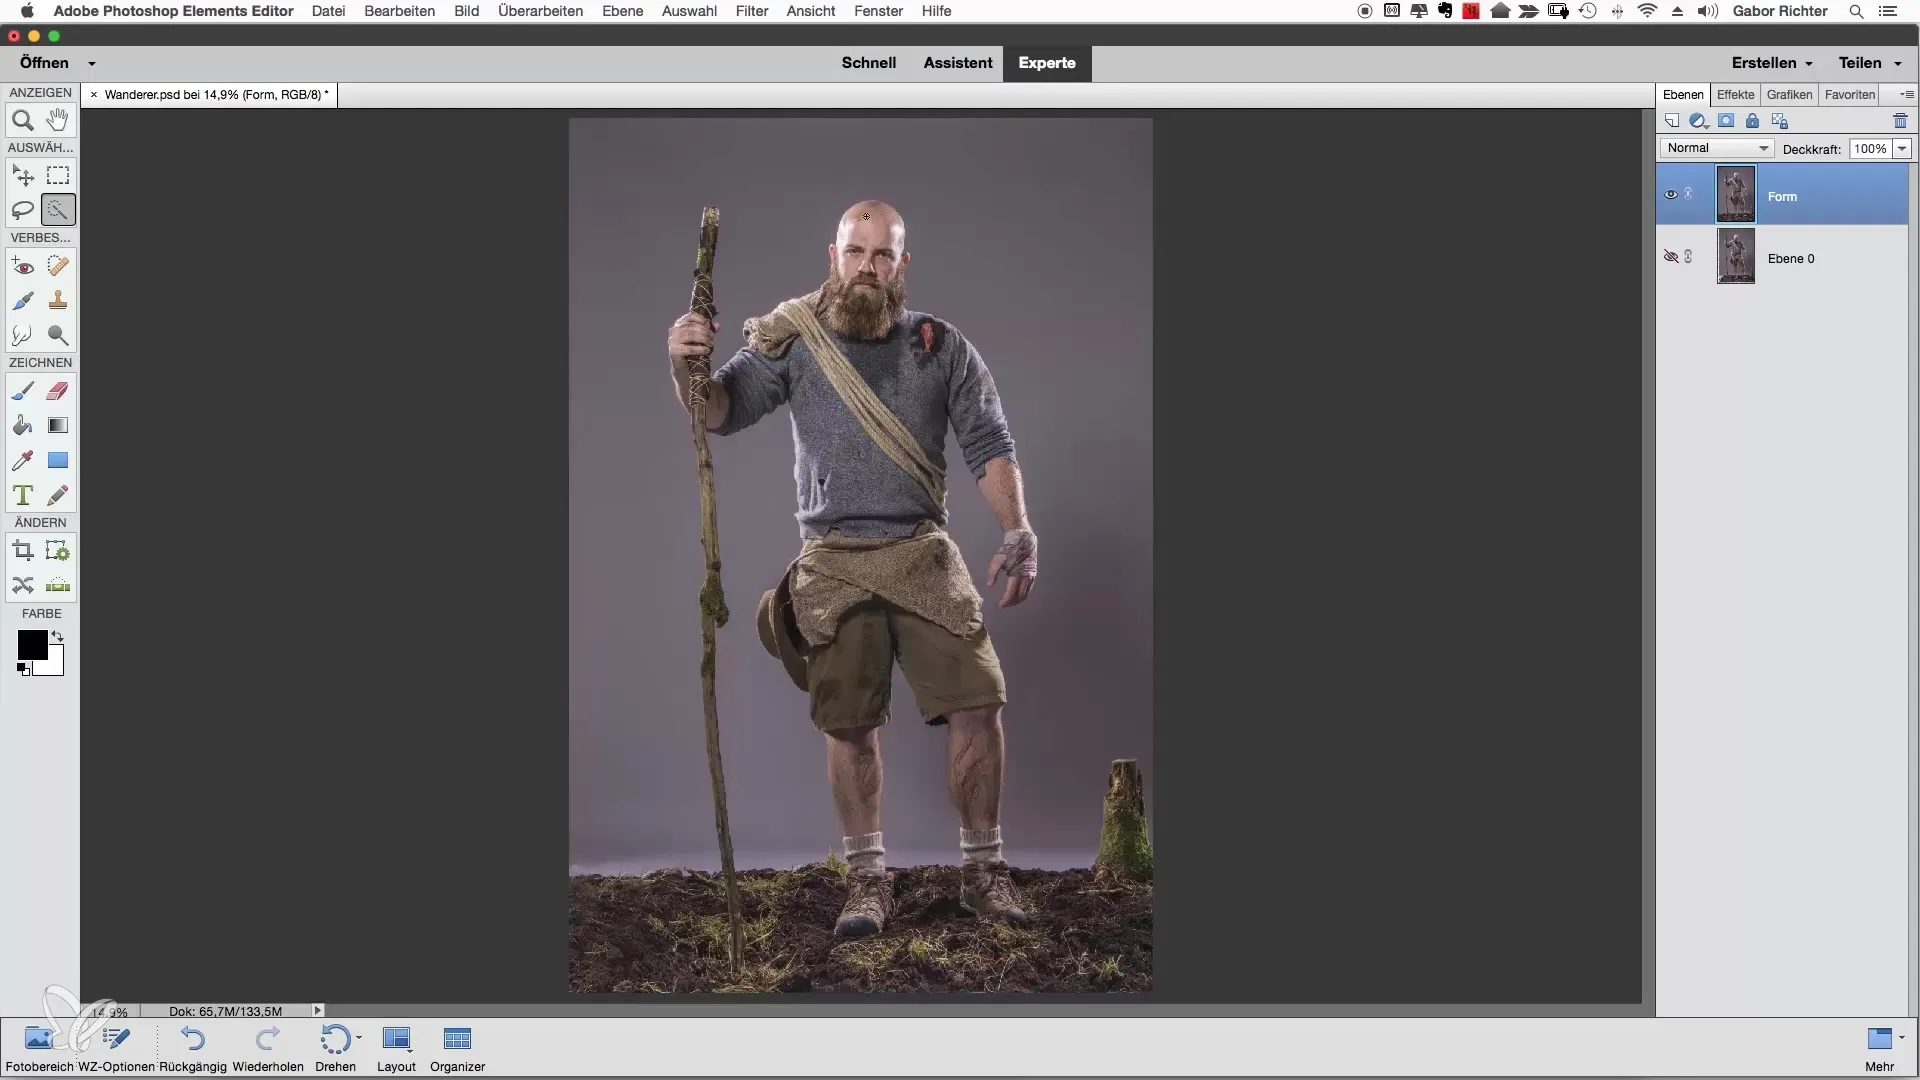
3. Zooming In
To work more precisely, zoom into the area you are selecting. When you can see the details better, you can adjust the edges more accurately.
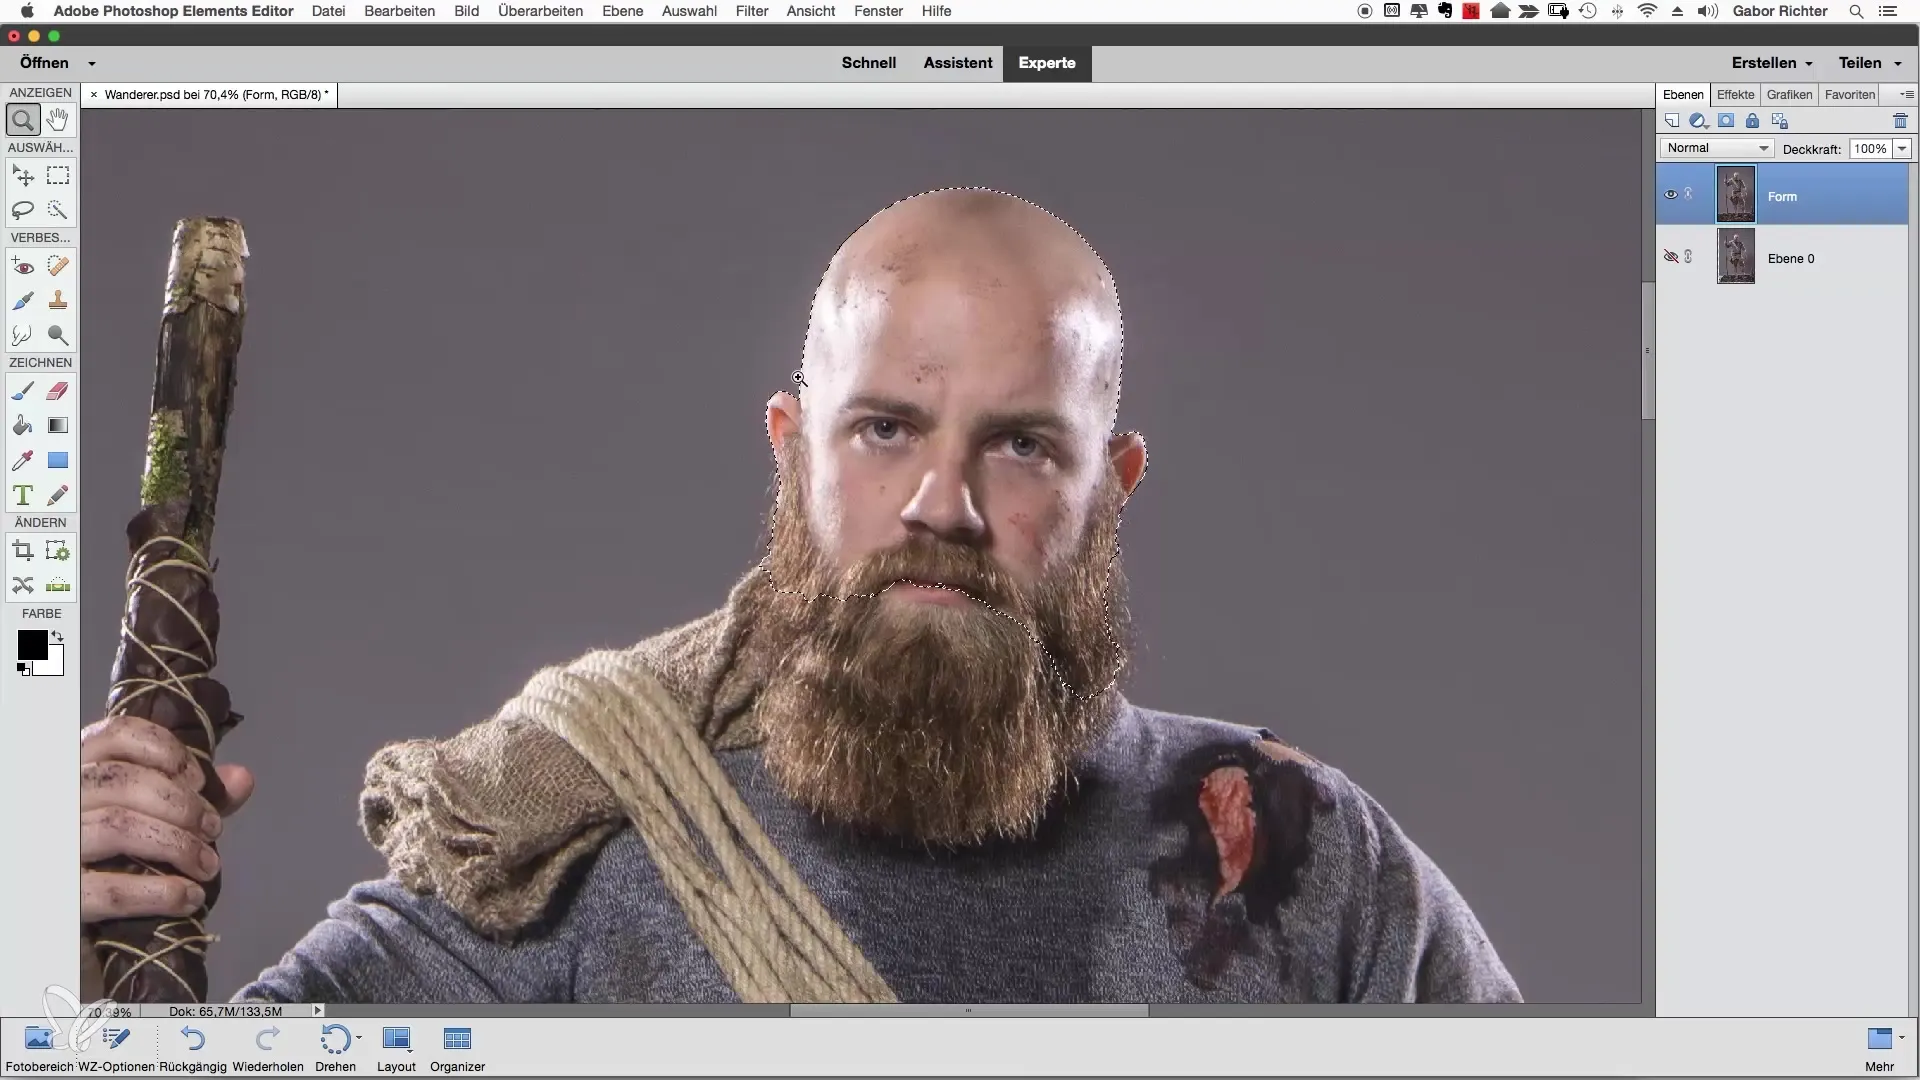
4. Selecting Inner Areas
Instead of immediately selecting the background, focus first on the inner areas of the object. It often proves easier to separate the background from the inner parts.
5. Selecting Small Areas
Avoid selecting large areas at once. Instead, start with small areas and work your way forward piece by piece. If you are unhappy with the result, you can backtrack in small steps and make adjustments.
6. Removing Unwanted Areas
If you accidentally paint outside the desired selection, press the ALT key. Pressing the ALT key puts the tool in minus mode, allowing you to subtract the unwanted areas.
7. Refining the Selection
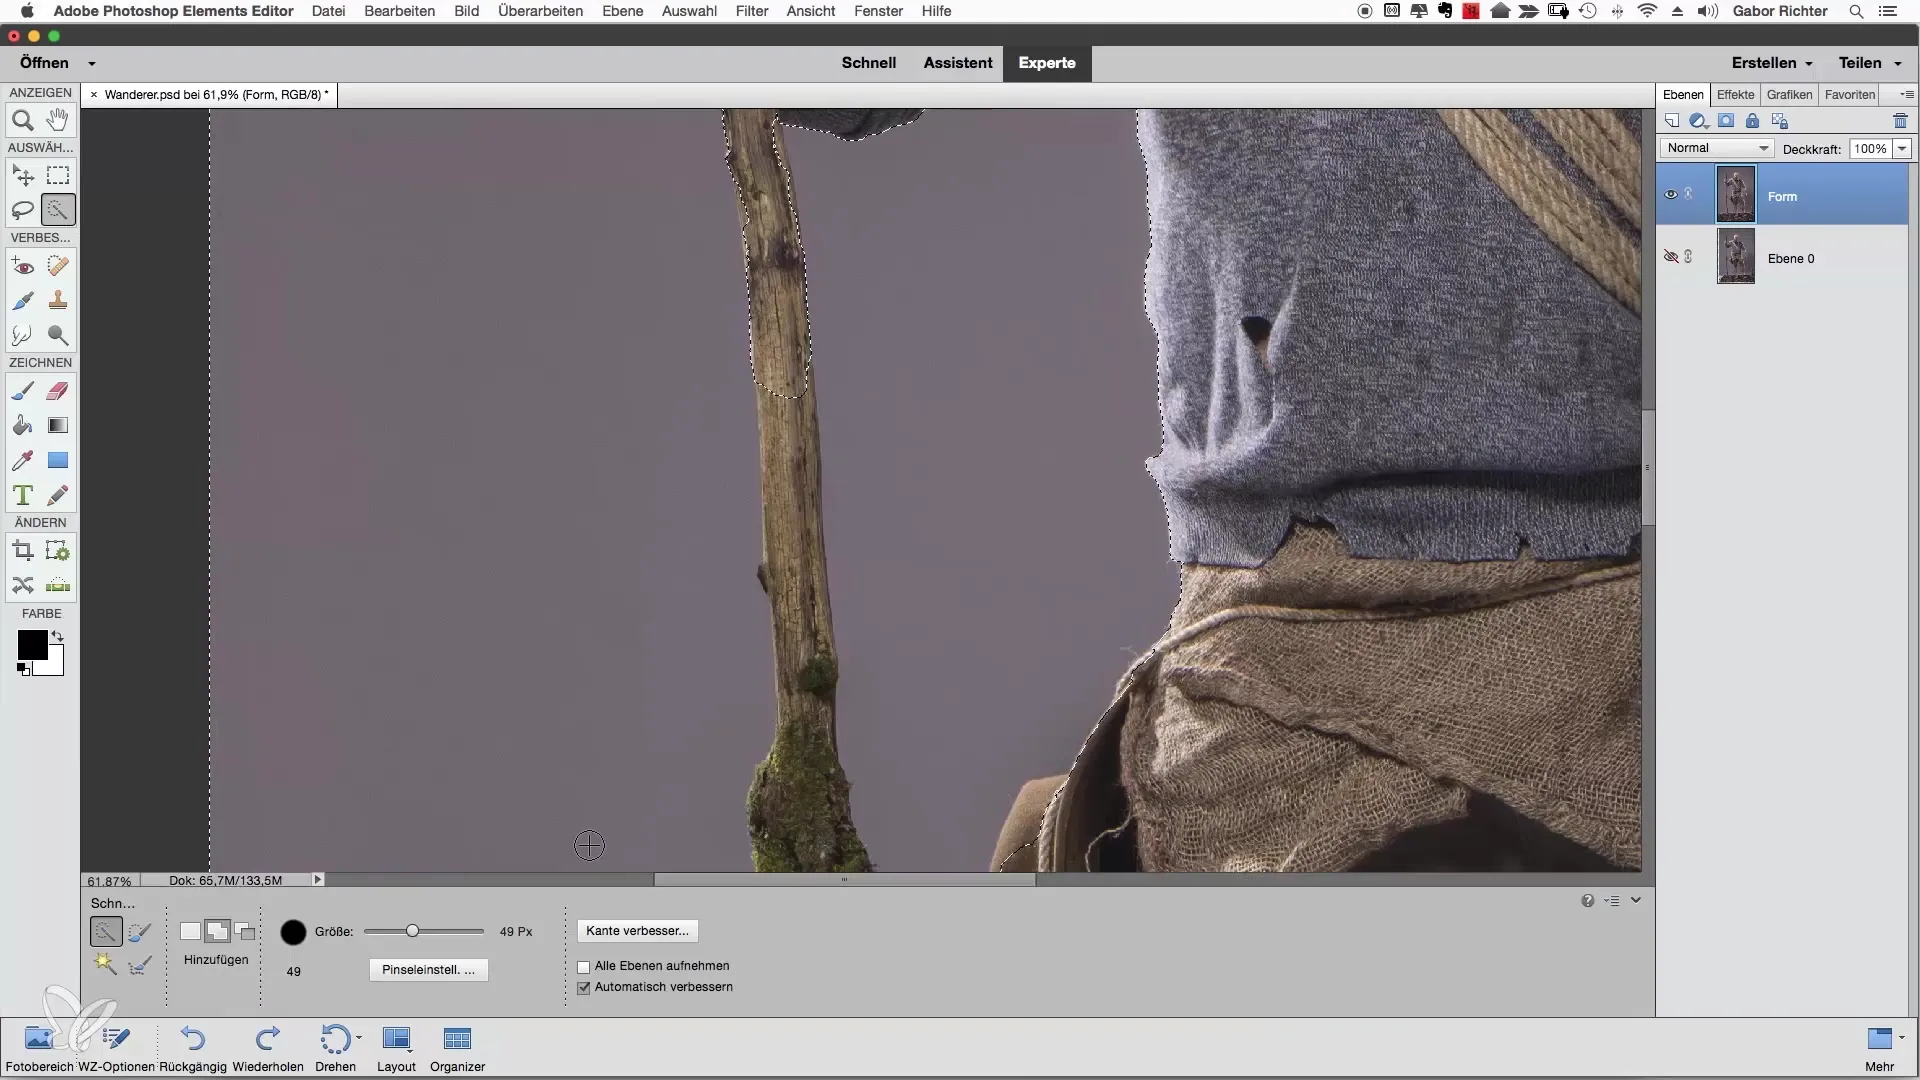
Reduce the brush size of the Quick Selection tool to about 40 to 50 pixels and continue working on the areas you want to select. Be patient and work carefully to achieve the best results.
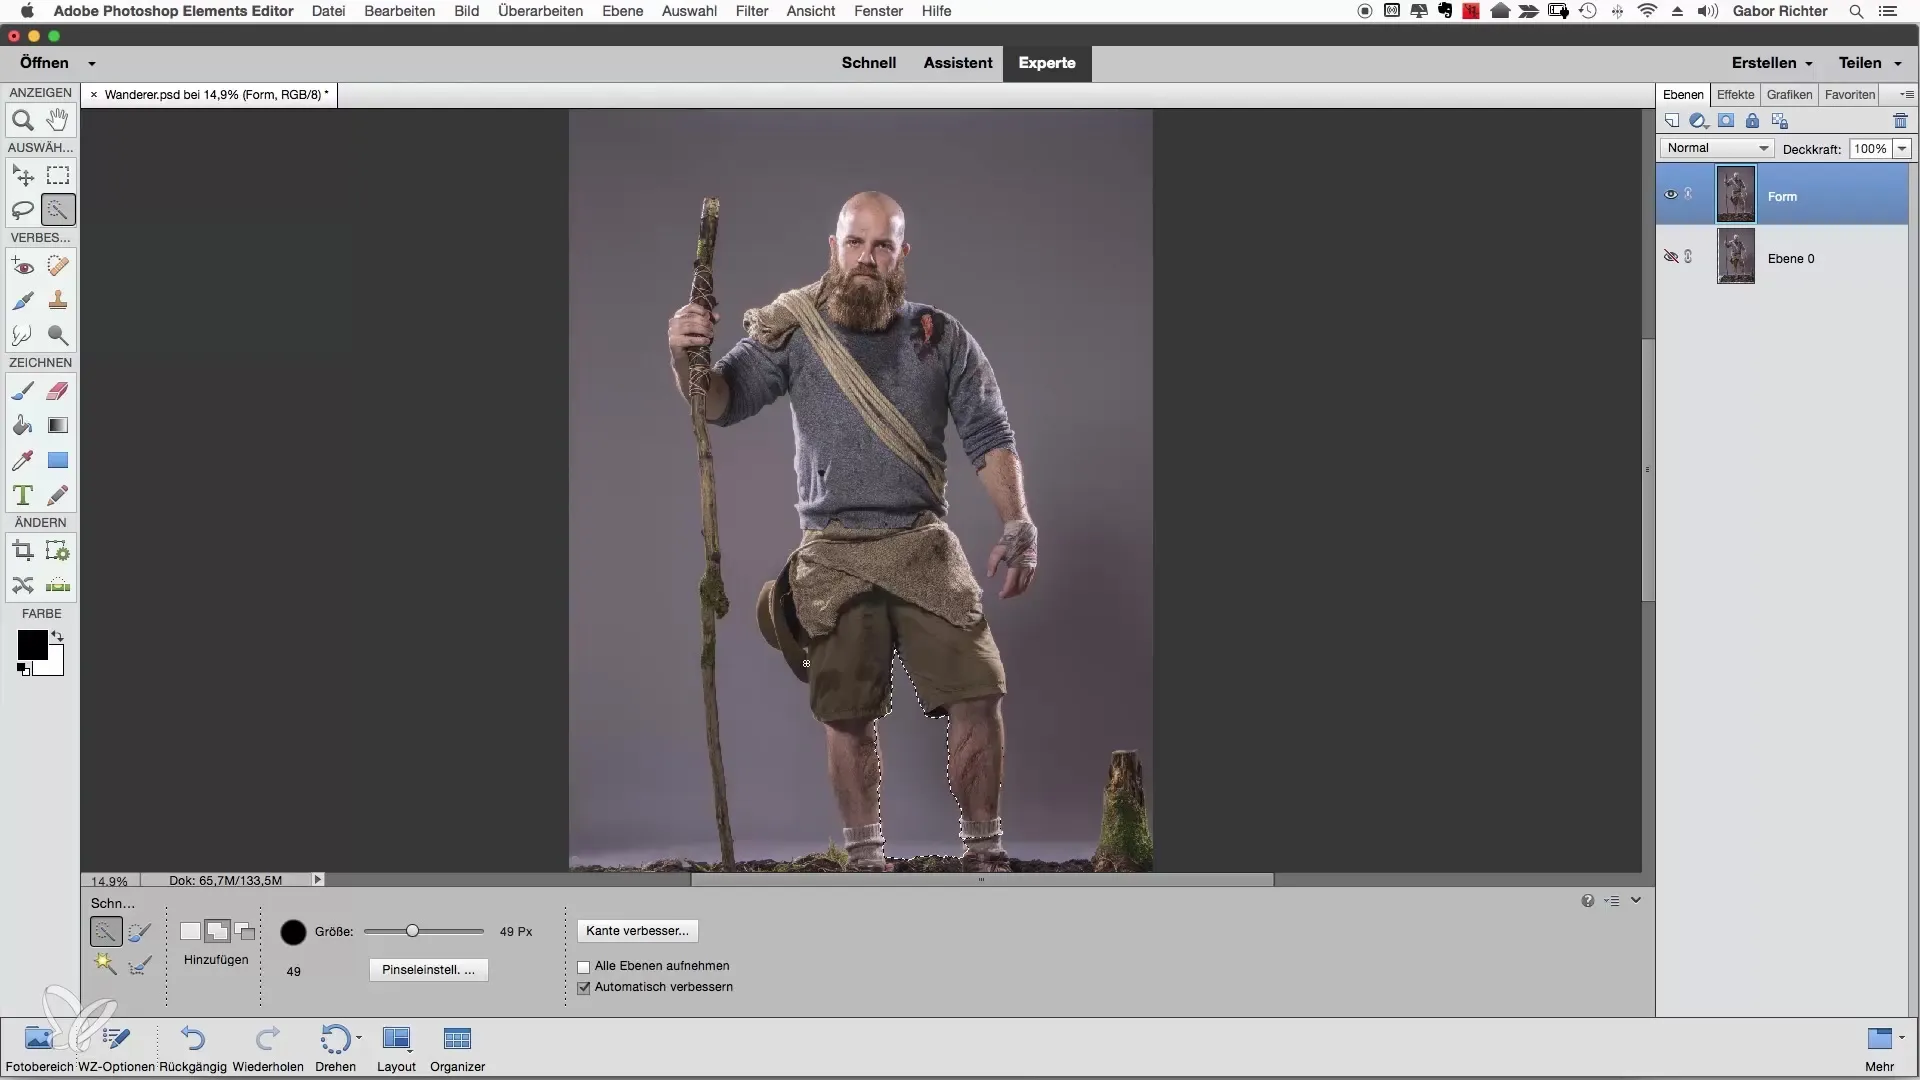
8. Activating Auto-Enhance
Activate the "auto-enhance" feature to ensure that Photoshop automatically optimizes the edges while you make the selection. This feature helps improve any inaccurate edges.
9. Selecting the Background
Once you have selected the inner areas, you can now begin selecting the background. This can be tricky, especially in complex areas of the image. Look specifically for areas you want to subtract.
10. Final Adjustments
Use zoom to review the edges again and correct any mistakes. Pay attention to small details such as hair or other fine structures that are important for a natural result.
11. Reviewing the Selection
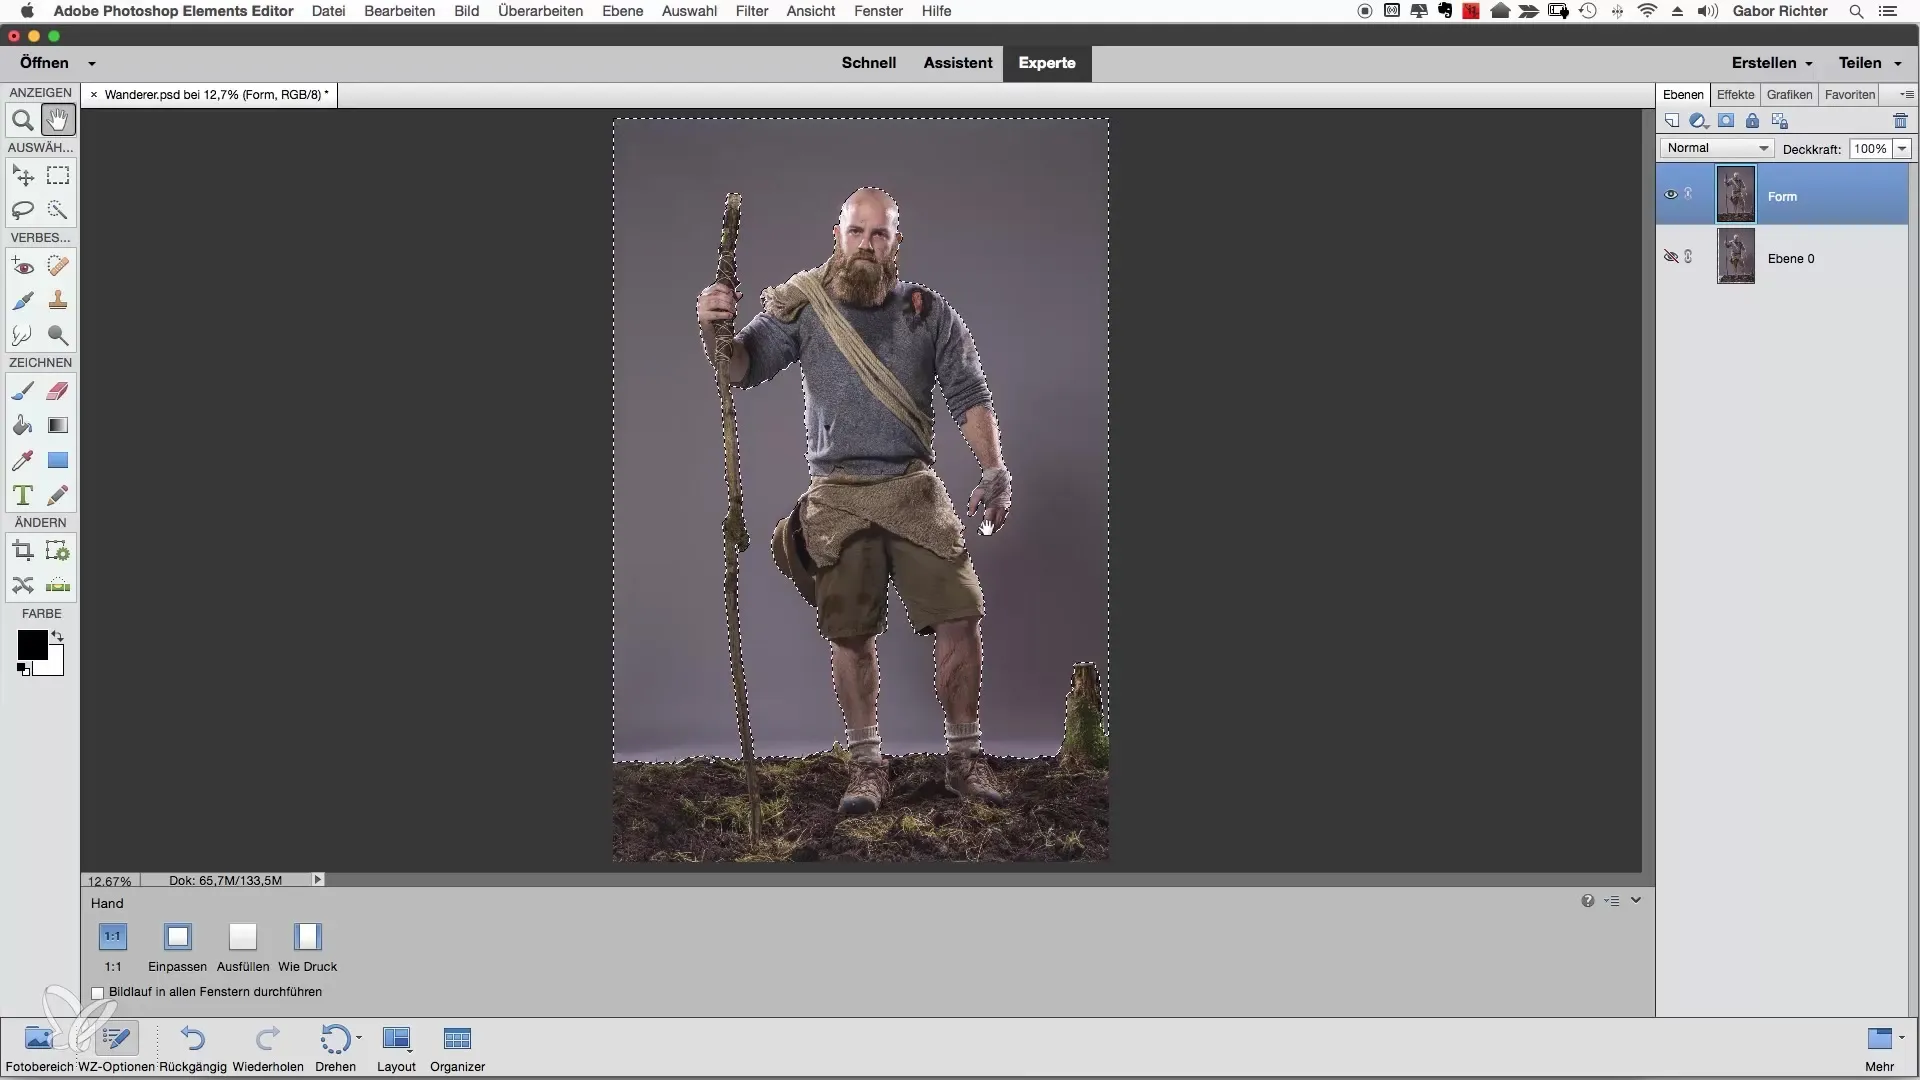
Look at the entire selection and make sure you are satisfied with the result. If everything looks good, you can now save the selection or use it for further editing.
Summary – Extracting a Hiker in Photoshop Elements
In this guide, you learned the steps to extract a hiker using the Quick Selection tool in Photoshop Elements. The key points are to carefully select the inner areas, use the ALT key to subtract unwanted areas, and activate the "auto-enhance" feature for clean edges. Patience in the selection process ultimately leads to the best results.
Frequently Asked Questions
How does the Quick Selection tool work?The Quick Selection tool automatically detects the edges as you brush over the image.
Why should I select the inner areas first?It's easier to select the inner areas first before working on the background.
How can I remove unwanted areas from the selection?Hold down the ALT key to activate the minus mode of the Quick Selection tool and subtract unwanted areas.
What is the auto-enhance feature?This feature optimizes the edges of your selection to achieve better results.
Why is patience important when extracting?A patient approach leads to more precise and cleaner results, especially in complex image areas.


