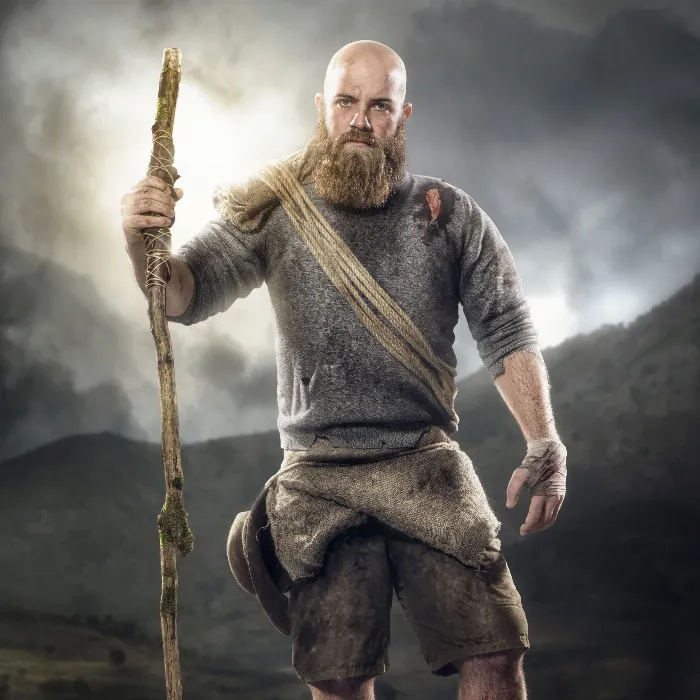
Targeted editing of clothing in Photoshop Elements using Dodge and Burn techniques allows you to achieve impressive effects and elevate the design of your images to a new level. In this tutorial, you'll learn how to specifically enhance contrasts, model shapes, and even create unrealistic effects using these techniques. Let's get started on designing and optimizing the clothing in your images effectively.
Main Insights
- With Dodge and Burn, you can specifically emphasize contrasts and depths in clothing.
- By darkening and lightening specific areas, clothing gains more shape and realism.
- Using a graphics tablet can make editing work easier and provide more precise results.
Step-by-Step Guide
Start by creating your Dodge and Burn layer. Press the Alt key and click on the new layer icon. Name this layer something like "Dodge and Burn Hard" and set the method to "Overlay." You should also enable the 50% gray setting, which lays the foundation for your editing project.
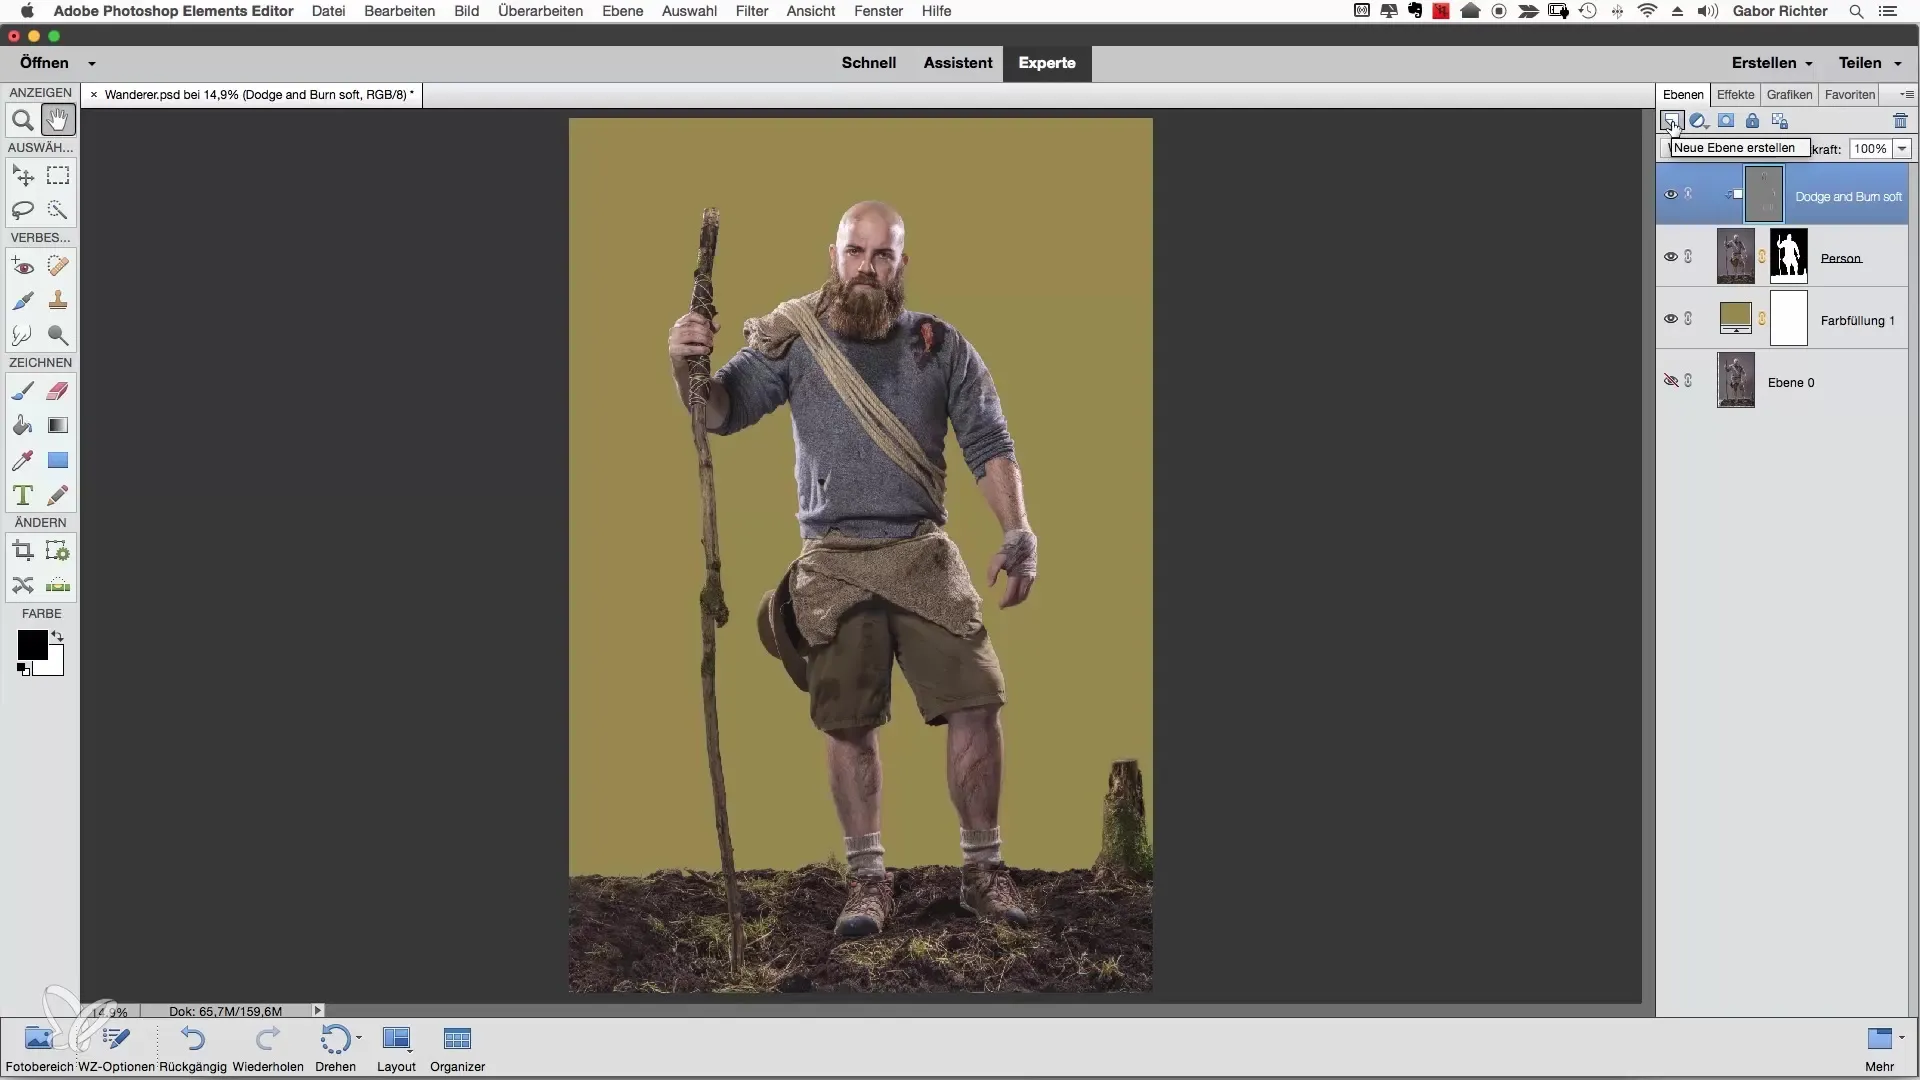
Now that you have created your layer, enable the clipping mask so that the changes concentrate on the base layer. Start with the upper body of the figure by selecting a brush. Set the opacity to 4% and choose a brush size that feels comfortable to you—perhaps between 60 and 85 pixels. Begin by darkening the shadowy areas of the upper body slightly.
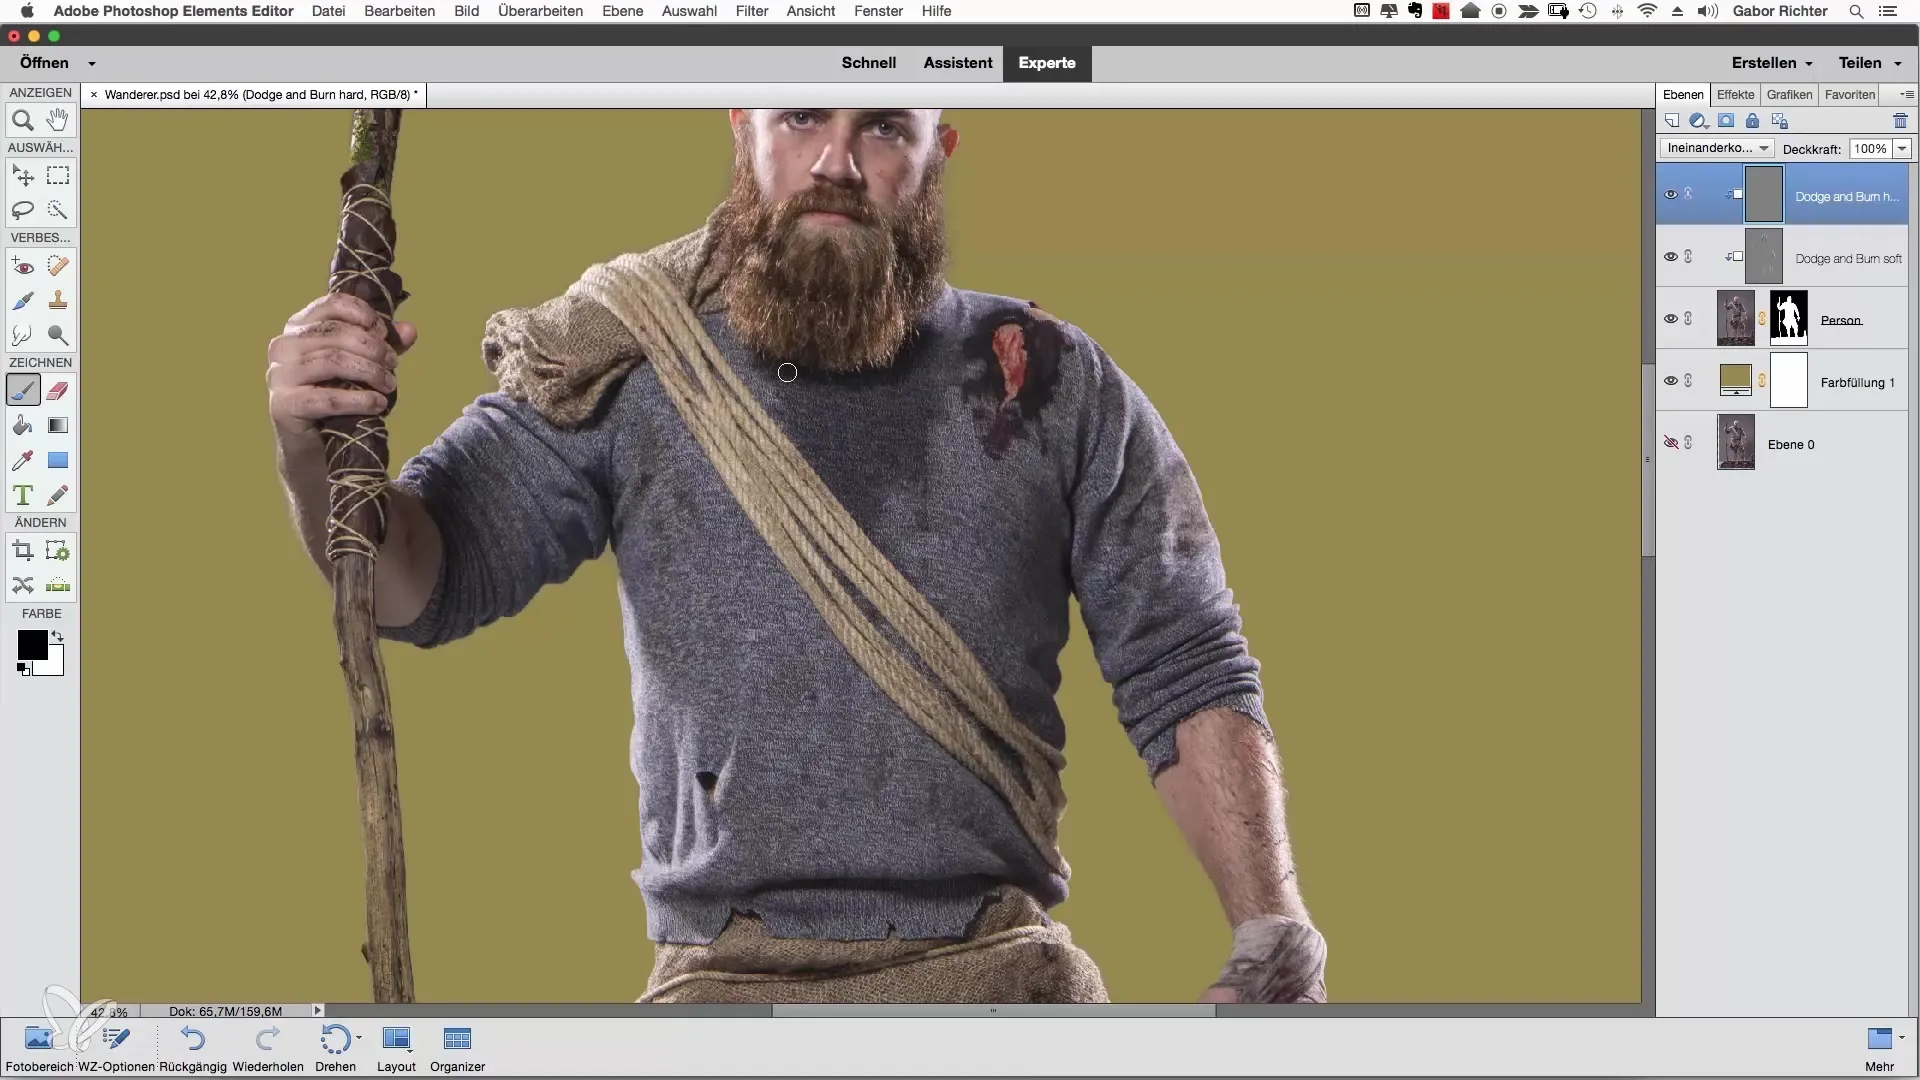
By emphasizing the dirty areas, such as sweat marks or dirt, you immediately add more character to the image. This technique is particularly effective as it gives depth and liveliness to the images. You can also emphasize additional wrinkles that are already present. Occasionally increase the opacity of your brush to create stronger contrasts. If you want to create a distinction between the wrinkles and the surrounding clothing, darken the shadows a little more.

A good example is to enhance wrinkles to create a photorealistic representation. Paint these areas carefully, and you will see how the clothing becomes more vibrant and interesting. Remember that you can also add your own wrinkles to achieve the desired look. This creative aspect of Photoshop is what makes it so special.
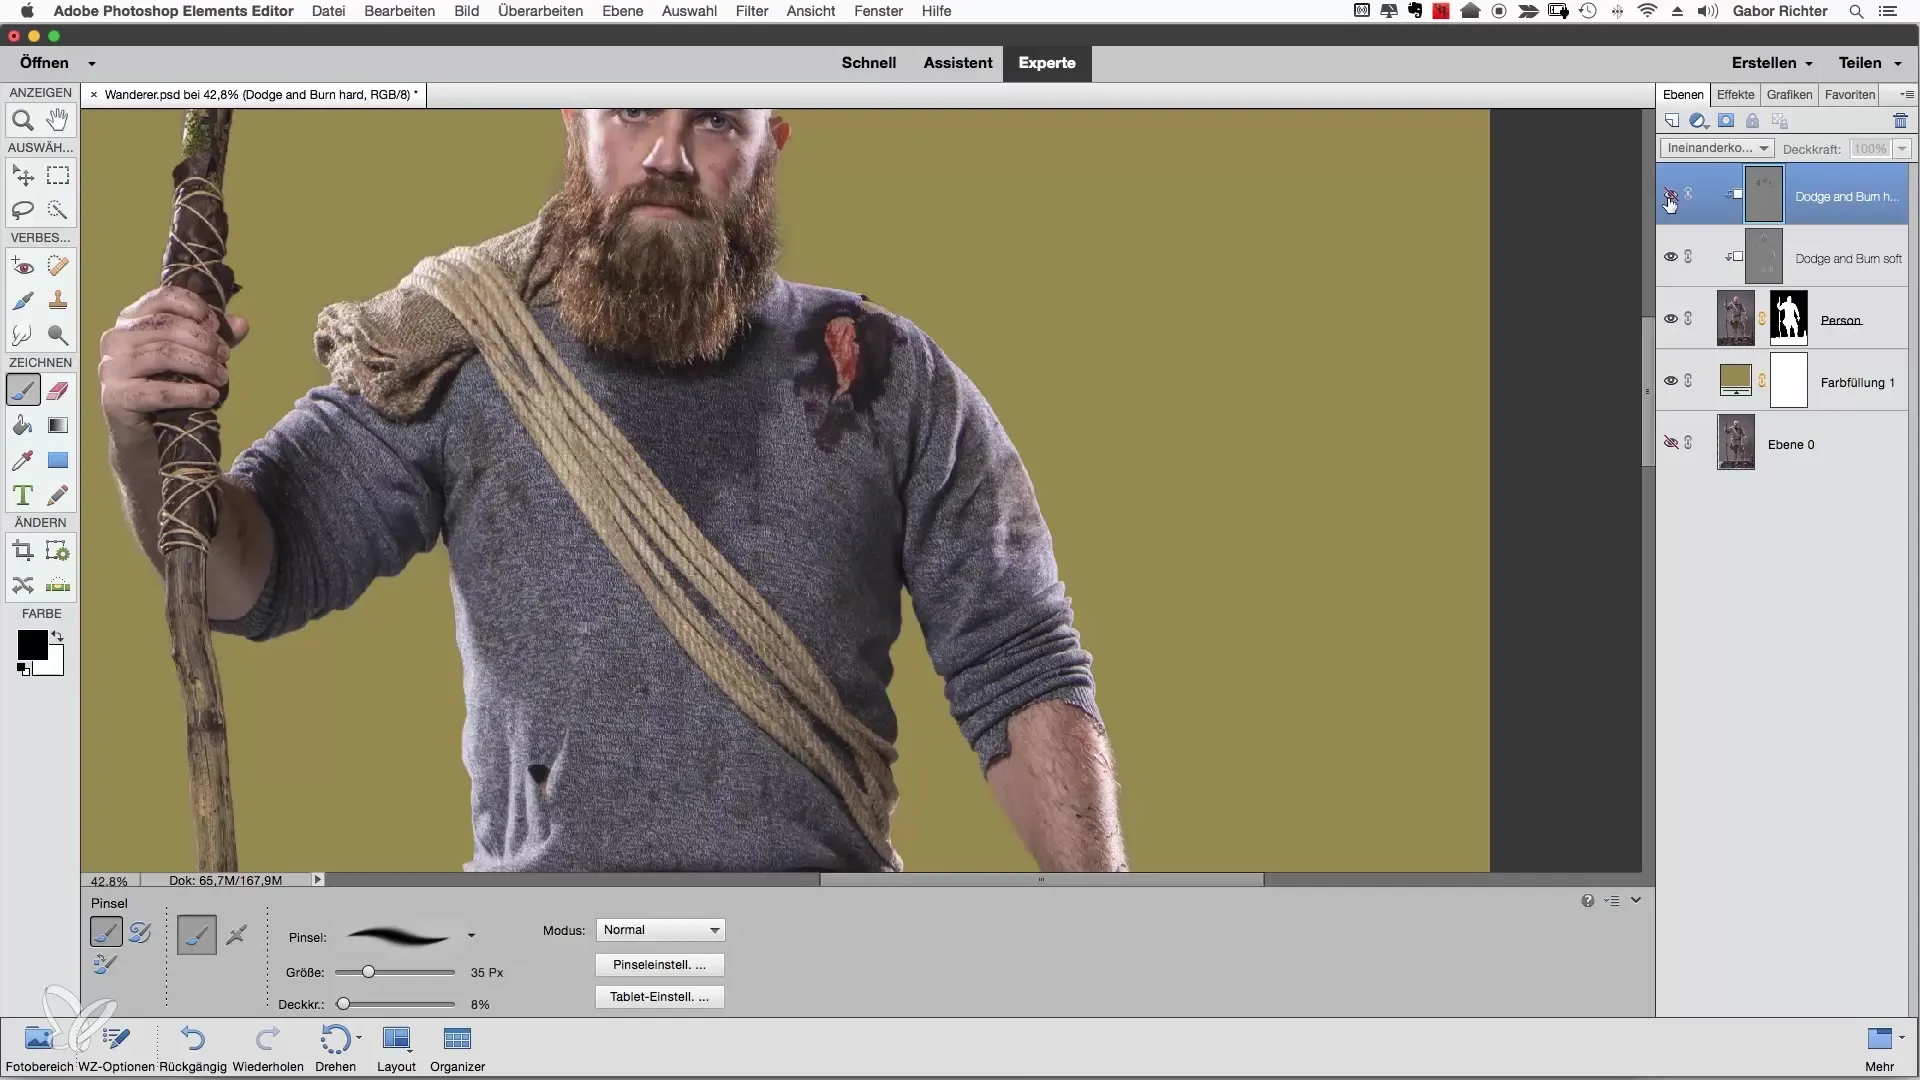
With your graphics tablet, you have the advantage of being able to work more precisely and comfortably on this task. The difference in handling compared to a mouse is significant and allows you to paint and design with more nuance. Note that using a graphics tablet is particularly advantageous when adding a variety of details.
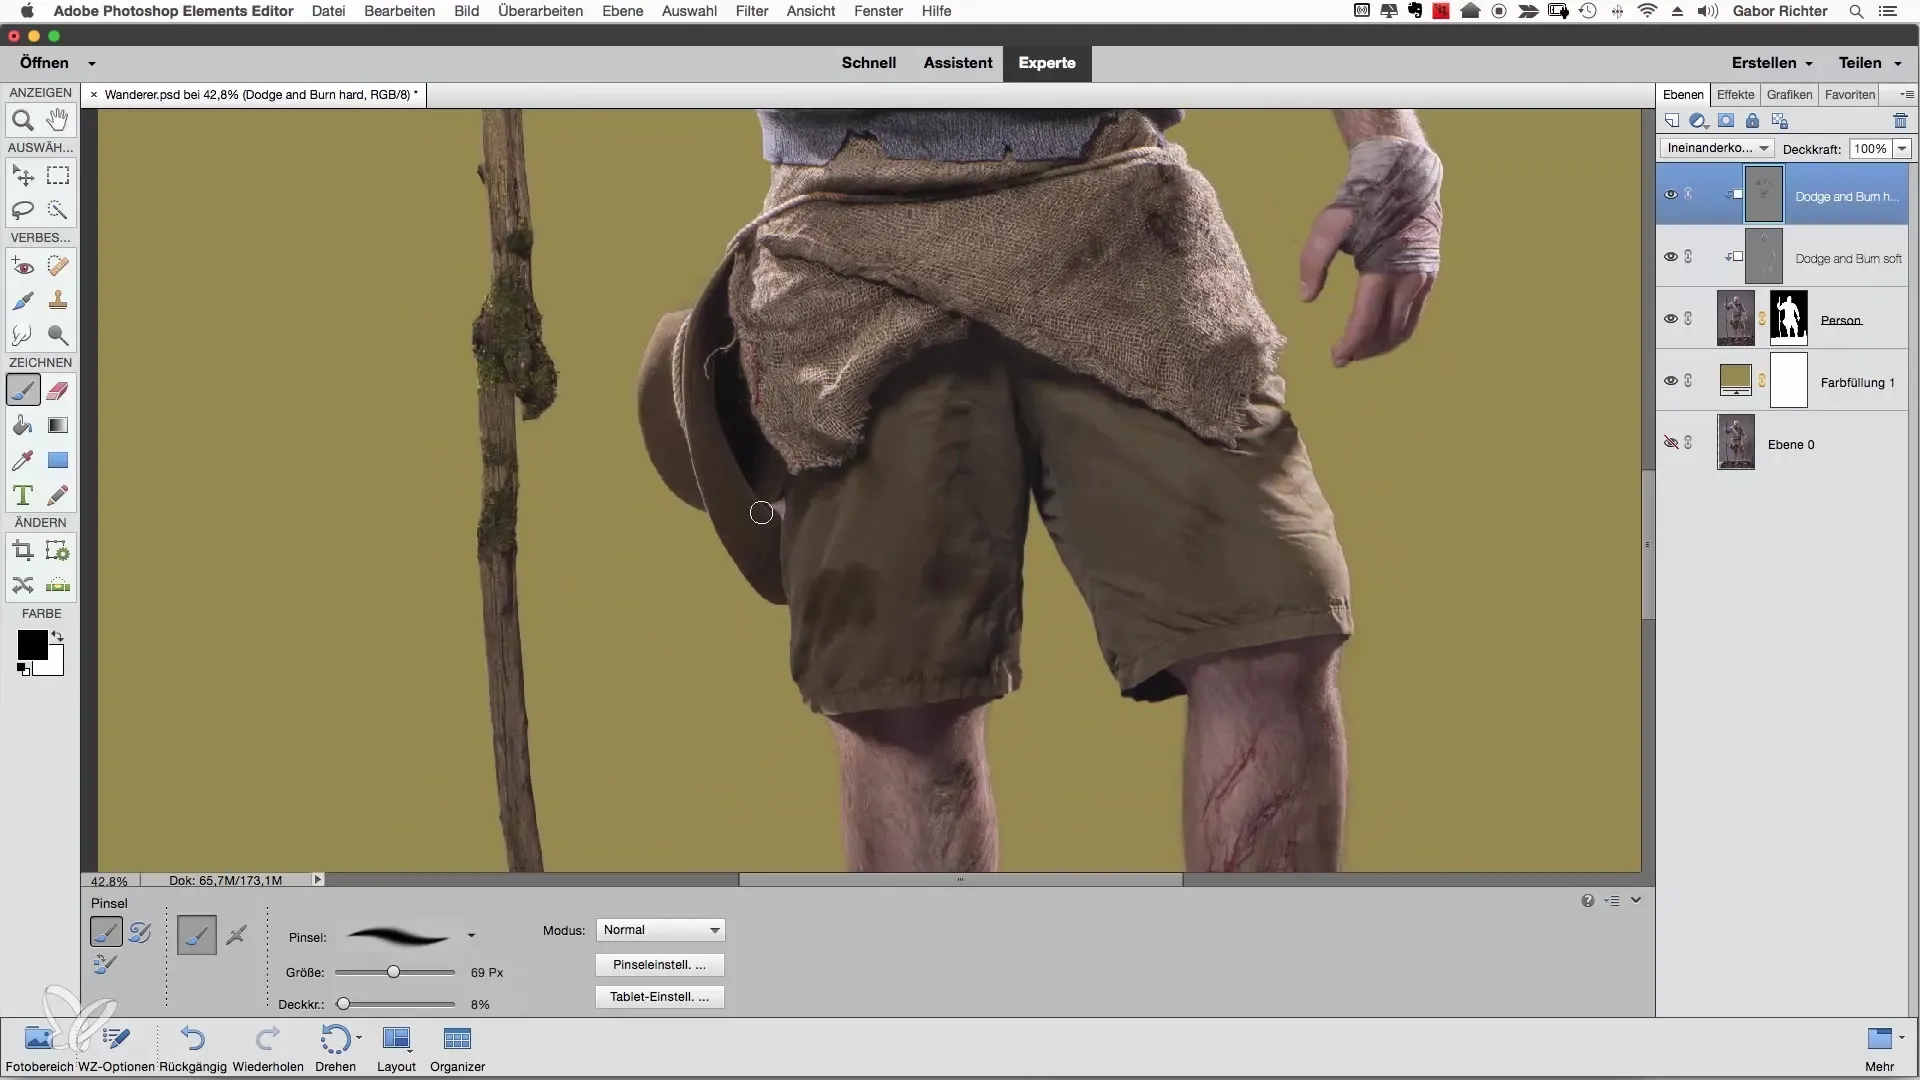
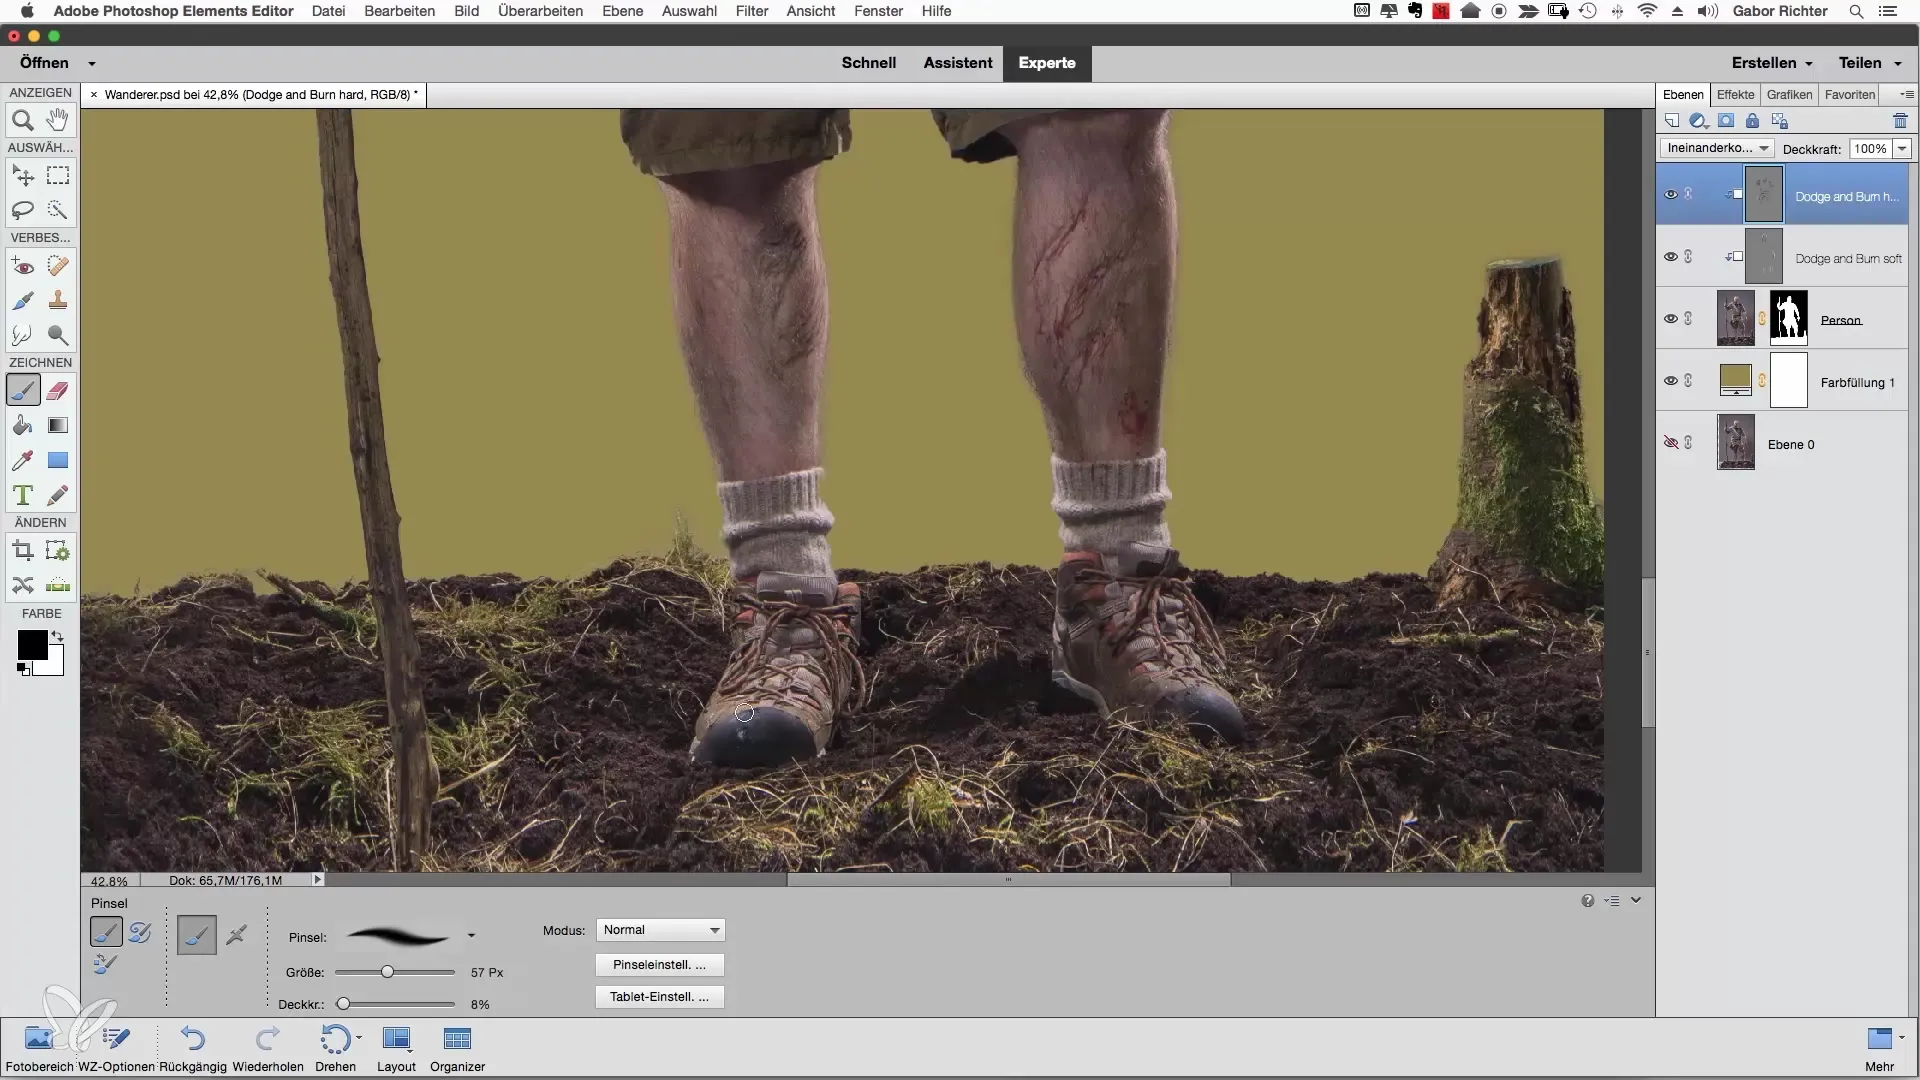
If you feel that your clothing is now well processed, turn your attention to the shoes. You can also darken these. Bring more depth to the representation by working on certain parts with more pressure. Be sure to emphasize the shape by keeping the socks taut and darkening the areas below the shoes.
The walking stick can also benefit if you want to enhance its shape. Reduce the opacity to 4% and gently go over the contours. This will achieve a more three-dimensional representation of the stick. Do this by adding darker and lighter shades to create a 3D-like feeling.
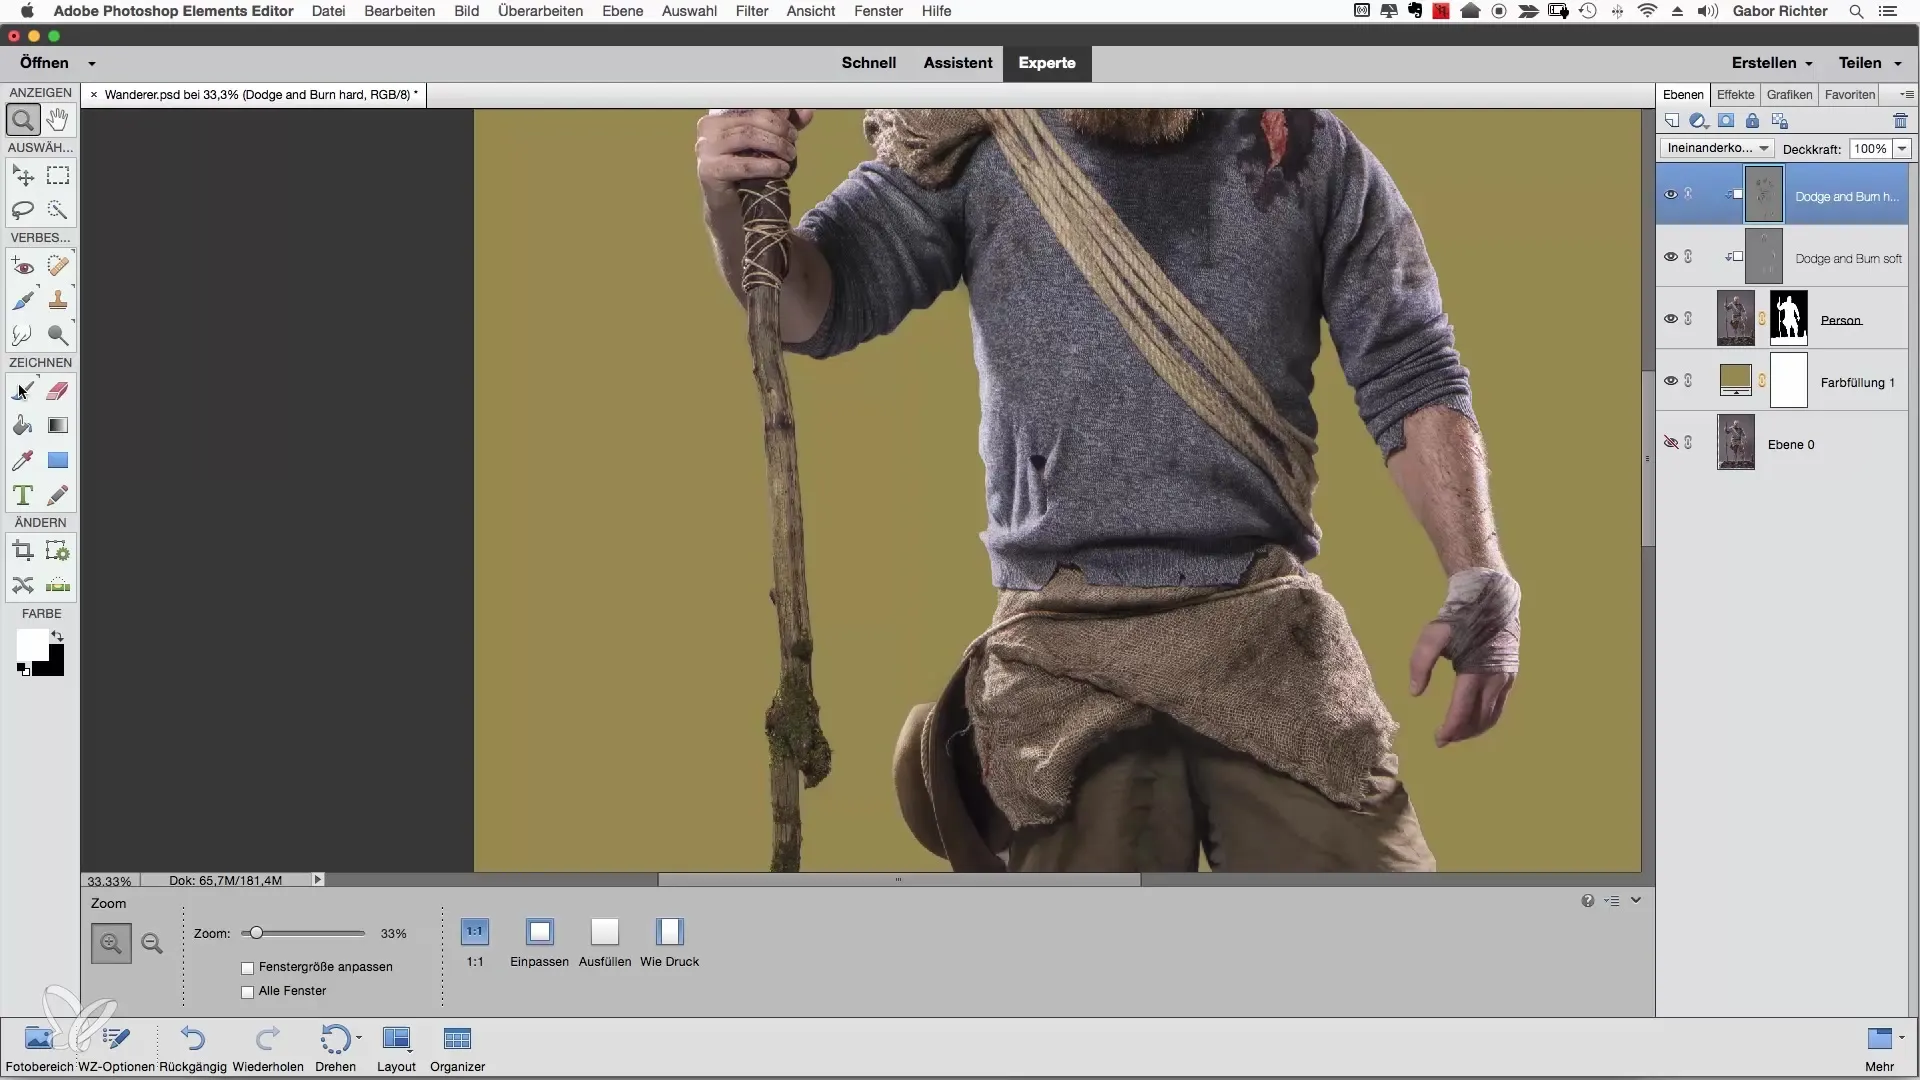
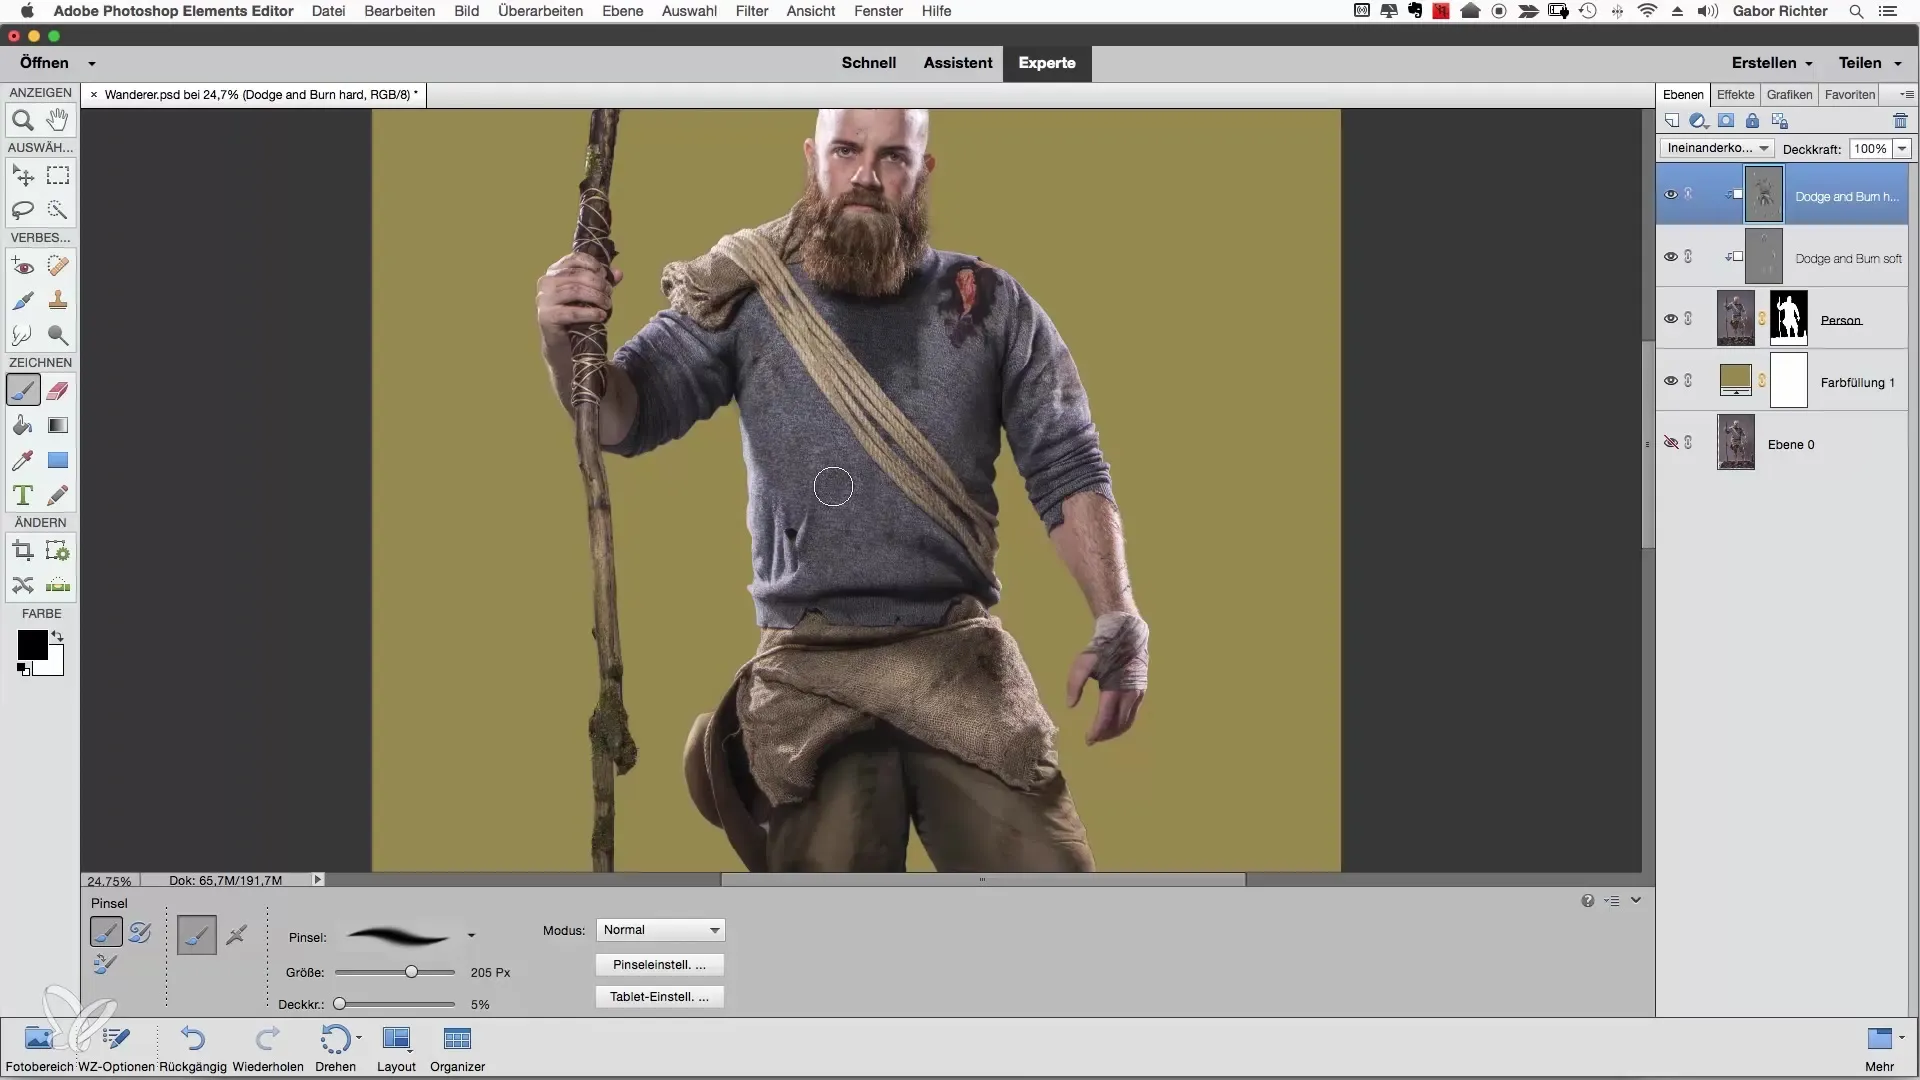
As you continue to edit the clothing, focus on how the light sources can impact your image. Give the chest a bit more presence and darken the belly area to create an interesting shape. Vary the tools and techniques to achieve the best effect so that the representation looks optimal.
You can also influence the ground to give it more depth. Work towards making it look like it has been stepped on or affected. Don't forget to be cautious with the opacity—a lower opacity often leads to subtler but more effective results.
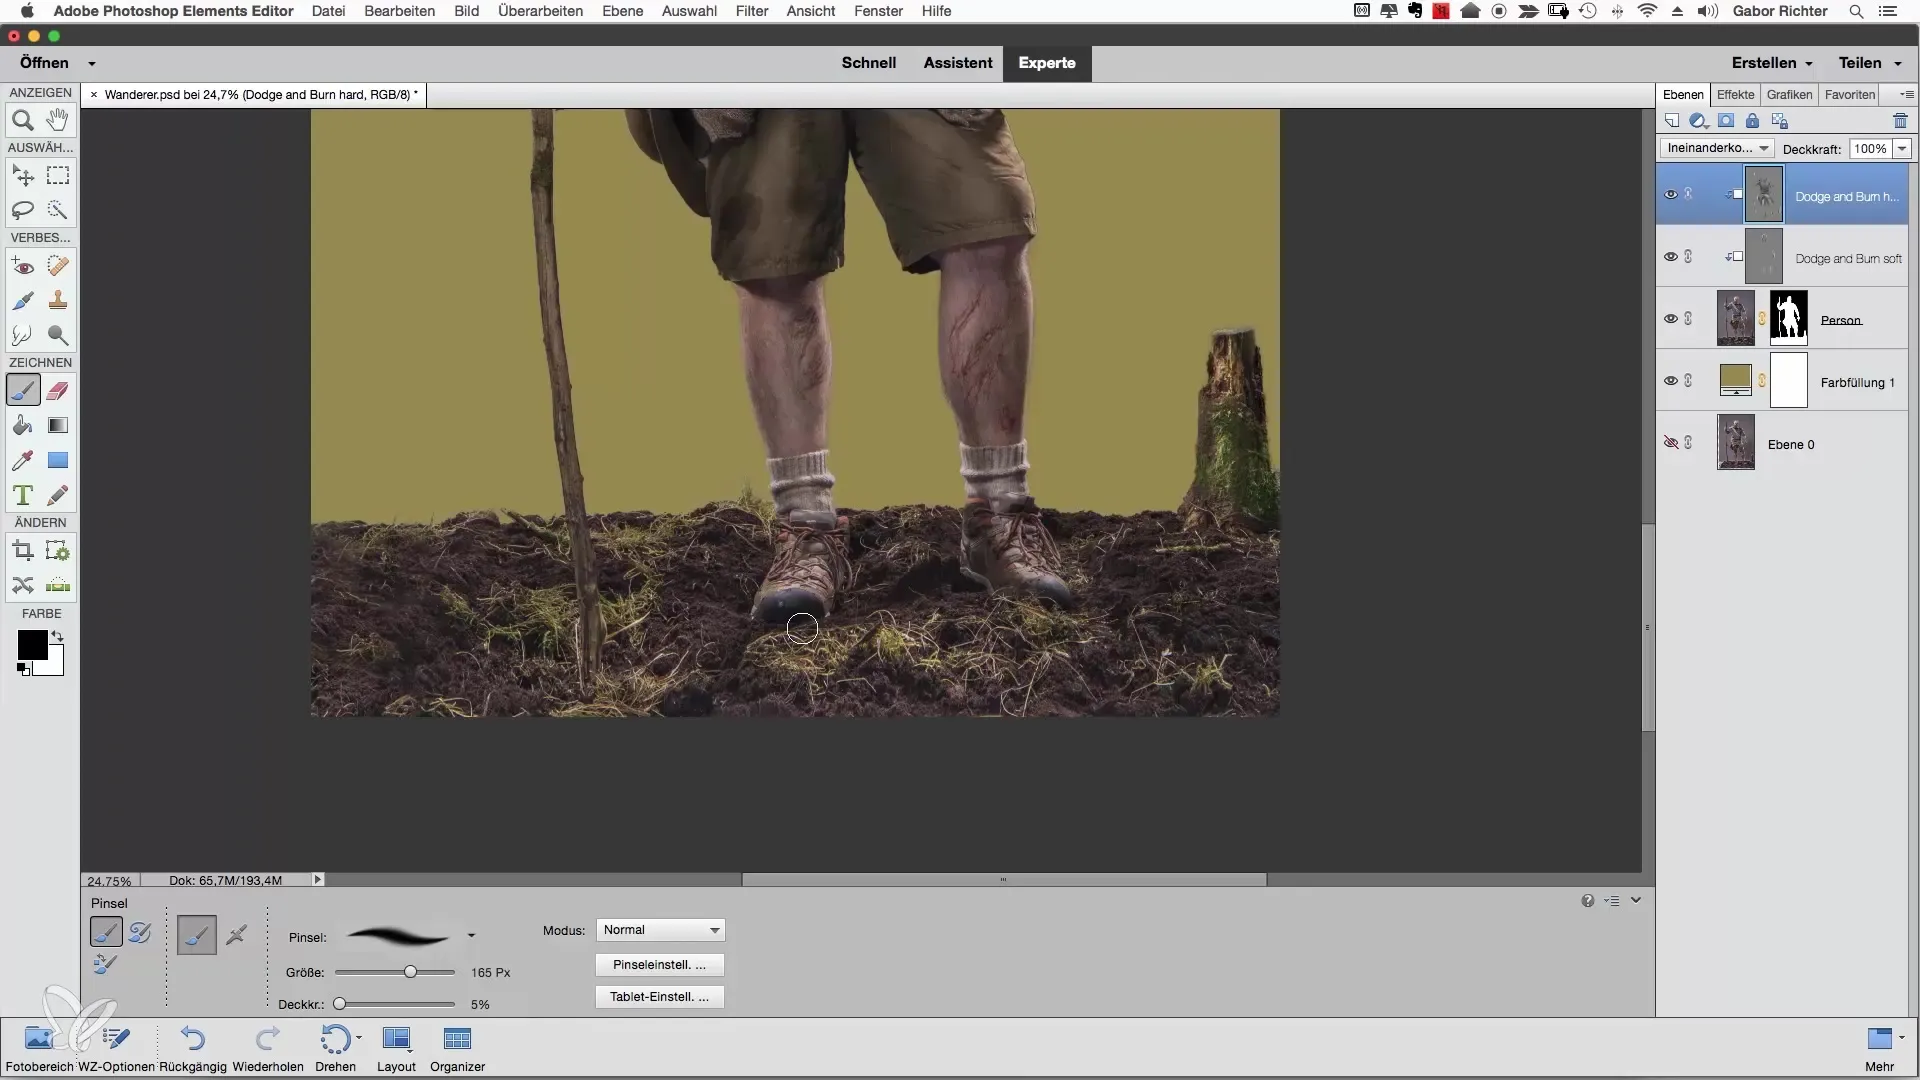
Finally, be sure to look at the highlights. These light reflections can and should also be emphasized. Gradually increase their intensity to give the image more life and to highlight particularly strong contrasts as a finale.
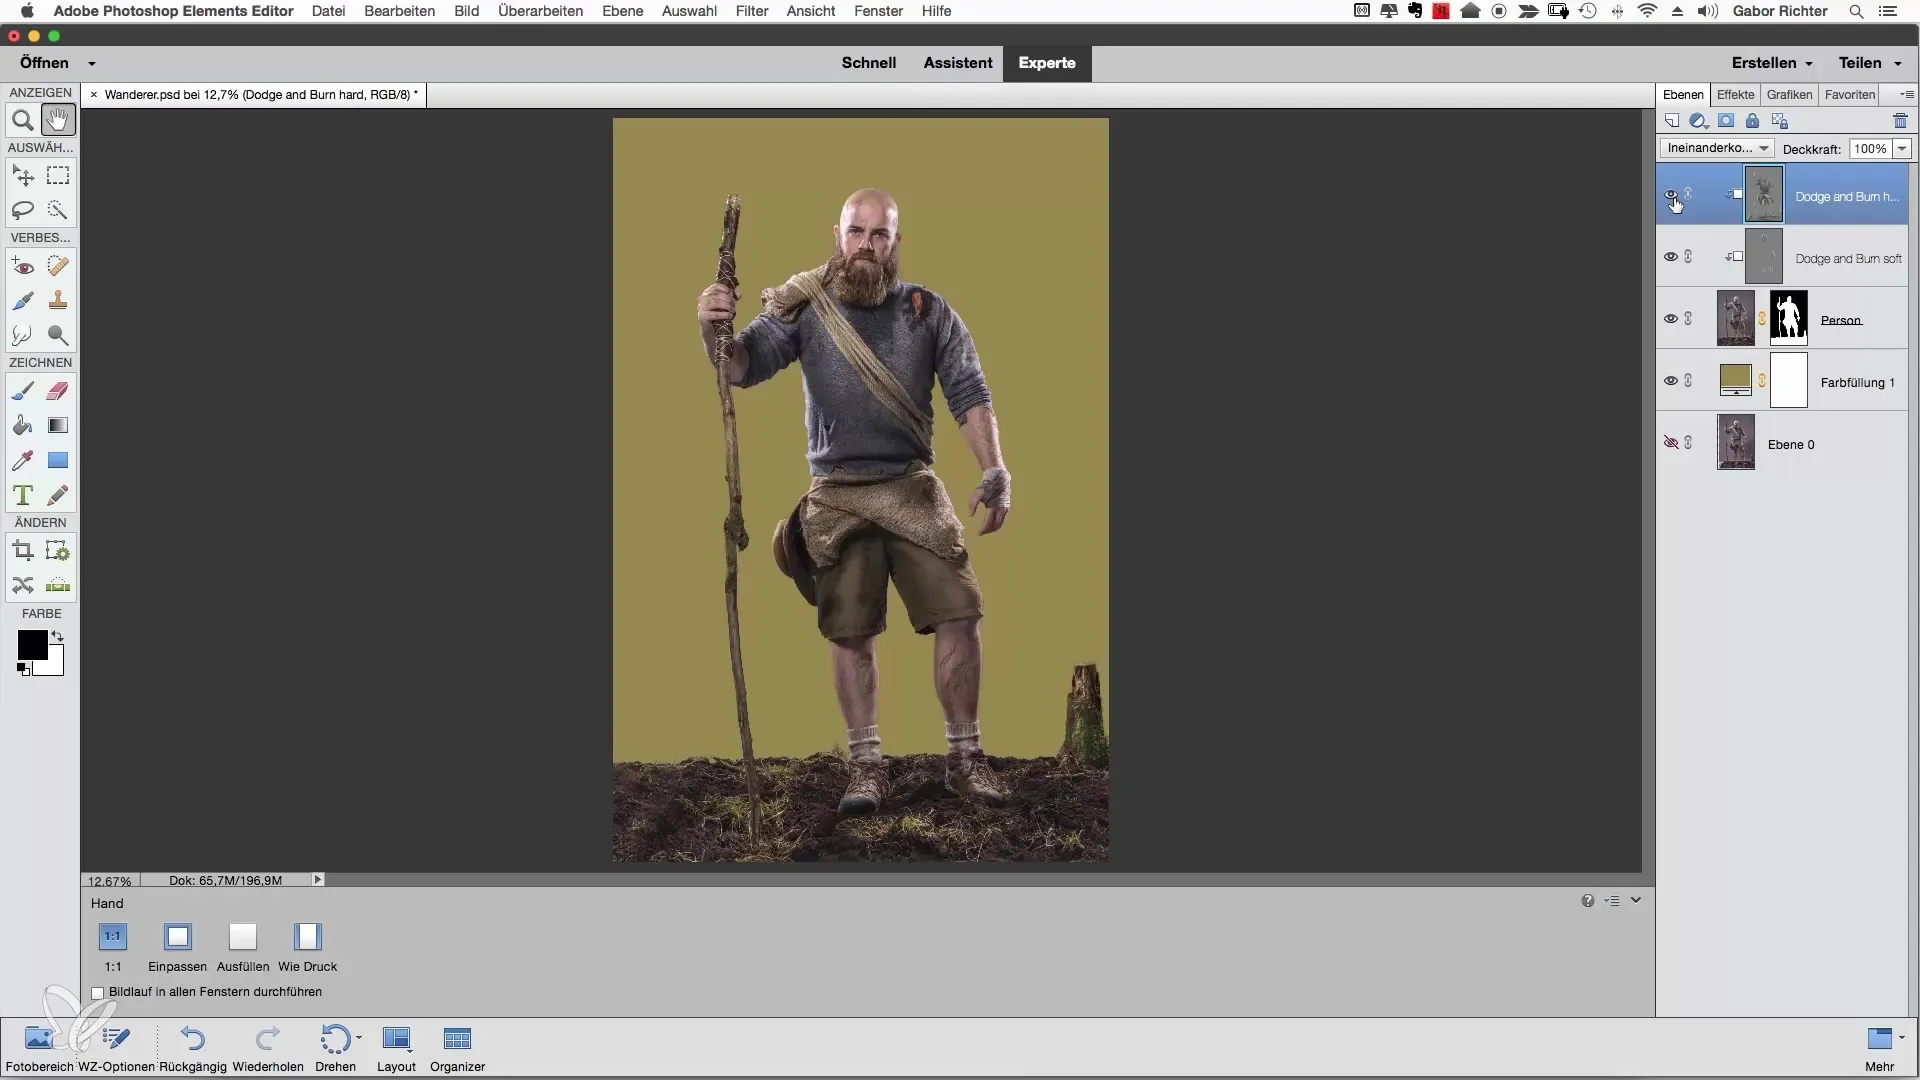
Summary – Painting with Light: Clothing in Photoshop Elements
By applying Dodge and Burn techniques in Photoshop Elements, you have the opportunity to design clothing realistically and appealingly. By darkening and lightening certain areas, you create impressive contrasts and a better shape. Use a graphics tablet for more precise results and refine the representation according to your personal style.
Frequently Asked Questions
How does Dodge and Burn work in Photoshop?Dodge and Burn are techniques to selectively lighten highlights or darken shadows, thereby creating contrasts.
What do clipping masks do?Clipping masks allow you to apply adjustments only to the underlying layer, enabling more targeted work.
Why is a graphics tablet advantageous?A graphics tablet allows for more precise movements and a better feel for the work, which is particularly beneficial for detailed tasks.
How should I set the opacity?A lower opacity (e.g., 4-10%) allows you to introduce effects gradually and in a controlled manner, resulting in a more natural final outcome.
Which areas should I edit first?Start with the shadow areas to develop a better feel for the Dodge and Burn techniques.
