Creating fog in images gives them a mystical and atmospheric touch. In this guide, you will learn how to conjure an impressive fog tail into your images with Photoshop Elements. I often hear that the key lies in the correct application and adjustment of masks and fog effects. Let's get started!
Key Insights
- You can easily add and adjust fog as needed.
- Masking and adjustment are crucial for a realistic appearance.
- Different blending methods and opacity help achieve the desired effect.
Step-by-Step Guide
Add and Transform Fog
Start by using the previously created fog layer. You can select the background on which the fog is located. Hold the Alt key and drag the fog upwards until it reaches the desired area.
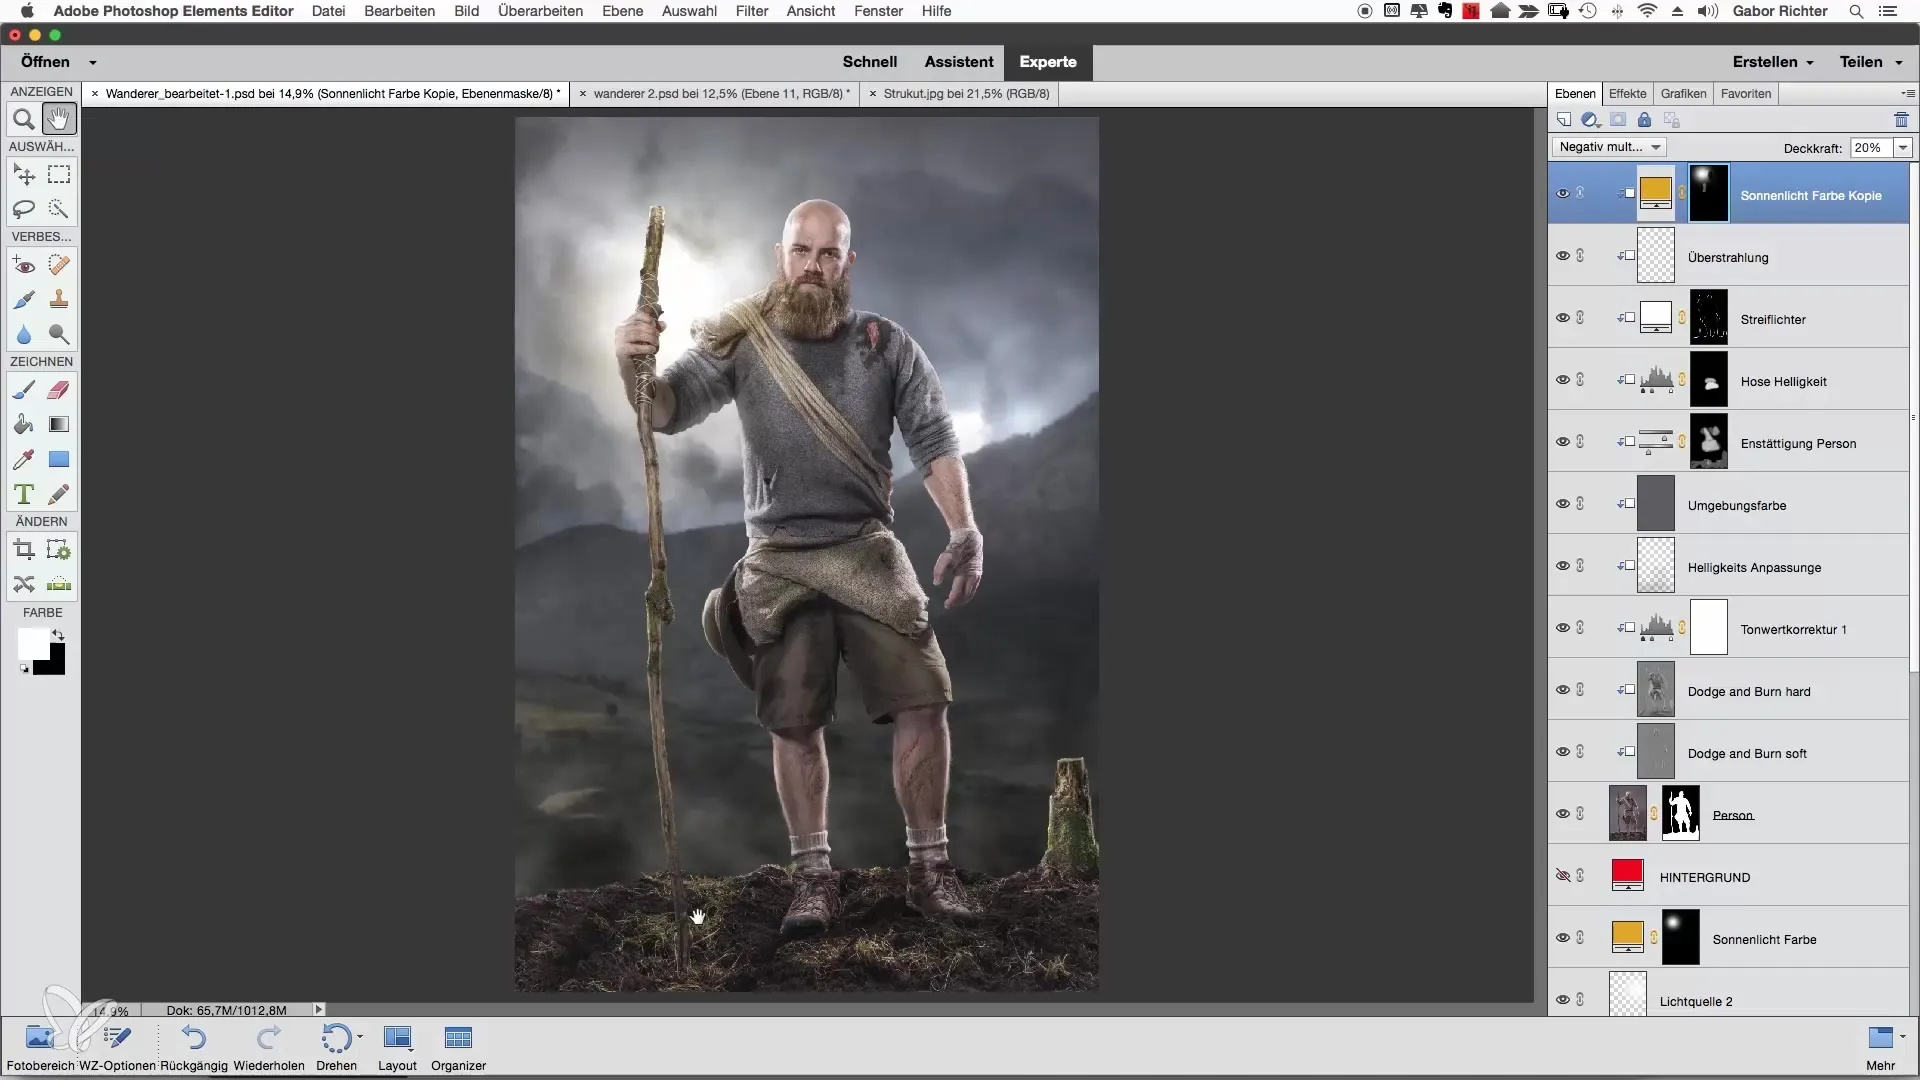
To remove the previously created mask, drag it to the trash. Instead of deleting the mask at this point, you should simply shape the fog. The result should be a gentle transition between the fog and the ground of the image.
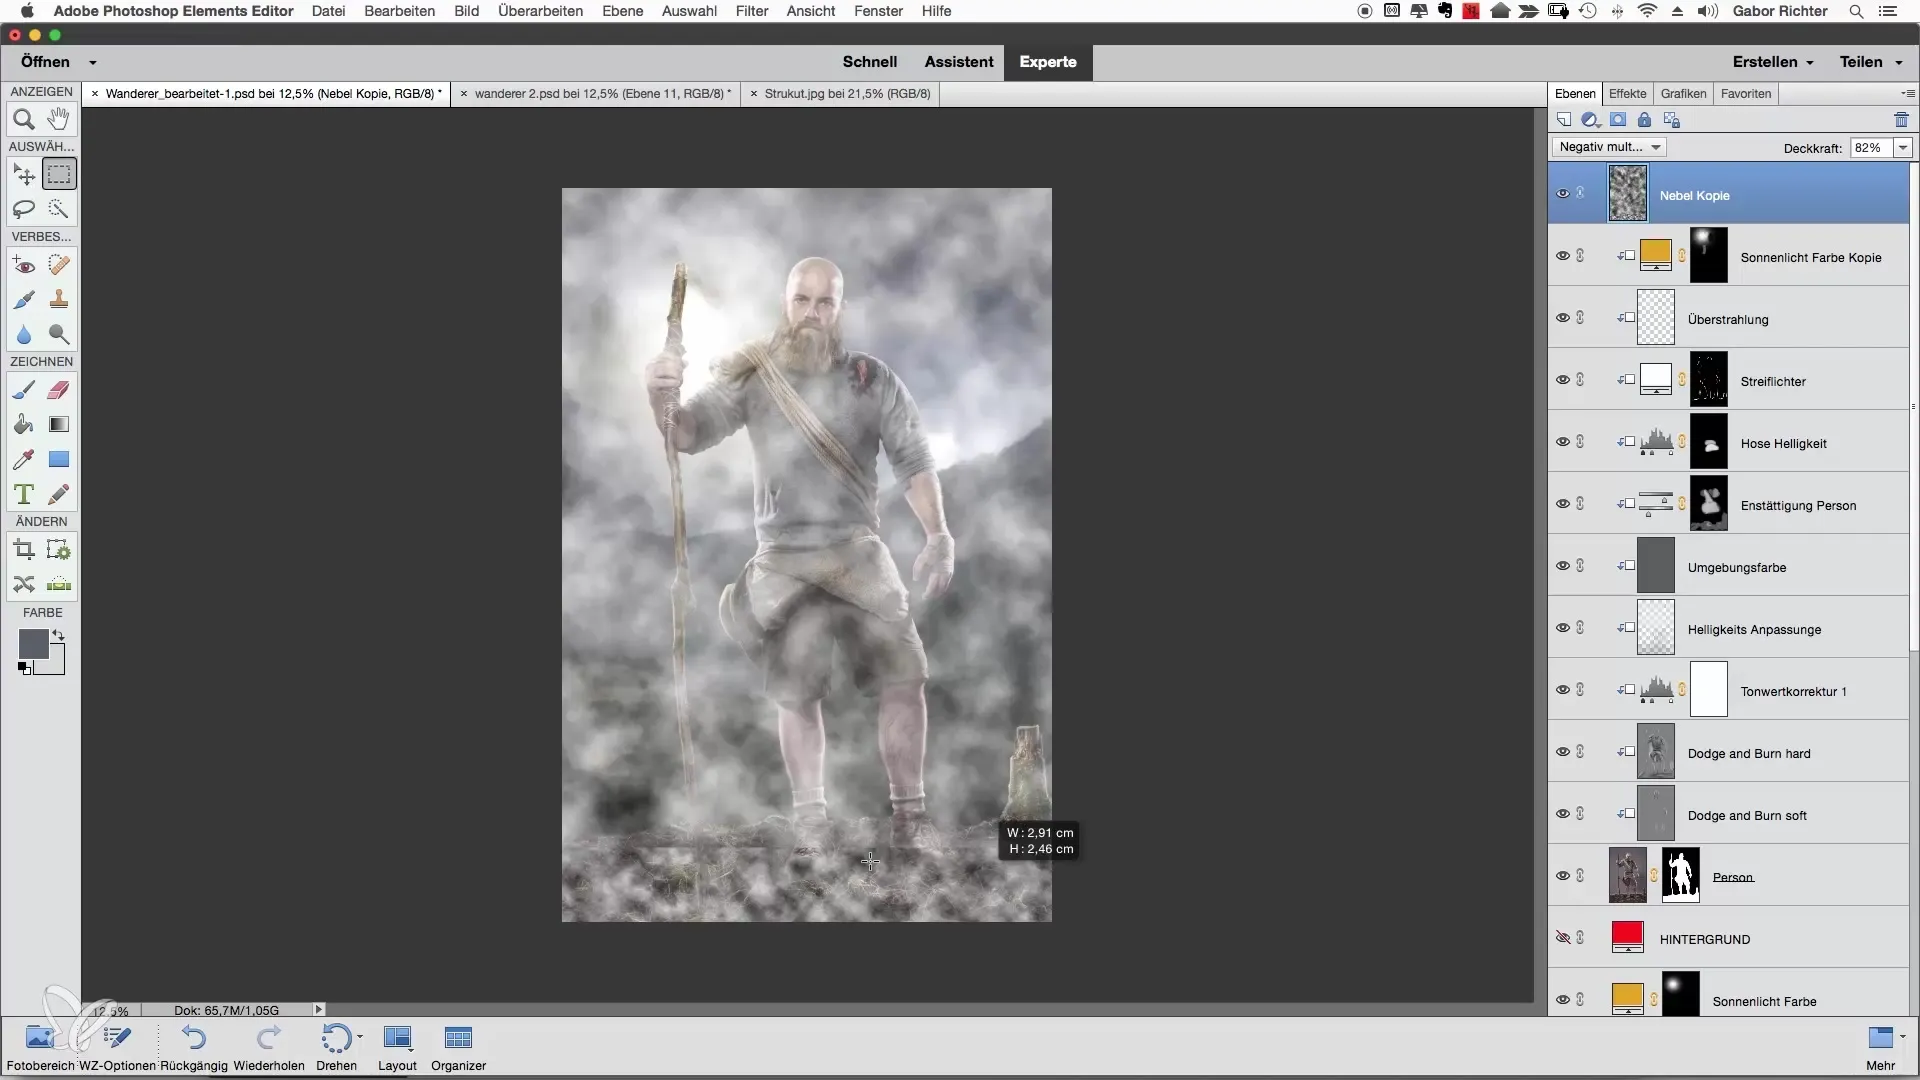
Change Fog Shape
To make the fog look flatter, go to "Transform Image" and select the "Distort" option. While holding the Alt and Shift keys, click on the bottom corner points to shape the fog as desired.
Remember to choose the position of the fog so that it does not sit directly on the transition. A little beyond that makes the fog look more realistic. Move the fog layer back and forth as needed until you are satisfied.
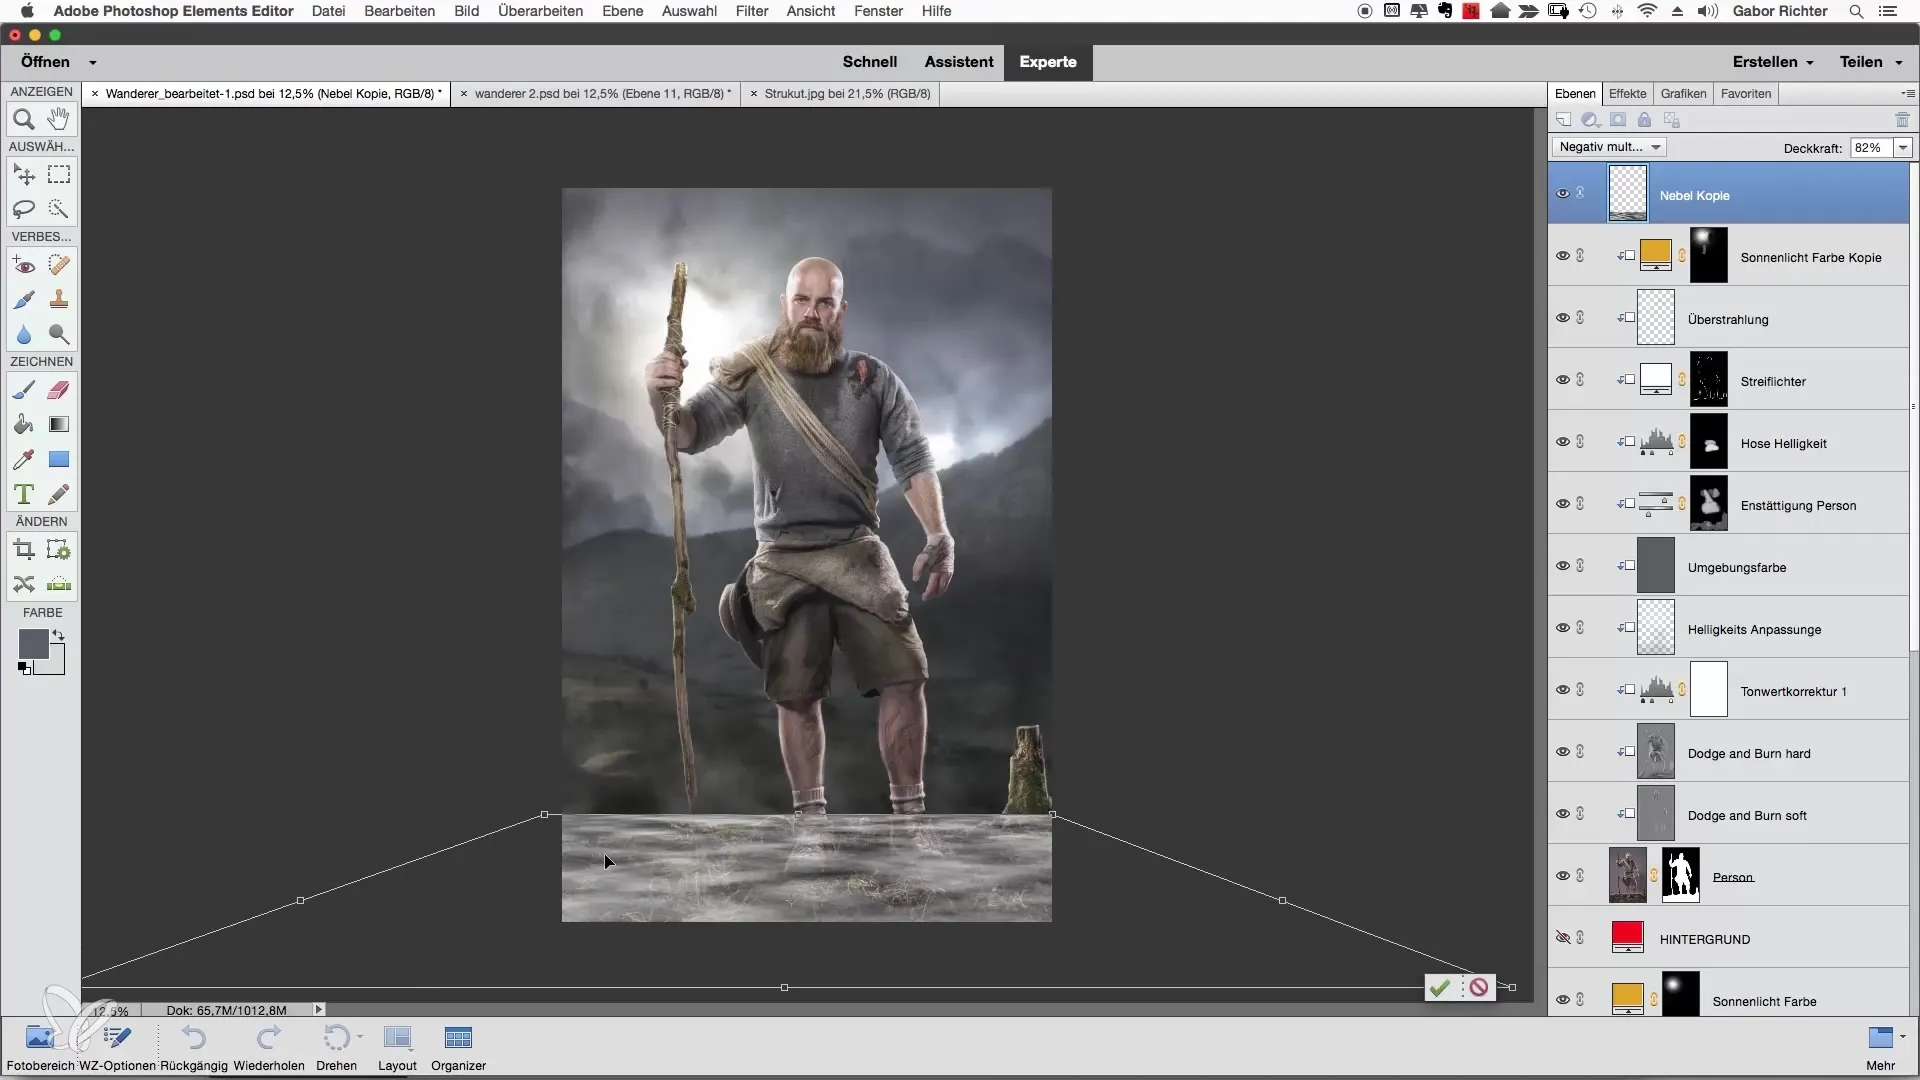
Add Mask and Edit Transitions
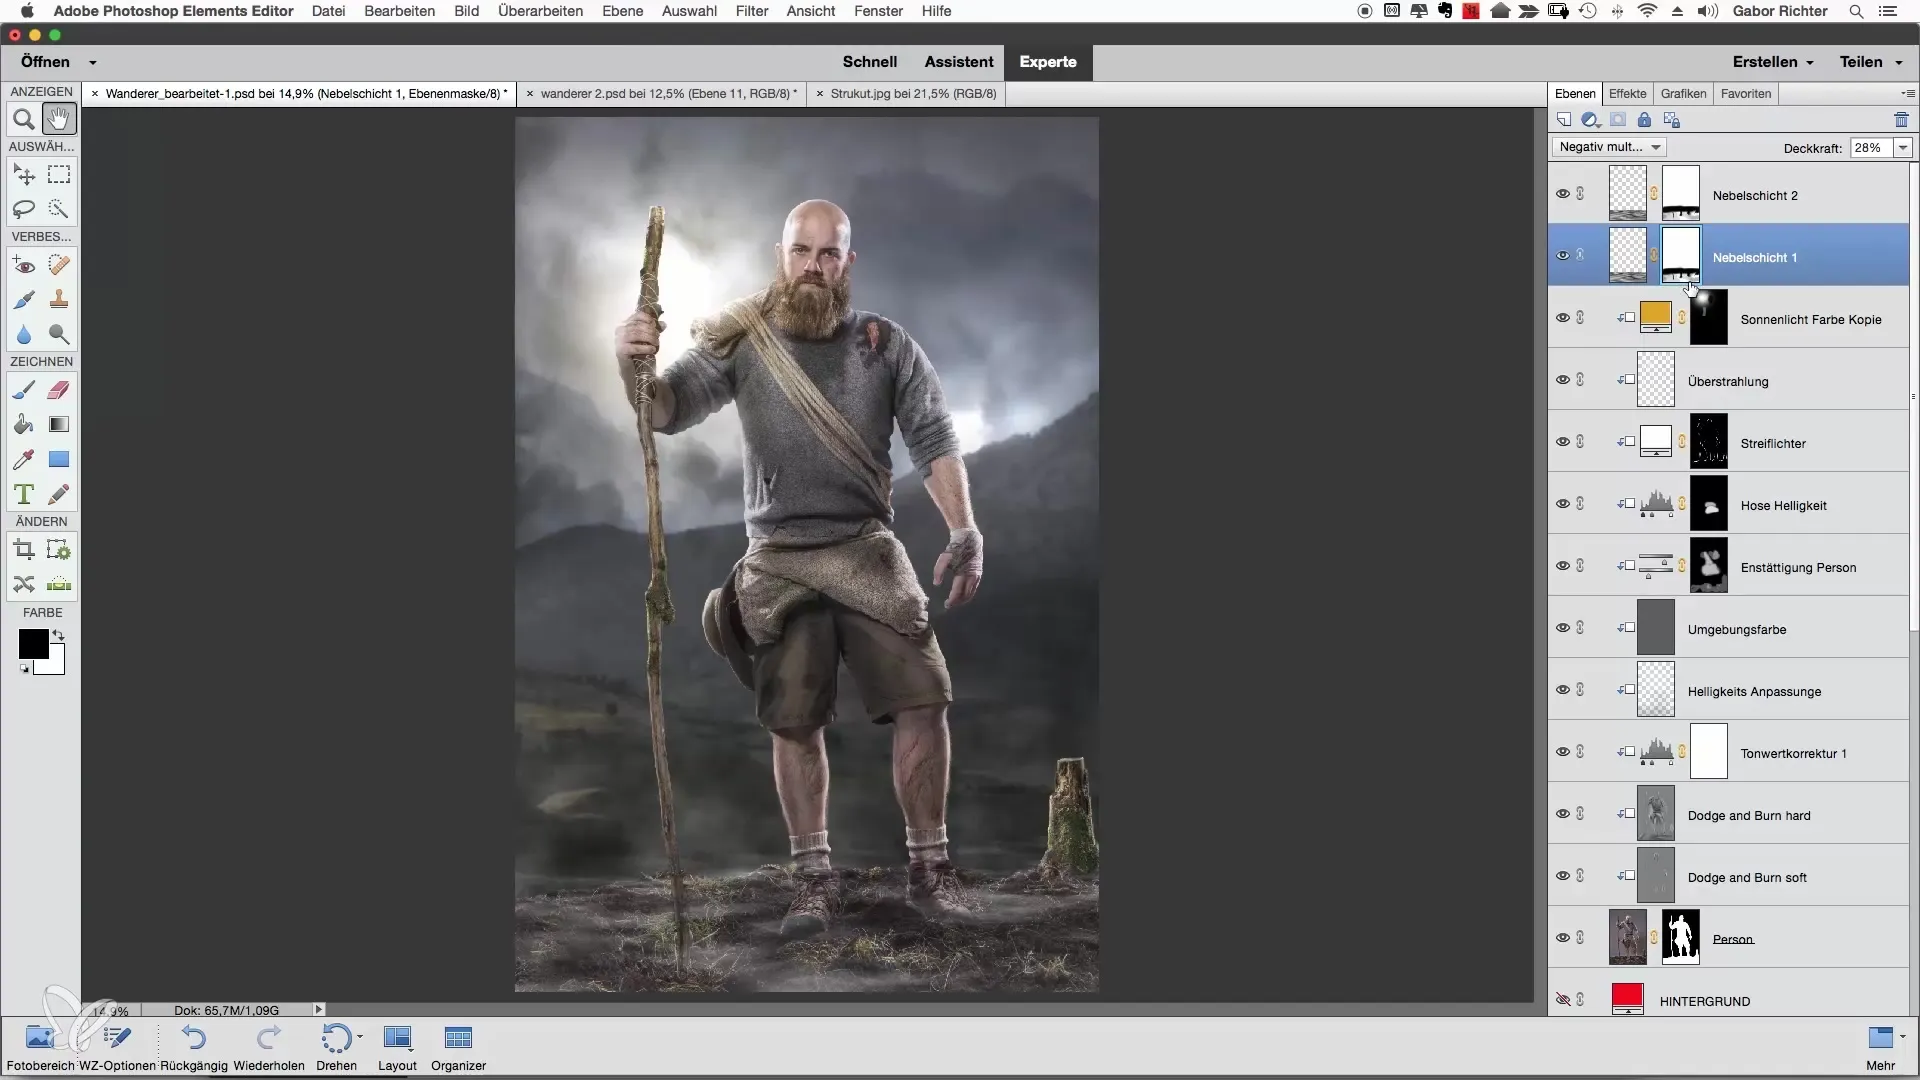
After changing the shape of the fog, place a mask over the fog layer. With a black and white brush, alternate between reducing the fog and extending the fog effect. Reduce the transition at the edges so the hard outlines disappear.
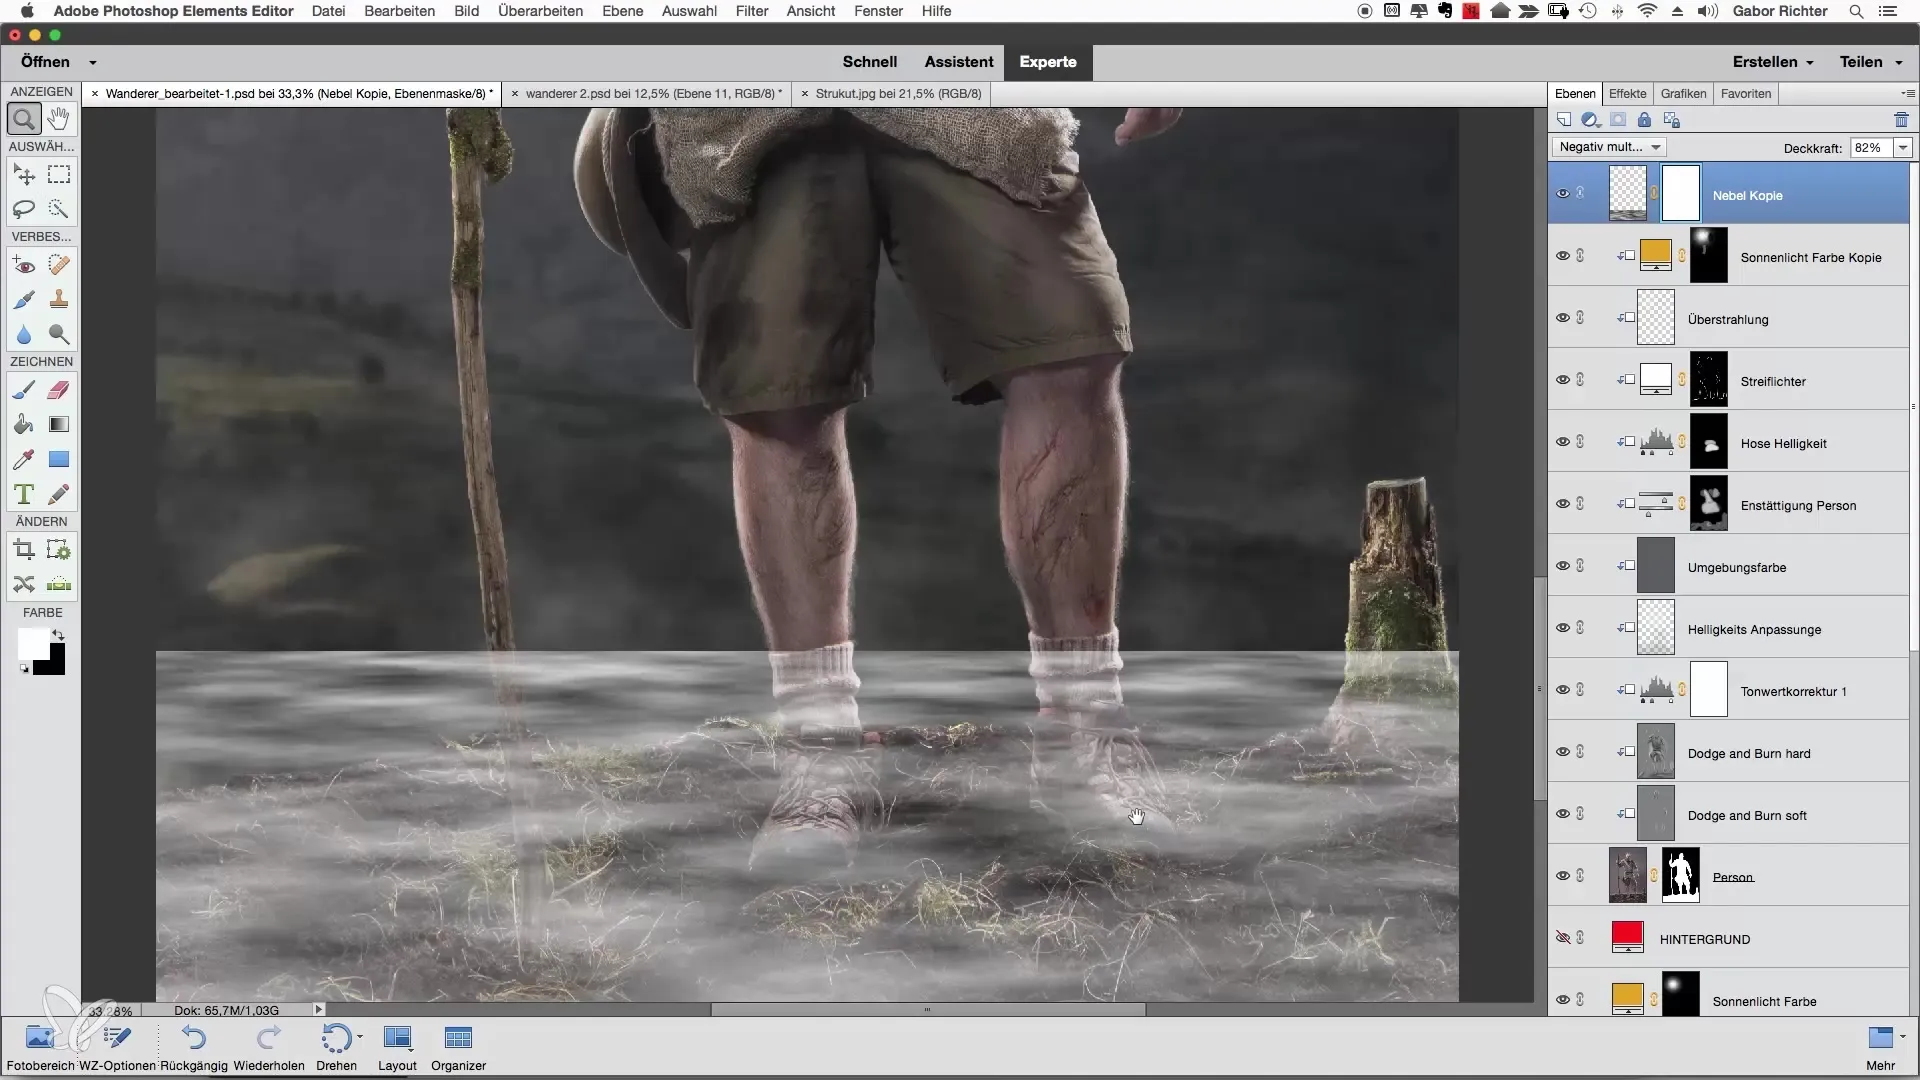
Make sure the edge remains irregular and that the fog extends over the hiker's shoes. A less precise brush stroke gives the fog a natural irregularity.
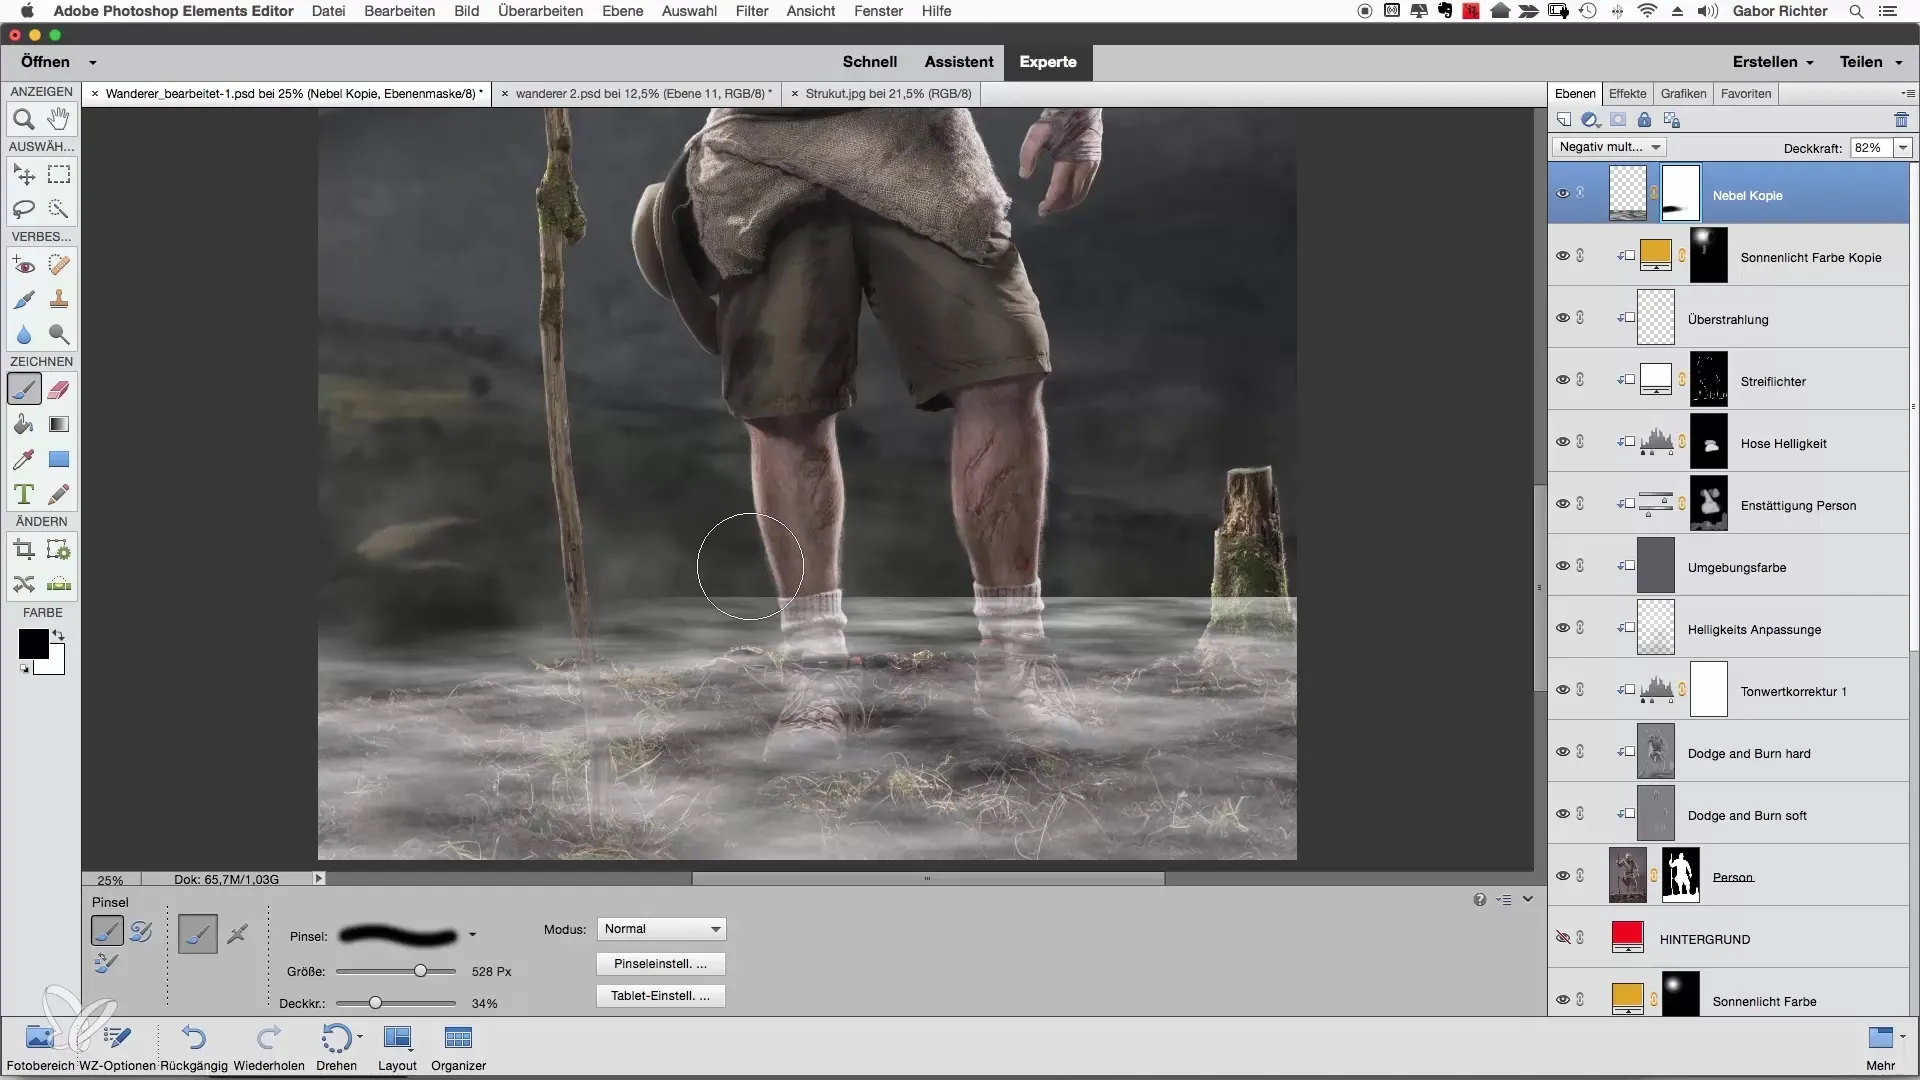
Fine-tune the Fog
Now it's time to refine the fog. Reduce the opacity of the fog layer to about 15%. Increase the brush size to 300 to 400 pixels and work gently over the areas where you want less intense fog.
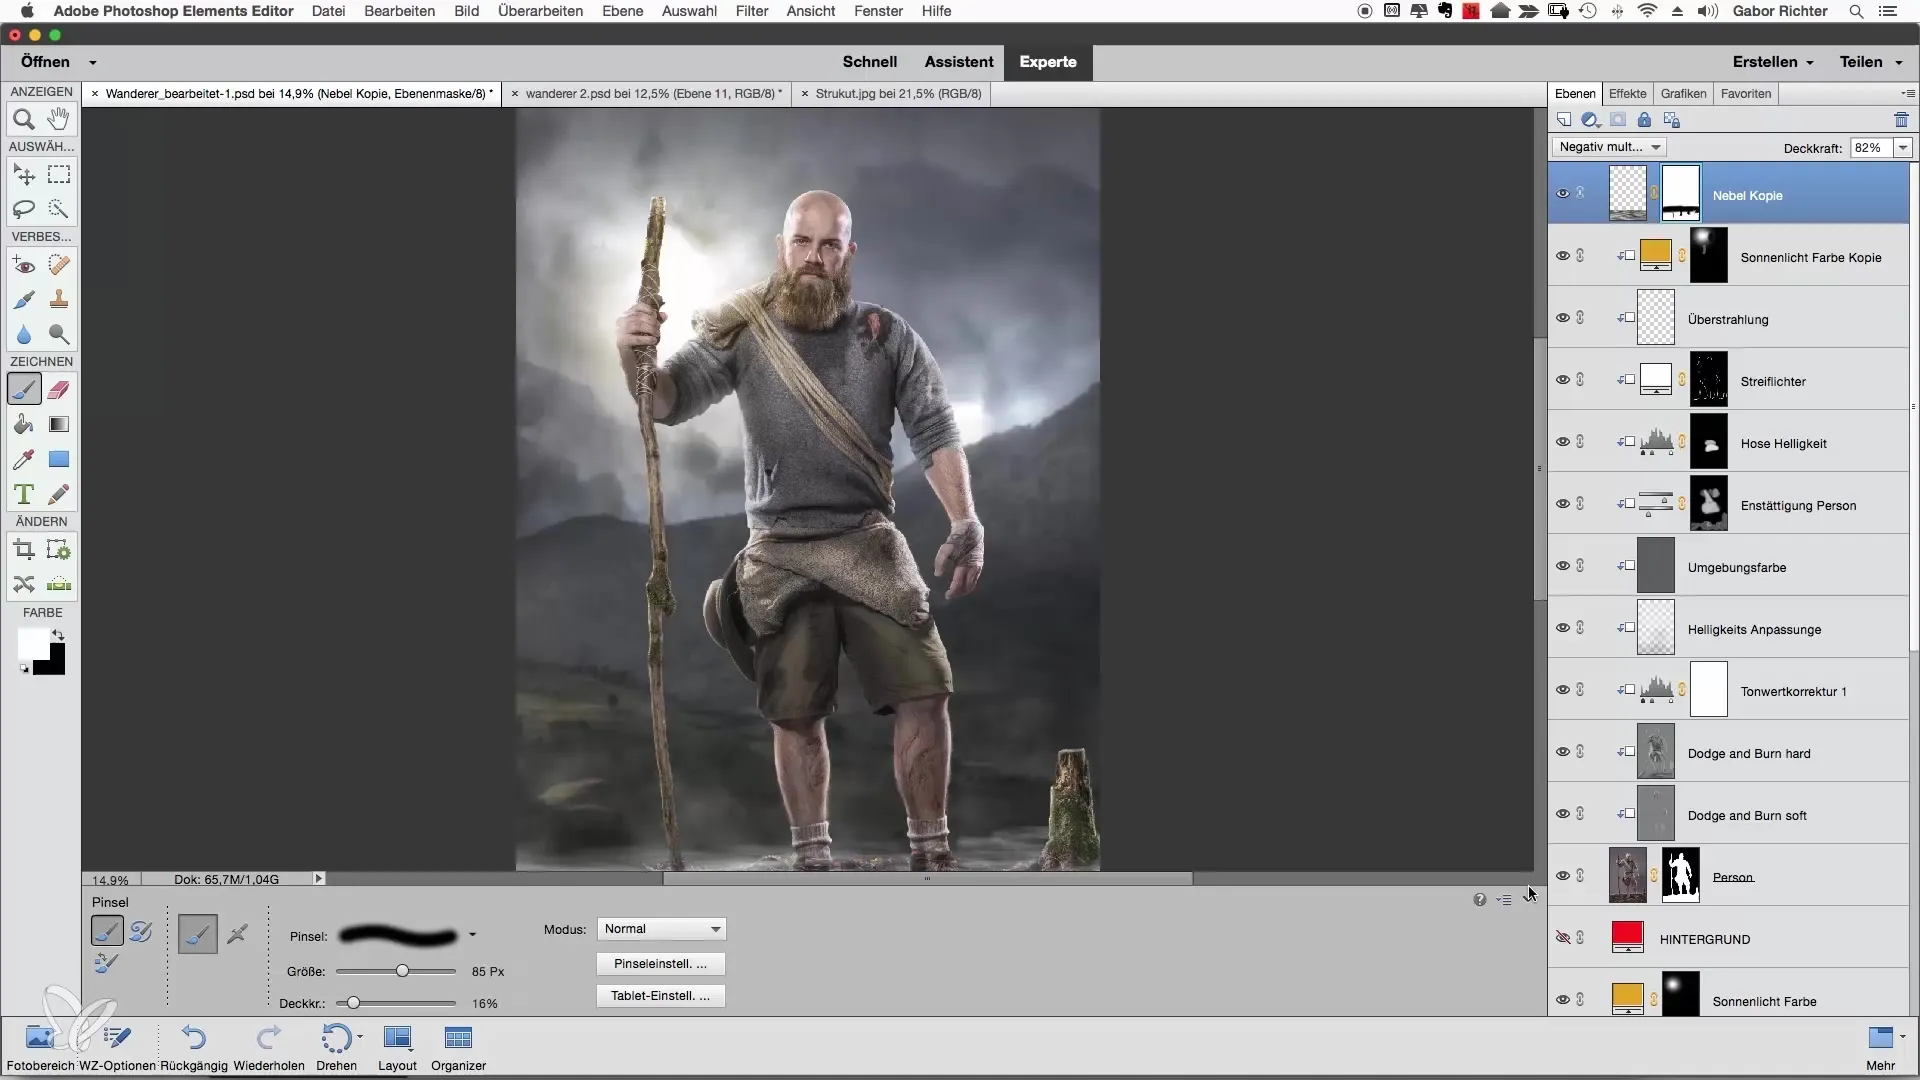
It is important to maintain some structure in the fog, so keep the editing subtle. Regularly check how the overall fog looks, and make adjustments as necessary.
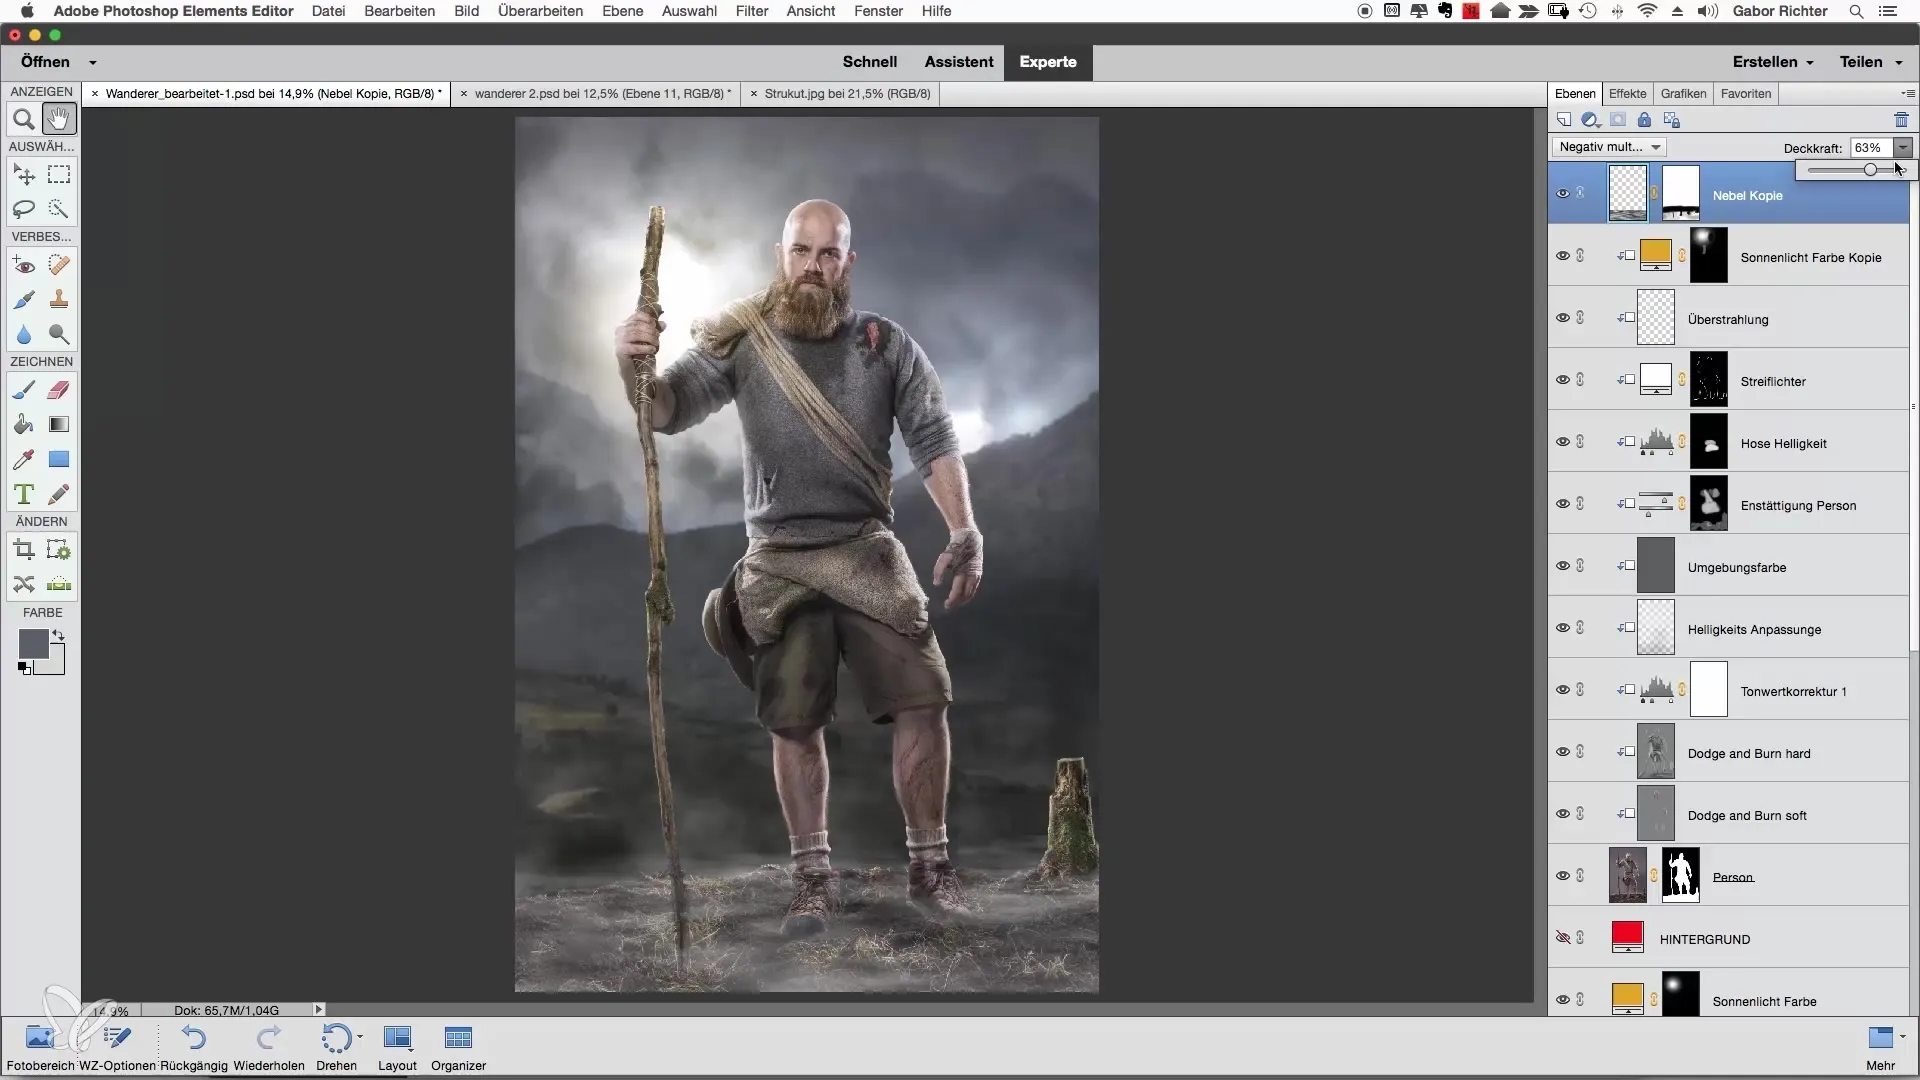
Fog Contrast and Duplicating the Layer
To give the fog more structure, rename the fog layer to "Fog Layer 1" and duplicate this layer. Rename the duplicated layer to "Fog Layer 2" and set the blending mode to "Hard Light".
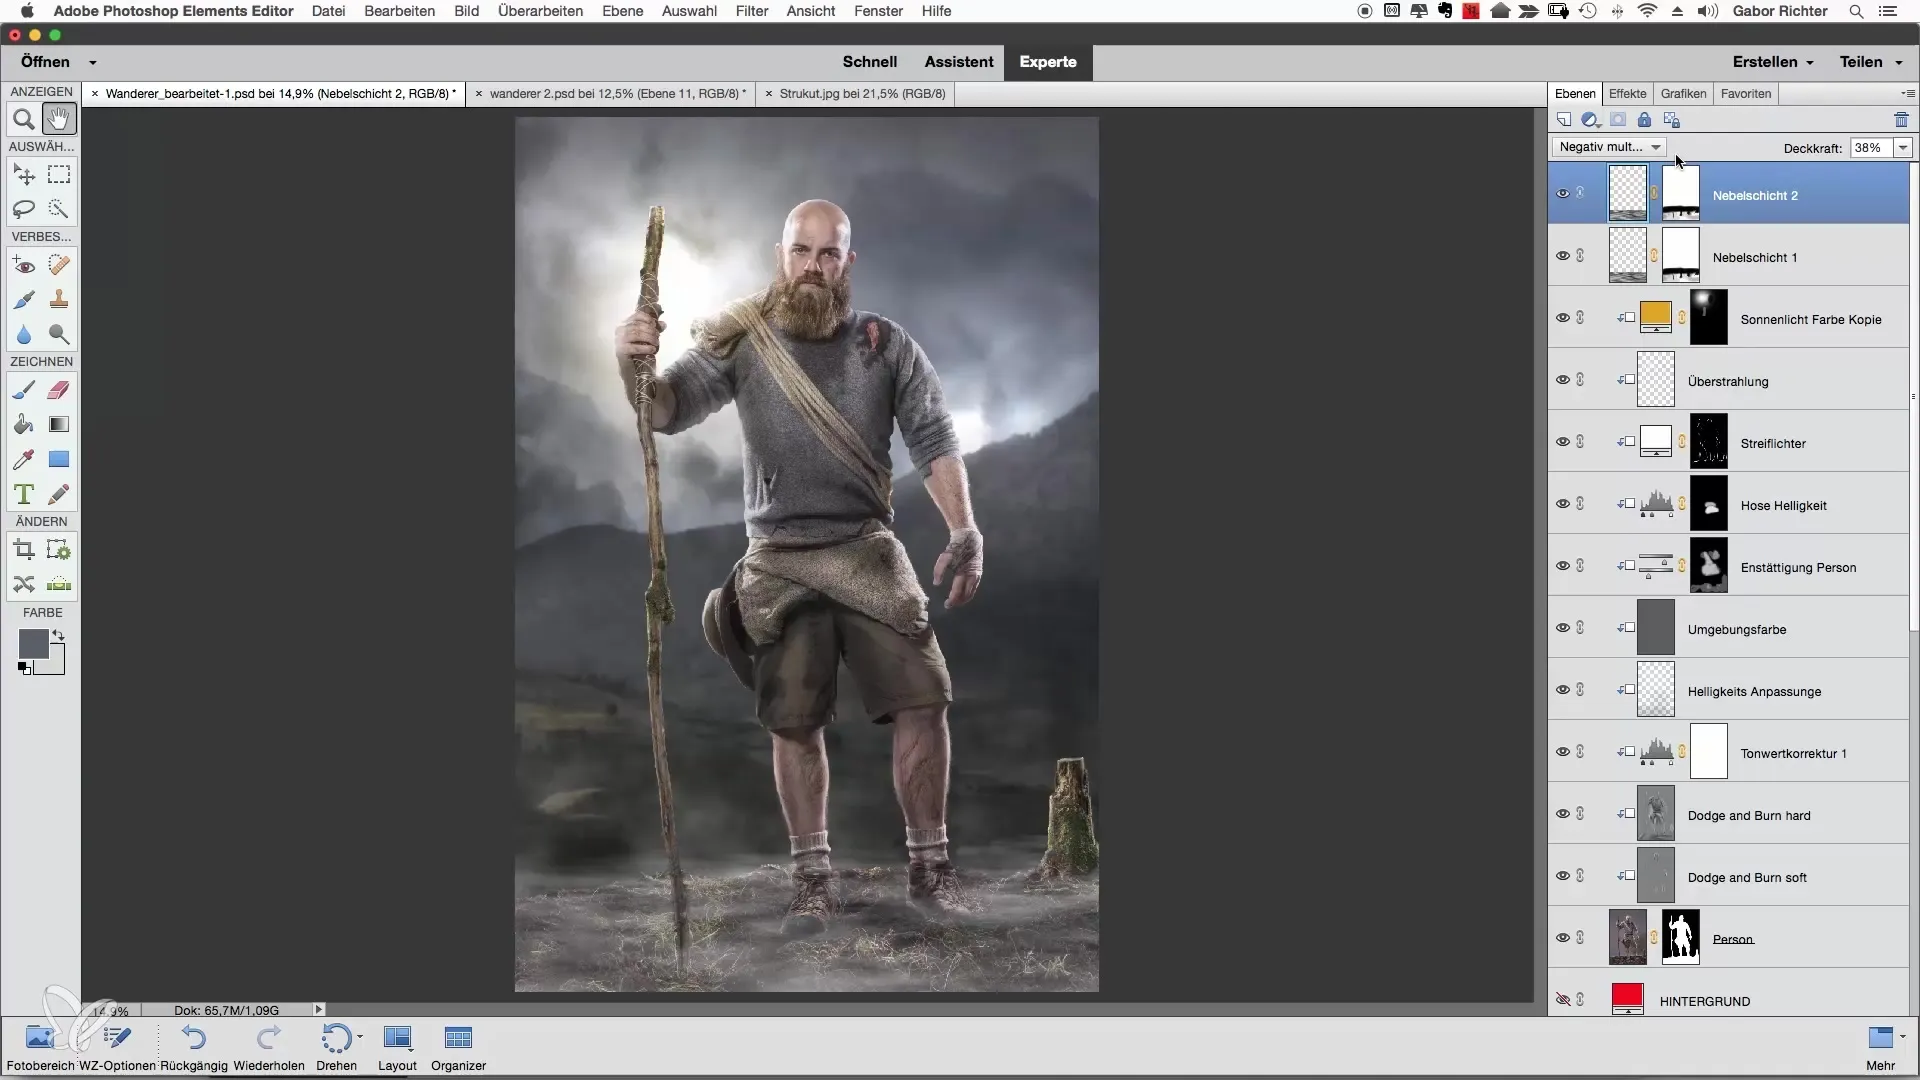
Check the opacity of this new fog layer and adjust it as desired. Keep the structure of the fog intense but not overwhelming. This way, you can efficiently achieve the desired fog effect.
Summary – Creating Fog Tail in Photoshop Elements
With the described steps, you have learned how to bring the fog tail directly to the ground and adjust it to your image equivalents. Through targeted masking and adjustments, you can achieve an impressive fog effect that enhances your photos.
Frequently Asked Questions
How can I make the fog look more realistic?Use different blending methods and play with the opacity to achieve the desired effect.
Can I create other forms of fog as well?Yes, experiment with the transform function to create different fog shapes and densities.
How important is the mask for the fog?A good mask helps smooth transitions and make the fog effect appear more natural.


