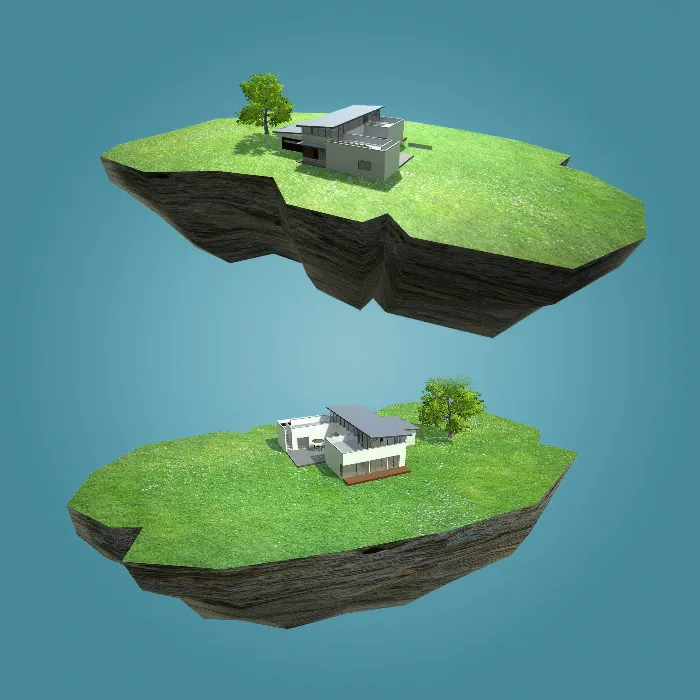
Creating realistic 3D architectural visualizations not only requires precise modeling but also careful texturing. In this tutorial, you will learn how to create textures for your UV layout in Photoshop and implement them in Cinema 4D. Let's get started!
Key Takeaways
- Import your UV layout from Cinema 4D into Photoshop.
- Find and download textures from the internet.
- Apply the textures to your UV layout in Photoshop.
- Save the textures correctly for use in Unity.
Step-by-Step Guide
Step 1: Prepare UV Layout in Photoshop
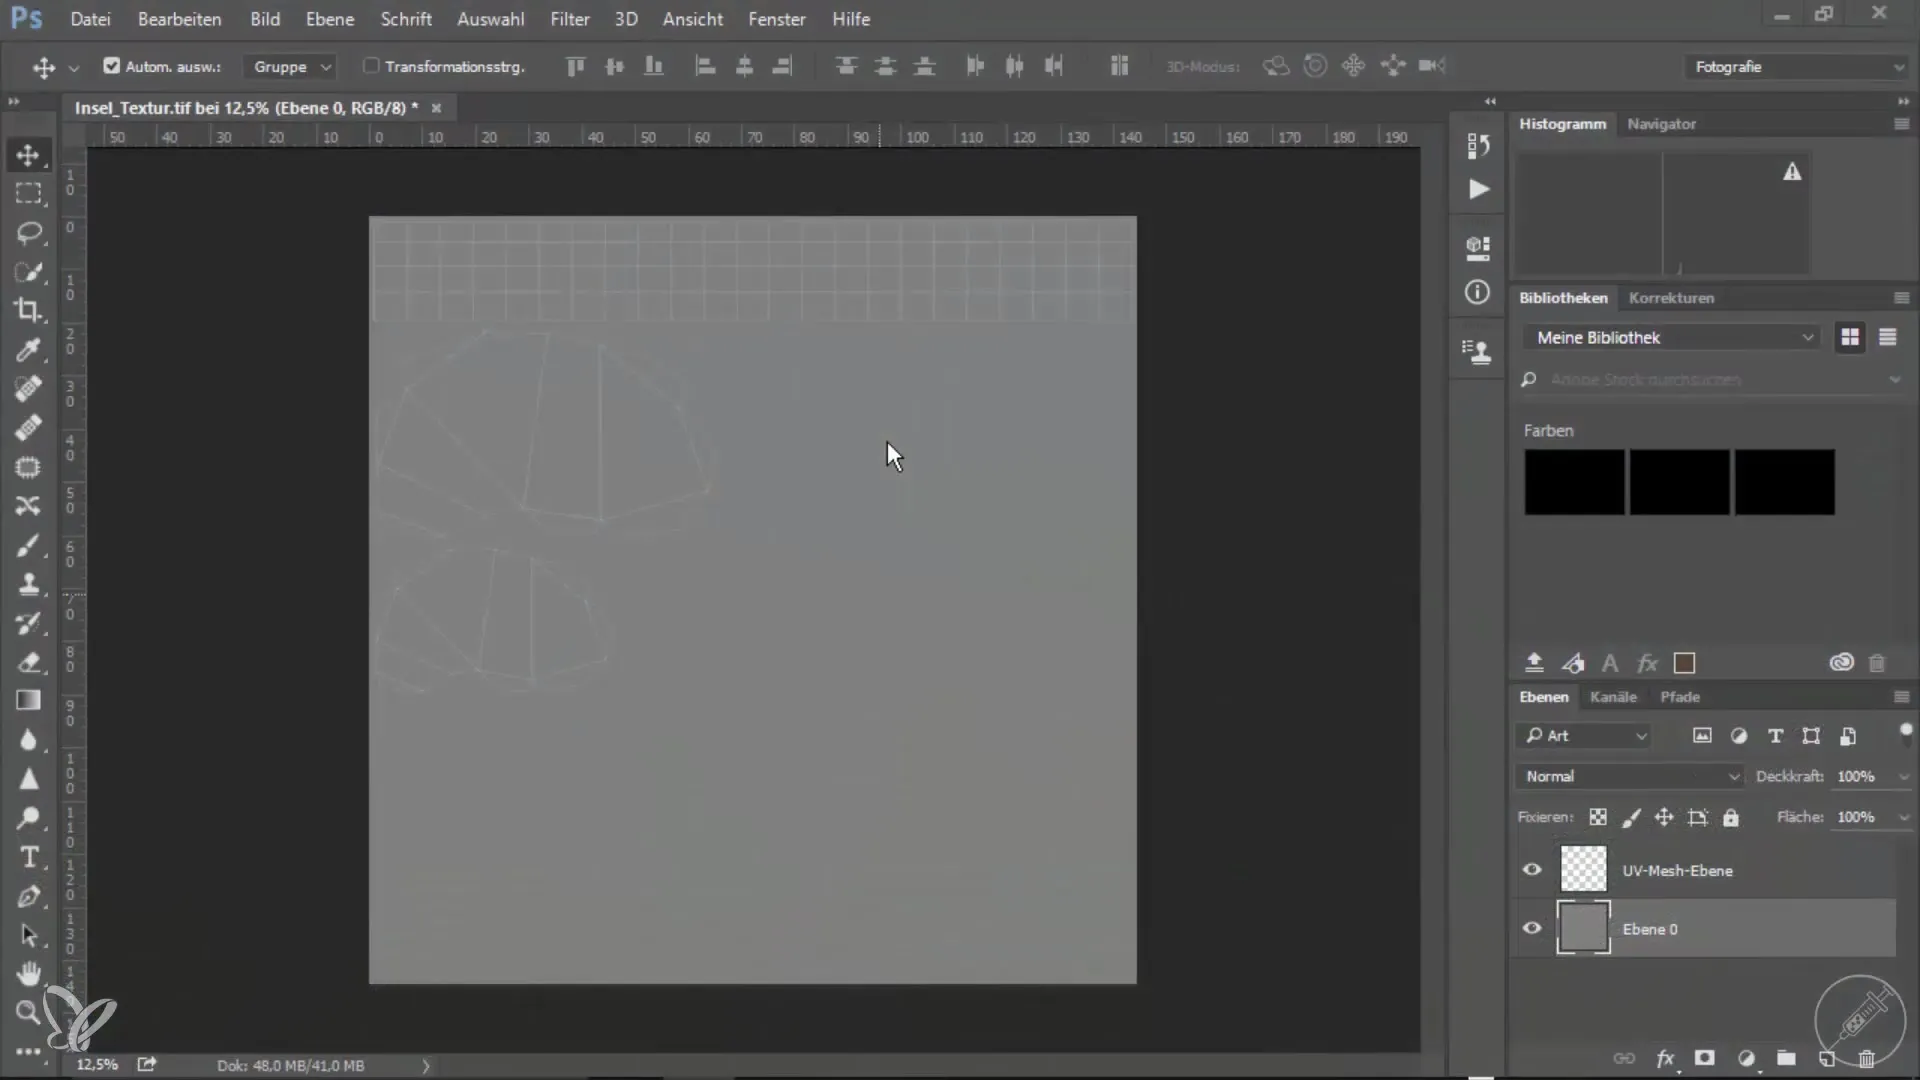
You have successfully exported your UV layout from Cinema 4D. Now, open Photoshop and load the file with your UV layout. It will appear as one of the first layers that you can edit. Here is a screenshot to show you how the layout looks.
Step 2: Find and Download Textures
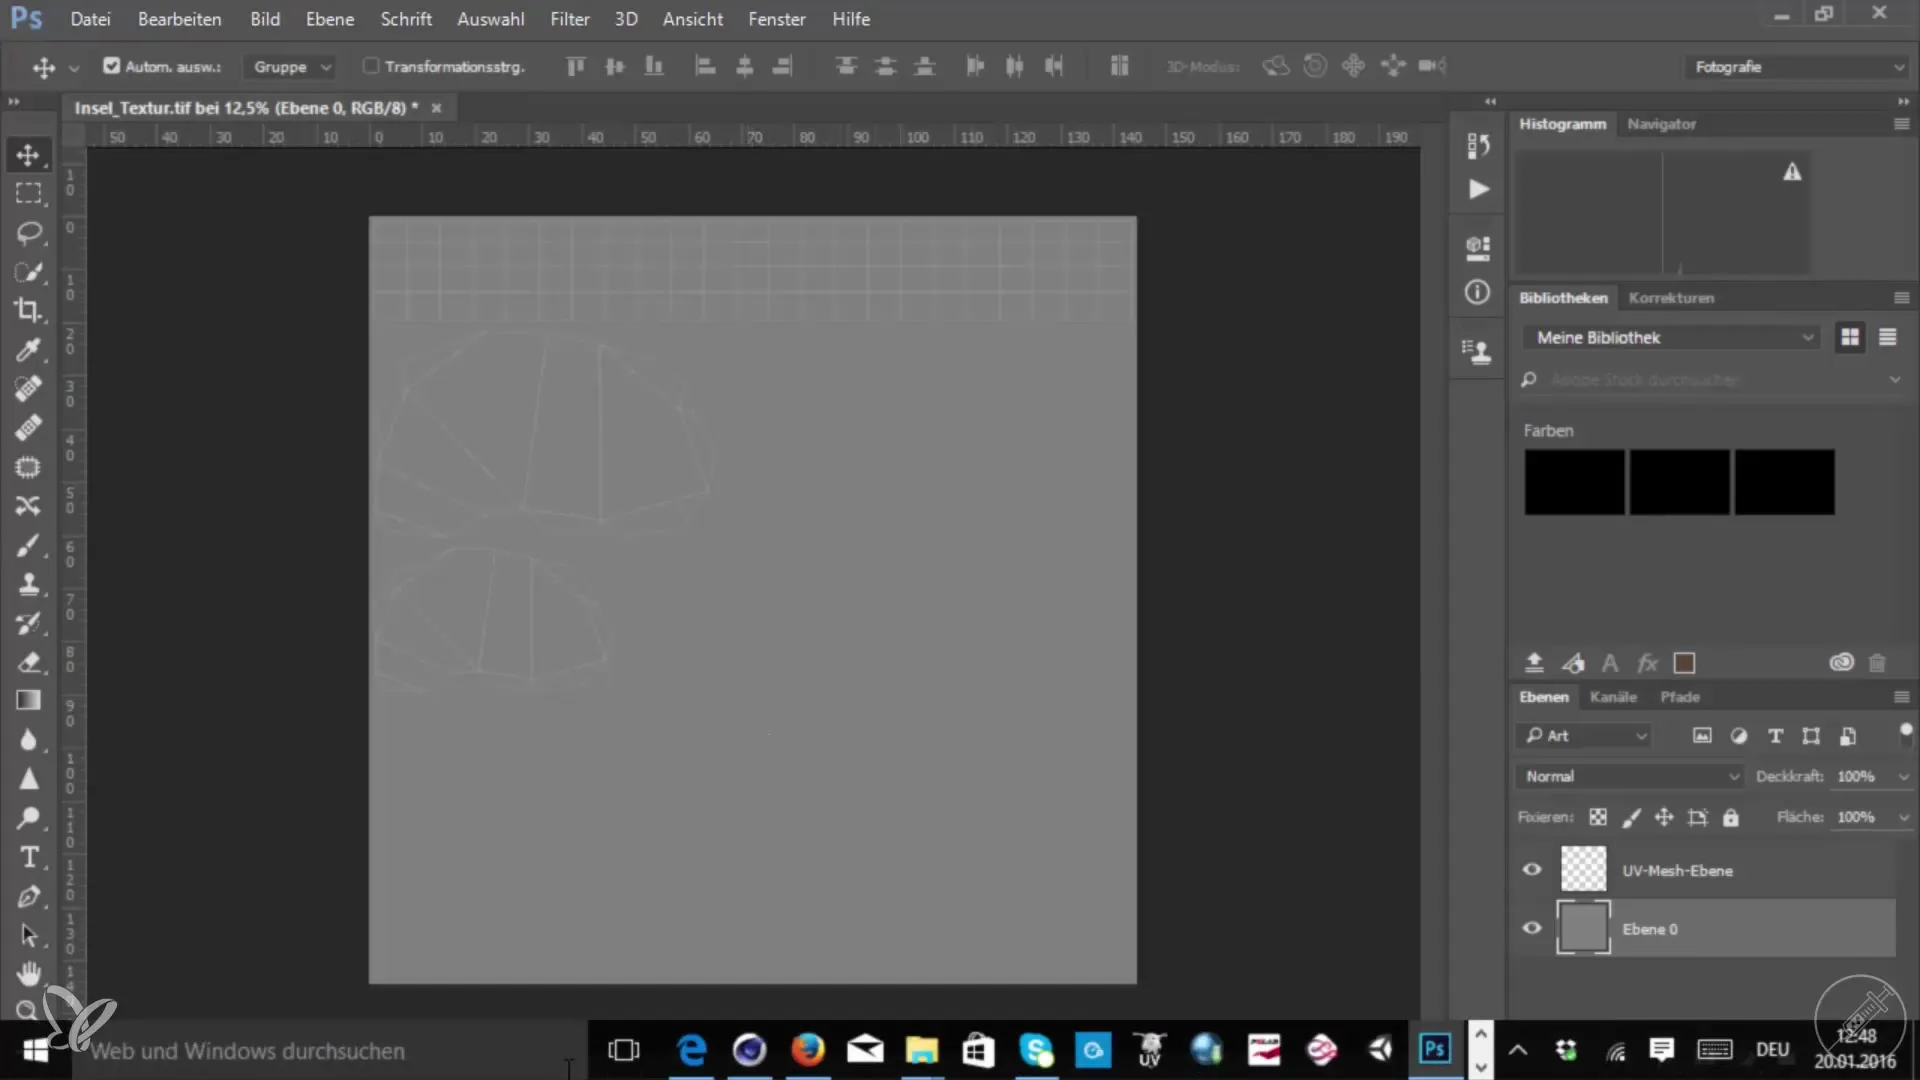
To find textures, go to a website like CGTextures or textchoss.com. Here you can search for various textures that fit your project well. For example, choose grass or soil and download the desired texture. Make sure to select a high-quality texture that does not look repetitive. The screenshot will help you with this.
Step 3: Apply Textures in Photoshop
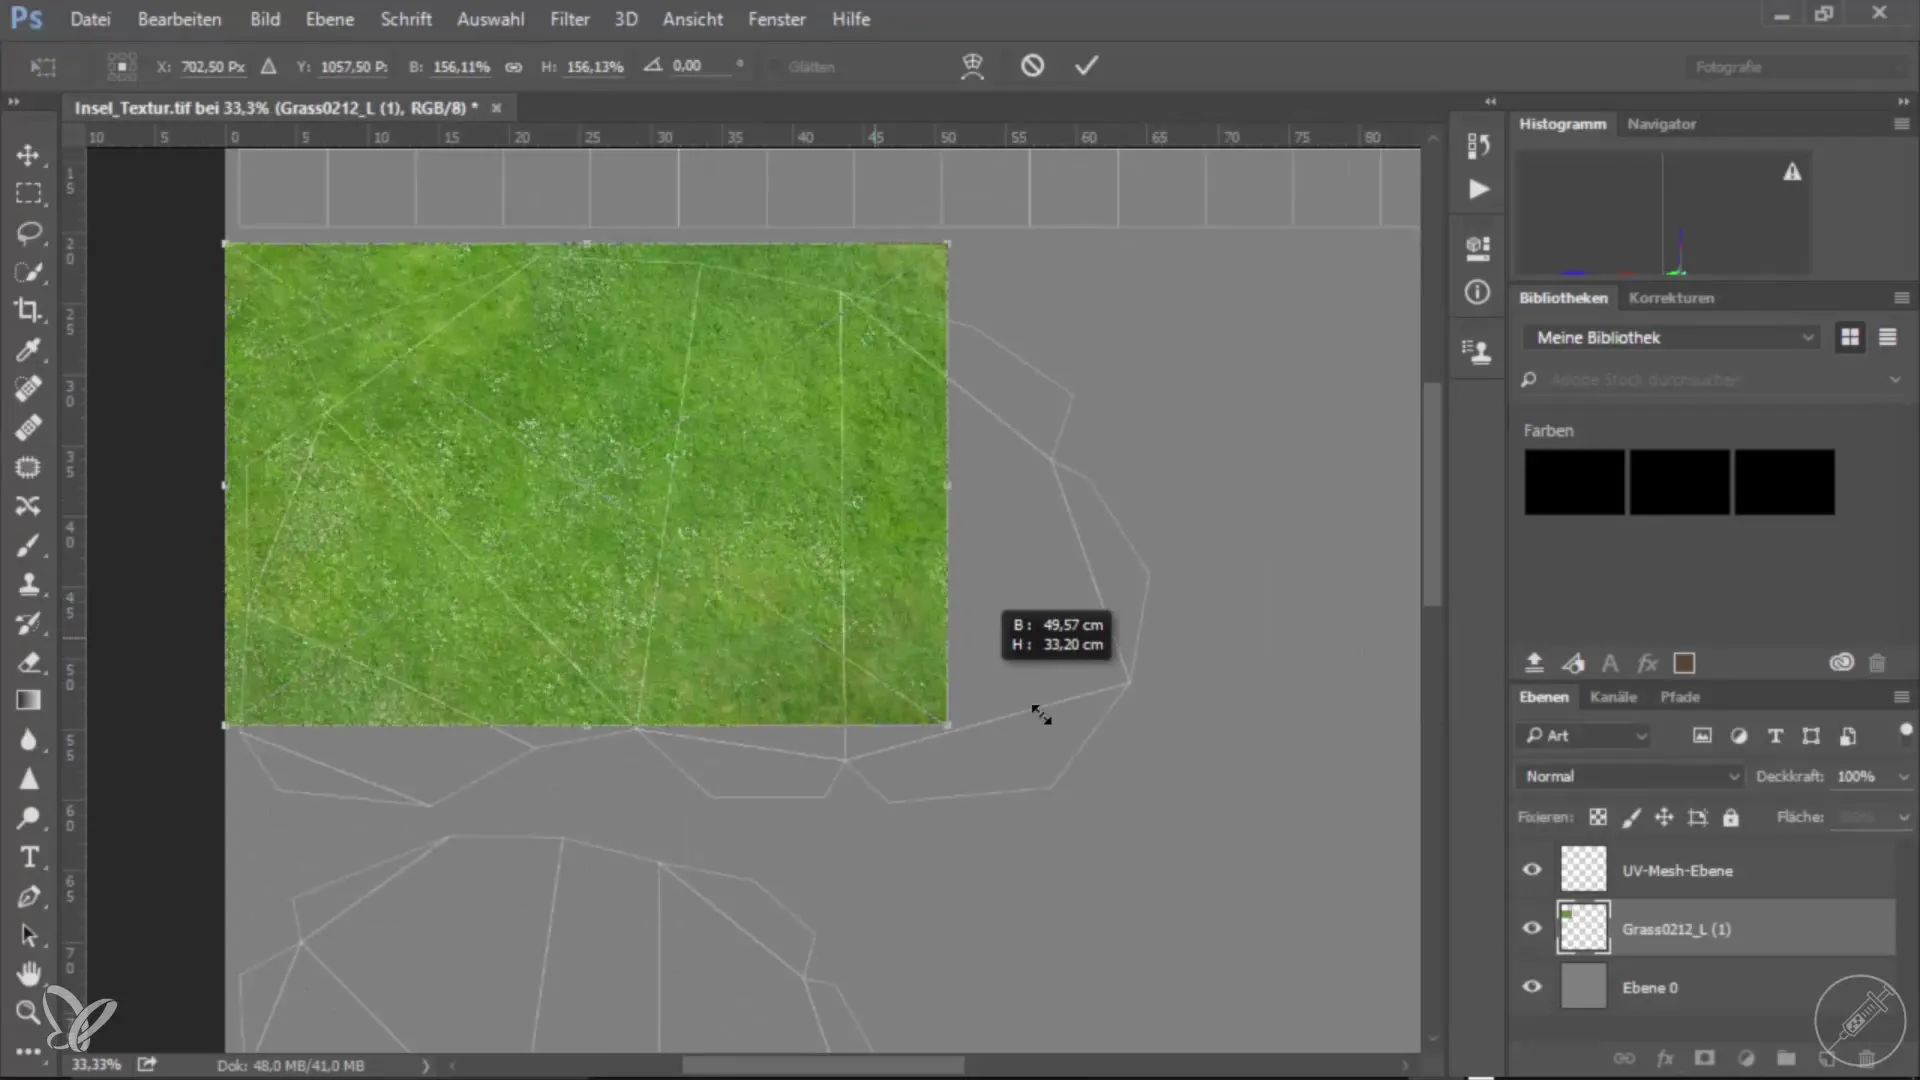
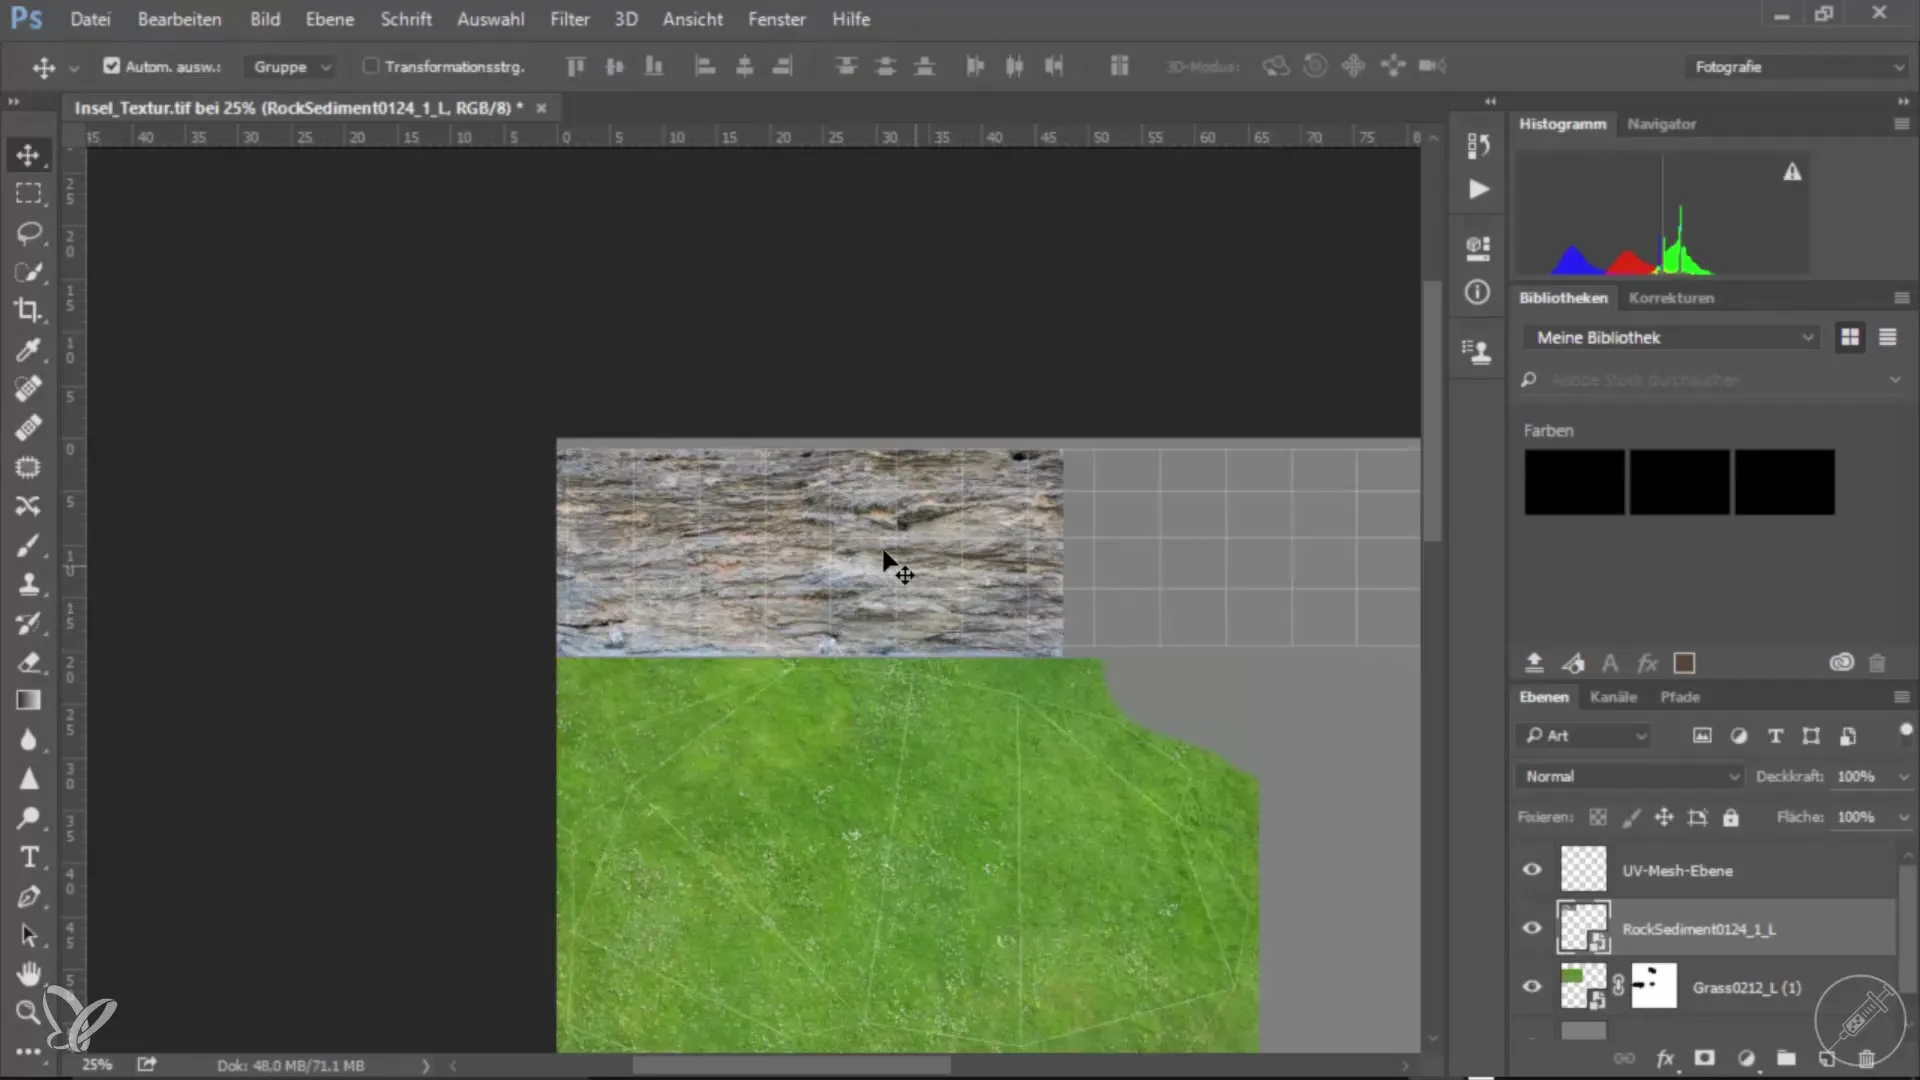
Now you need the downloaded texture. Simply drag the texture into your Photoshop document and resize it to cover the entire UV mesh. Make sure the texture is fitted to all UV islands. Meanwhile, you can also use the layer mask to precisely mask the texture. A screenshot will show you the steps.
Step 4: Add Additional Textures
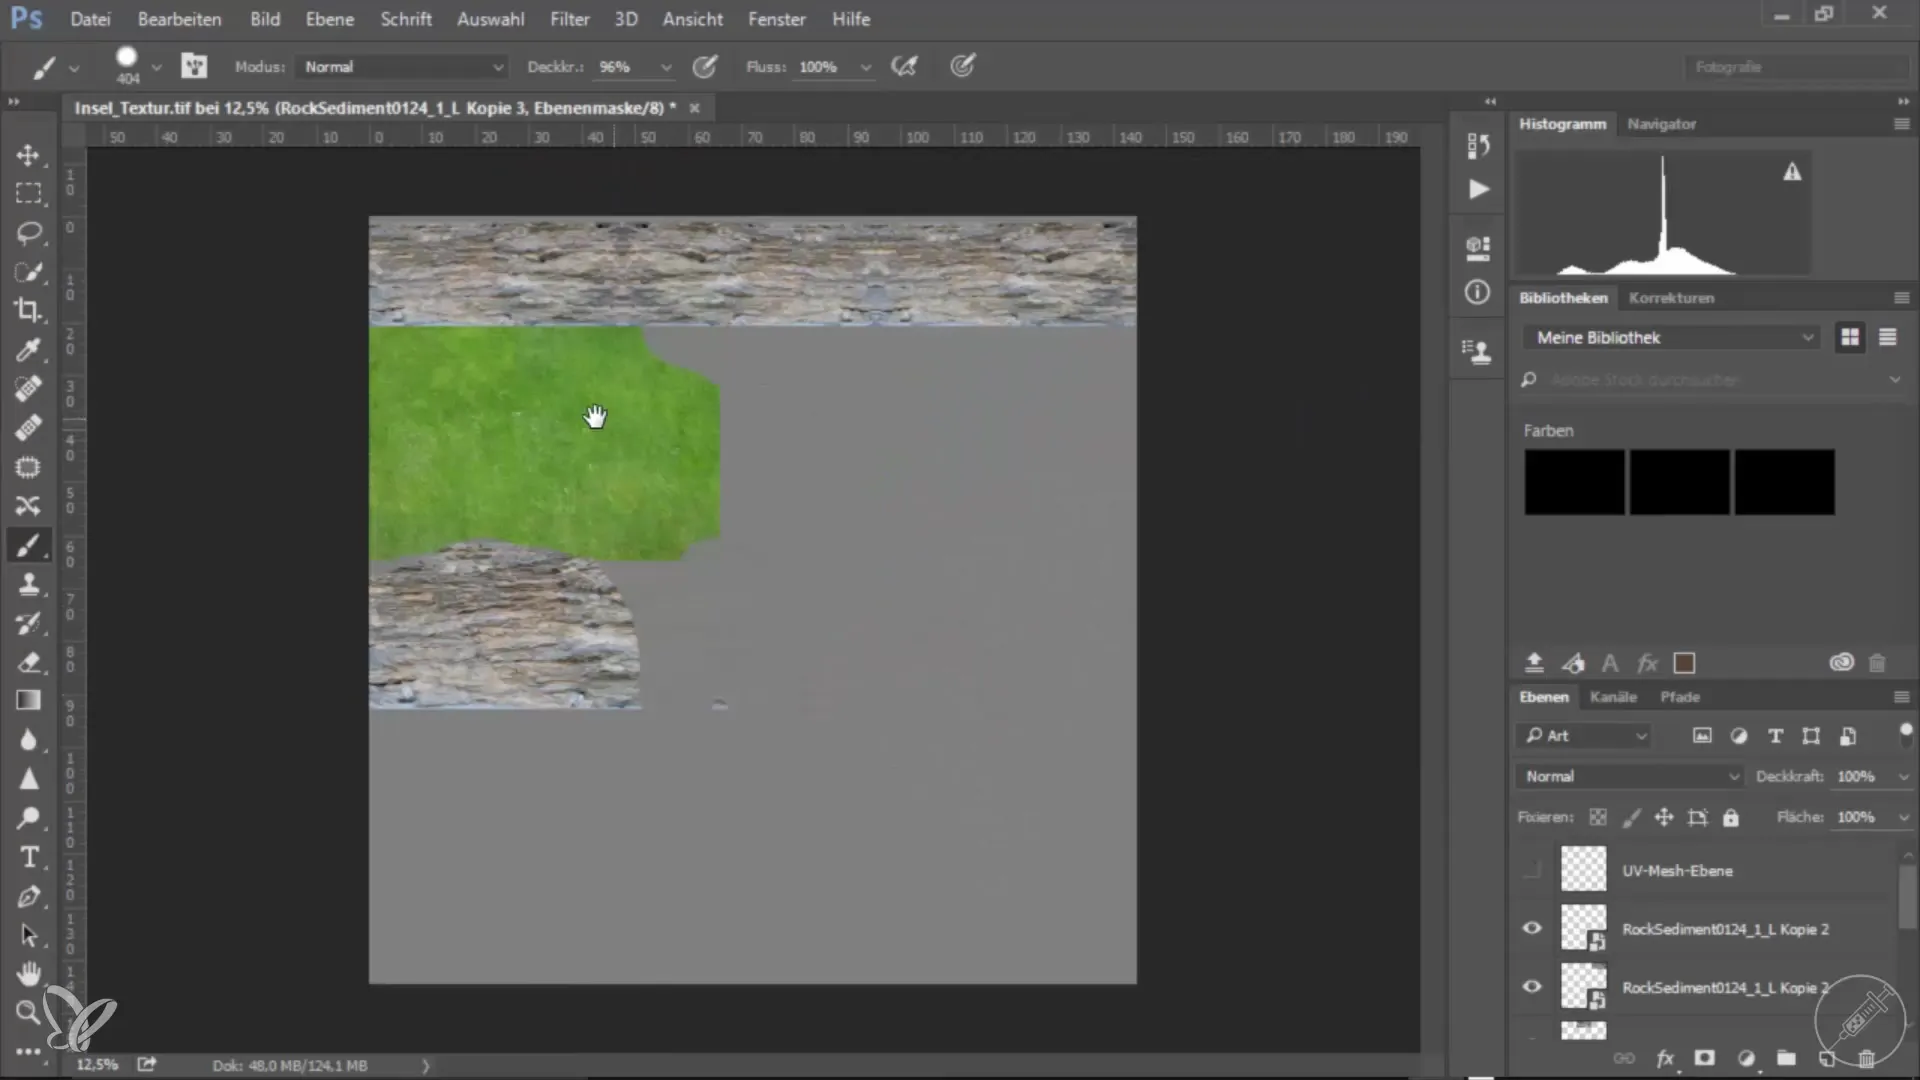
In addition to the initial grass texture, you can also add additional textures for different materials, such as for rocks or soil. Duplicate the layer and position it for a comprehensive surface. You can shape and adjust the selection of textures according to your needs. Here, I will explain the exact procedure with a screenshot.
Step 5: Save the Textures
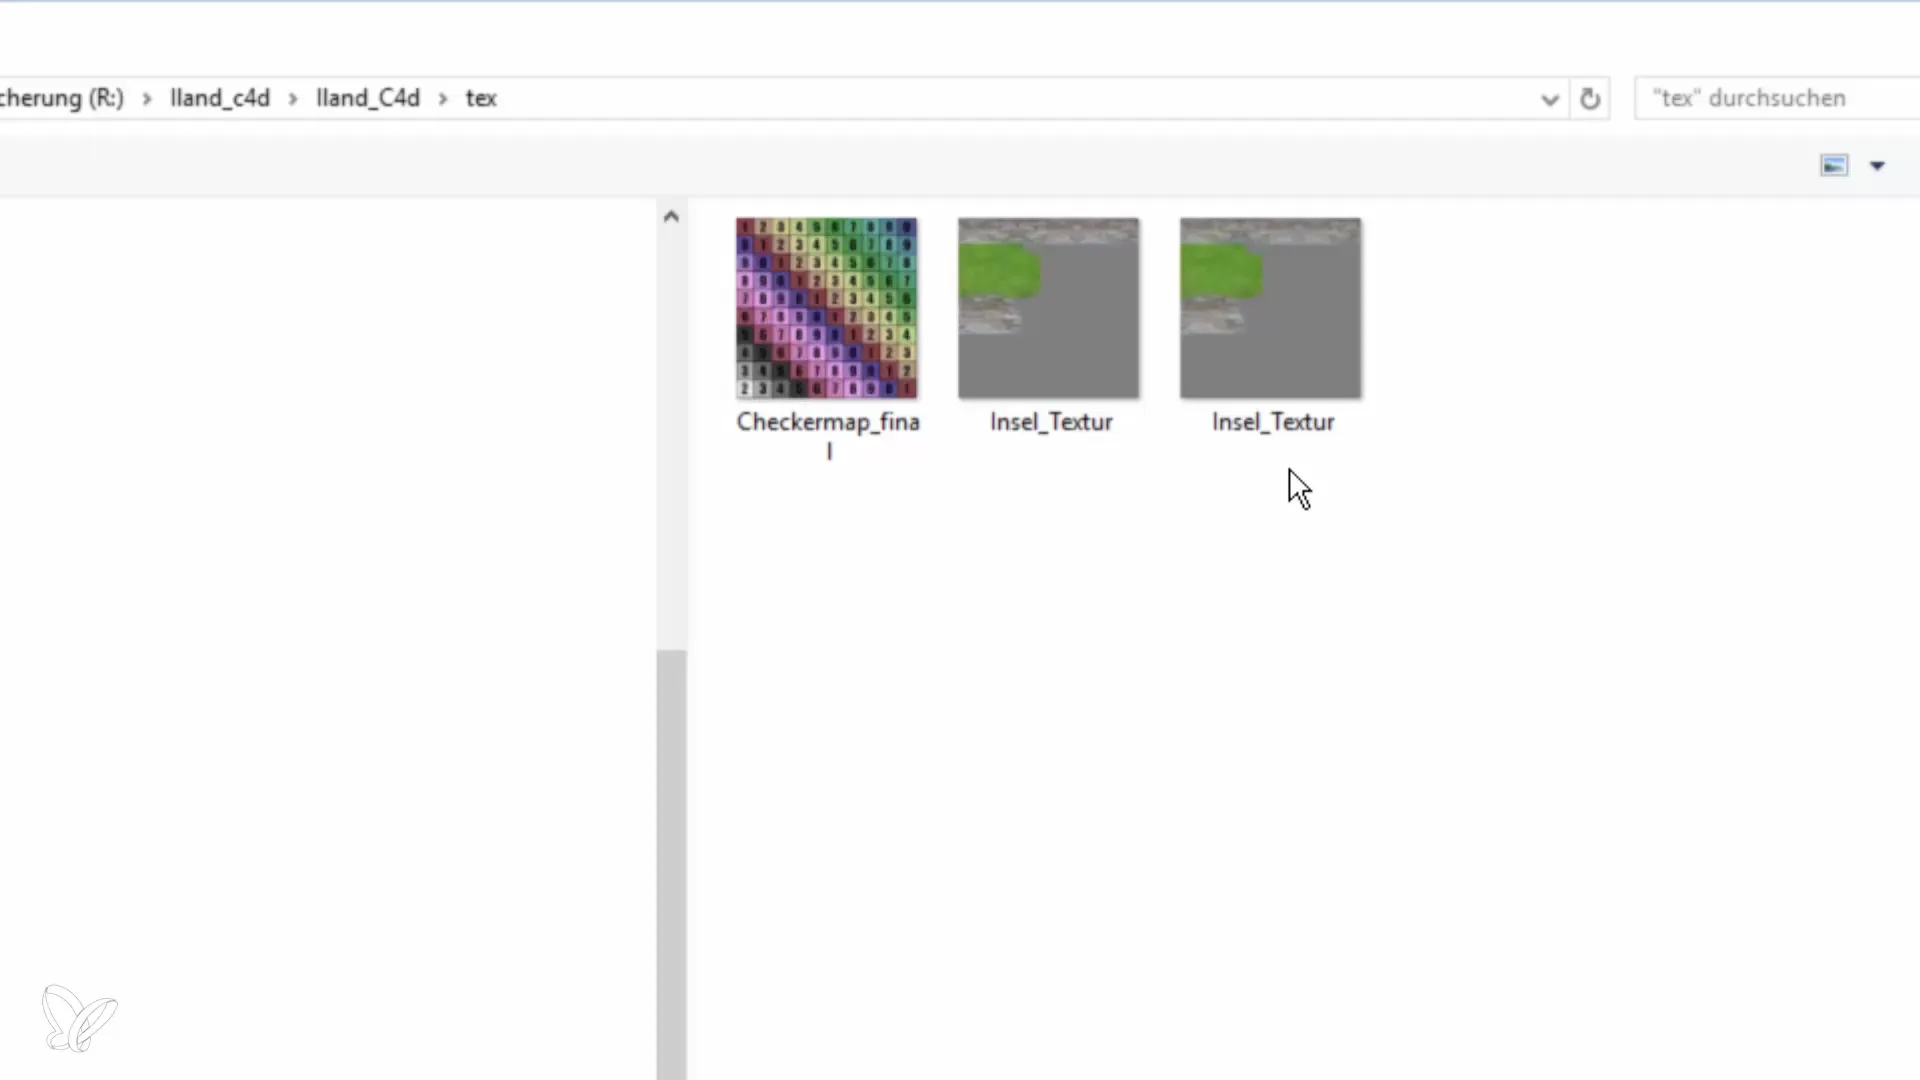
Once you are satisfied with the texturing, save your work. Be sure to save the file in an appropriate format, such as.jpg for use in Unity. Don't forget to hide the UV mesh layer before saving the file; this ensures that only the textures are visible. A screenshot will show you the saving process.
Step 6: Import into Cinema 4D
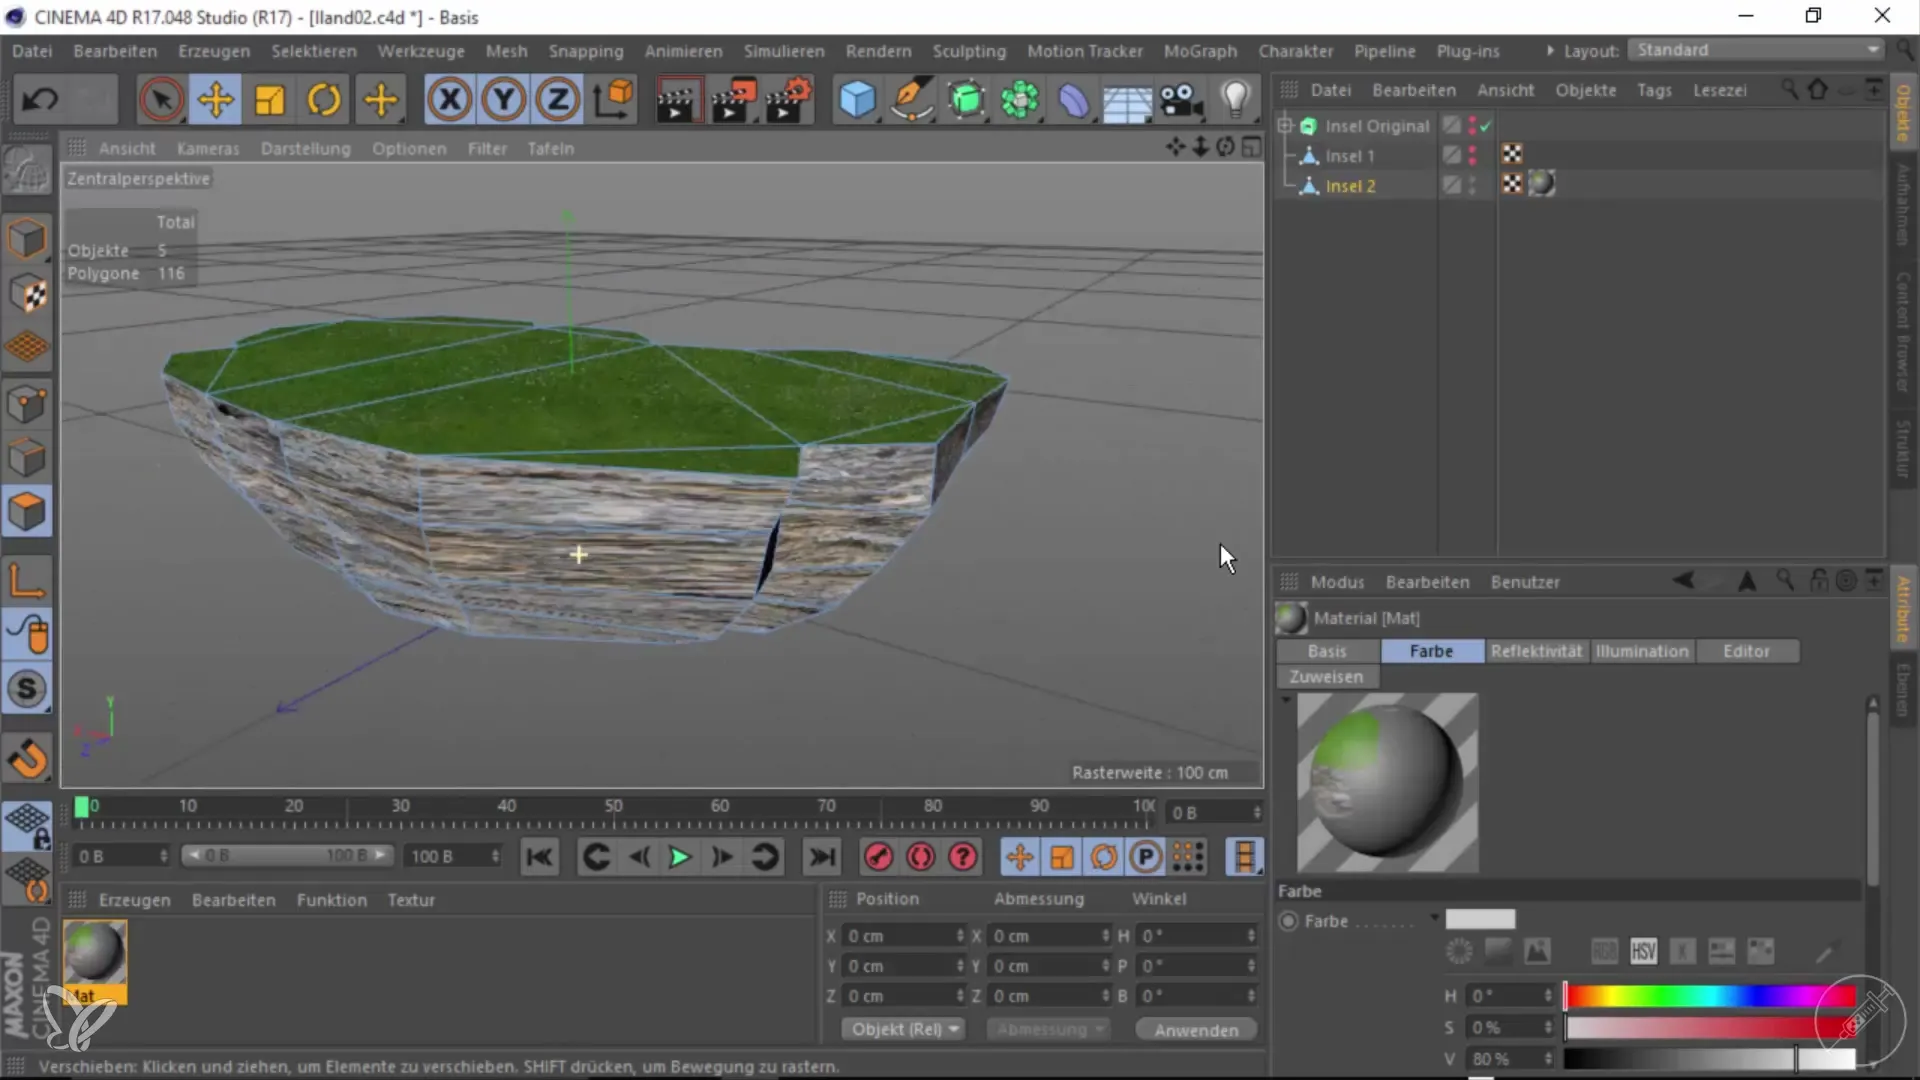
After saving the texture, go back to Cinema 4D and load your texture into the material. Navigate to the color settings, click the button to add the texture, and select your.jpg file. These steps are illustrated with a screenshot.
Step 7: Check the Textures
After the textures have been applied to your model, check whether everything looks good. In a simple view, you can ensure that the textures are displayed correctly and at the desired quality. Here’s a screenshot of the check.
Step 8: Export to Unity
Once you are satisfied with the texturing, export your model from Cinema 4D. Make sure to export the textures as well so that they are visible on your model in Unity. The last screenshot shows how to prepare the model for export.

Summary – 360° Architectural Views: Texturing in Cinema 4D for Unity
This guide has shown you how to effectively create textures for your 3D model and adapt the textures to the UV layout in Photoshop. You have also learned how to import the textures into Cinema 4D and prepare them for export to Unity.
Frequently Asked Questions
What is a UV layout?A UV layout is a 2D representation of the 3D model that shows how textures are applied to the surface of the model.
How do I download textures from the internet?Visit websites like CGTextures or textchoss.com, search for the desired texture, and download it.
In what format should I save the textures?Save the textures uniformly as.jpg or.png to ensure optimal quality in Unity.
What should I do if the textures are not displayed correctly?First, check the placement of the textures in Cinema 4D and make sure they are correctly applied to the UV mesh.
Is it better to create my own textures or download them?It depends on the project. Custom textures can be unique, while downloaded textures can save time.
