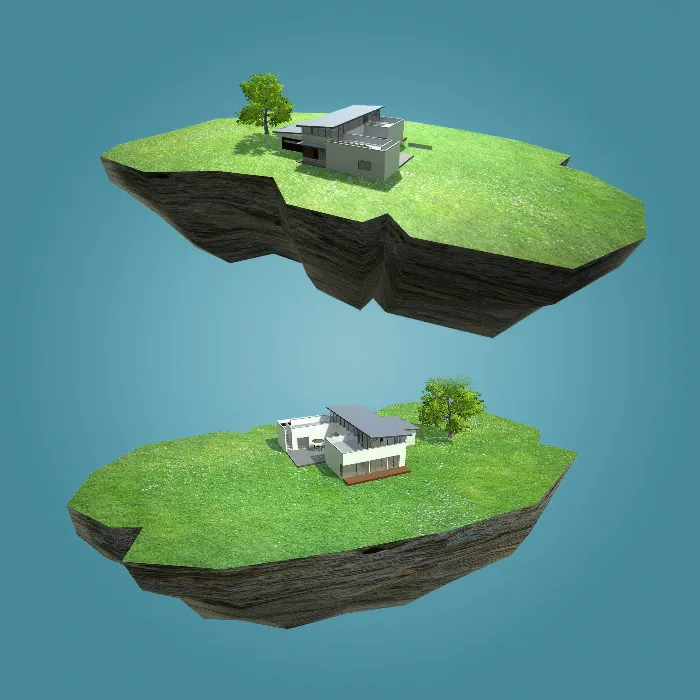
Working with Unity and Cinema 4D opens up fascinating possibilities in 3D architectural visualization. In this tutorial, you will learn how to add a second button to hide an additional roof in your project. The instructions are clearly structured, so you can easily follow along. Let's dive right in!
Key Takeaways
- You will learn how to insert a second button into your Unity project.
- It will explain how to adjust the script for the second roof to realize the functionality.
- The guide provides an overview of the steps and allows for quick implementation.
Step-by-Step Guide
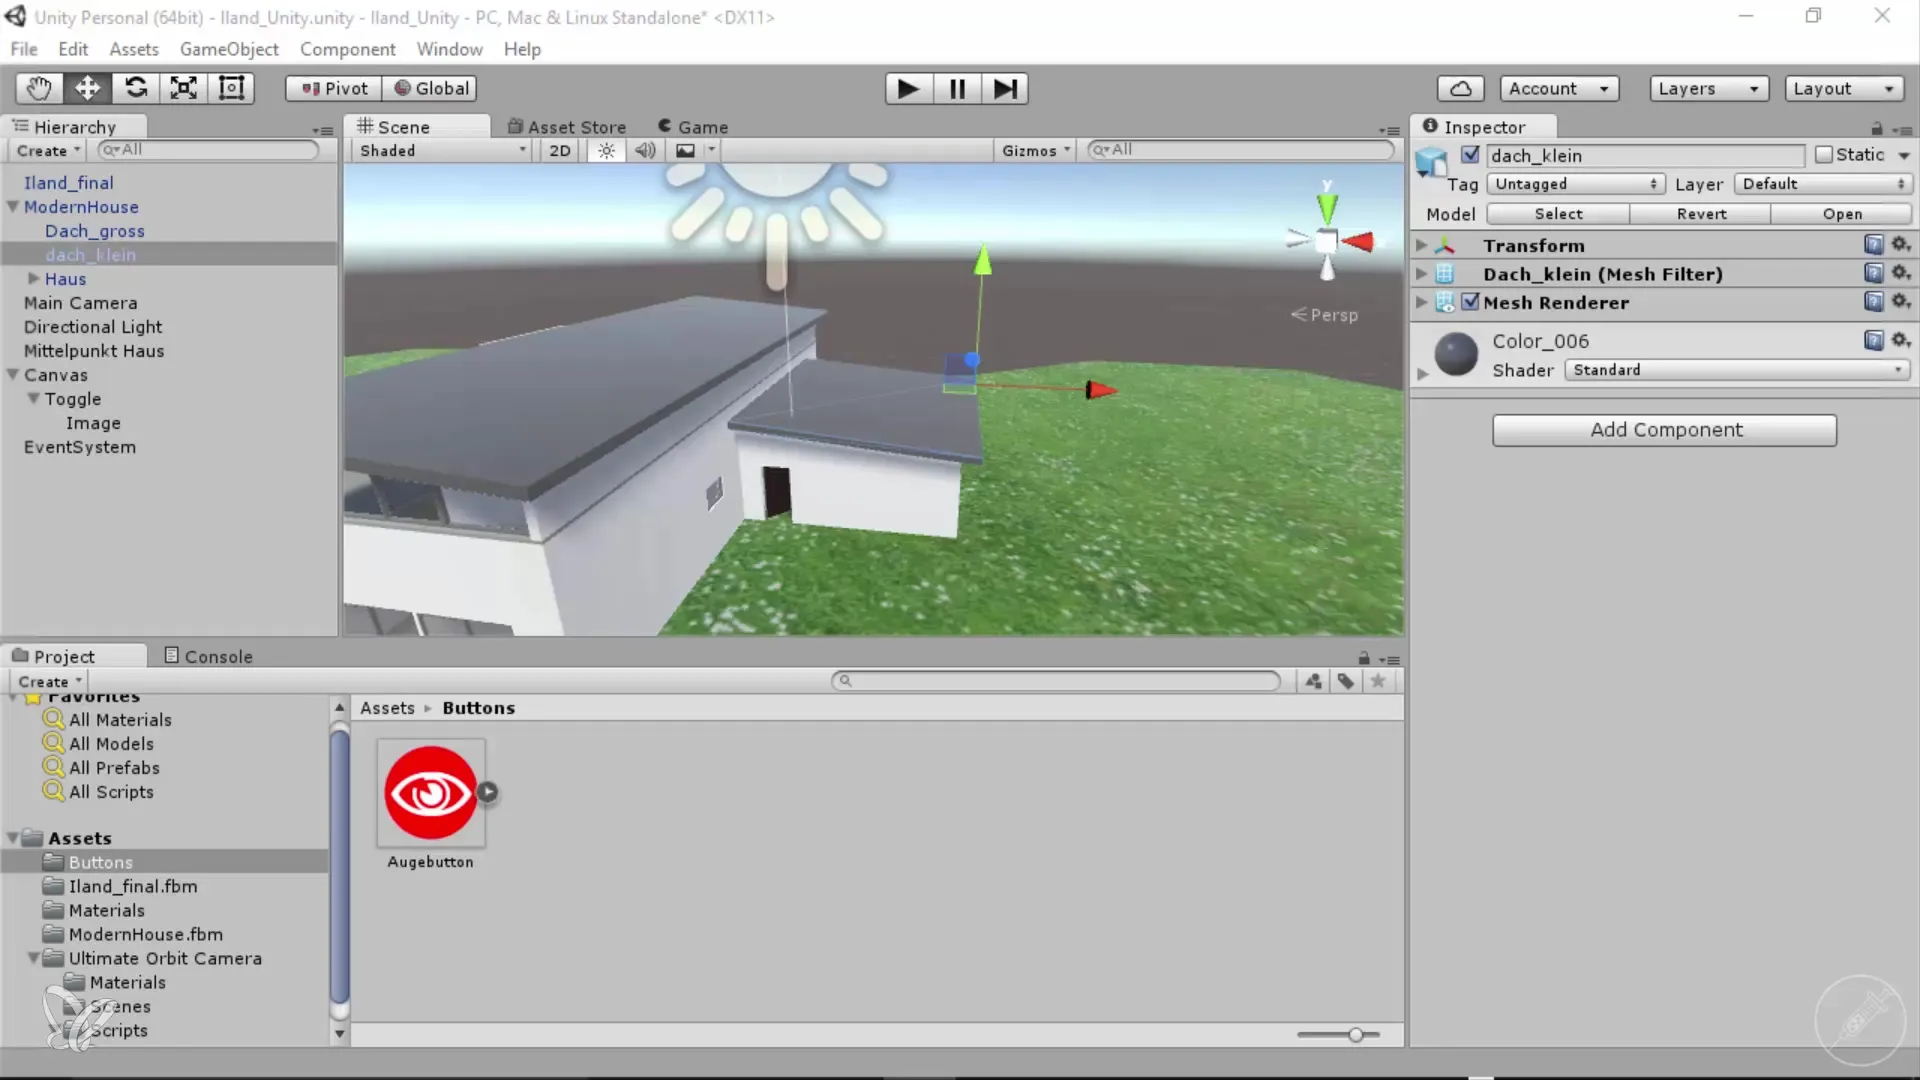
First, it is important to open your current scene, where your first roof and the associated buttons are located. Make sure everything is ready for efficient work.
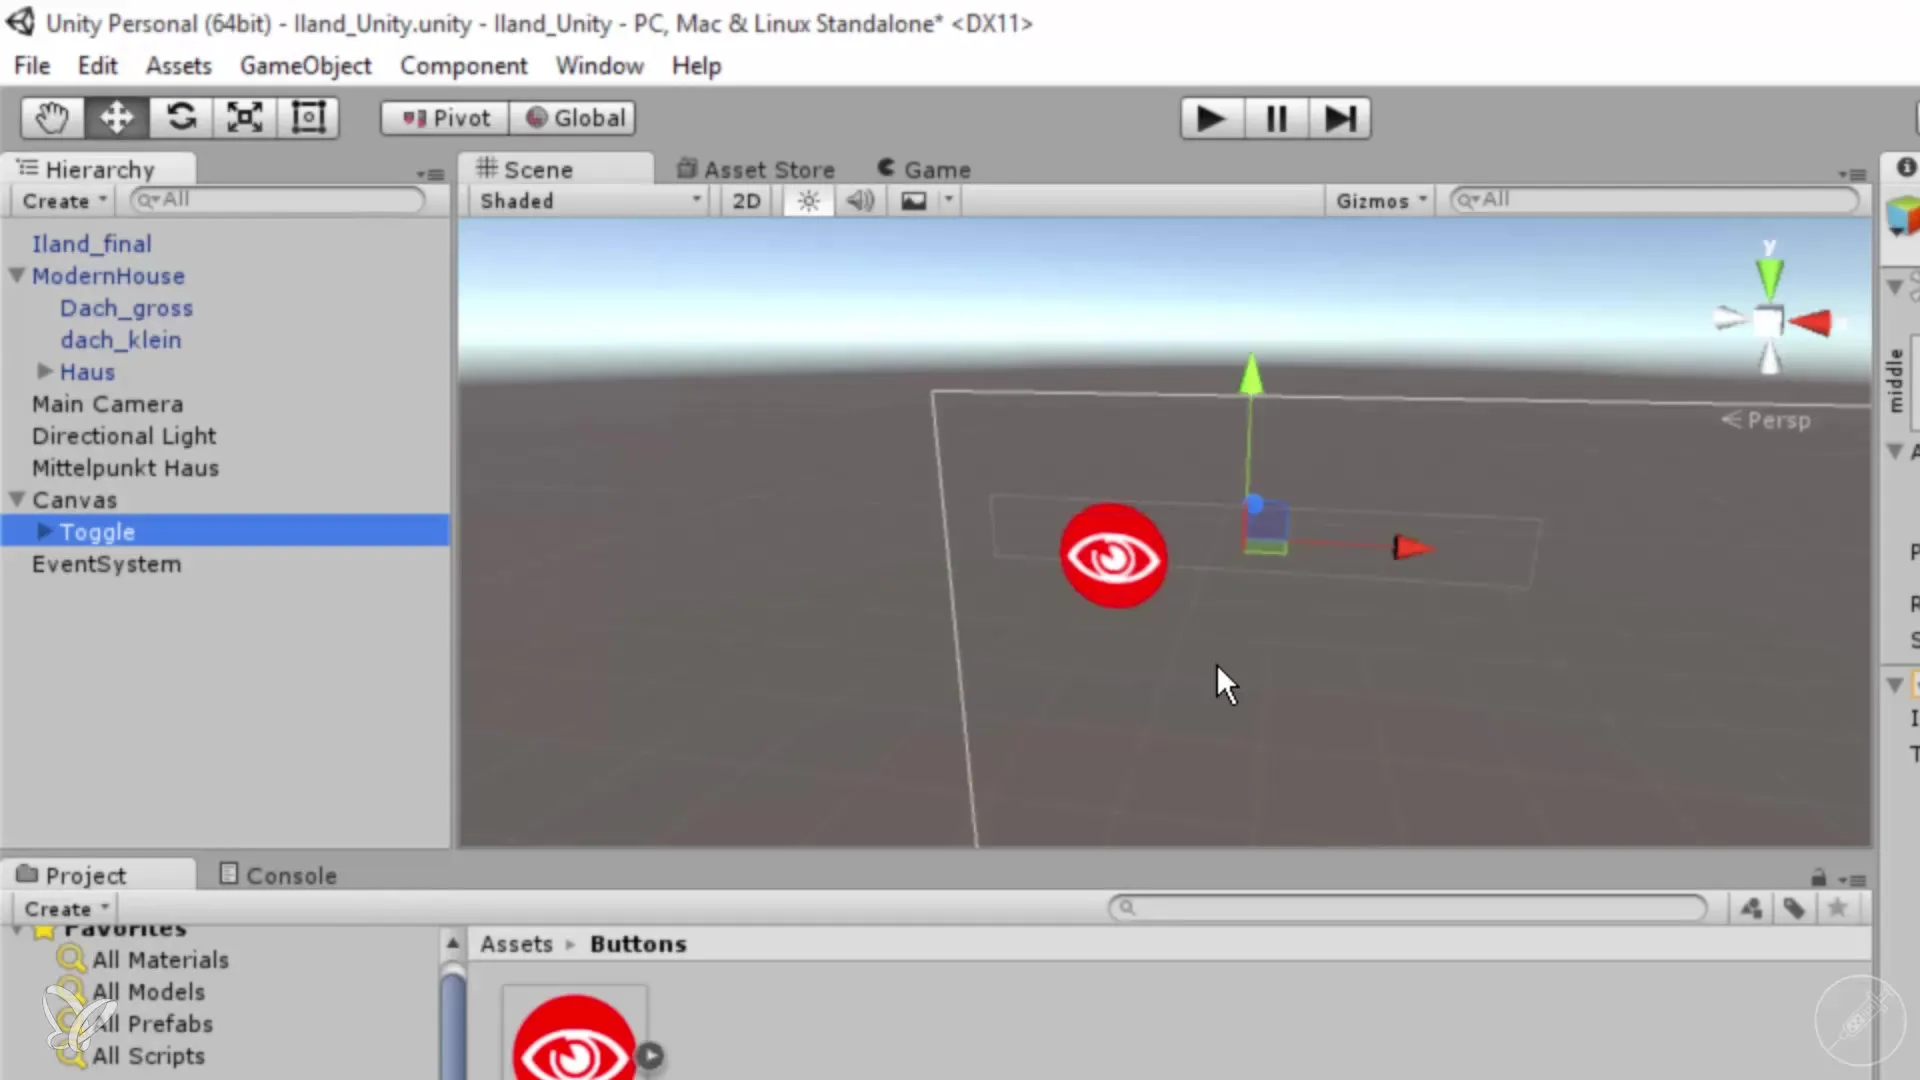
Now go to the toggle button and press the F key to adjust the view to fill the screen. This will make your work easier and provide you with a better overview.
For the second button, we will simply use the same graphic as for the first roof. Press Ctrl and C to copy the graphic and paste it with Ctrl and V in the desired location. Place it so that both buttons are clearly visible.
Now let's rename the two buttons to make them understandable. Change the name of the first button to "Roof 01" and the second to "Roof 02". This will help you keep track later on.
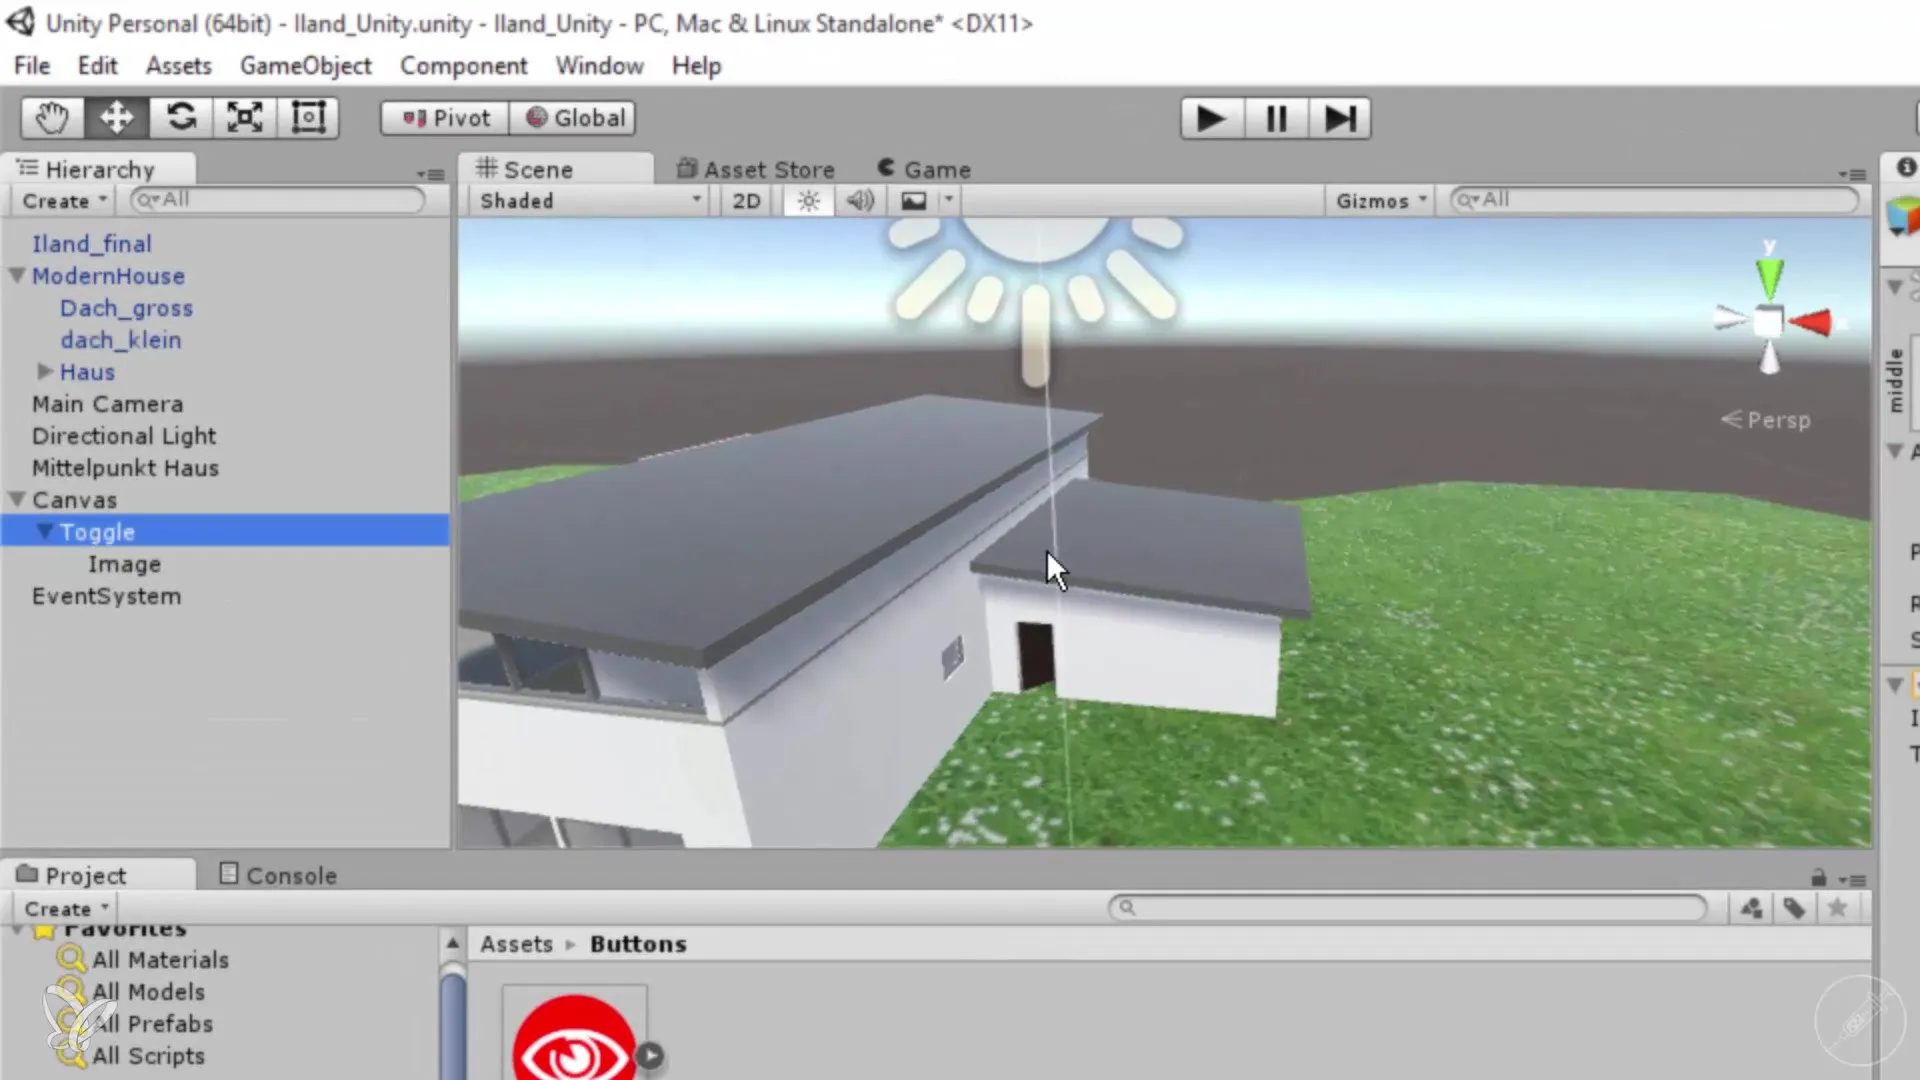
When you now start the project, the functionality will not work correctly yet, as both buttons control the same roof. You need to inform the script that the second button should control the small roof.
Go to the script settings for the roof. Make sure you enter the name of the small roof in the script instead of the large roof that has been used so far.
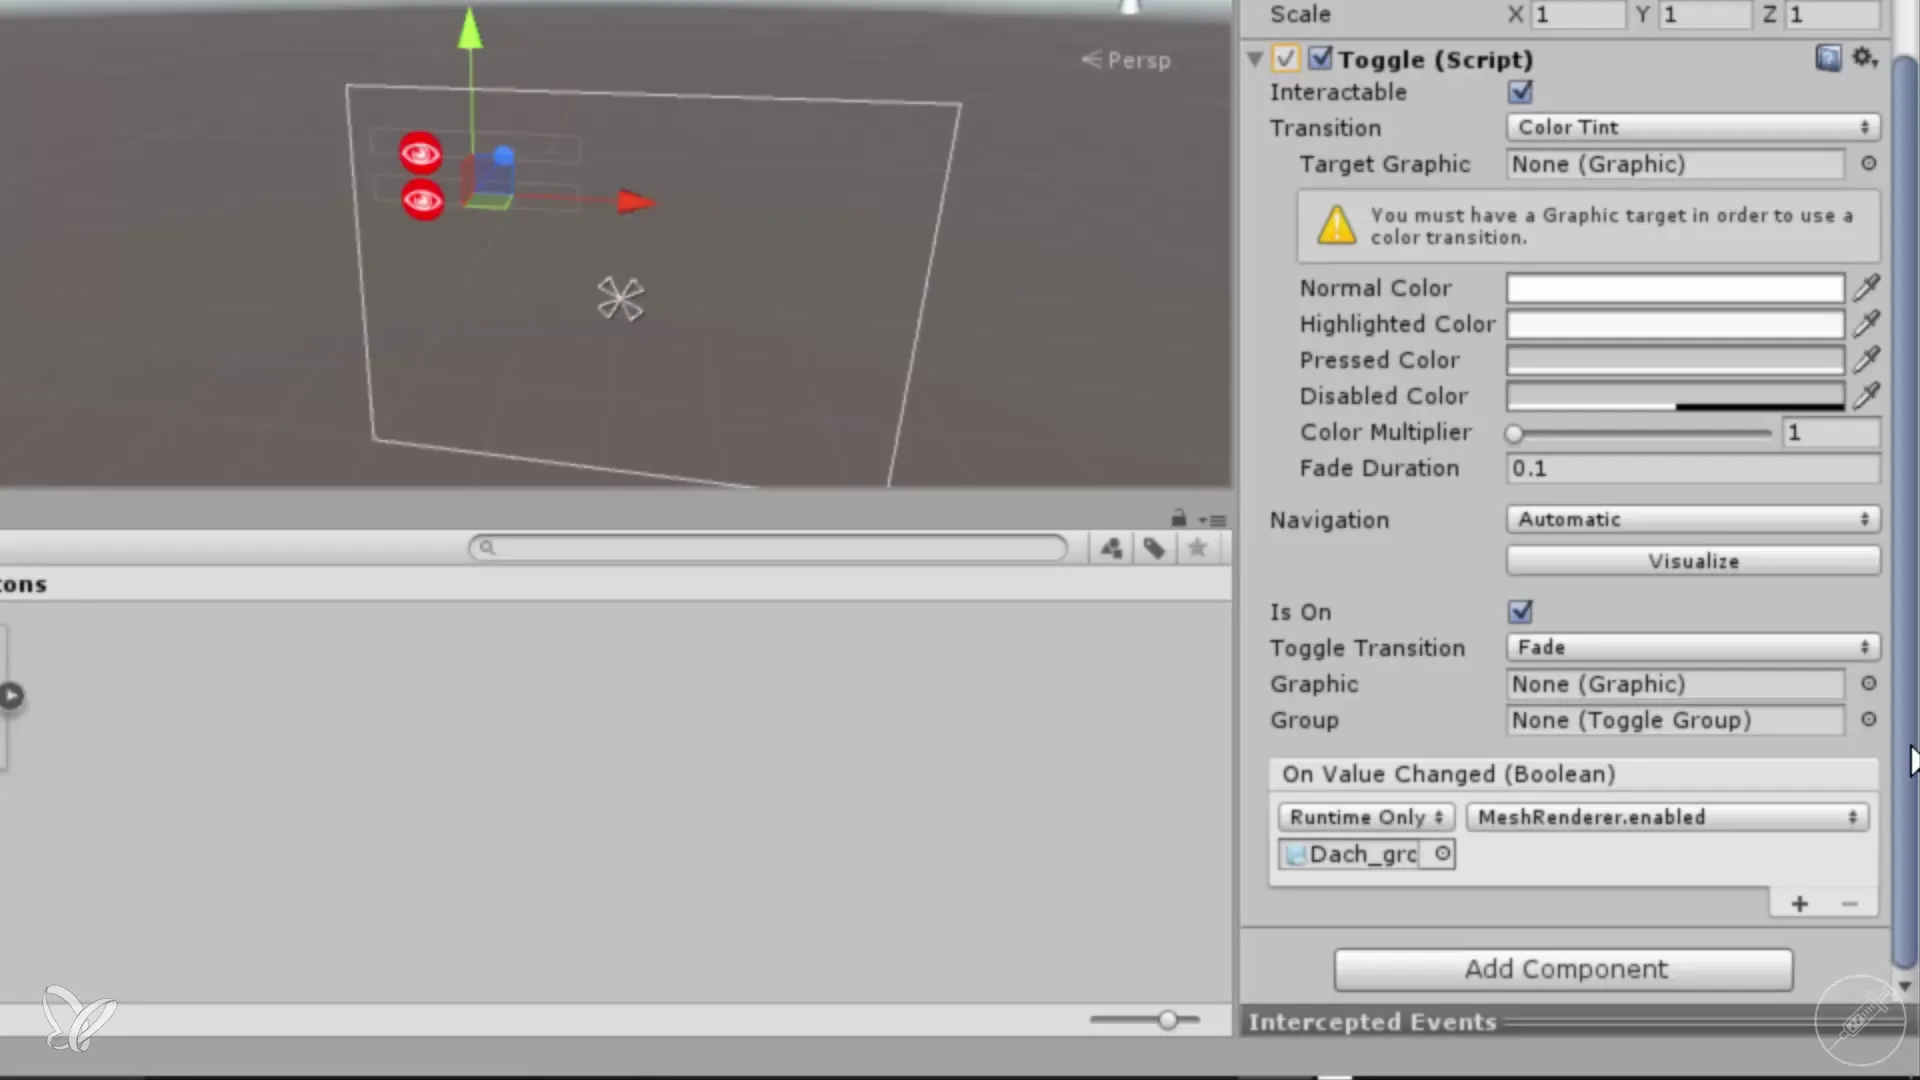
In the script, there is a function that controls the roof's mesh. You need to click on "Enabled" here to activate the desired behavior when the button is pressed.
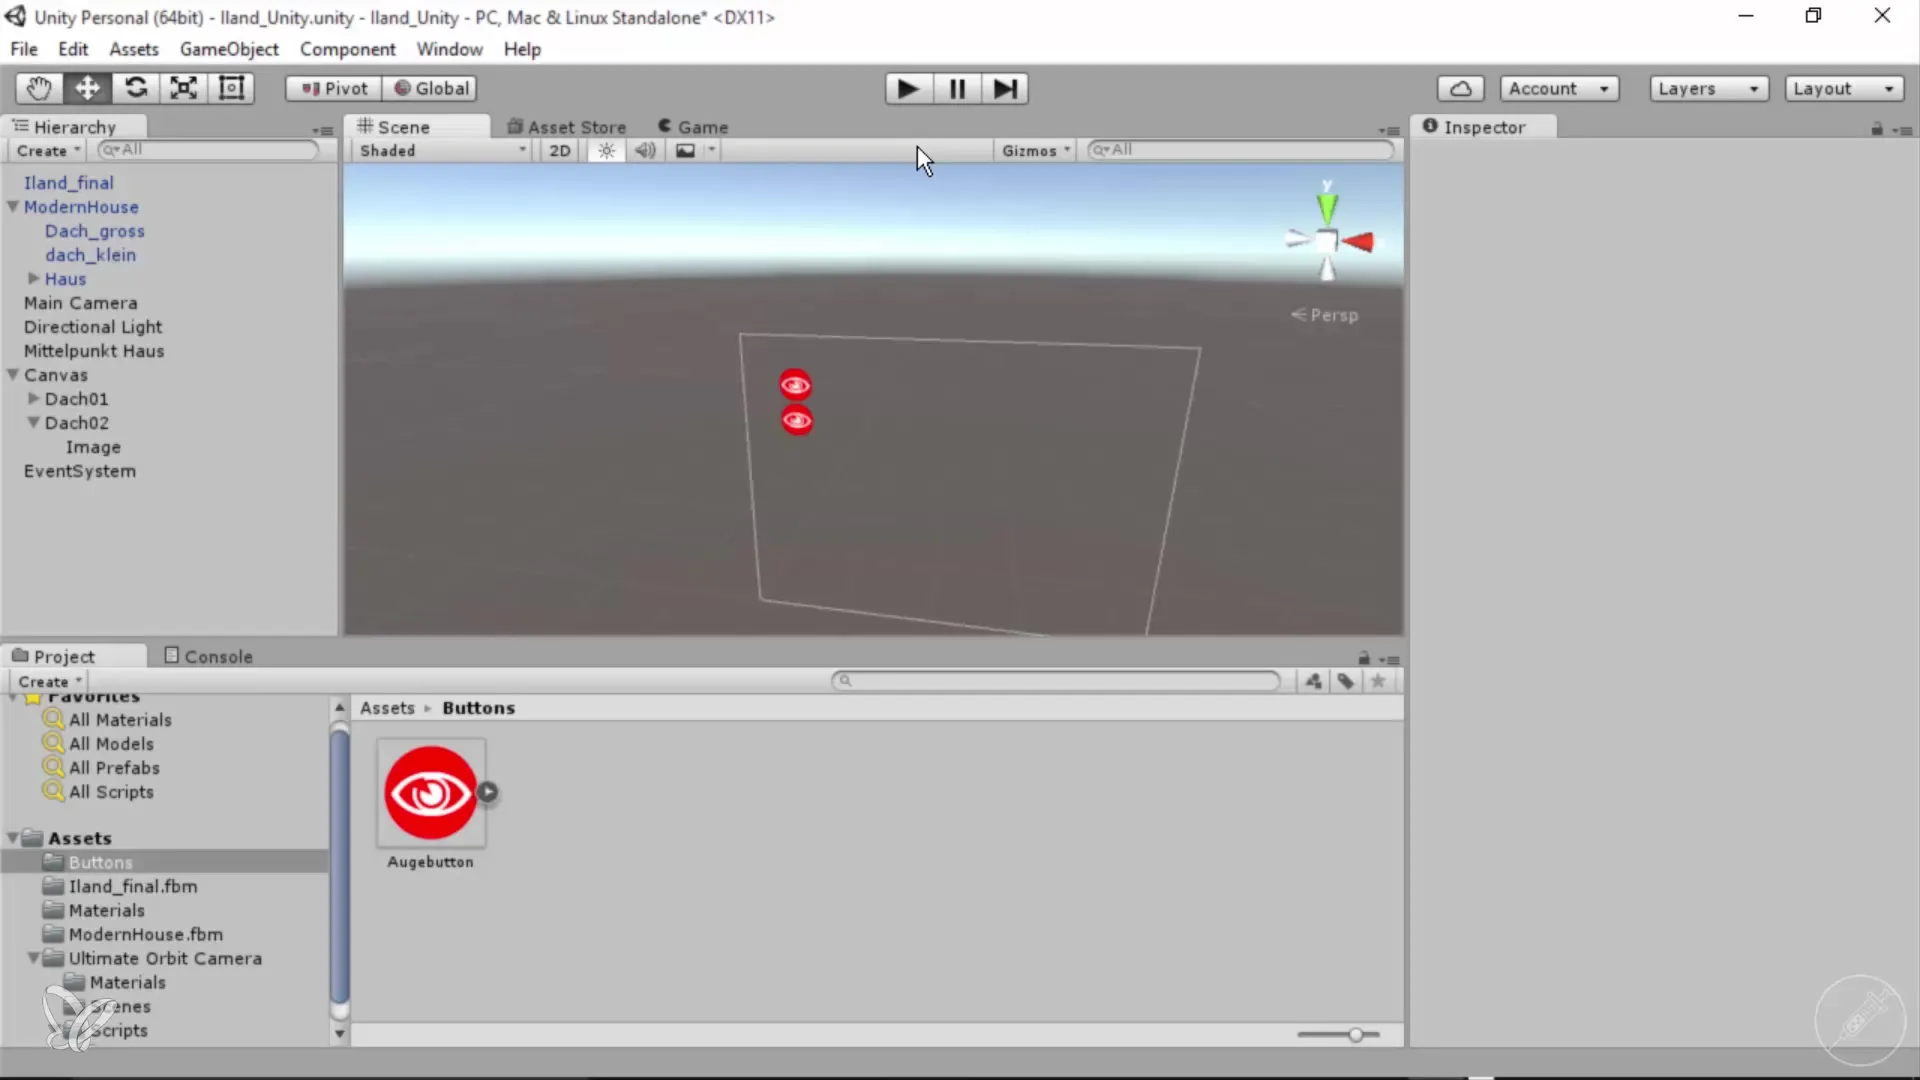
Now everything is prepared to test the function. Move a little closer to the model and click on the first button, followed by the second button. The second button should now toggle the small roof.
You may notice that the roof does not look optimal when it is hidden. You can adjust the small roof by moving it higher so that it does not protrude into the grass.
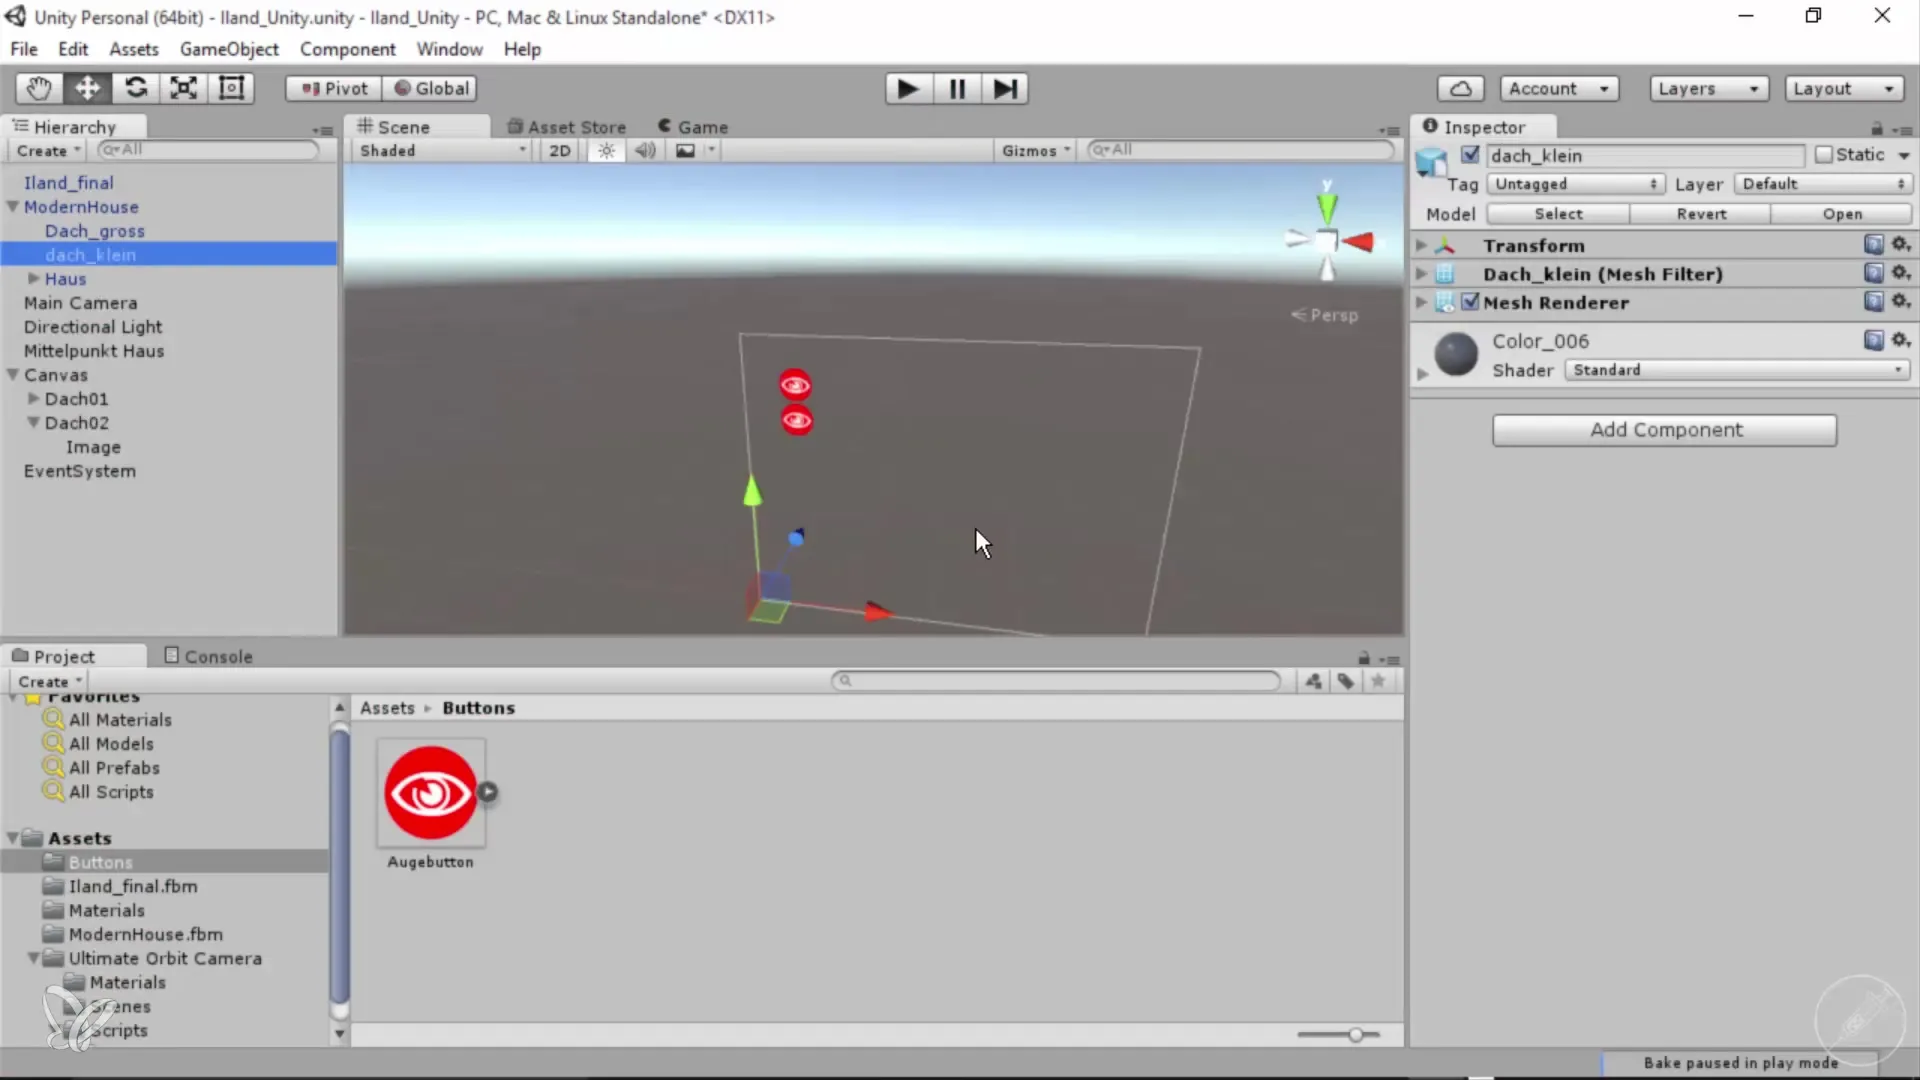
After the adjustment, you can toggle the roof back on and check the changes. This way, you have effectively implemented two buttons in your interface.
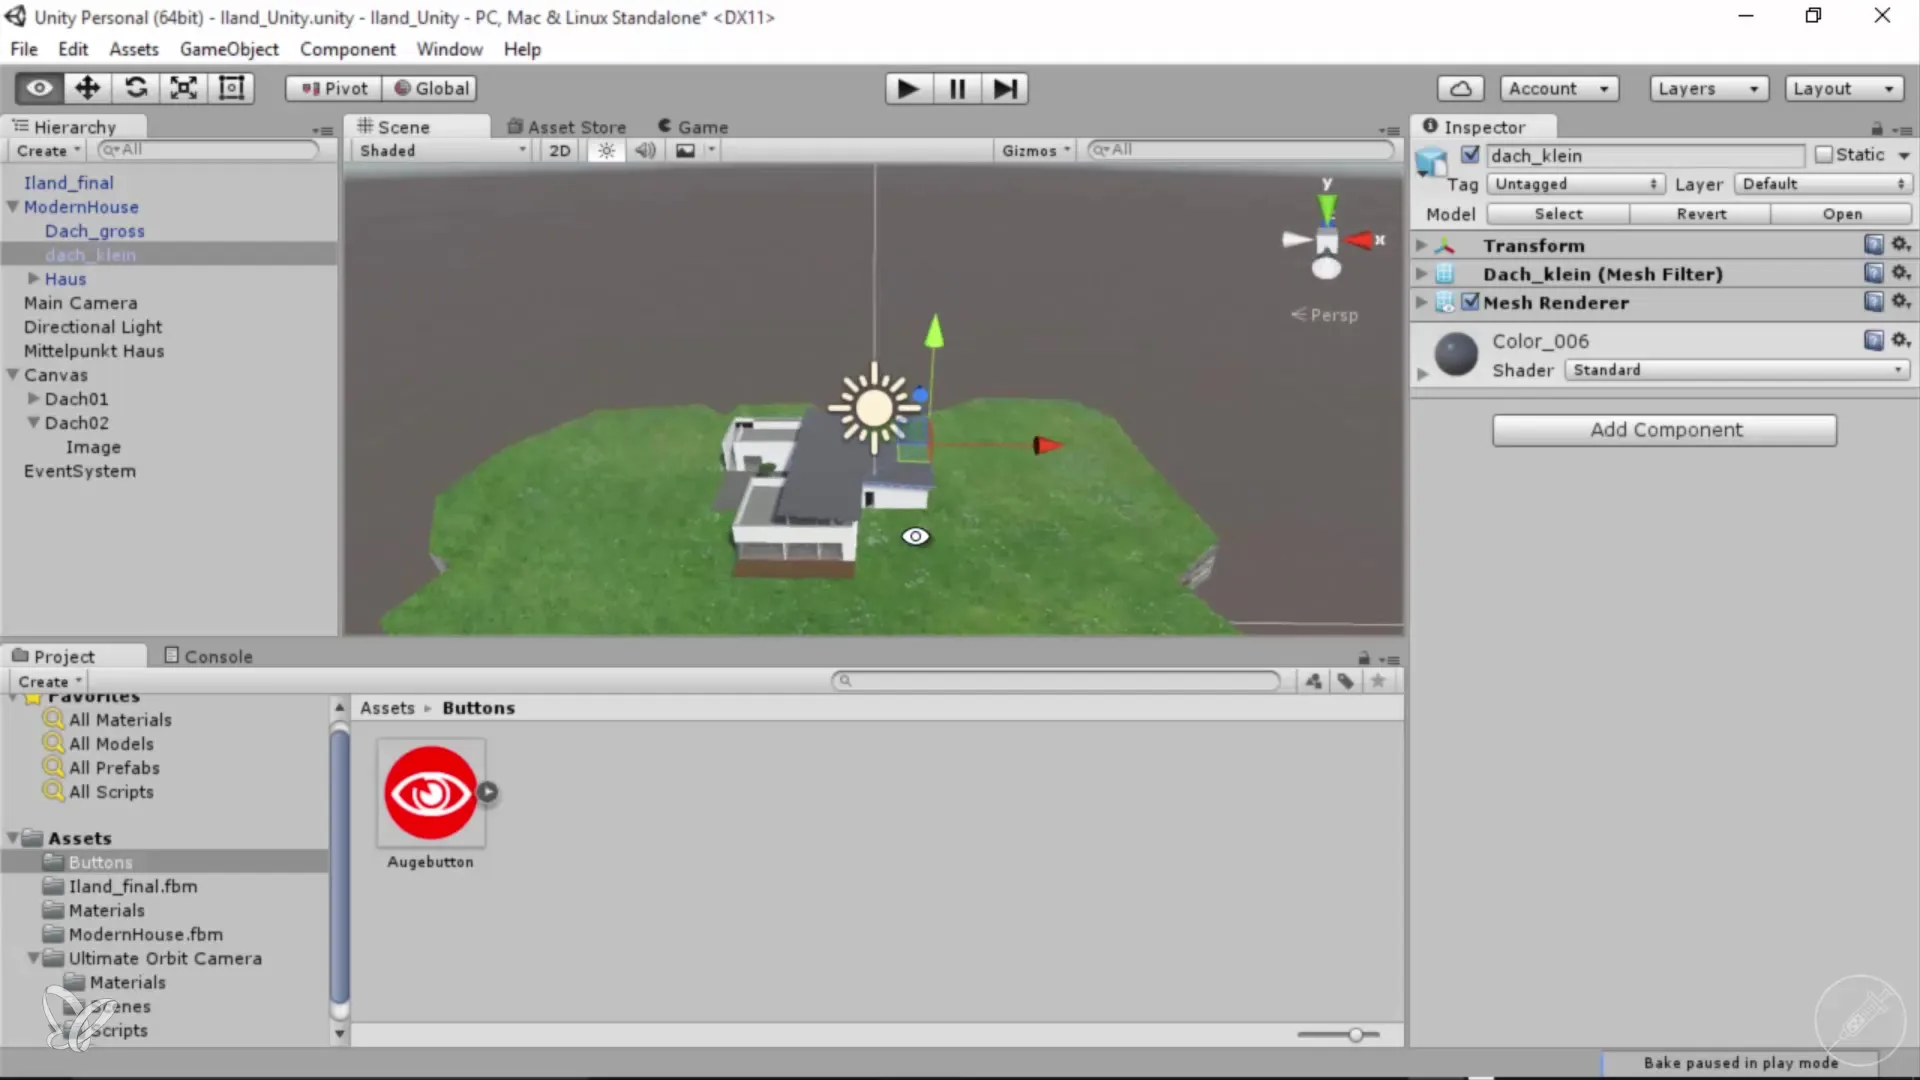
To further improve the project, you can bring additional elements like trees or other details back into the scene. This will add extra realism to your architectural views.
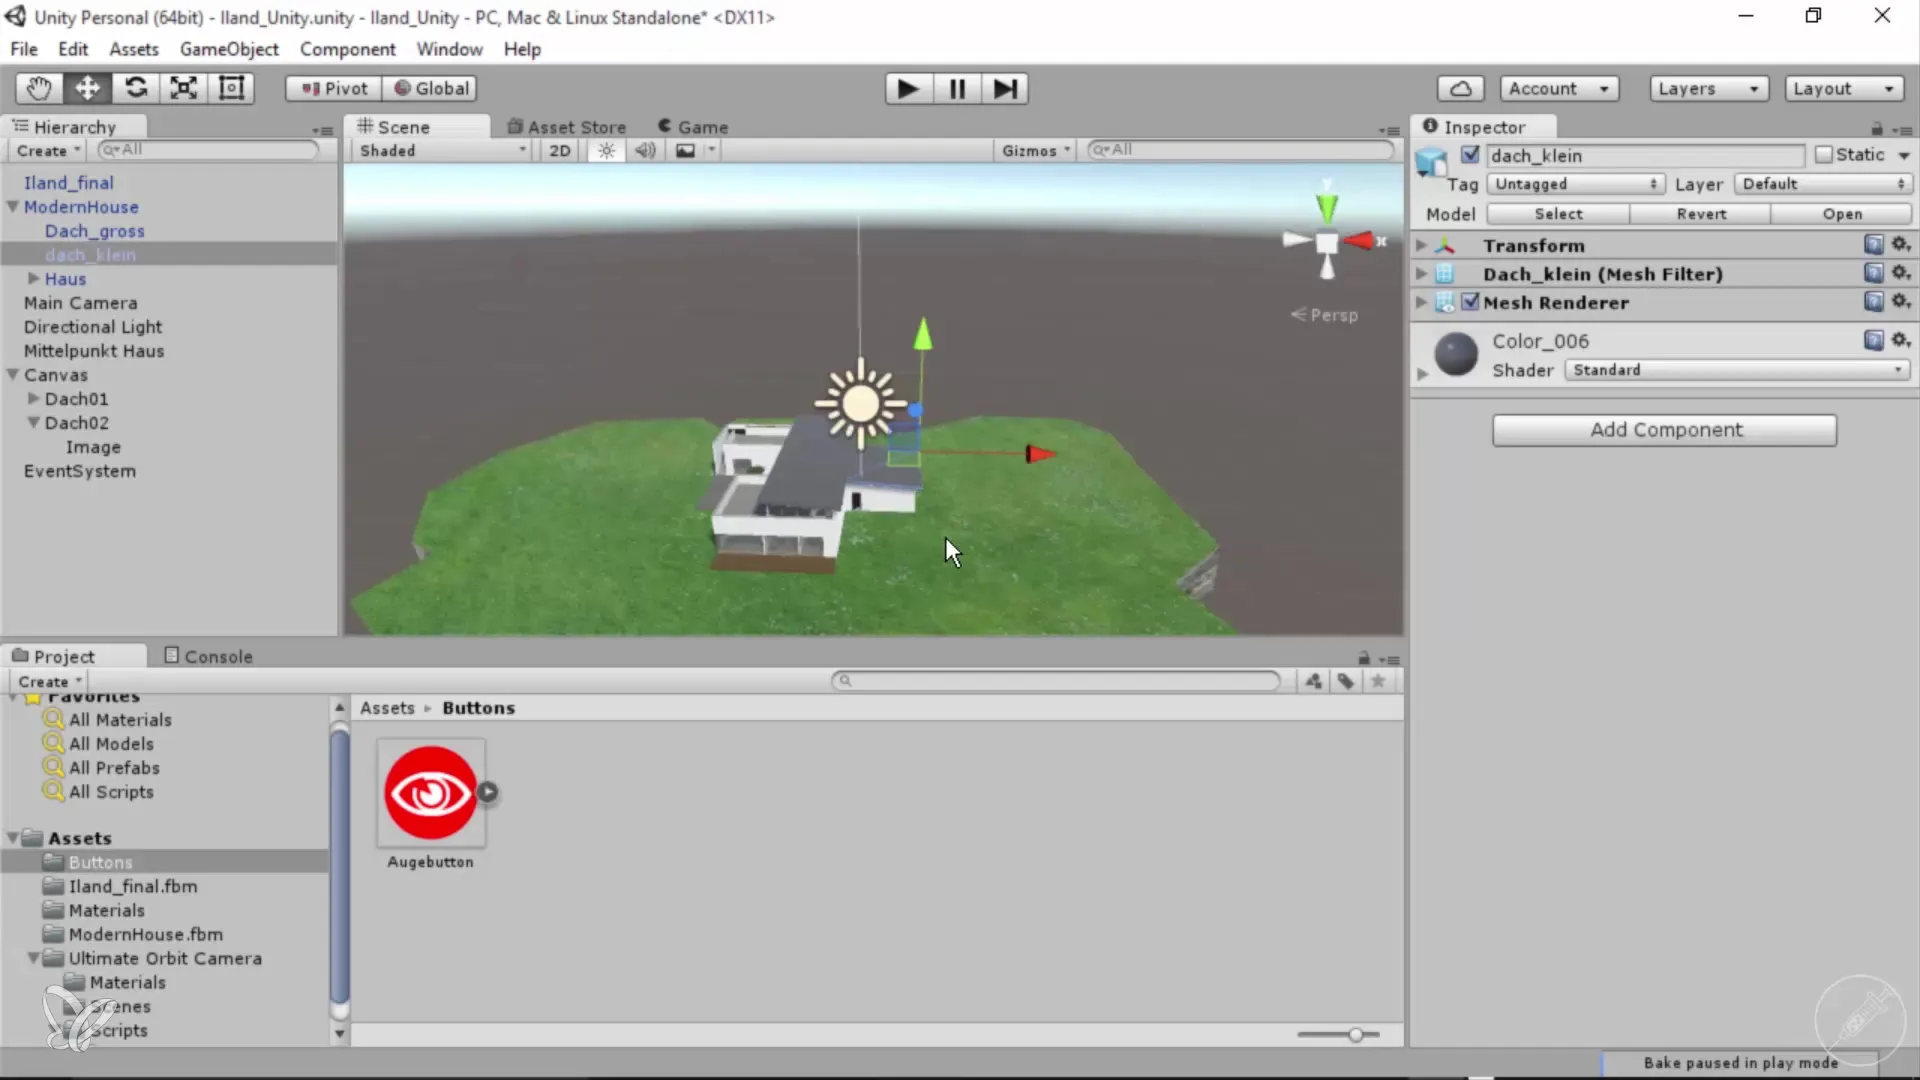
Summary – 360° Architectural Views with Unity and Cinema 4D – Adding a Second Button
In this guide, you learned how to add a second button to your Unity project to hide an additional roof. Through simple name changes and script adjustments, you expanded the interactivity of your model, which will certainly enhance the user experience.
Frequently Asked Questions
How do I add a second button in Unity?You can add a second button by copying the graphic asset of the first roof button and adjusting it.
How do I change the script for the second roof?Change the name of the roof in the script so that it refers to the small roof.
What do I do if the roof is not displaying correctly?Ensure that the mesh renderer function in the script is enabled and adjust the height of the roof.
How can I further improve the project?Add more objects or details to the scene to make the visualization more realistic.
