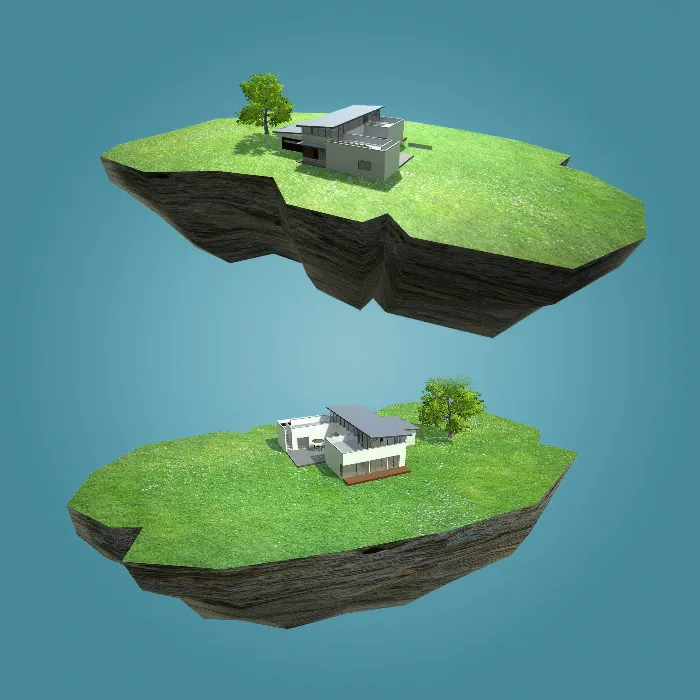
The creation of interactive elements in Unity can make a significant difference in the user experience of your architectural visualizations. In this tutorial, I will show you how to easily add a button in Unity that allows you to hide specific objects, such as roofs in your 3D model. This way, you can provide your users with a comprehensive view of your designs. Let's show you how to do it.
Key Takeaways
- Add buttons in Unity using UI elements.
- Use toggle buttons to switch between showing and hiding objects.
- Link the button interaction to objects to control their visibility.
Step-by-Step Guide
1. Preparations in the Unity Project
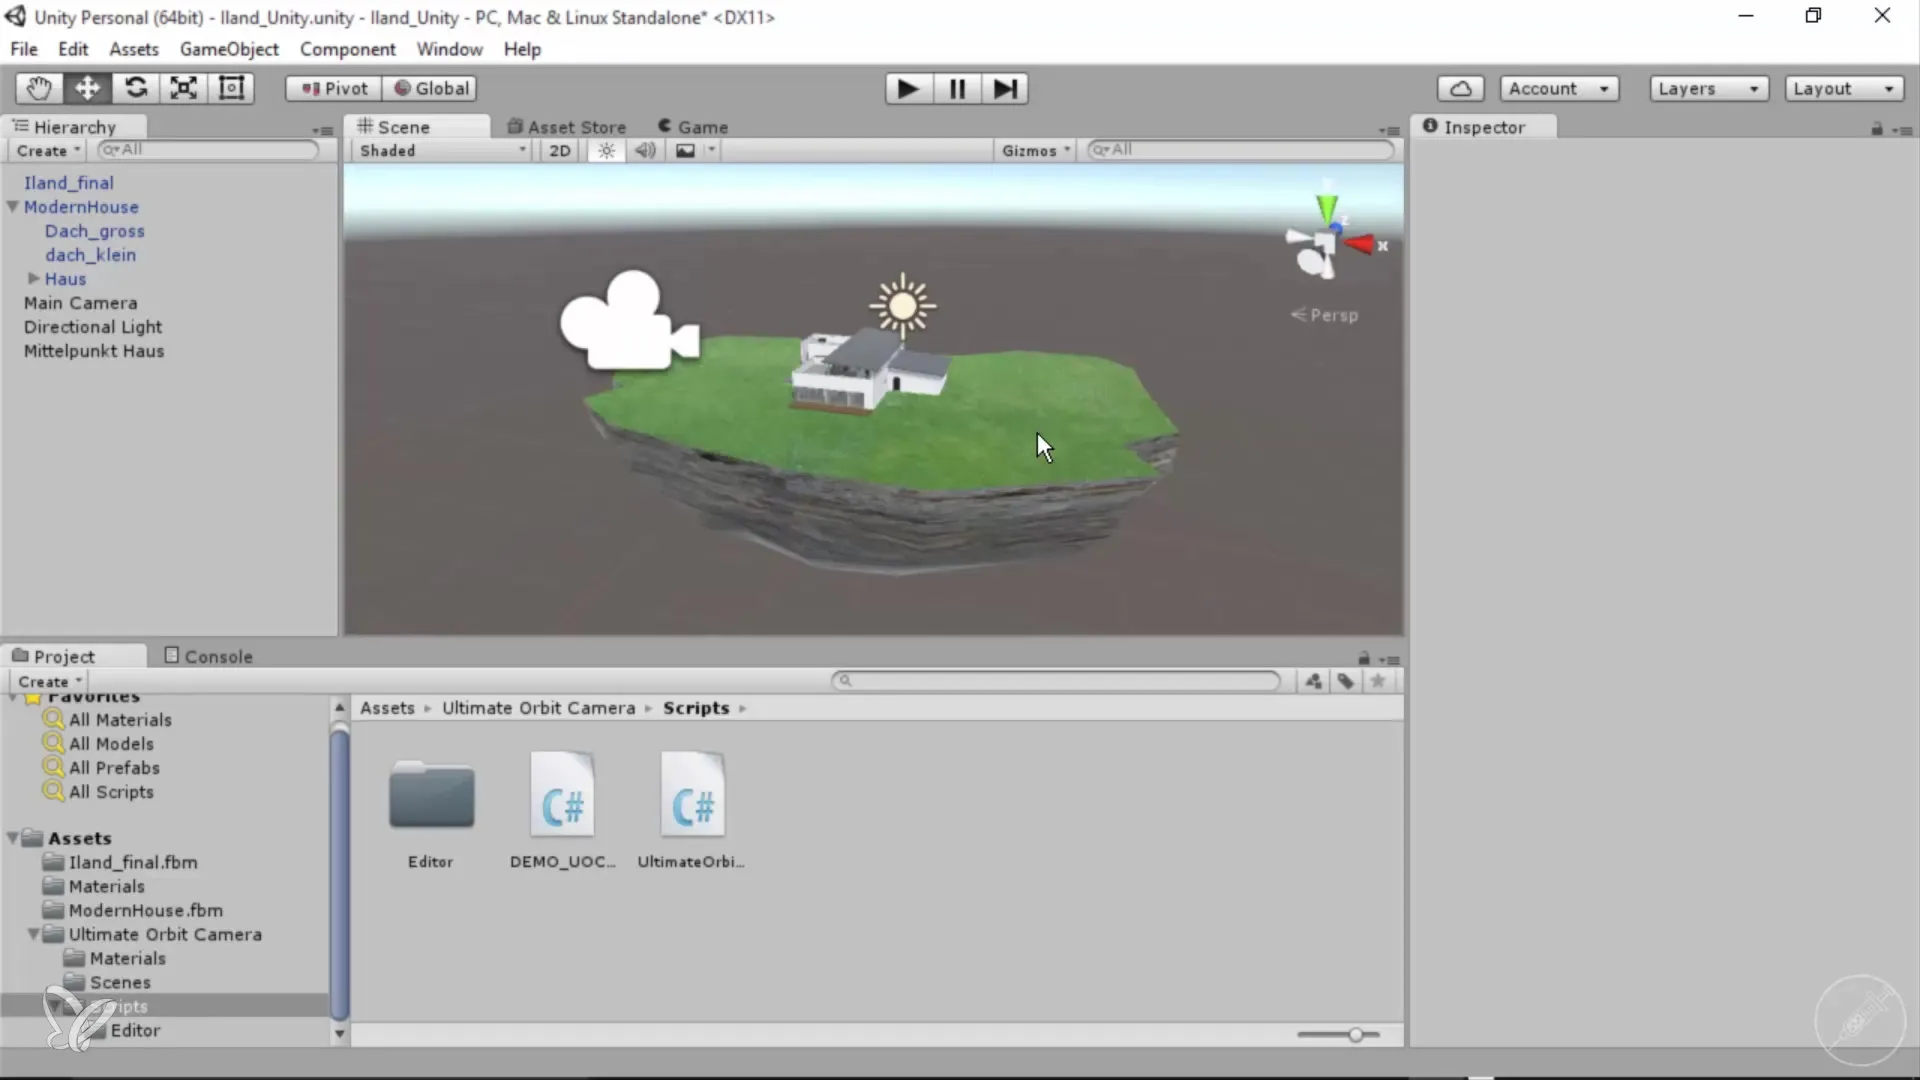
Before you start adding a button, make sure your 3D model is correctly positioned in Unity. You have already created an island, added textures, and imported a house. Now you can start.
2. Adding a Button
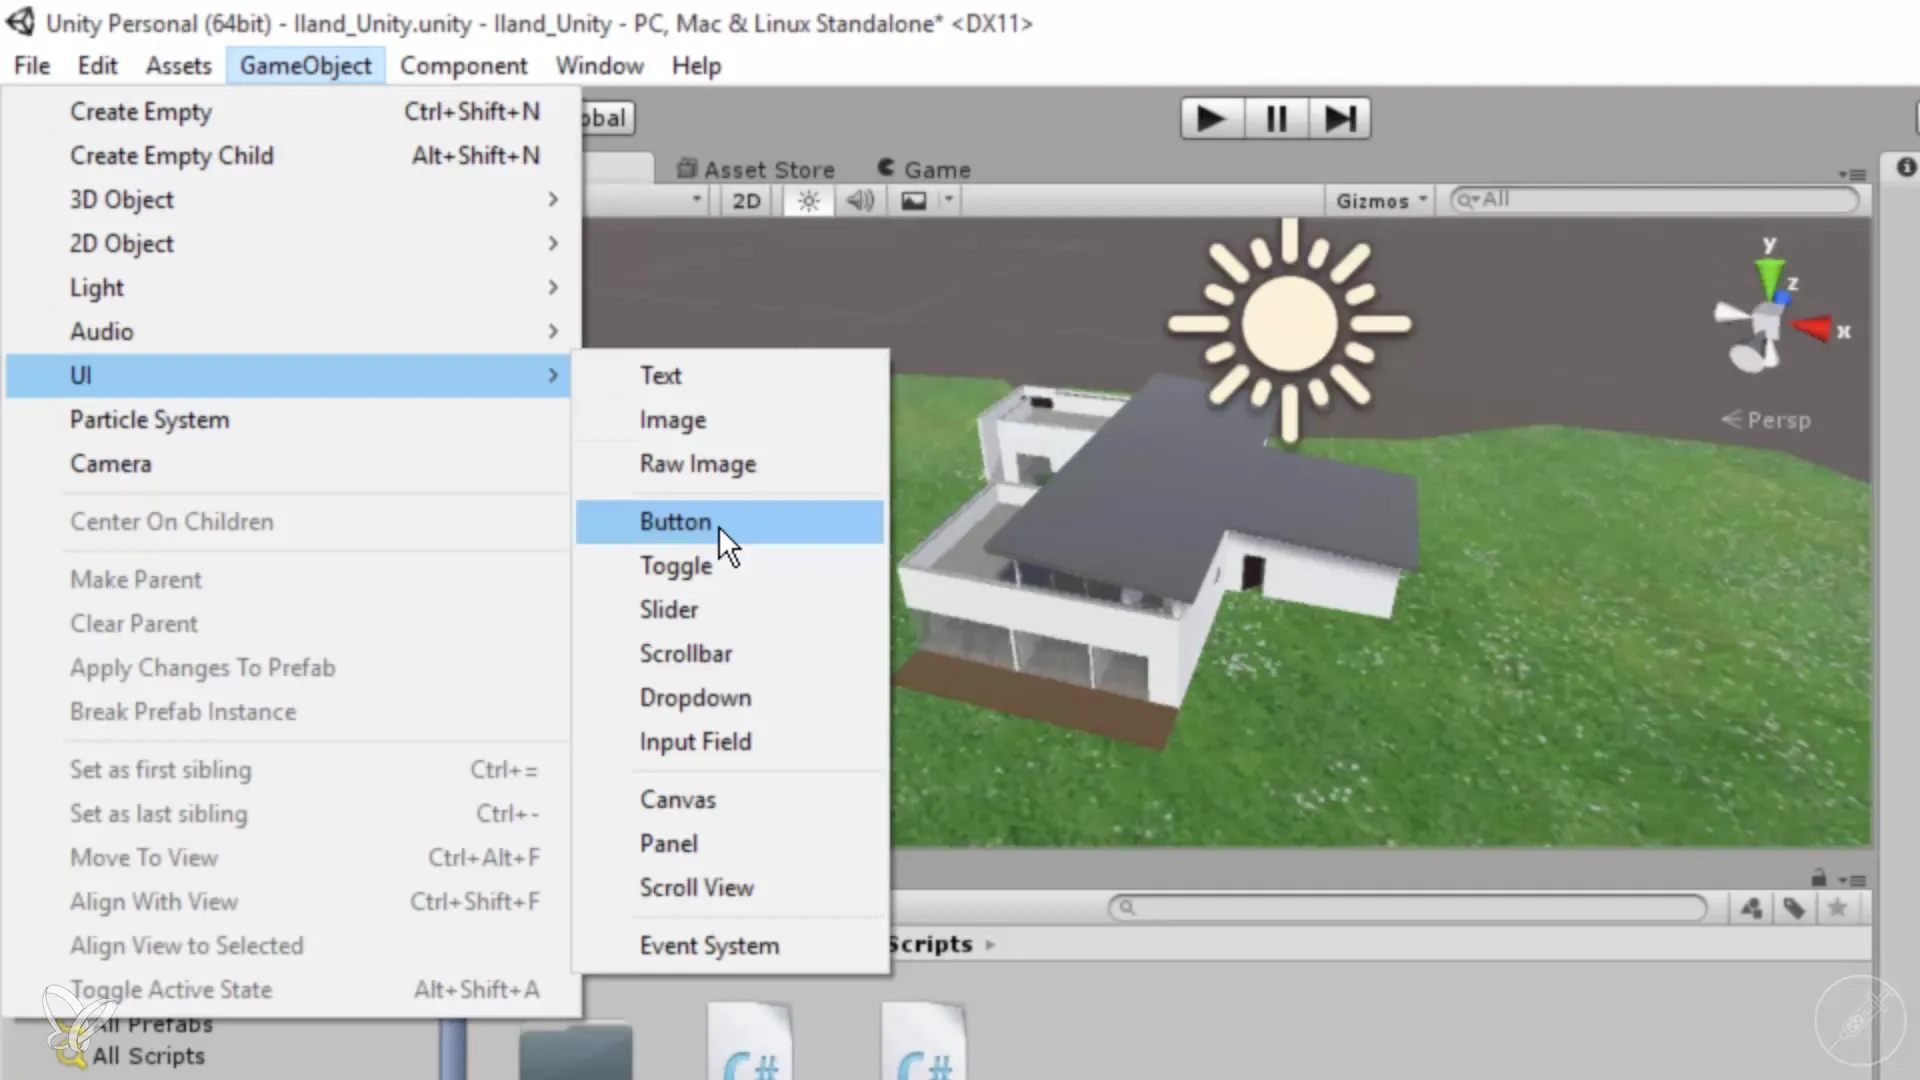
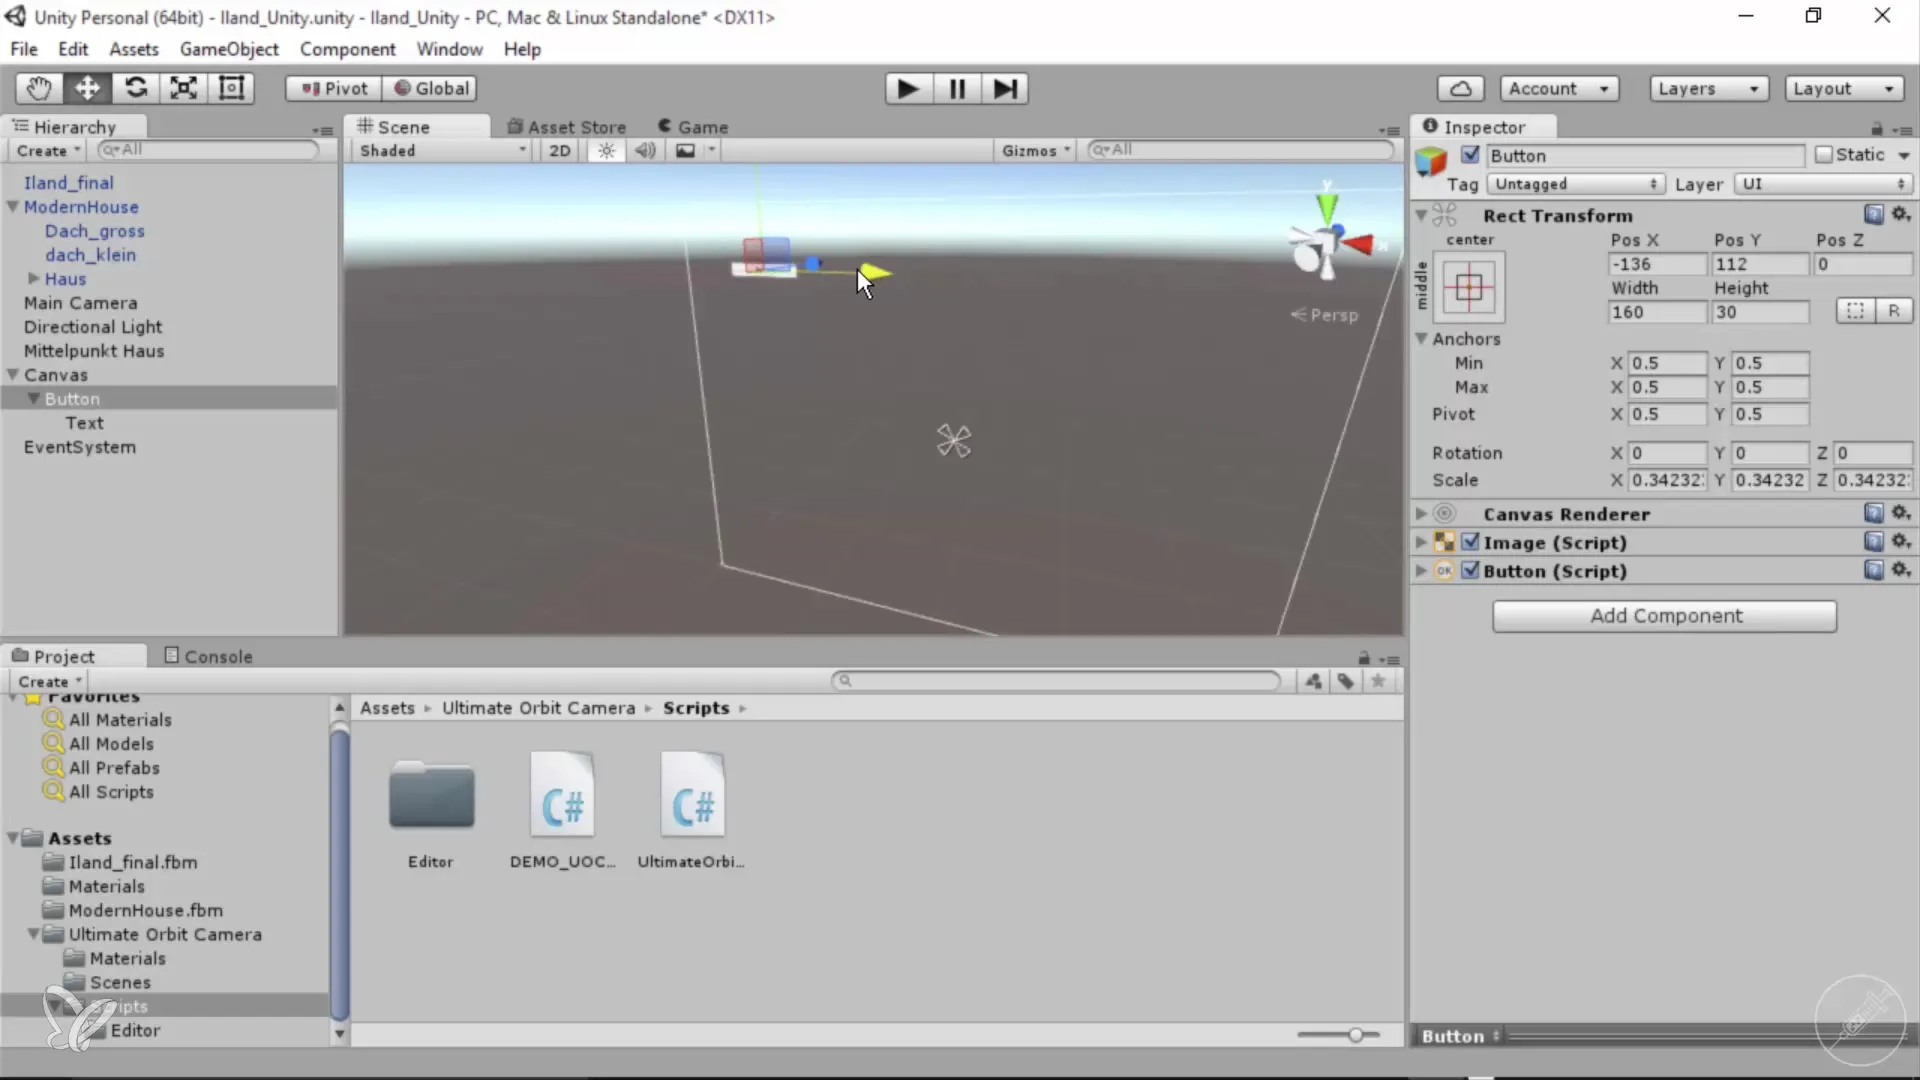
Navigate to "GameObject" in the top menu bar. Select the "UI" entry and then click on "Button". This will create a button in your scene along with a canvas and an event system.
3. Canvas and Button Positioning
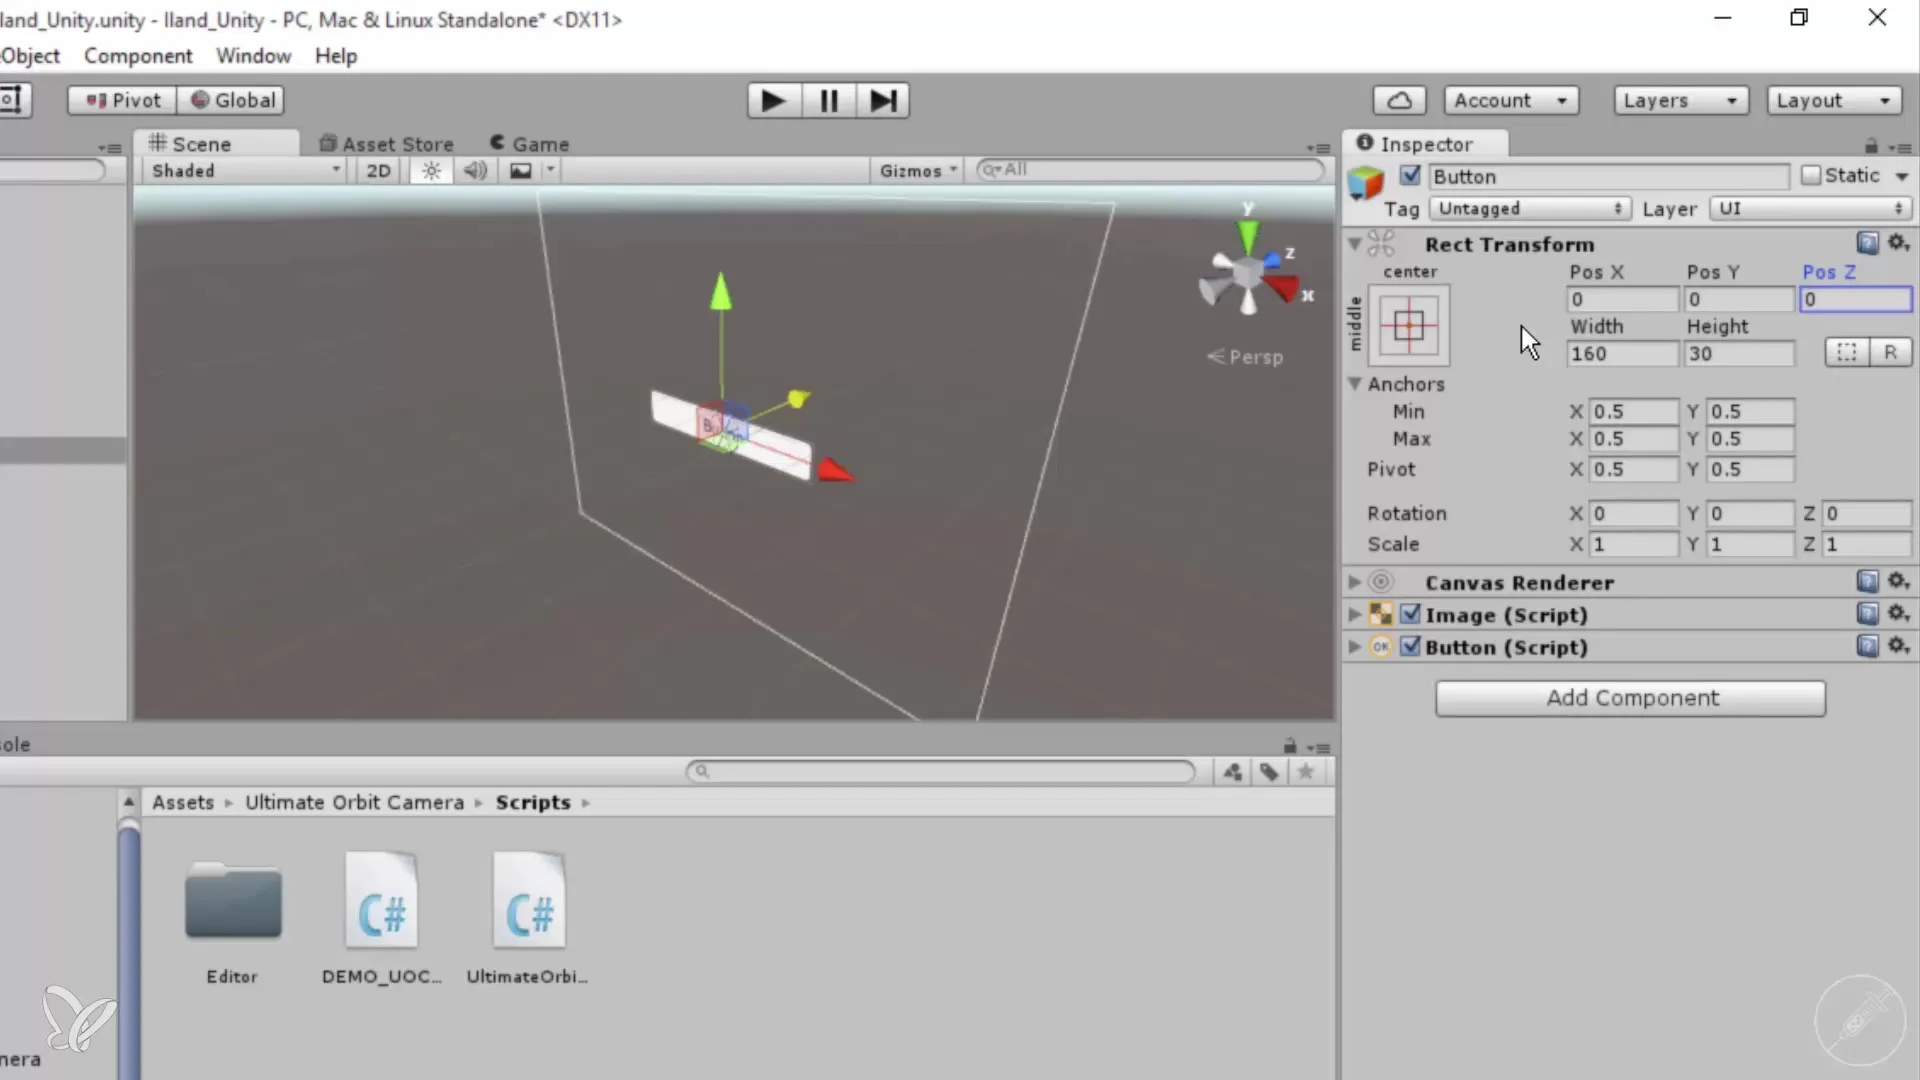
Take a look at the Hierarchy Manager; there is now a canvas. This represents the area where your UI elements are visible. Set the position of your button in the Inspector to "0" for X, Y, and Z, so it is displayed exactly in the middle of the screen.
4. Scaling and Moving the Button
To improve usability, you can scale the button and move it to a higher position on the screen. This will make it more visible and easier to reach.
5. Creating a Toggle Button for Hiding
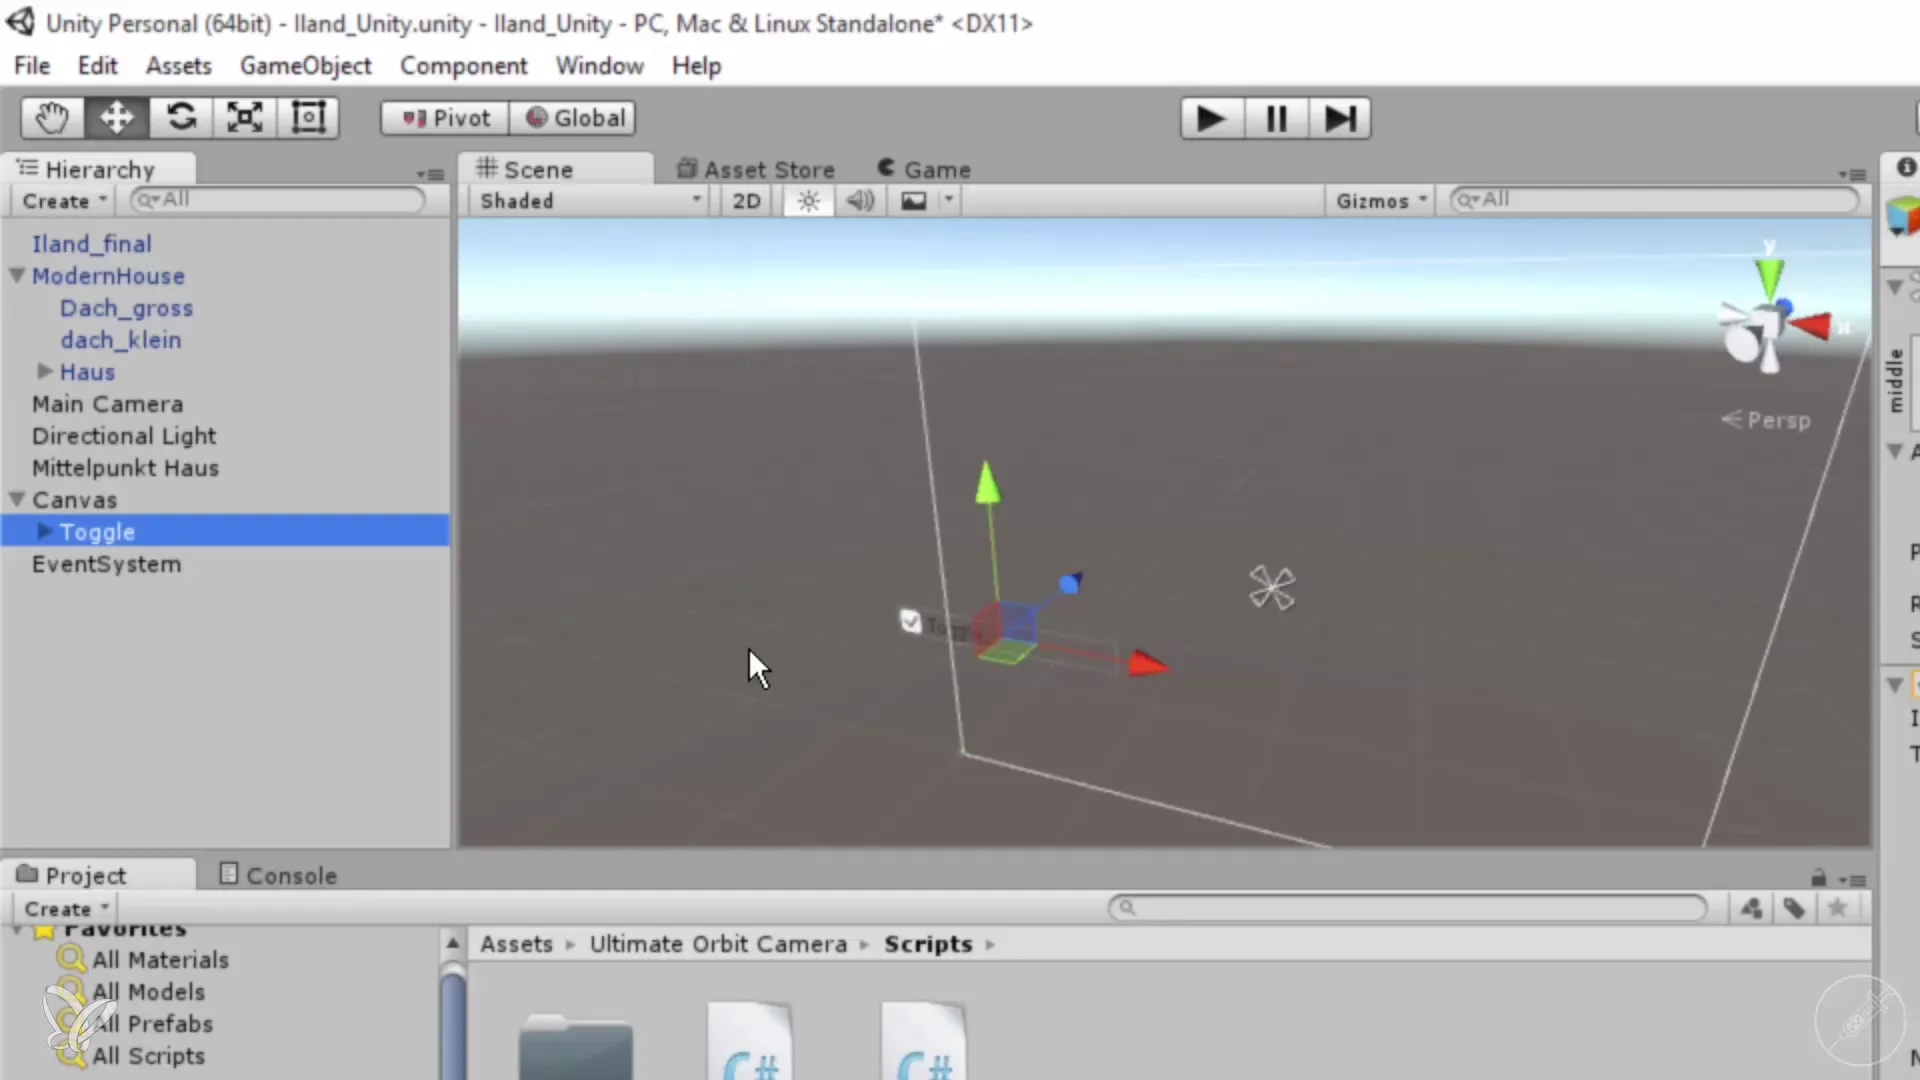
To ensure the button does not just perform an action once but toggles between showing and hiding, you need a toggle button. Delete the existing button and navigate again to "GameObject", go to "UI" and then to "Toggle".
6. Adjusting the Toggle Button
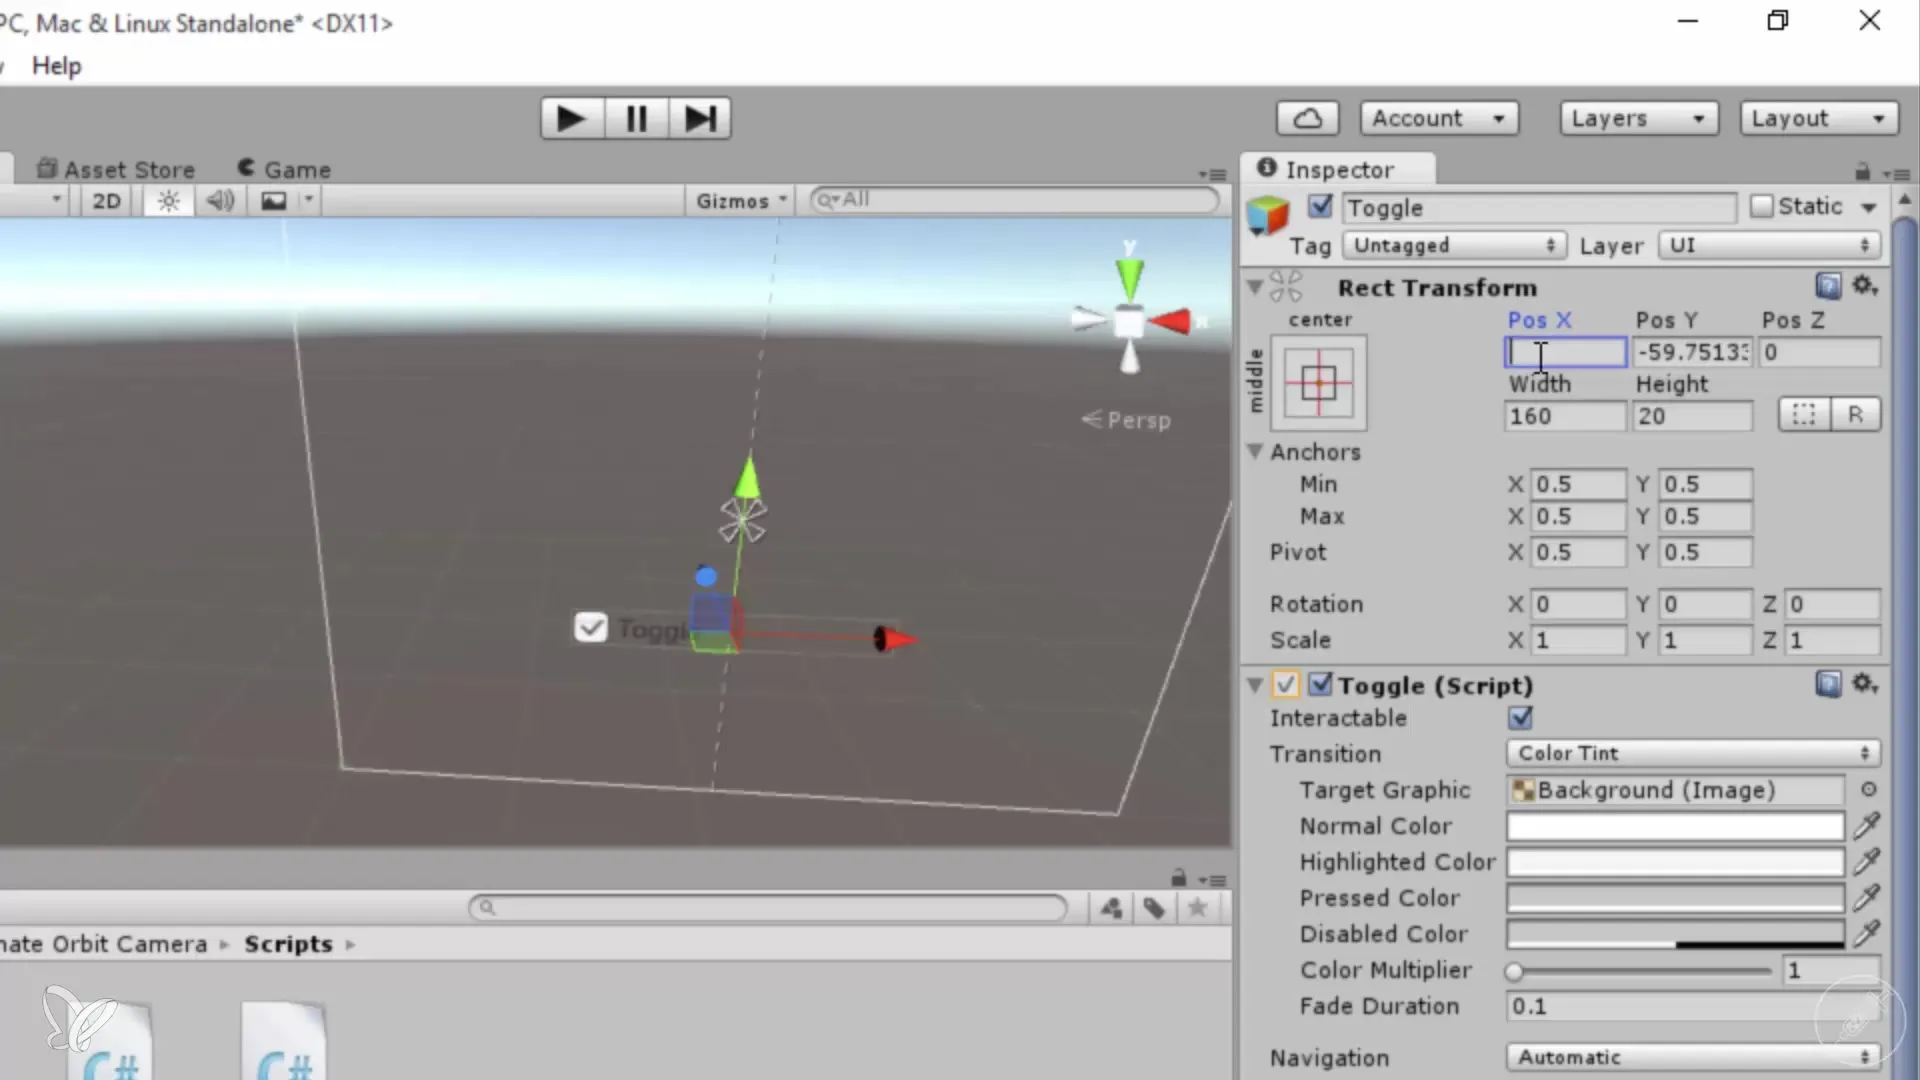
Select the toggle button in the Inspector and set the position to "0" for X, Y, and Z as well. This will ensure that the toggle button is displayed in the center.
7. Text Input for the Toggle Button
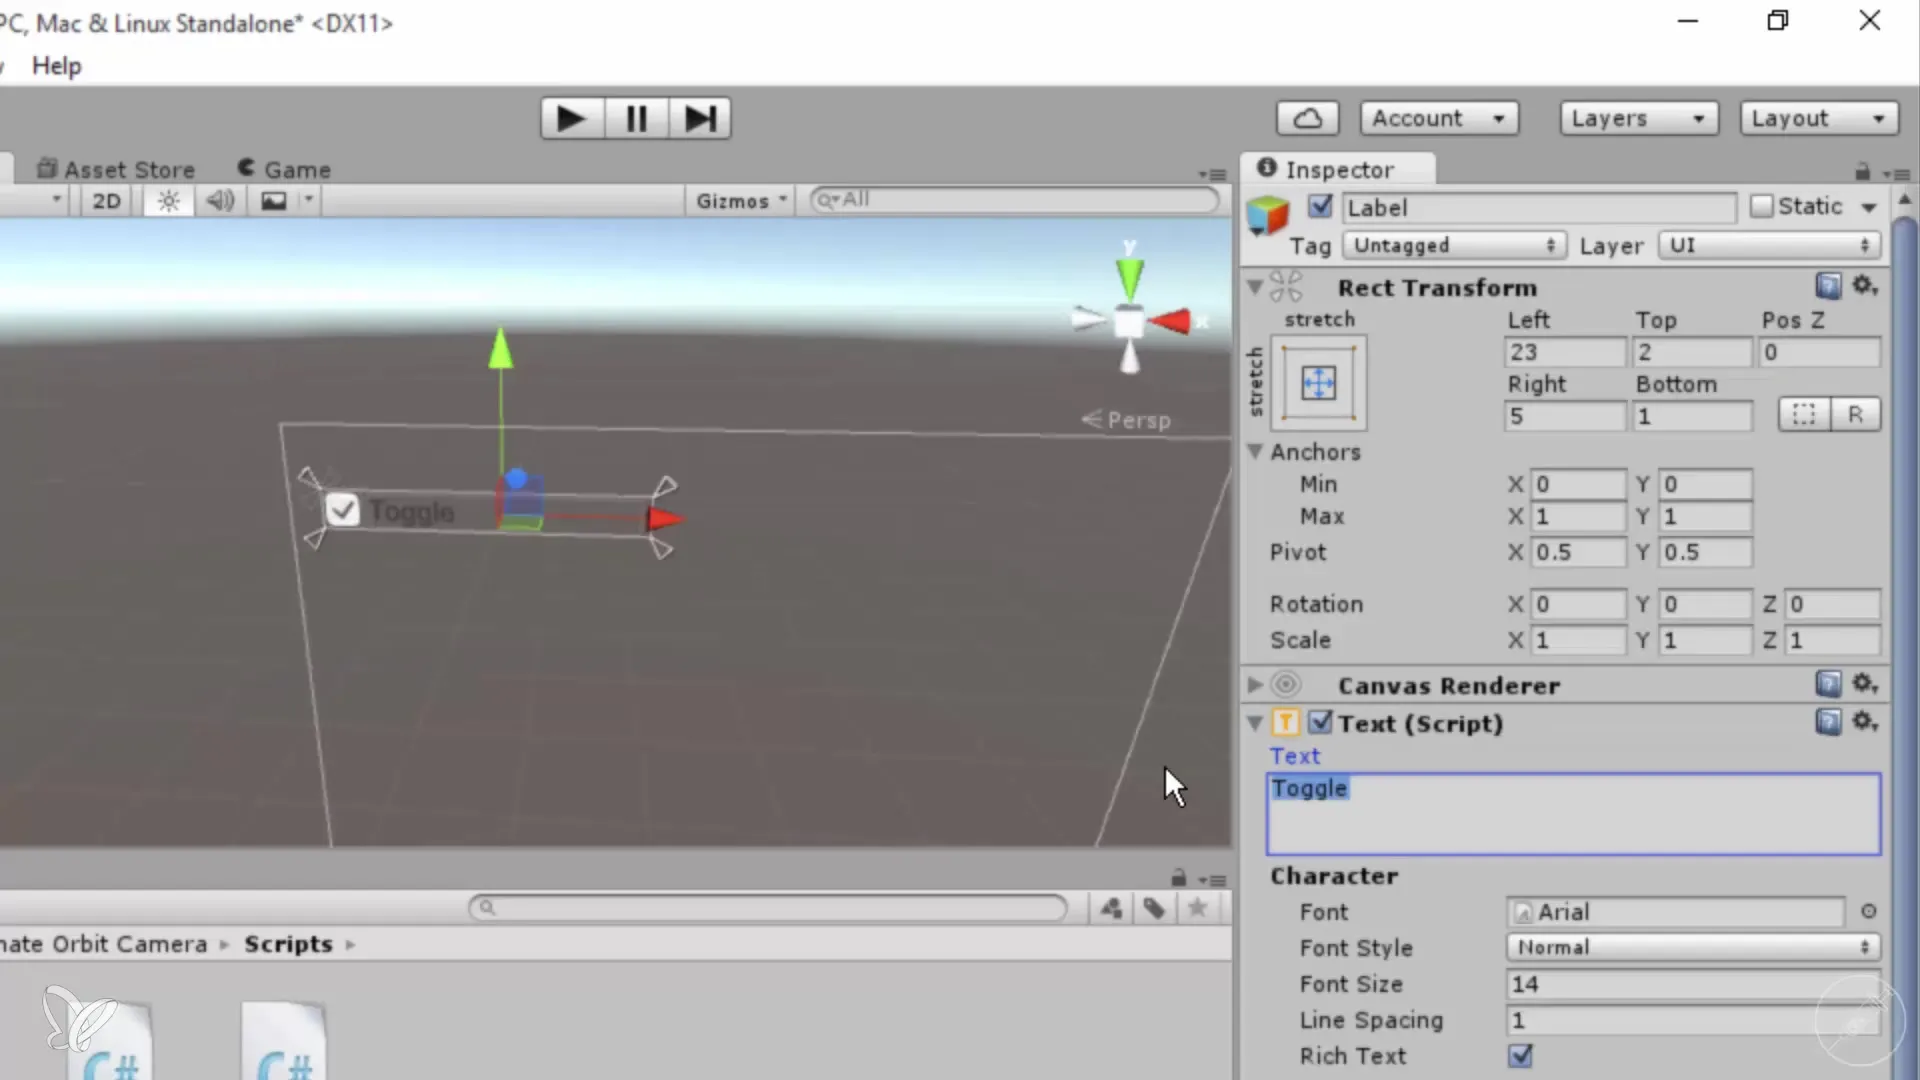
In the Inspector, you can now change the text for your toggle button. Click on the "Label" and enter "Hide Roof". This text helps users understand what action the button performs.
8. Linking the Toggle Button with the Object
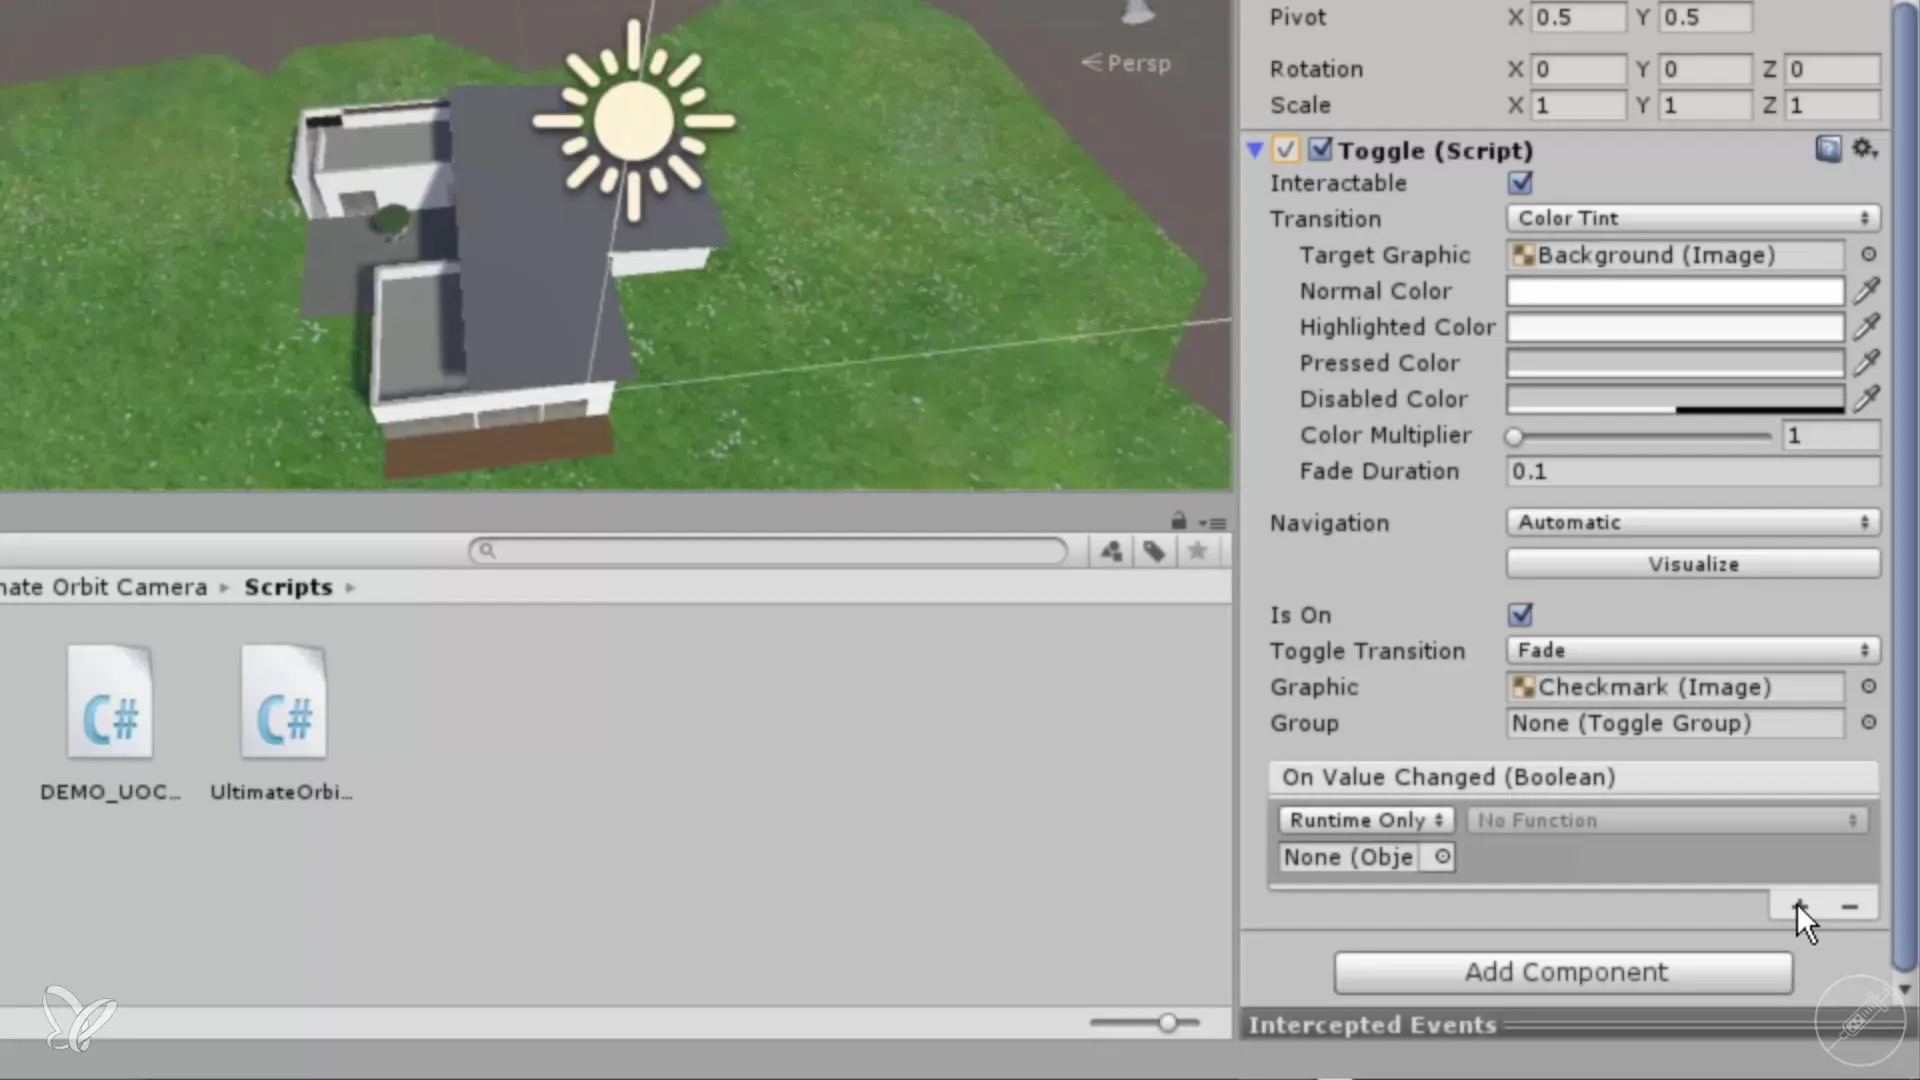
Now you need to link the toggle button to the roof that you want to hide. To do this, click on the "On Value Changed" field in the Inspector of the toggle button and press the plus sign to create a new function.
9. Selecting the Object for the Action
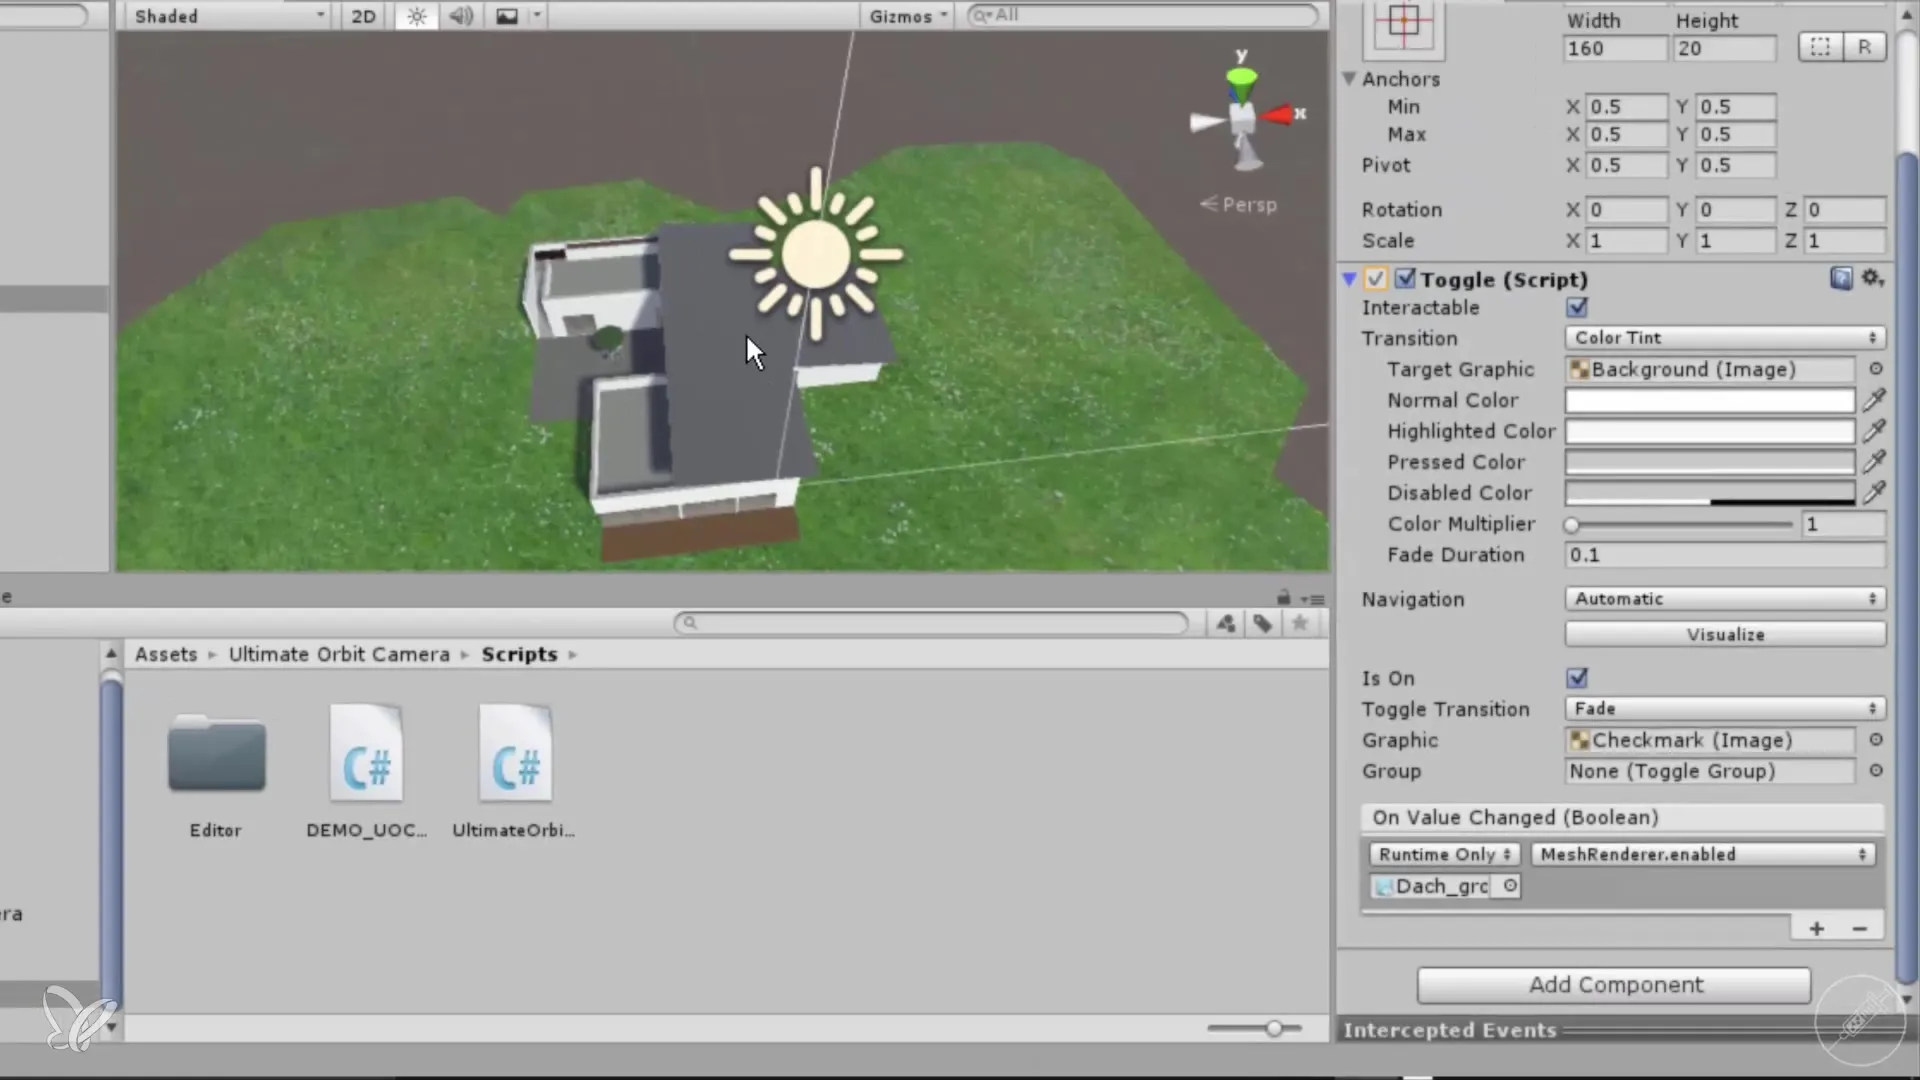
Drag the roof object into the area that is now visible. Then select the function "SetActive" in the Inspector to change the status (visible or invisible) of the roof.
10. Testing the Functionality
Start the scene in Play mode and test the functionality of the toggle button. When you click the checkbox now, the roof should appear and disappear.
Summary – 360° Architectural Views with Unity: Adding Buttons and Interactivity
In this guide, you learned how to create an interactive button in Unity that enables you to hide or show objects in your 3D model. Using toggle buttons enhances the user experience and makes your architectural visualizations dynamica.
Frequently Asked Questions
How do I add a button to my Unity scene?Click on "GameObject", go to "UI", and then to "Button" to create a button.
Can I customize the button?Yes, you can adjust the position, size, and text in the Inspector.
What is the difference between a button and a toggle button?A button performs a one-time action, while a toggle button can switch between two states, such as appearing and disappearing.
Can I achieve functionality without scripting?Yes, you can link the properties of the UI elements directly in the Inspector.
Does this guide work in other versions of Unity?Yes, basic UI functions are similar in most versions of Unity.
