When working with 3D architectural visualizations, it is often desirable to make certain elements like trees appear more lively. In this tutorial, I will show you how to animate a tree using Unity and Cinema 4D so that the leaves sway in the wind. Whether you are a beginner or an experienced user, this guide will clearly walk you through the entire process.
Key Insights
- You can enable the tree animation in Unity to produce realistic movements.
- The settings of the wind zone are critical for the animation effects.
- It is possible to create a button that controls specific animations to enhance usability.
Step 1: Enable Tree Animation
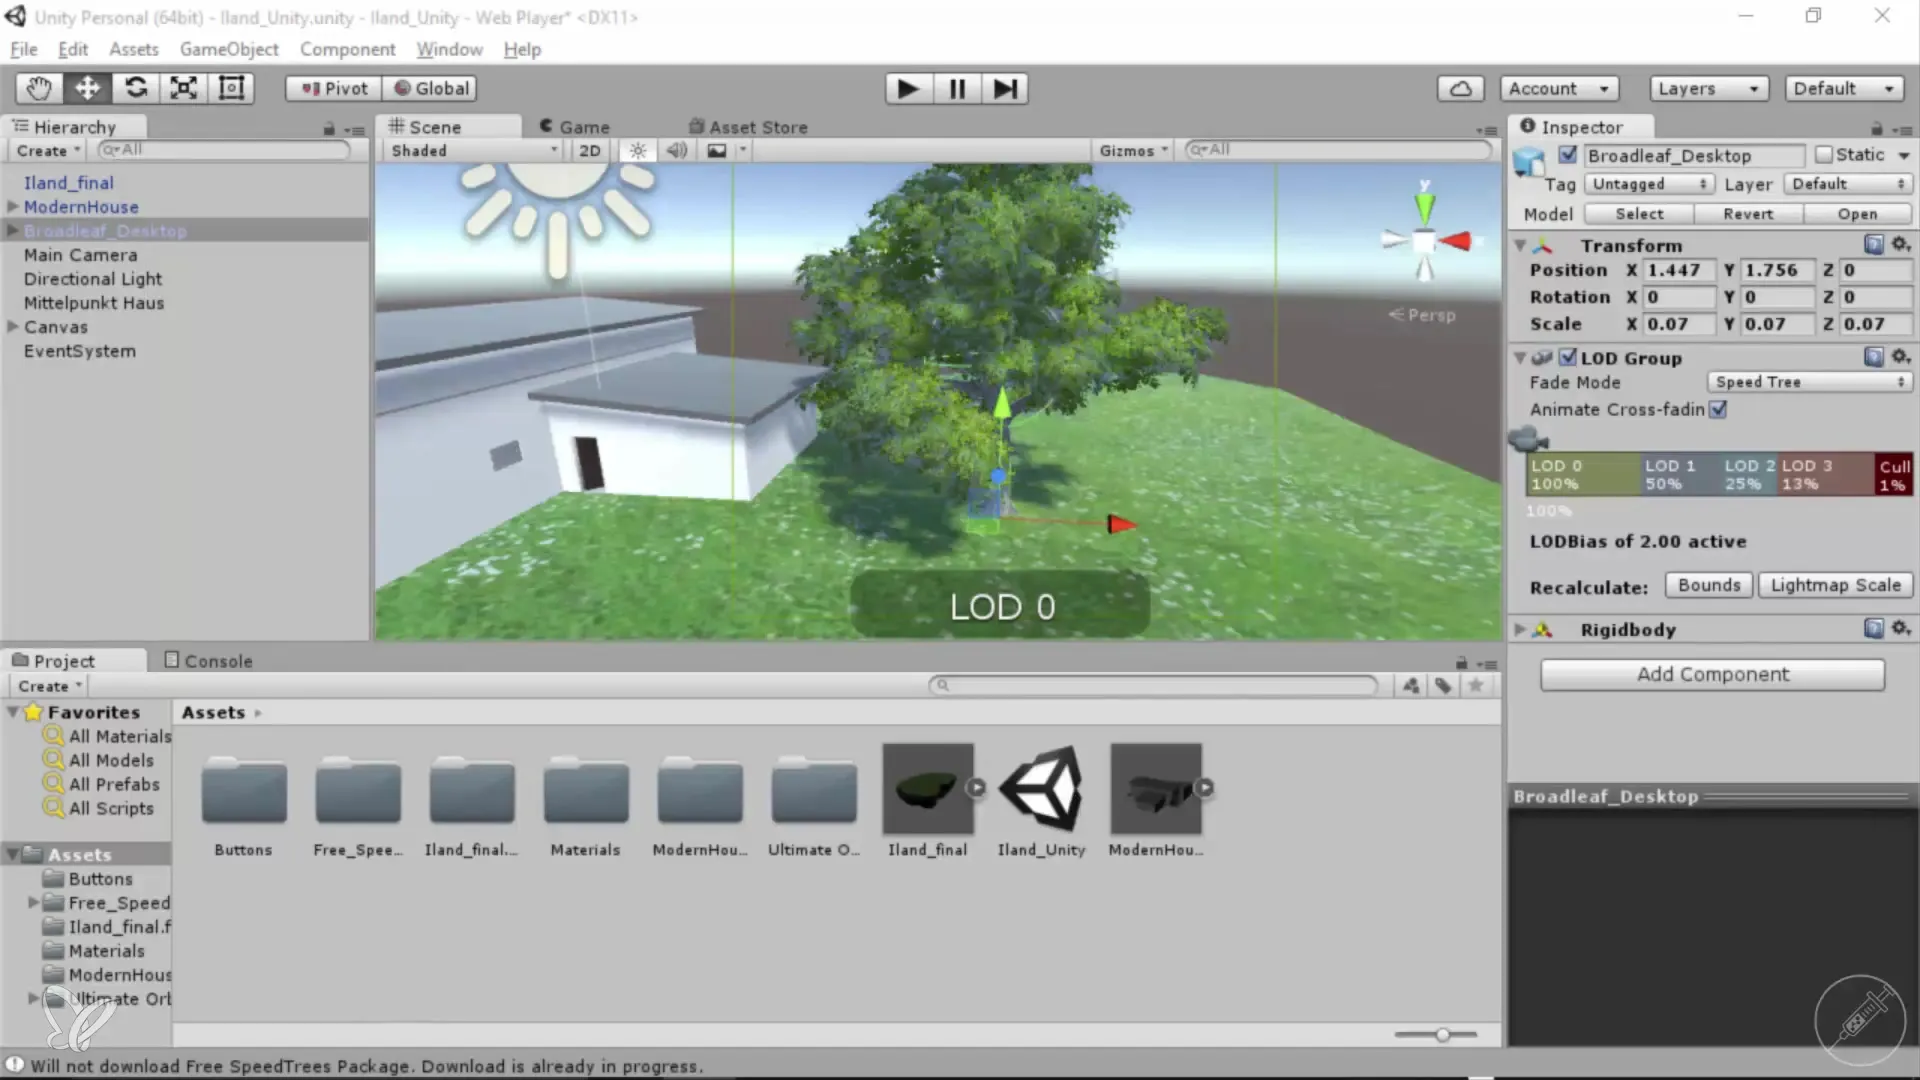
To enable the animation of the tree, you must first ensure that all required assets are available. In Unity, select the tree and make sure that all relevant files are correctly imported in the “Assets” folder. There is no simple button to activate the tree animation with one click.
Step 2: Add Wind Zone
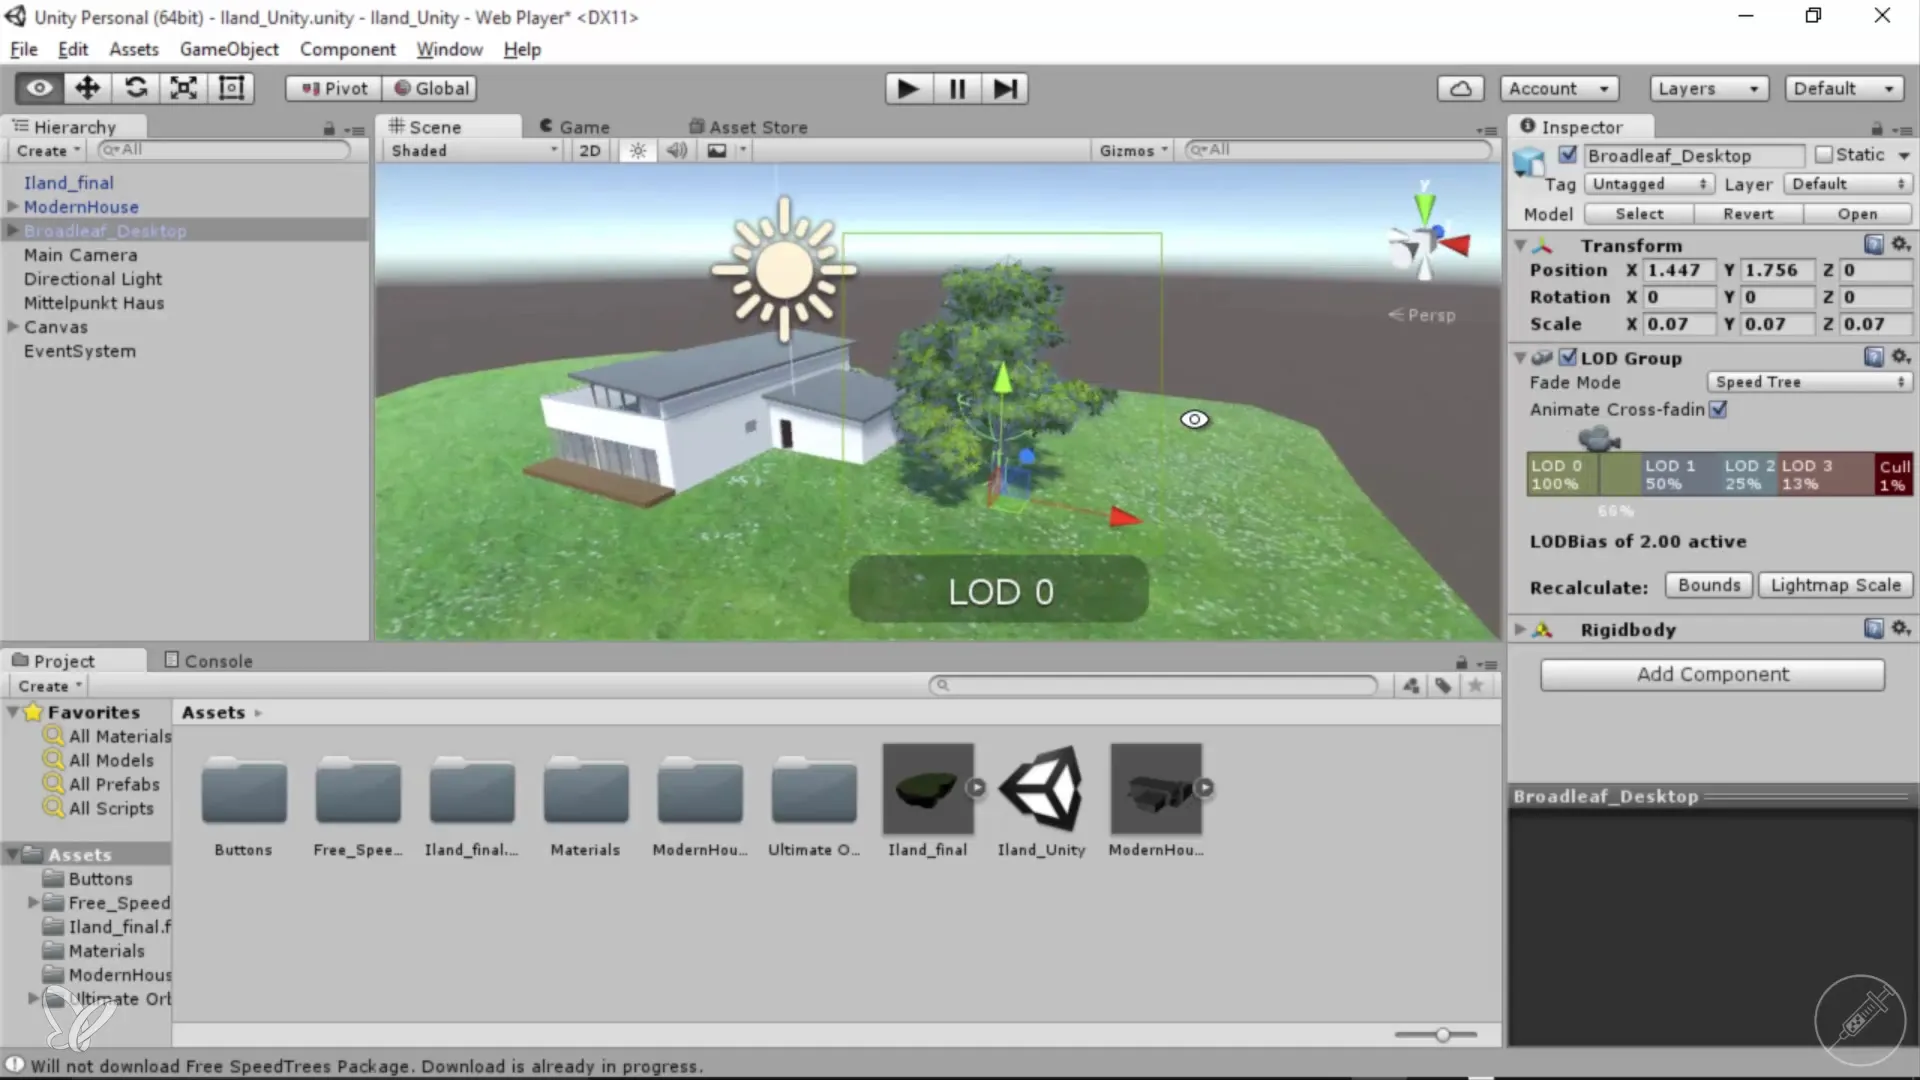
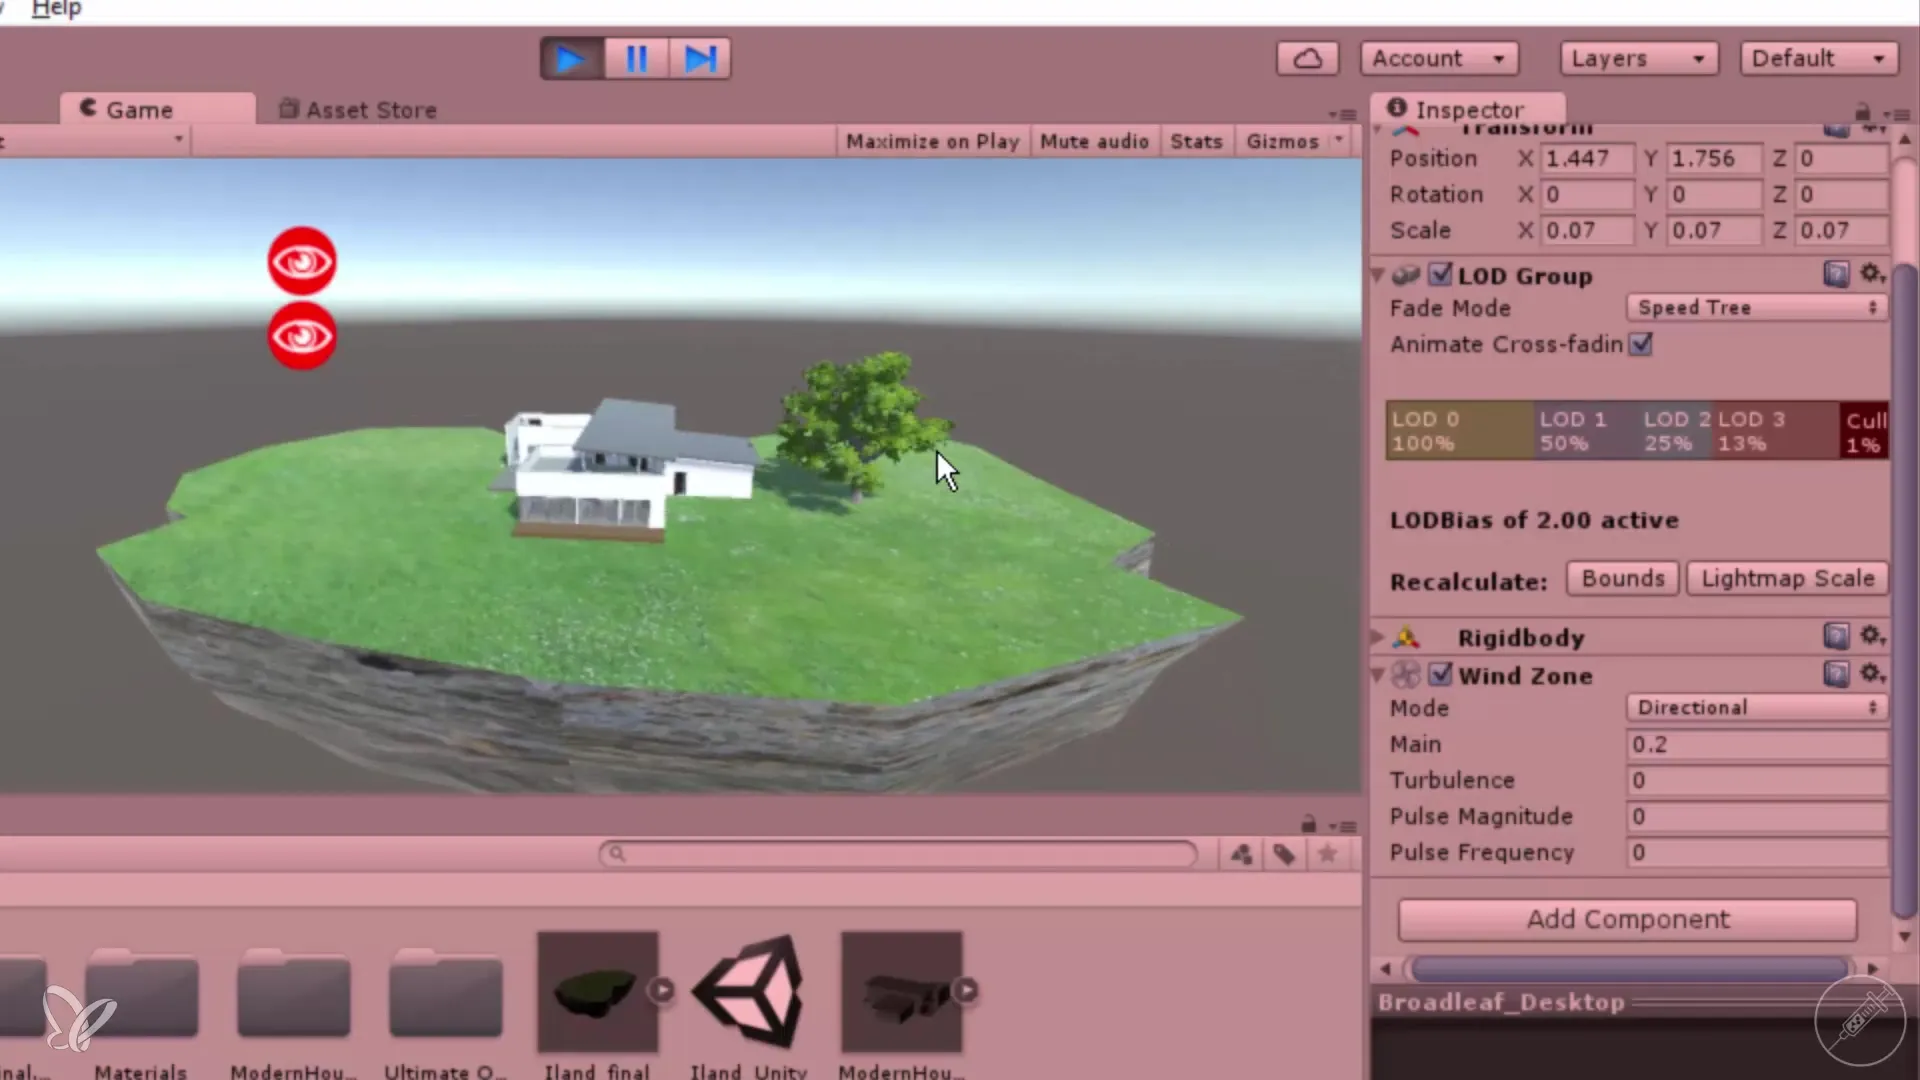
Navigate to the “GameObject” menu and click on “Component.” Under “Miscellaneous,” you will find the “Wind Zone.” Add this wind zone to give movement to the trees. If you mistakenly assigned the wind zone to a canvas, you can simply remove it.
Step 3: Configure Wind Zone
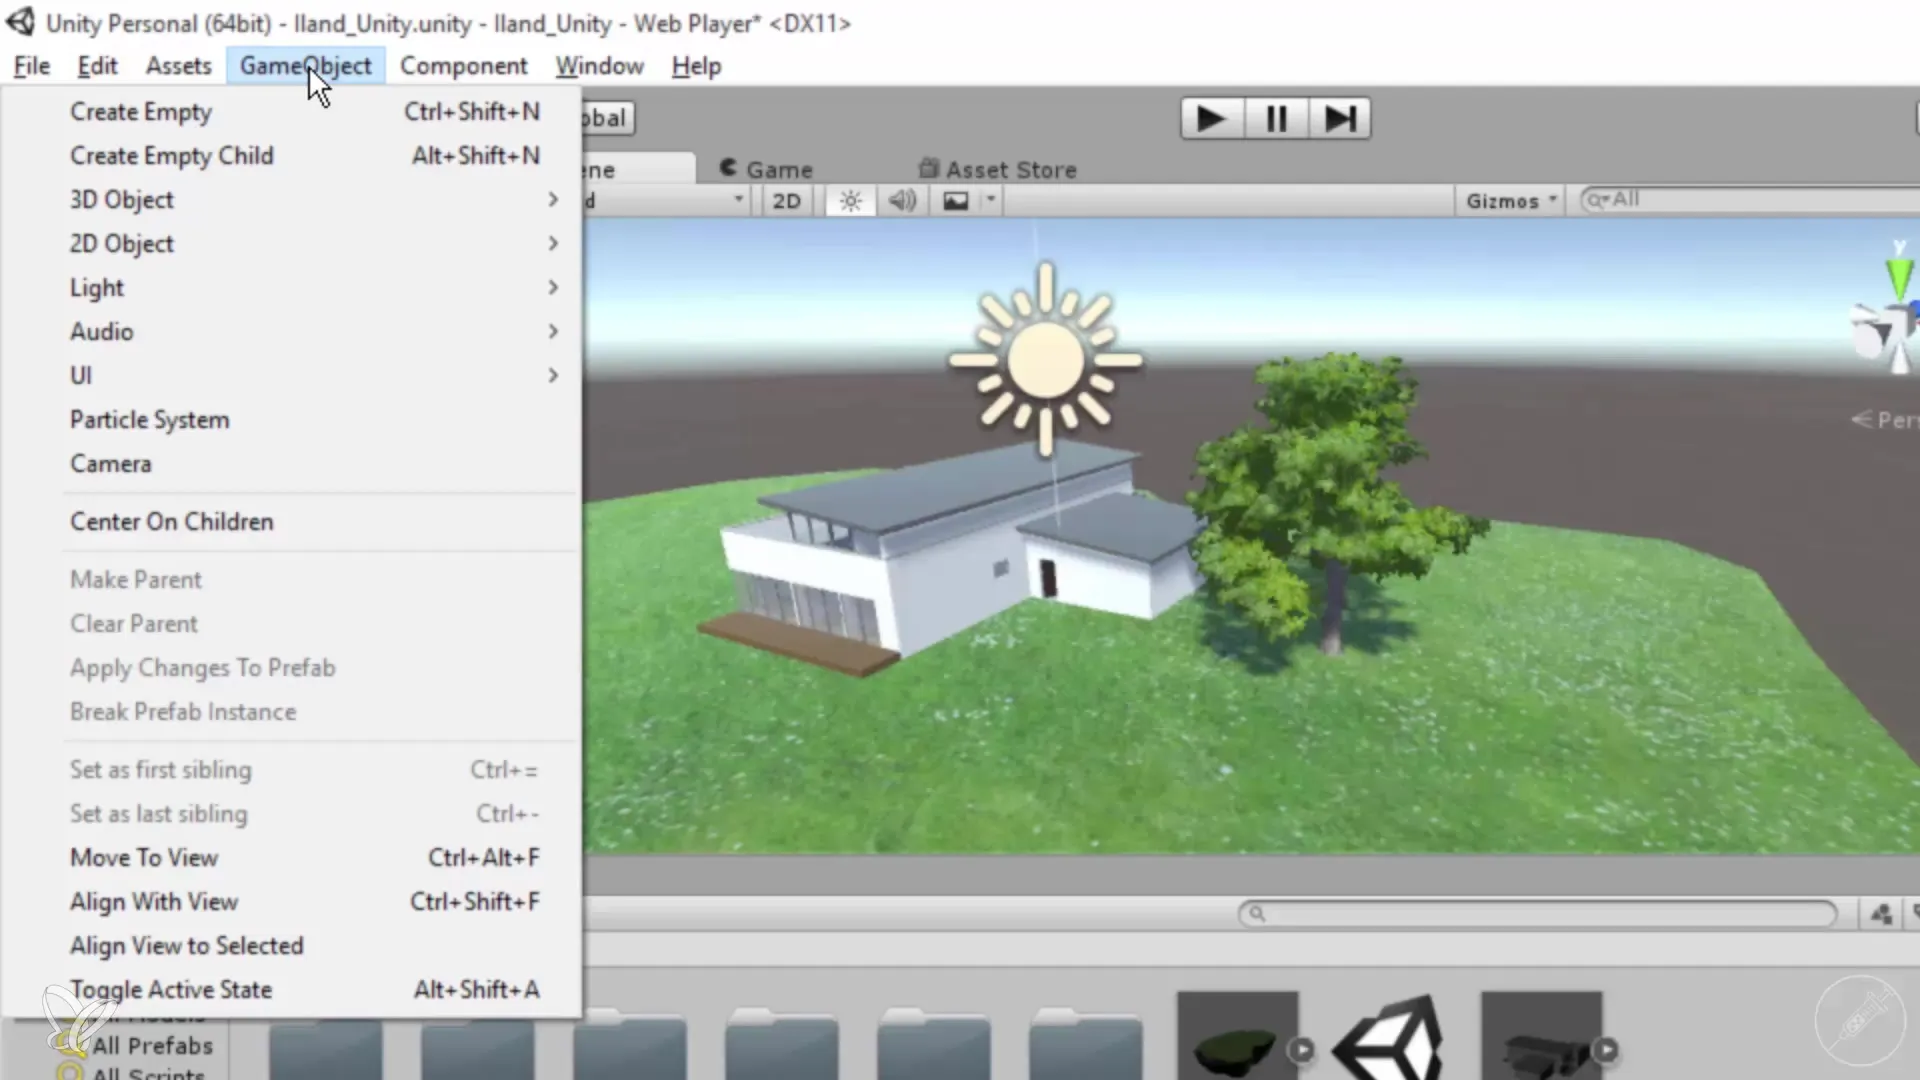
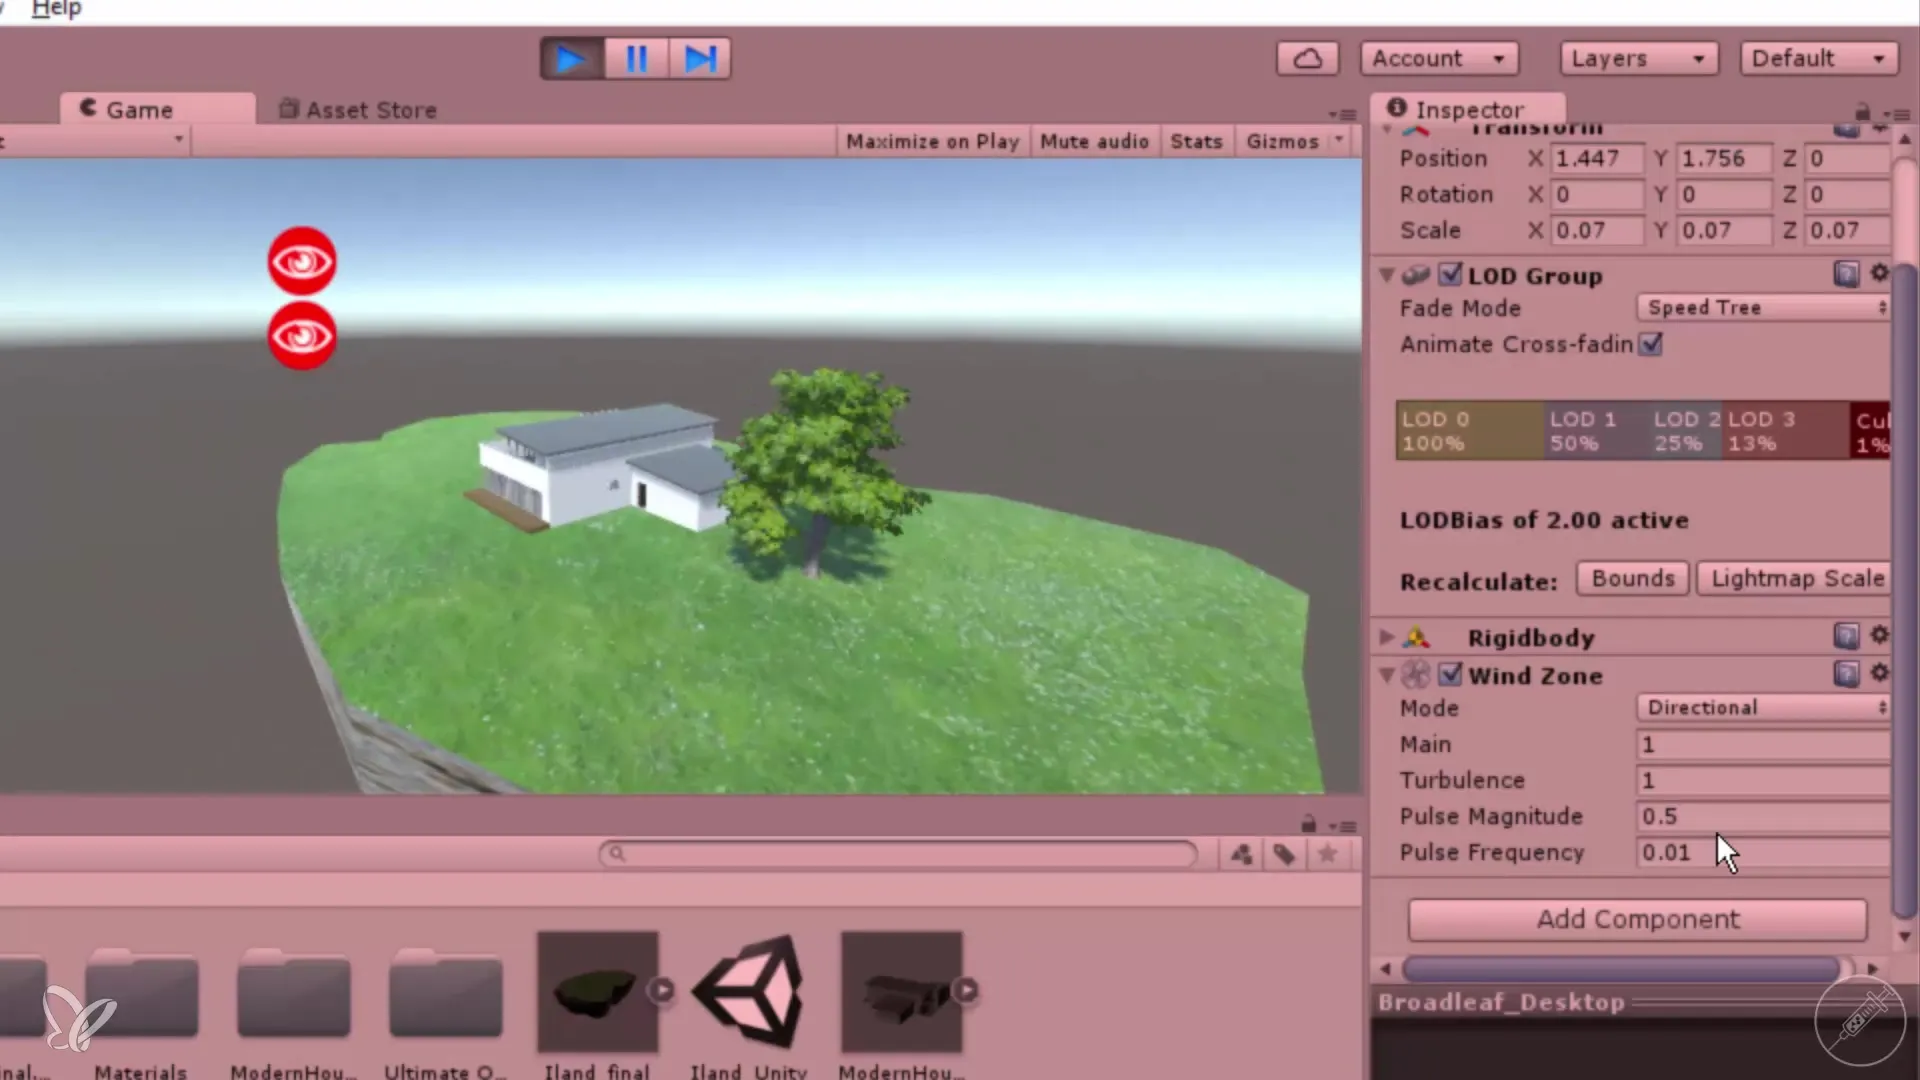
After adding the wind zone, go to the parameter settings. Here you will find various adjustment options such as main turbulence, magnitude, and frequency. First, set everything to zero to see what happens when the tree has no wind.
Step 4: Adjust Values
With the values you set in the wind zone, you can simulate the intensity and effect of the wind on your tree. Try different settings to achieve a more realistic motion, such as a main value of 10. Observe the effects on your tree and make adjustments.
Step 5: Fine-Tuning
At this point, you should gradually increase the values to find the right balance. Start with values like 1 or even 0.2 to see how the tree behaves. Note the values that achieve the desired effect and save your changes regularly.
Step 6: Create a Button to Hide the Tree
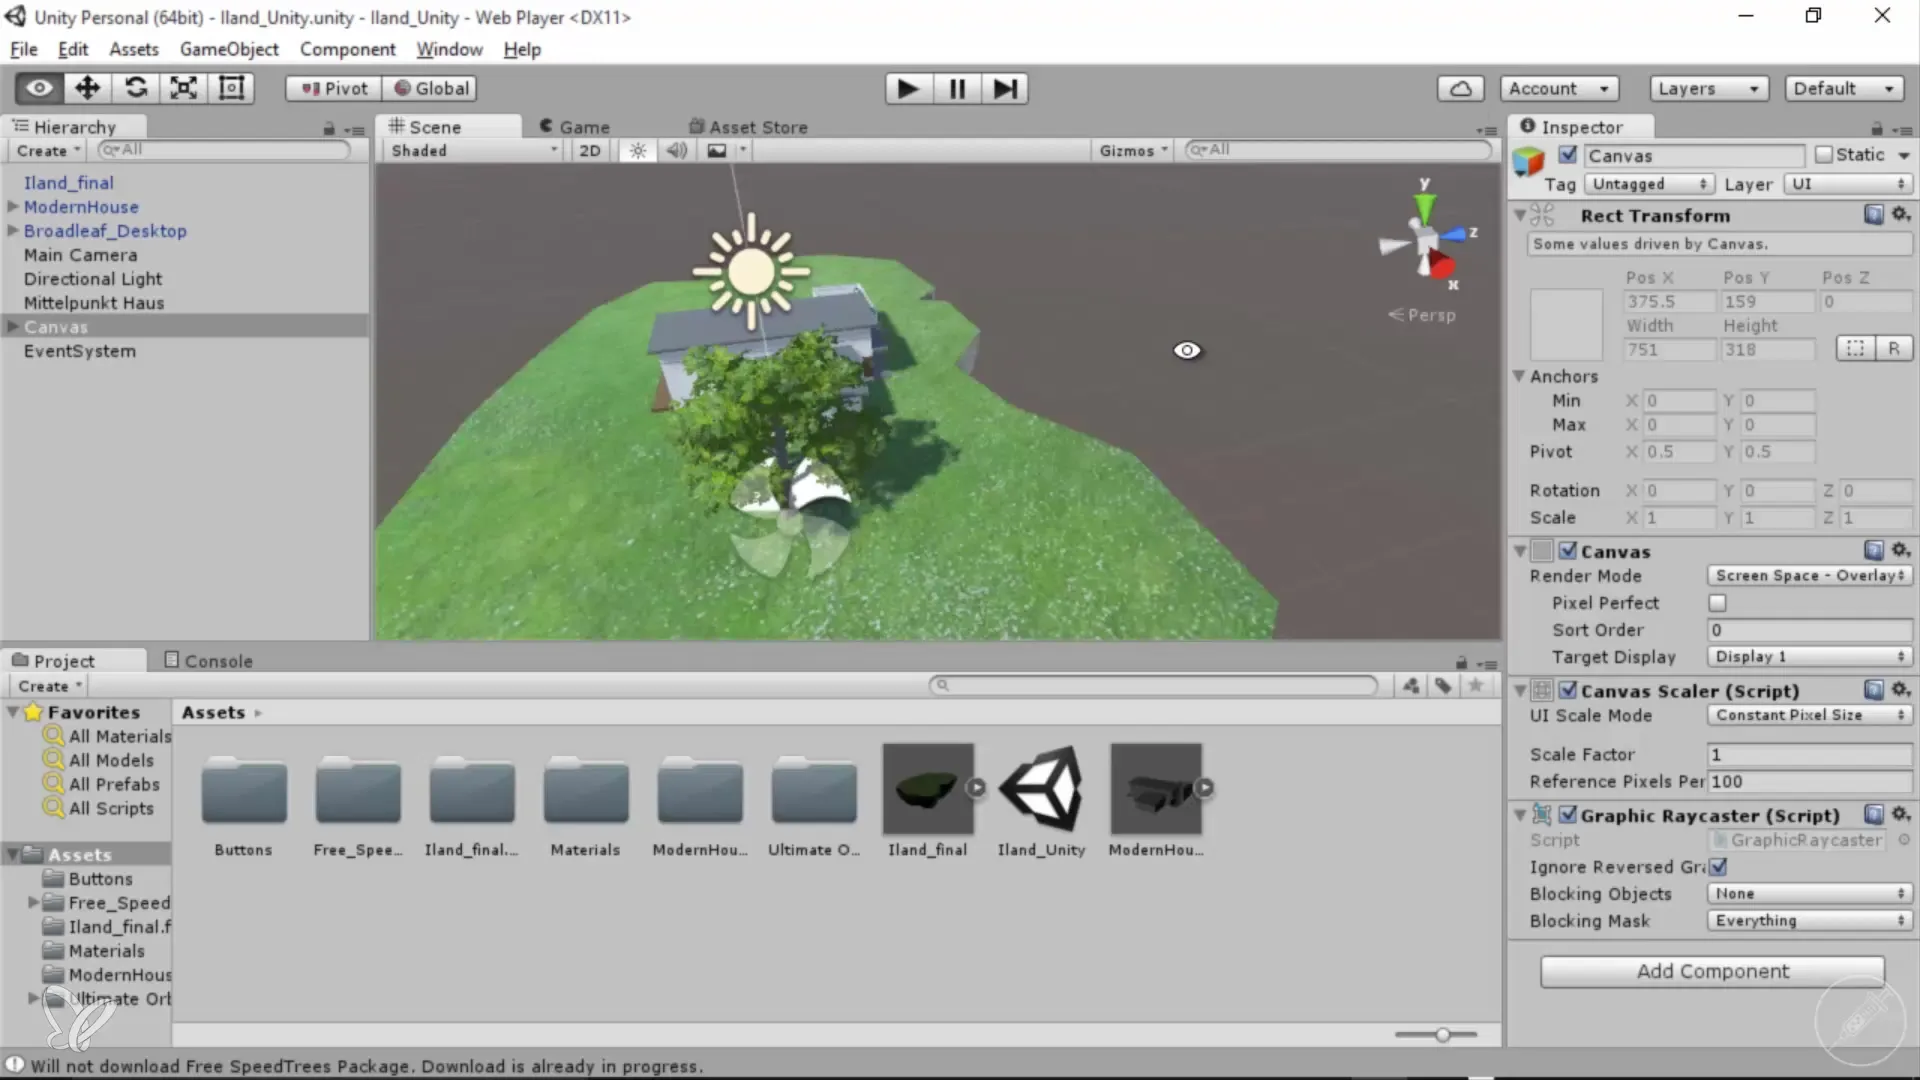
To improve the usability of your application, you can create a button that allows the tree to be hidden. This is especially useful if a client finds the shadow casting disturbing. Simply go through the same procedure as with the previous button-making process.
Step 7: Add Interactive Elements
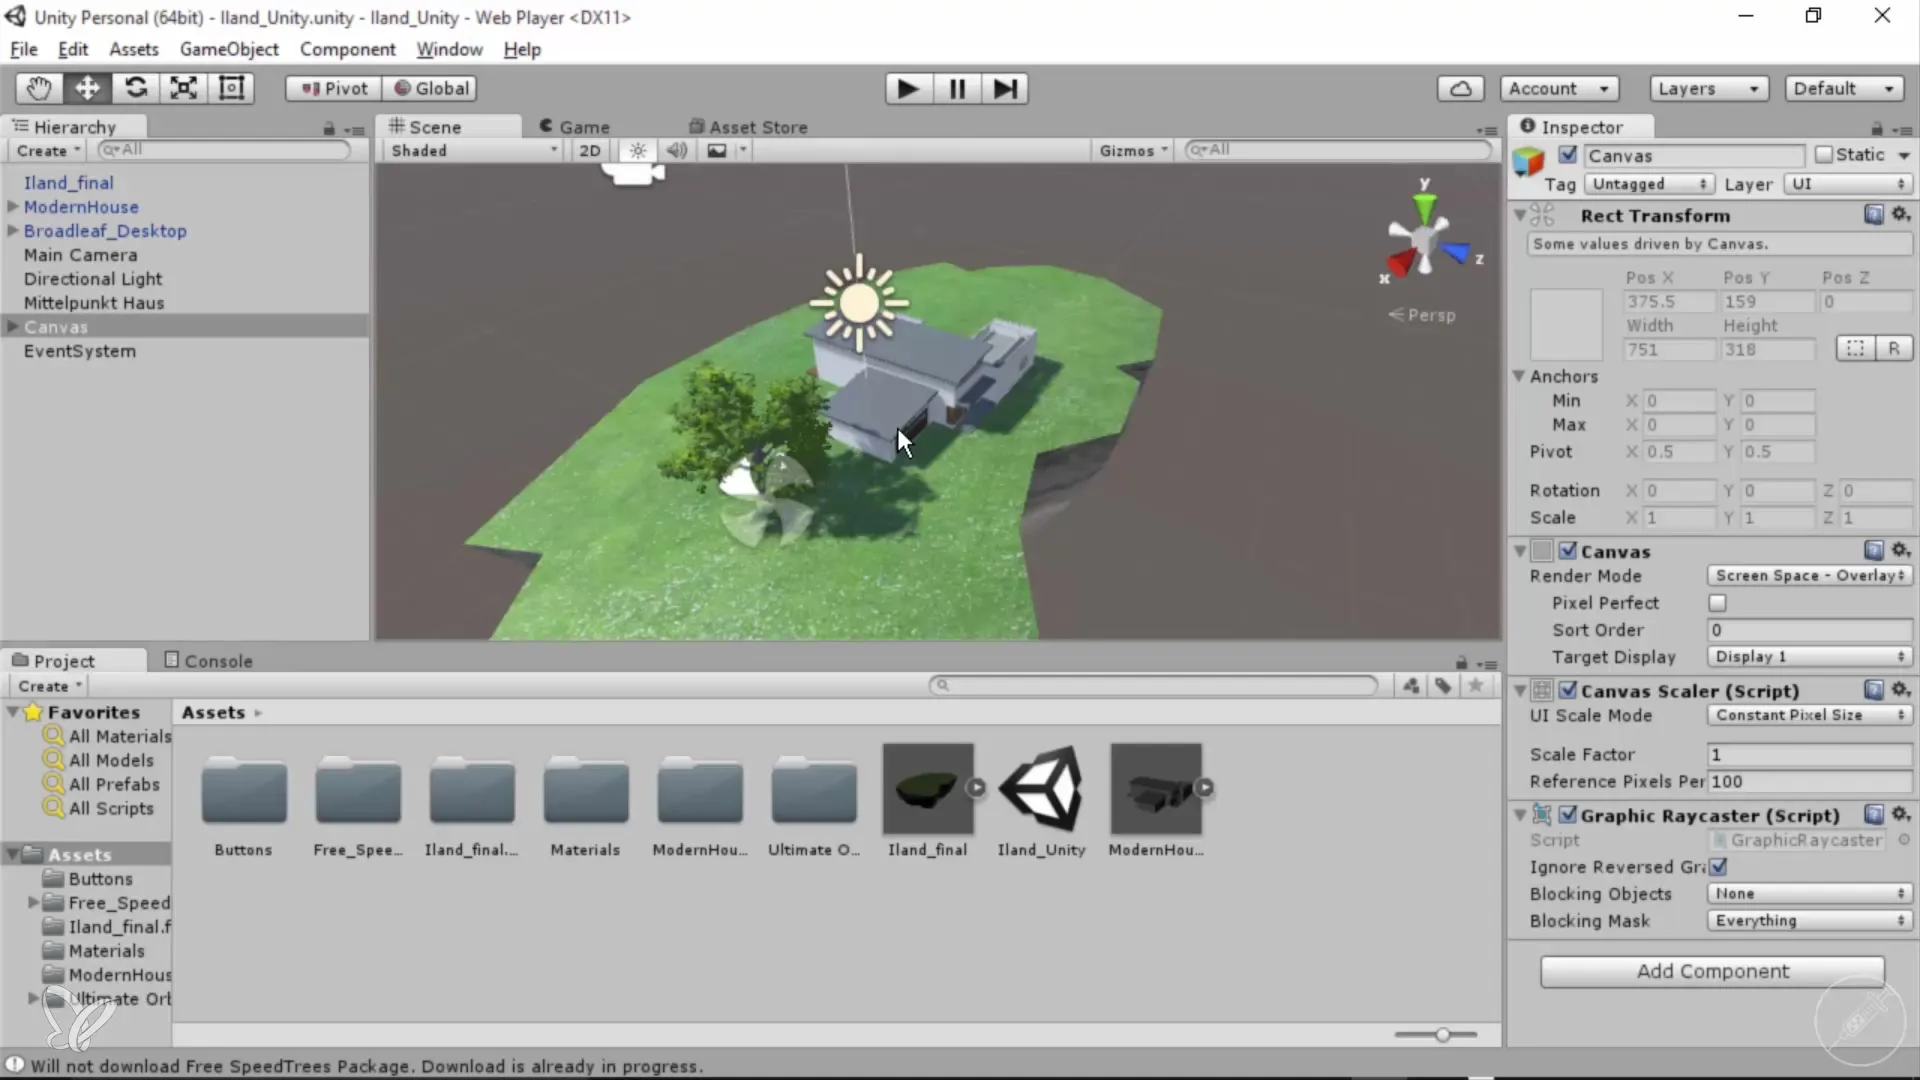
You can create additional interactive elements, such as sliders that can adjust wind strength or toggle the animation on and off. Adding various controls will help your users customize the visualization to their liking.
Summary – 360° Architecture Views with Unity and Cinema 4D: Animate Trees Step-by-Step
In this tutorial, you learned how to animate a tree in Unity by adding and adjusting a wind zone. It also explained how to create an interaction button to enhance the user experience. Use these techniques to make your architectural visualizations more lively and engaging.
Frequently Asked Questions
How do I enable the animation for my tree in Unity?You need to select the tree in Unity and add the wind zone to activate the animation.
How do I add a wind zone in Unity?Navigate to “GameObject,” select “Component,” and add the wind zone under “Miscellaneous.”
How do I adjust the wind zone to create a better animation?Change the parameters such as main turbulence, magnitude, and frequency to refine the animation.
Can I create a button in Unity to hide the tree?Yes, you can create a button that allows you to hide the tree or control the animation.
How do I save my changes in Unity?Use the save function in Unity to ensure that all changes are preserved.


