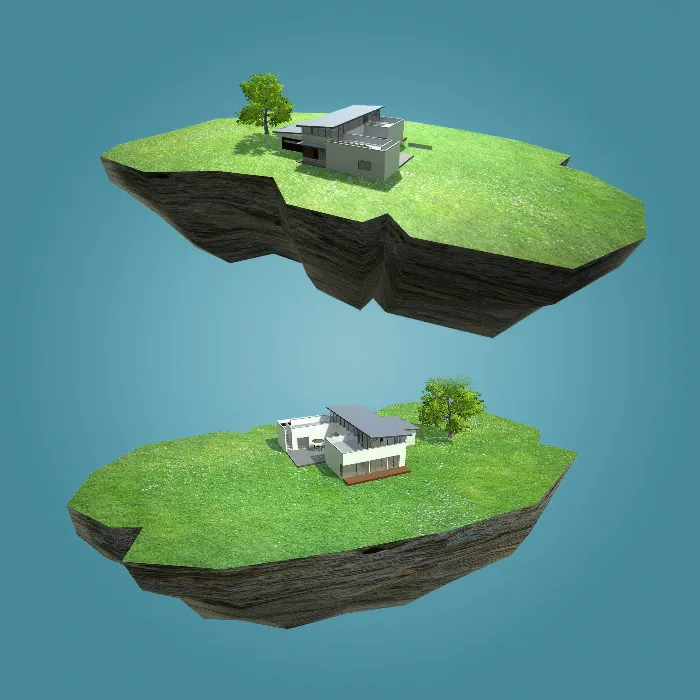
Working with Unity and Cinema 4D allows you to create impressive 360° visualizations. In this process, small adjustments are often crucial to improving the overall quality of the project. This guide will walk you through some targeted changes to brightness, objects, and depth of field. Even though the settings in Unity are intuitive, this step-by-step guide will help elevate your visualizations to the next level.
Main Insights
- Adjusting camera settings for a better zoom experience
- Optimizing lighting settings for a more natural presentation
- Directly editing the interface by moving buttons and graphics
- Tuning sharpness and depth of field for an appealing final product
Step-by-step Guide
Start by adjusting the cameras in your project. To obtain an improved perspective, zoom in on the scene first. Use the Ultimate Script, which allows you to control parameters such as the minimum and maximum distance of the camera. You should ensure that the animation appears smooth when zooming in, to provide a fluid transition.
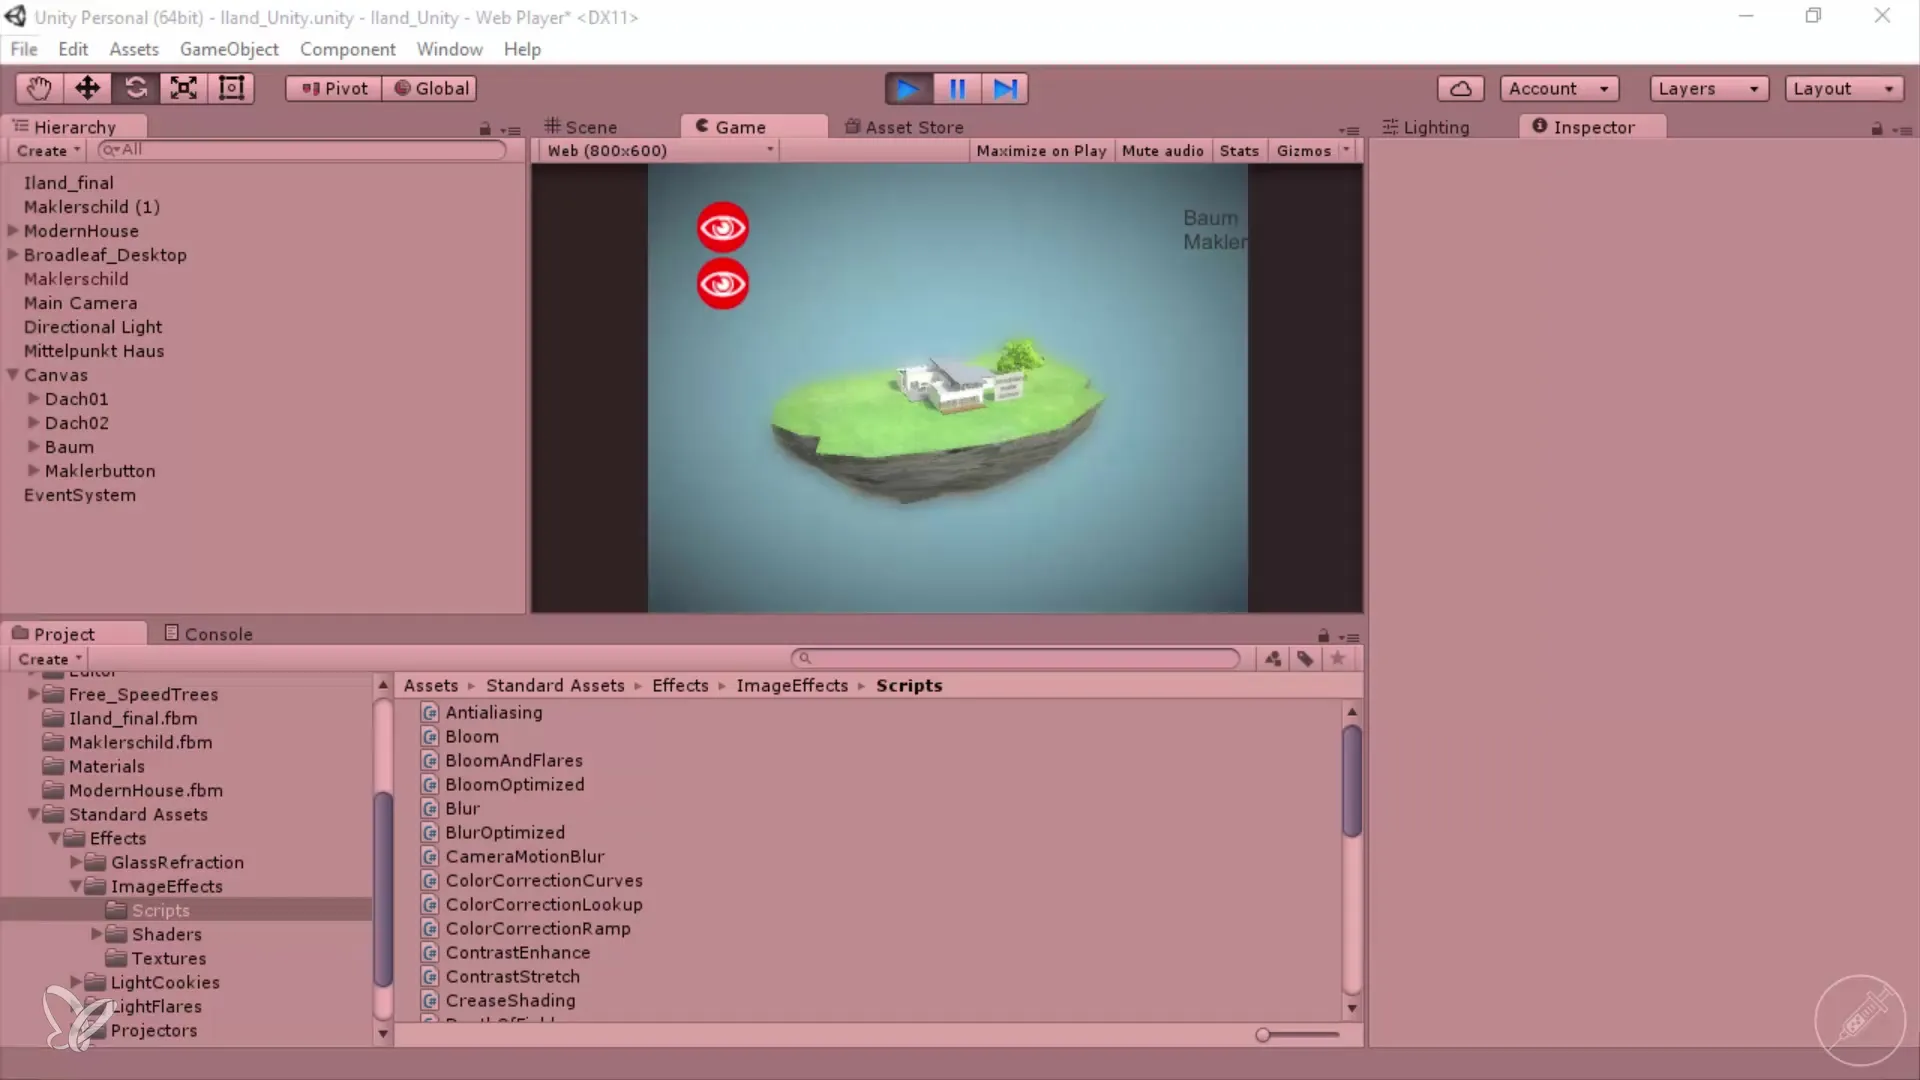
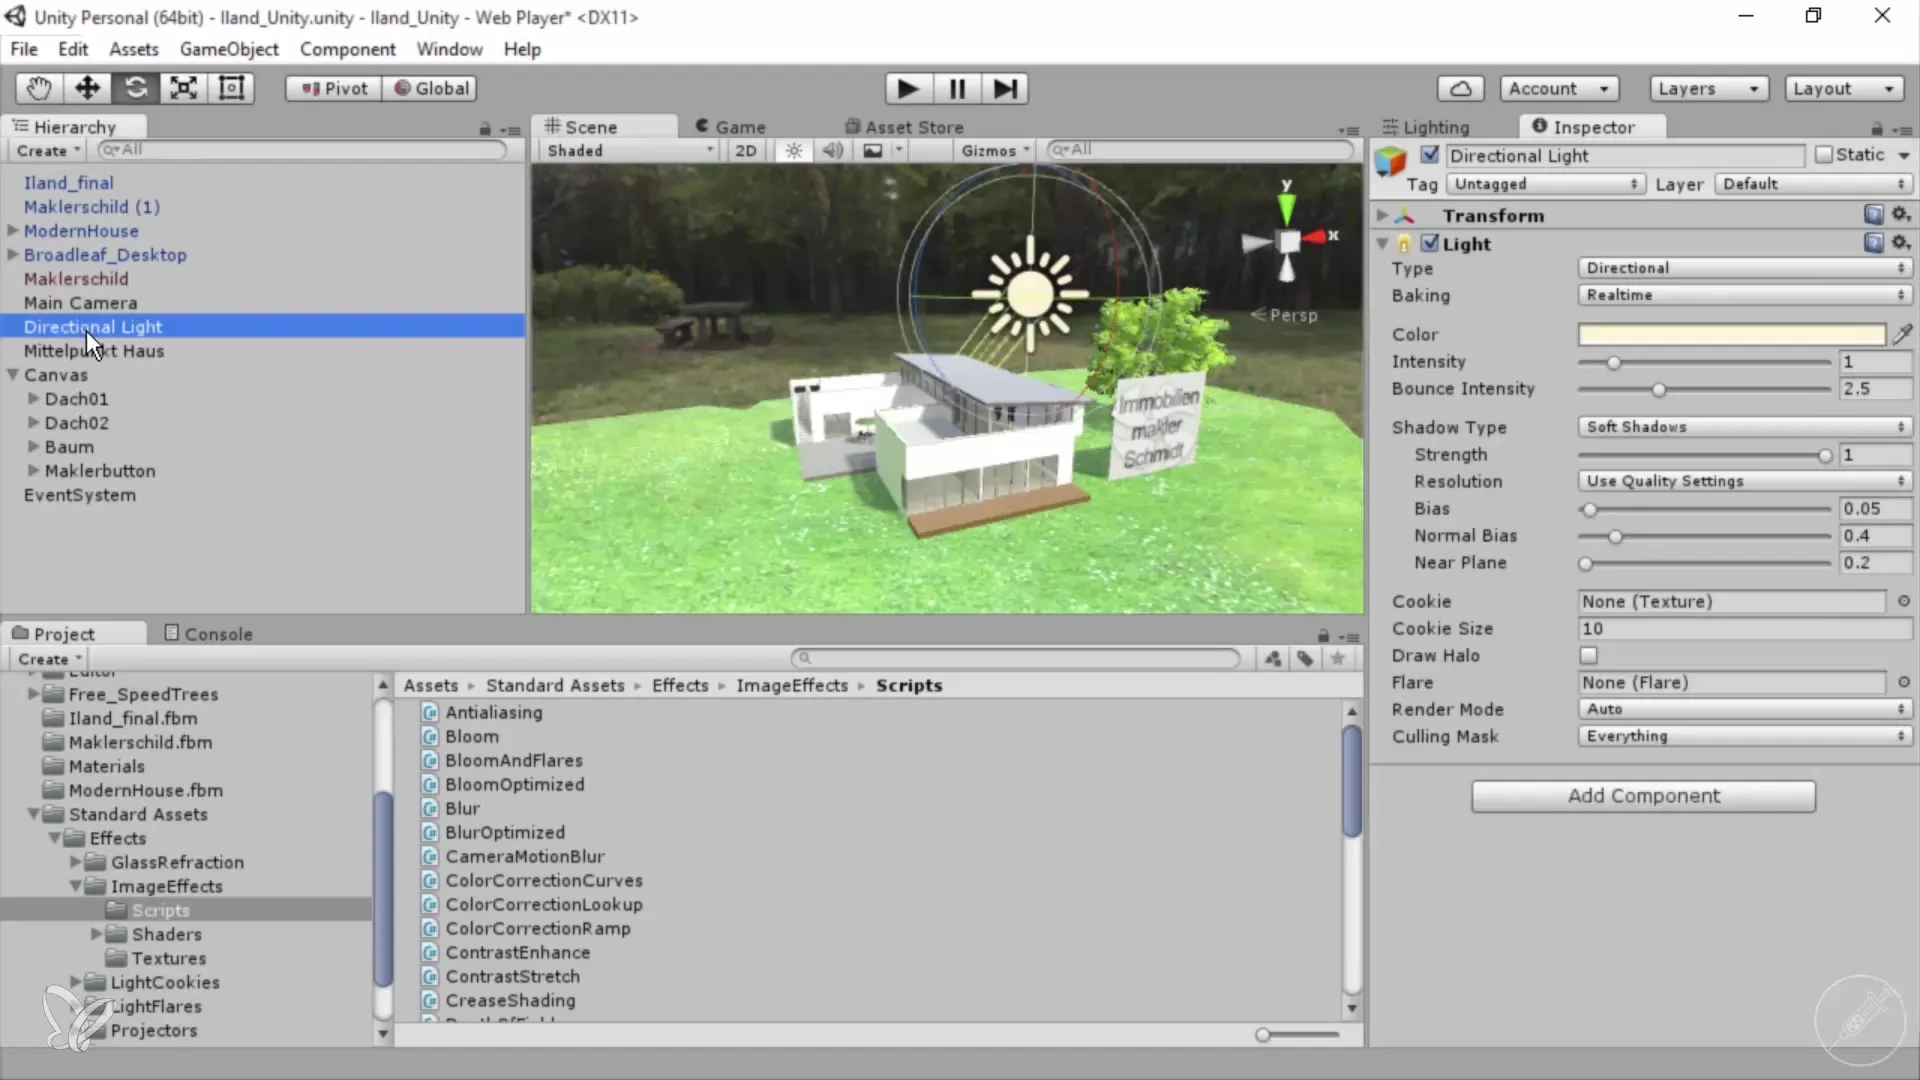
Once you have adjusted the camera settings, adjust the brightness of the scene. Go to the lighting settings for your Directional Light. Here, you can choose the type of light and ensure it fits your scene. Experiment with the bounce intensities to foster a more natural lighting mood. A lower value can make the light appear more pleasant and not too intense.
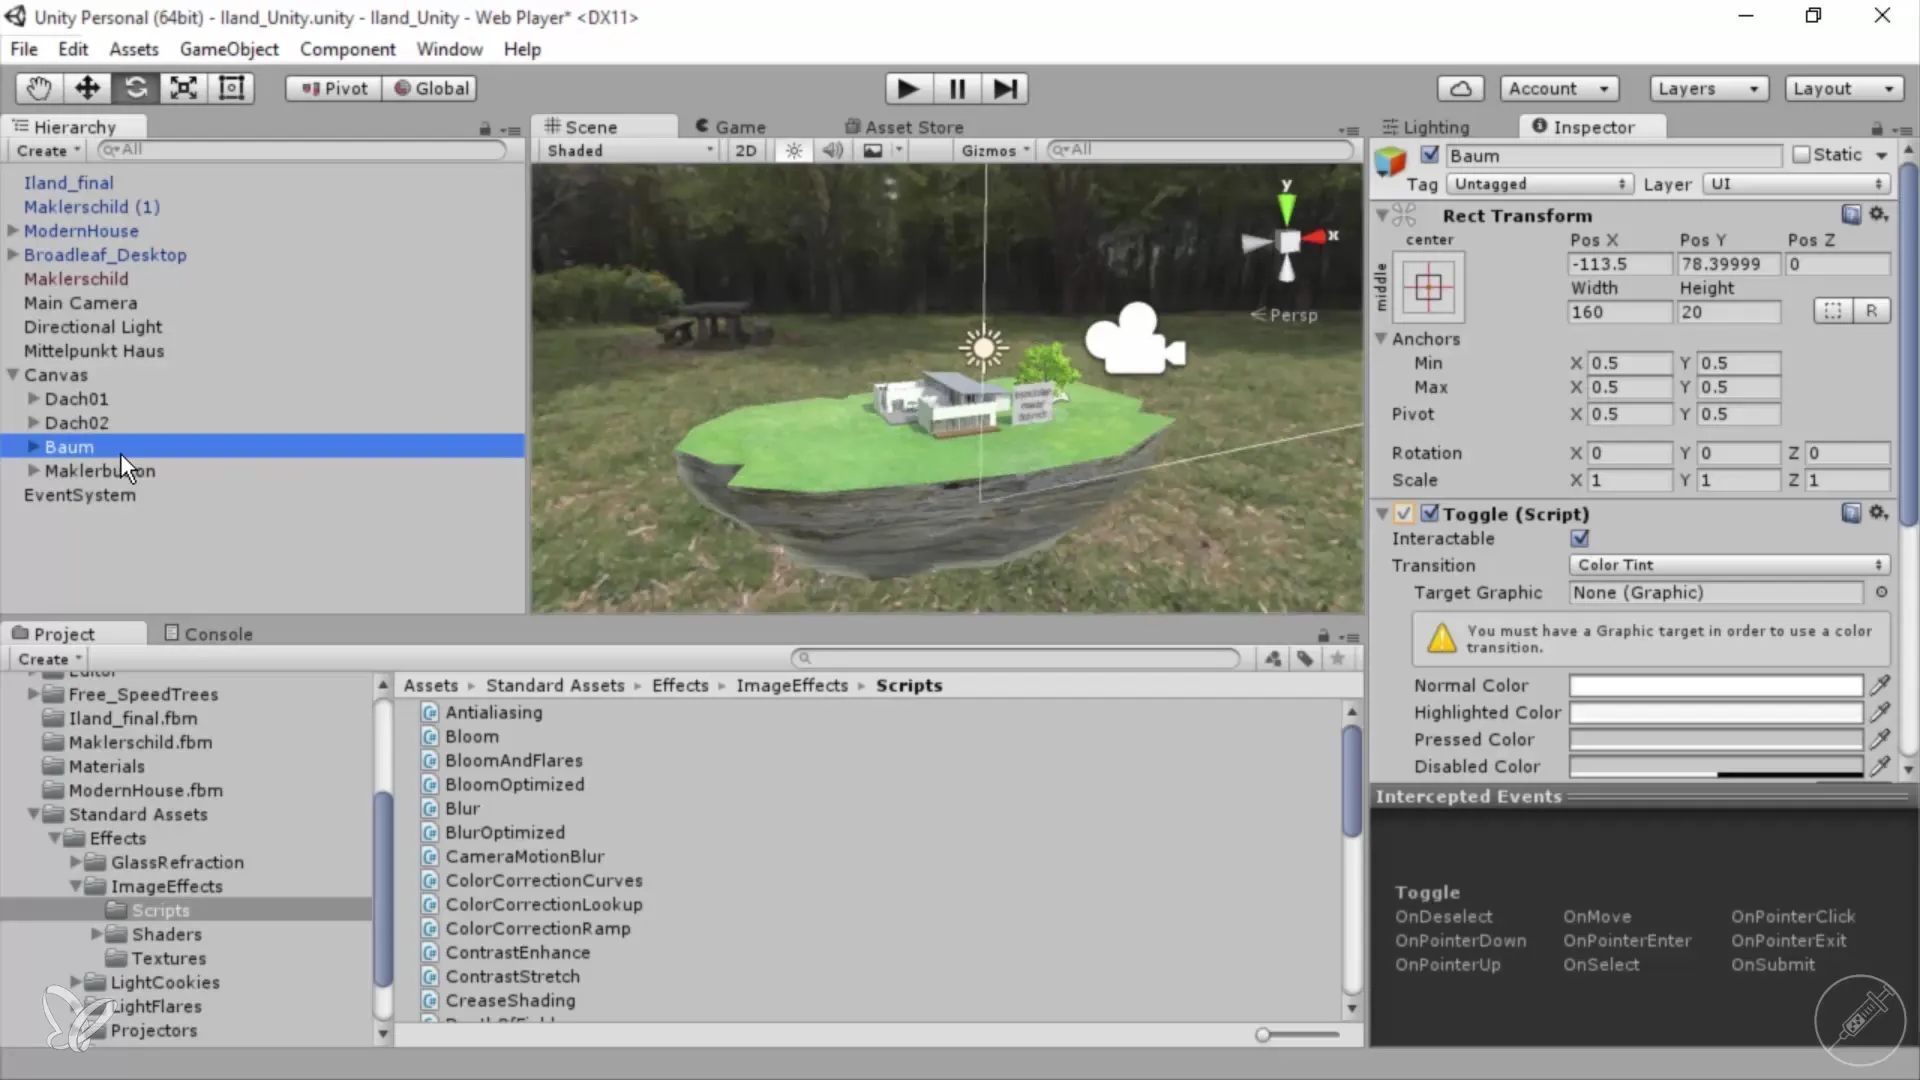
Now it's time to move the buttons in your interface. Zoom in on the buttons using the F key. Select the desired buttons and move them to the left to achieve a better arrangement. Don’t forget that the interface should be intuitive. The graphical representation can be replaced with nicer graphics, which can enhance the user experience.
Another important step is adjusting the depth of field in your project. By altering the focal distance and smoothness in the camera settings, you gain better control over the sharpness effect in your scene. Make sure that the edges do not appear too sharp or distracting. An ideal effect ensures that the overall composition remains harmonious and appealing.
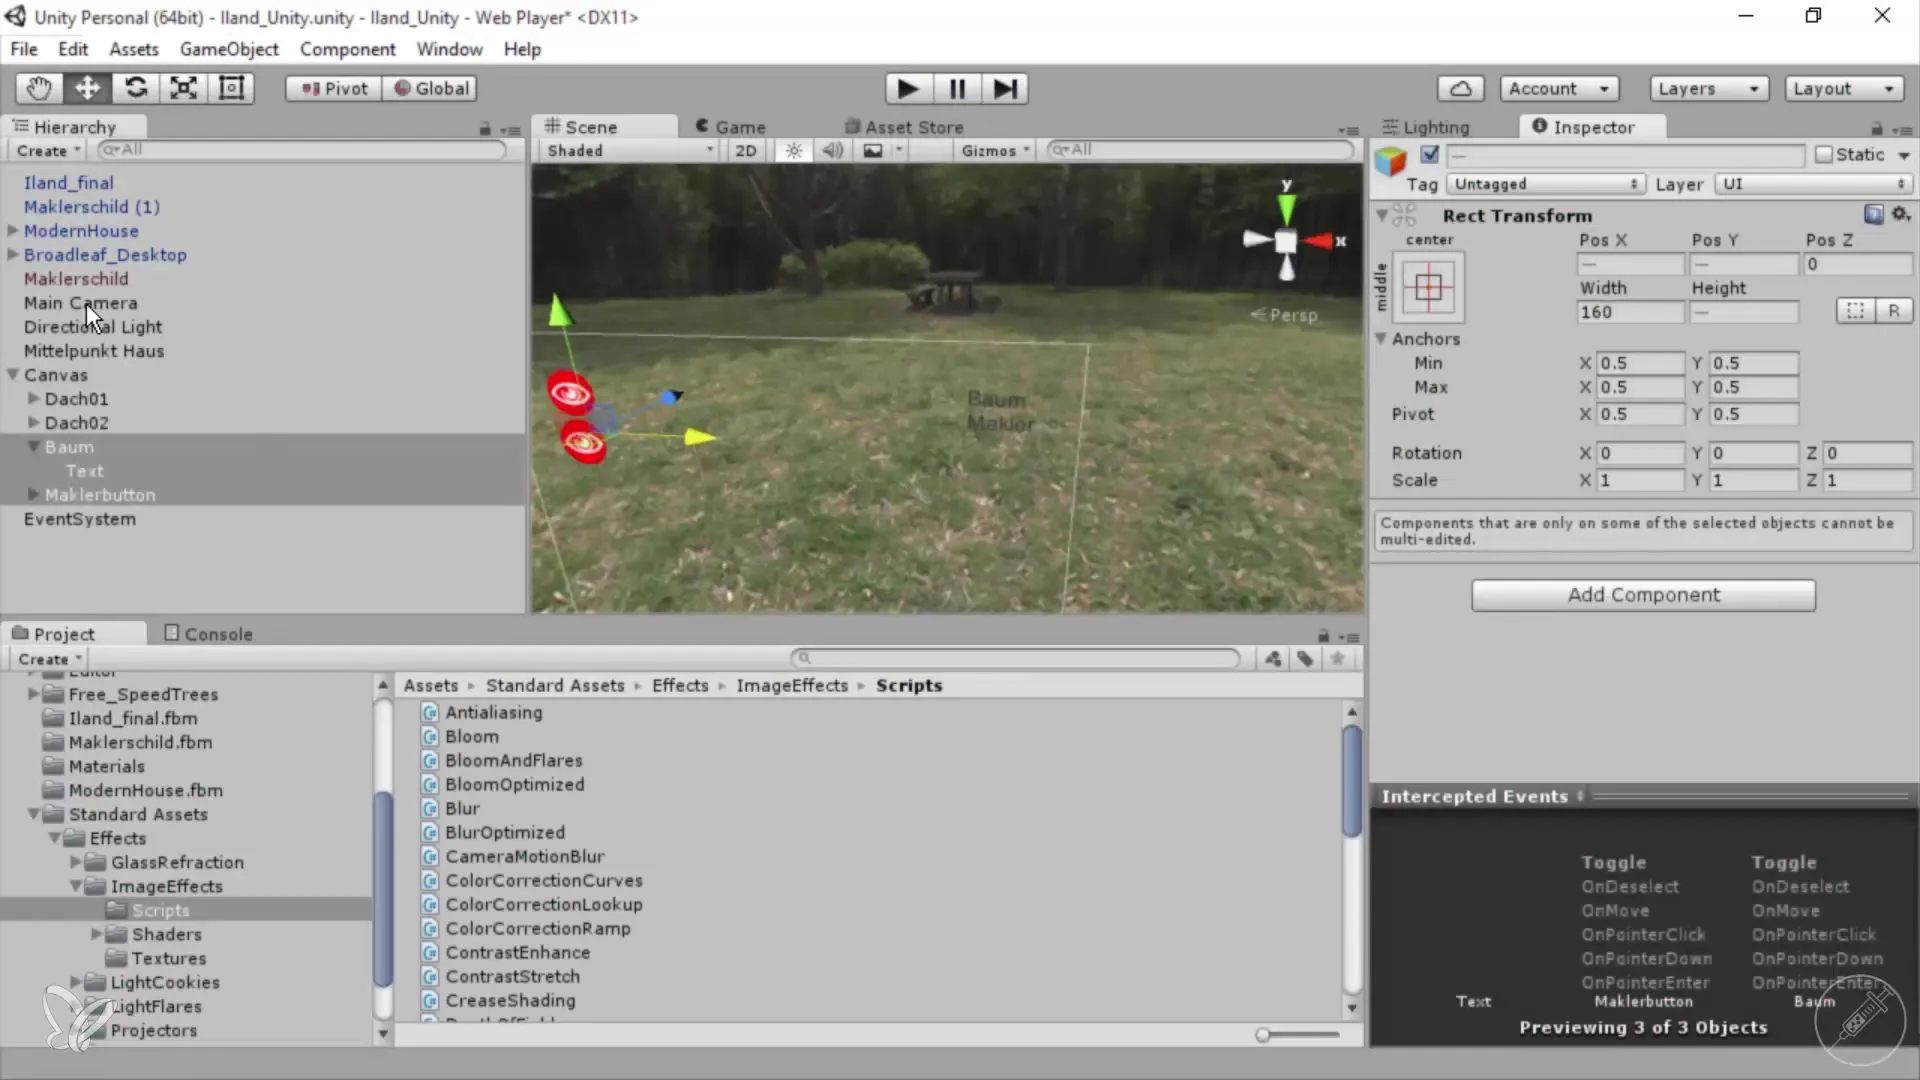
After making all these adjustments, you can export your output. This ensures that all changes are reflected in the final visualization. Be sure to choose the appropriate formats and settings for the web so that your 360° architecture views load quickly everywhere.
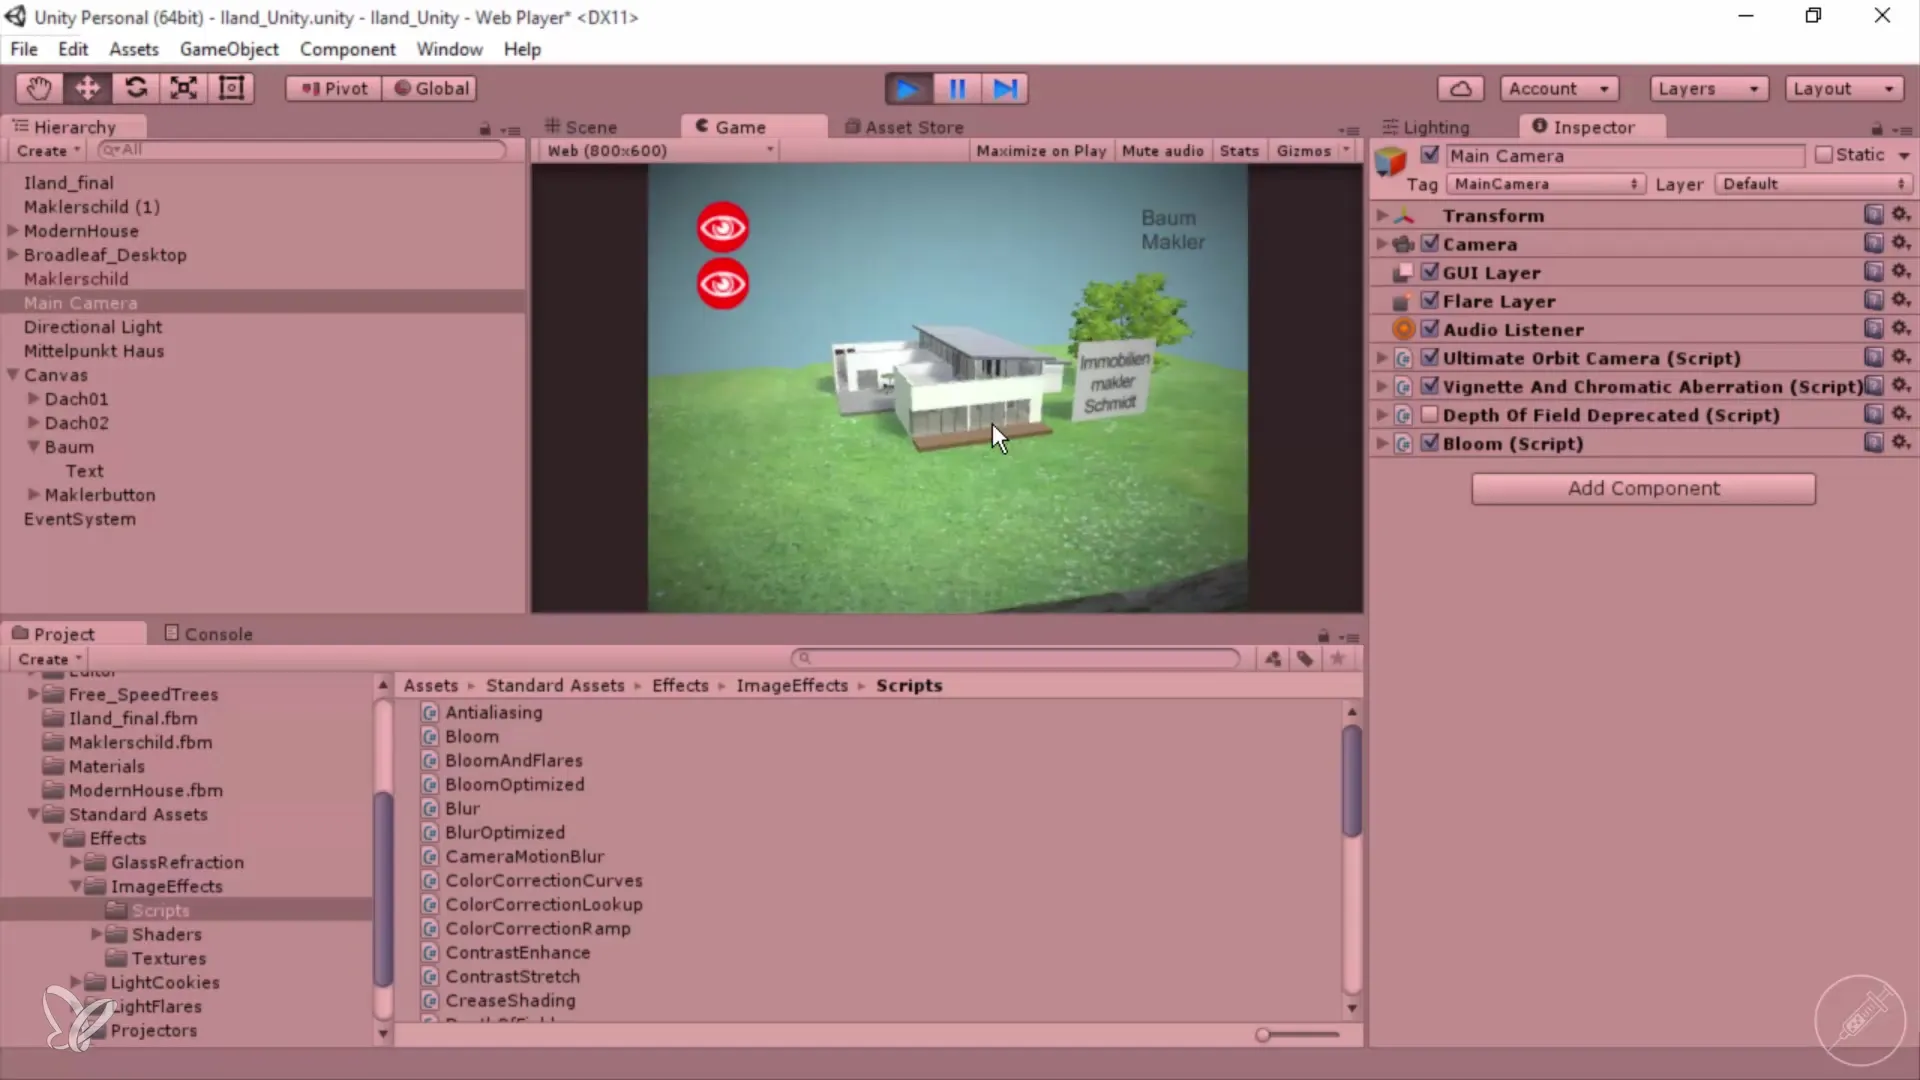
Summary – Adjusting 360° Architecture Views in Unity and Cinema 4D
By following the steps outlined, you significantly optimize your 360° architecture views. Starting from camera positions to light adjustments, user interface changes, and finally depth of field – each adjustment plays a crucial role in the overall result.
Frequently Asked Questions
How can I adjust the camera perspective?You can adjust the perspective by modifying the minimum and maximum distances in the camera settings.
How do I change the brightness of the scene?Change the brightness through the lighting settings in Unity by adjusting the intensity and type of light.
Can I simply move the buttons?Yes, you can select the buttons and move them in the editor as needed to create a better user interface.
How do I optimize the depth of field?To optimize the depth of field, adjust the focal distance and smoothness in the camera settings.
How do I export my project?To export your project, go to the export options in Unity and select the desired settings for the web.
