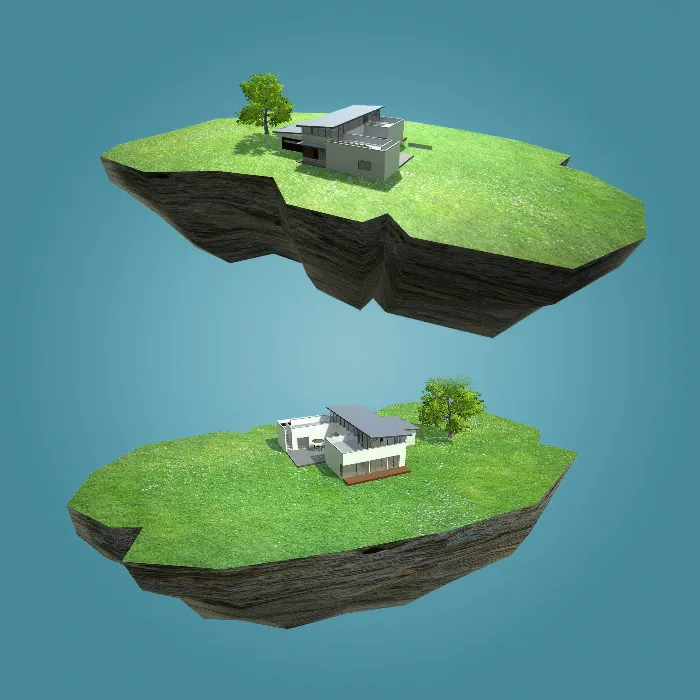
The insertion of presentation elements like advertisement signs can be crucial to making an architectural design lively and informative. In this tutorial, I will show you step by step how to model and texture a simple advertisement sign in Cinema 4D, import it into Unity, and add practical functionality via a button. After this tutorial, you will have a solid understanding of using buttons in Unity.
Key Insights
- Model an advertisement sign in Cinema 4D.
- Texture the sign for use in Unity.
- Import the model into Unity and create functionality through button interactions.
Step 1: Create Geometry in Cinema 4D
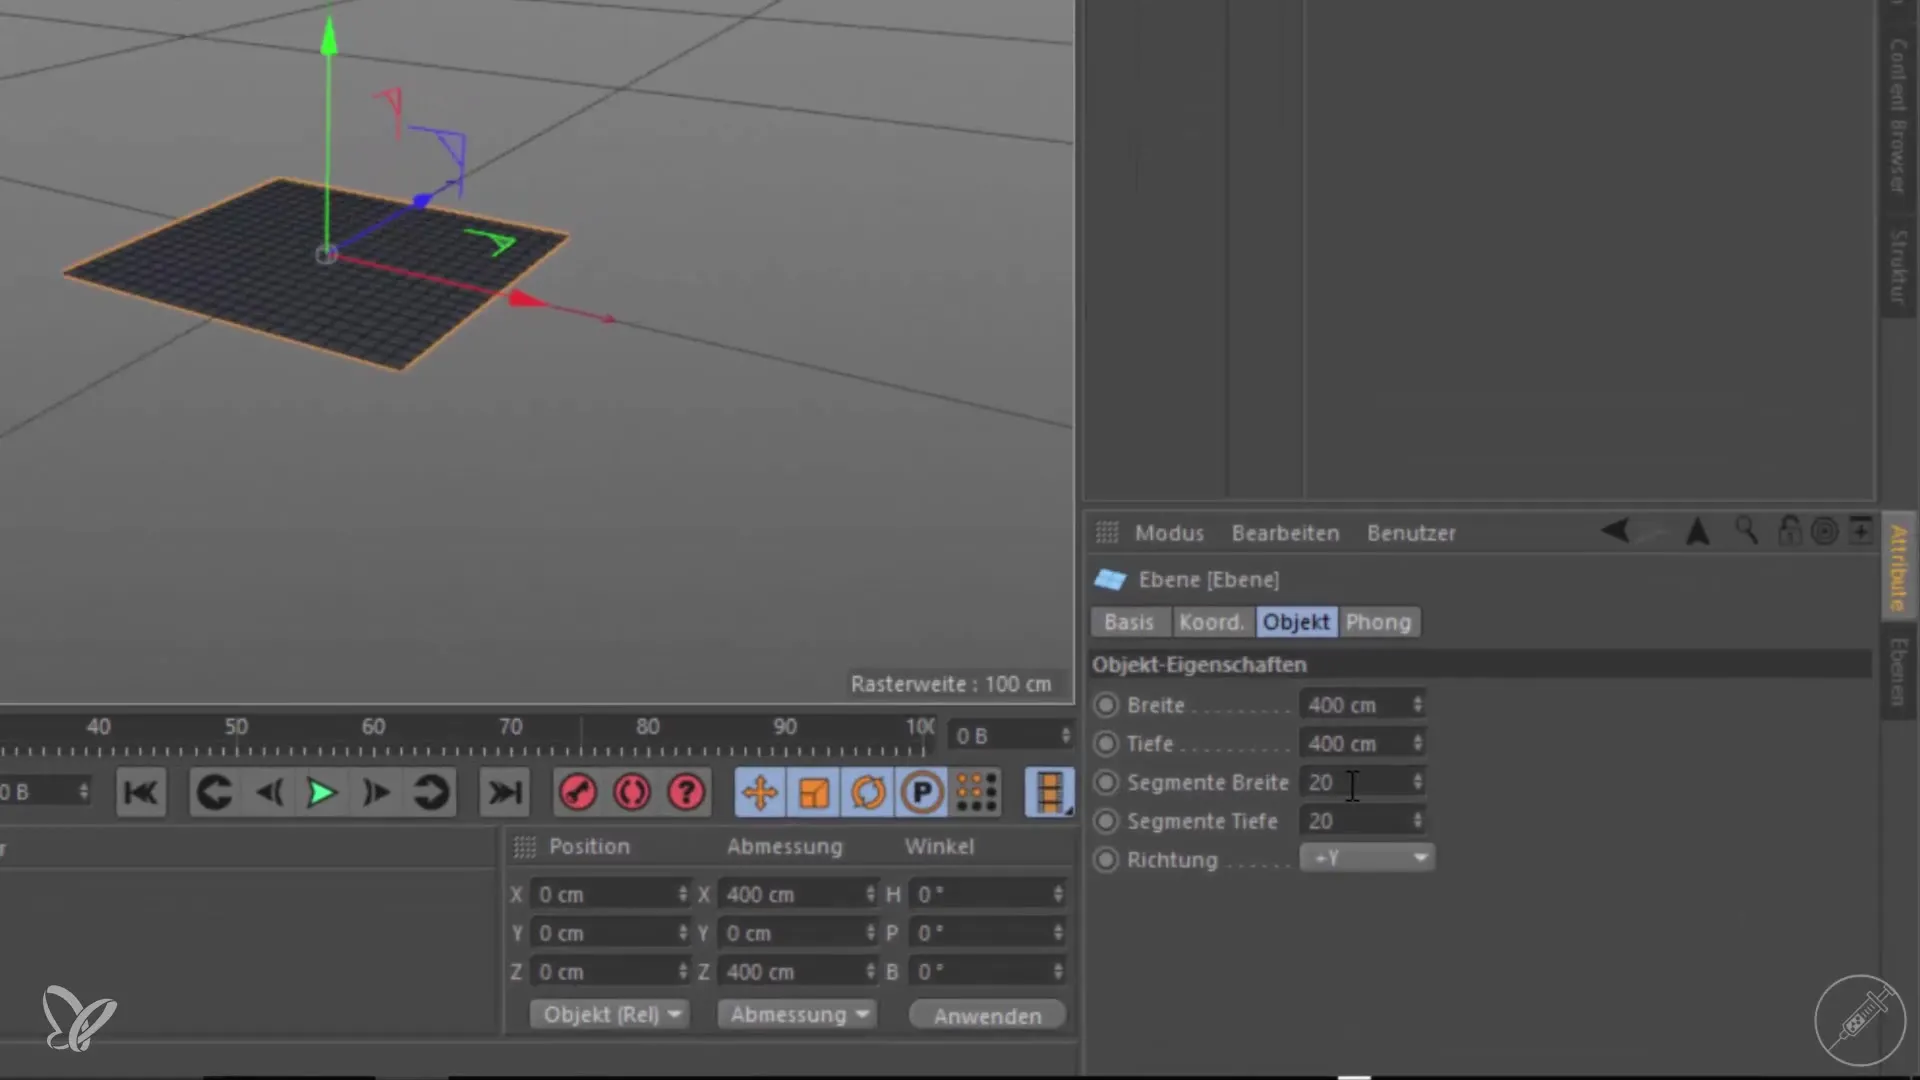
Start by opening Cinema 4D and creating a simple plane. You can do this by selecting the "Planes" option from the menu and creating a new plane with dimensions of 400 x 400. To optimize the resolution, set the segments of the plane to 1 x 1 so that the file is easier to handle in Unity. Then rotate the plane by 90°.
Step 2: Extrude Double Walls
To ensure that the sign is visible from both the front and back, you need to activate the extrusion for the model. In polygon mode, select the plane, press the "D" key for extrusion, and make sure to keep the "Cap" option enabled. Extrude the plane up by 2 cm to create the second side of the sign.
Step 3: Create Texture in Photoshop
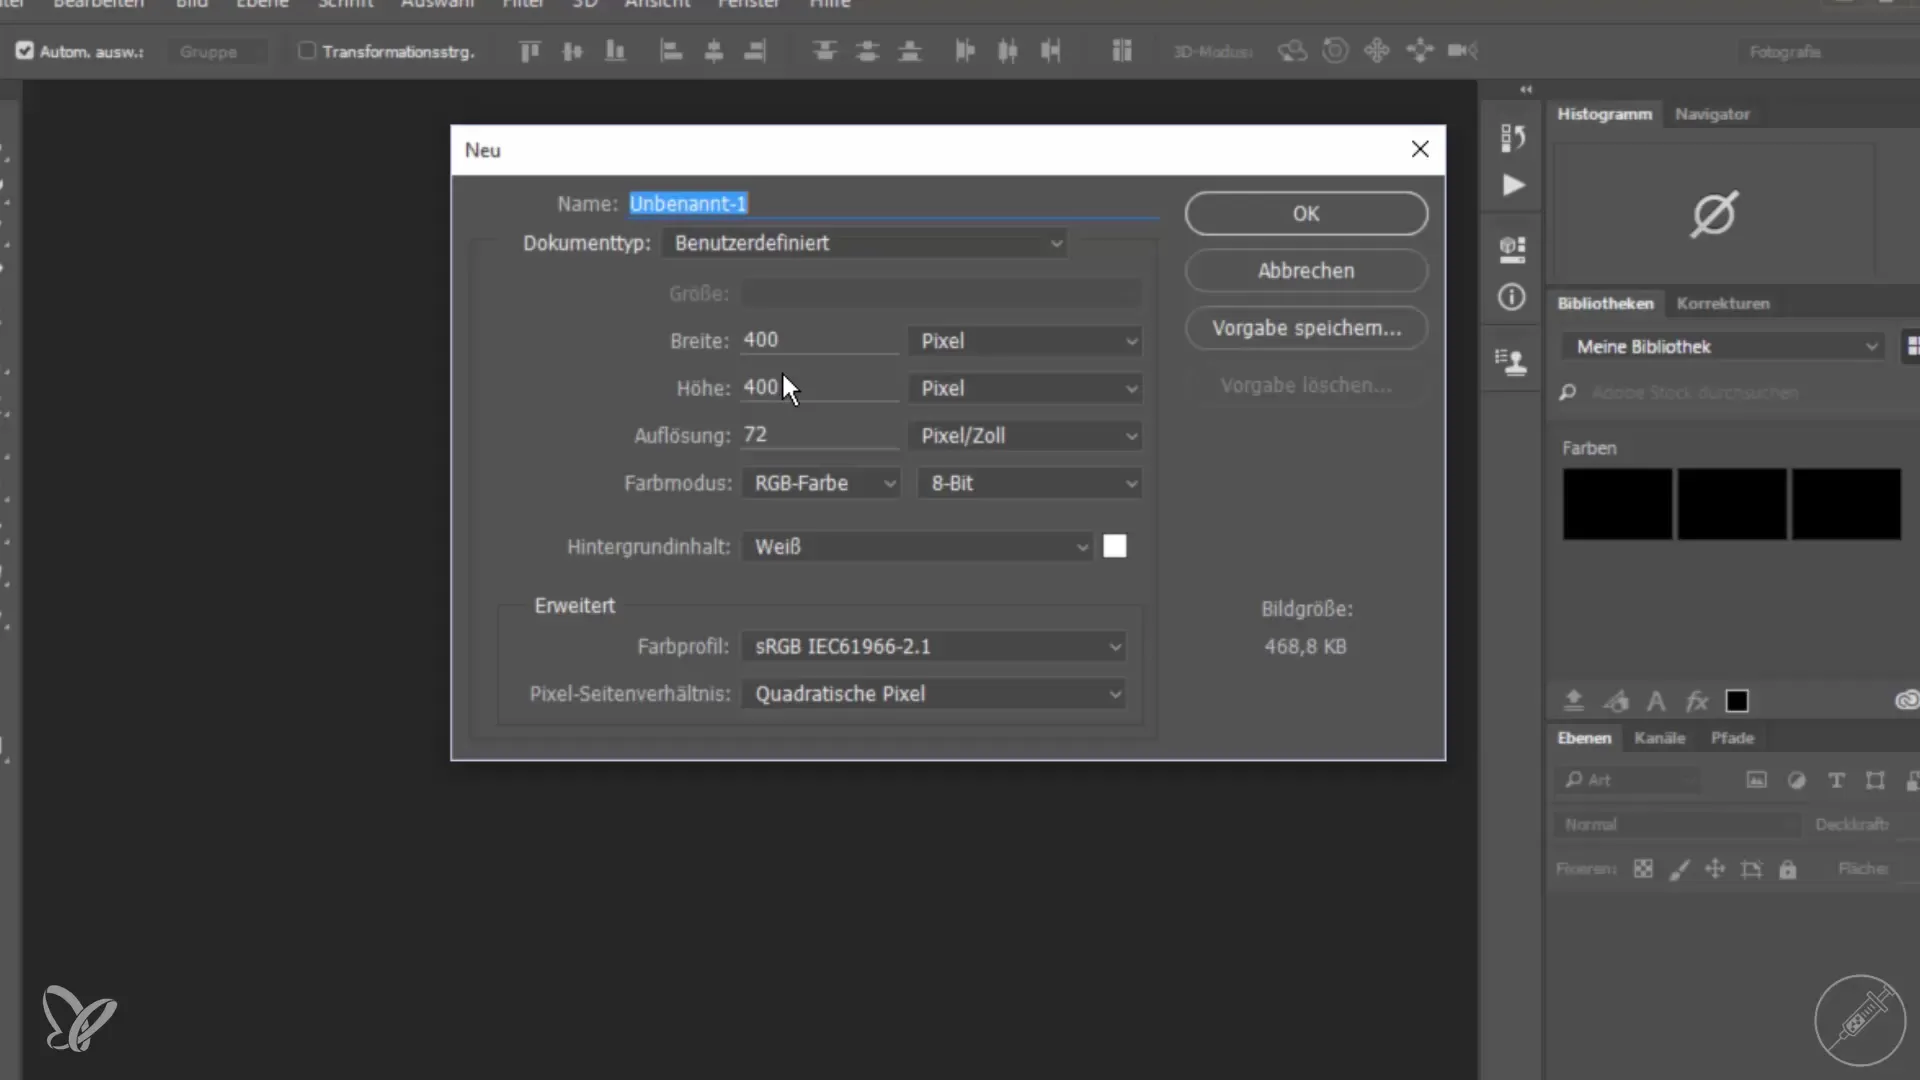
Switch to Photoshop and create a new file with the same dimensions as your model (400 x 400 pixels). Be creative and add the desired text for your sign, such as "Realtor Schmidt". You can adjust the font size and position so that the text stands out well. Save the image as a JPG under the name "realtor_sign".
Step 4: Assign Material in Cinema 4D
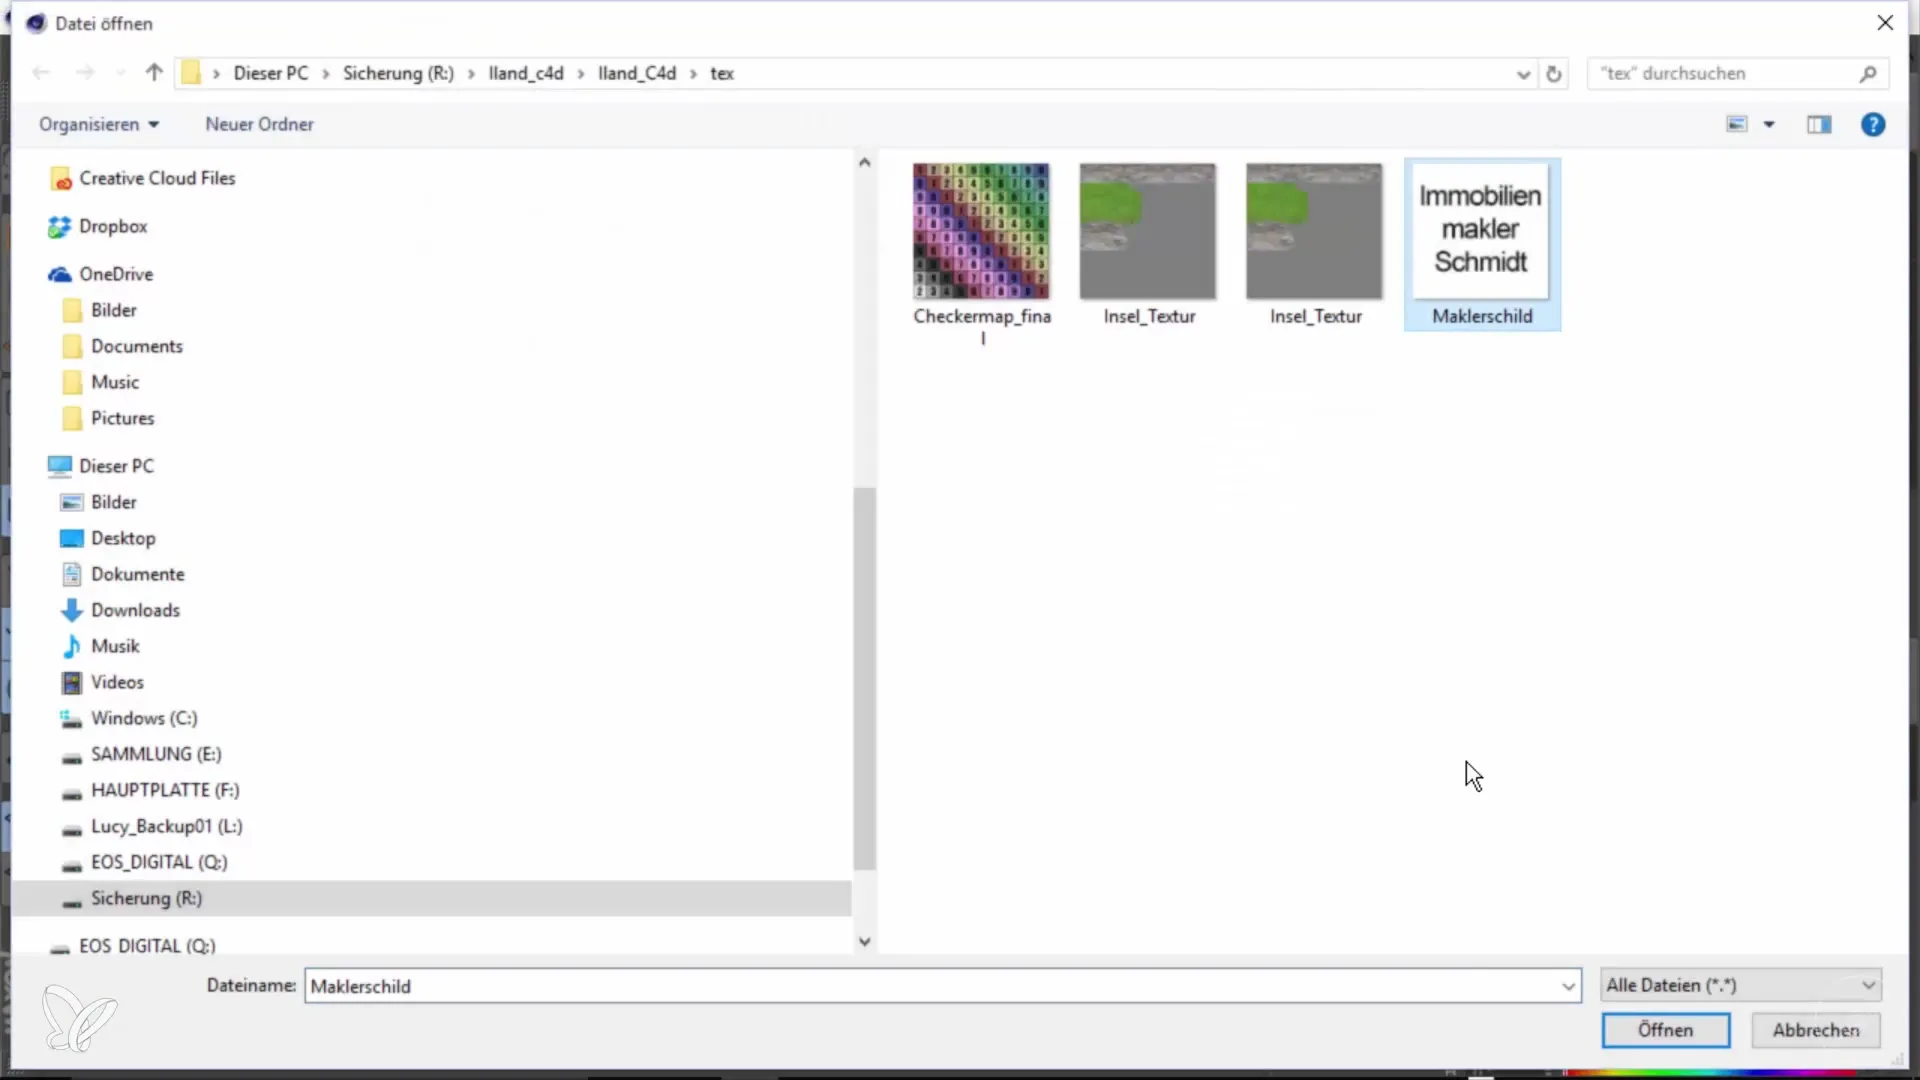
Return to Cinema 4D and create a new material. Load the texture you created earlier into the material and apply it to your model. Check the projection settings of the material to ensure that the text is correctly projected onto the front and back of the sign. If necessary, you can switch the projection settings to "Flat Mapping".
Step 5: Export the Model
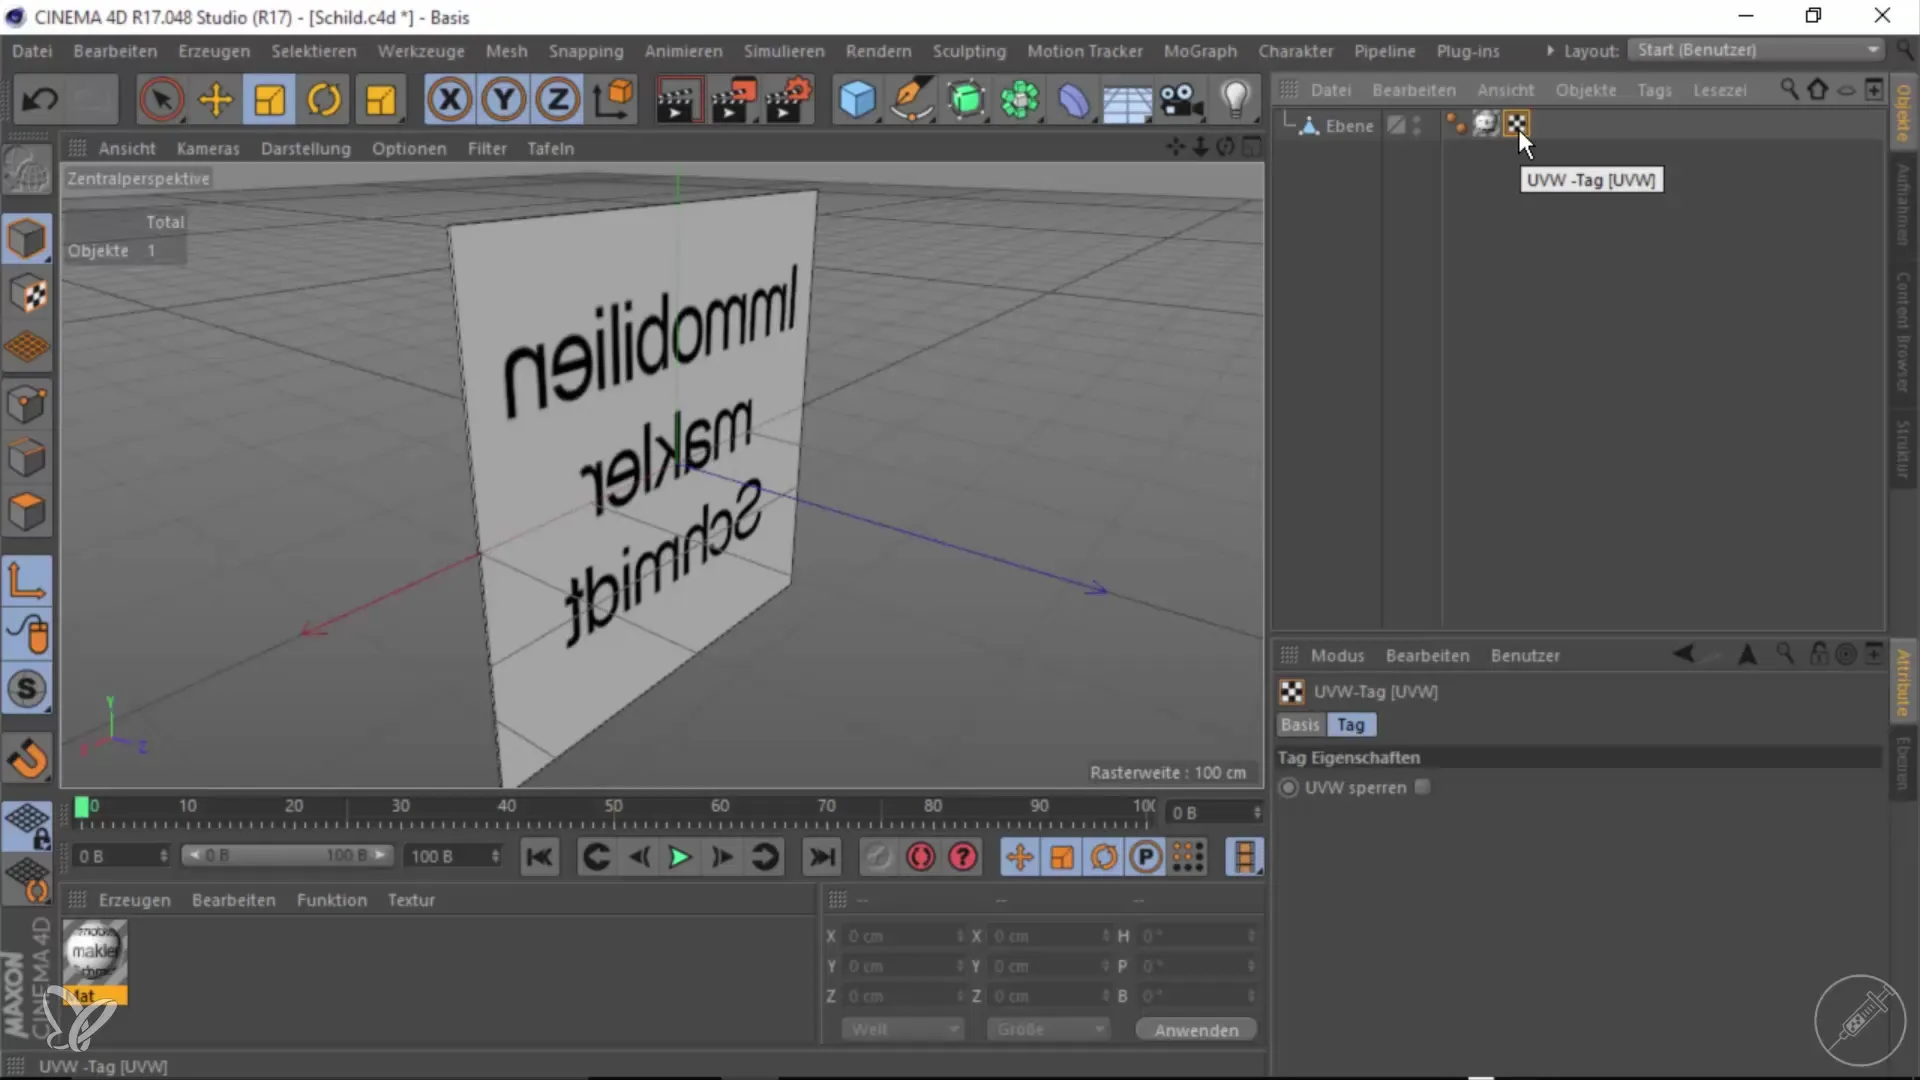
Before exporting the model, ensure that all settings are correct. Delete the old UV tag that could cause issues and create a new UV tag based on the current model. Then export the sign as an FBX file under the name "realtor_sign", selecting the FBX version 2014.
Step 6: Import the Model into Unity
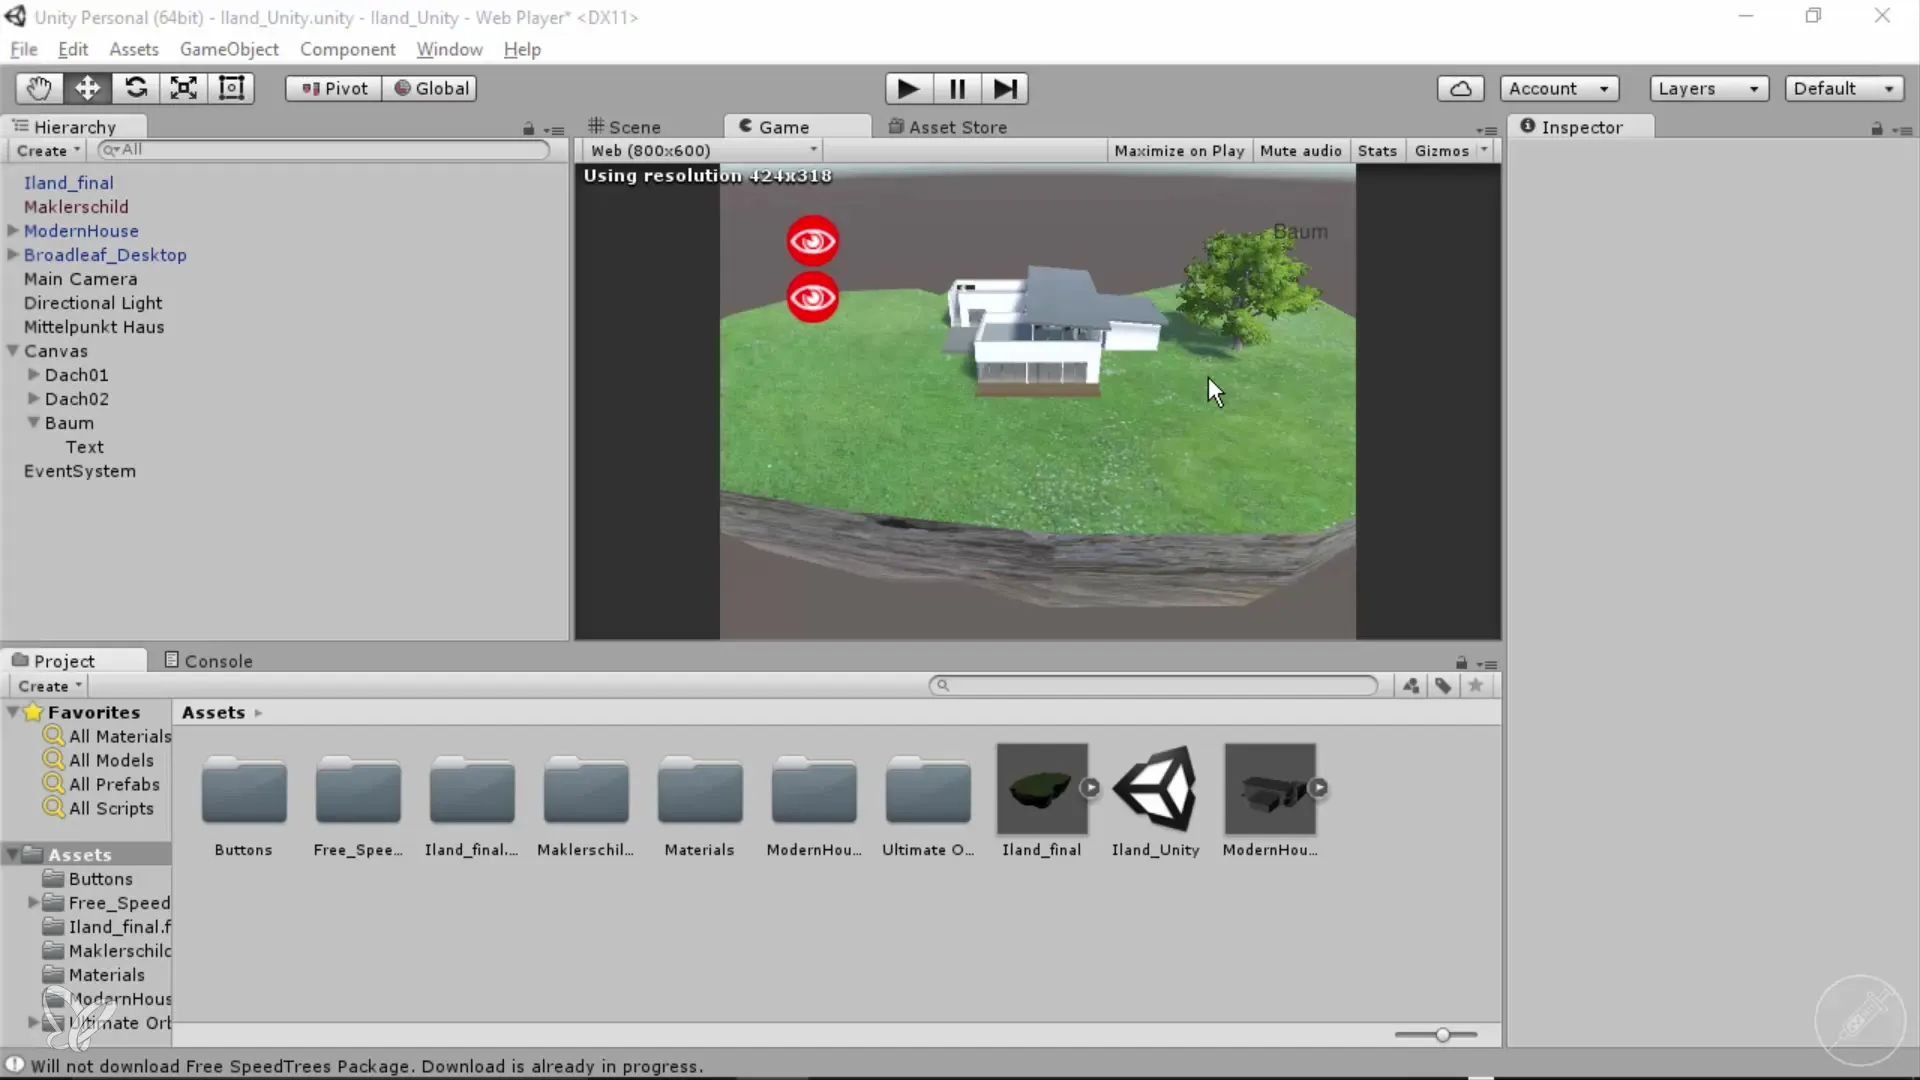
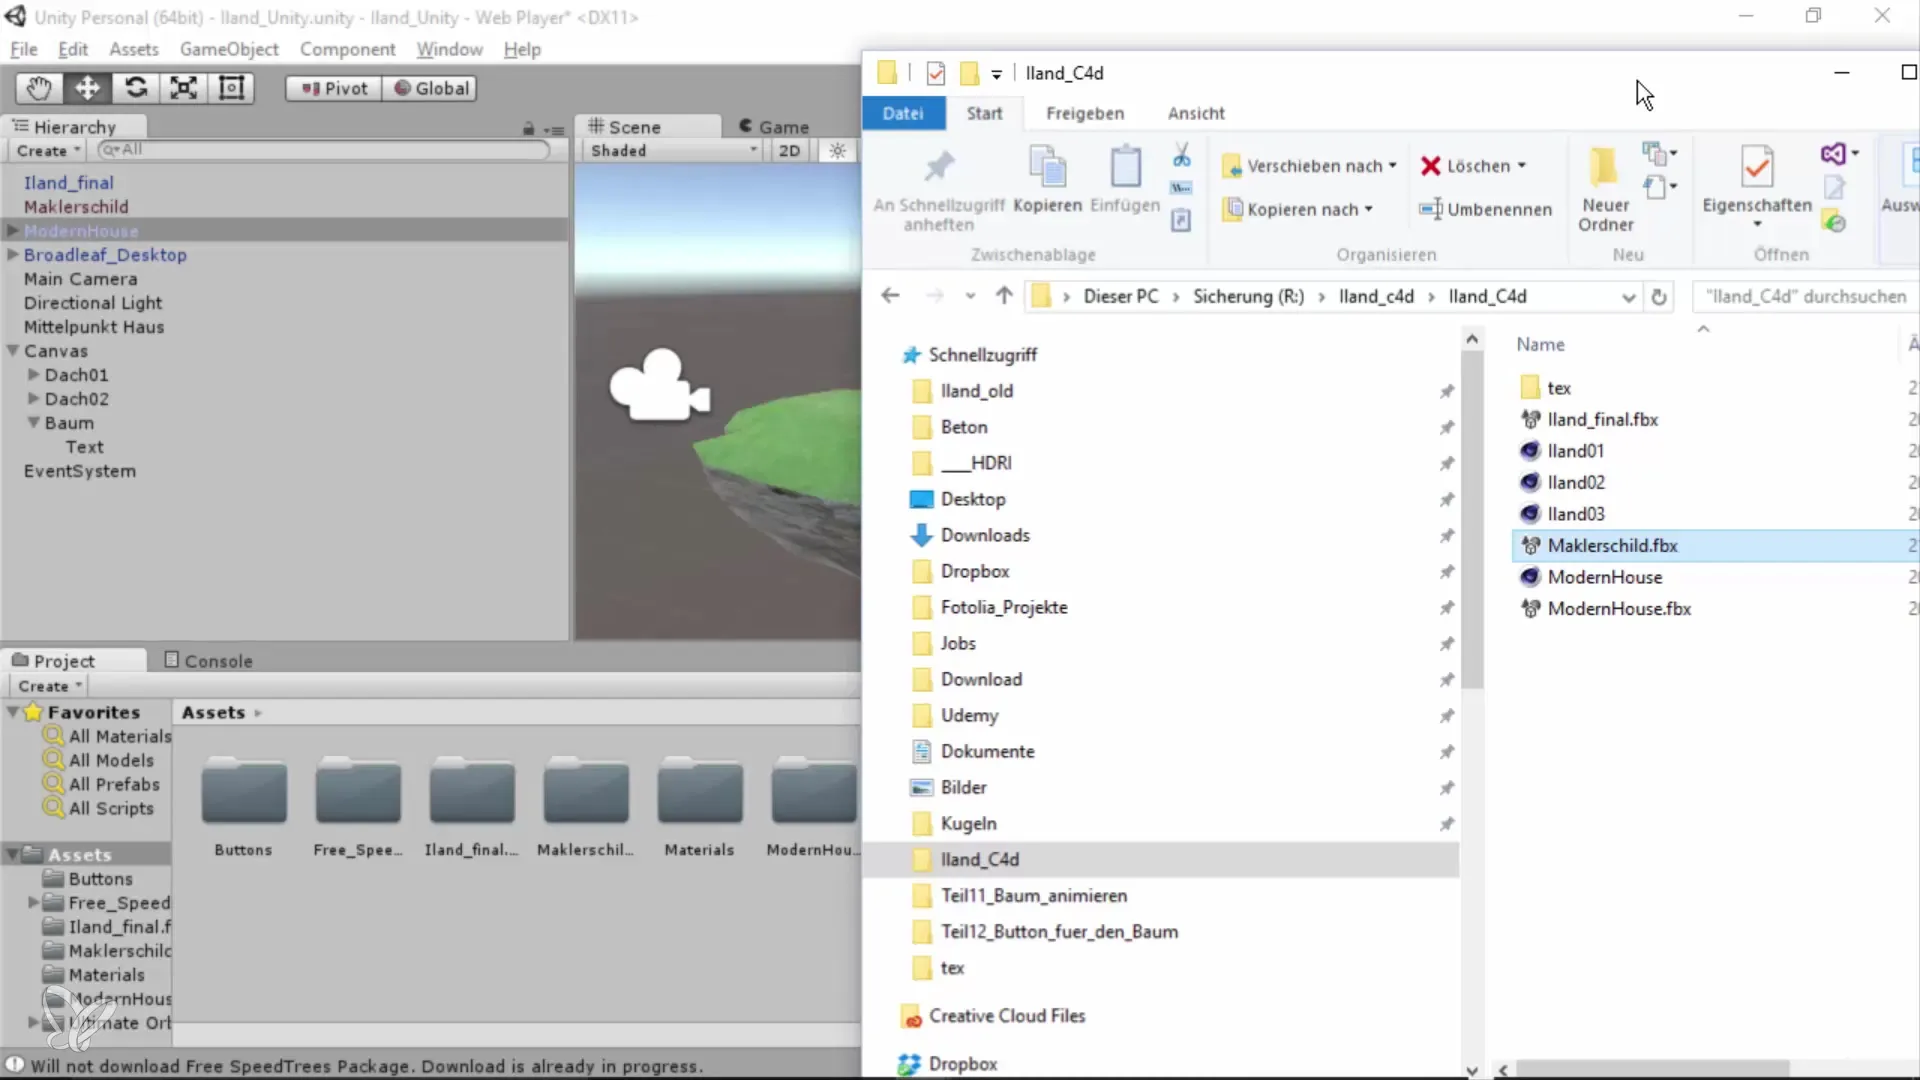
Switch to Unity and import the exported FBX file into your project. Drag the model into the scene. Initially, the sign may appear too large, so scale it down to 0.2 to achieve the correct size. Position the sign where it is clearly visible.
Step 7: Create and Position the Button
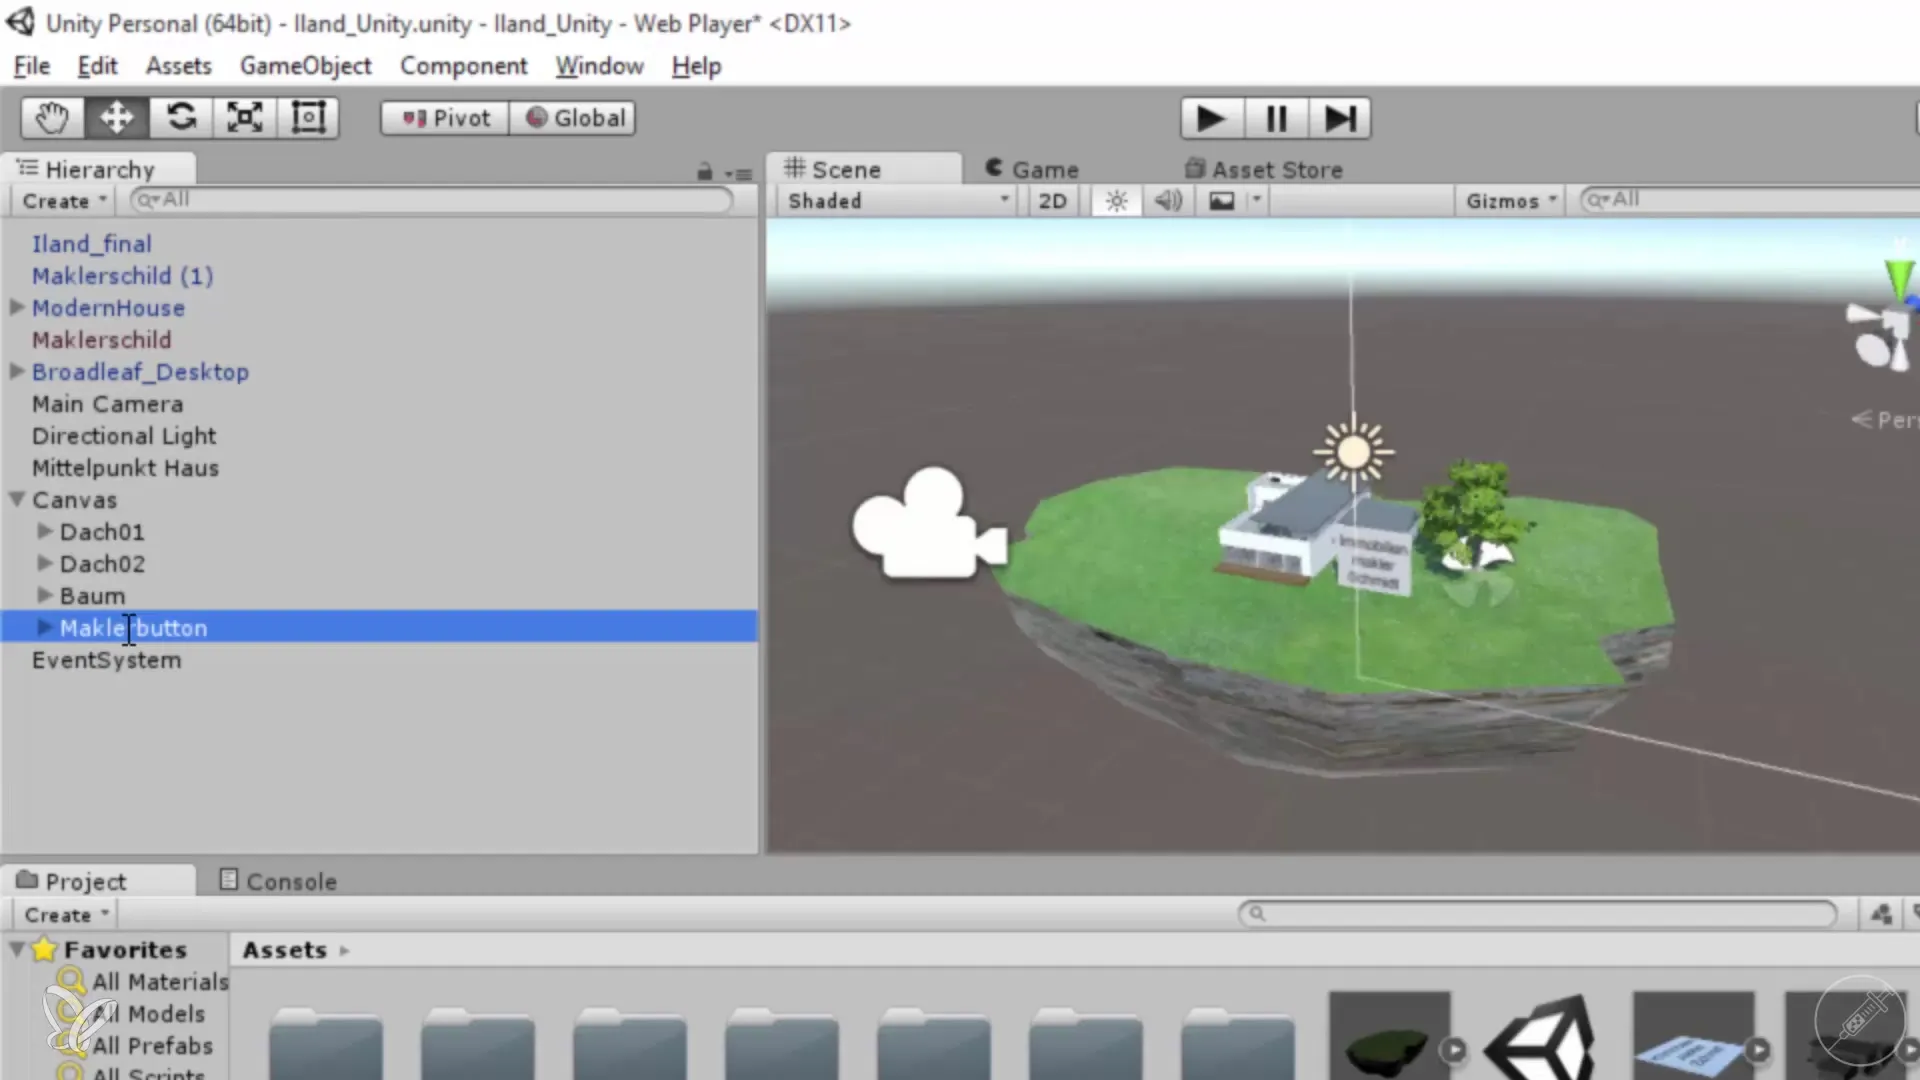
Add a new button to toggle the sign’s visibility. Duplicate an existing button by using the CTRL+D shortcut. Rename the button to "Realtor Button" and adjust the button text. Place the button in a suitable location in the scene.
Step 8: Add Script for Button Functionality
Link the new script to your sign object to control its visibility via the button. In your script, you can define a function that activates or deactivates the "Mesh Renderer" component of the sign. Test the functionality by starting the game and clicking the button. The sign should appear and disappear accordingly.
Summary – 360° Architecture Views: Creating and Inserting Advertisement Sign
After following this guide, you should be able to create a functional advertisement sign in Cinema 4D, import it into Unity, and add interactive elements. With these skills, you can elevate your architectural presentations to the next level.
Frequently Asked Questions
How long does it take to create a sign?The entire creation and implementation can take about 45 minutes to 1 hour, depending on experience.
Can I customize the advertisement sign?Yes, you can adjust the texture and size of the sign as desired.
What file format is recommended for exporting to Unity?The FBX format is best suited for import into Unity.
