Welcome to your first exploration of Unity! This guide is for you if you have no experience with Unity yet. You will learn how to effectively use the user interface and what the basic features of the software are. As a starting point for your 3D design in architecture, Unity offers versatile options to create impressive 360° views.
Main Insights
The user interface of Unity is designed to be intuitive and clear. You will use important windows such as hierarchy, inspector, and the console window to manage your scene. Additionally, you have access to numerous assets in the asset store that can enrich your projects. The basic tools for moving, rotating, and scaling objects are available to customize your environment.
Step-by-Step Guide
Open Unity and Get to Know the User Interface
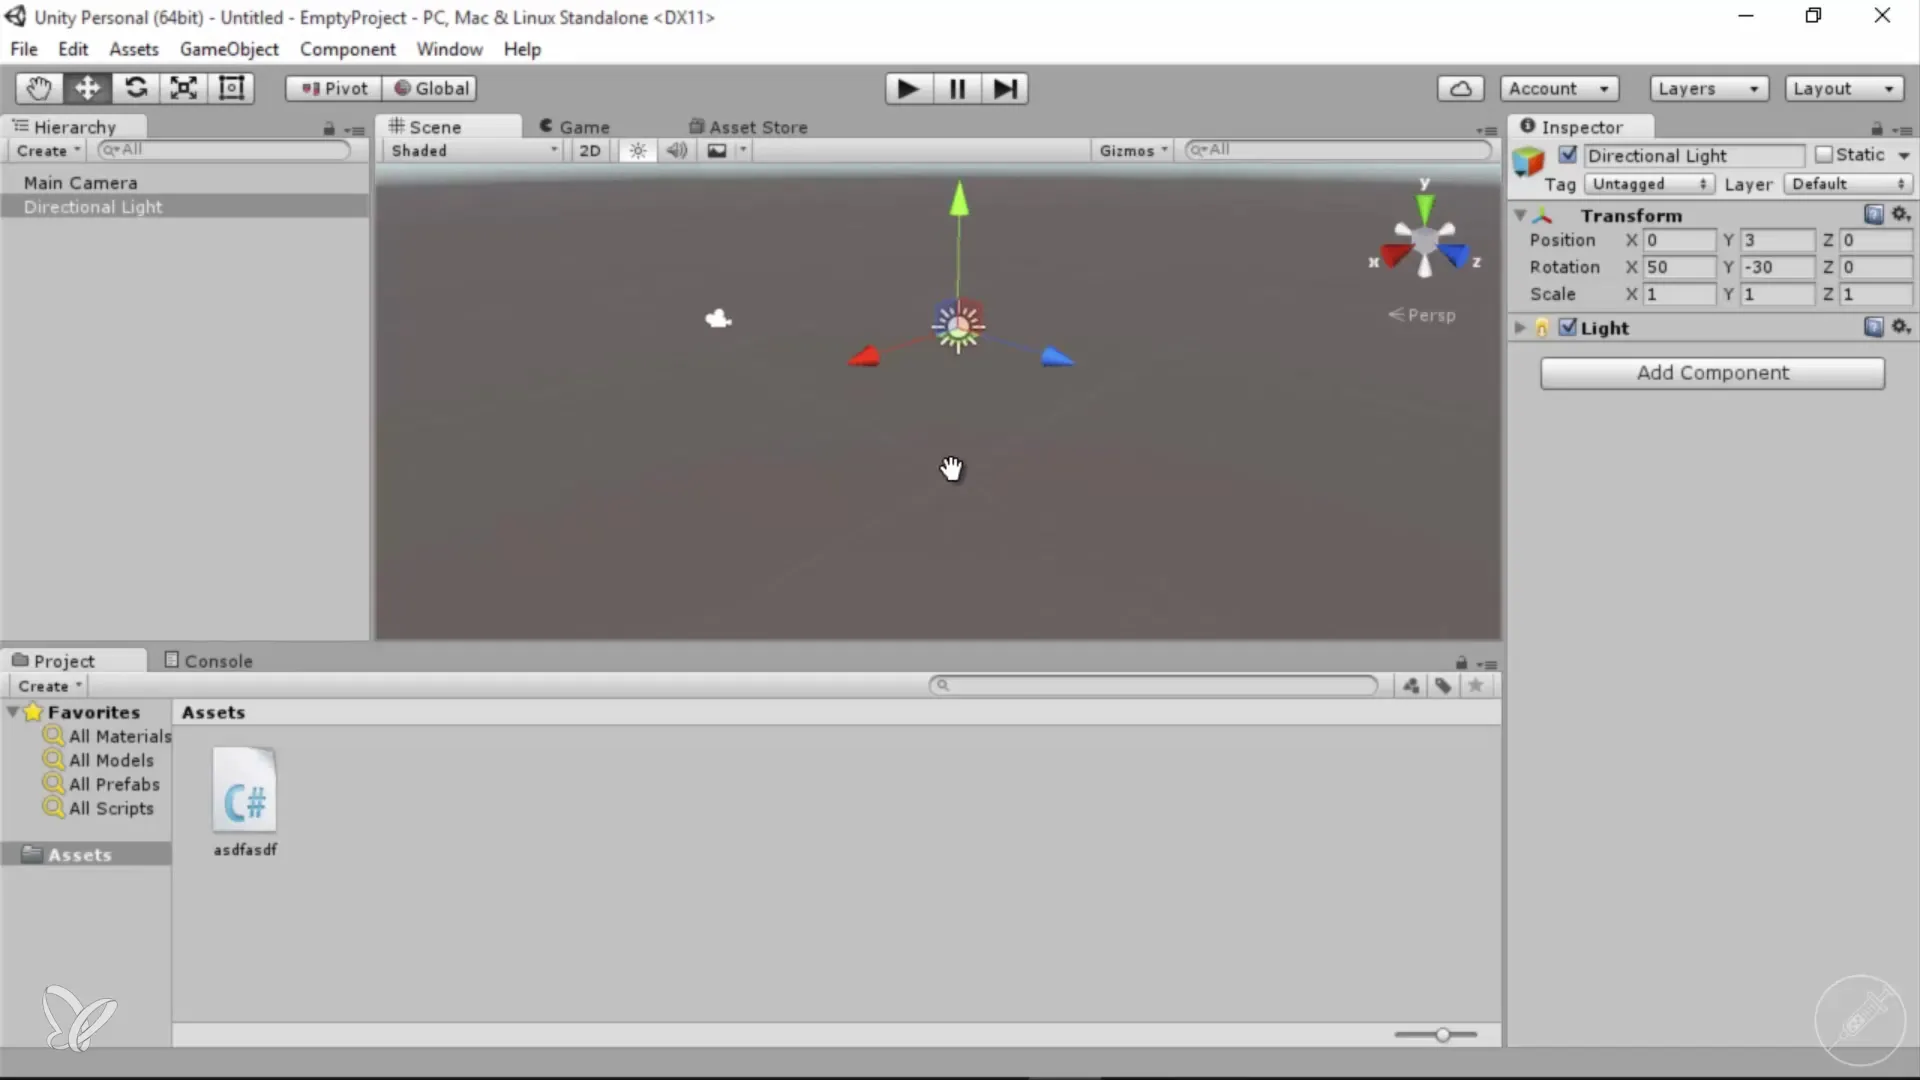
When you open Unity, a clean user interface appears, giving you a good overview of your workspace. On the left side, you will find the hierarchy window, which lists all objects in your scene, just like you know it from Cinema 4D. Here you can see the Main Camera and the Direction Light, which are included by default in every new scene.
Navigation in 3D Space
The controls in the scene window are similar to those in Cinema 4D. To move around, hold down the Alt key and use the left mouse button to rotate. You can move with the middle mouse button, while zooming is done with the right mouse button. There are different display modes like "Shaded" and "Wireframe" that you can access at any time to change the view of your objects.
2D and Orthographic Views
For editing your models, you can switch to a 2D view or orthographic views at any time. Simply click on the corresponding buttons at the top of the scene window. This can be helpful to ensure precise positioning of objects or to optimize performance when working in large scenes.
Adding 3D Objects and Manipulating Them
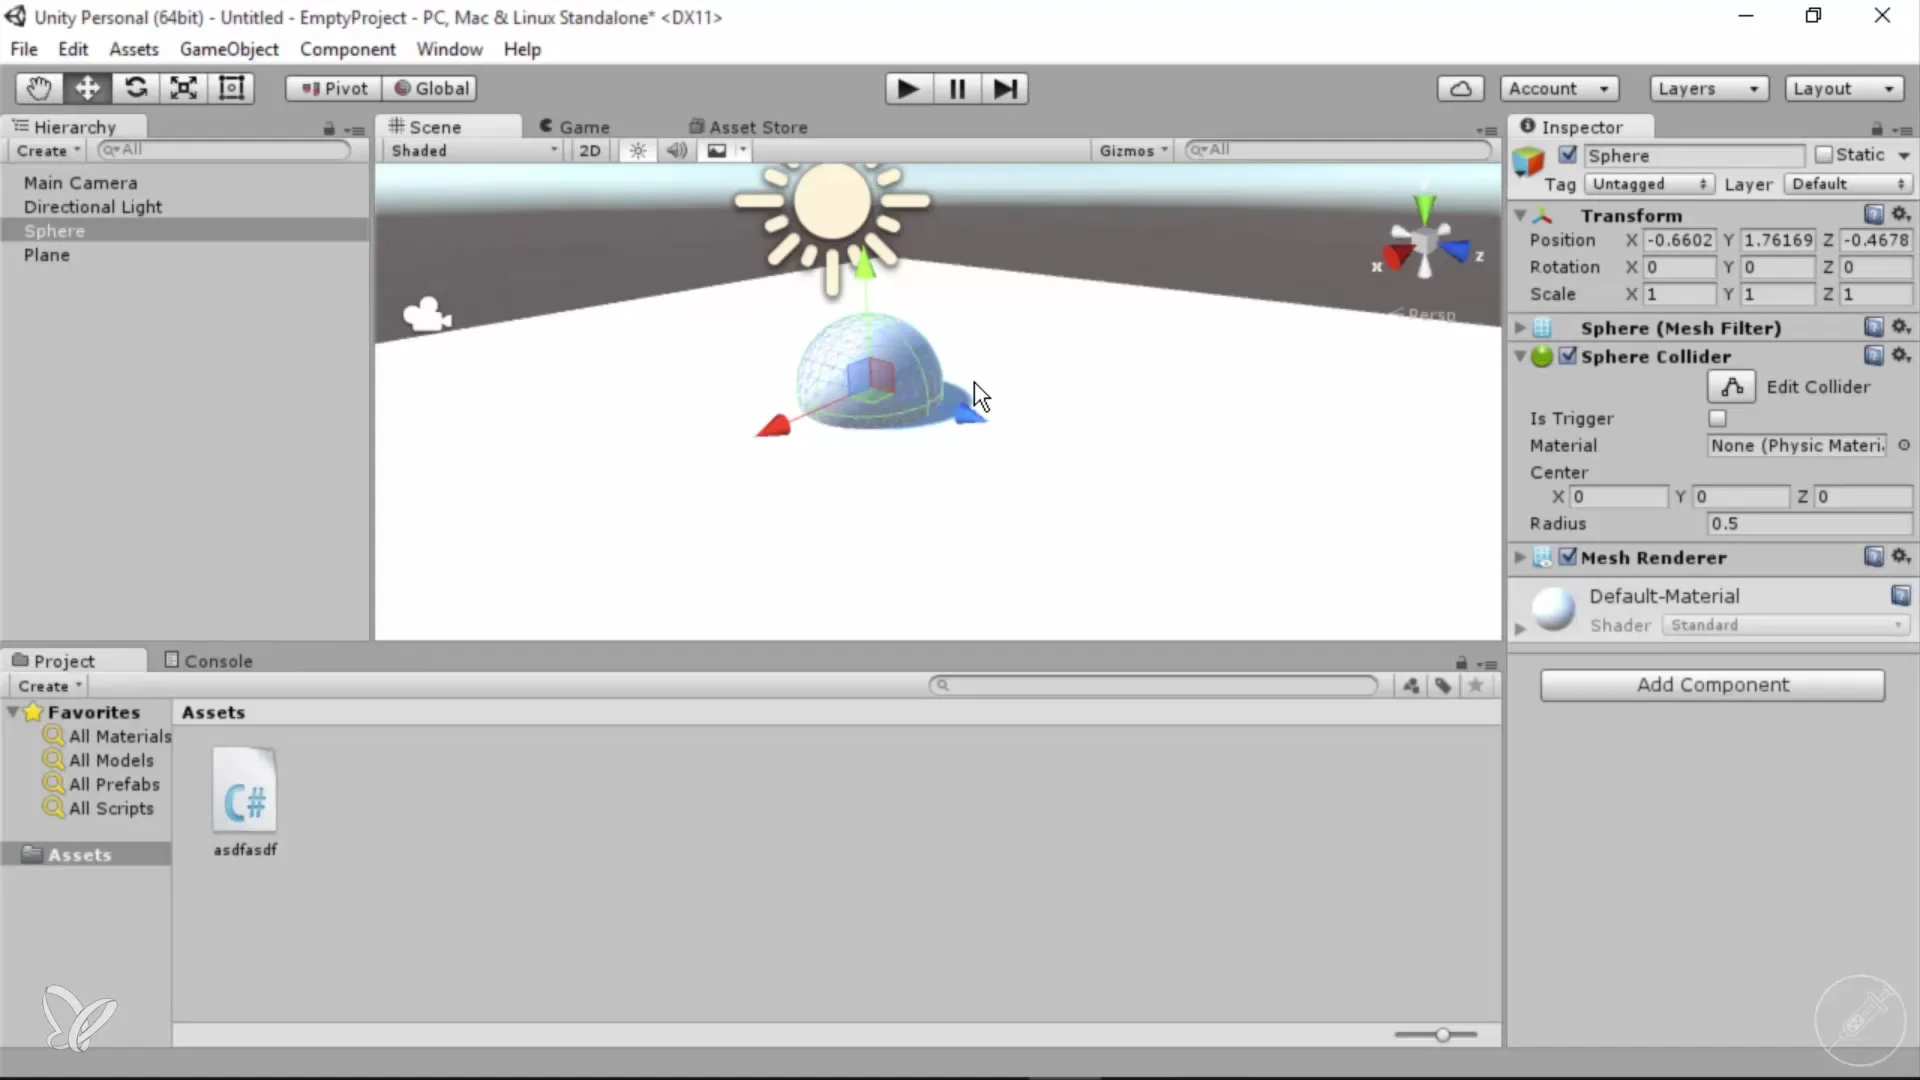
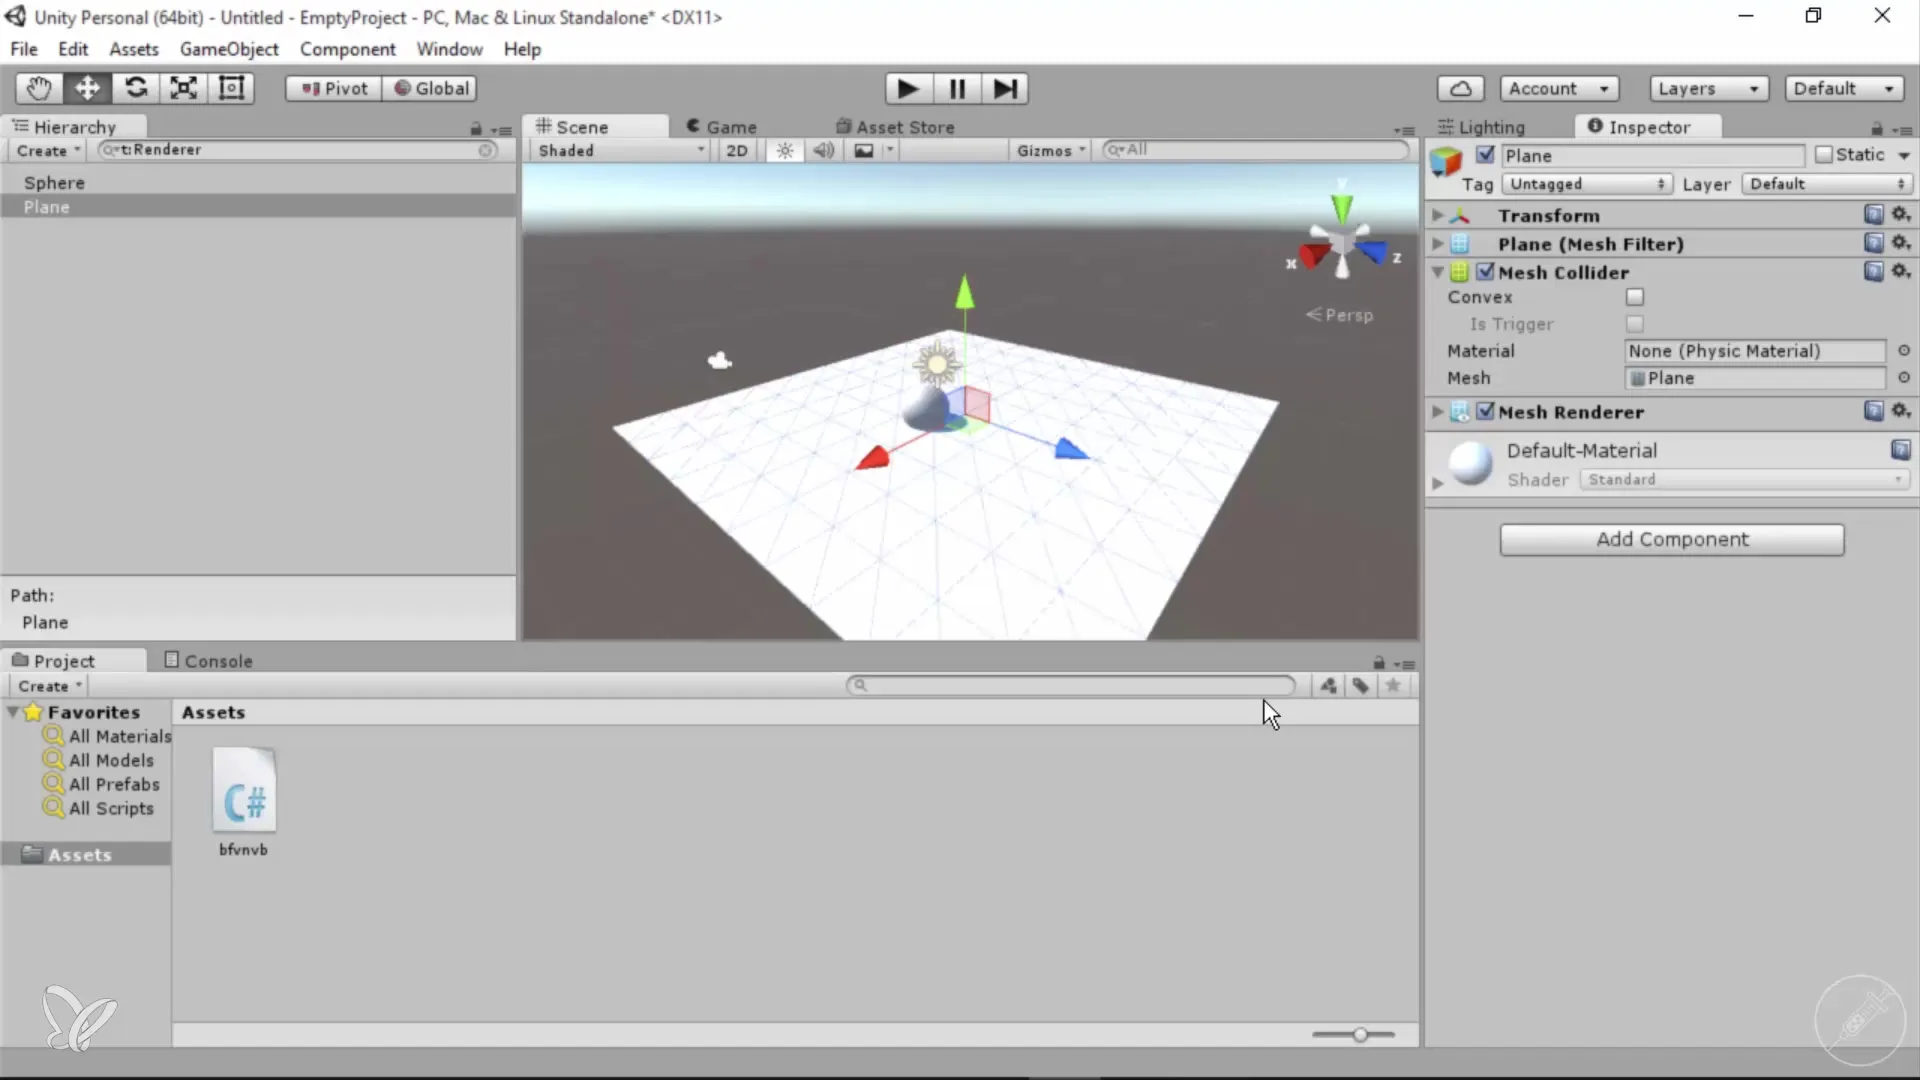
To add 3D objects to your scene, go to the menu and select "3D Object." Here you can choose various elements, such as primitive objects like cubes or planes. Manipulating the objects works similarly to Cinema 4D – select the object and use the transformation tools to move, rotate, or scale it.
Using Asset Management
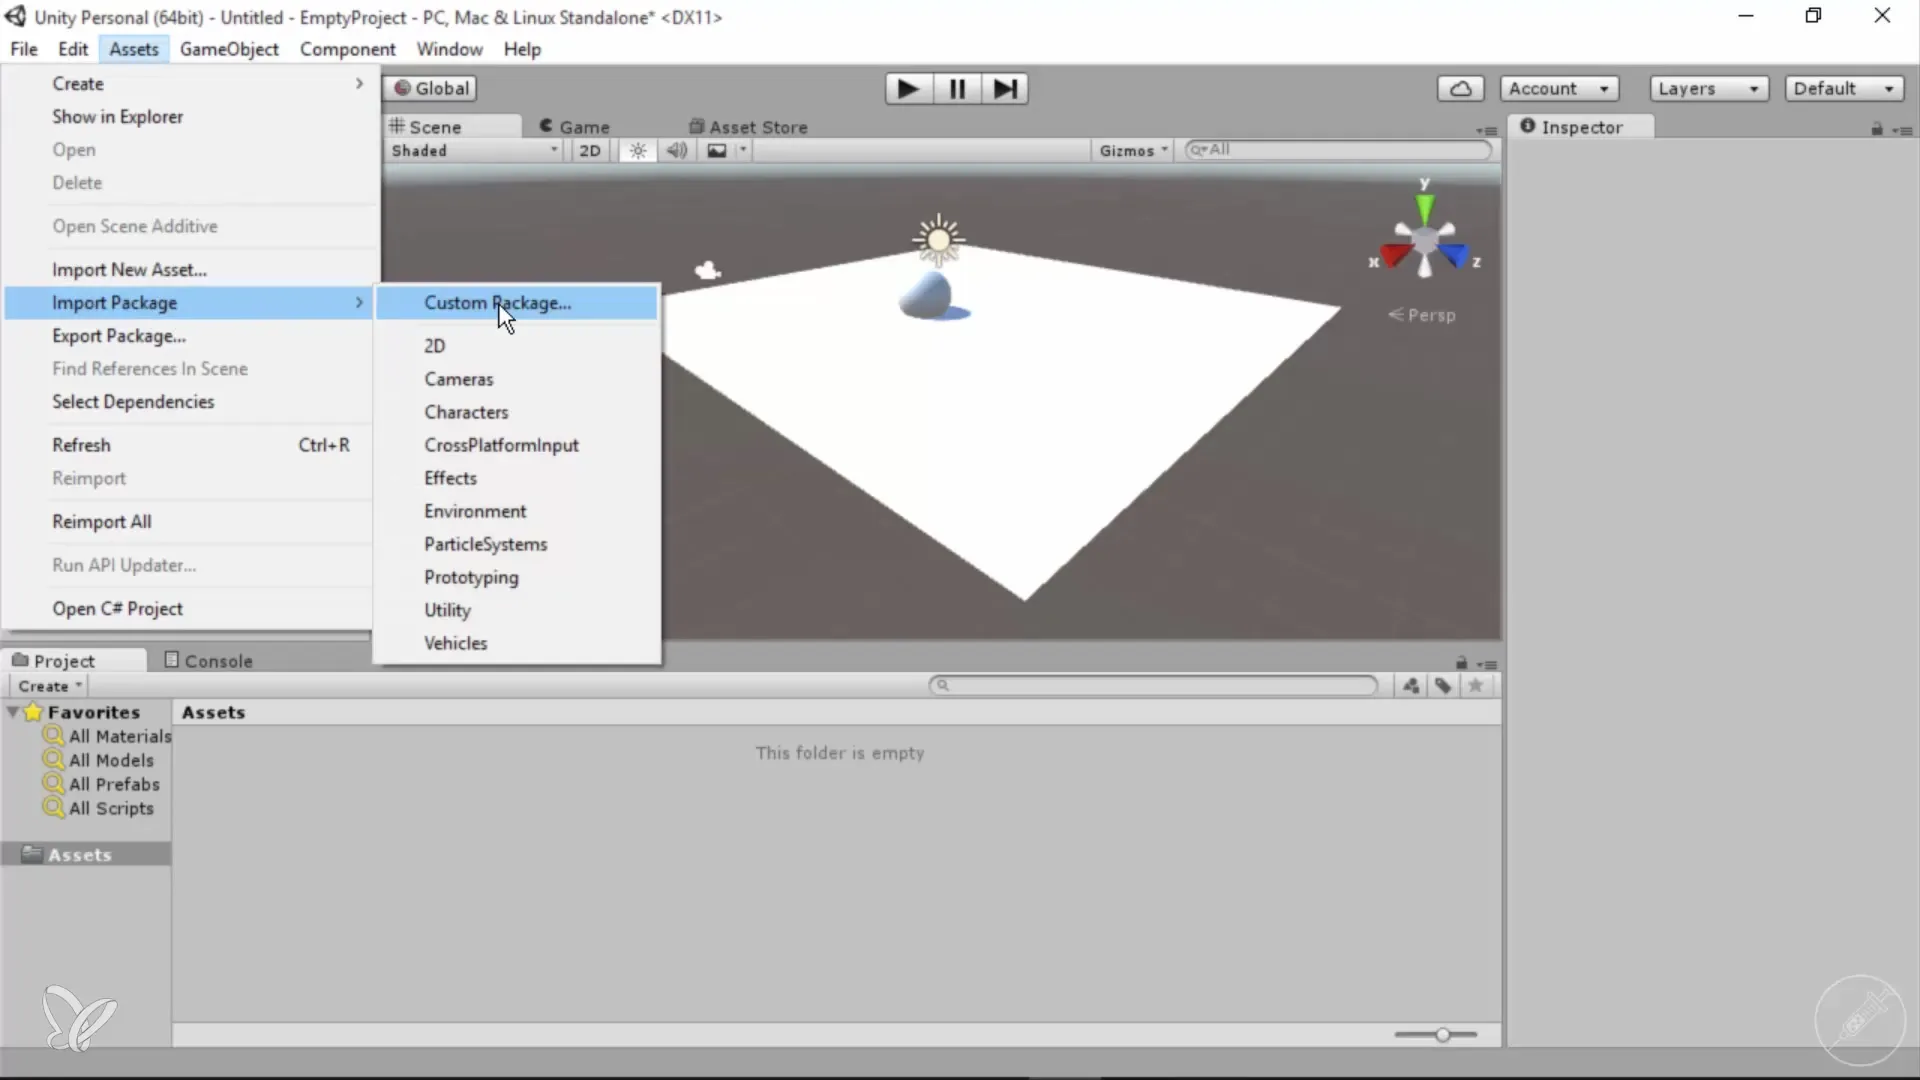
The asset store is a treasure trove of resources; here you can download various data packages with graphics, models, and sounds. To import assets, click on “Assets” in the menu and then “Import Package.” Keep in mind that only the necessary objects are visible in your project, even if many data files are in the asset folder. This helps maximize storage space on your hard drive.
The Inspector for Object Attributes
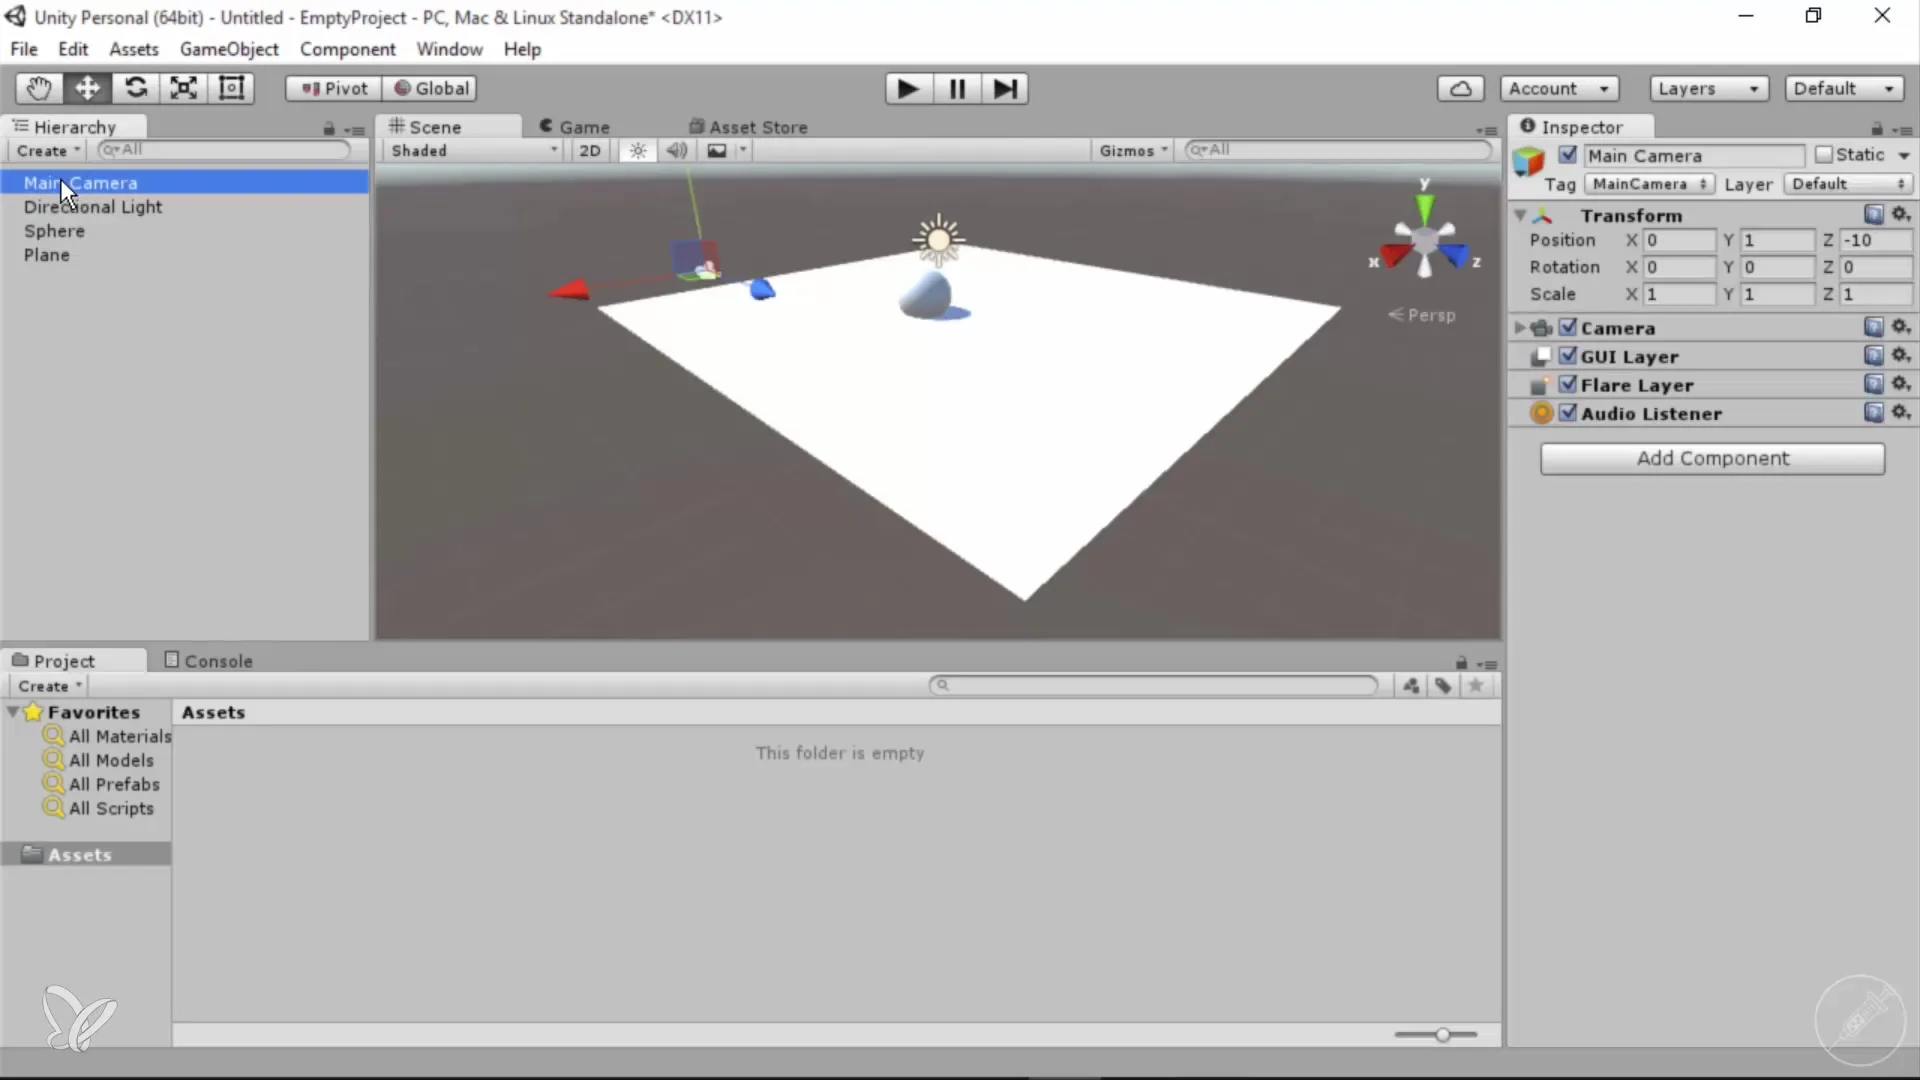
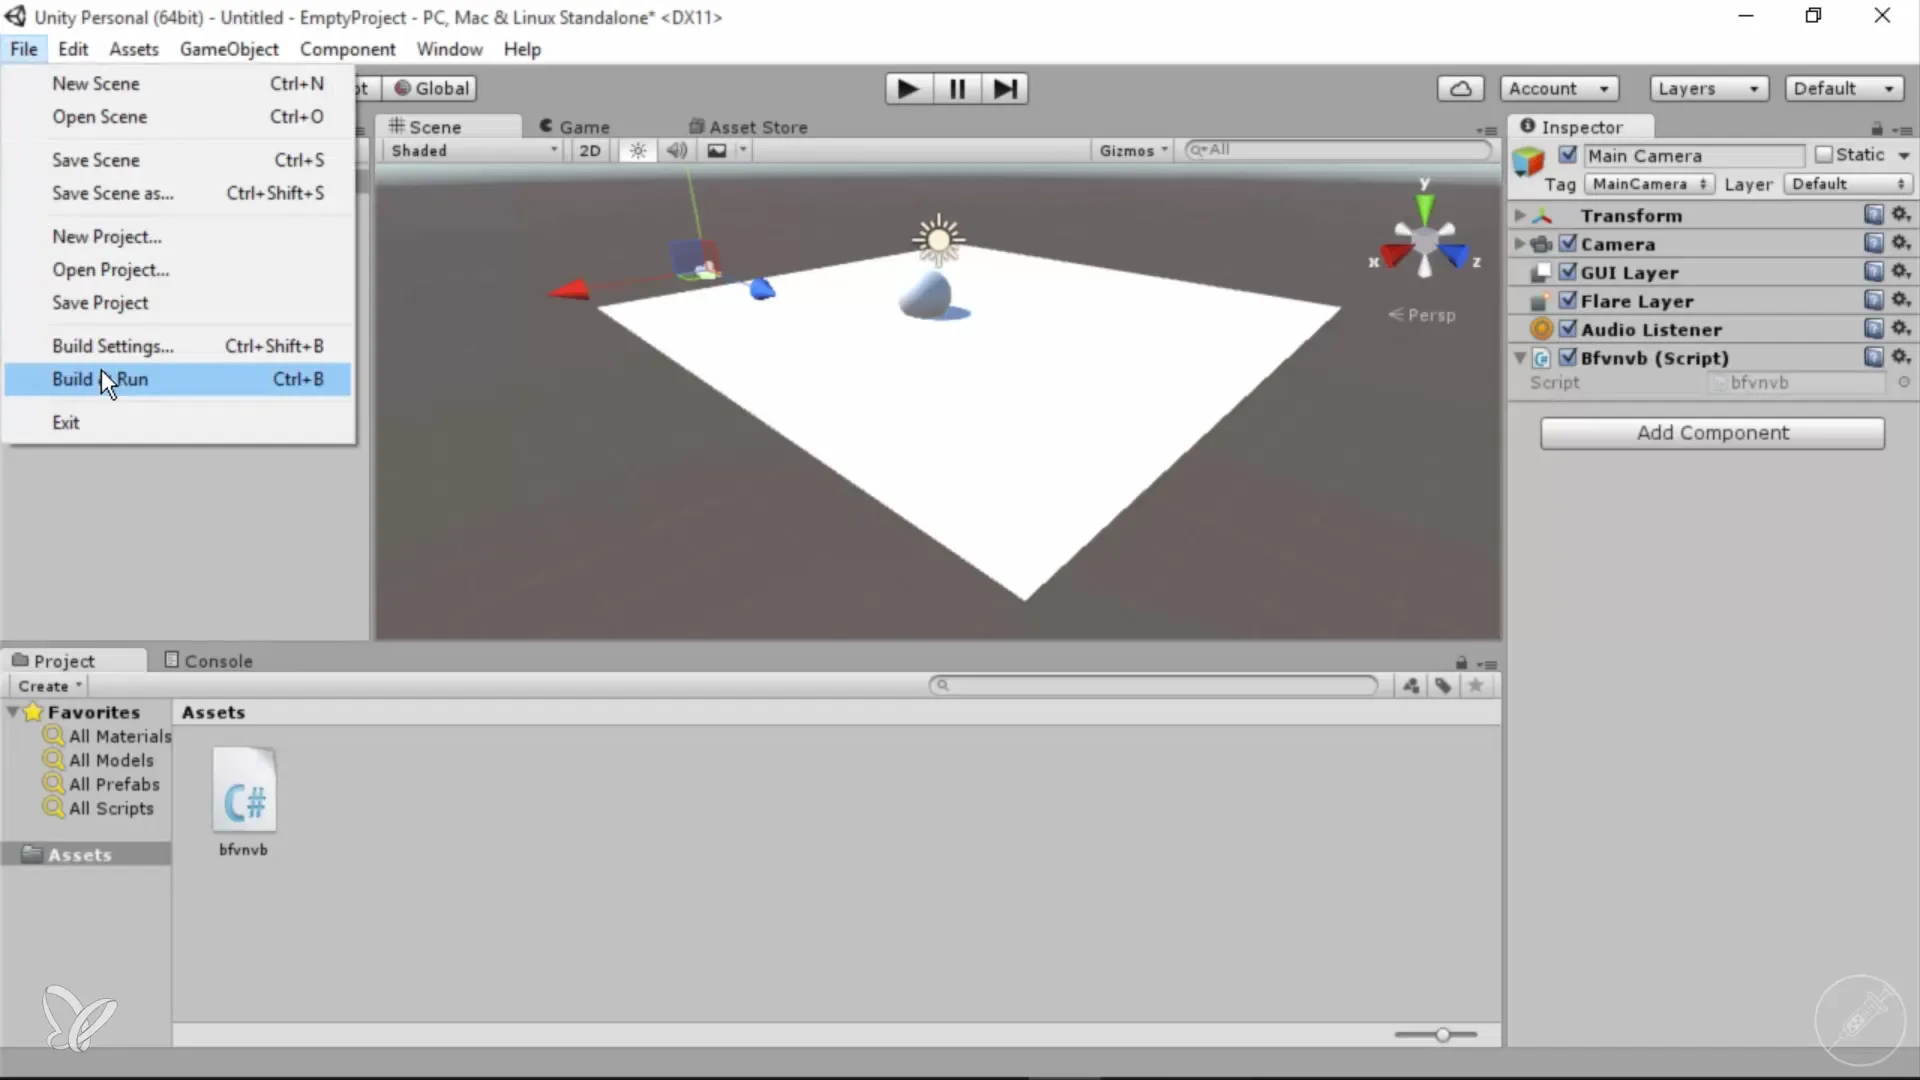
The inspector is an essential window that shows you the properties of your selected objects. By clicking on the Main Camera, you can see all associated attributes that you can adjust or expand as needed. Here you have the option to add components by clicking on “Add Component” and making the desired settings.
Console Window and Error Messages
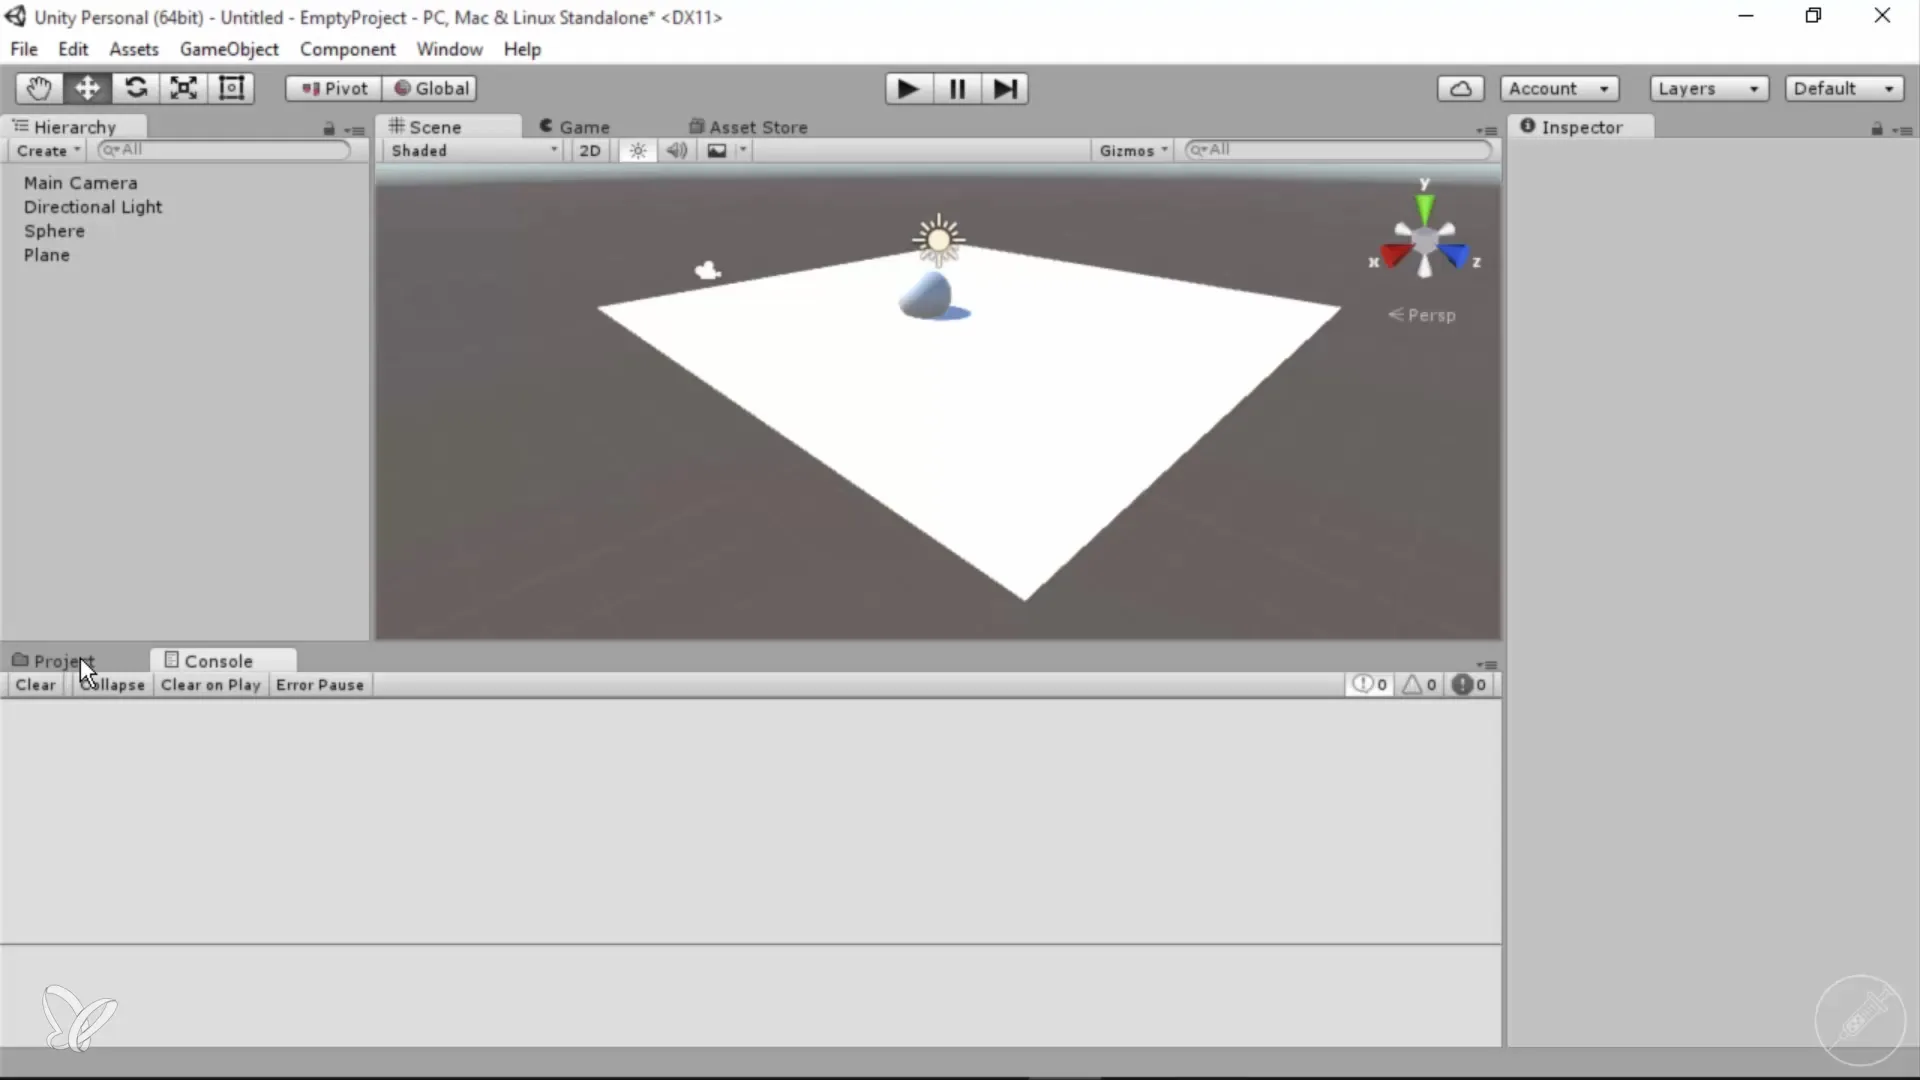
The console window is important for debugging. If you make errors while scripting or something doesn't work as expected, you will see relevant error messages here. You can use the window to log text output, which is particularly useful when developing more complex projects.
Creating New Scripts and Functions
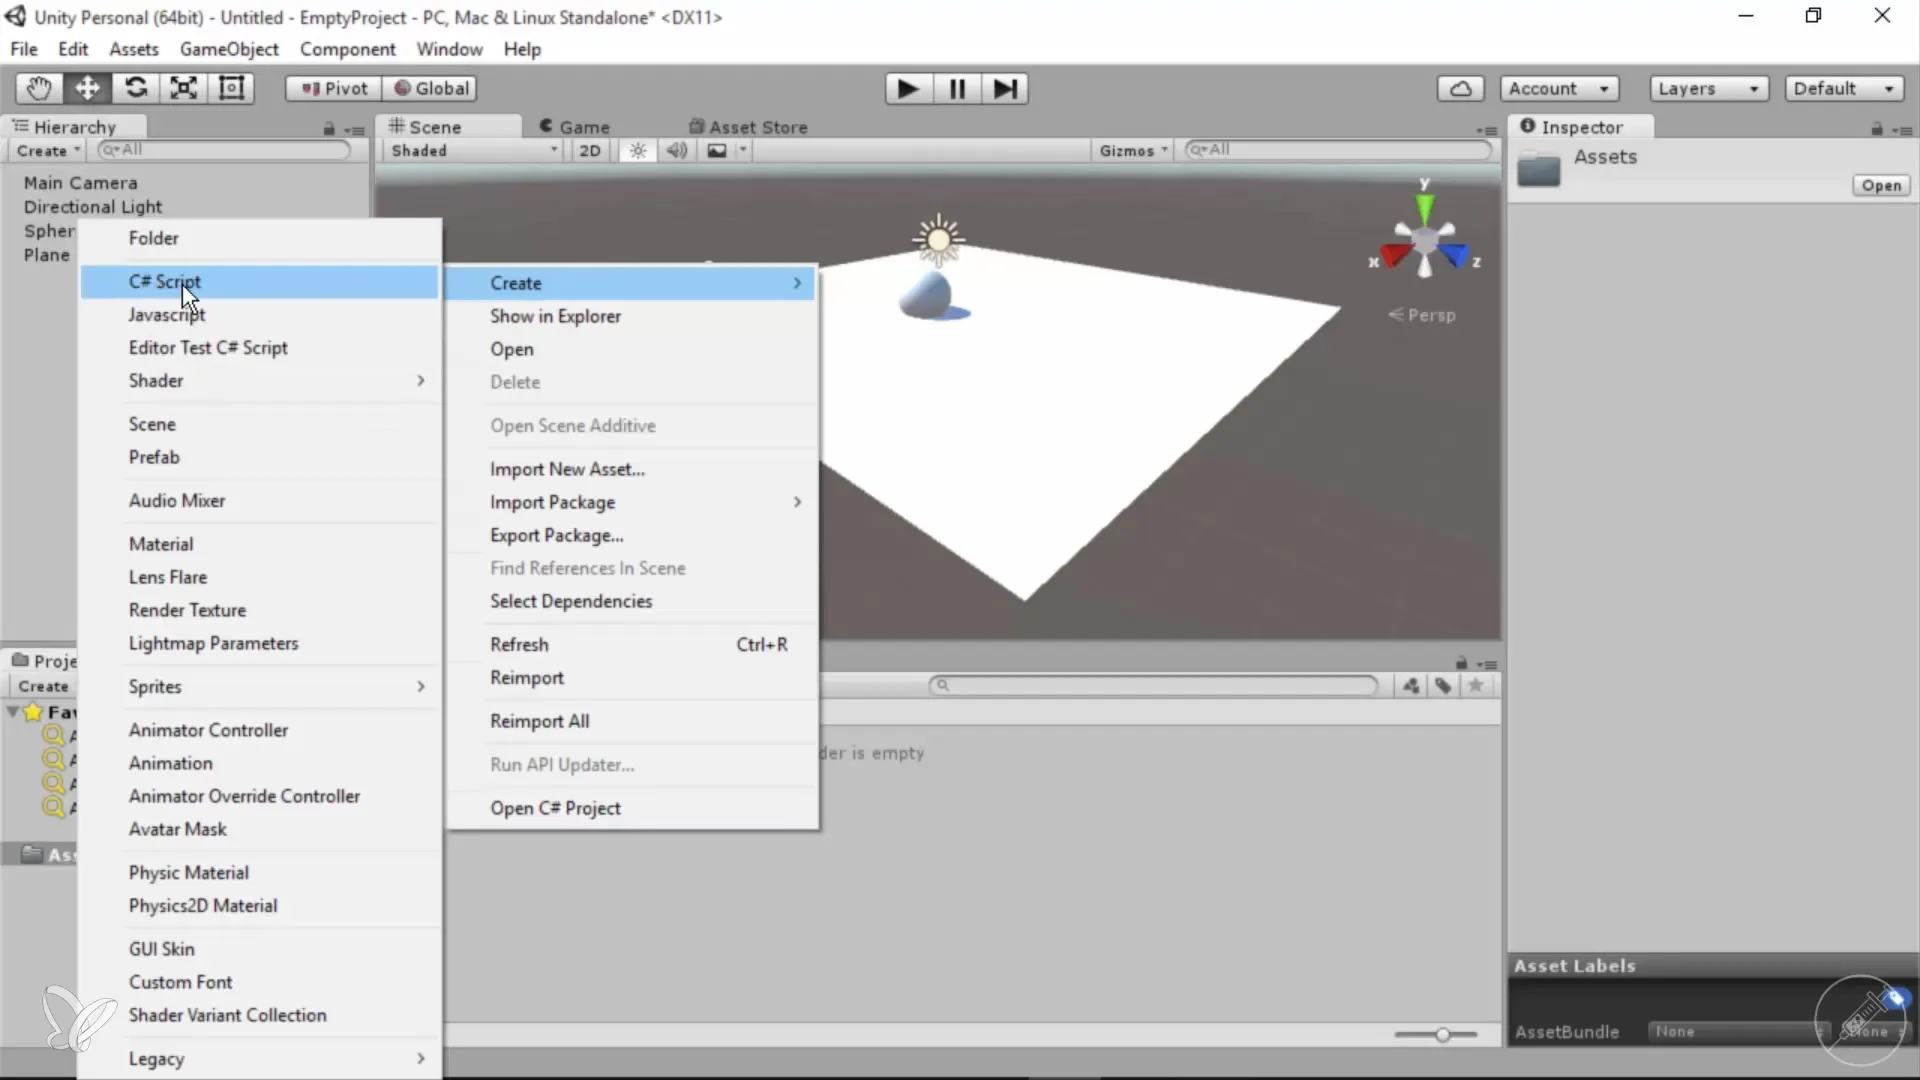
To create your own views and functions, you can directly generate new scripts in the assets area. Right-click, select “Create,” and then “C# Script.” Once you have created a script, you can assign it to your camera or other objects to implement specific programming logic.
Menus and General Options in Unity
You will find various items in the menu such as “File,” “Edit,” and “Assets” for basic functions like saving and loading. Additionally, through “Build Settings,” you have the option to export your project for different platforms. Here you can also manage all settings for your game.
Simple Operation and Clarity
The user interface of Unity is generally user-friendly and clear. The biggest challenge is using the correct tags and properties and programming scripts to achieve specific behaviors. In this course, we will focus on using simple assets and optimizing your navigation options without complex programming.
Summary – Introduction to Unity for 360° Architecture Views
In this brief introduction, you have learned the basics of Unity, including the user interface, navigation in 3D space, asset management, and creating scripts. These skills are key to successful 360° architecture views and will benefit you throughout the course.
Frequently Asked Questions
What is the main function of Unity?Unity is a development environment for 2D and 3D games that allows you to create interactive applications and simulations.
How do I add assets in Unity?You can add assets through the Asset Store or by importing packages in the menu.
What is the Inspector in Unity?The Inspector shows the properties of the currently selected object that you can customize.
How can I save my projects in Unity?Use the “File” menu and click “Save” or “Save As” to save your projects.
Can I export my projects for other platforms?Yes, by using the “Build Settings,” you can export your project for various platforms.
