Adding natural elements to your architecture scene can significantly enhance the overall impression. In particular, trees bring life and naturalness to your project. In this tutorial, you will learn step by step how to import trees into Unity without spending any money. We will browse the Asset Store and use a free package from SpeedTree. Let's get started!
Key Insights
- You can import trees for free via the Asset Store or SpeedTree.
- Using different levels of detail (LOD) for models helps optimize performance.
- Working in multiple views makes it easier to precisely place objects.
Step-by-Step Guide
1. Start scene design
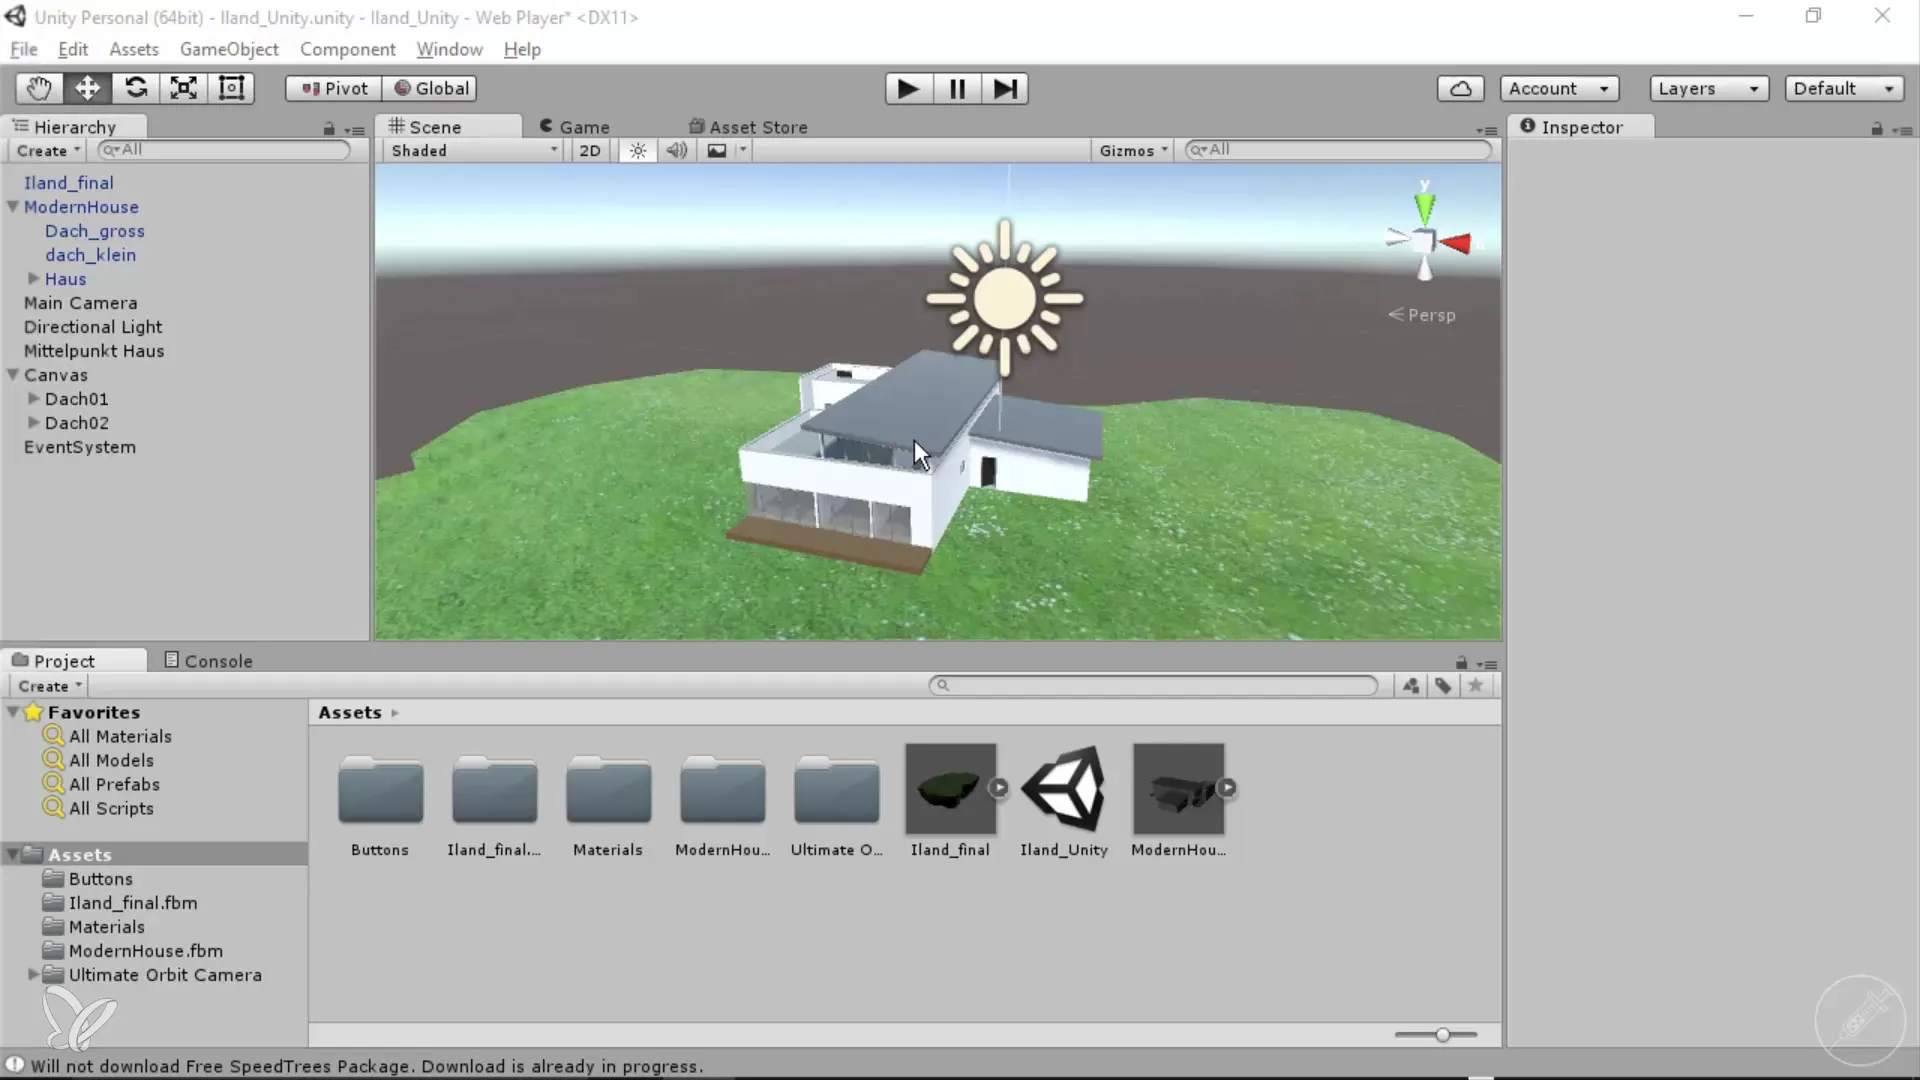
First, open Unity and load your scene that you want to beautify. To add more nature, we want to insert a tree here.
2. Browse the Asset Store
Go to the Unity Asset Store. Click on the shop and search for "Trees" or "tree". This allows you to browse a large selection of 3D tree models.
3. Choose a suitable model
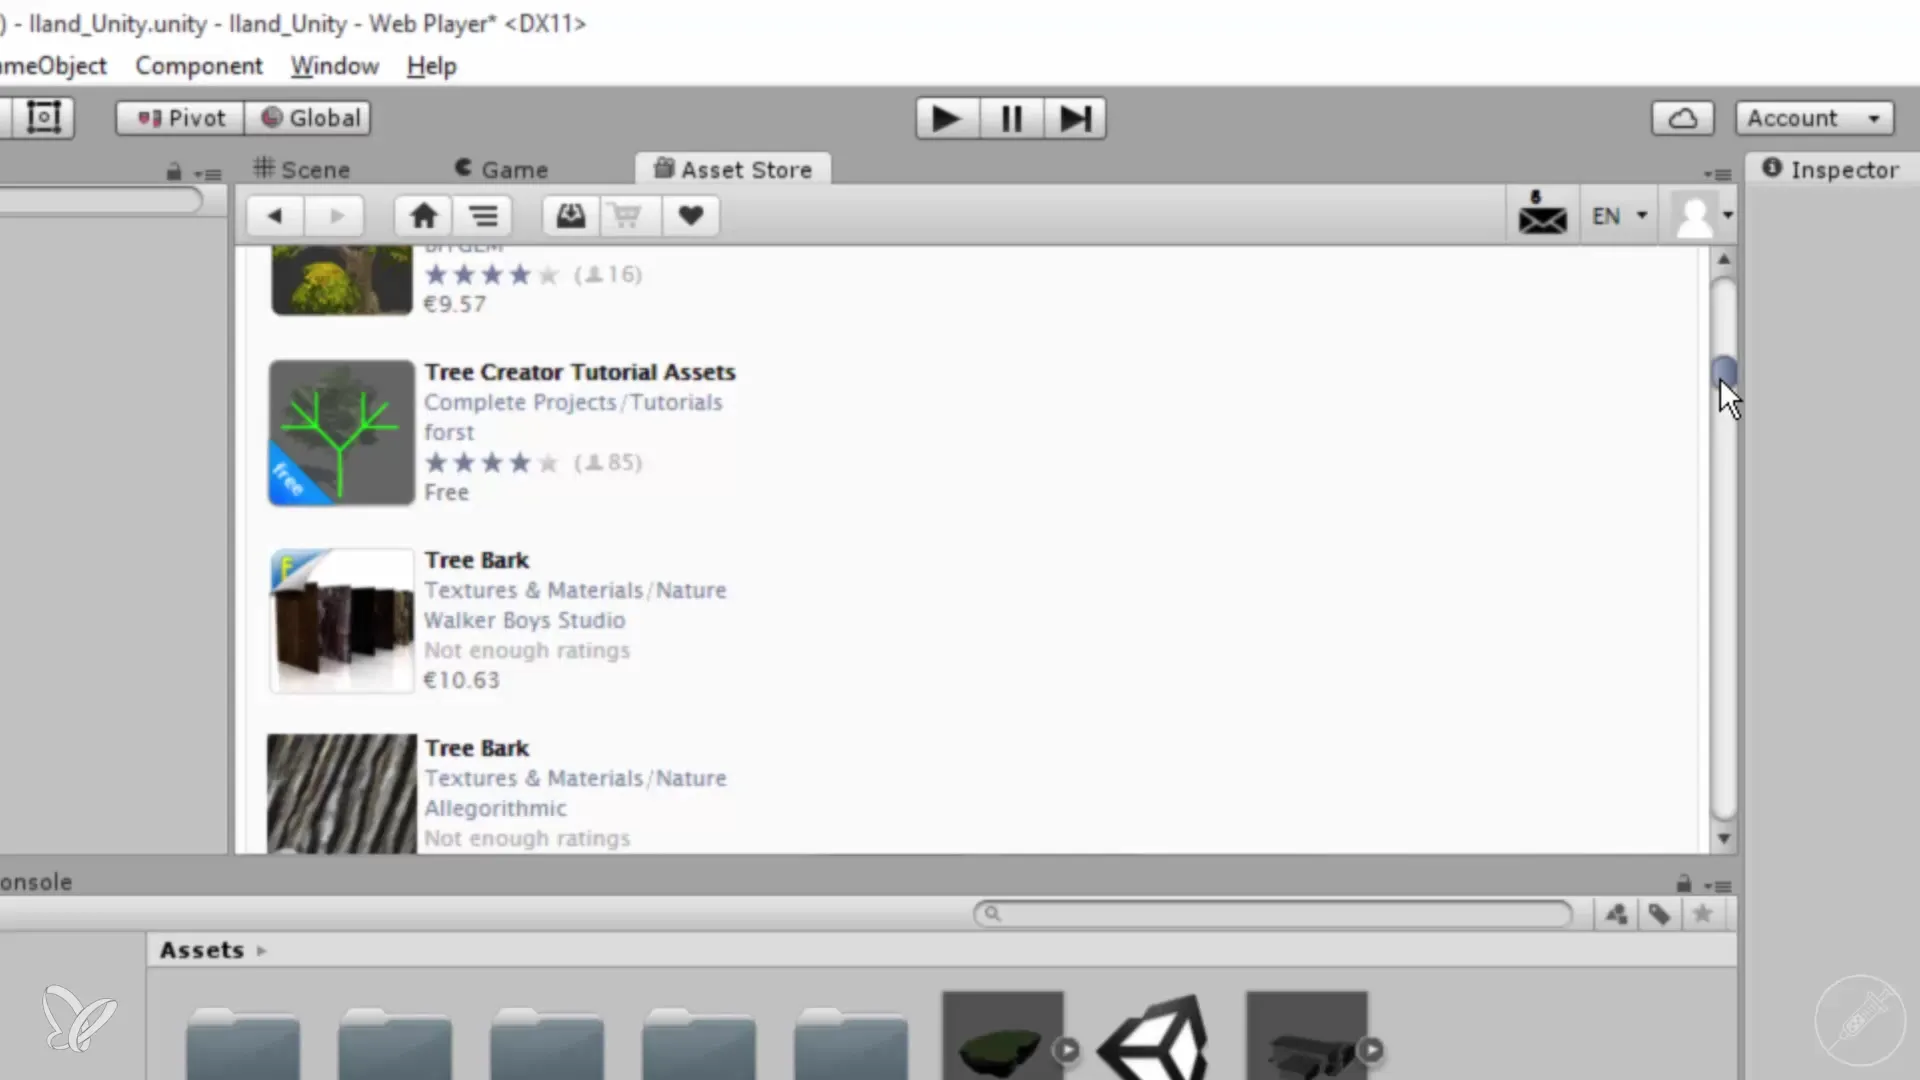
Instead of spending money on a tree, let's take a look at the free options available in the Asset Store. You can find many options that are free of charge.
4. Use SpeedTree
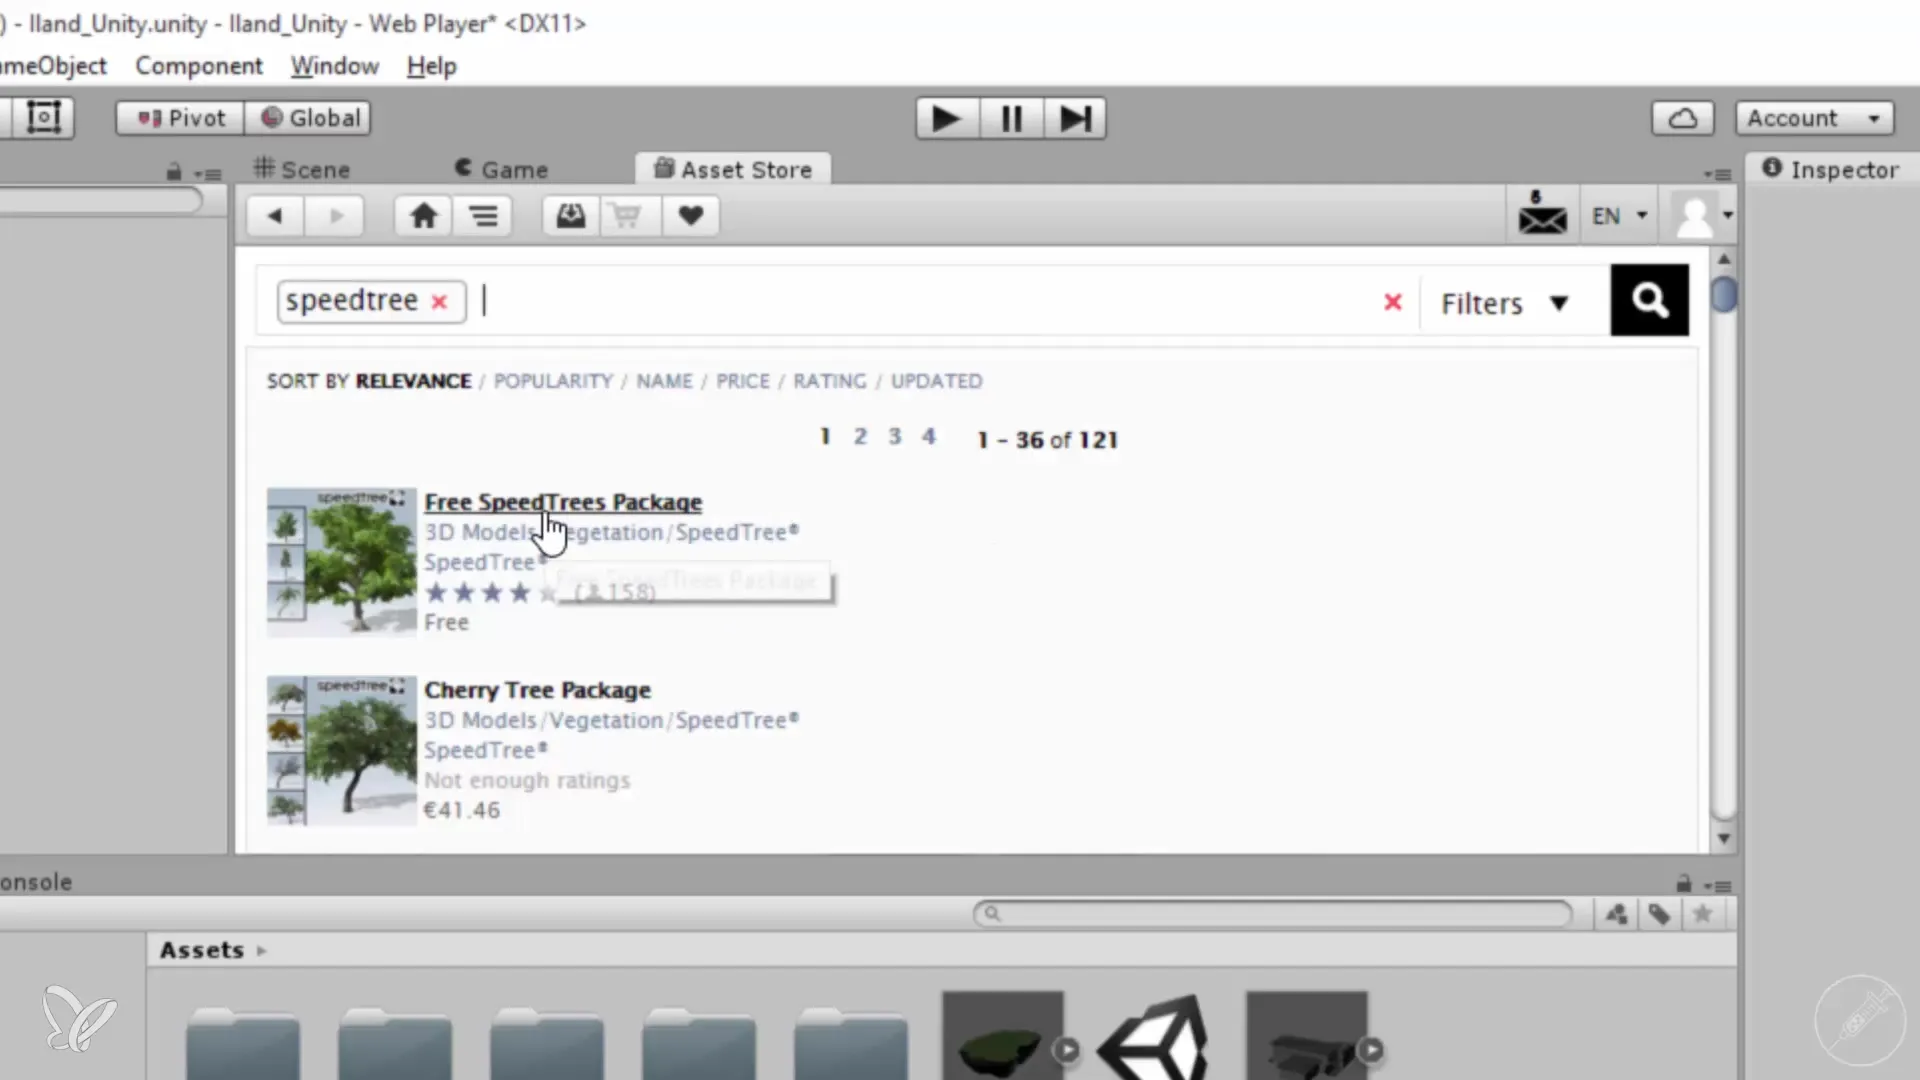
SpeedTree offers a free package with three different trees to get started. Click “Import” to load this package into your project.
5. Start the import process
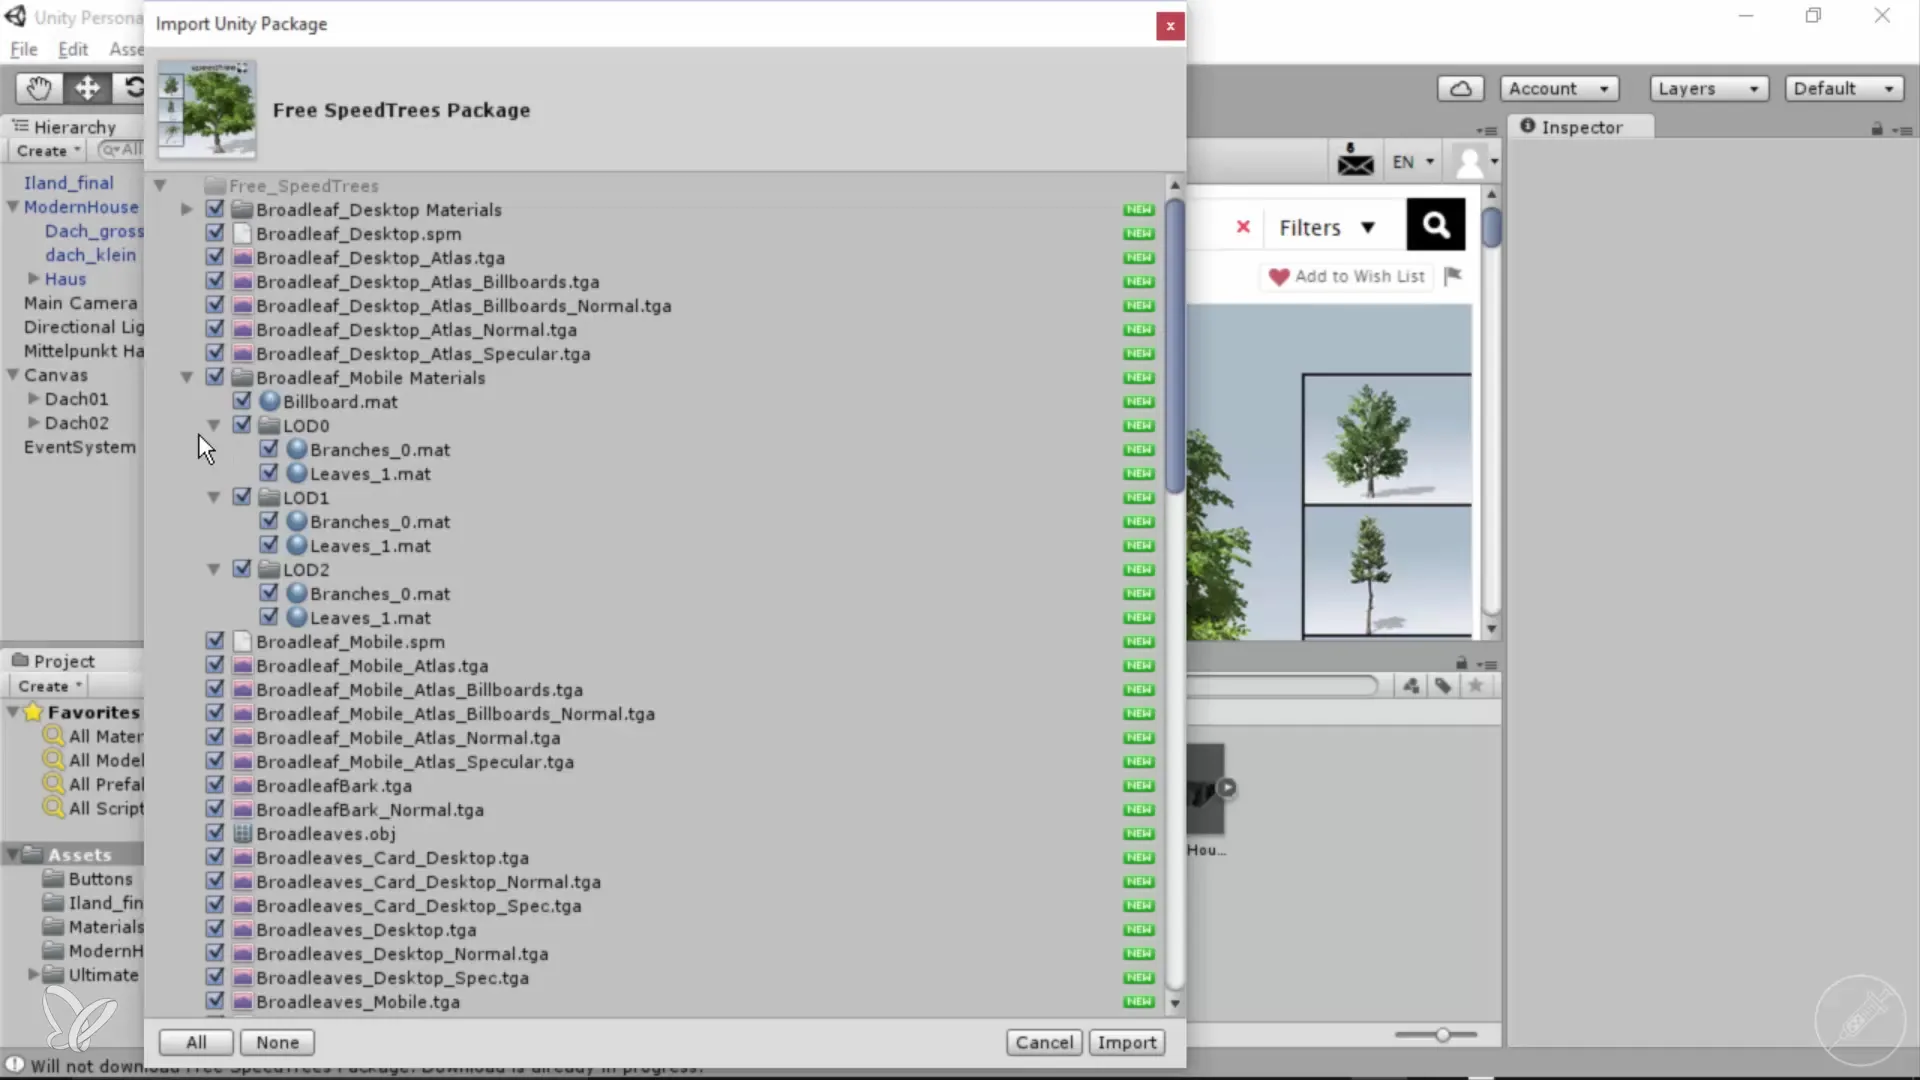
Once you have selected the package, the import dialog will open. Ensure that all options are activated before clicking "Import." This process may take some time.
6. Find the trees
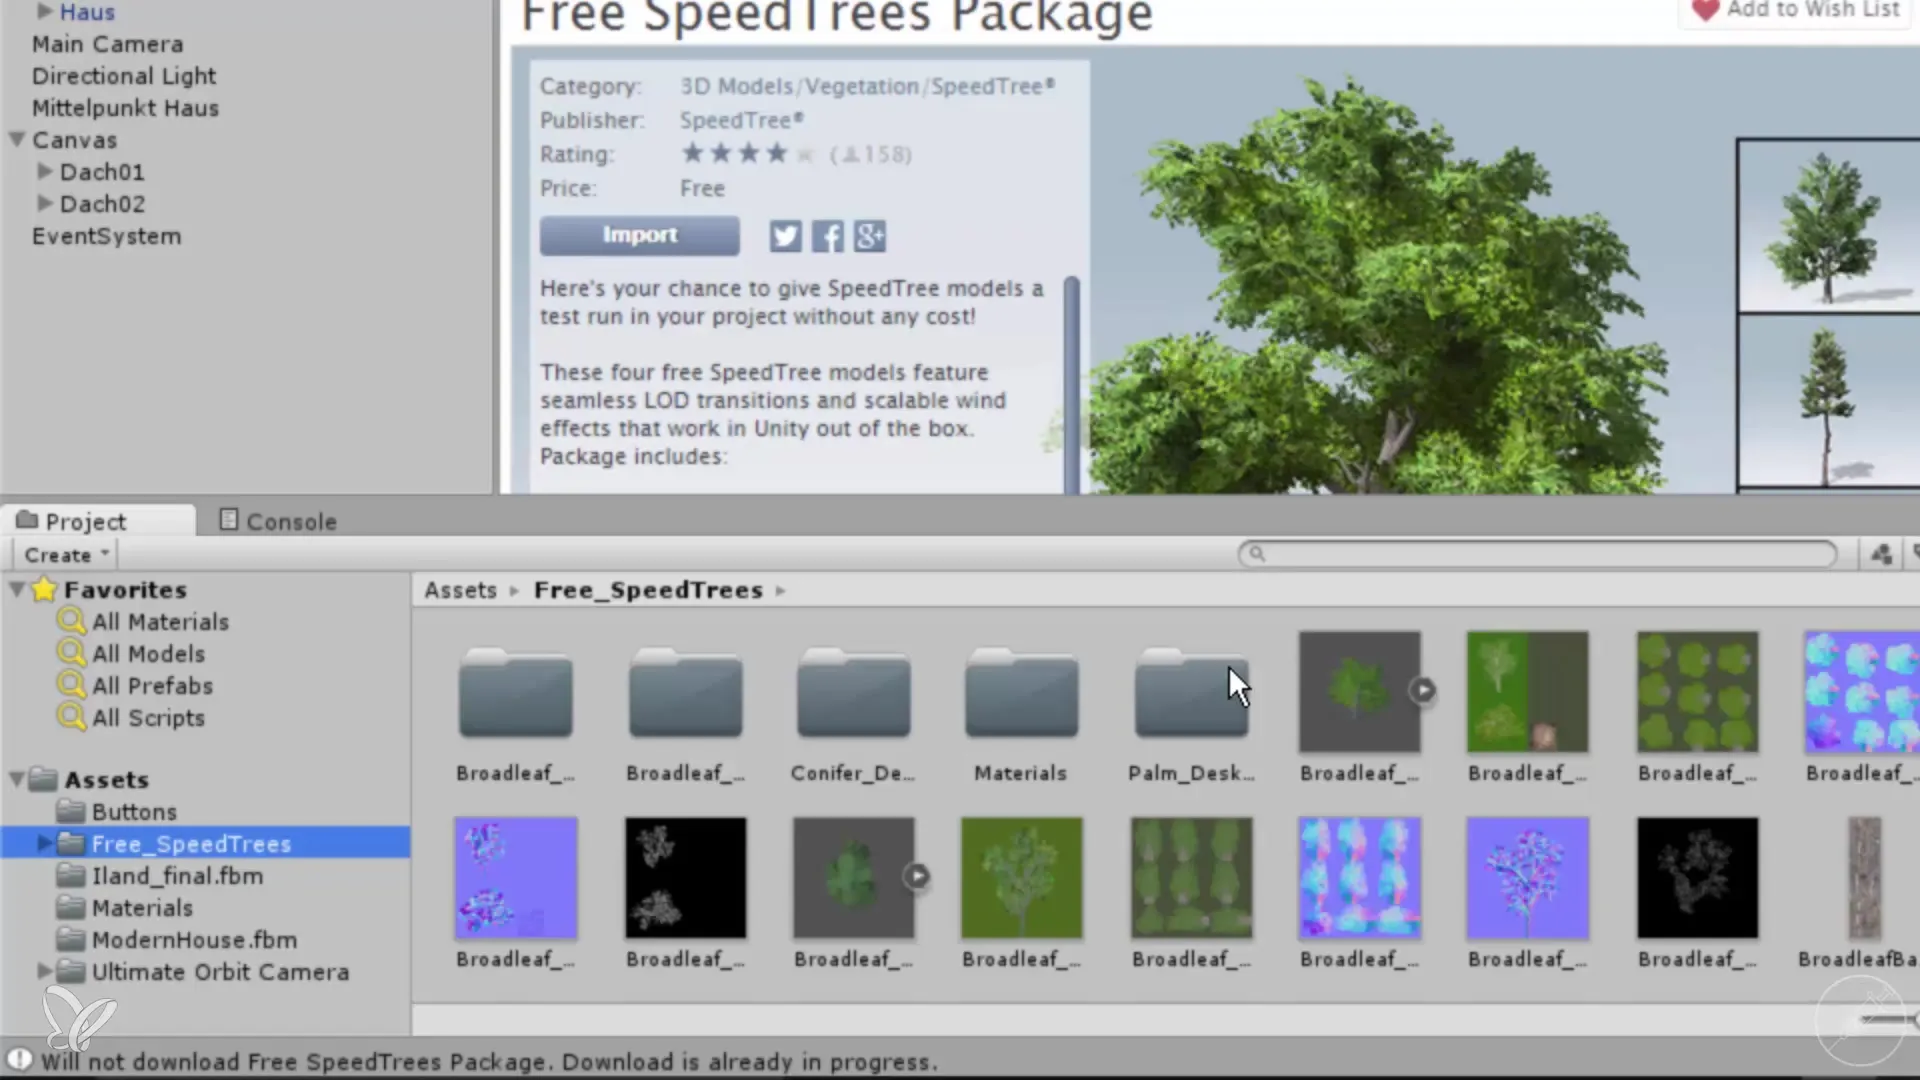
Once the import is complete, you will find the trees in the Assets folder. The different models and textures are now available. Search for the tree models you want to use.
7. Drag a tree into the scene
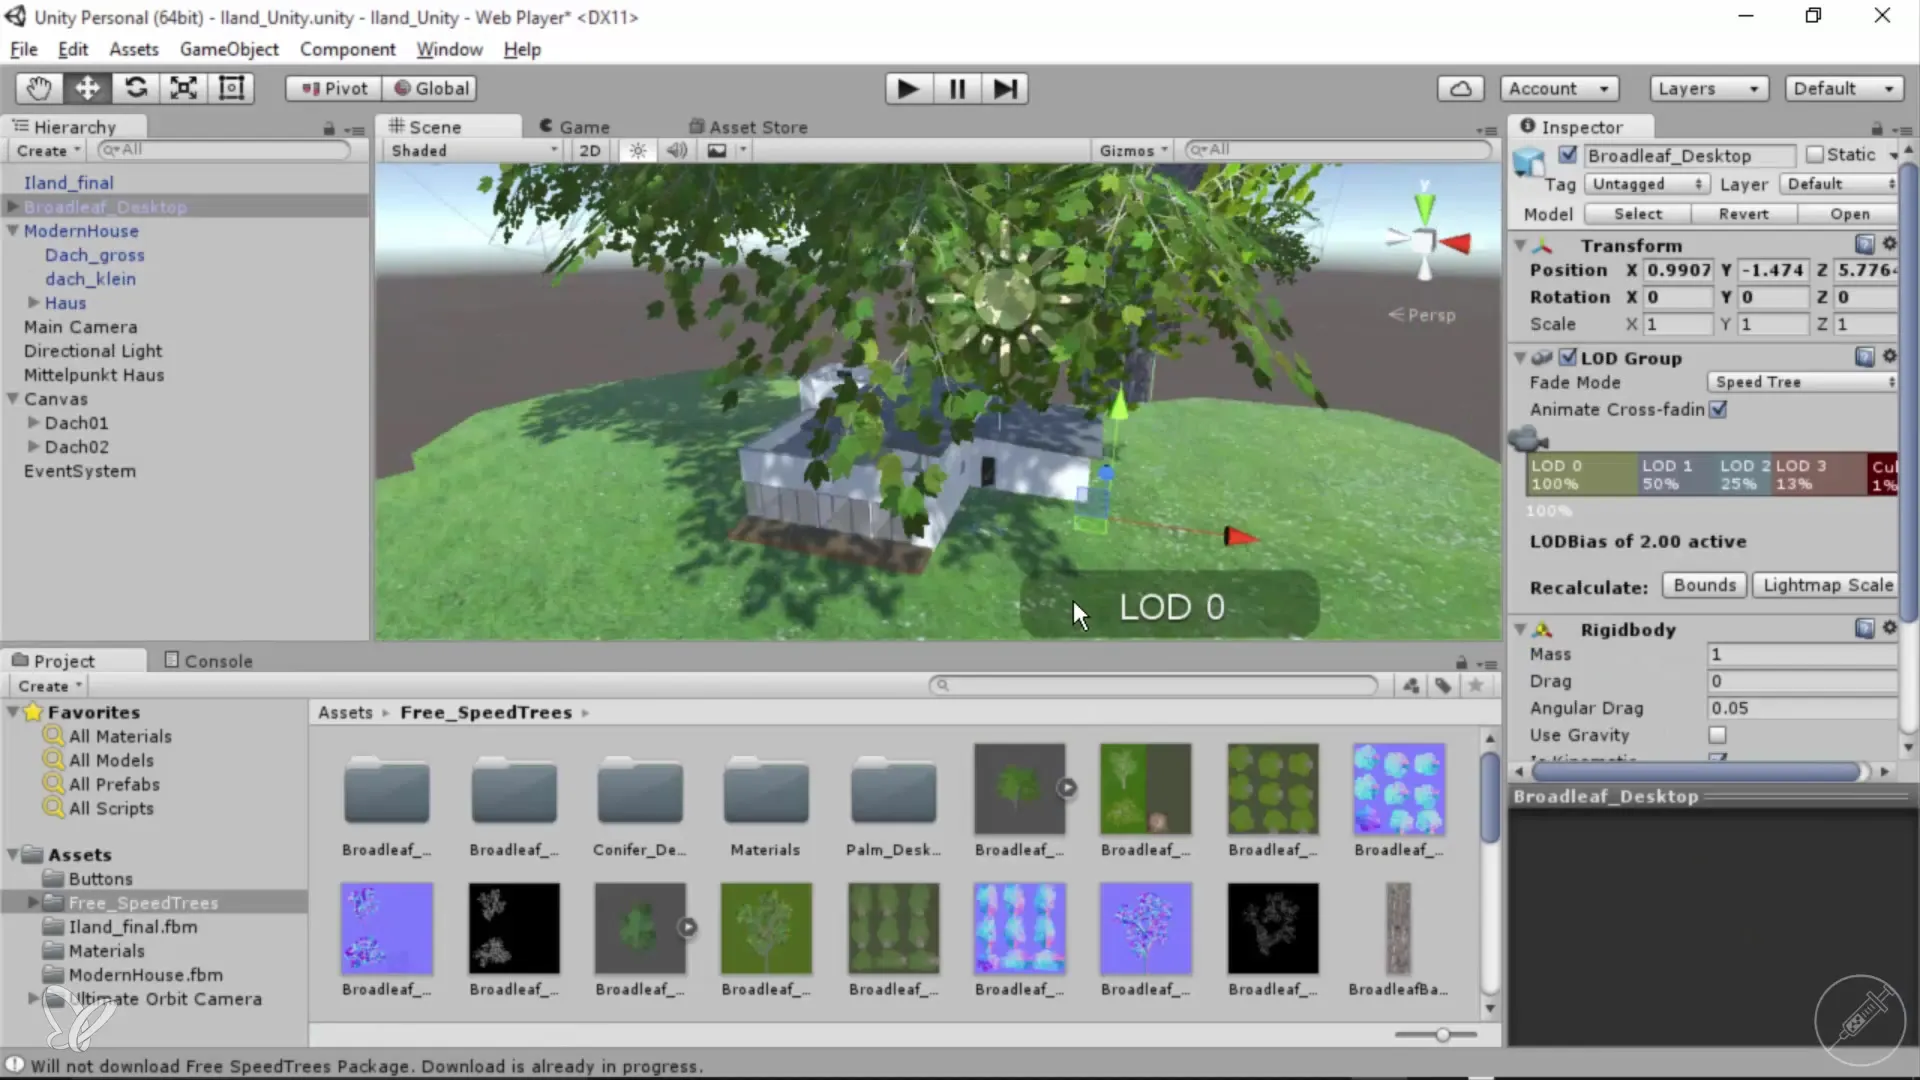
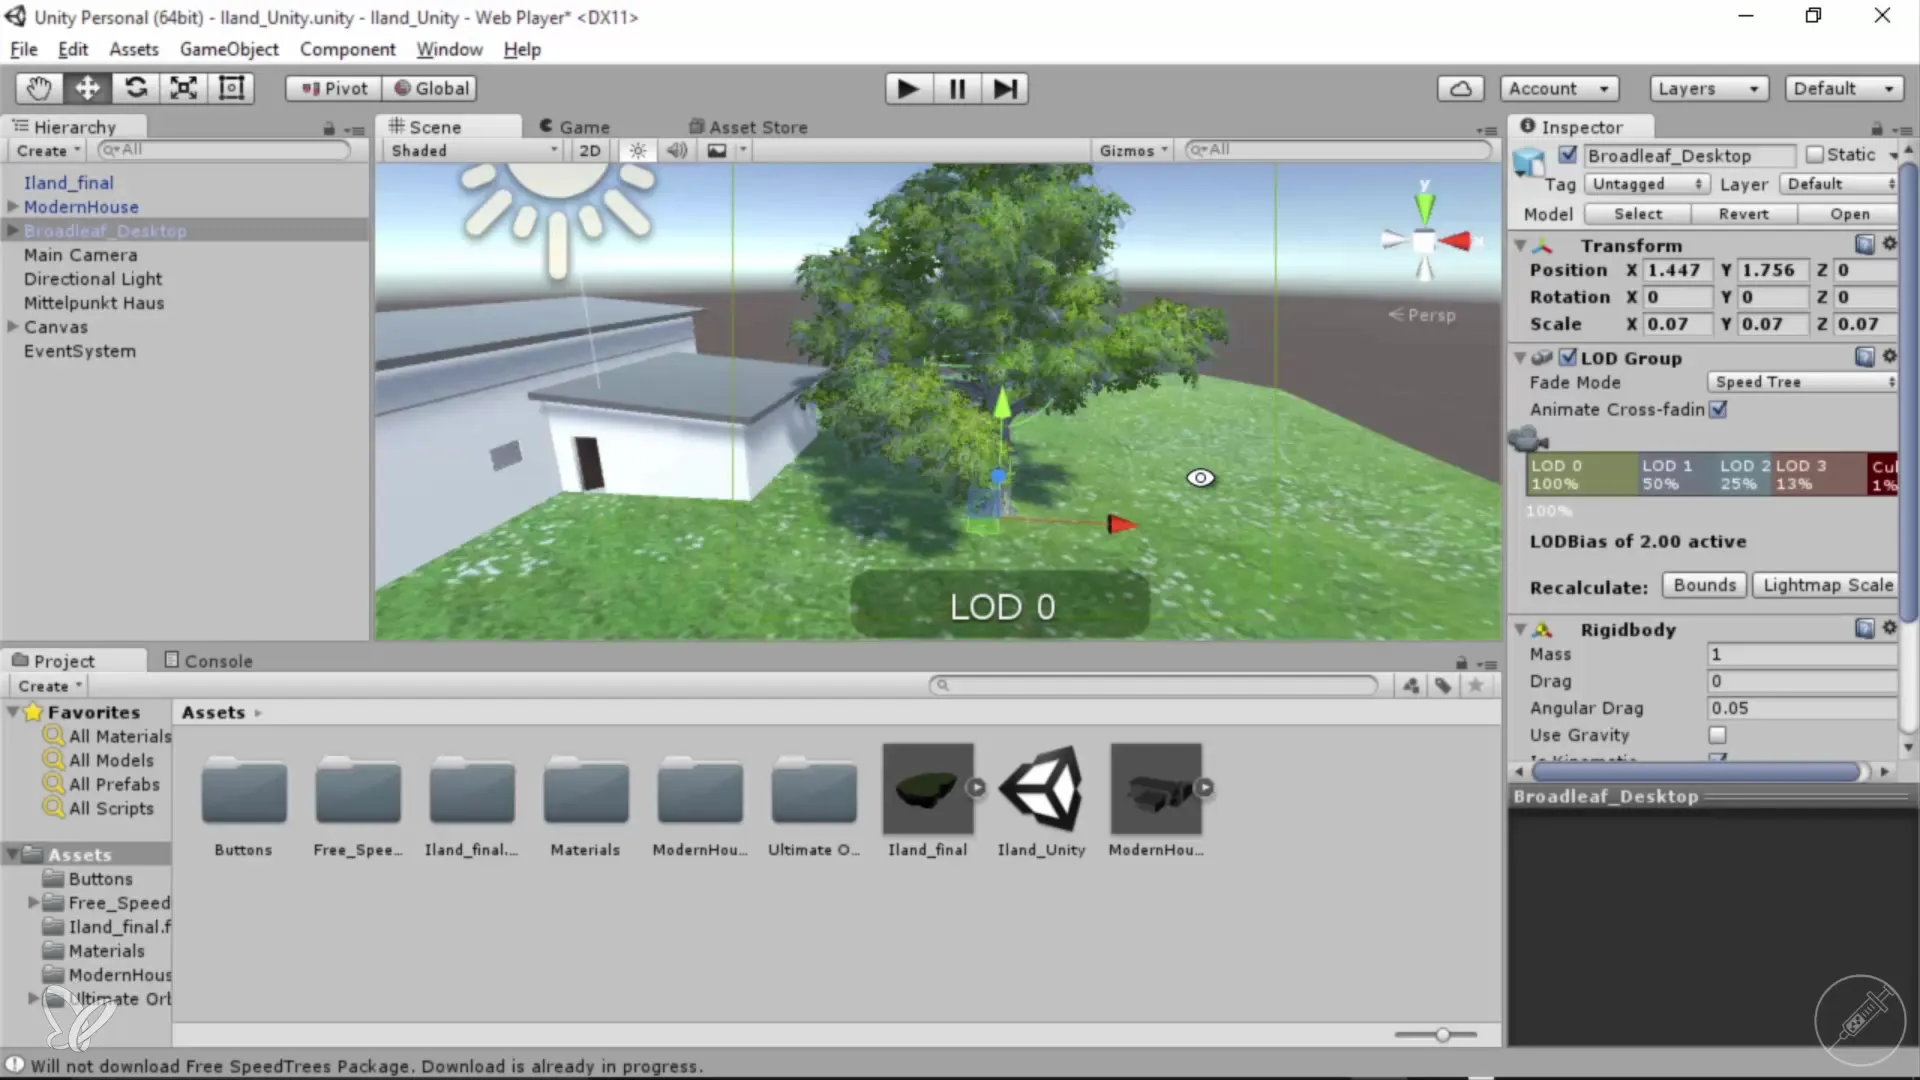
Select the first tree and drag it into the scene. You can make adjustments directly in the inspector to change the size and position of the tree.
8. Adjust the size
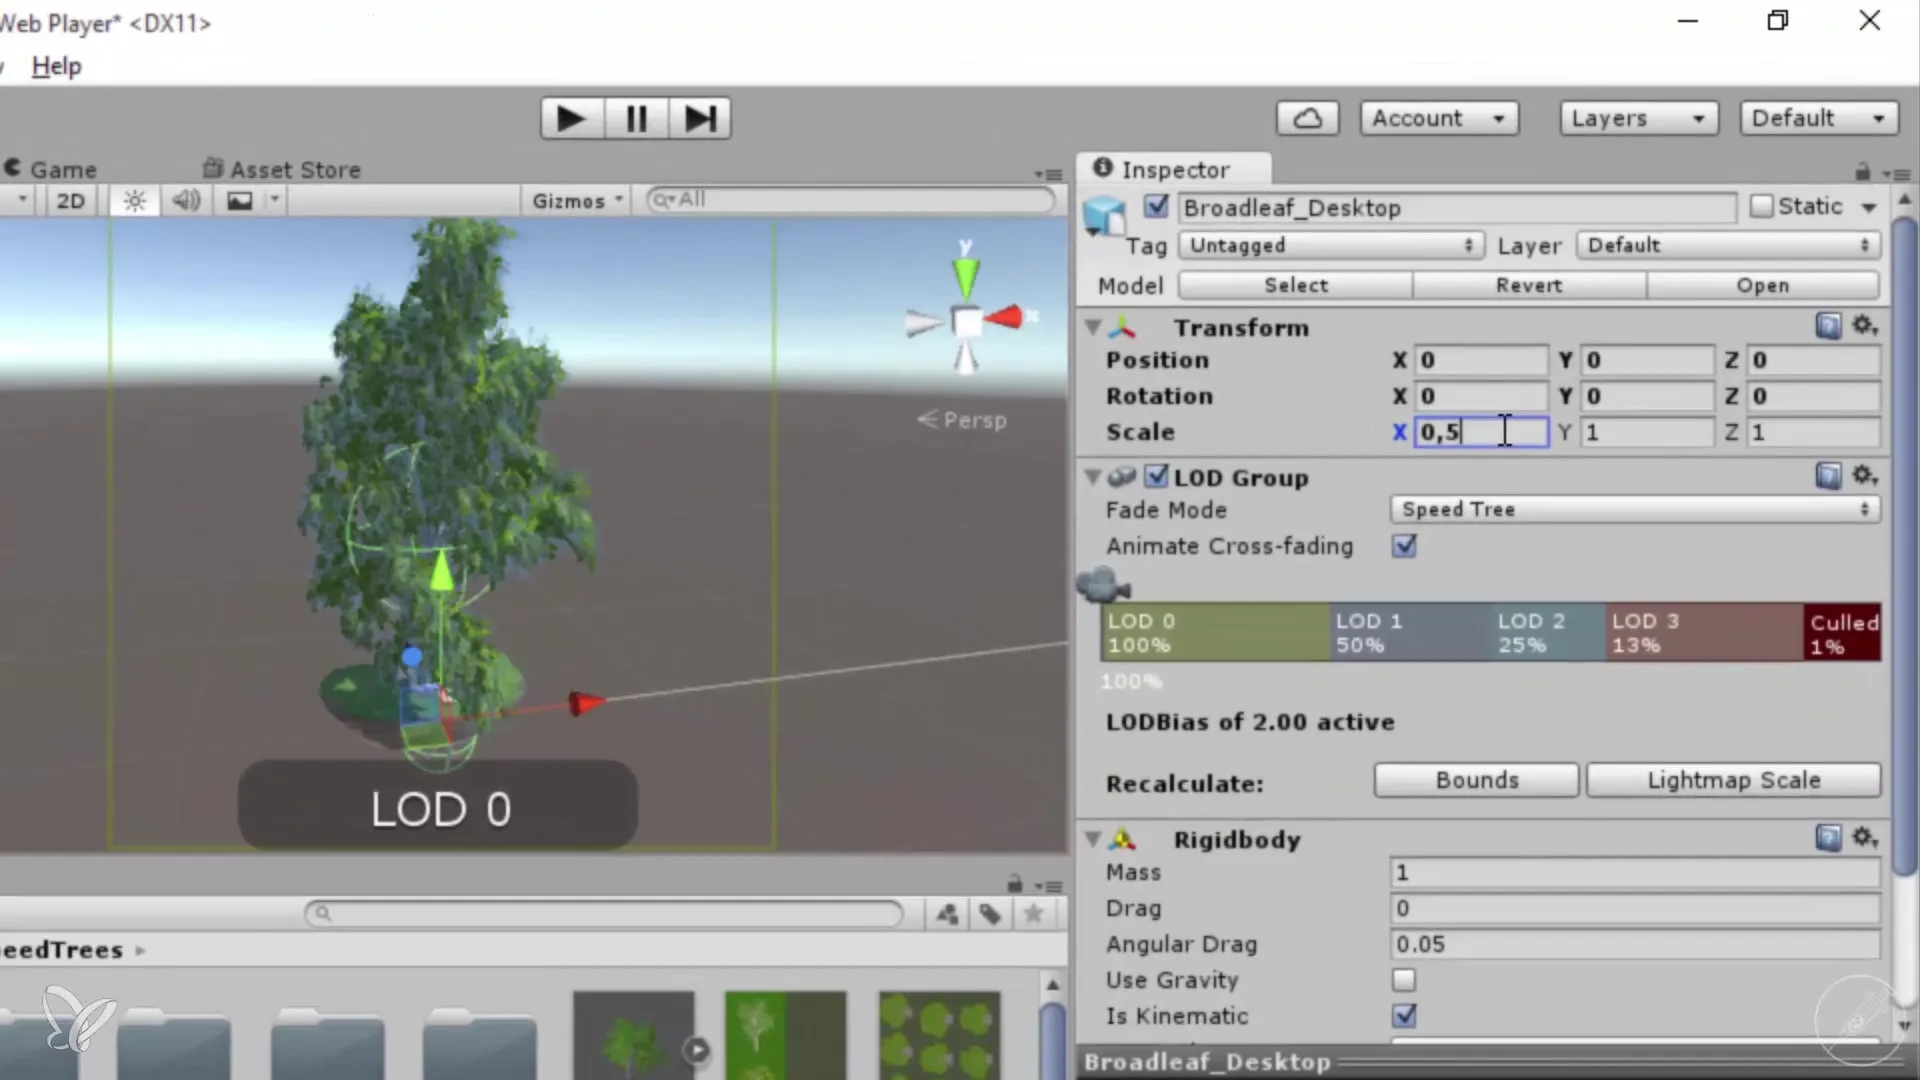
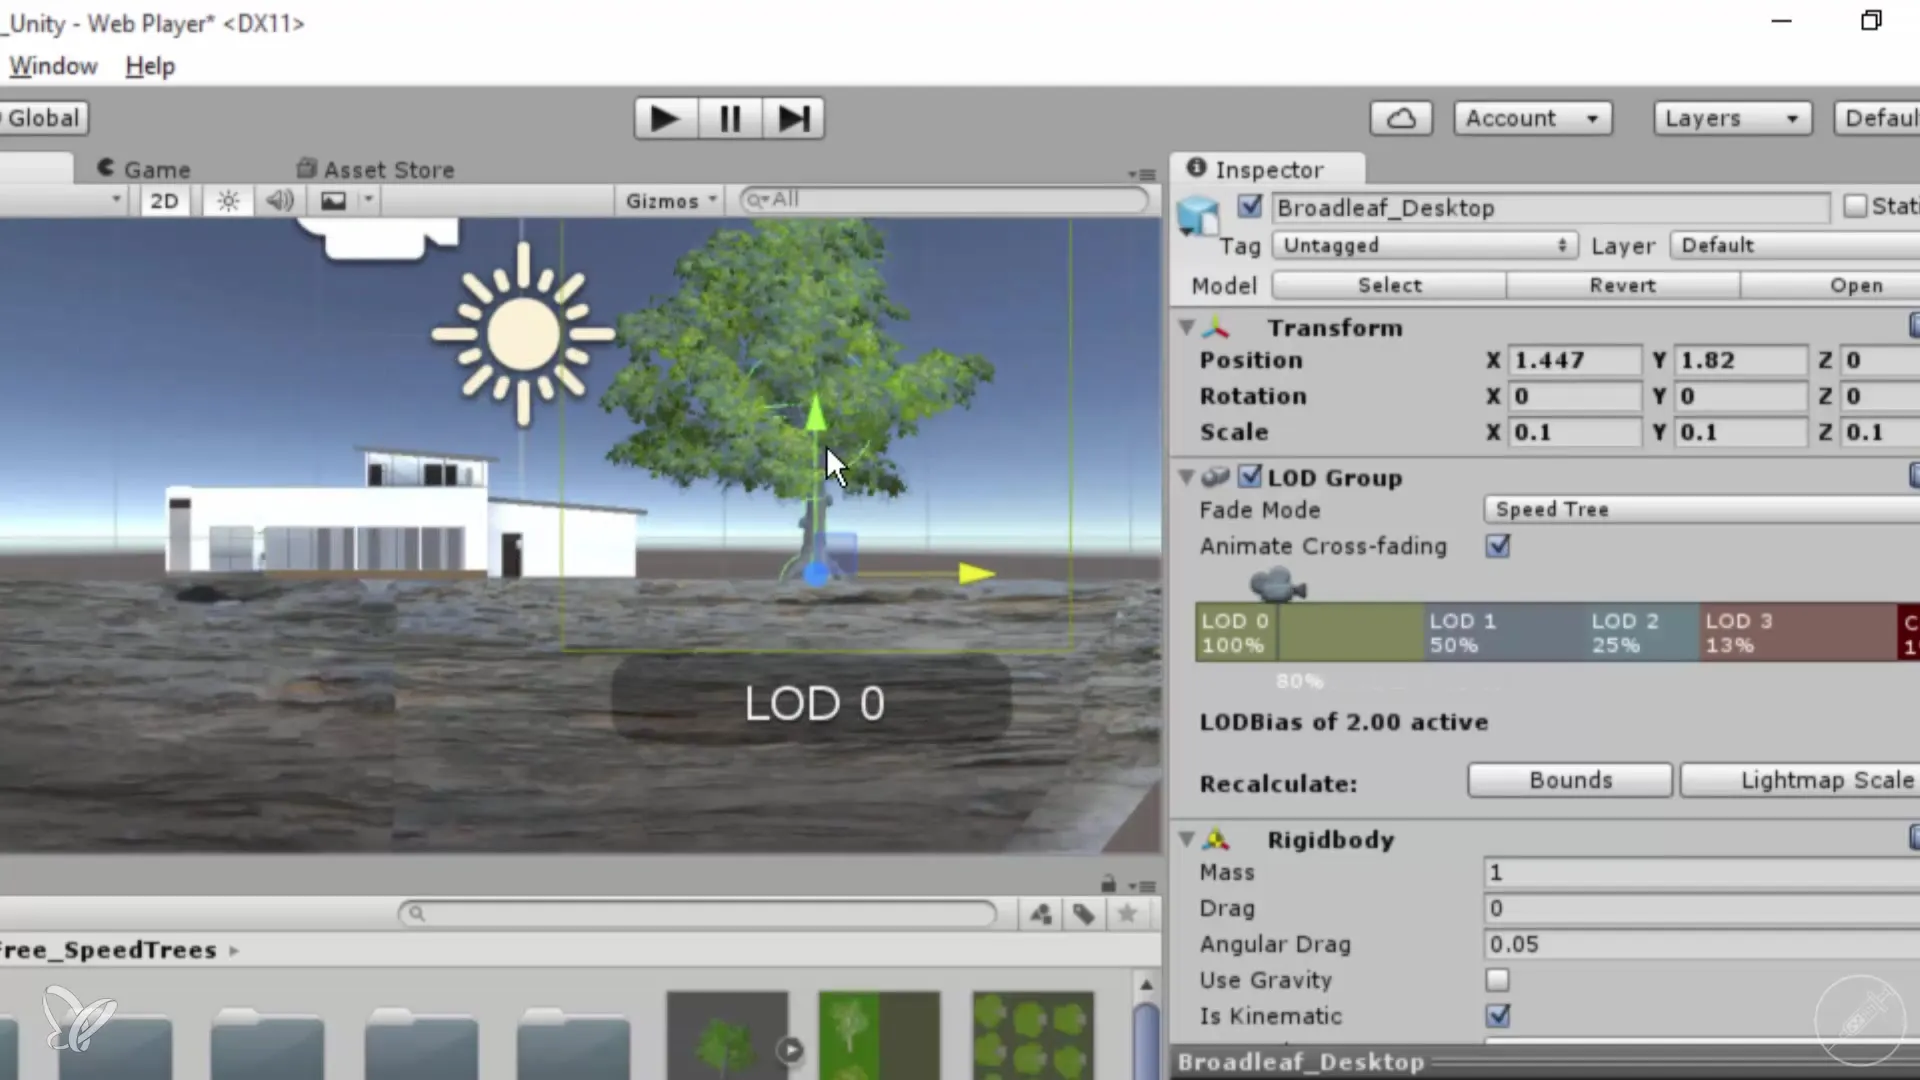
First, shrink the tree to make it appear proportional to the rest of the scene. Scale it to an appropriate value, e.g., 0.05 for X, Y, and Z.
9. Optimize perspective view
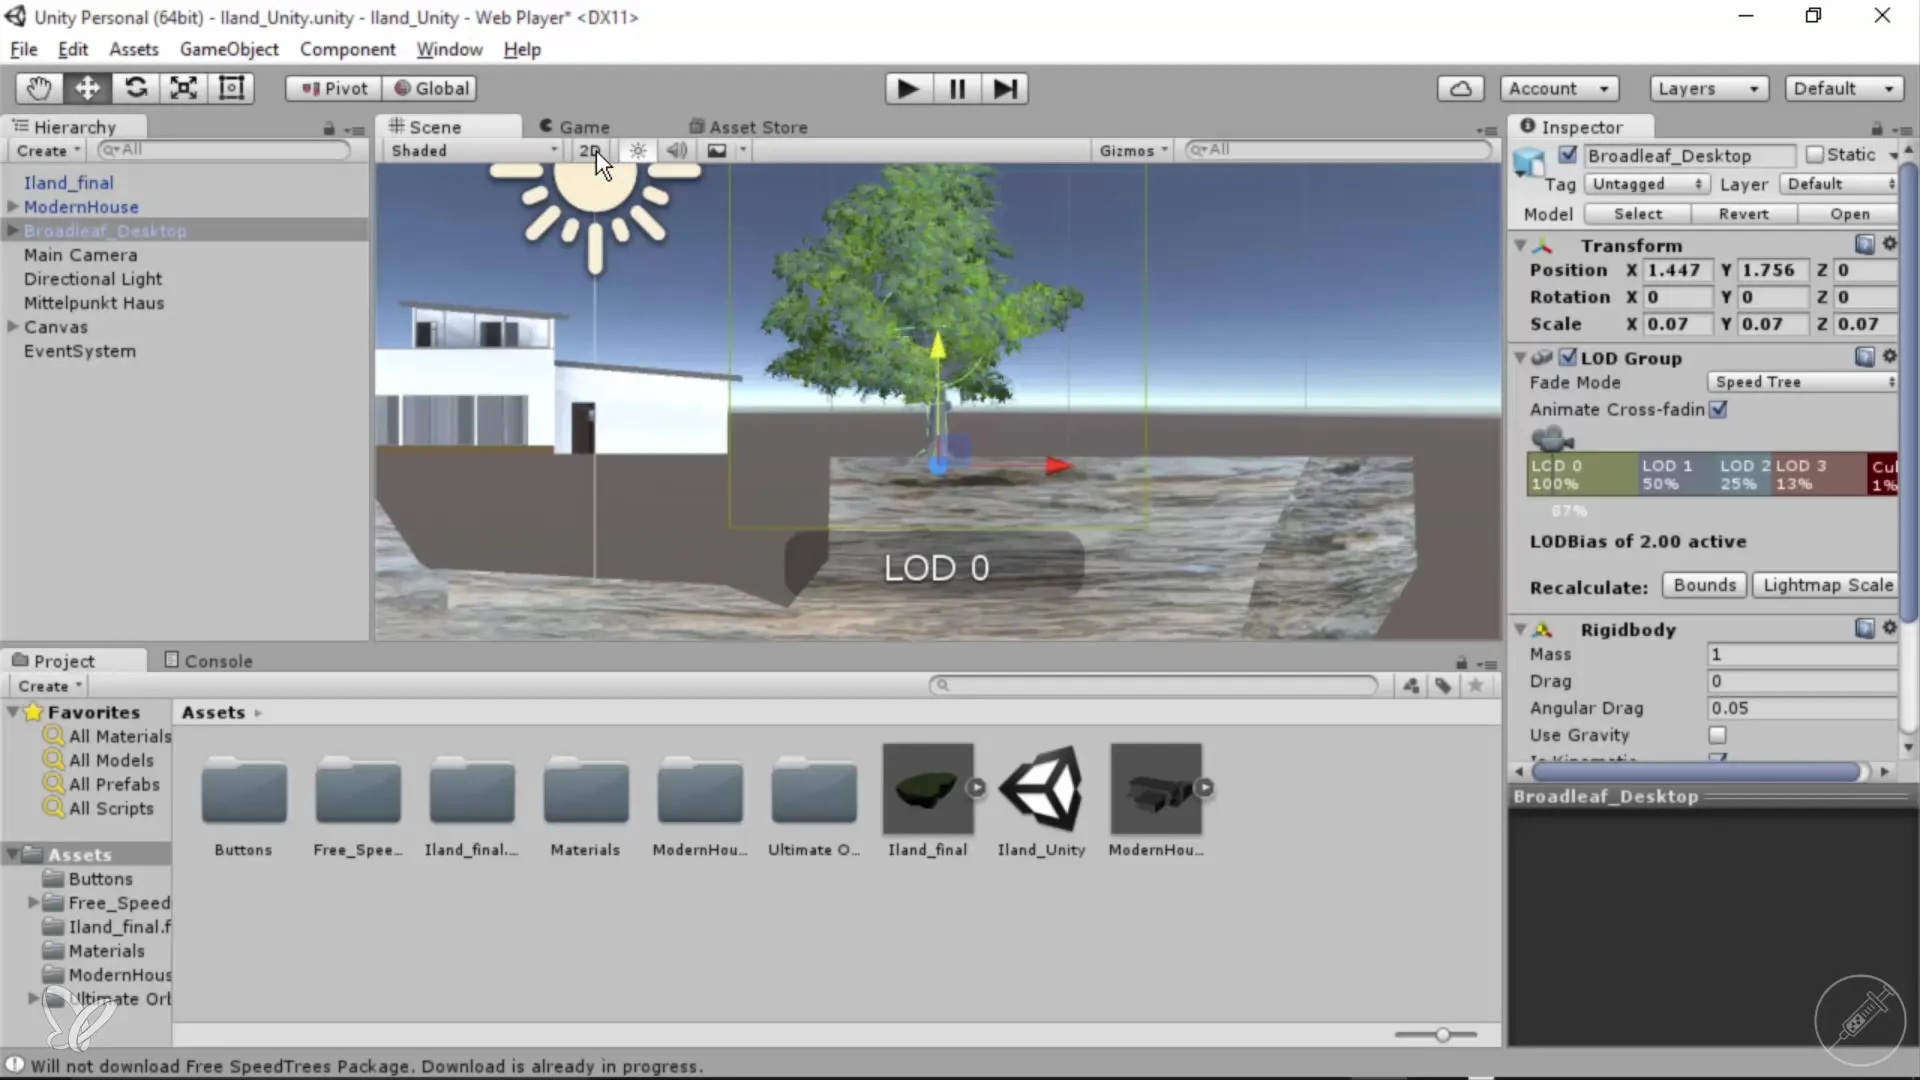
To determine the exact position of the tree, switch to a 2D view. This makes it easier for you to find the correct placement of the tree.
10. Make further adjustments
Optimal adjustments to the size and position of the tree are important to achieve a realistic look. Ensure that the roots are not too visible.
11. Animate the tree
SpeedTree already provides animations for your trees. However, to activate these, you need to take additional steps and possibly download another plugin.
Summary - 360° Architecture Views: Importing a Tree with Unity and Cinema 4D
Importing trees into Unity is a simple yet effective step to enhance your architectural visualization. With the SpeedTree package, you can add high-quality nature assets cost-effectively. By adjusting tree sizes and working with different views, your project will become not only more appealing but also more professional.
Frequently Asked Questions
How can I access the Unity Asset Store?You can access the Asset Store directly in Unity via the menu bar or through the website.
Can I also create my own trees?Yes, SpeedTree provides the ability to create and design your own trees.
Are the trees from SpeedTree high quality?Yes, SpeedTree offers high-quality models that are often used in professional projects.
