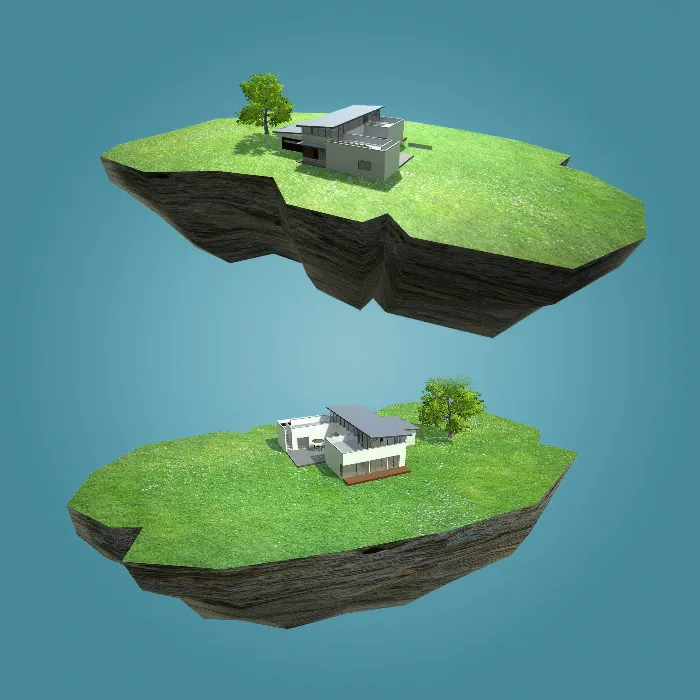
Do you have the desire to use appealing graphics for your buttons in Unity? Instead of an inconspicuous text, you can integrate your own designs to make your user interface more engaging. In this guide, you will learn how to create appealing button graphics in Photoshop, insert them into Unity, and use them effectively – all without scripting. Let's get started.
Key Insights
- With Photoshop, you can quickly create simple, customizable button graphics.
- Unity supports the integration of PNG images that contain transparencies.
- Changing the texture type in Unity to "Sprite" is necessary to display graphics correctly.
Step-by-Step Guide
Step 1: Create Graphic in Photoshop
First, create a new file in Photoshop by clicking on "File" and then "New". Set the dimensions to 250 pixels by 250 pixels and the resolution to 72 DPI. Press "OK".
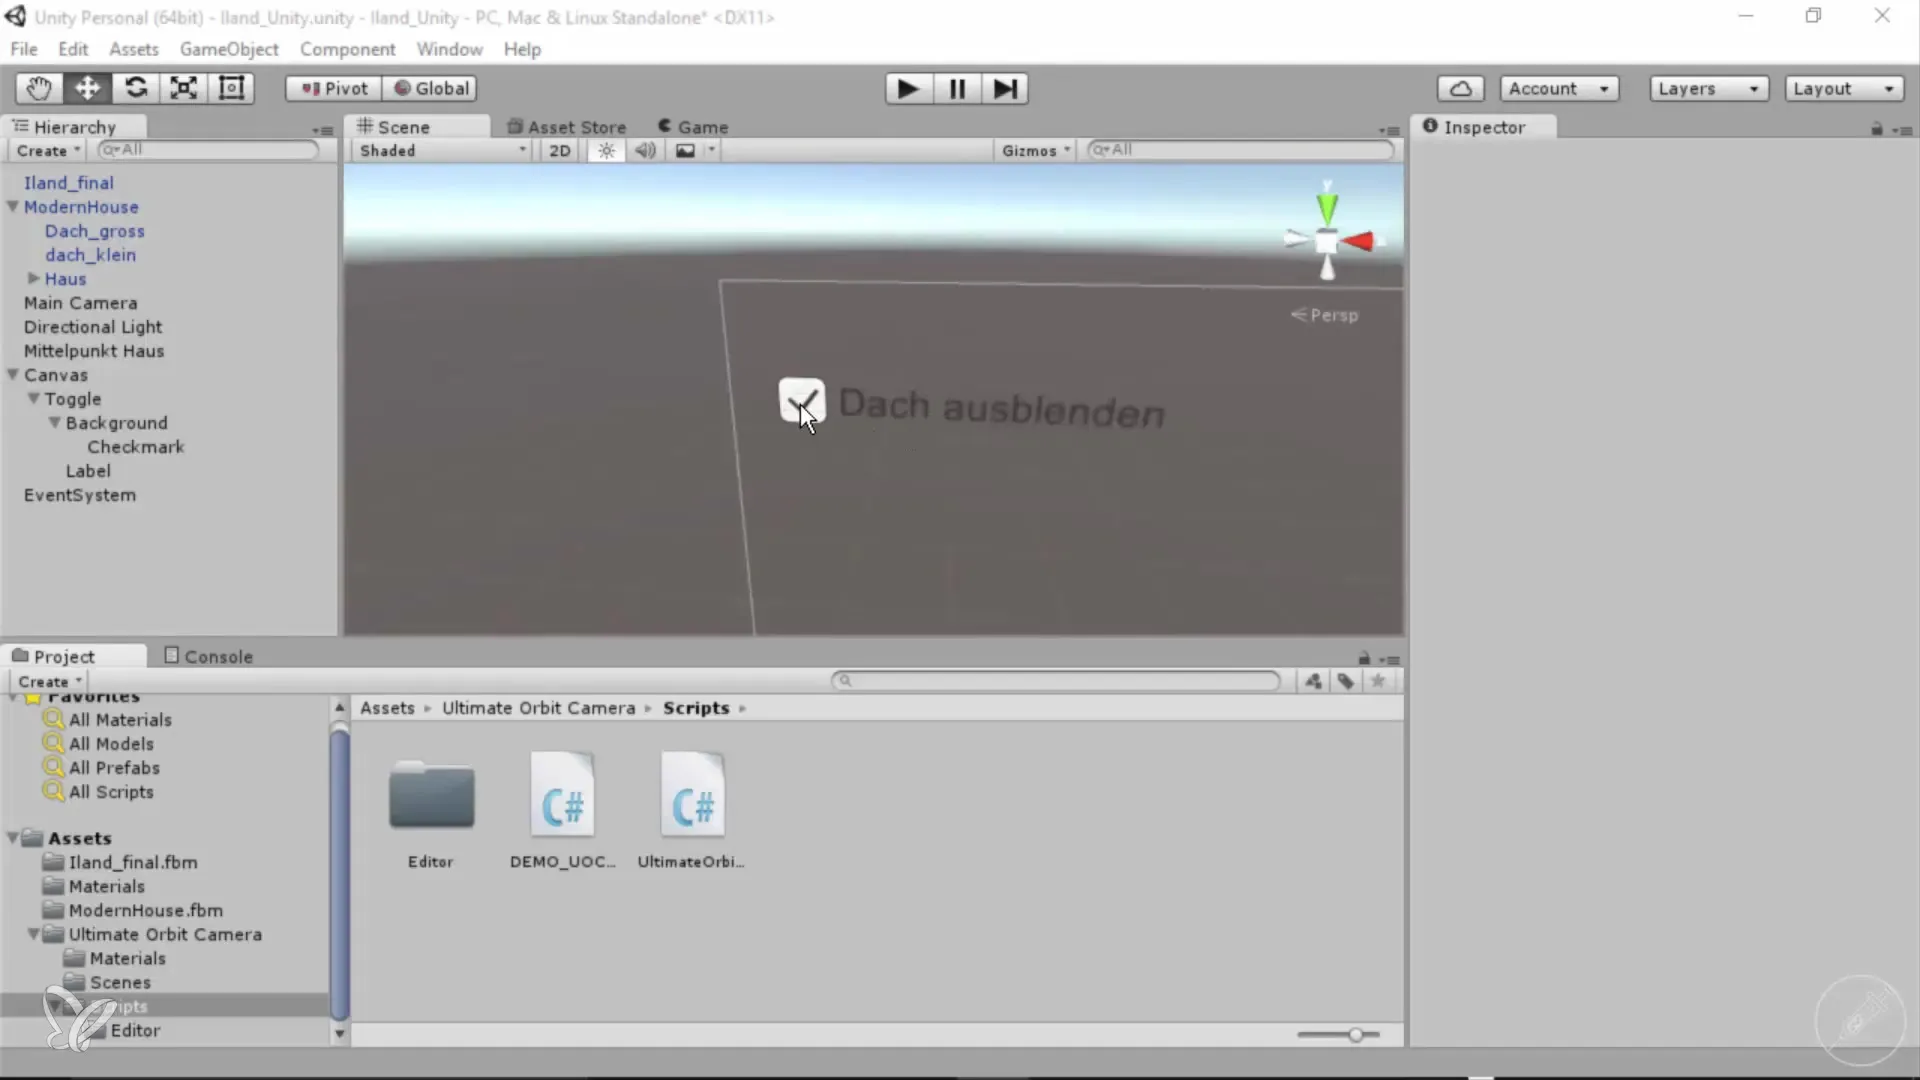
Step 2: Design Button
Convert the background layer into a normal layer. Select the Ellipse tool and create a simple circle in the center of the canvas. Fill the circle with a bright red color by using the Alt key and the backspace.
Step 3: Add Icon
Use the text tool to add an icon. Choose a white color and the Webdings-Regular font. It may be helpful to select the information icon — or in this case, an eye. Scale the icon accordingly.
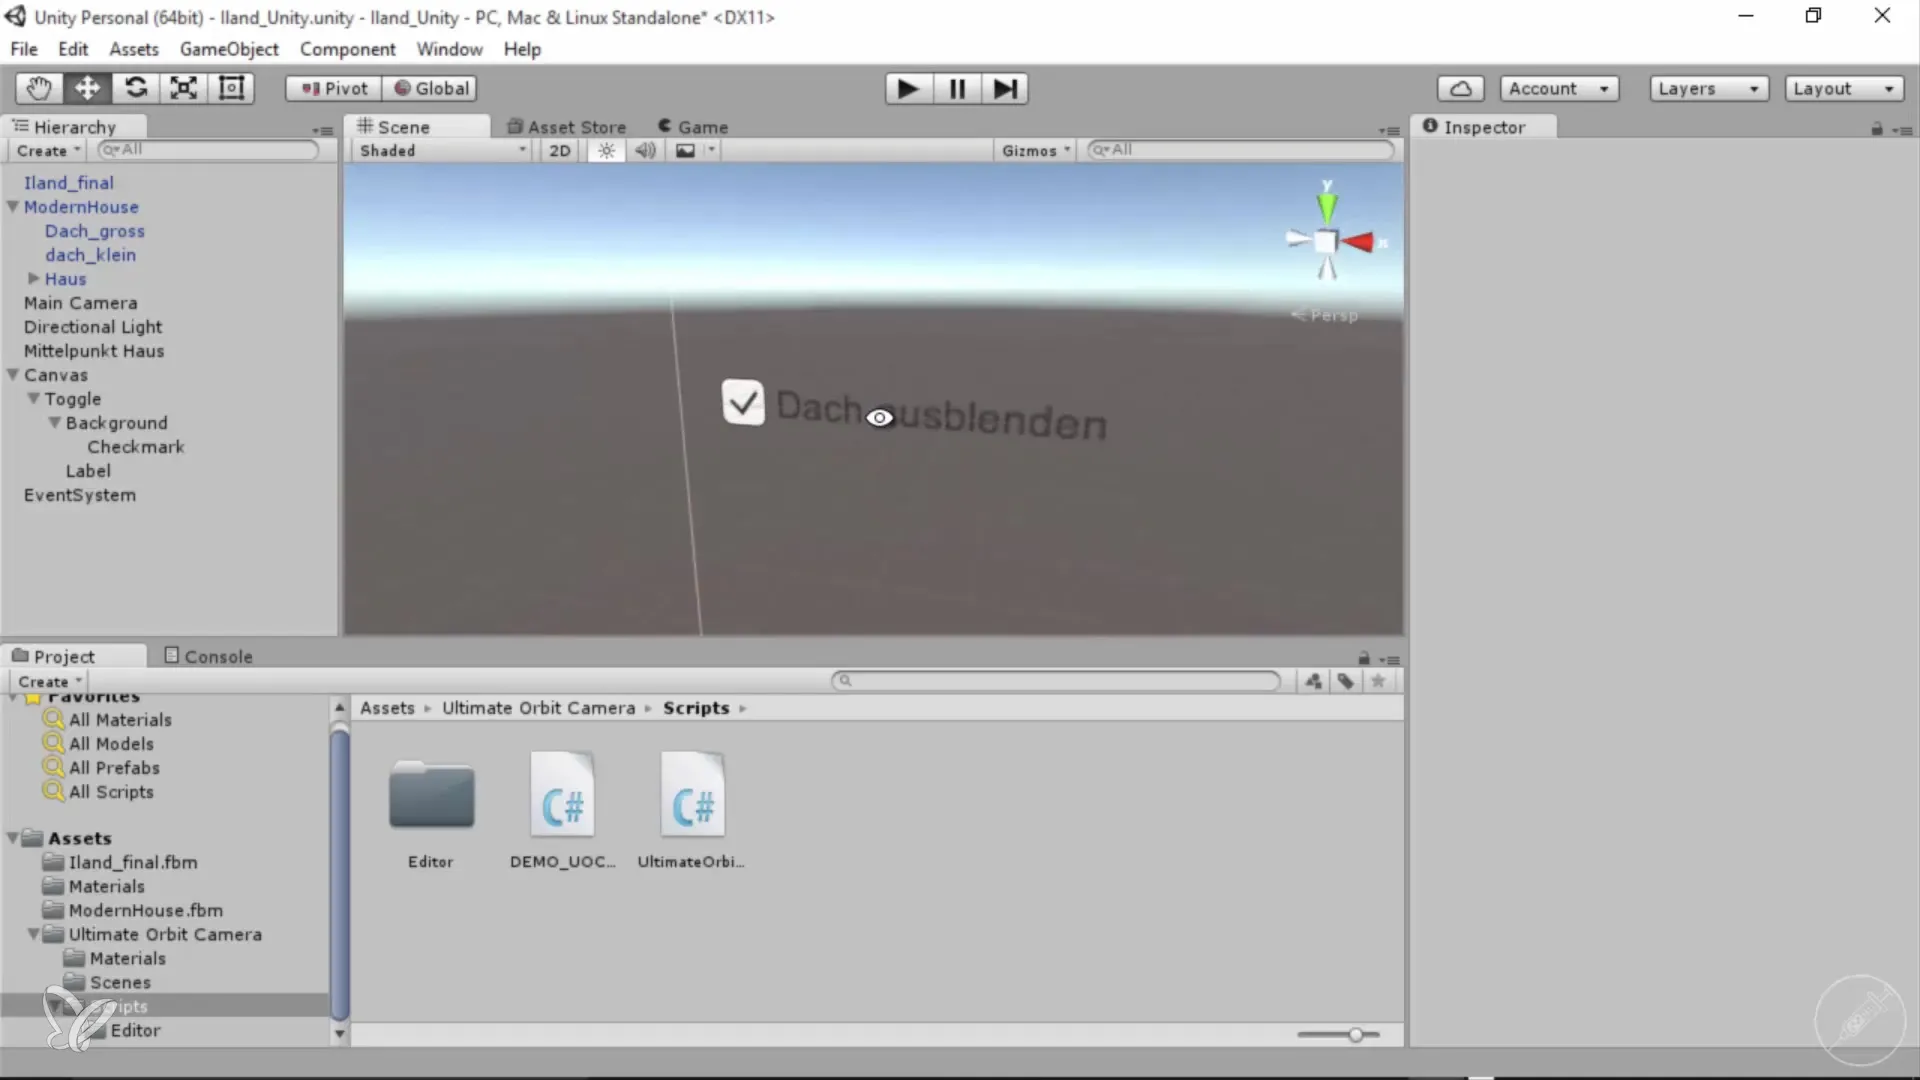
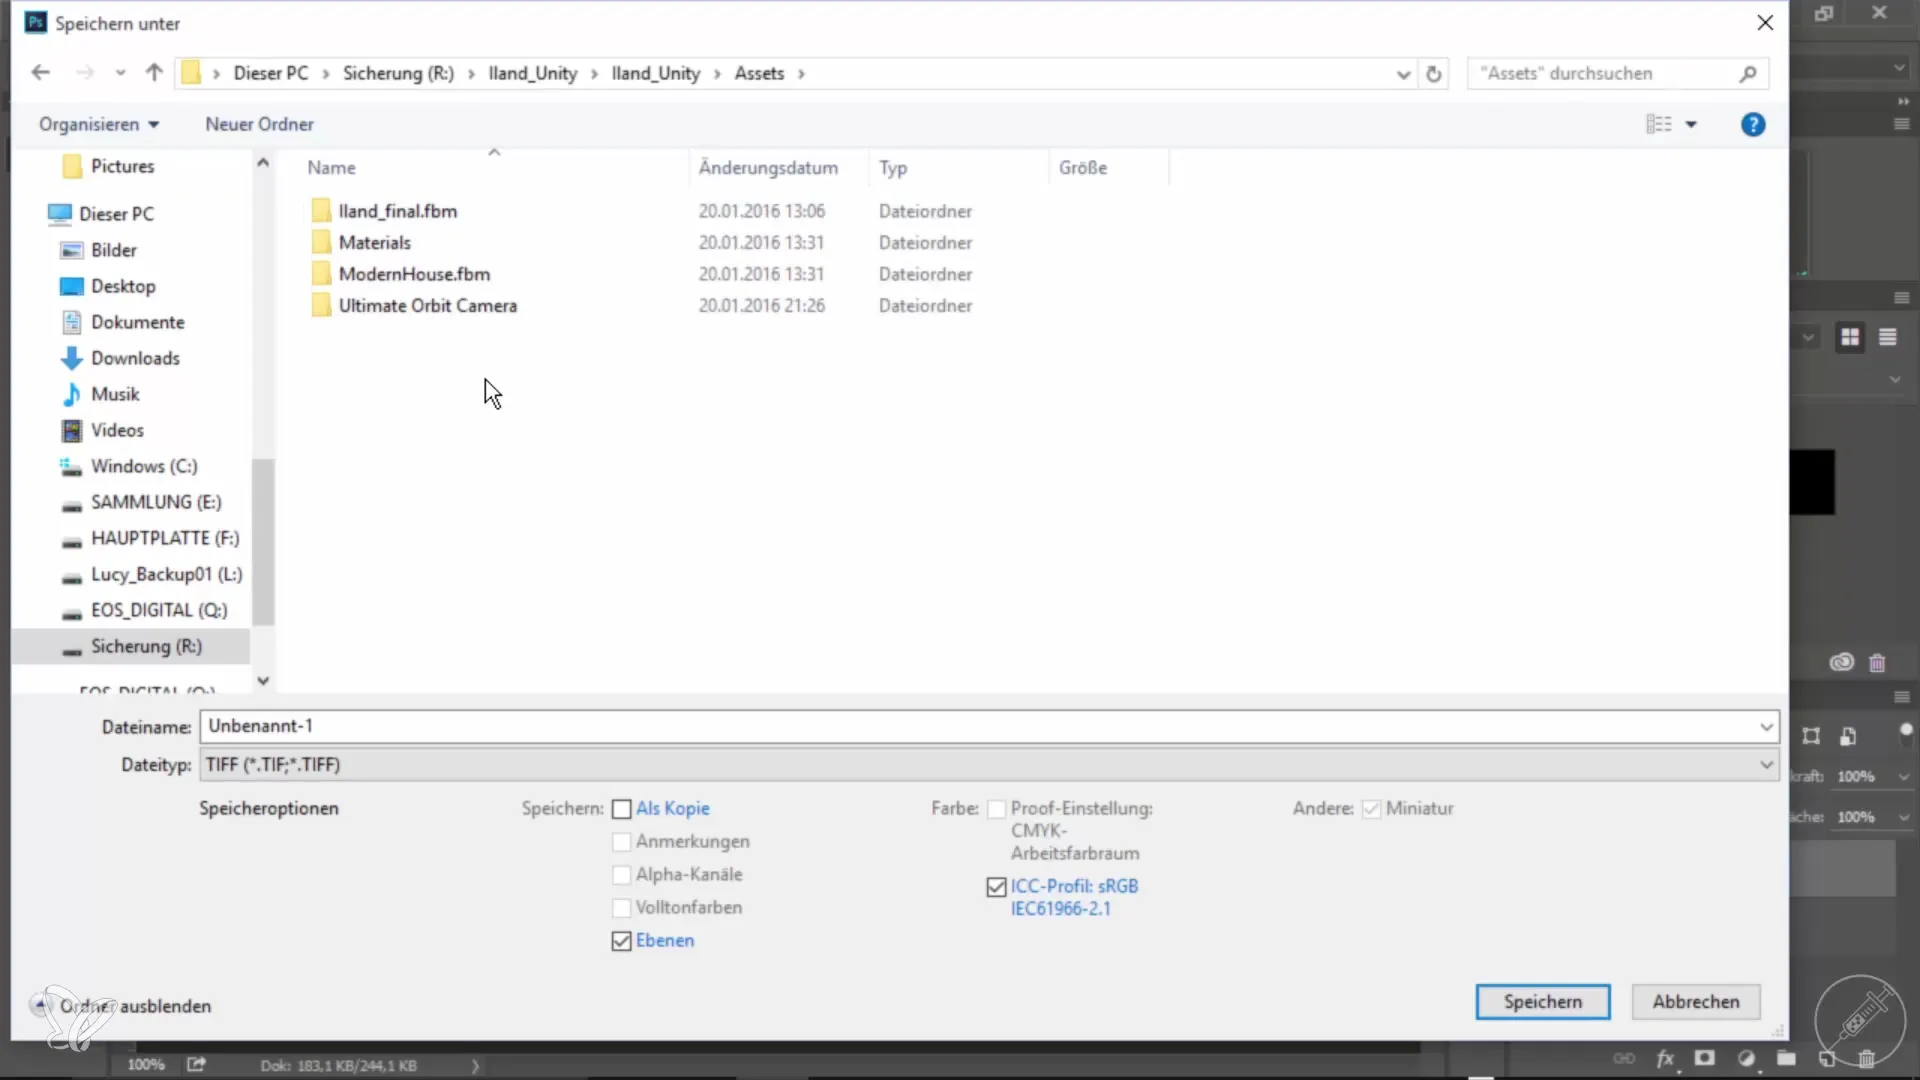
Step 4: Save File
After creating your graphic, delete the background layer to ensure transparency. Now save the file as a PNG to preserve the transparencies.
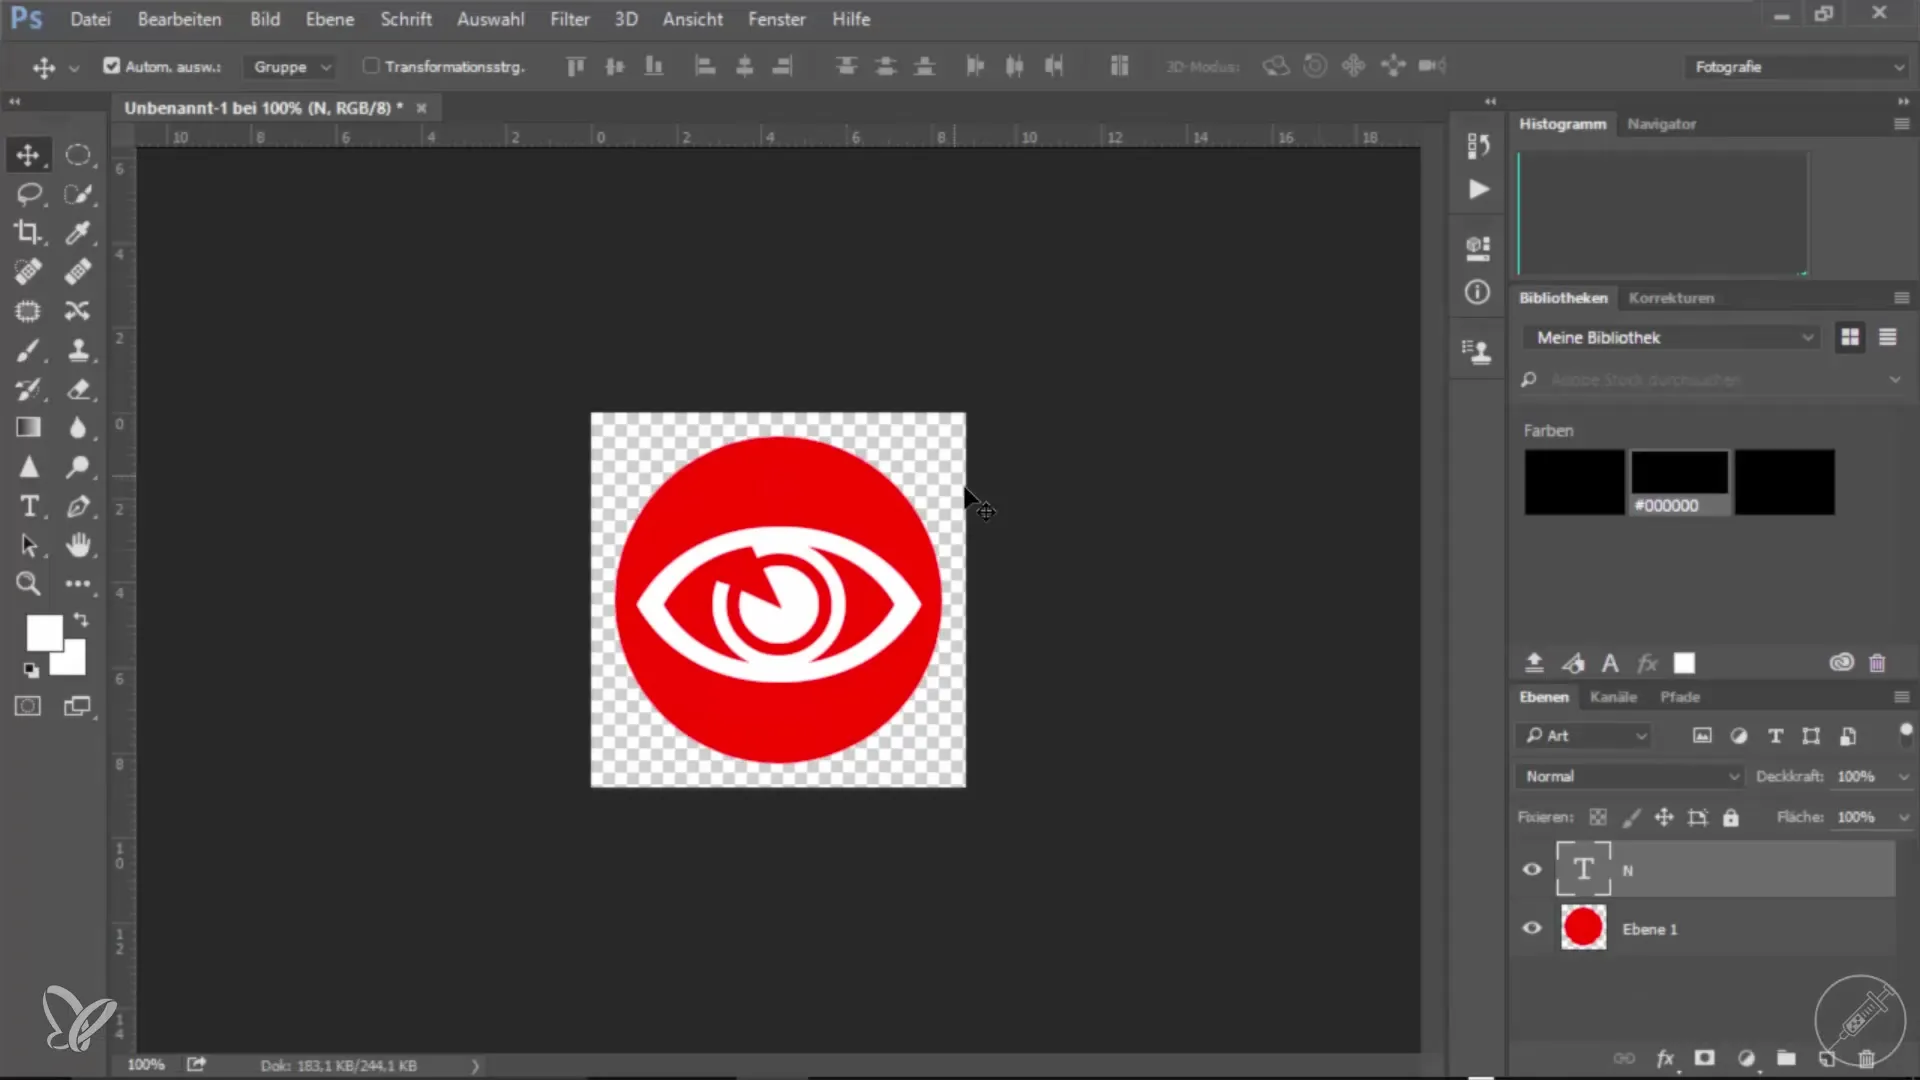
Step 5: Import Button into Unity
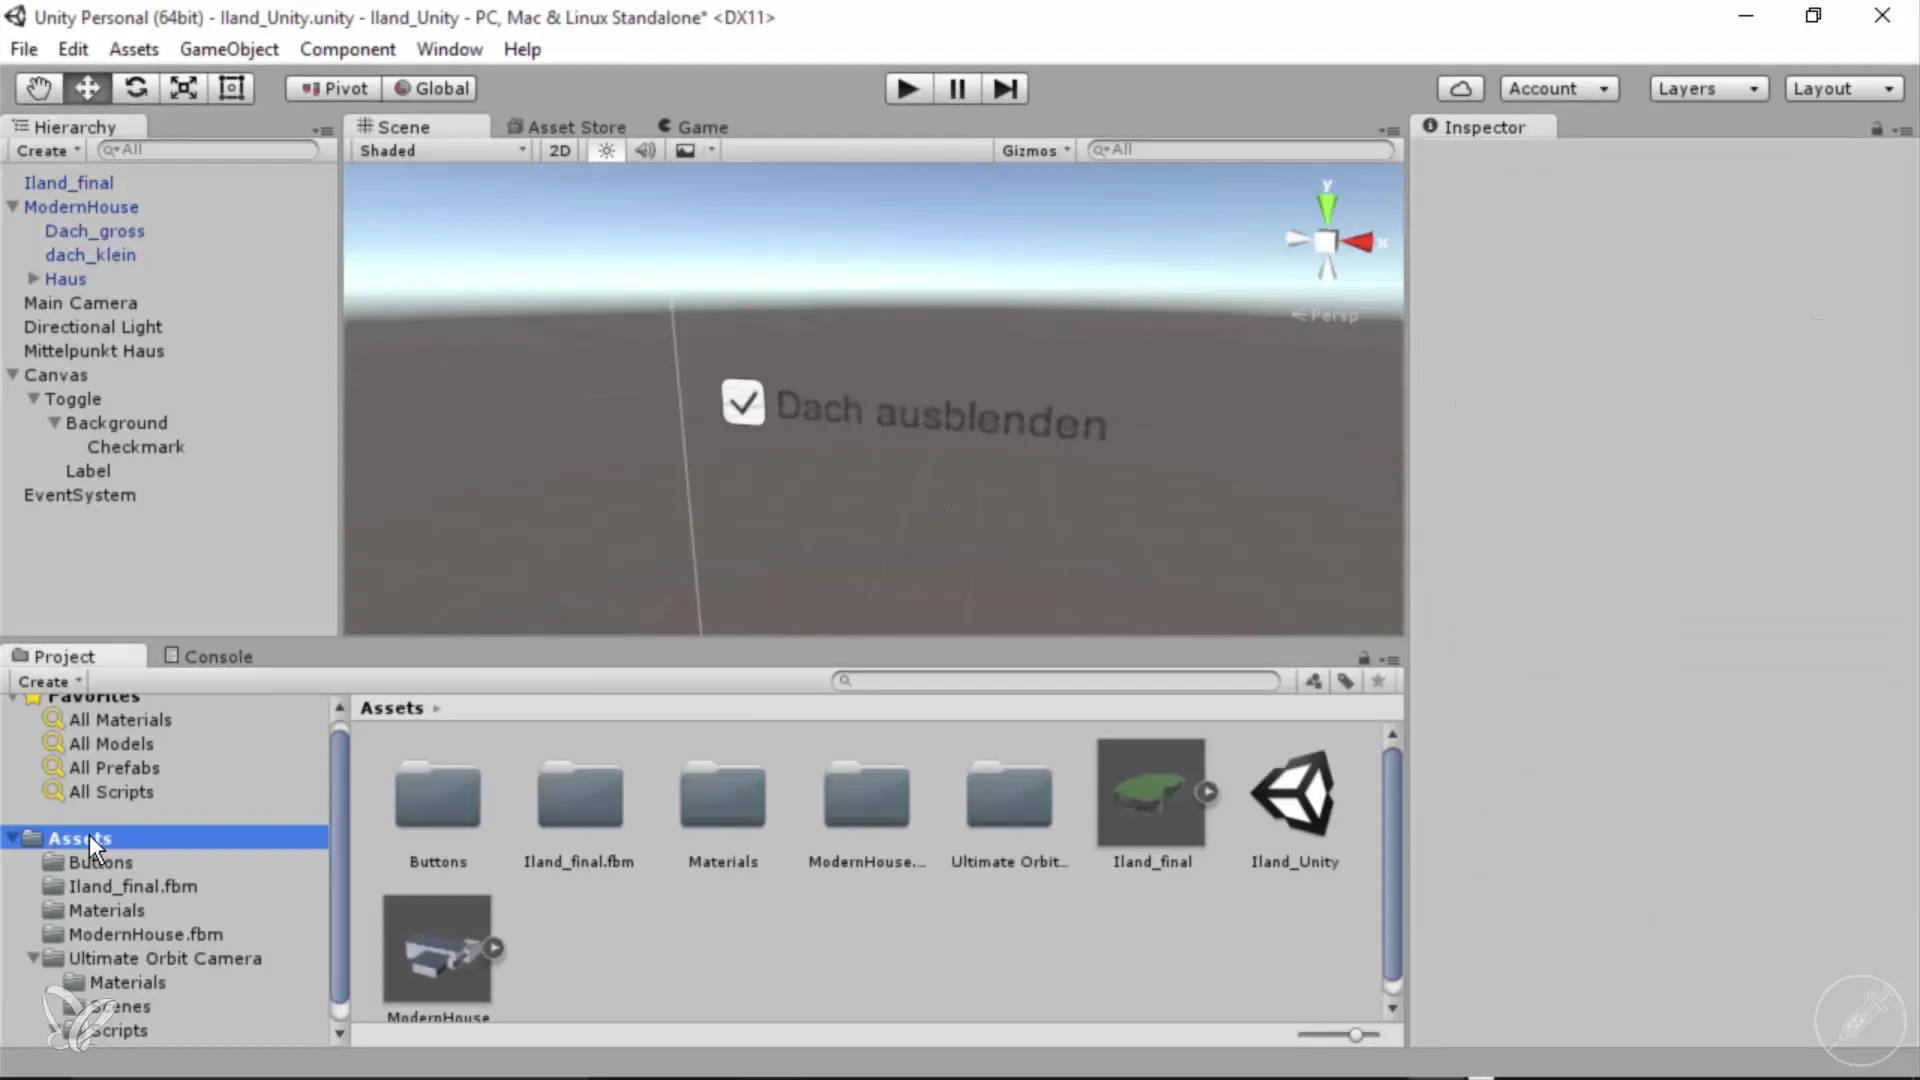
Open Unity and go to the "Assets" folder. Create a new folder and name it "buttons". Then import your PNG file into this folder and rename it, for example, to "Eye Button".
Step 6: Insert Graphic into Unity Project
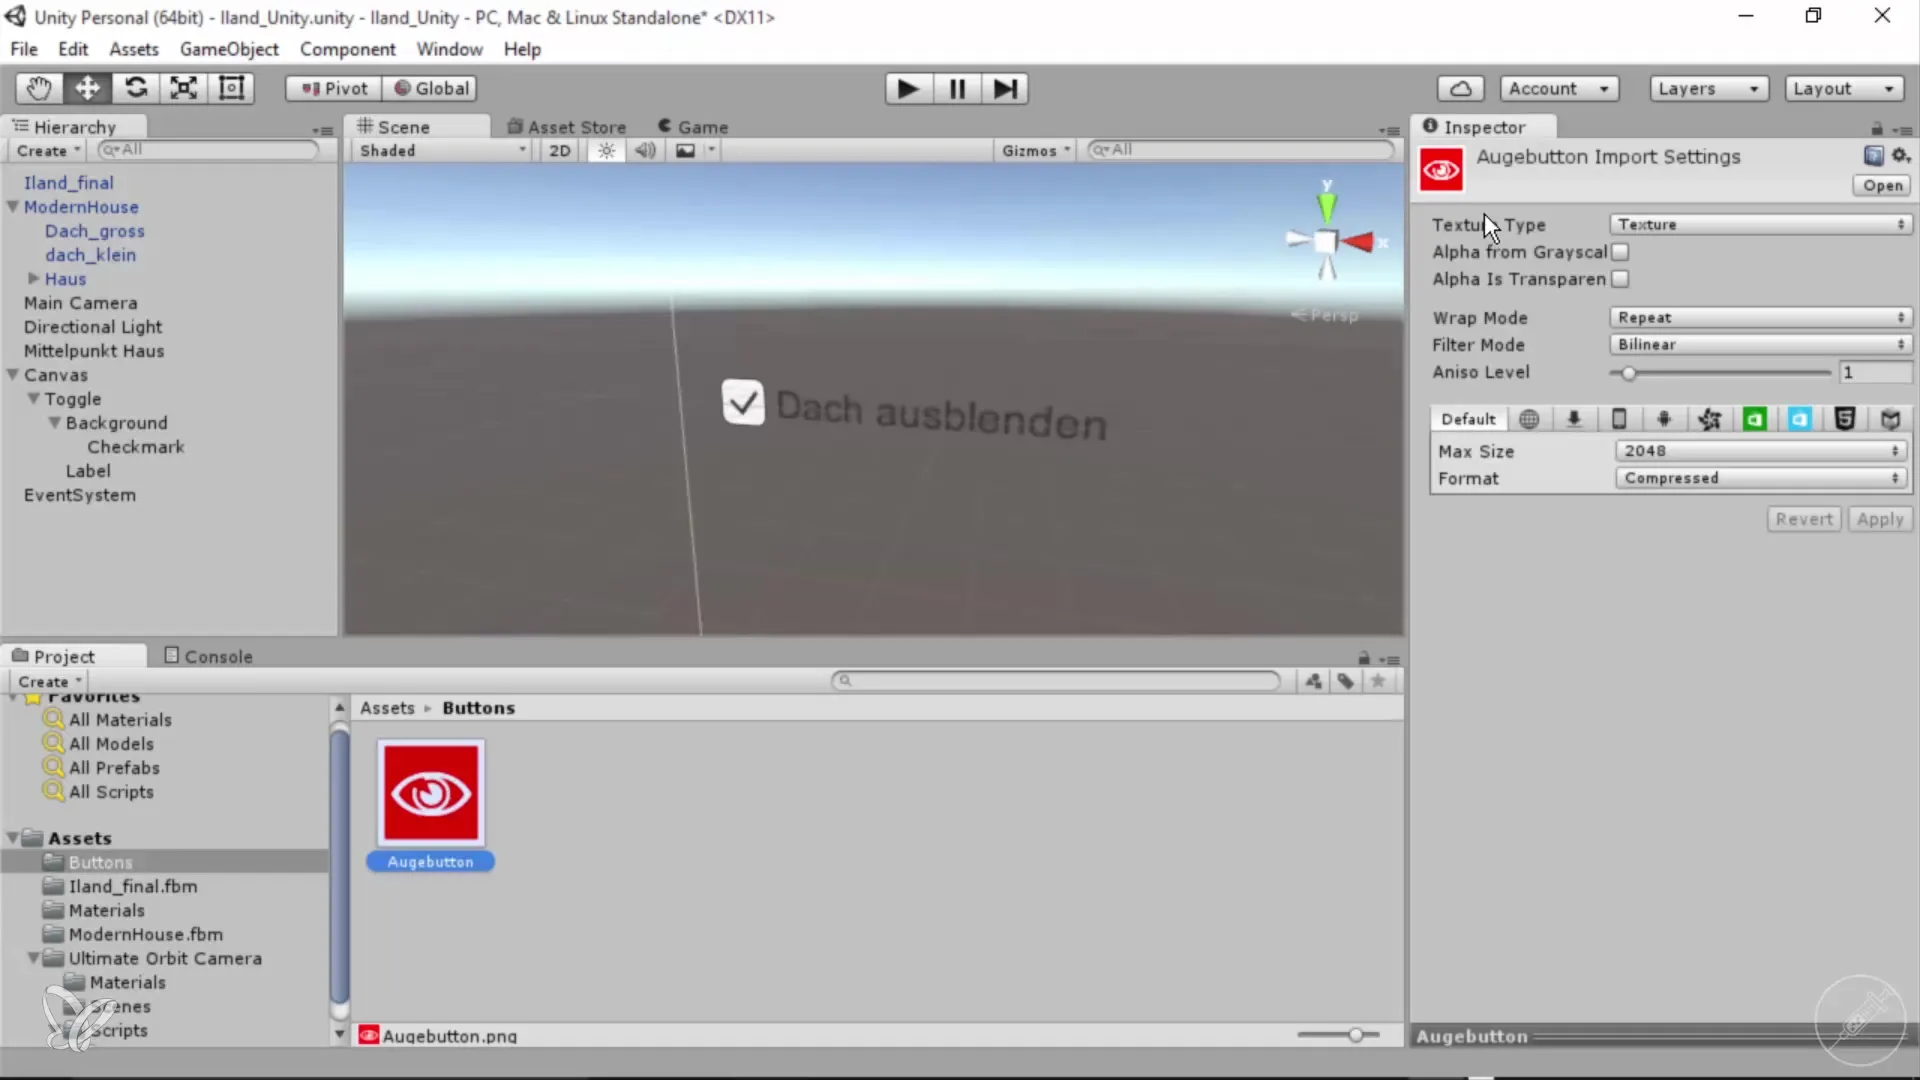
Navigate to "Assets" and open the "buttons" folder. There you should now see your PNG file. Click on the image to ensure it has been imported correctly.
Step 7: Set Image as Sprite
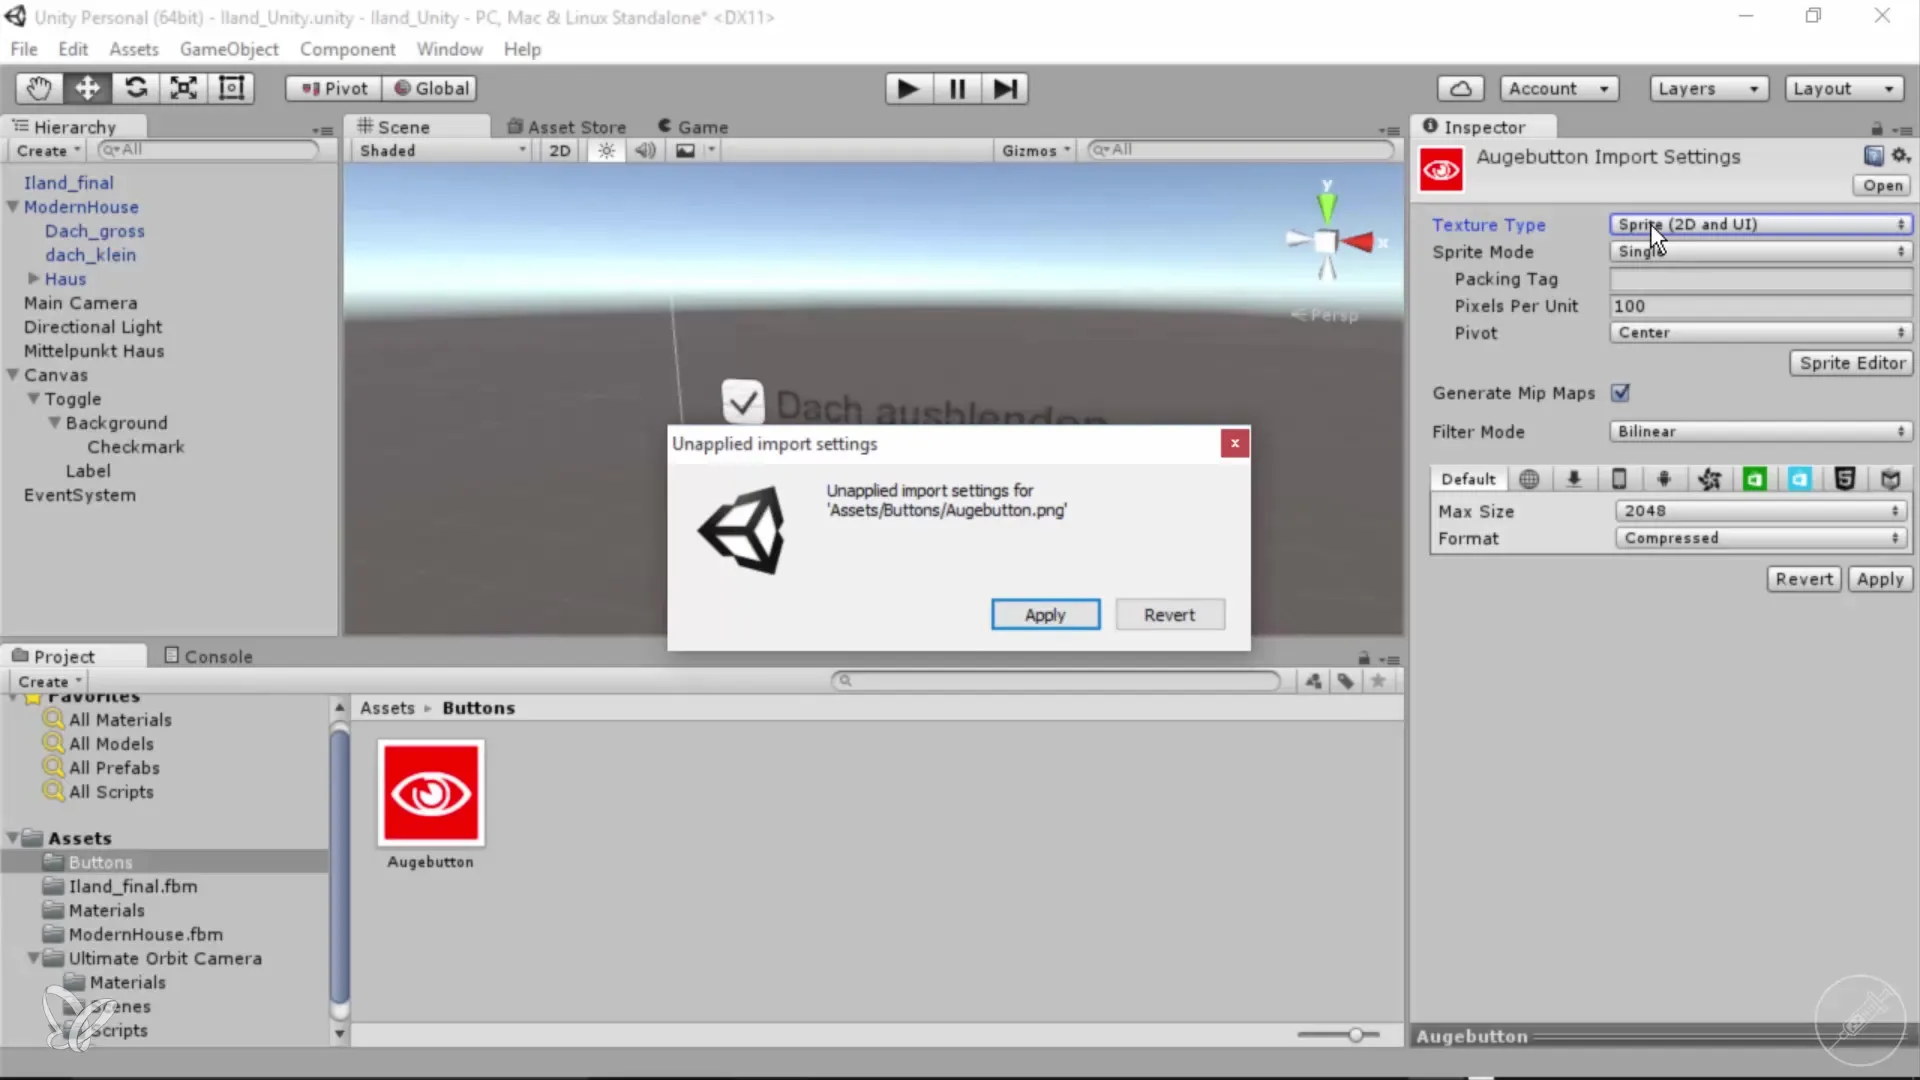
Go to the Inspector settings and look for the option "Texture Type". Make sure to switch the type to "Sprite", as buttons in Unity should be used as sprites. Confirm this change.
Step 8: Insert Button into Canvas
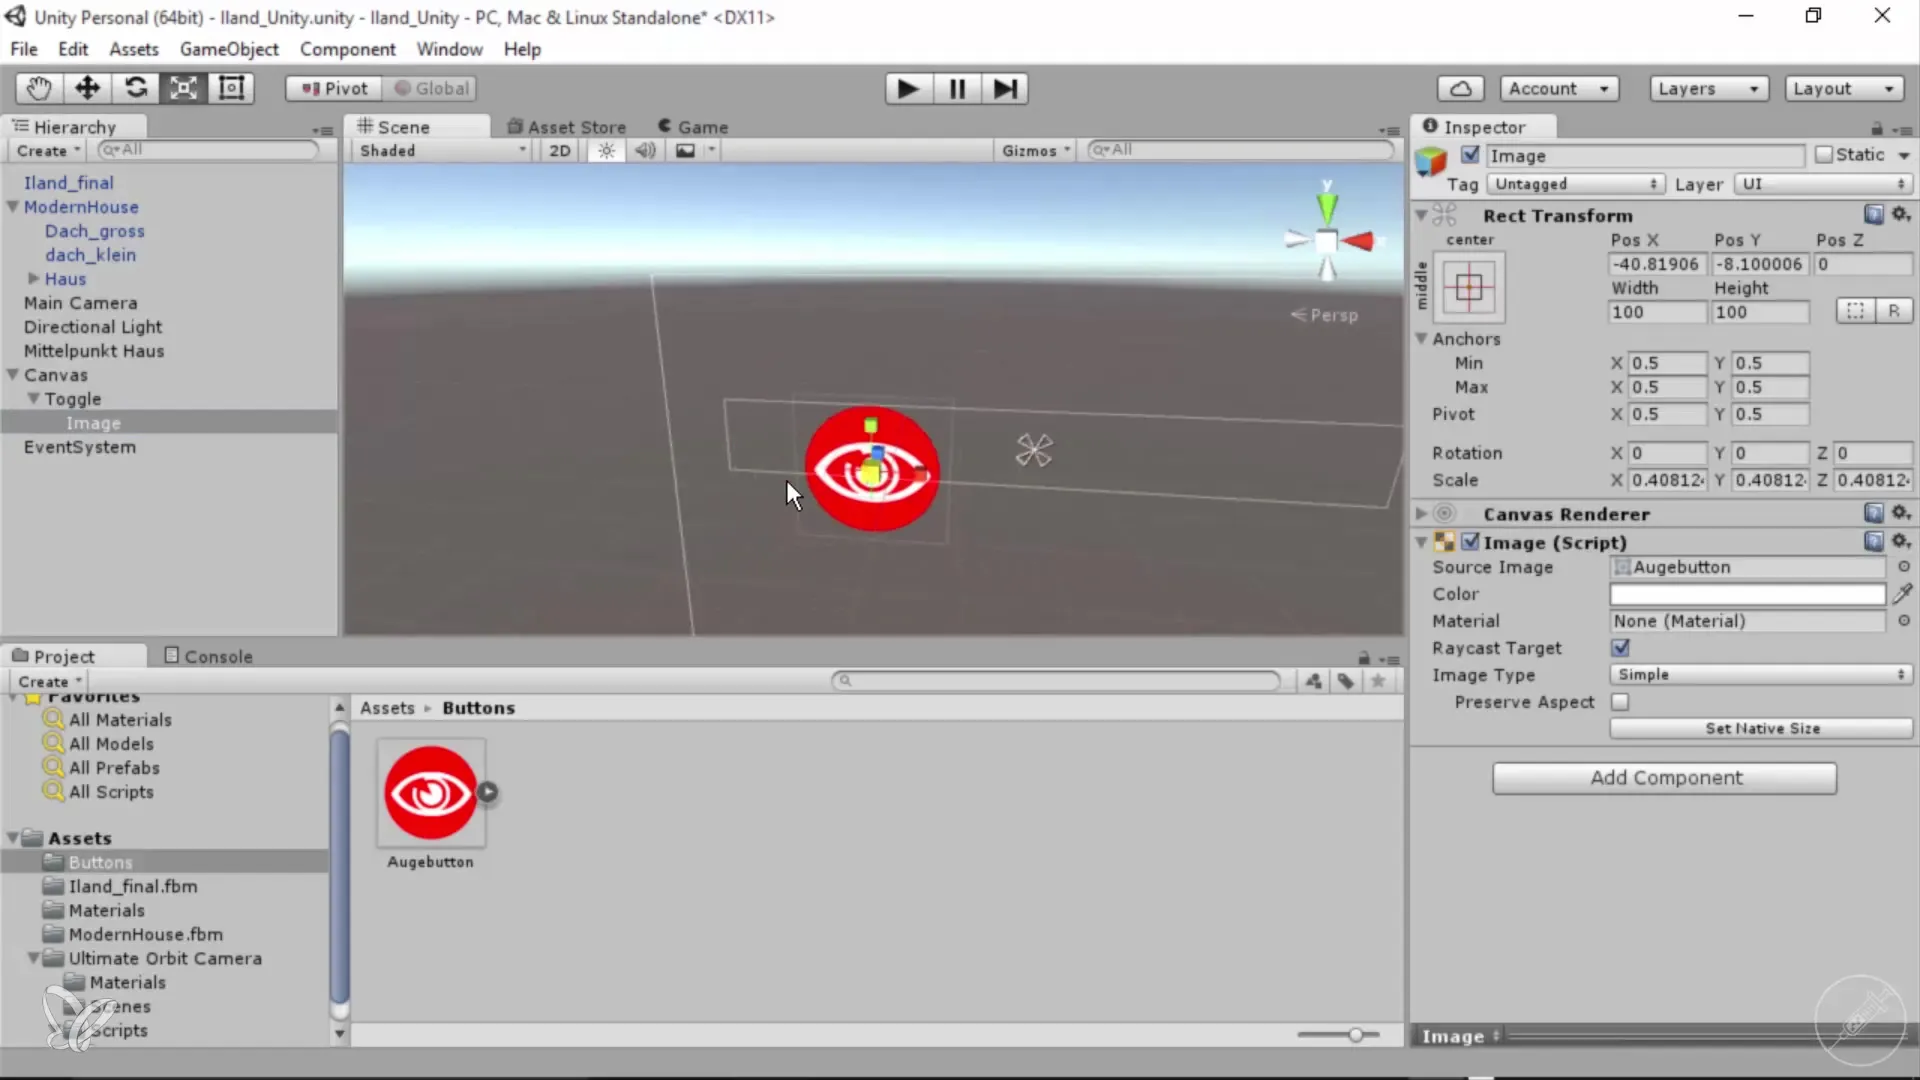
In the "Canvas" area, you will see your toggle element. Ensure that the Image script works correctly. Drag the newly imported image into the "Source Image" area of the Image script.
Step 9: Check Functionality
Start your project to ensure the graphic displays as a button. Check if the image functions as desired.
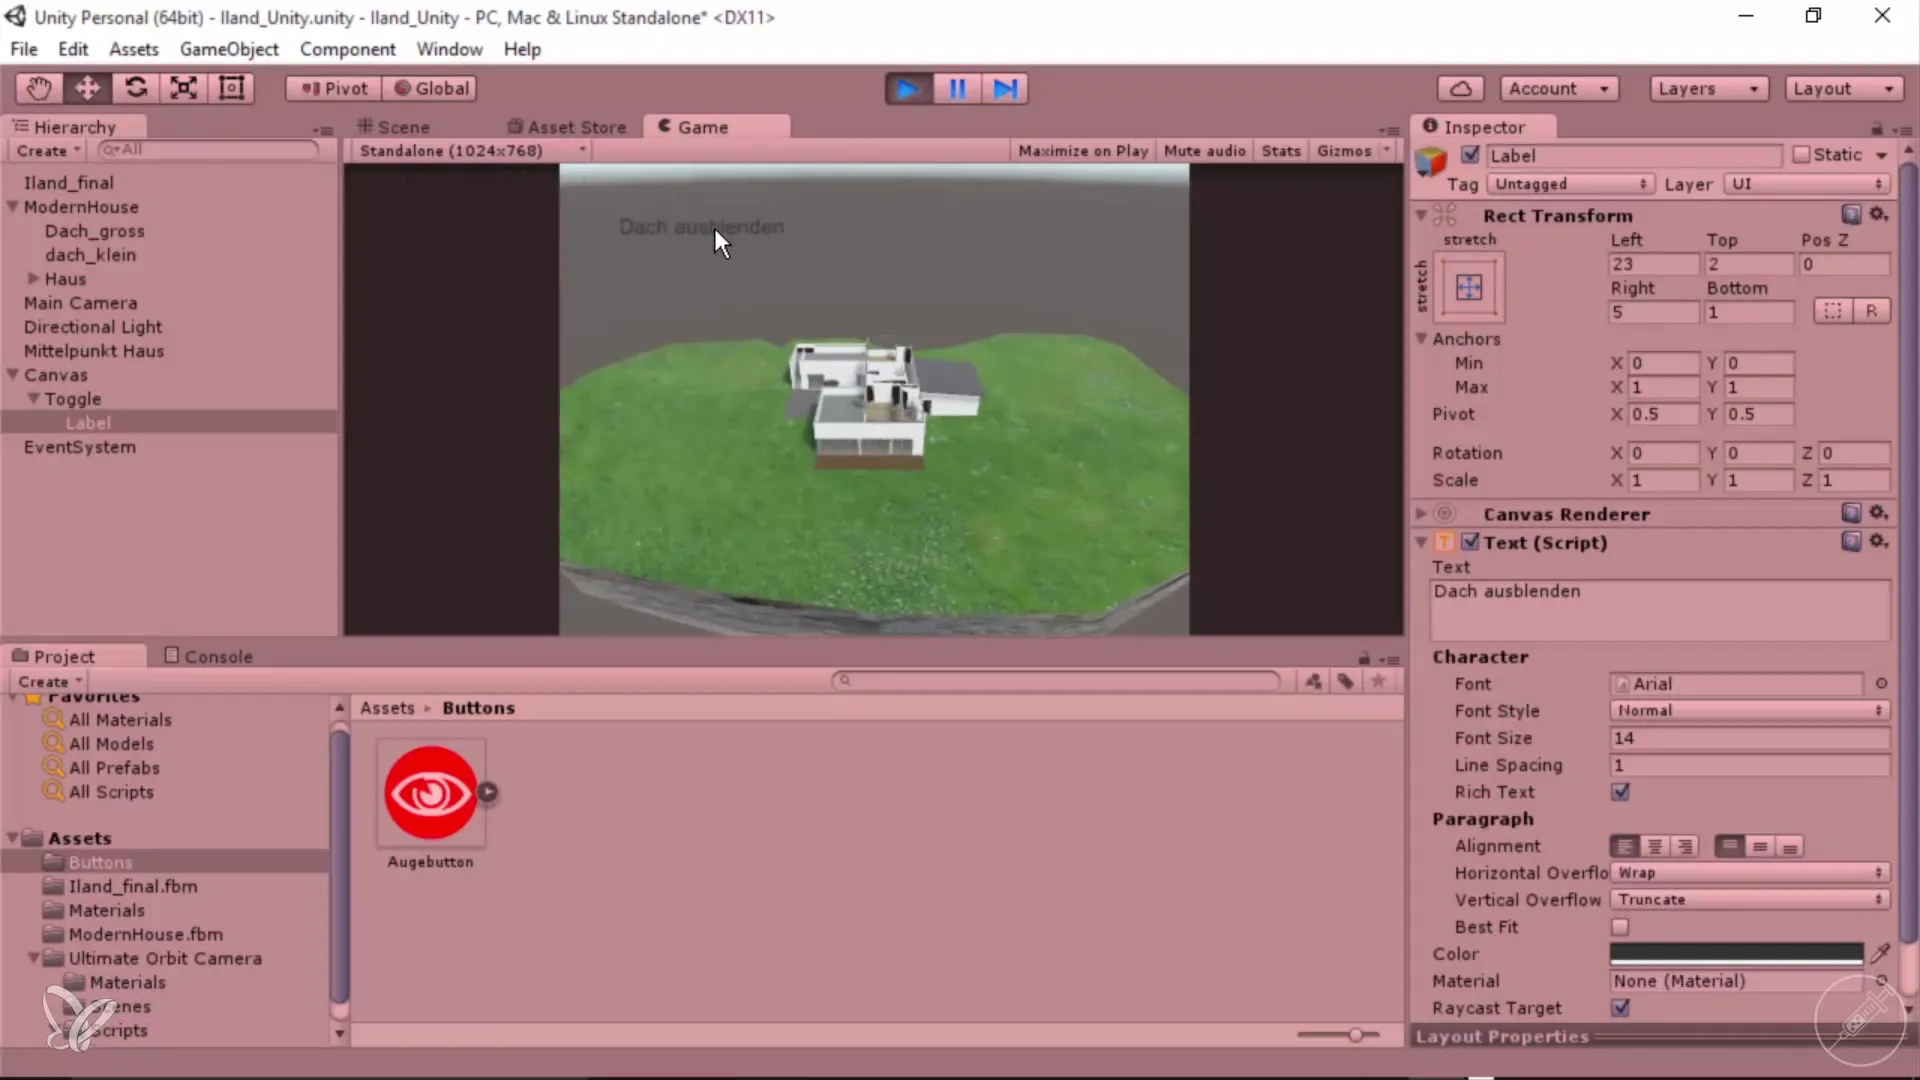
Step 10: Make Final Adjustments
Scale the image down if necessary and adjust its position in the canvas to integrate it visually appealingly. Start the project again to check your adjustments.
Summary – 360° Architecture Views: Adding Graphics to Buttons without Scripting
Adding graphics to buttons in Unity can be done quickly and easily by following the steps you learned in this guide. With Photoshop, you have the freedom to create custom designs that seamlessly fit into your project. This not only enhances the visual appeal of your application but also enables a more engaging user experience.
Frequently Asked Questions
What is the difference between Texture and Sprite in Unity?Textures are general image files, while Sprites are optimized for 2D graphics and contain additional information needed for rendering in Unity.
How can I optimize the quality of my graphics in Unity?Make sure to choose the correct resolution and change the Texture Type to "Sprite" to ensure the best possible quality.
Can I use animated GIFs for buttons in Unity?Unity does not support GIFs natively, but you can incorporate animations as sprite animations to achieve similar effects.
