You almost did it! After you have created your architectural projects in Unity, the final step is approaching: the Export for the Web. This guide will lead you through the process so that you can seamlessly present your projects online. No matter whether you want to host your application on a website or make it accessible to others, I will show you how to implement that efficiently.
Main insights
- Pay attention to the size of your player to position the user interface correctly.
- The export can be done in different formats, with WebGL being the latest method.
- After export, you can upload the project directly to a server and test it.
Step-by-Step Guide
To successfully export your project, follow these steps:
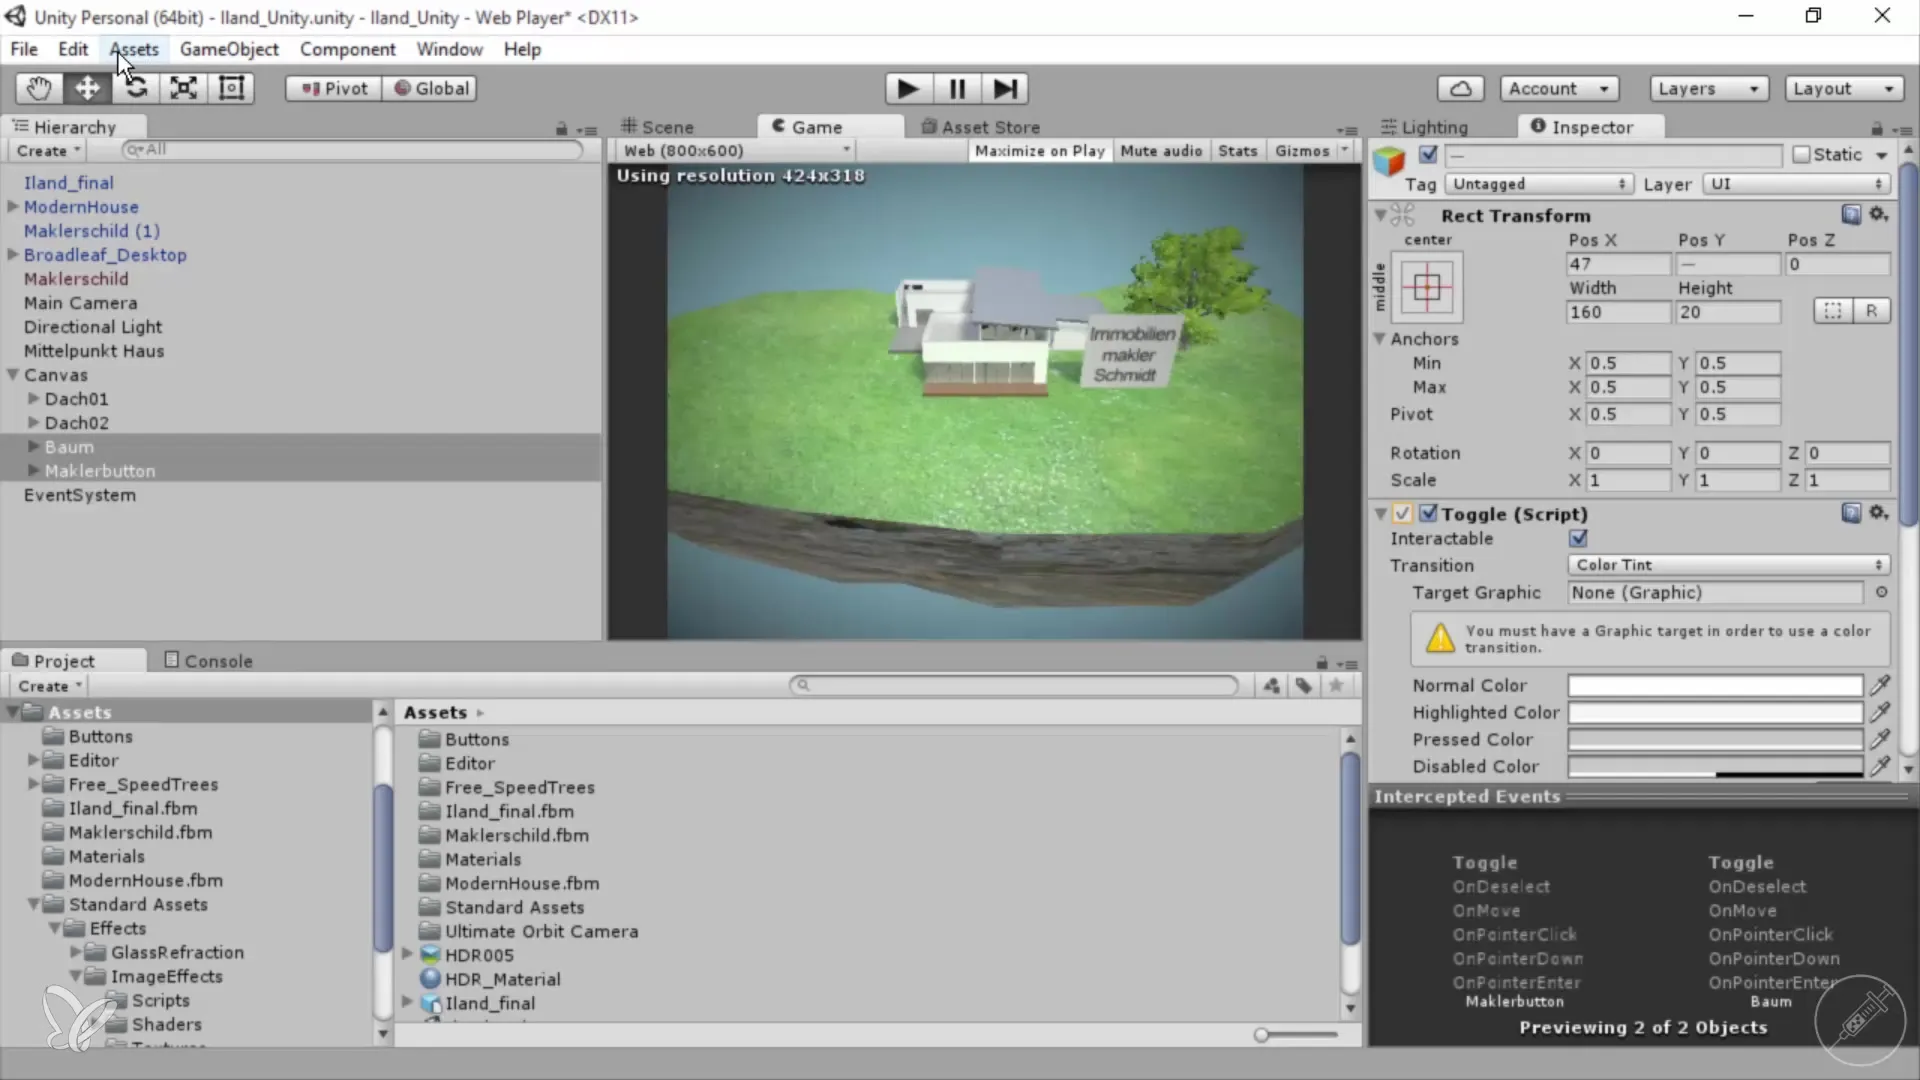
First, you should ensure that everything in your project is working smoothly. Press "Play" and observe how your application runs. This is important to identify any issues early on.
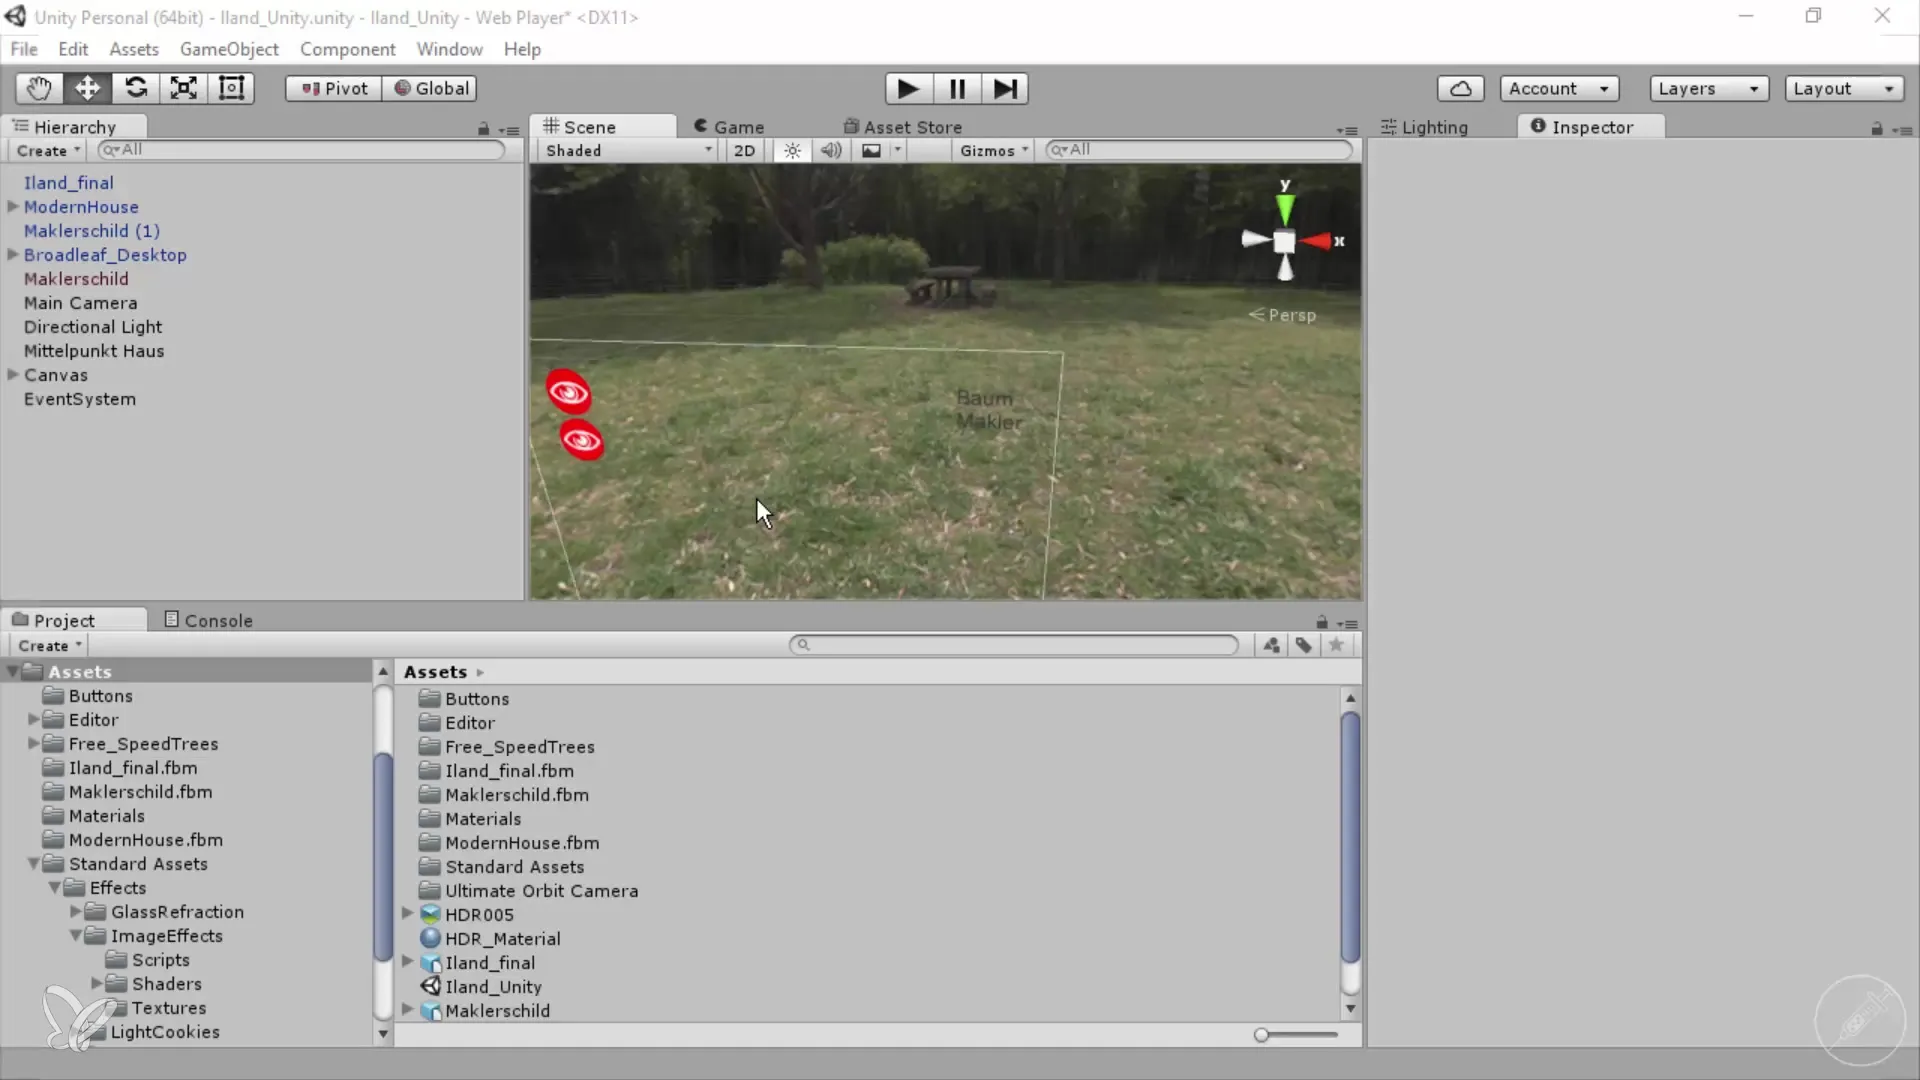
Pay special attention to the size of your display area. Your project setting of 800 x 600 pixels is a standard size, but it depends on the size of your player. Observe that the representation is variable; when you enlarge your player, the display field adjusts and gives you a more realistic representation of your UI.
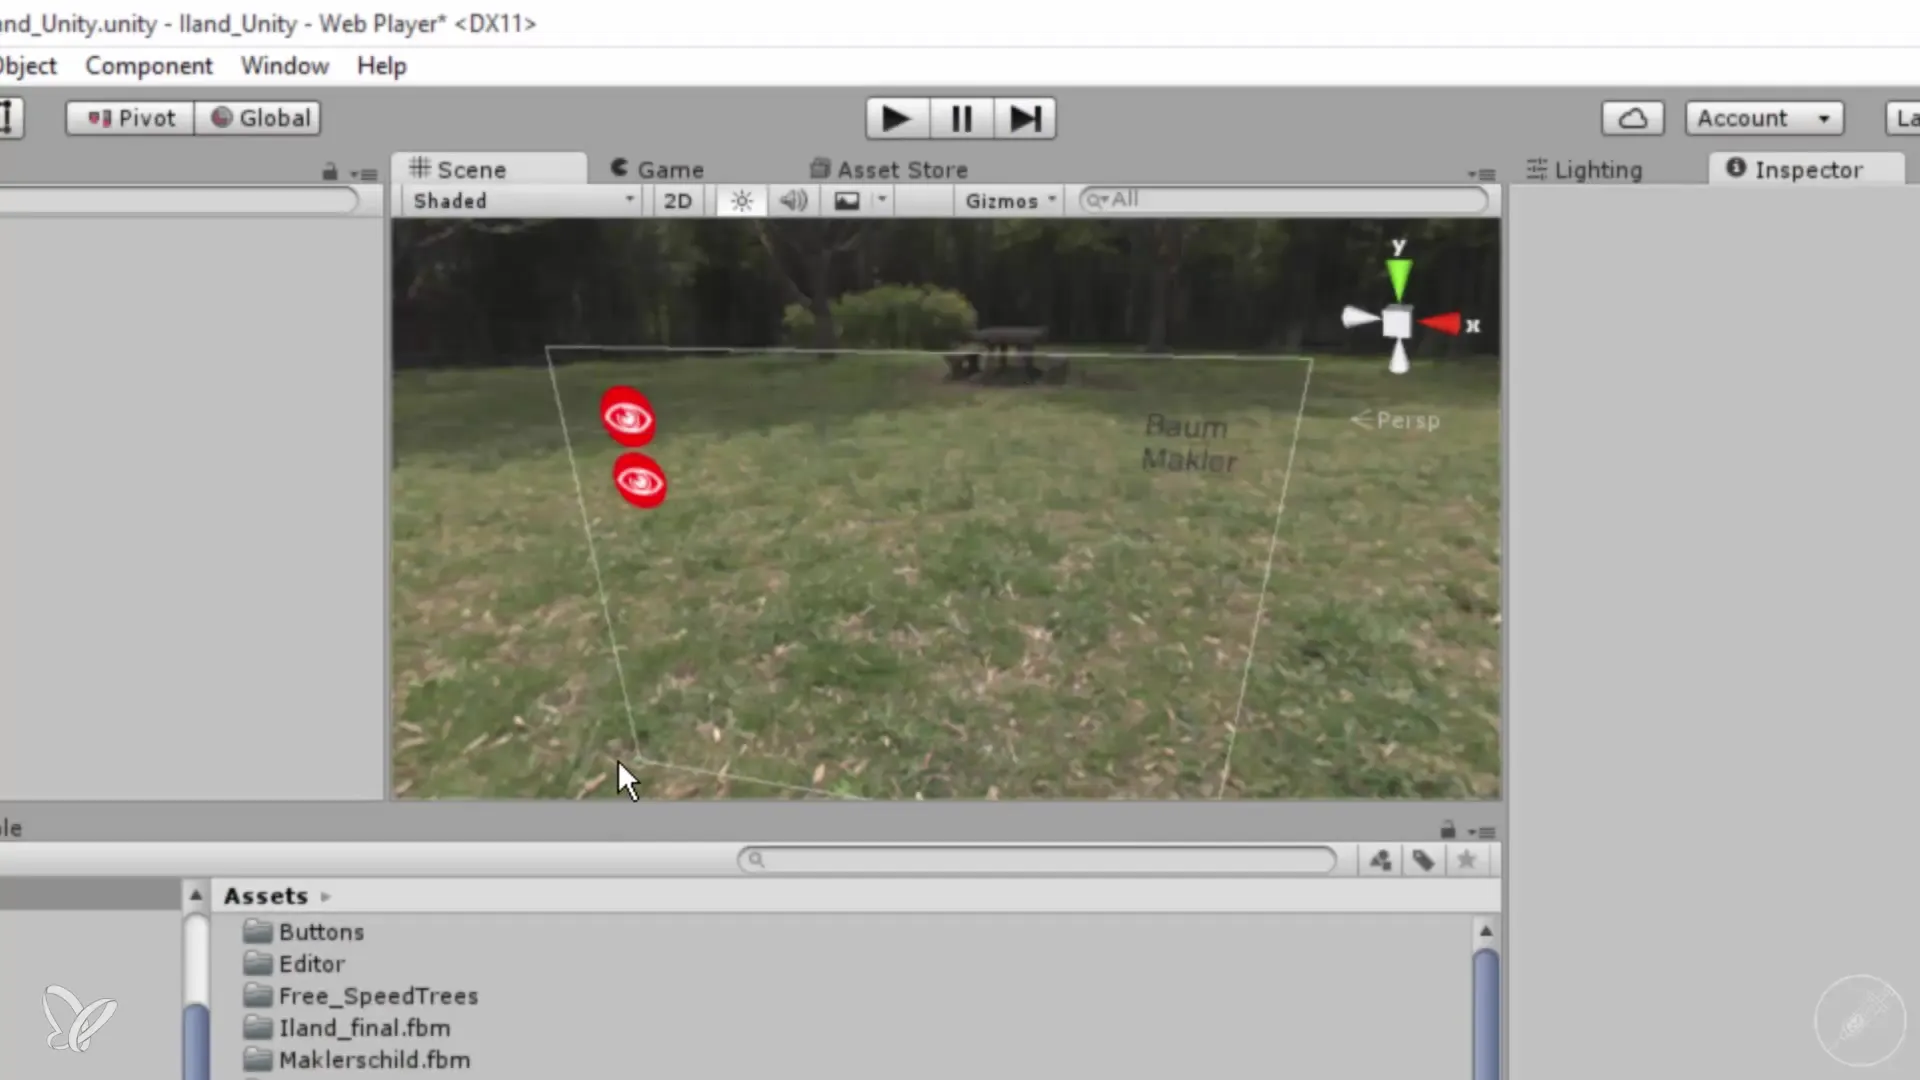
To see how your UI looks in full size, go to "Game" and click "Maximize." This gives you a clear idea of the final display and the positioning of your buttons. You can now optimize the arrangement by moving the UI elements to the desired positions.
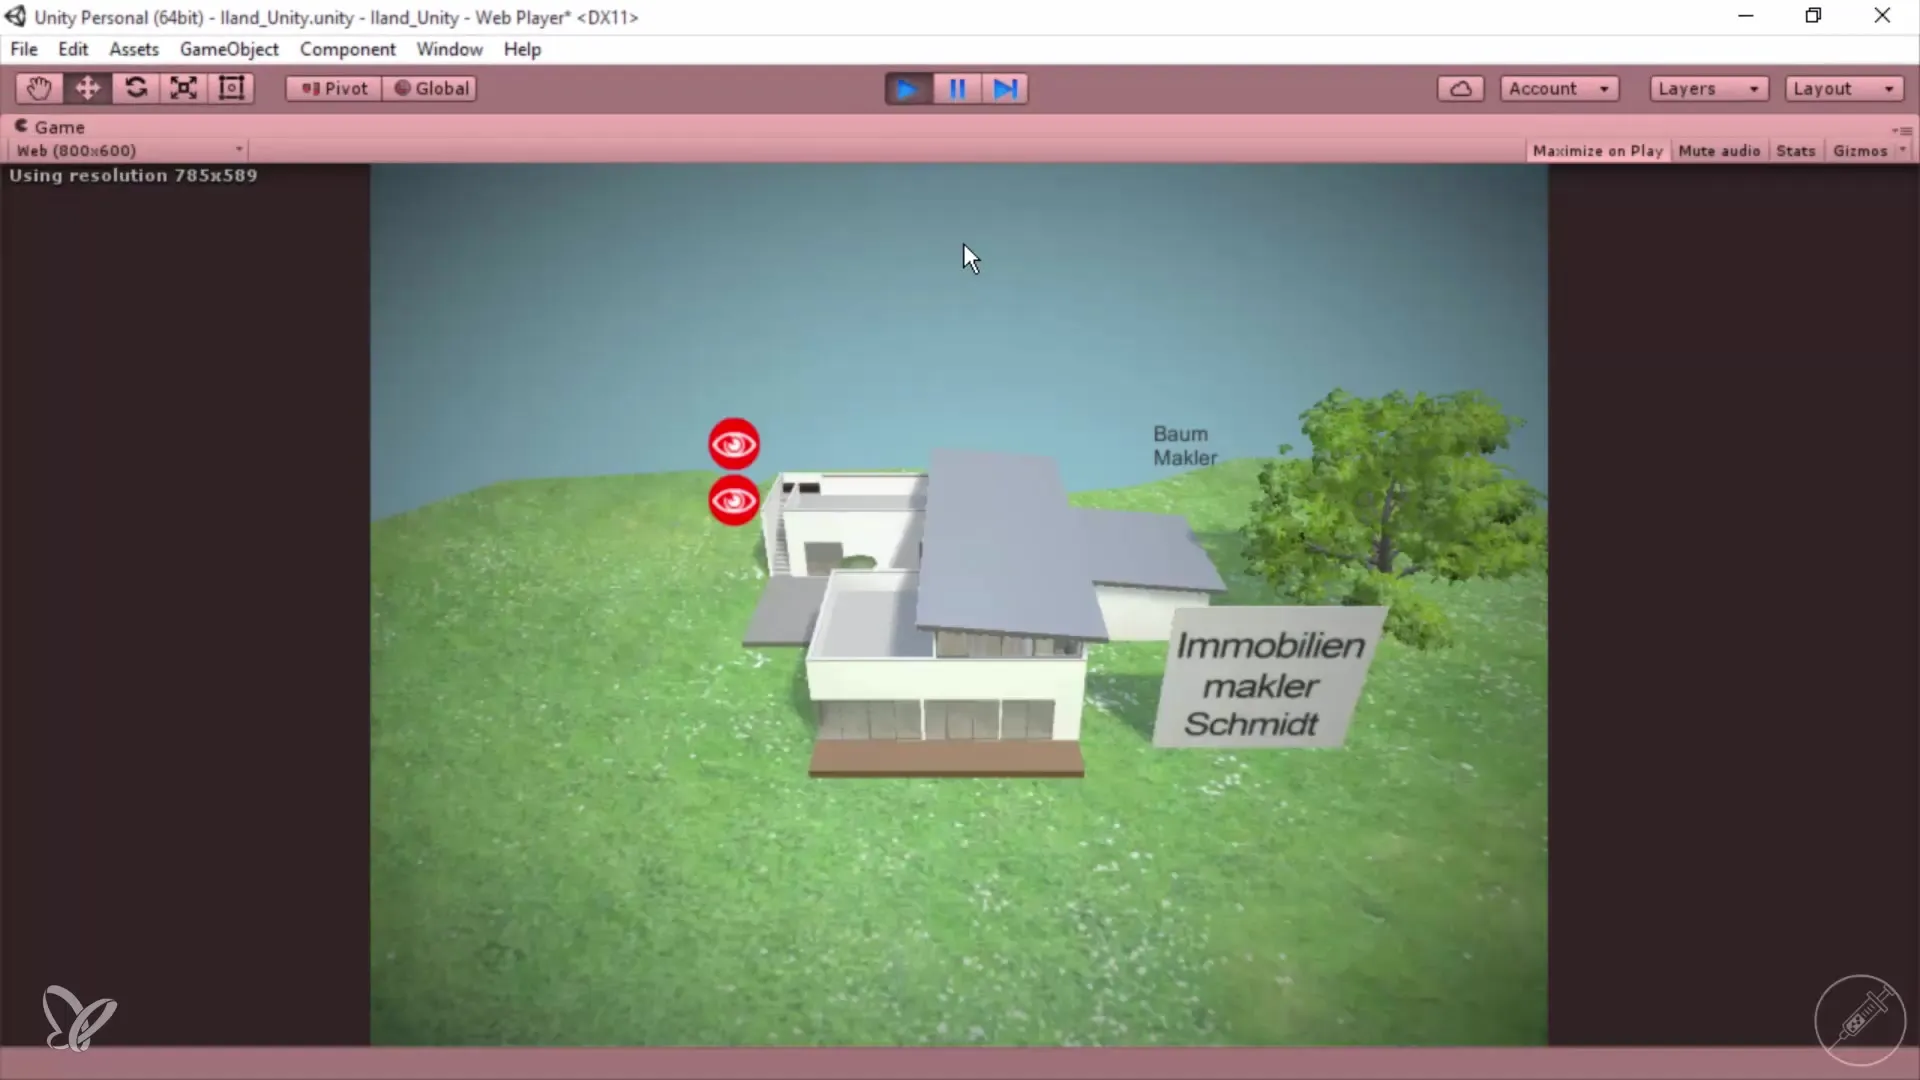
Also reconsider the placement of your buttons. You should ensure that they are where you want them to be to ensure that the user experience is optimal, so that users experience no surprises when using your software.
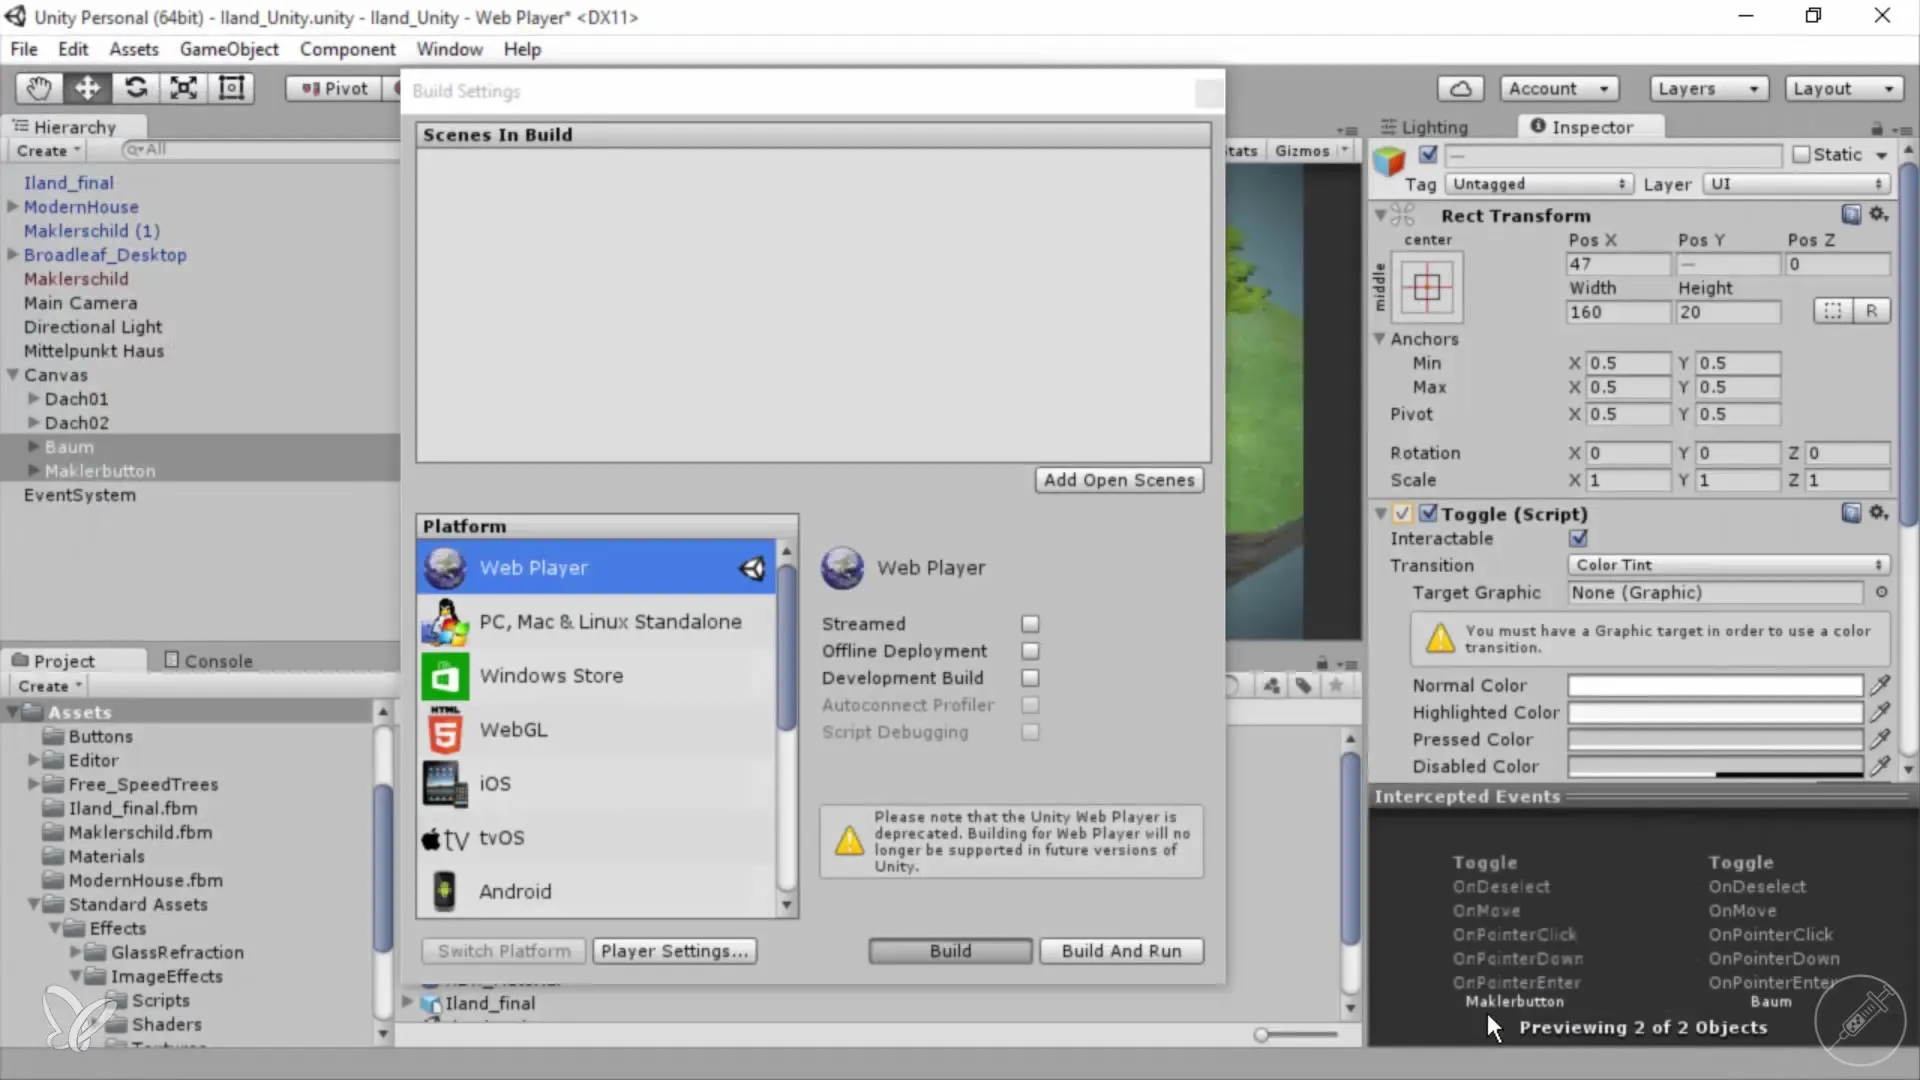
Now dive into the export process. Go to "File" and select "Build Settings." Here you decide for which platform you want to export. In this tutorial, we focus on exporting for WebGL. Set the required settings and note that the web player, which was previously available for Unity, is increasingly becoming outdated.
Then choose "Build" and select the folder where the exported files should be stored. In my case, I created a folder named "Island final." Once you have selected the folder, Unity will start processing your project and save the final data in that folder.
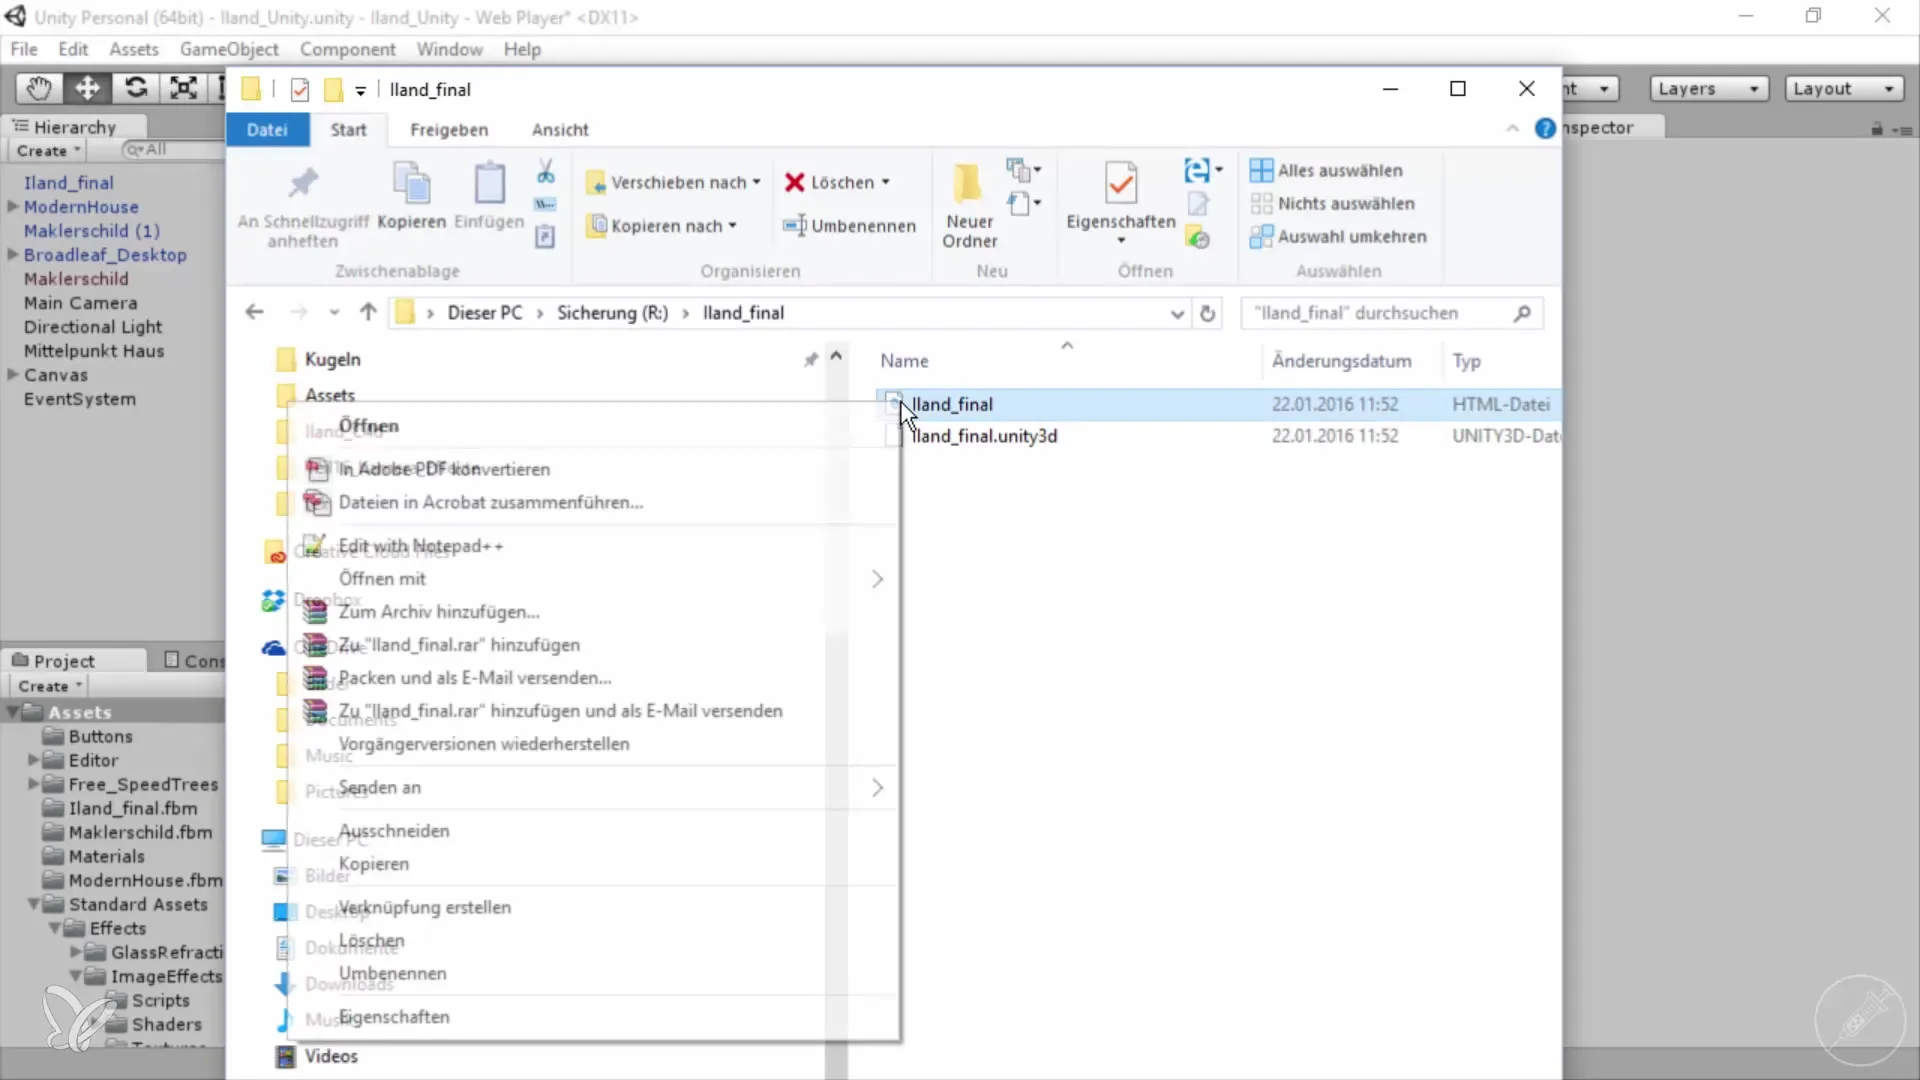
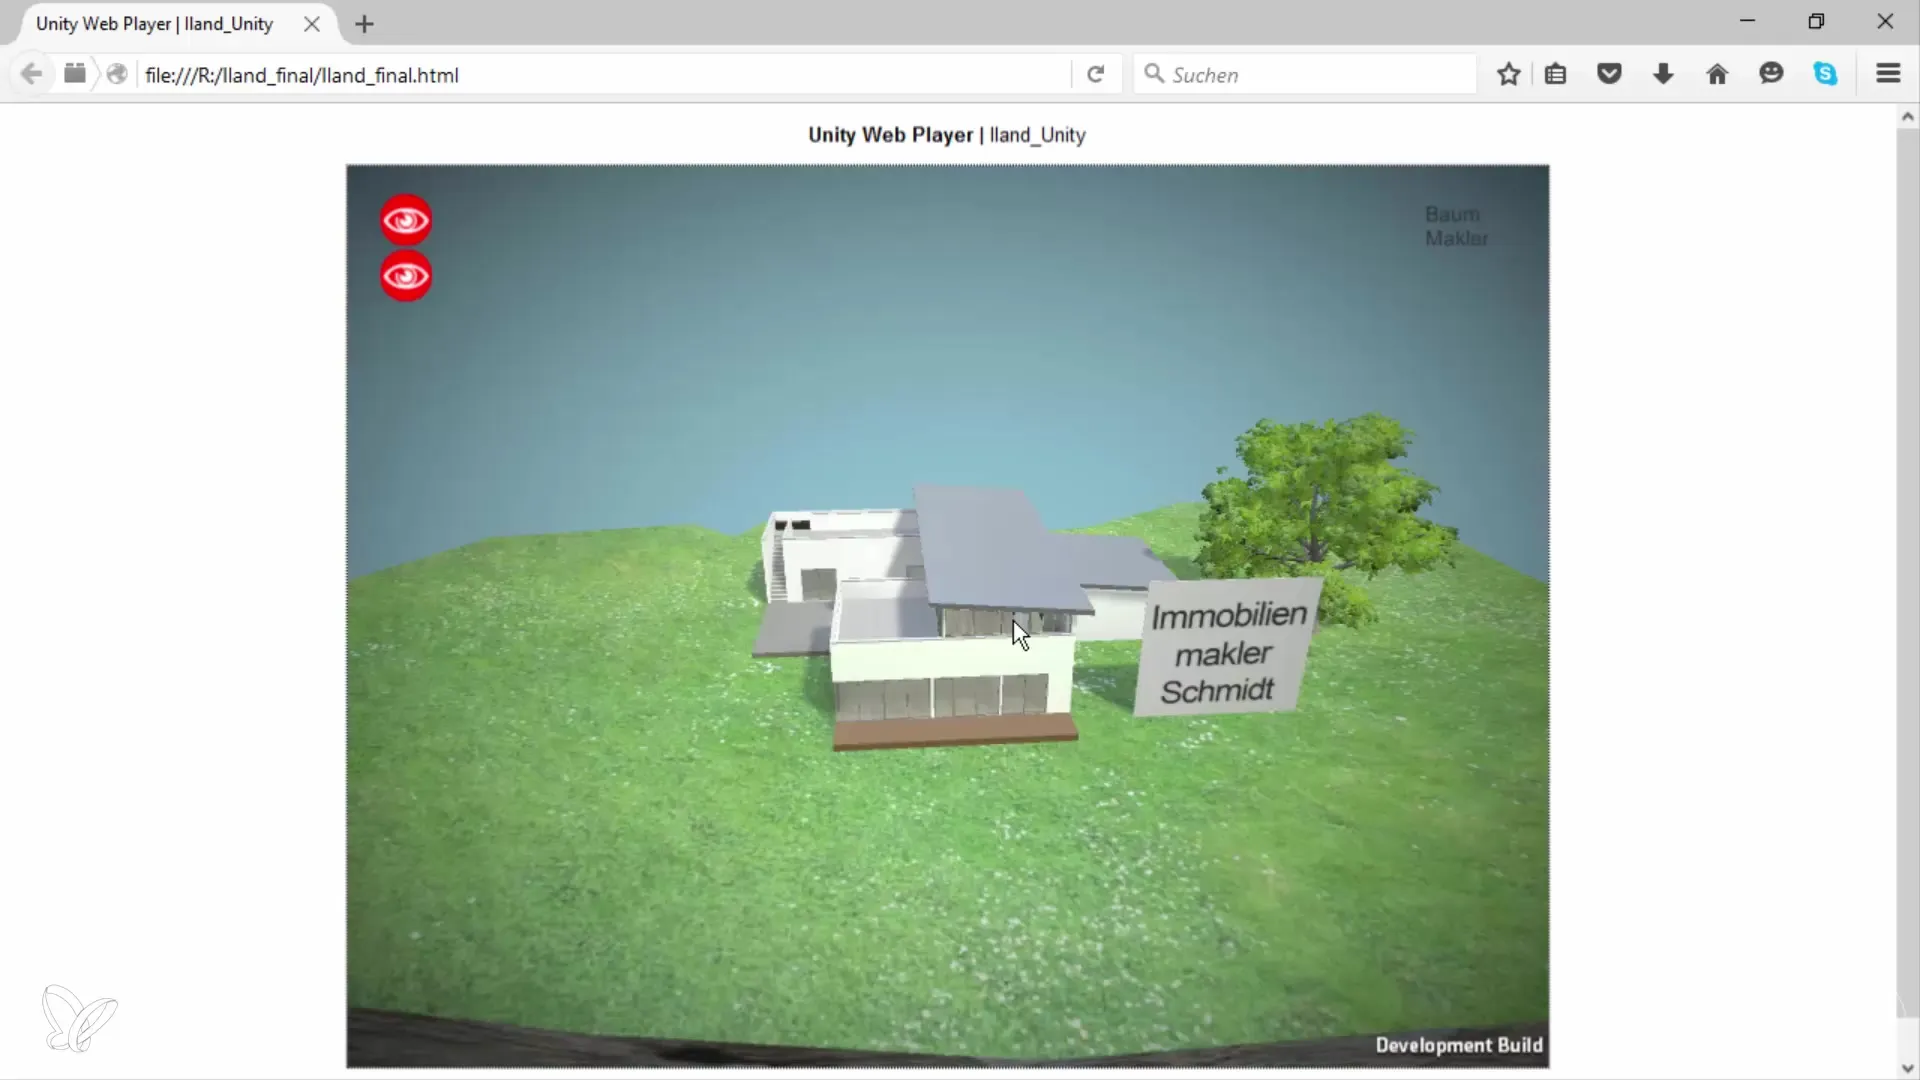
This process takes a while, so wait patiently. Once the export is complete, you should examine the files. Navigate to your "Island final" folder and open the file with a web browser like Firefox.
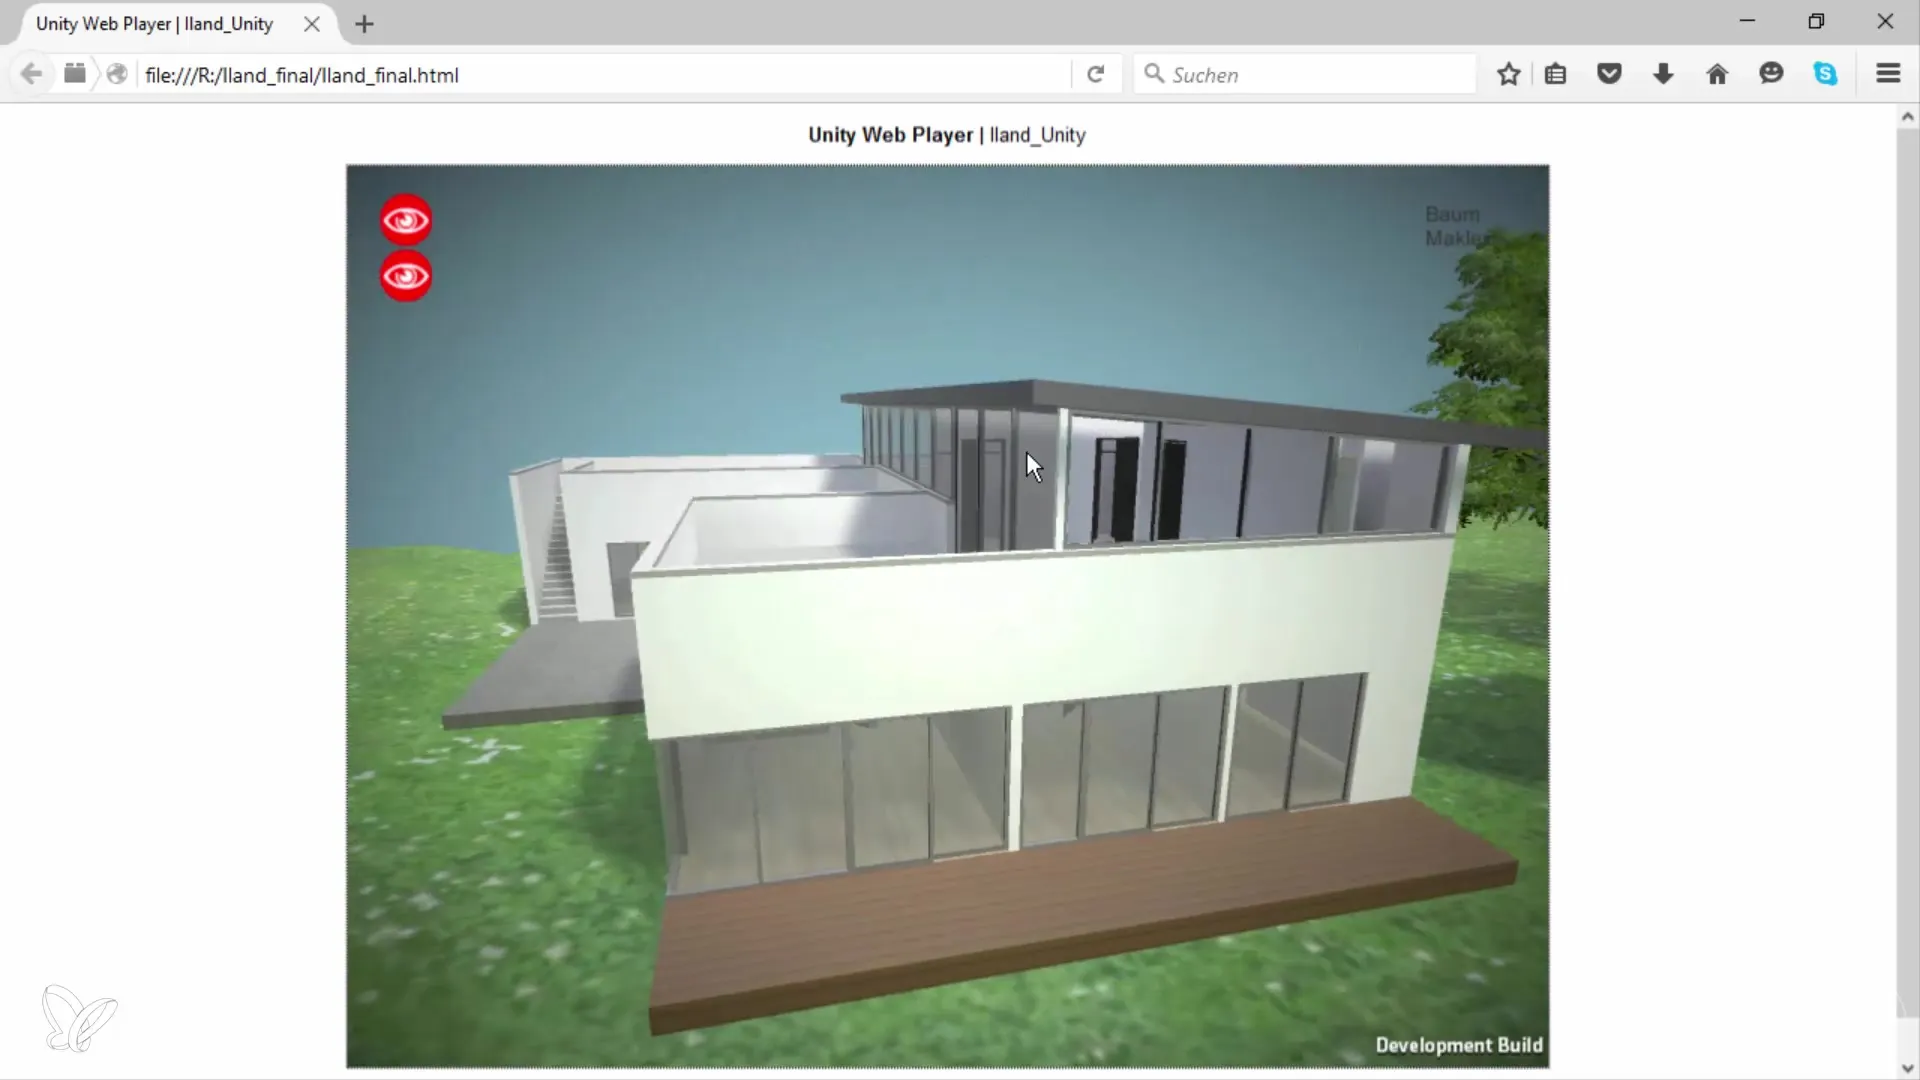
Now you can test your application! Your buttons should be in the desired positions and the entire functionality should work as planned. Check the zooming and flipping of objects to ensure that everything works as expected.
Congratulations! You have successfully prepared and exported your project. Experiment with adjustments to design your own properties or other creative projects. I wish you lots of fun with your developments!
Summary – 360° Guide to Exporting Unity Projects for the Web
You have learned how to effectively export your Unity project for the web. By paying attention to the placement of your UI elements and choosing the right export process, you can optimize the user experience and make your project available to others.
Frequently Asked Questions
How can I optimize the user interface in Unity for the web?Make sure to set the size of your player and the positioning of your UI elements correctly.
Which format should I choose for web export?Use WebGL as the web player is now considered outdated.
How long does the export of a Unity project for the web take?The duration depends on the size of your project; it may take a few minutes.
What happens after the export?You can upload the generated files to a server and access your application from there.
How can I ensure that my application works correctly?Thoroughly test your application in the editor before exporting it for the web.
