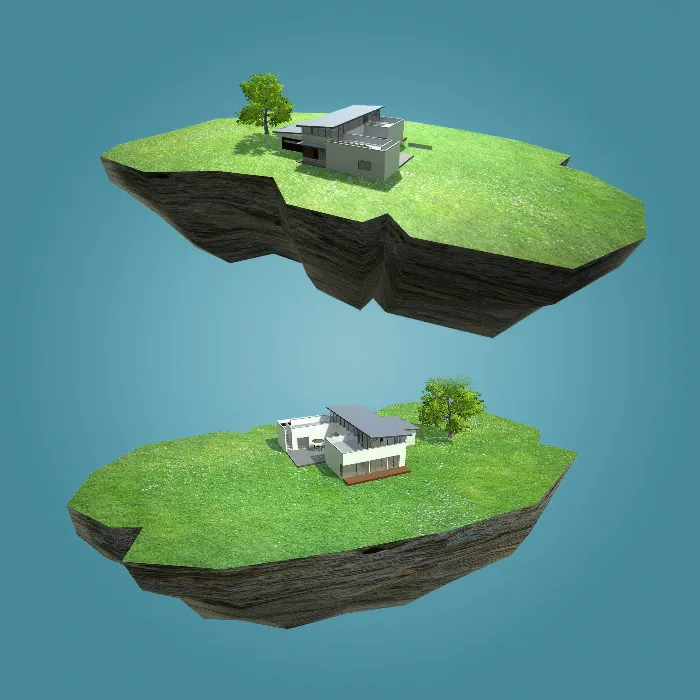
If you're thinking about how architectural visualizations can be presented effectively today, the combination of Unity and Cinema 4D is an excellent choice. In this course, you will learn how to create an engaging 360°-architectural visualization. With this technique, you can not only present your clients with vibrant designs but also engage them in interaction with the models. Let's go through the steps that will guide you step by step to your own 360° visualization project.
Main Insights
In this course, you will discover how easy it is to create a professional architectural visualization using Unity and Cinema 4D. You will learn how to create and optimize the models in Cinema 4D, import them into Unity, and add interactive elements. No scripting knowledge is required to achieve impressive results.
Step-by-Step Guide
To successfully implement your architectural visualization, follow the steps outlined below. It is important to pay detailed attention to each step to achieve a first-class result.
Step 1: Introduction to the Project and the Software
Before you start implementing, it is essential to familiarize yourself with the two programs, Unity and Cinema 4D. The video provides a quick overview of what you will learn. You will understand the potential this software combination has for your visualizations.
Step 2: Modeling in Cinema 4D
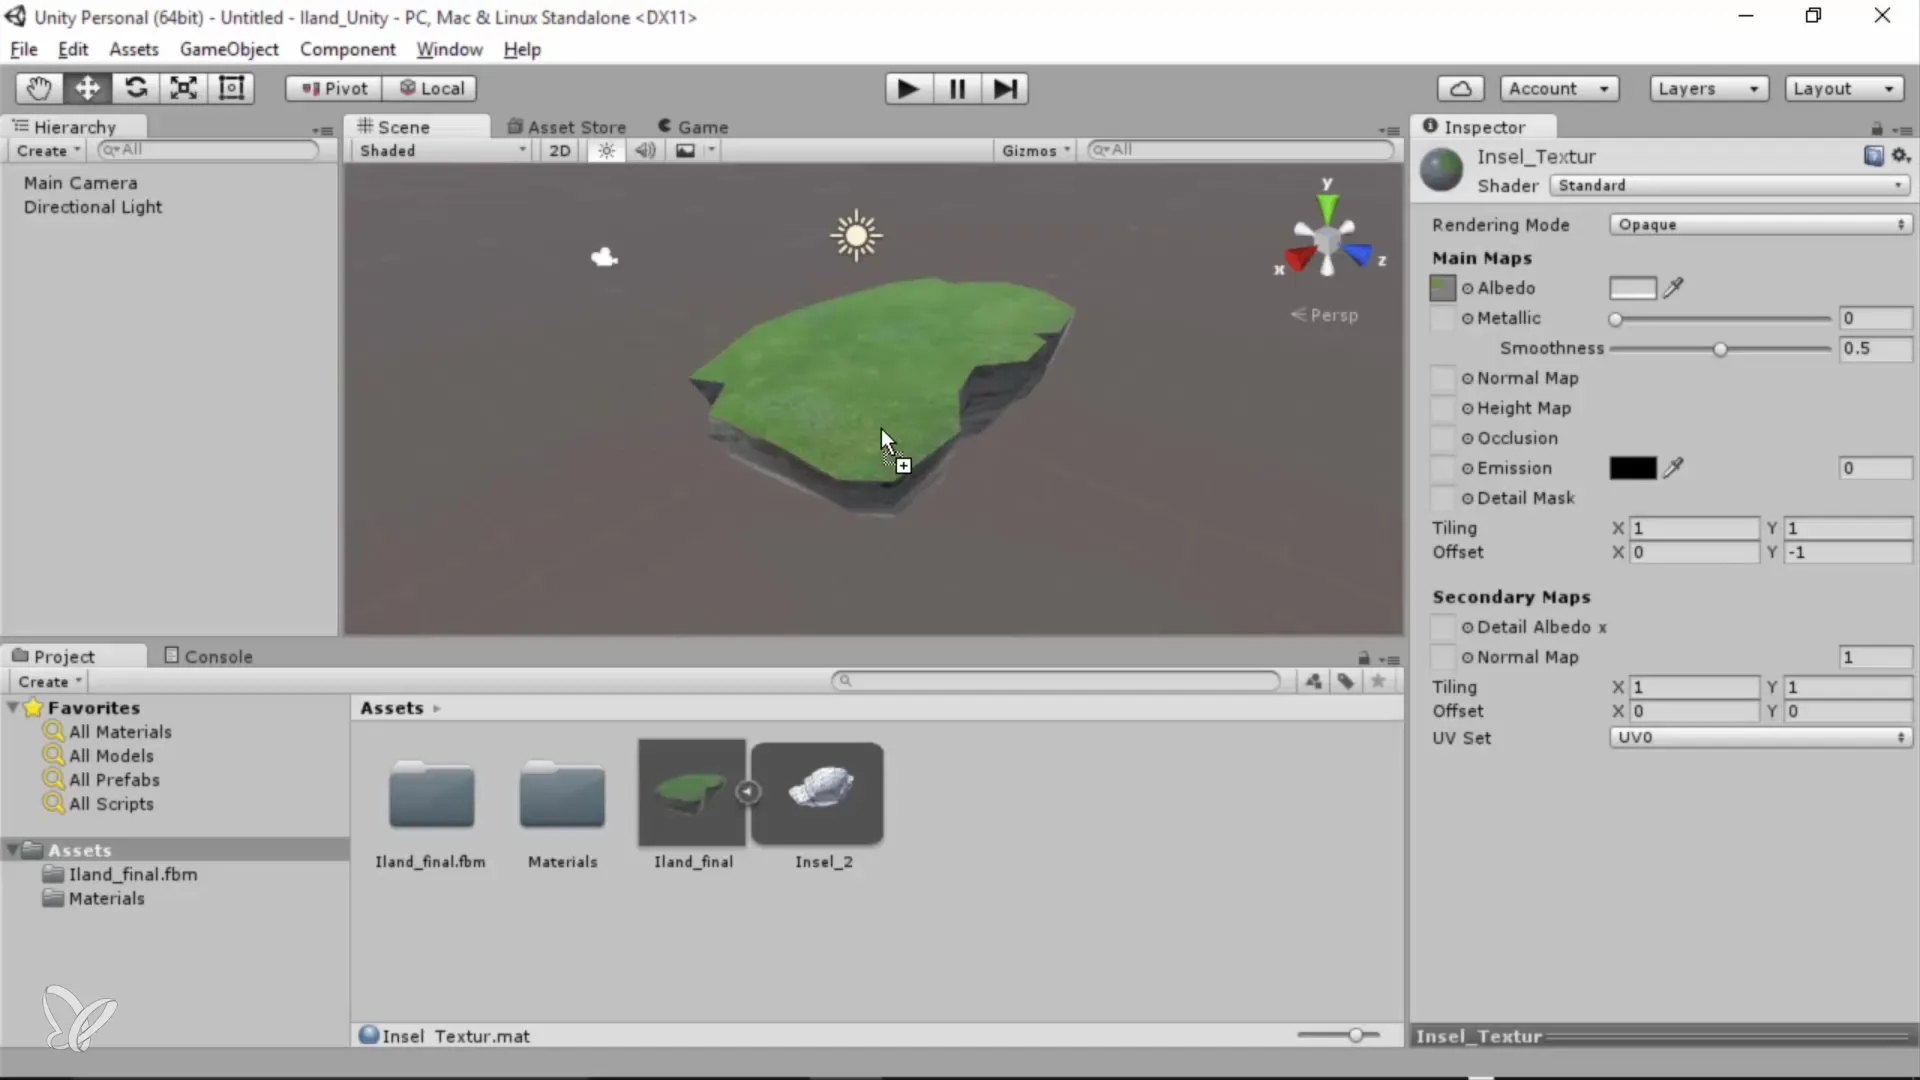
In the next step, we will begin modeling in Cinema 4D. You will learn how to create a professional UV layout and optimally prepare the textures. It is important that you master the basics of modeling to achieve high-quality results.
Step 3: Importing a Google SketchUp Architectural Example
Now it's time to import an architectural example from Google SketchUp into your Cinema 4D project. This feature allows you to quickly integrate and further process existing models. You will also learn how to optimally prepare the file to integrate it seamlessly into Cinema 4D.
Step 4: Preparation in Unity
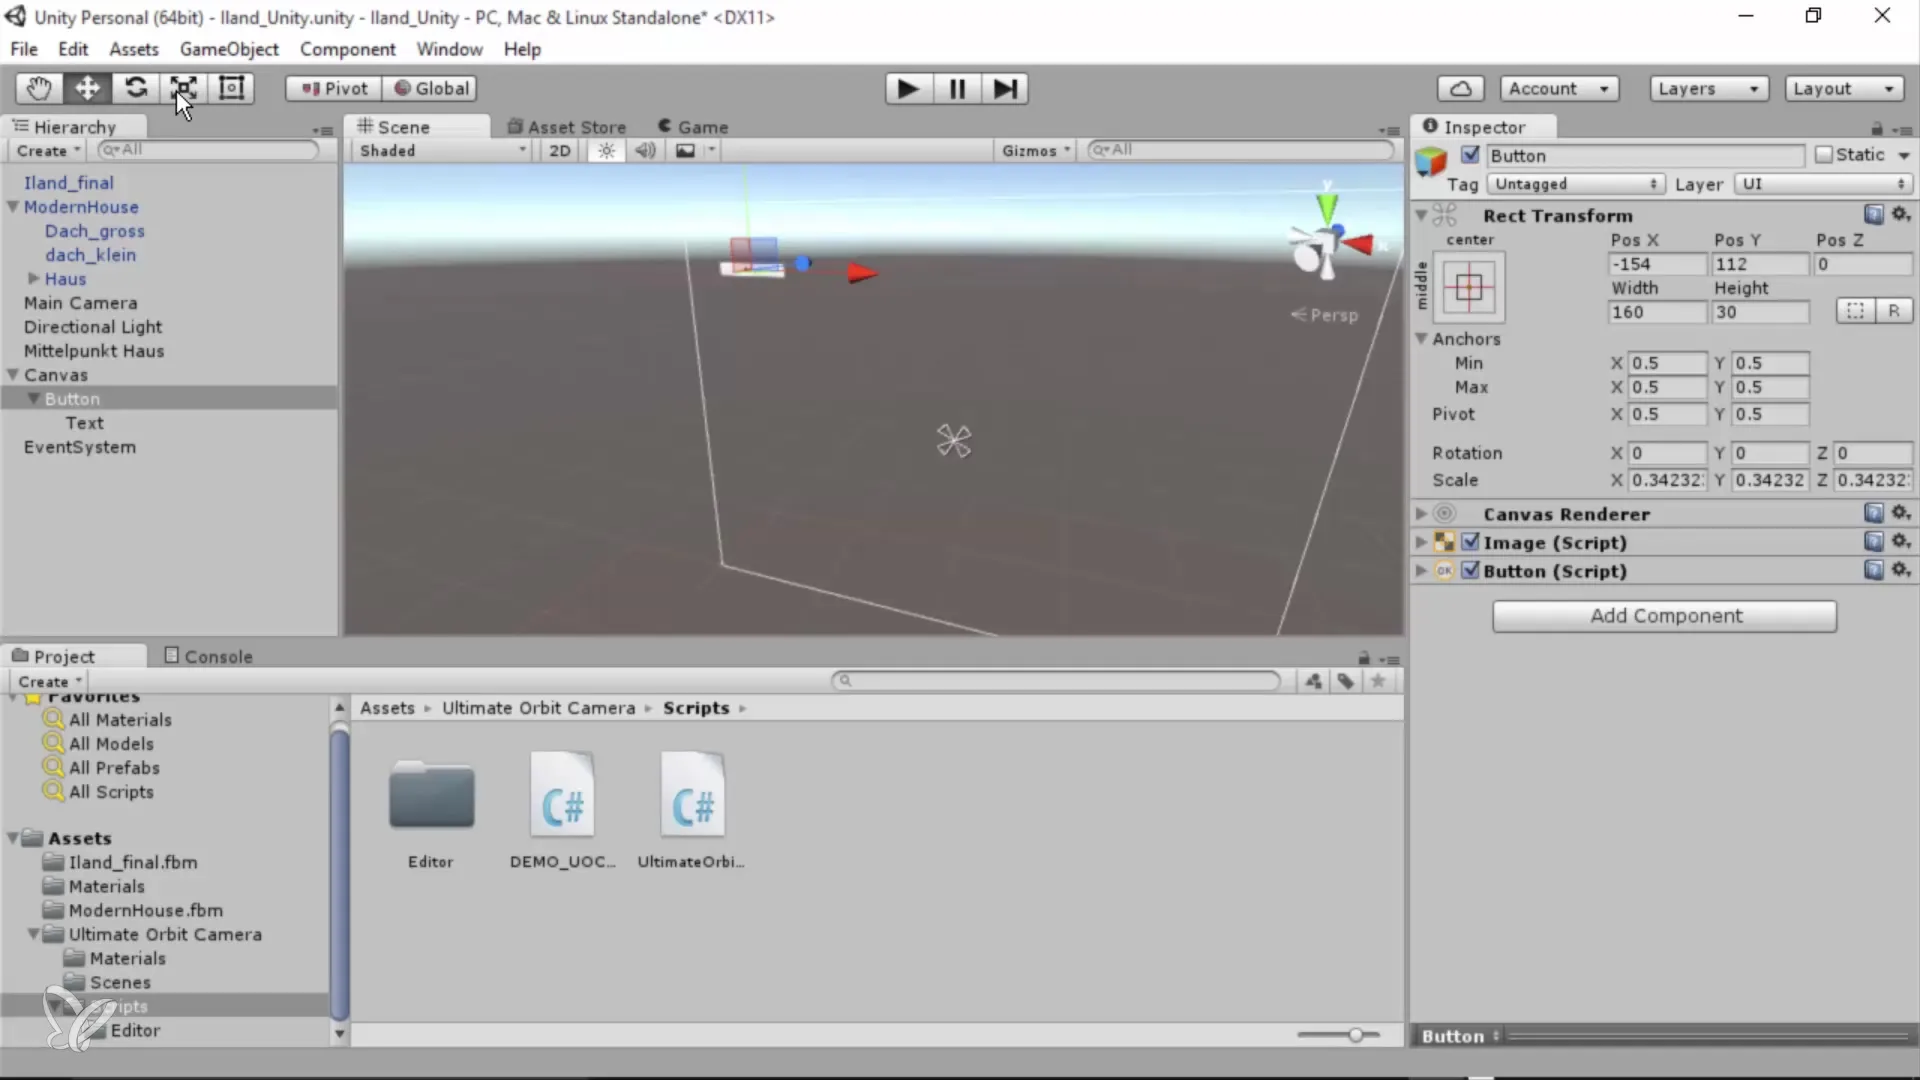
After modeling, the transition to Unity follows. Here you will import your models and set up camera movement. You will learn how to adjust the camera so that it is not restricted in rotation, allowing viewers a complete perspective change. This feature is crucial for an immersive 360° experience.
Step 5: Adding Interactive Elements
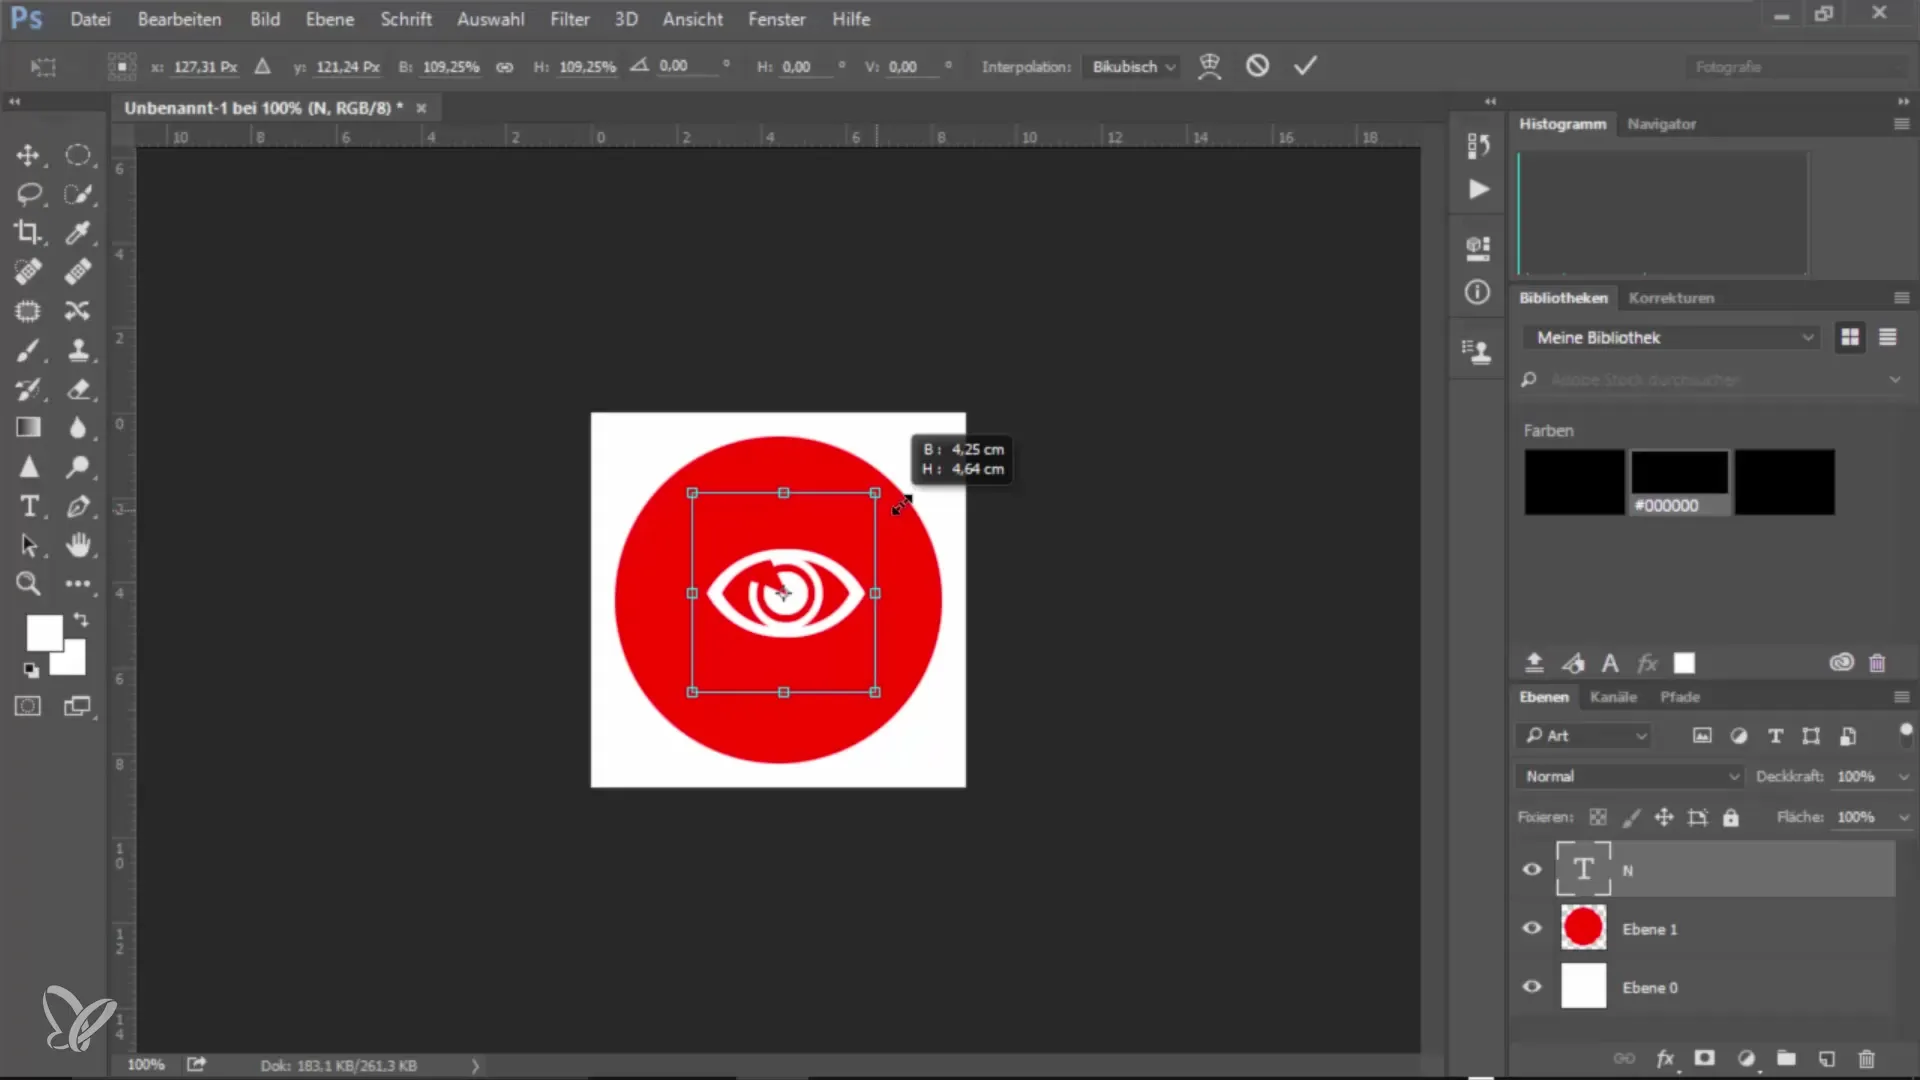
Now it gets interesting – you will add interactive elements. Buttons that allow users to navigate through the architecture and show or hide specific areas are not only exciting but also provide real added value. This makes exploring your architectural models even more fun!
Step 6: Adding Animations and Movement
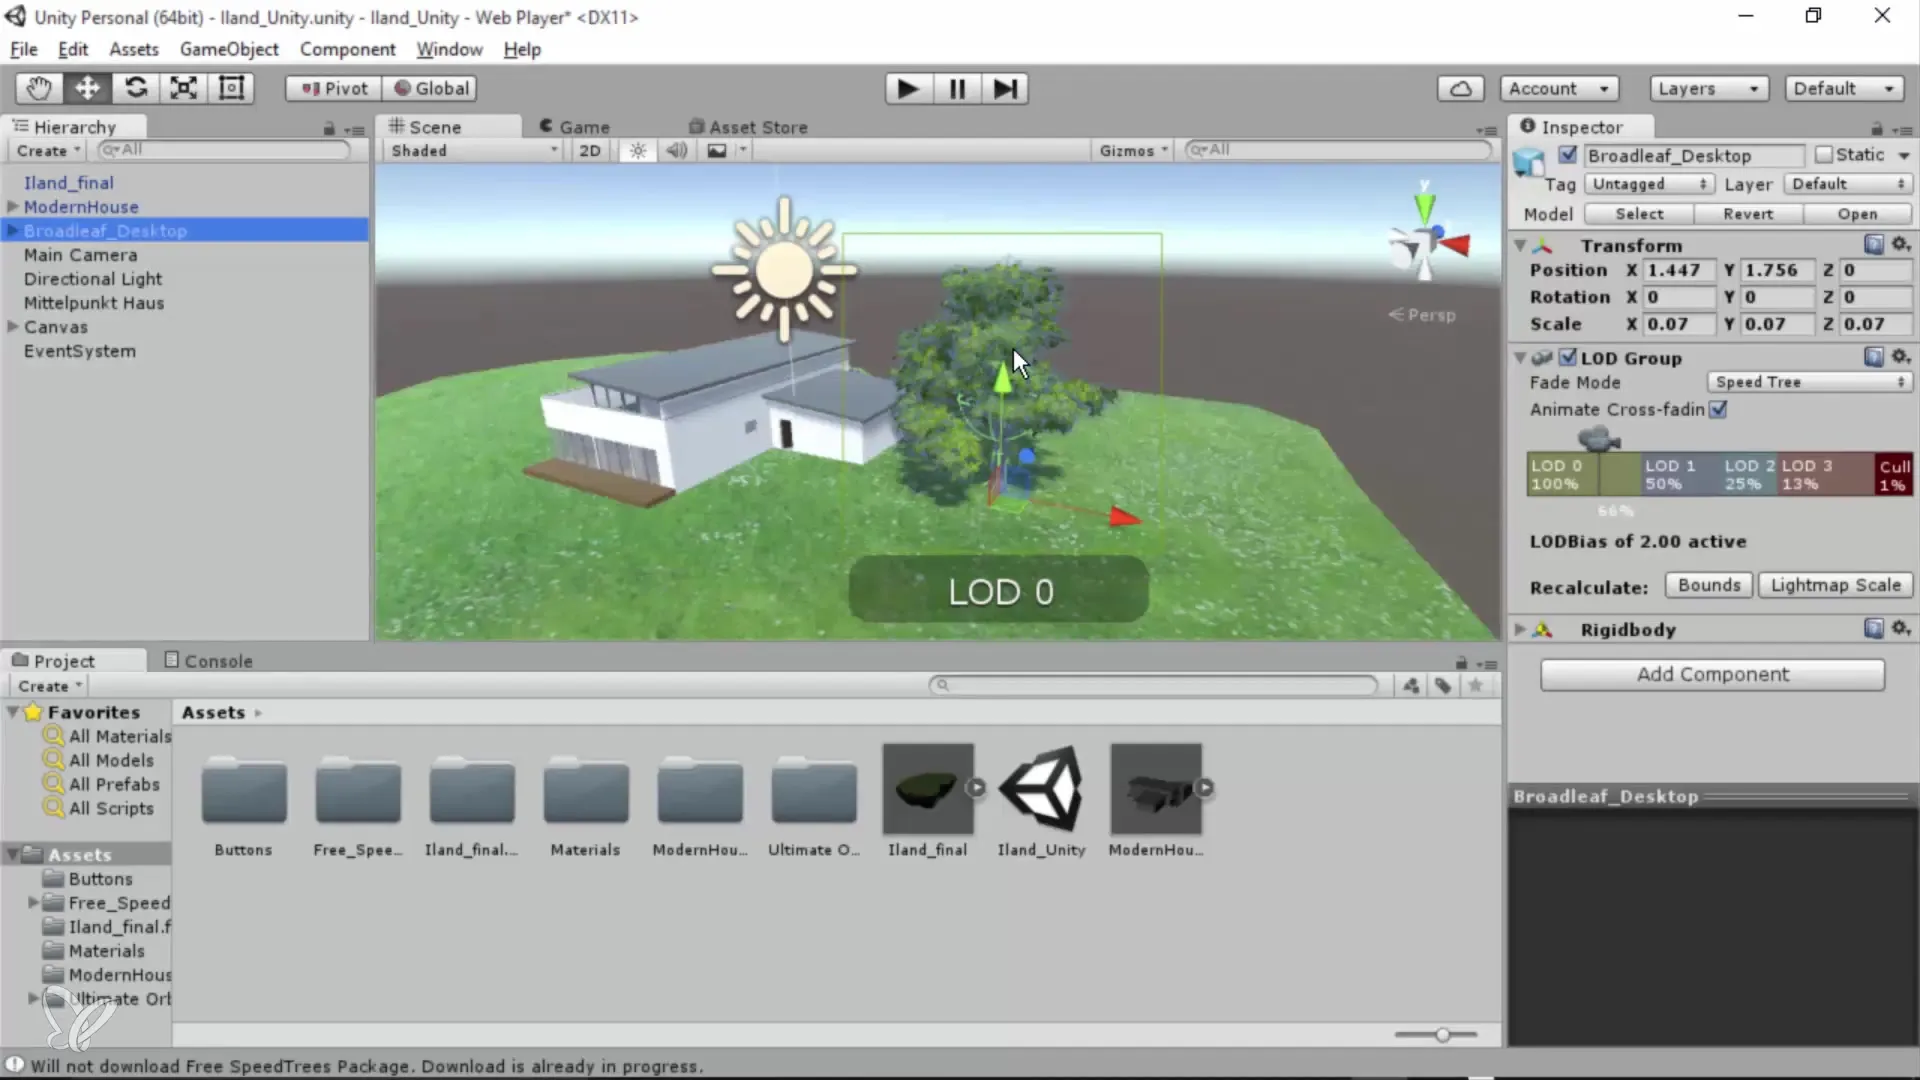
To bring your visualization to life, you will import a tree and animate it. Here you will learn how to incorporate animations into your scene to make it feel more lively. These details make an architectural visualization not only more engaging but also unique.
Step 7: Optimizing Lighting and Effects
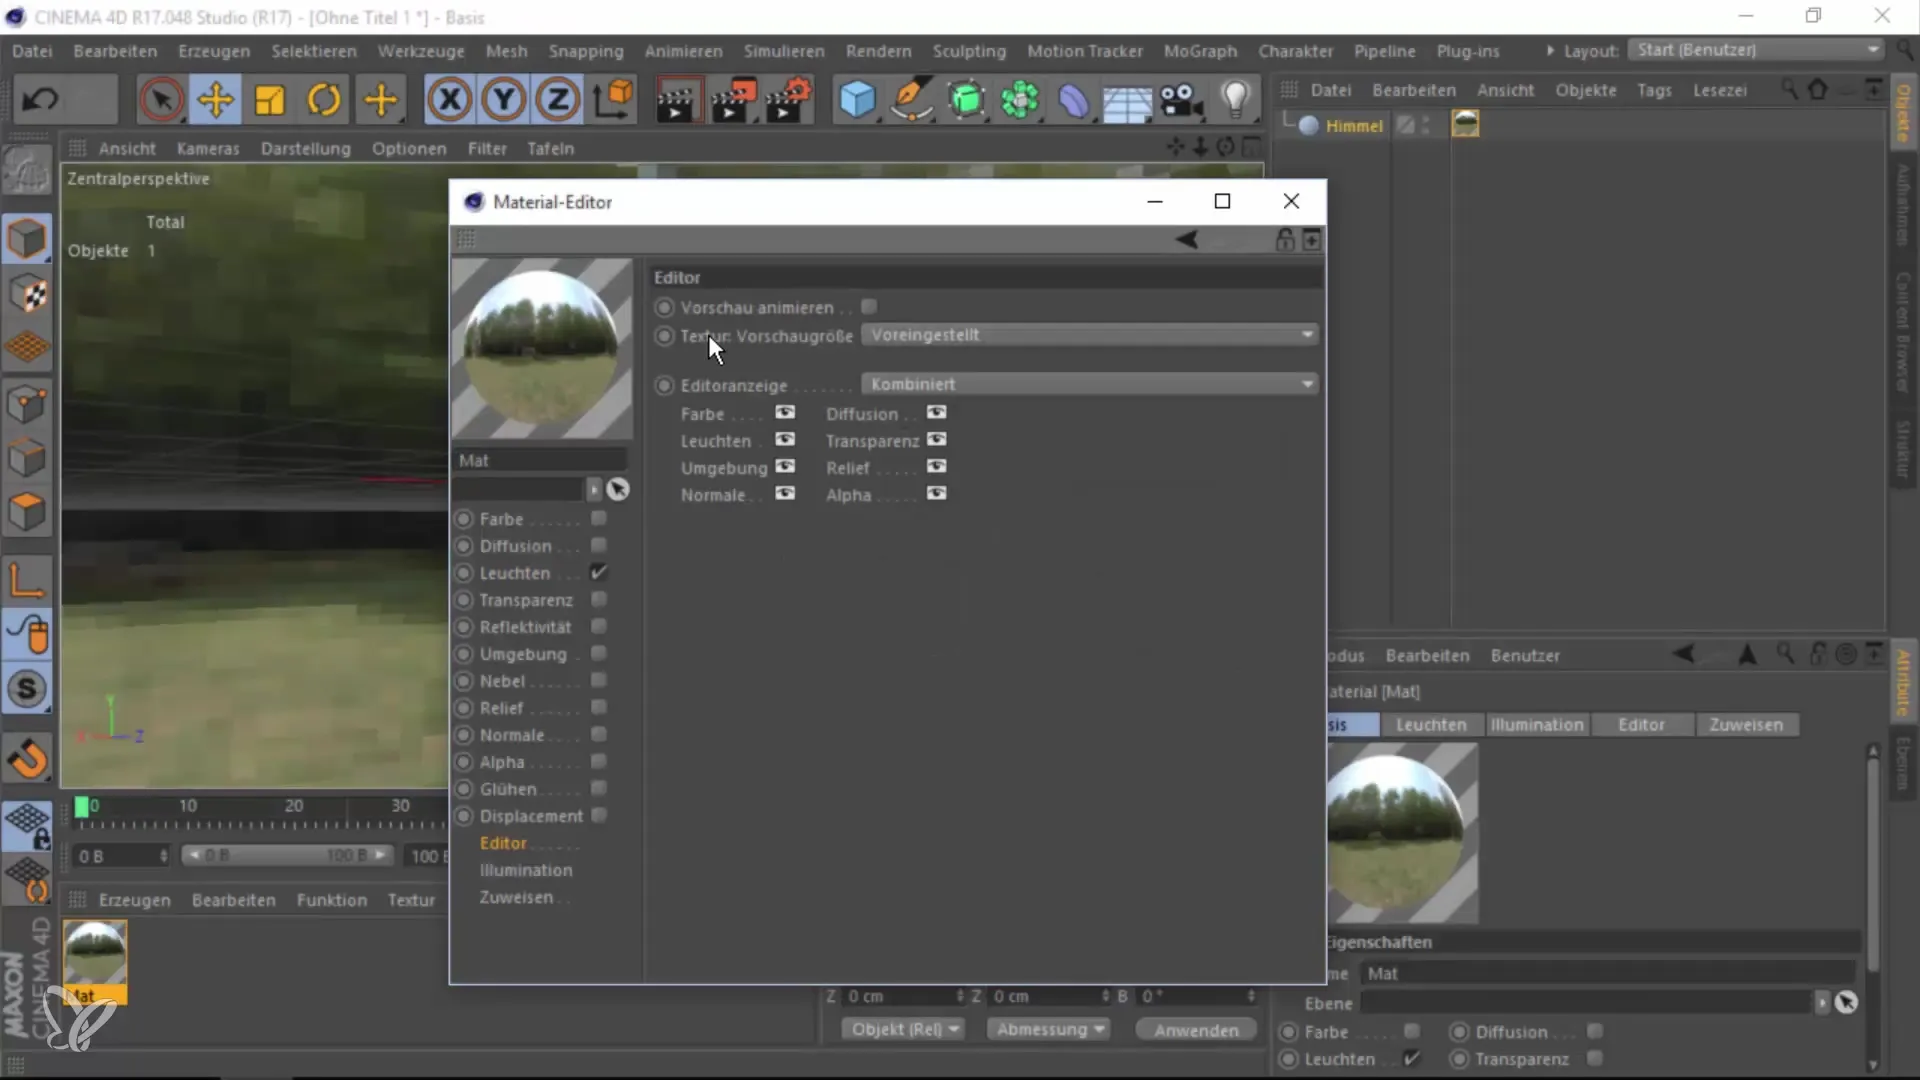
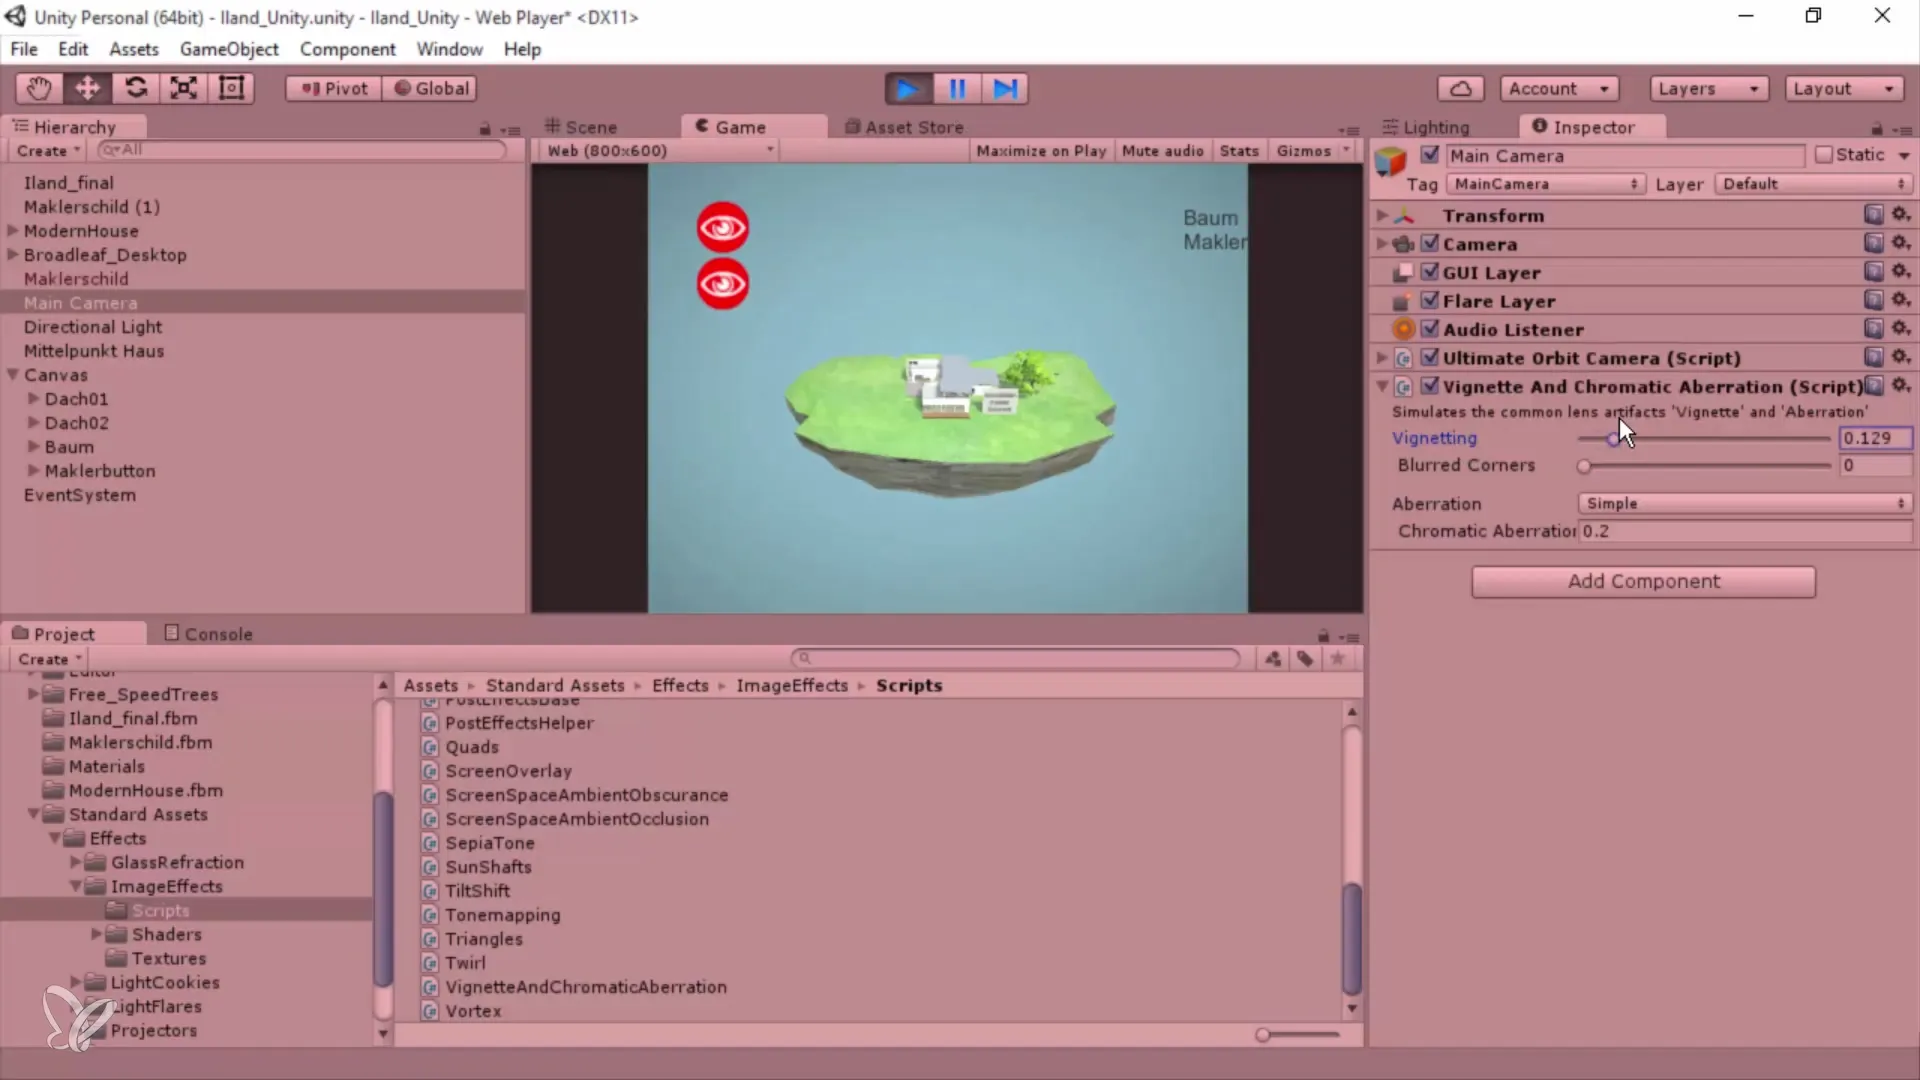
The right lighting is crucial for any good visualization. You will learn how to work with Global Illumination and HDR lighting to make your scenes realistic and appealing. Using effects will help enhance the atmosphere, leading to greater viewer engagement.
Step 8: Finalizing and Exporting
In the final step, you will prepare your project for output. You will learn how to export the final version of your architectural visualization so you can present it to your clients. Whether as a browser view or a standalone program, this is where everything comes together.
Summary
In this guide, you have seen how to create an impressive 360° architectural visualization step by step using Unity and Cinema 4D. From modeling to interaction to the final presentation, these tools provide you with everything you need to bring your designs to life – all without requiring scripting knowledge.
Frequently Asked Questions
How much prior knowledge do I need for this course?You do not need any knowledge of scripting or Cinema 4D.
Can I use other 3D software as well?Yes, any 3D software you are familiar with can be used.
How long will it take to complete the project?That depends on your pace and individual learning progress.
