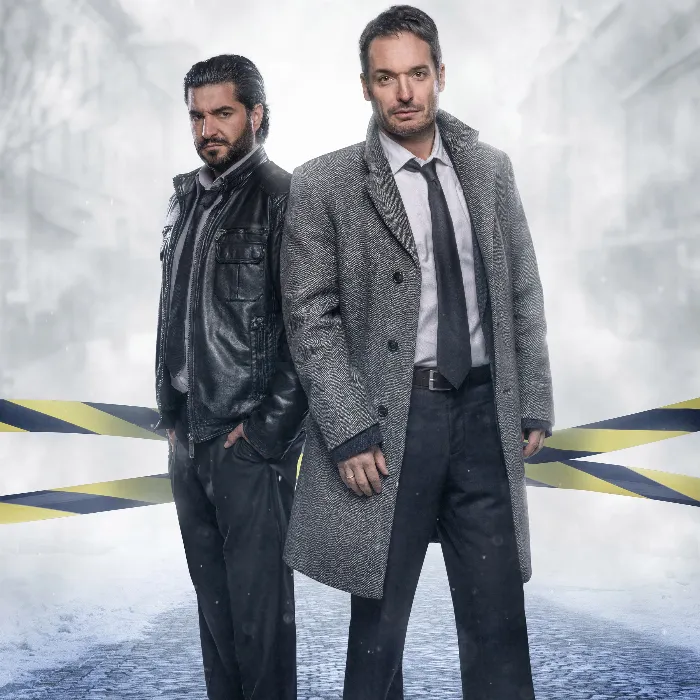
Welcome to the detailed guide to Gabor's video tutorial on the Crime Look in Photoshop. Here, you will learn how to create a fascinating and mysterious image together with Gabor that conveys an exciting mood. Gabor will show you various techniques for creating compositions, designing shadows, and adjusting colors, all without complicated jargon. Let's dive straight into the steps you need to bring your images to life.
Key findings
- Learn effective techniques for photo manipulation in Photoshop
- Become proficient in cut-outs of people
- Learn how to create realistic shadows
- Use color corrections to change moods
Step-by-Step Guide
1. First Impression and Image Selection
At the beginning, it is important to choose a suitable motif that conveys the desired criminal mood. Choose an image that fits both content-wise and emotionally with your concept. Whether it's an urban scenario or a rural backdrop, the context should match the atmosphere of the crime.
2. Cut Out the Motif
Once you have selected your image, the next step is to cut out the people or objects that you want to integrate into your main motif. You can use various selection tools for this. Pay attention to the details in your selection to achieve a realistic result. Using the “Refine Edge” function can be very helpful in this process.
3. Inserting into the Desired Scene
Once you have cut out your objects, it's time to integrate them into the main image. Place them where you want and make sure the perspective and cropping are cohesive. You should also adjust the size of the objects so they blend harmoniously into the new environment.

4. Creating Realistic Shadows
An often underestimated but very important step is creating realistic shadows. The right placement and color of the shadow can give your images more depth. Use a new layer for this and shape the shadow with a soft brush. Be sure to adjust the transparency so that the shadow doesn’t appear too overpowering.
5. Color Correction
To enhance the mood of the image, color correction is essential. Experiment with the color and light settings to create a mysterious and dramatic feel. Use the “Hue/Saturation” or “Adjustment Layers” features to optimize the color temperature and contrast.
6. Additional Effects and Details
Even small details can significantly improve the overall impression of your image. Consider whether you want to add glare or other effects to create more depth and realism. Think about how the light source in your image affects the shadows as well.

7. Finalization and Export
After you have completed all the steps, it’s time to review your artwork. Check if the various elements harmonize well and if the overall image conveys the intended mood. Export your image in your desired file format, whether JPG or PNG, to share it online or print it.
Summary - Guide to the Crime Look in Photoshop
In this guide, you have learned the essential steps to effectively create a crime look in Photoshop. You have learned how to select, cut out, create shadows, adjust colors, and add final details to create an exciting, mysterious image.
Frequently Asked Questions
How do I choose the right image for a crime look?Pay attention to the emotion and context of the image that conveys the desired mood.
How can I integrate people into my image?Use the selection tools to cut out people and then place them into the new scene.
How do I create realistic shadows?Create shadows on a new layer with a soft brush and adjust the transparency.
How can I adjust the colors?Use adjustment layers and experiment with hue and saturation to create the desired atmosphere.
How do I export my image?Go to "File" and then "Export" to select the desired file and format.

