The right light can make a crucial difference in image composition. If you want to adjust the light mood in Photoshop to give your composition more depth and focus, then you are absolutely in the right place. The workflow I present to you shows simple but effective techniques to direct the attention of your viewers exactly where you want it. Let’s get started!
Main insights
You can significantly influence the perception of an image with light and shadow. By using targeted light sources and darkening, you not only enhance the visual depth but also the viewer's interest. By creating groups and using masks in Photoshop, you can achieve precise control of the light mood in the image.
Step-by-step guide
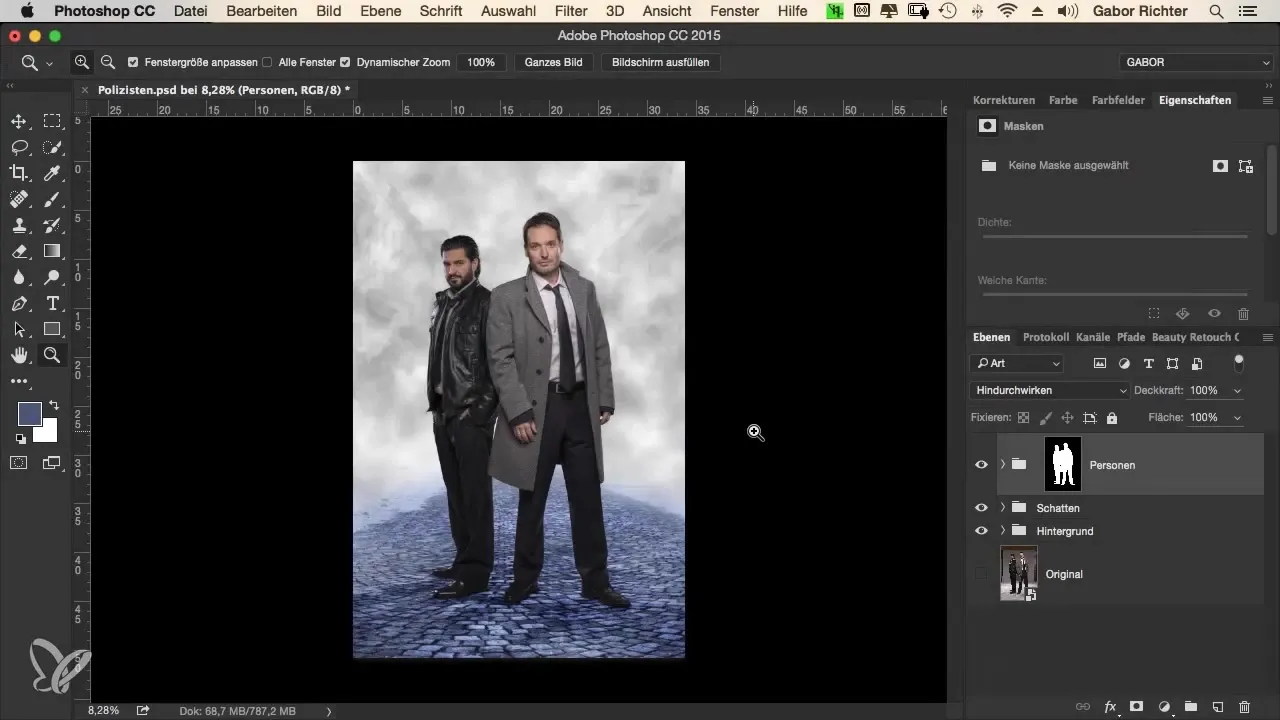
1. Create a new group for the light mood
First, you should create a new group between the groups "Shadow" and "Person". Name this group "Light Mood". This will help you organize the subsequent adjustments and create a clear structure in your project.
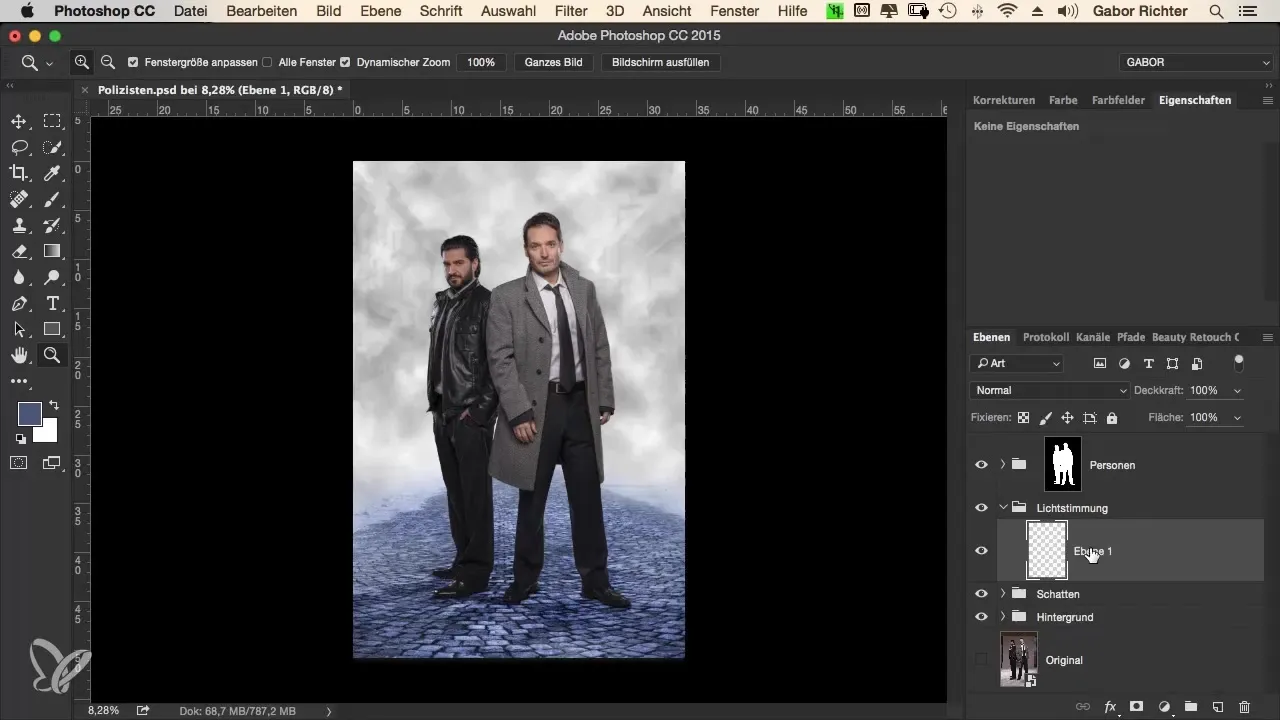
2. A blank layer for the light spot
Next, create a new blank layer that you name “Spot”. This will be your light spot, which you will place behind the person. The goal is to create the impression that a light is shining from behind the person. The glow at the edges creates an impressive effect that makes the image appear more vibrant.
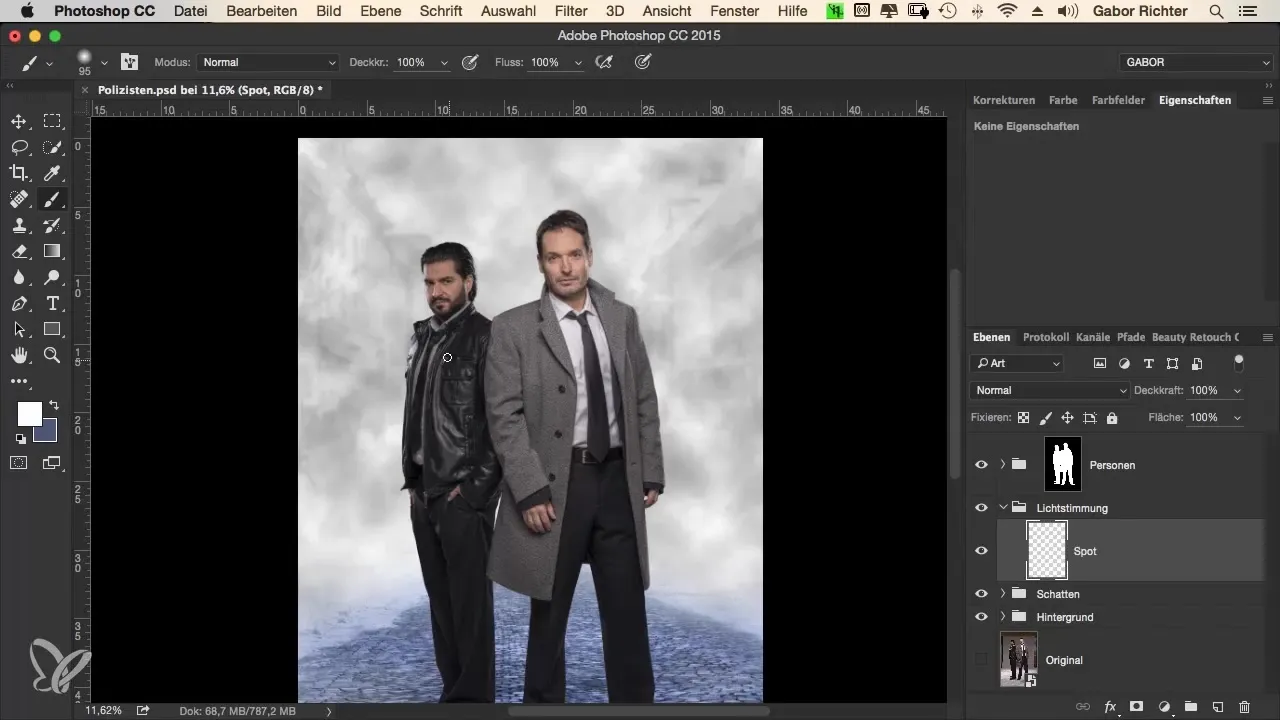
3. Brush settings and application of the light spot
Select the brush with an opacity of 100% and a white color. Set the hardness to zero and keep the size small for now. Place a white dot behind the person to create a base for the light glow. Transform this point using the key combination Cmd+T (Mac) or Ctrl+T (Windows) to enlarge and position it appropriately.
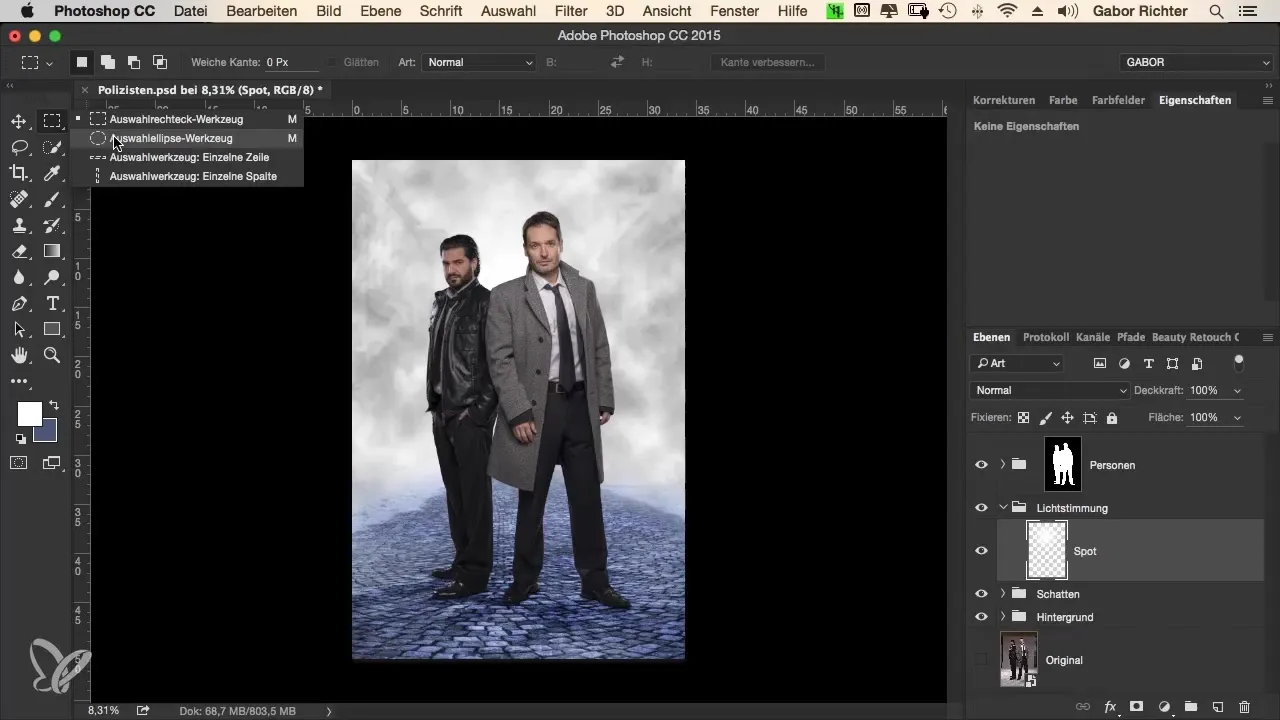
4. Applying a vignette
To add a vignette, draw an ellipse around the person and use a levels adjustment. You should darken this levels adjustment to emphasize the area around the person. Don’t forget to invert the mask (Cmd+I or Ctrl+I) to position the darkening correctly.
5. Adjusting the softness of the mask
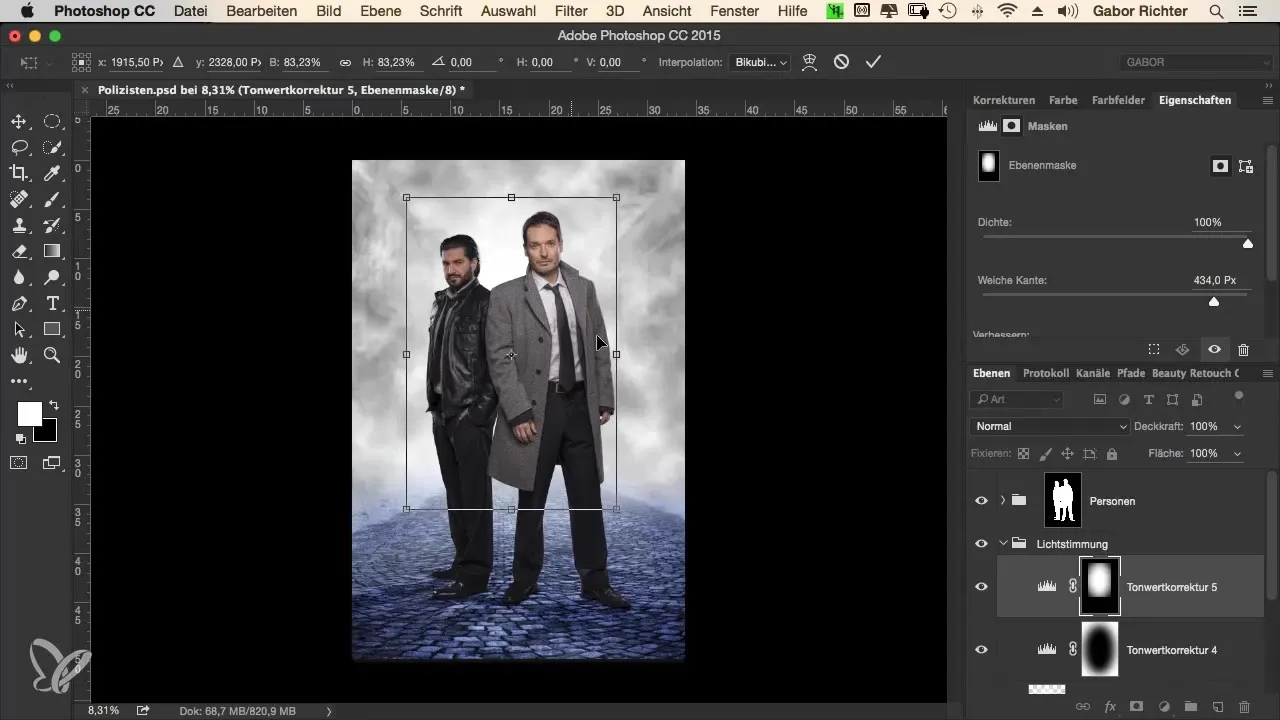
To soften the transitions, click on the mask and increase the softness value to around 400-450. Analyze the mask view to achieve the desired level of softness. This technique helps to make the darkness around the person appear less harsh.
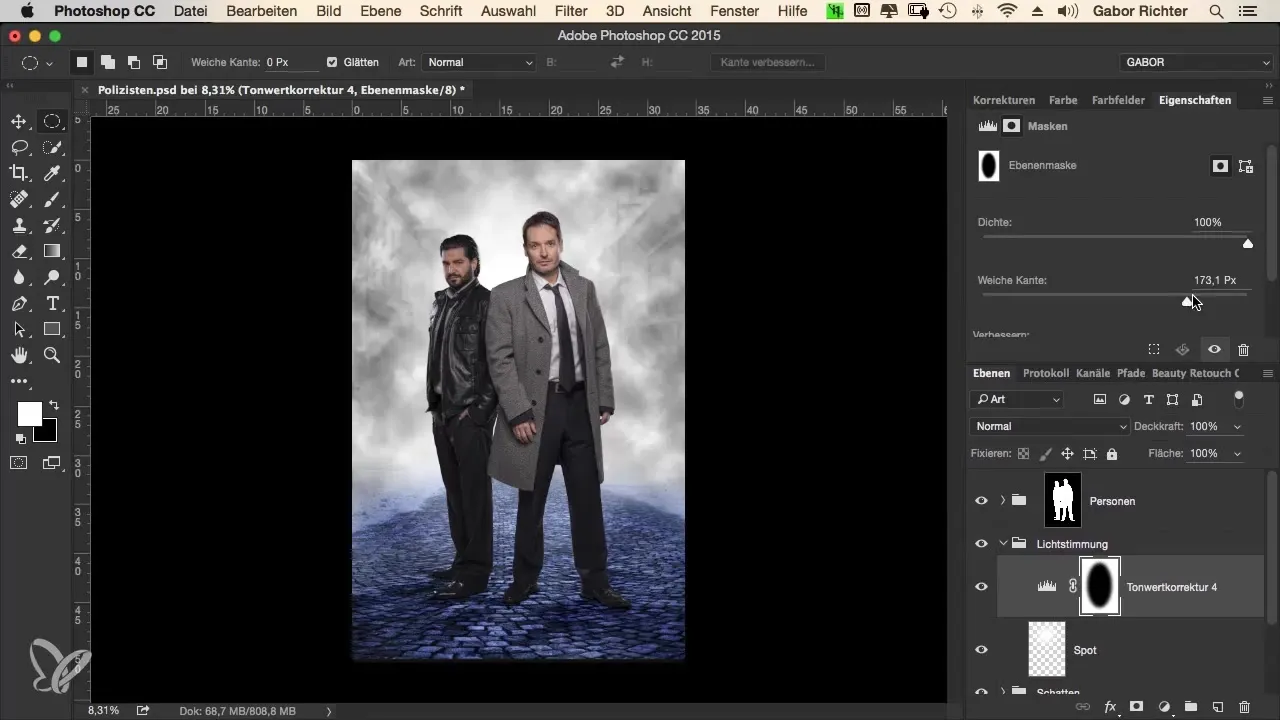
6. Fine-tuning the levels adjustment
Now you can push the mid slider of the levels adjustment to about 0.6 to further adjust the darkness. Make sure the ground in the foreground does not become too dark so that the overall composition remains harmonious.
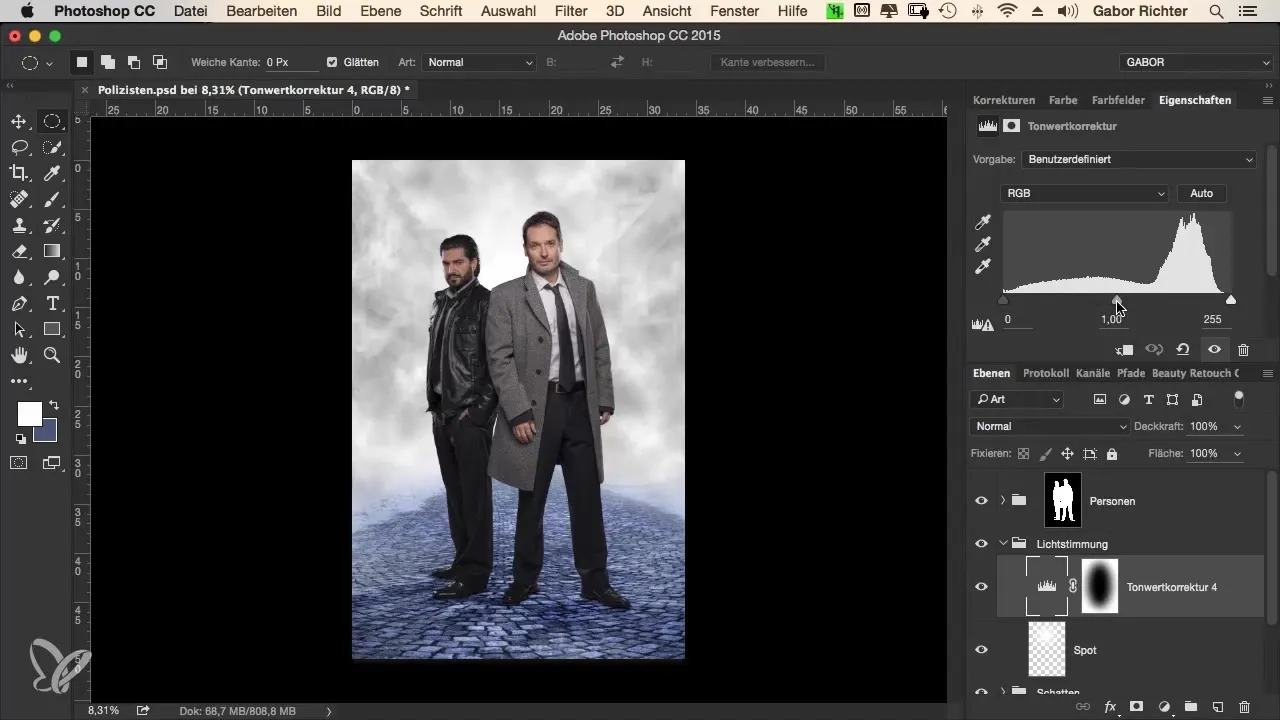
7. Brightening the background
Return to the background layer and perform another selection for a levels adjustment. This time you will push the slider to the left instead of to the right to increase the brightness in the midtones. Set the softness value to around 450 to keep the transitions smooth here as well.
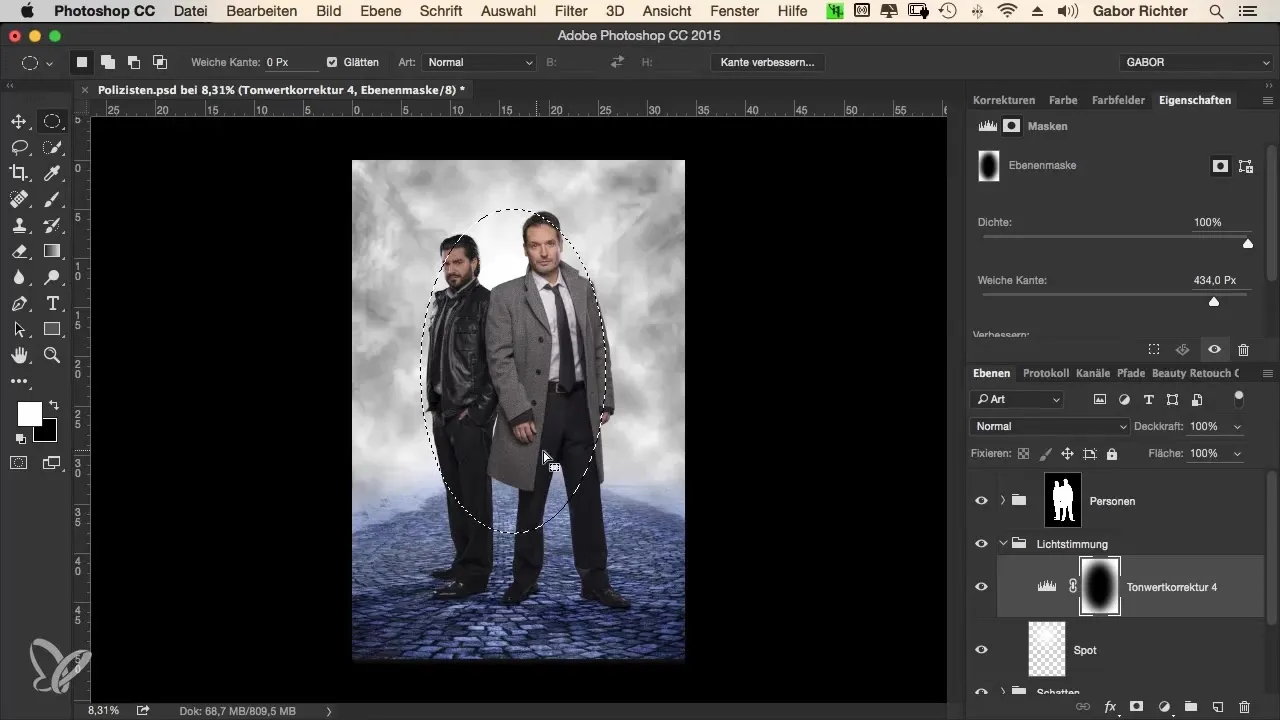
8. Overall adjustment for more depth
With the changes, you have already achieved an improvement in the light mood. To further optimize the depth, make slight adjustments to the background by working on the size and positioning. Ensure that the focus remains on the person while the background appears soft and diffuse.
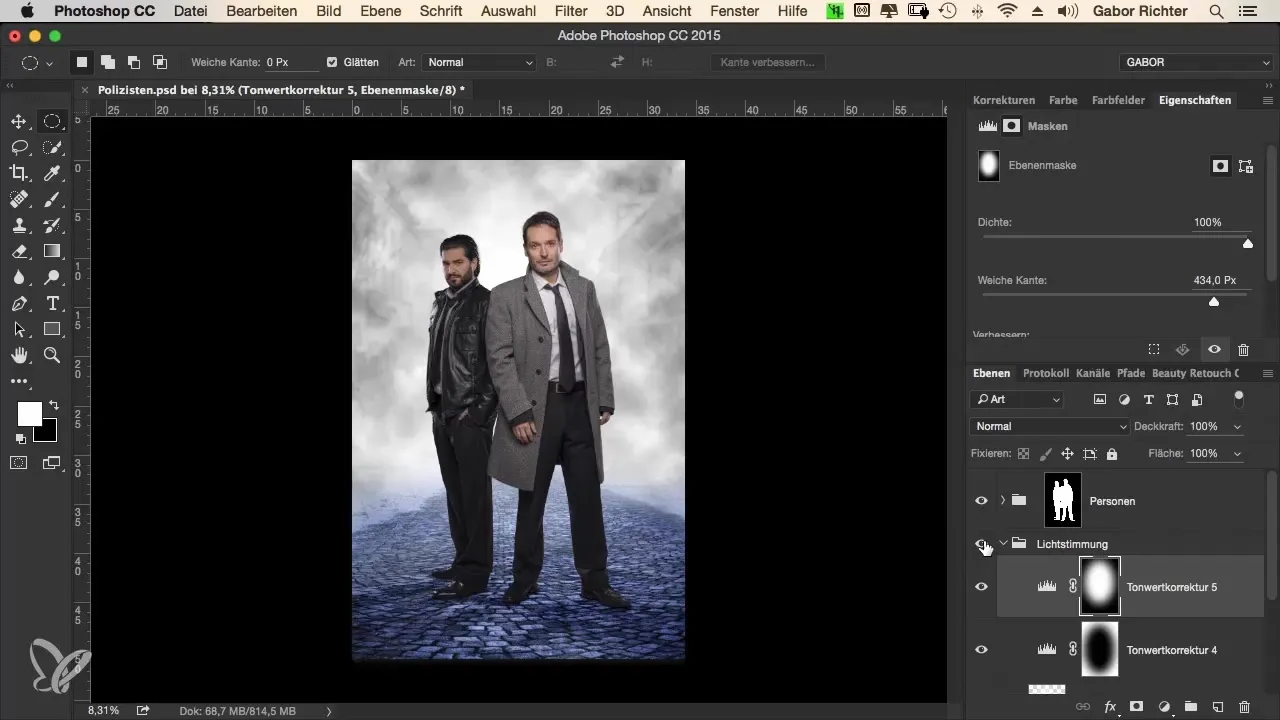
9. Finalizing the light spot
Go back to your "Light Mood" group and adjust the light spot by making it smaller and positioning it higher. This will enhance the impression that it is a convincing light source that gives the depiction the final touch.
Summary - Optimizing light mood in crime look
The targeted use of light and shadow in Photoshop can greatly impact the entire image. With these steps to adjust the light mood, you create impressive depth that directs focus to the most important elements and significantly enhances the visual experience for your viewers.
Frequently asked questions
What happens if I do not adjust the softness of the mask?Without adjustment, the darkening could appear too sharp and unnatural.
How can I ensure that the focus remains on the person?By carefully darkening the background and strategically placing light points.
Can I use these steps for other image styles as well?Yes, the techniques for light adjustment are universal and can be applied in many image styles.
Does adding a vignette really make a difference?Yes, vignettes help to draw the viewer's eye to the focal point and increase the image depth.


