Editing RAW data is a crucial step in photography to fully realize the potential of your images. In this tutorial, you will learn how to effectively develop and adjust RAW files in Photoshop so that your shots are optimally prepared for further editing. This is done through targeted adjustments of color temperature, exposure, contrast, and other parameters in the Camera RAW modal. Let’s dive directly into the workflow.
Key Takeaways
- Choosing the right color space (sRGB) for online presentation.
- Using smart objects for flexible editing of the RAW file.
- Different adjustments like color temperature, exposure, and contrast are crucial for the final result.
- The focus should be on the details of the people in the image, while the background is less important.
Step-by-Step Guide
Open RAW file in Photoshop
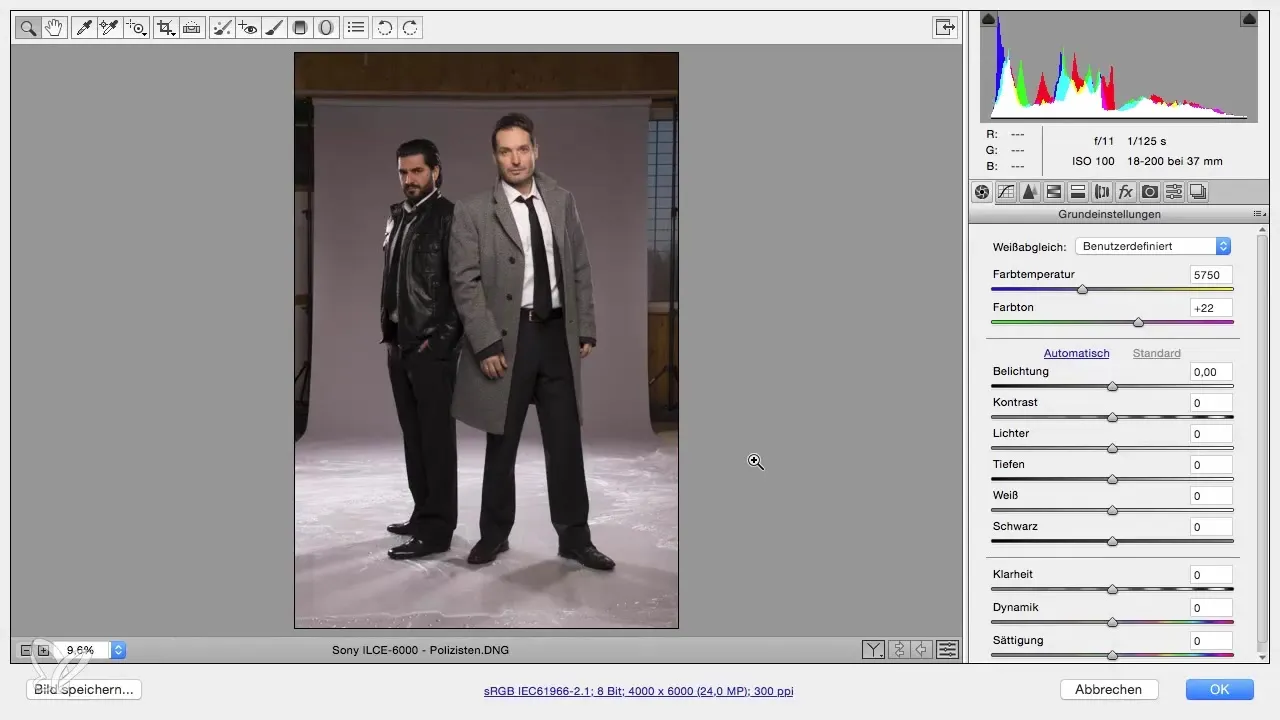
First, open your RAW file directly in Photoshop via the Camera RAW interface. To do this, click on the file and make sure “Open as Smart Object” is enabled. This allows you to make flexible adjustments in the future.
Set color space
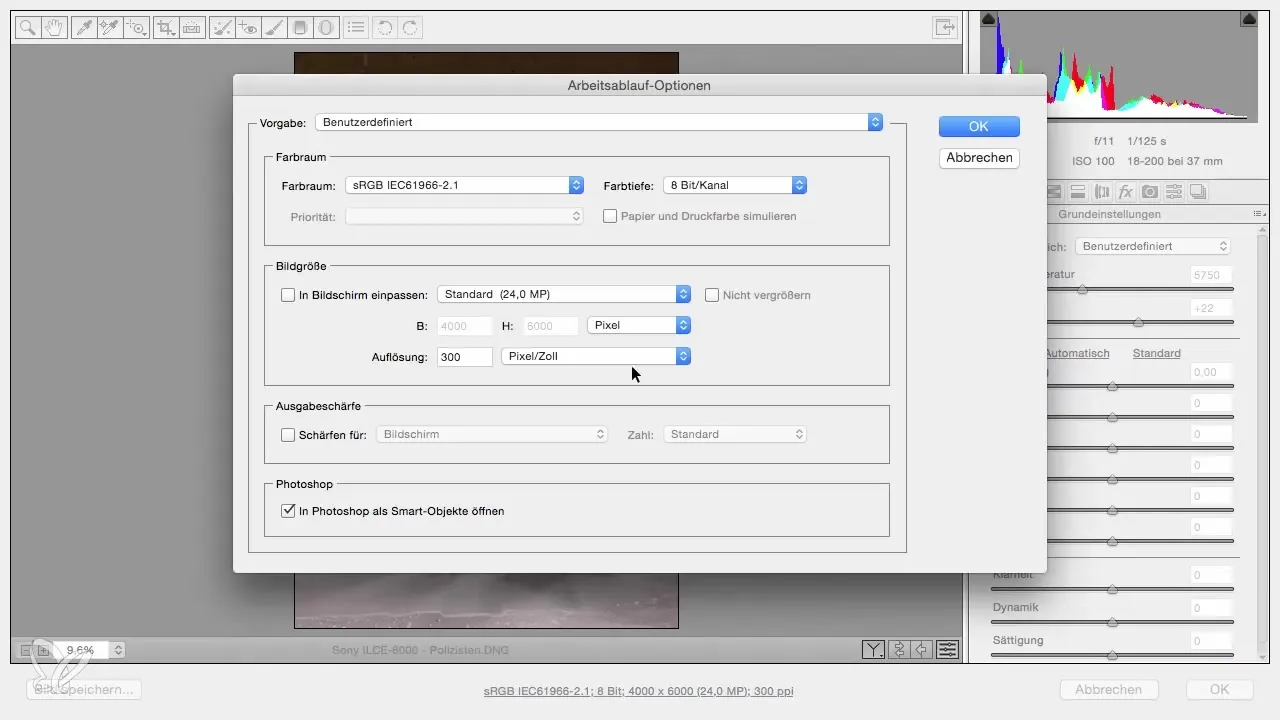
Check your workflow options. Set the color space to sRGB, which is particularly suitable for online presentation. Make sure the color depth remains at 8 bits, as 16 bits significantly increases the file size and can affect performance.
Rename file
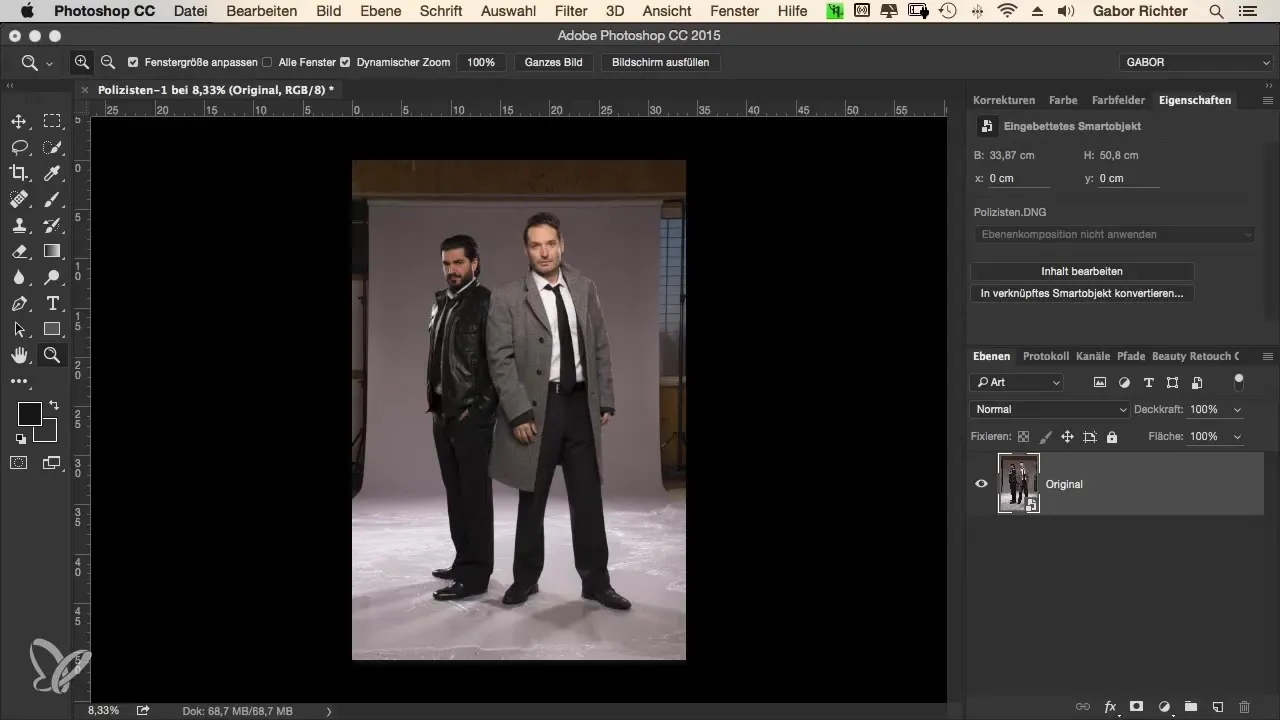
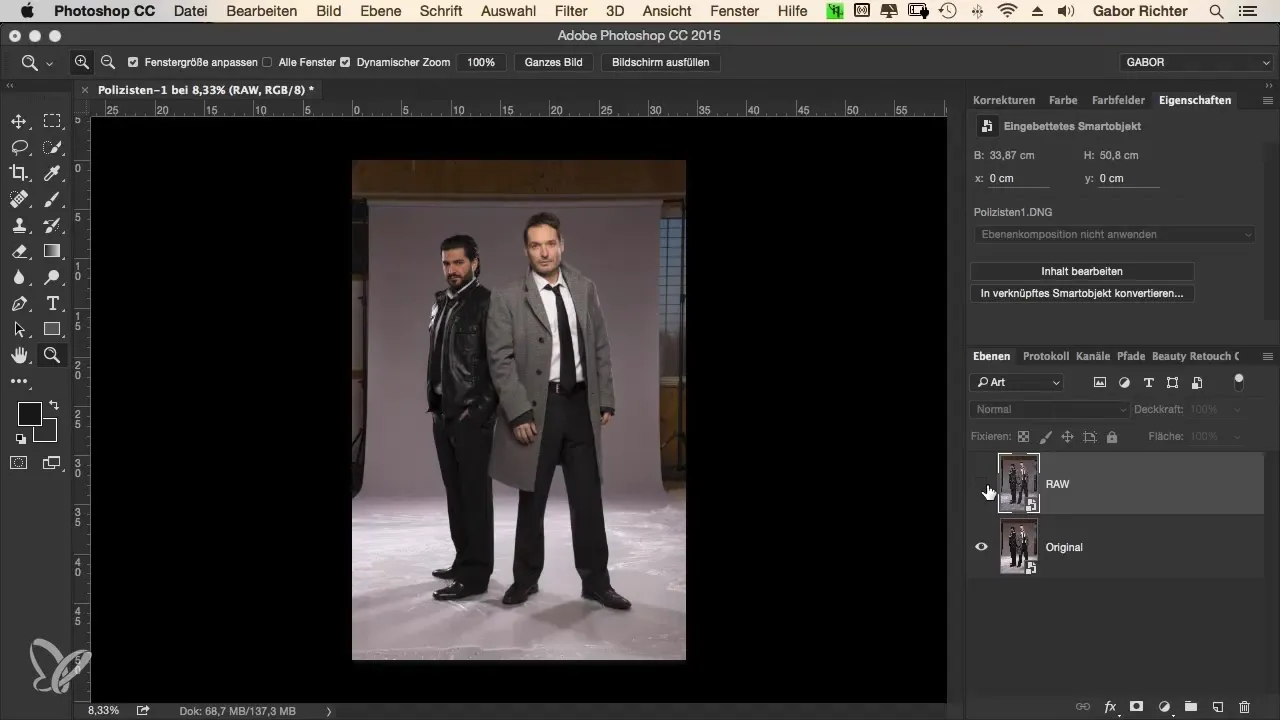
To keep track, rename the file to “original.” This helps you recognize the difference between the original image and your edited version.
Create RAW file
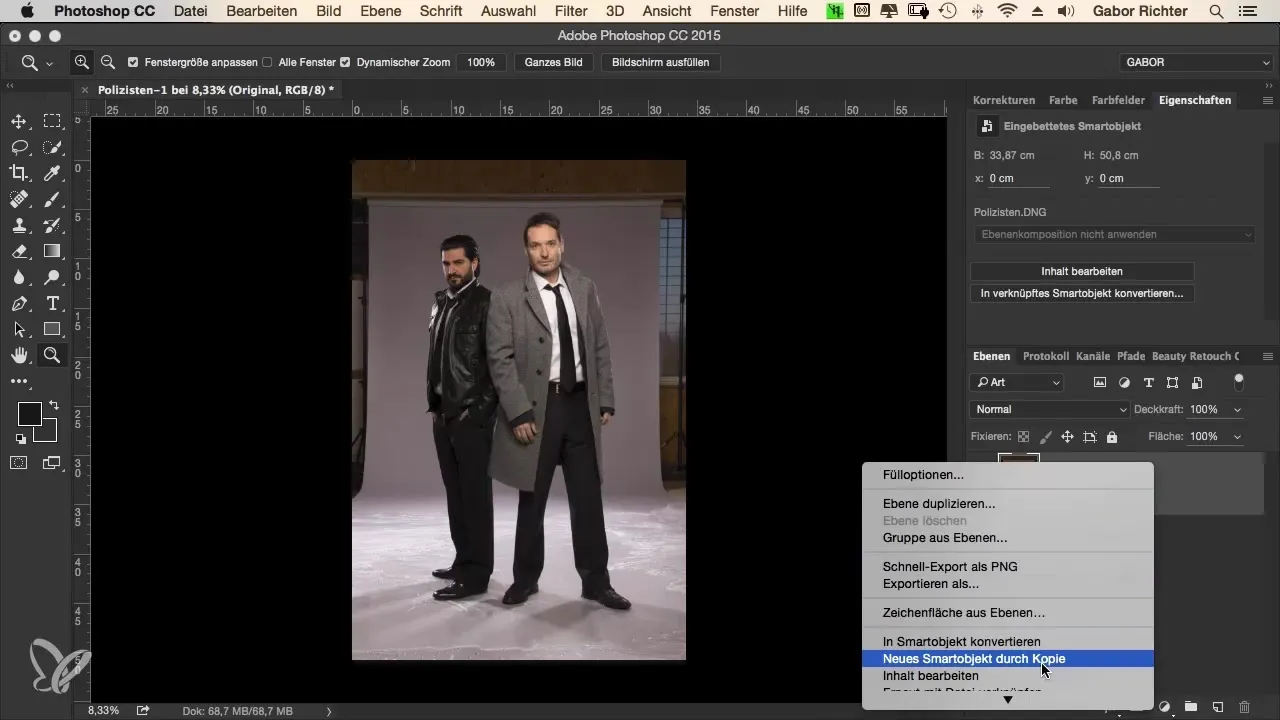
Right-click on the layer and select “New Smart Object via Copy.” Name this file “RAW.” This version will be your working file.
Adjust color temperature
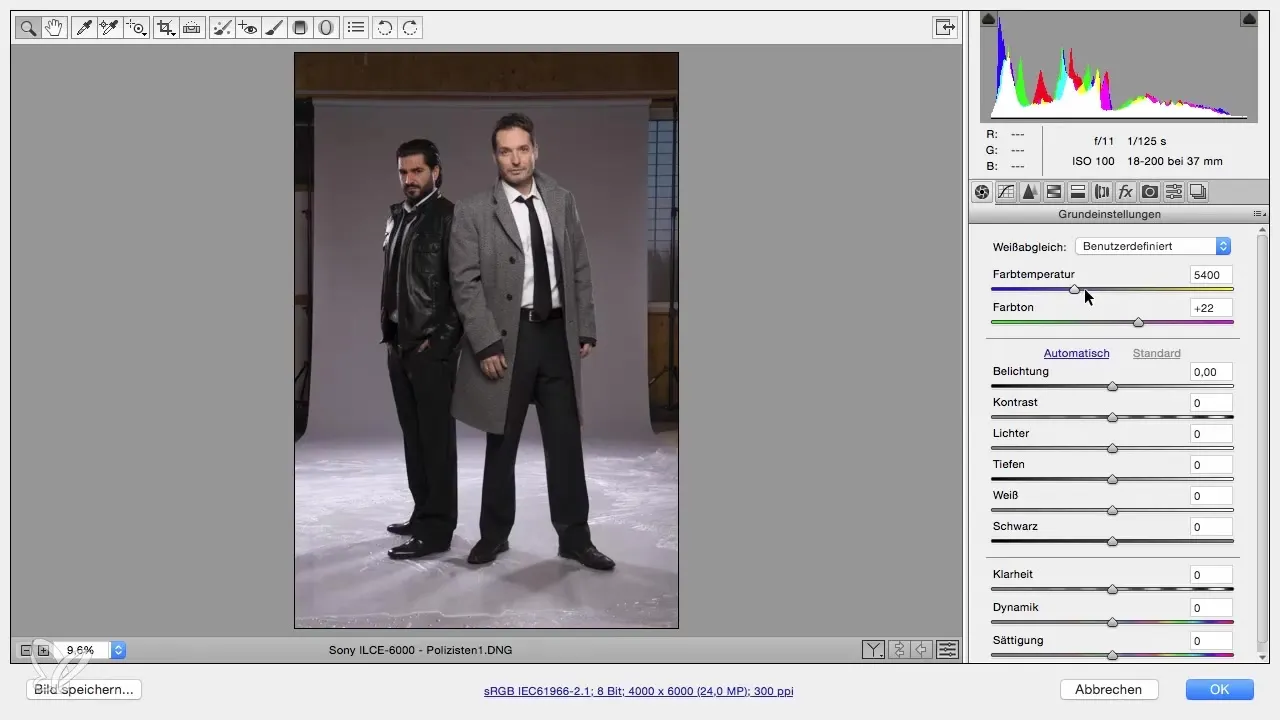
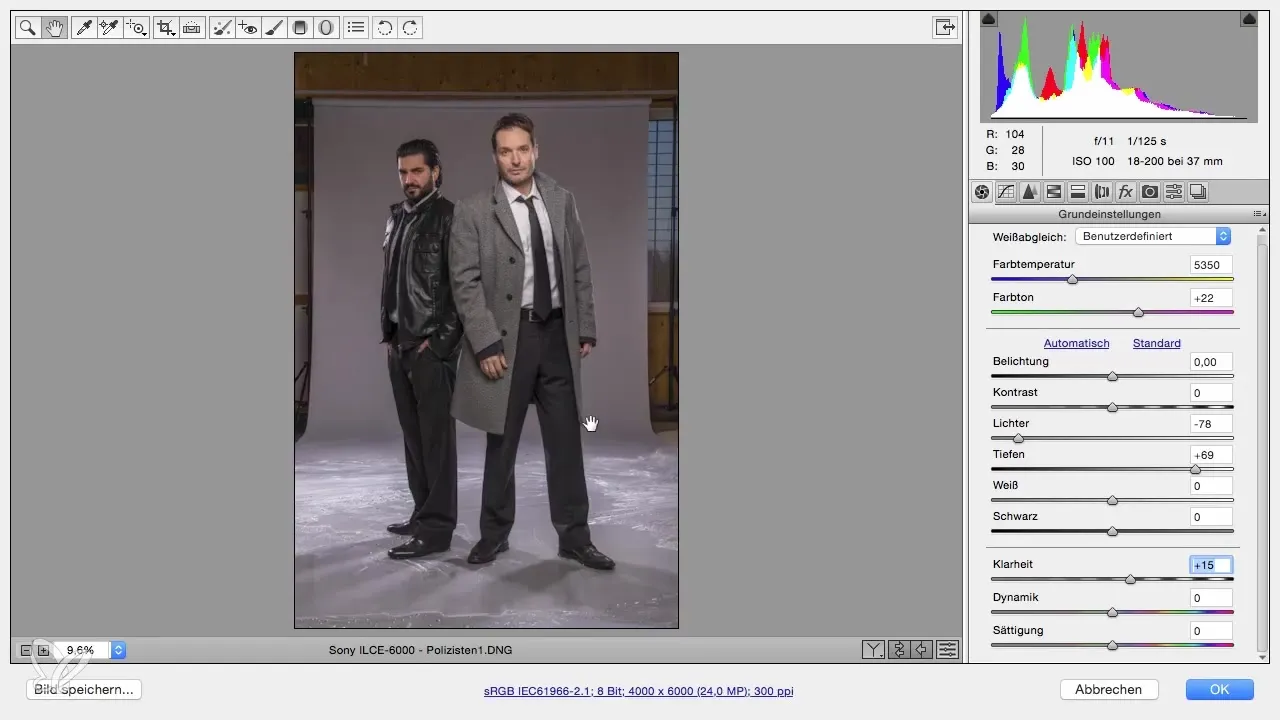
An important step is adjusting the color temperature. The goal is to create a neutral mood that is neither too warm nor too cold. Check the background (even if it may not be used later) and set the Kelvin adjustment to about 5400.
Exposure and contrast
Keep the exposure at zero for now, as it is fine from your perspective. After experimenting with the contrast, you will find that it can be beneficial to keep the image slightly flatter at first to extract more details in subsequent image development.
Adjust highlights
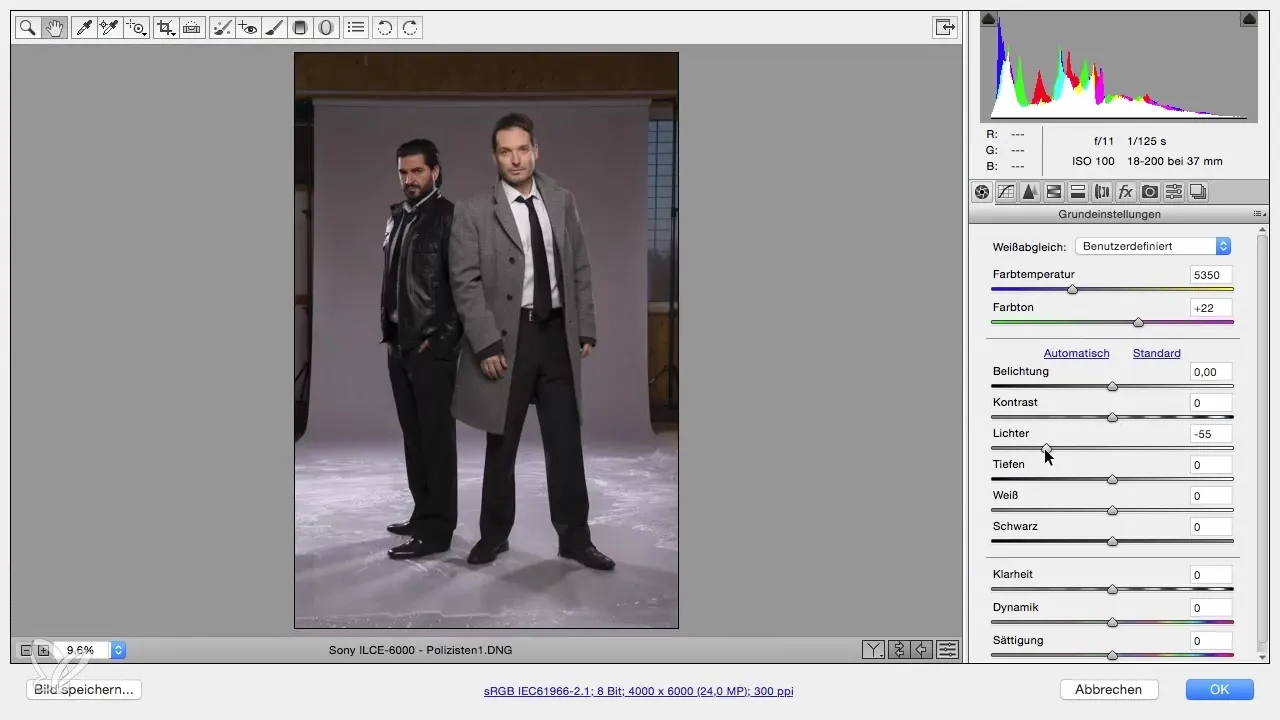
To bring out more details from the highlights, drag the highlights slider to the left. Be careful, as too much movement can negatively affect skin tones. A value of around -80 should help you regain the details.
Adjust shadows
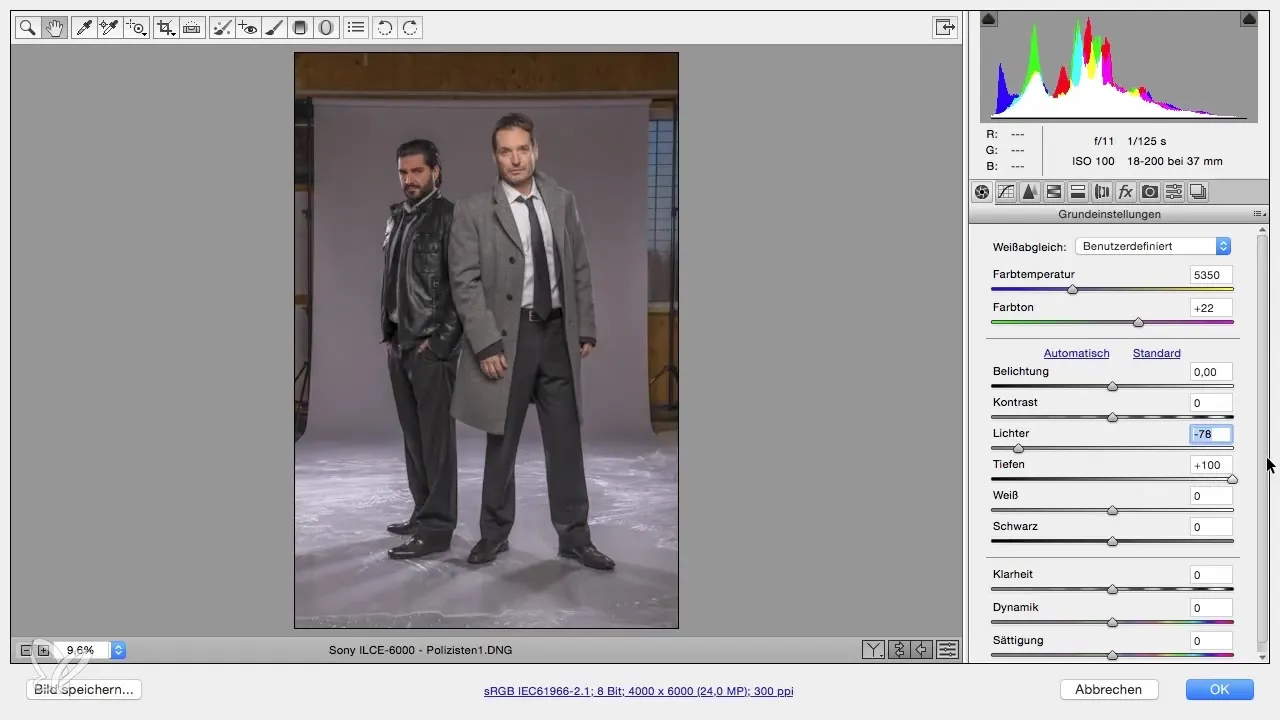
After editing the highlights, move the shadows slider to the right to accentuate more dark tones. Don't be excessive; a value of +70 enhances the image appealingly.
Enhance clarity
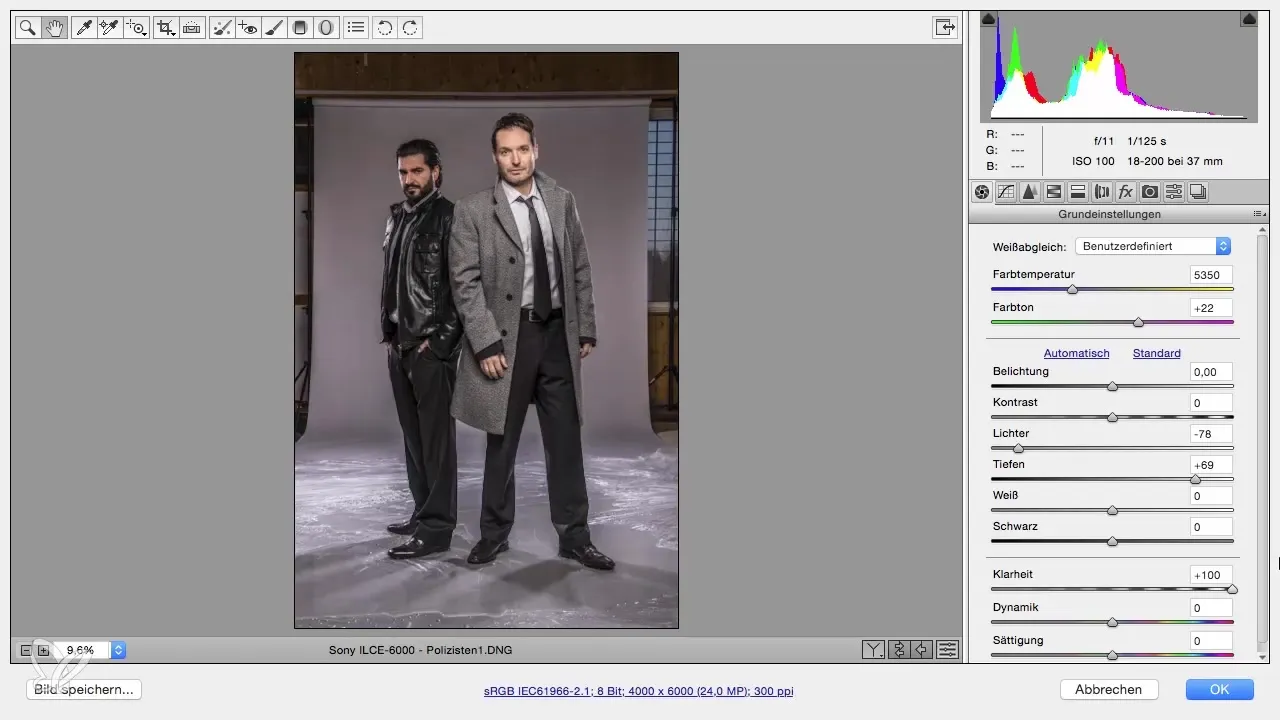
To enhance the contours in the image, use the clarity slider. A subtle value of about +15 ensures that the image looks livelier without being overly sharp.
Increase vibrance
Increase the vibrance slightly to about +20 to improve skin tones and make the image appear more versatile.
Sharpen image
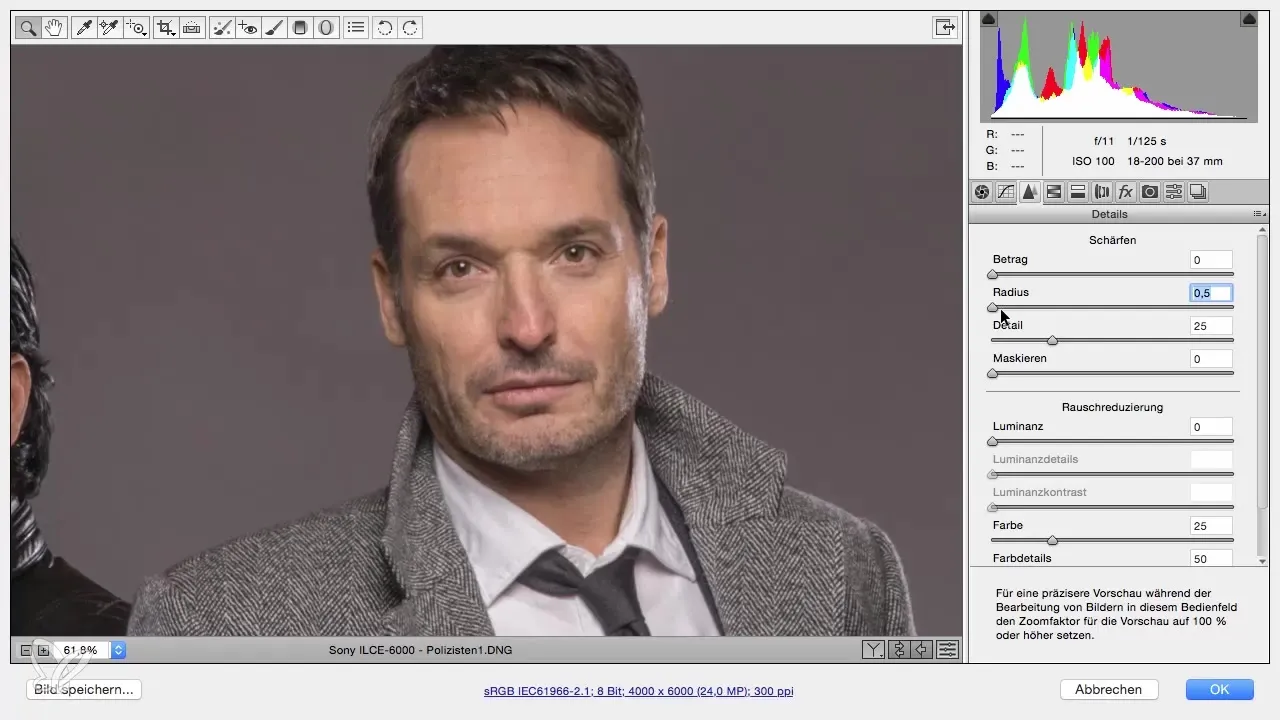
Go to the “Detail” tab and set the sharpening radius to 0.5. For the sharpening amount, choose 80 to clearly highlight the details of the eyes without making them look overstatedly specific.
Return to overall view
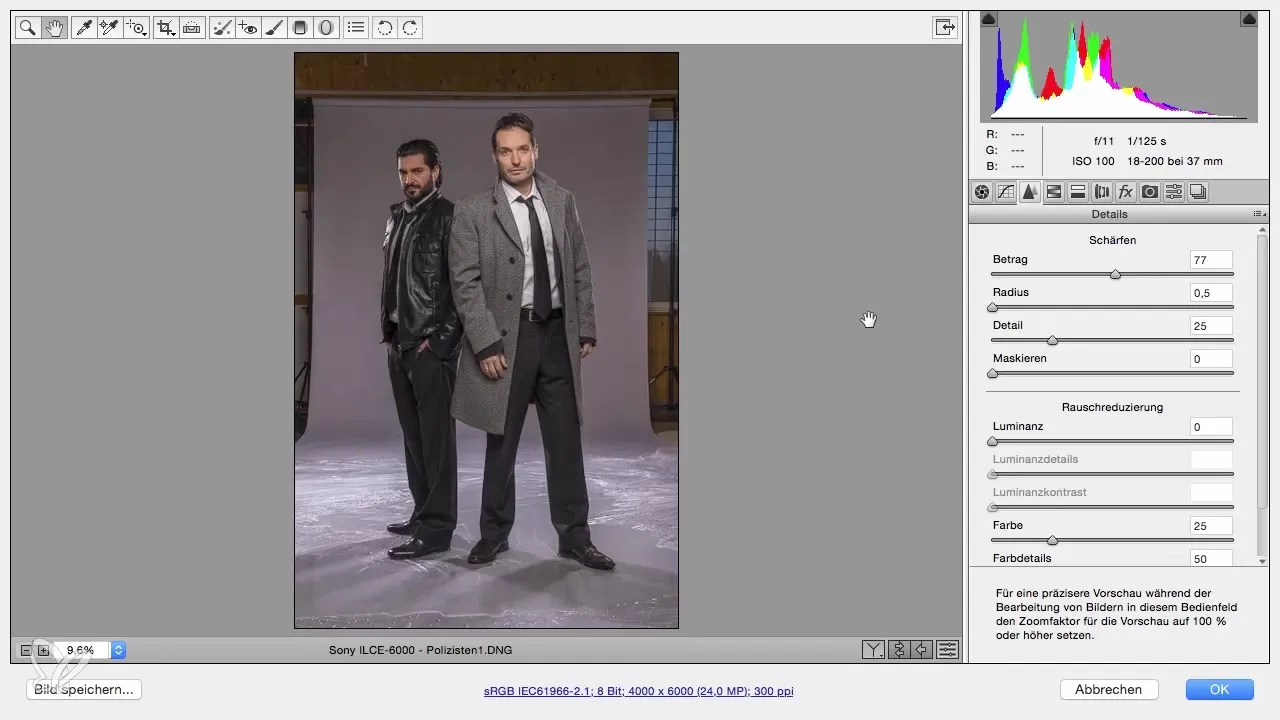
With a double-click on the hand, you can return to the overall view. Carefully check if the adjustments are as you desire. Finally, confirm the settings with “OK” to complete the RAW development.
Review the result
After the RAW development, it is important to review the image in comparison to the original file. Check what changes were made in the development and whether the highlights meet your expectations.
Summary – The Crime Look: Workflow in Photoshop – RAW Development
In this guide, you learned how to optimally edit your RAW file in Photoshop. The steps from the basic settings through many adjustments to reviewing the final result are essential for taking your photography to the next level.
Frequently Asked Questions
How important is the choice of color space in RAW workflow?The choice of color space affects how your images are presented, especially on the internet. sRGB is ideal for display on monitors and tablets.
Why use a smart object?Smart objects allow you to change adjustments later at any time, giving you flexibility during the editing process.
How should I adjust exposure?Initially, you can keep exposure at zero and later in development, decide if adjustments are necessary.
What is the difference between 8-bit and 16-bit color depth?16-bit color depth offers more color information but significantly increases file size and can reduce editing speed.
How important is sharpness in RAW development?Sharpness helps to highlight details, especially in portrait shots, but it should be used subtly.


