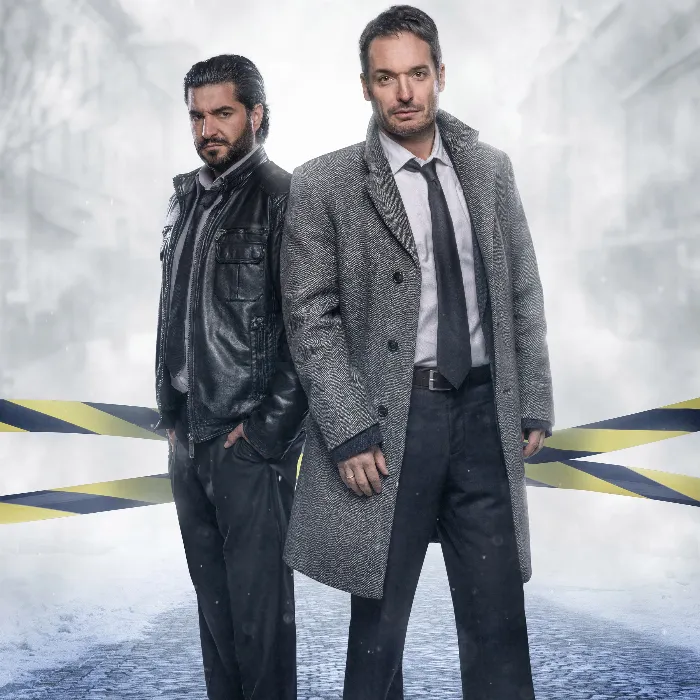
Editing photos in Photoshop can significantly enhance quality and visual impact. A technique that has proven particularly effective is Dodge and Burn to make clothing pieces appear more three-dimensional and attractive. In this guide, you will learn how to emphasize the contours and details of clothing through targeted light and shadow editing to create a three-dimensional effect.
Key Takeaways
- Dodge and Burn adds depth and structure to clothing.
- The technique requires practice and patience but yields impressive results.
- Contrast and lighting play a central role in photo editing.
Step-by-Step Guide
First, you should create a new layer in Photoshop where you can apply your Dodge and Burn techniques. To do this, hold down the Alt key and select "New Layer," naming it "Dodge and Burn." Set the mode to "Spin" and choose 50% gray as the background color.
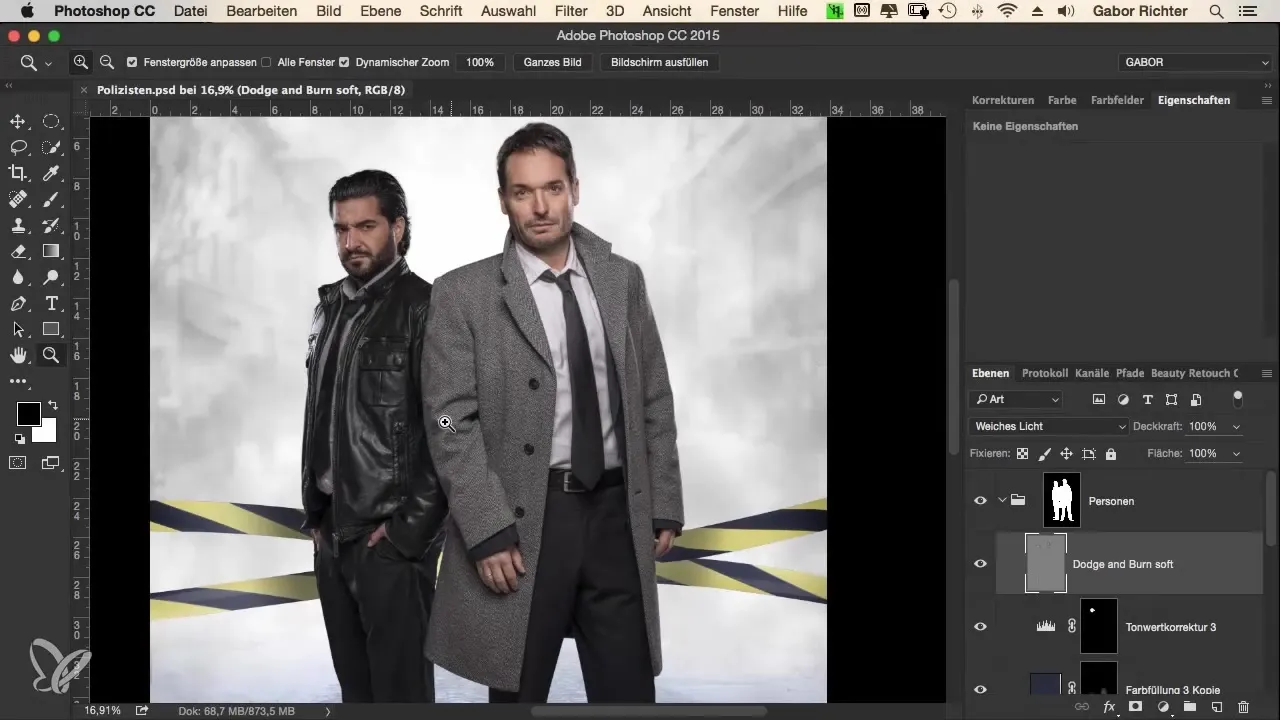
Now begin editing the tie. Select the tie and focus on darkening the dark areas to create more dimension. At the same time, you can add a small reflection to the tie to enhance the three-dimensional effect.
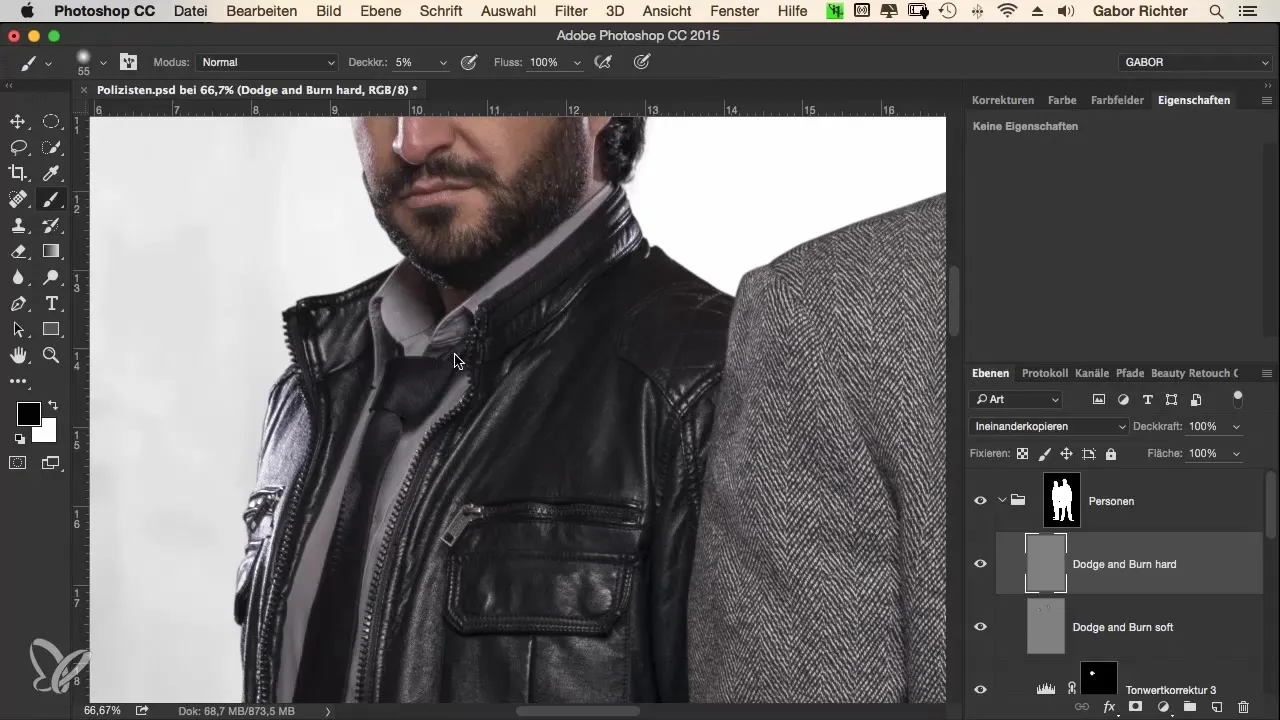
Make sure to brighten the lighter parts of the tie even more, especially the highlights. This will create an almost three-dimensional leather effect that enhances the overall picture. You can get creative here and intensively edit various areas to achieve the best results.
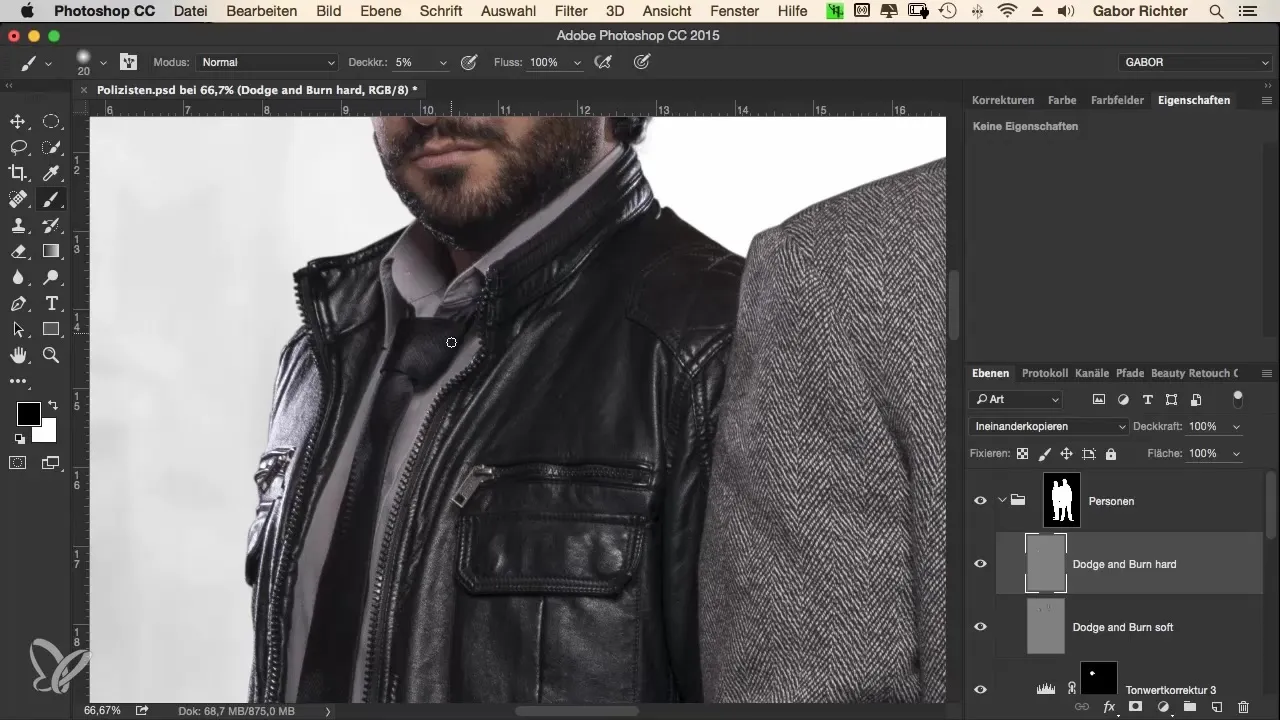
Remember that editing leather is particularly fruitful, as this material absorbs the effects of Dodge and Burn very well. As you continue to work, alternate between black and white to make dark areas darker and light areas brighter, enhancing the three-dimensional impression.
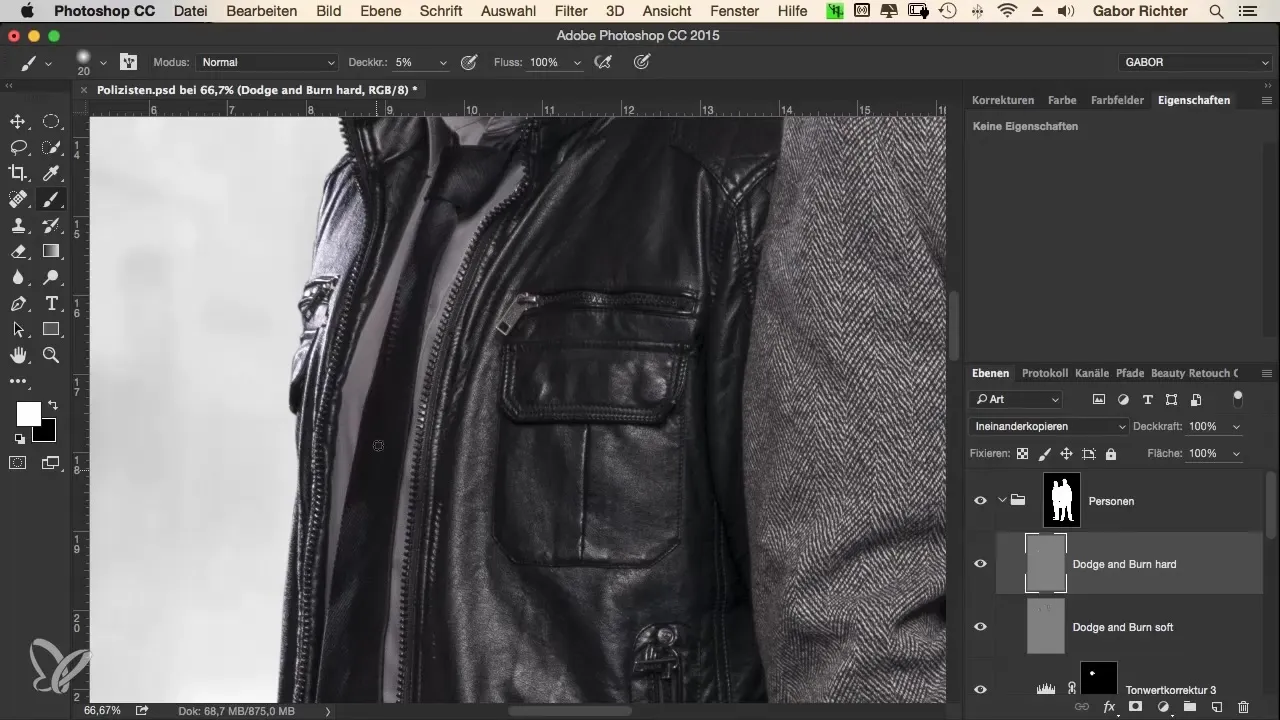
Spend sufficient time on this technique. A good tip is to play an audiobook or music in the background while you work to let creativity flow. Practice the Dodge and Burn techniques slowly and focused; after a while, you will become faster and more precise.
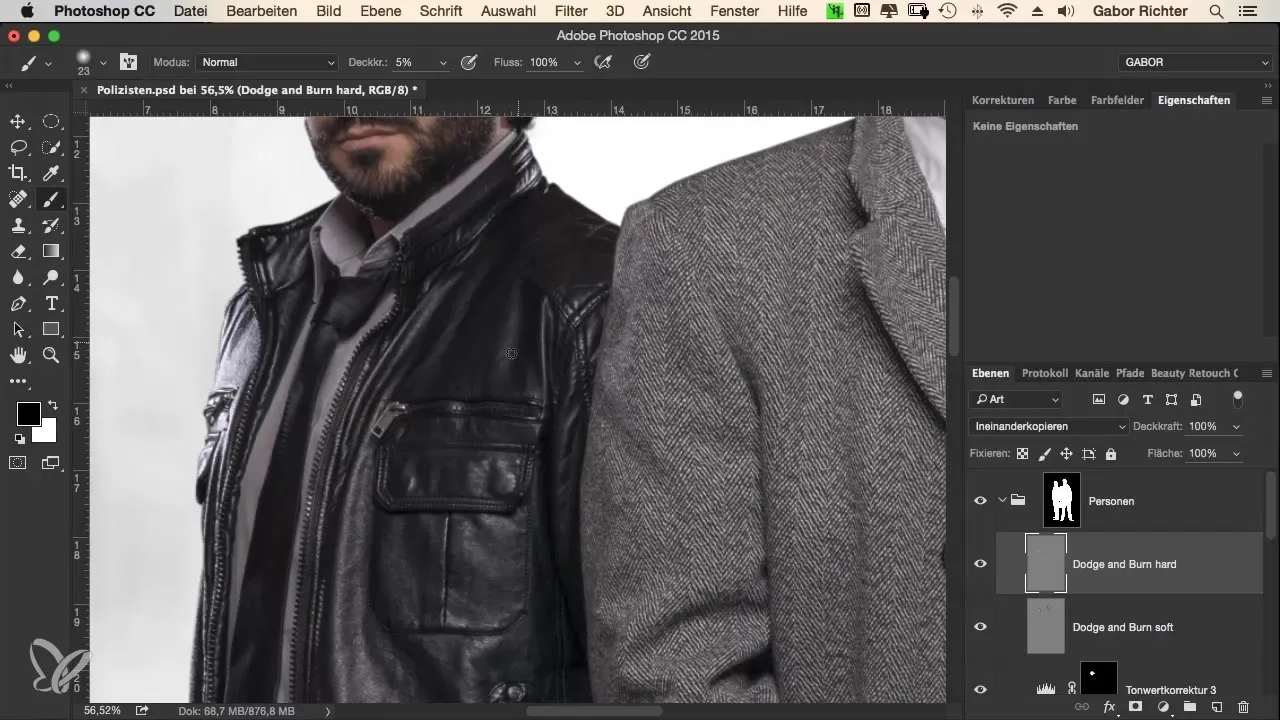
Now focus on the jacket and start to model pronounced folds. With each application of Dodge and Burn, the image becomes more contrast-rich, and the depth of detail increases. Be sure to darken the sleeves a bit to create more depth.
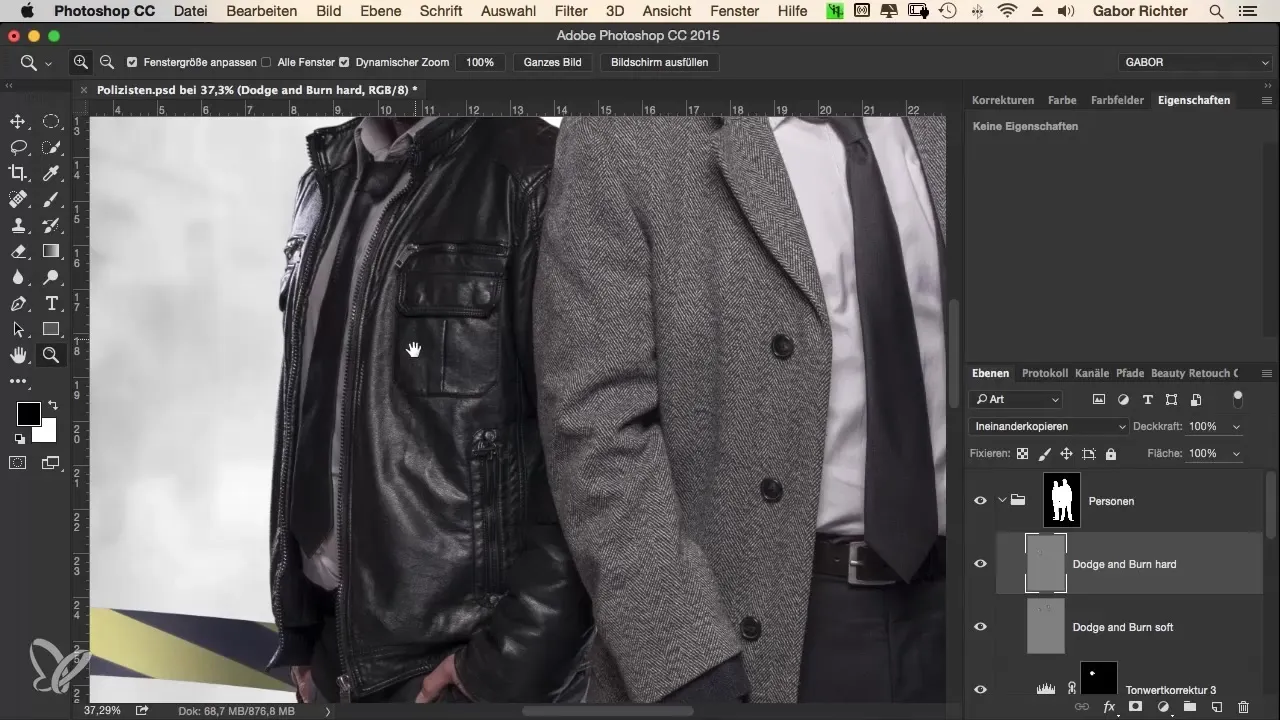
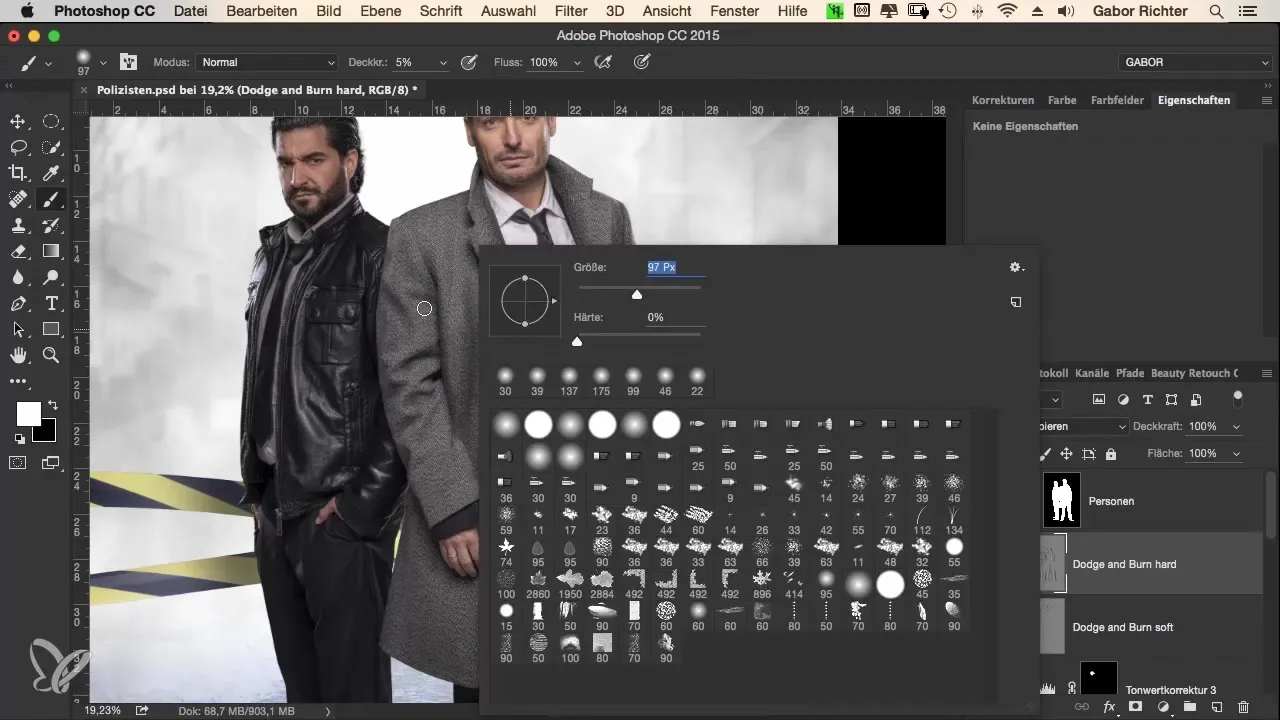
If you feel that your image lacks dynamism, increase the opacity of your brush. Start with a low opacity and gradually increase it when you need to add more darkness or brightness.
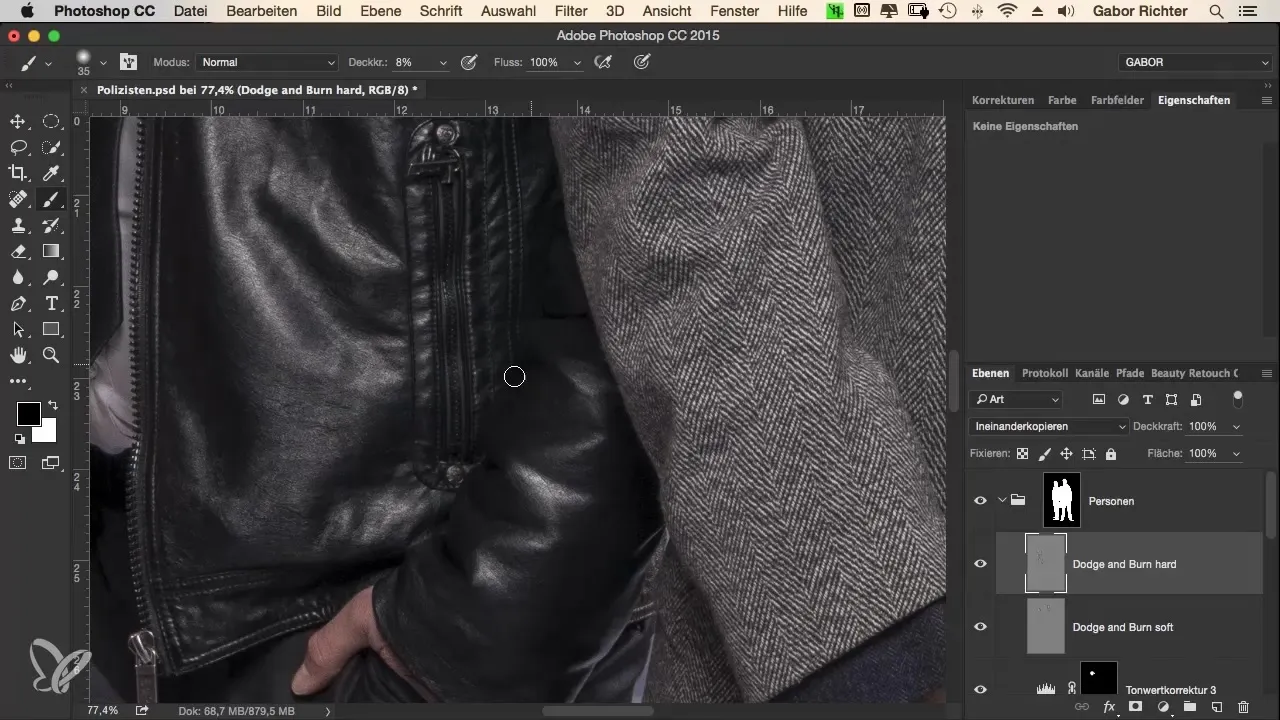
The next step is to edit the pants. Here, it is crucial not to emphasize every fold, as this can affect the naturalness of the fabric. Darken the areas that are less significant, and focus on the details that should be visible.
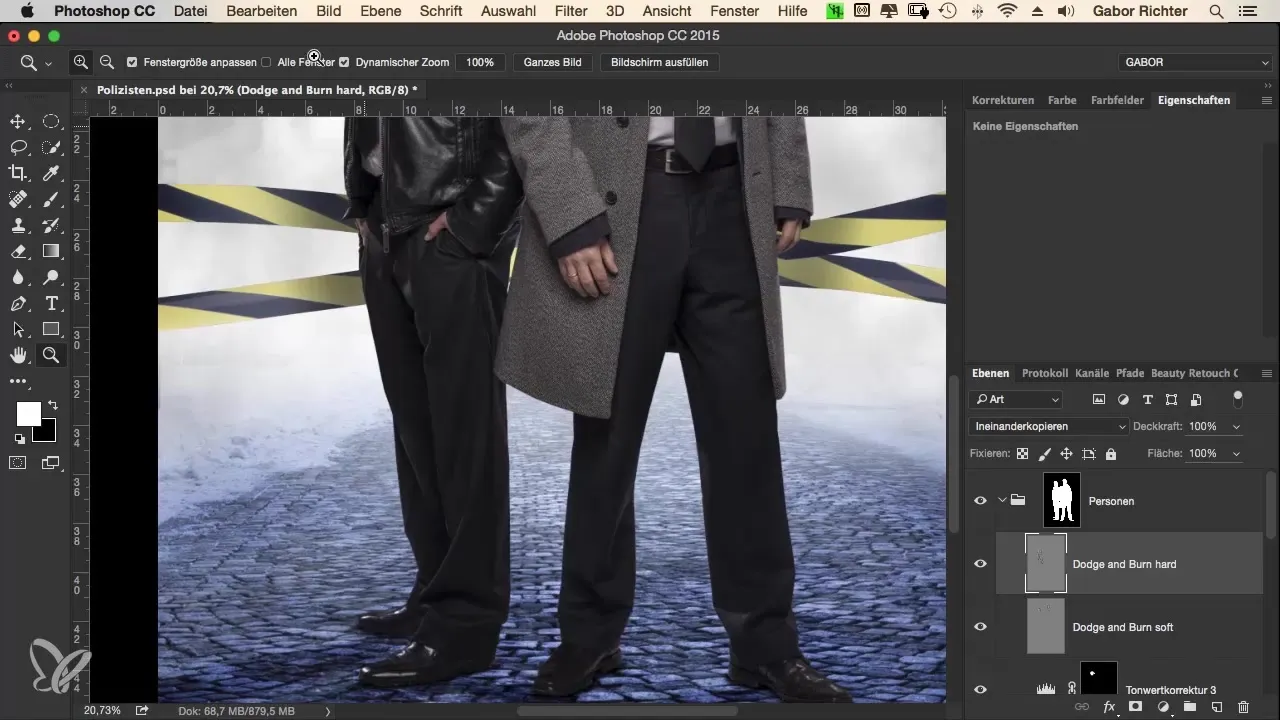
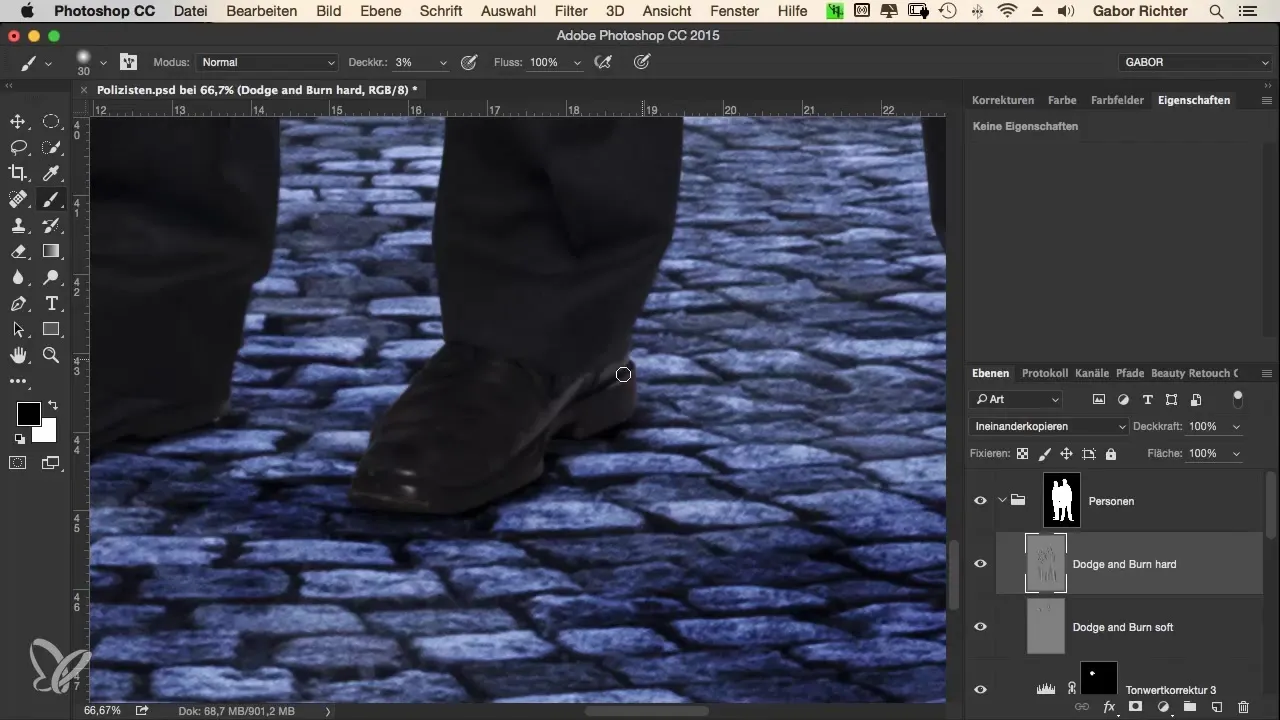
Now let’s move on to the shoes. These should also have a bit of shine. Work carefully here and ensure that the shoes do not draw too much attention. The focus should remain on the clothing and the overall image.
After you have worked on the shoes, you can move to the model's arm. Model this area by lightening the arm and adding darker areas to clarify the shape.
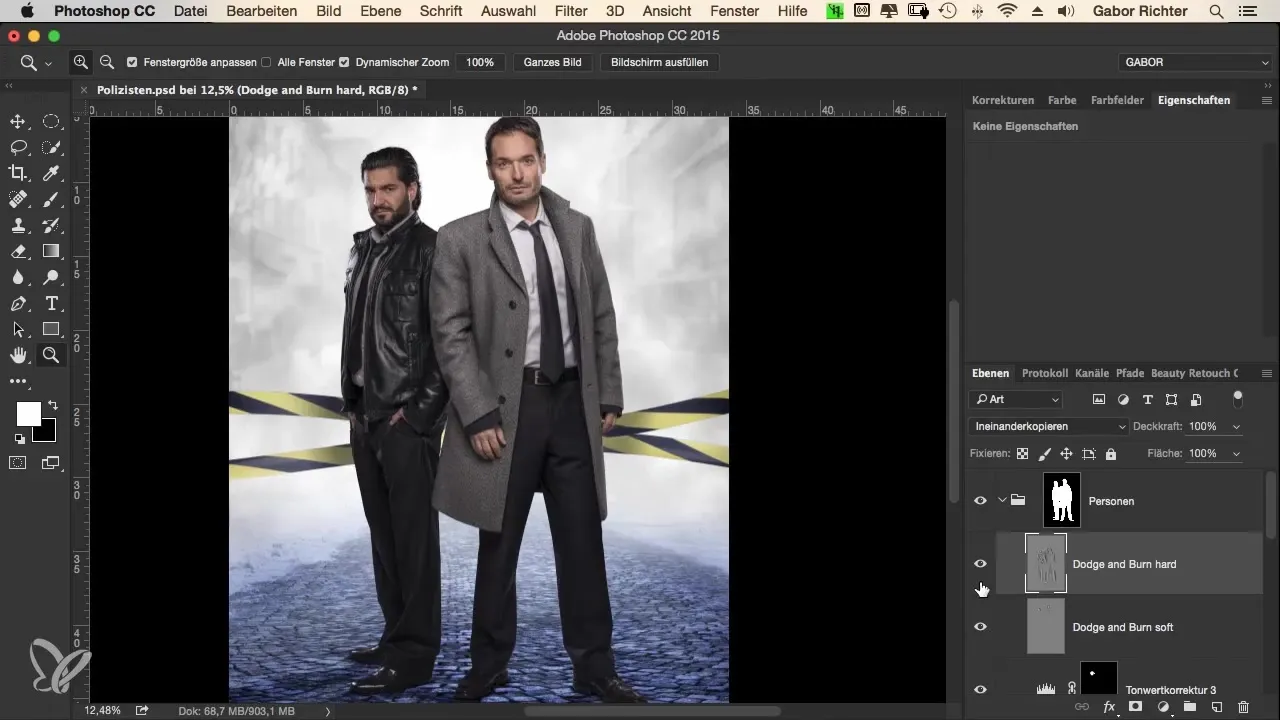
Conduct a final review. Compare the editing result with the previous version without Dodge and Burn. This way, you can better understand the difference in technical execution and make any adjustments.
Summary – The Criminal Look: Workflow in Photoshop for Dodge and Burn on Clothing
In this guide, you have learned how to use the Dodge and Burn technique to create more realistic and appealing clothing pieces in Photoshop. By working purposefully with light and shadow, your editing gains depth and structure. Practice makes perfect; repeat these steps to deepen your skills.
