The targeted placement of shadows is crucial for the quality of an image composition. They lend depth, credibility, and vibrancy to images. In this tutorial, I will show you how to create effective shadows in Photoshop to elevate your image edits to a new level. Right from the start, we will focus on creating shadows for existing people in your image, addressing both photorealistic and stylized approaches.
Key insights
- Shadows are essential for anchoring objects in the image.
- Use separate layers for shadows to facilitate adjustments.
- A targeted editing of brightness and clarity helps define the shadow.
- The use of masks allows for precise control over visibility.
Step-by-Step Guide
First, we should duplicate the layer containing the people. Go to the layer folder “Person”, right-click on the corresponding layer and select “New Smart Object via Copy”. It is important to delete the mask, as we do not need it in this step. Now create a new group named “Shadow” and drag the duplicated layer into this group. Make sure that the shadow layer is below the people layer.
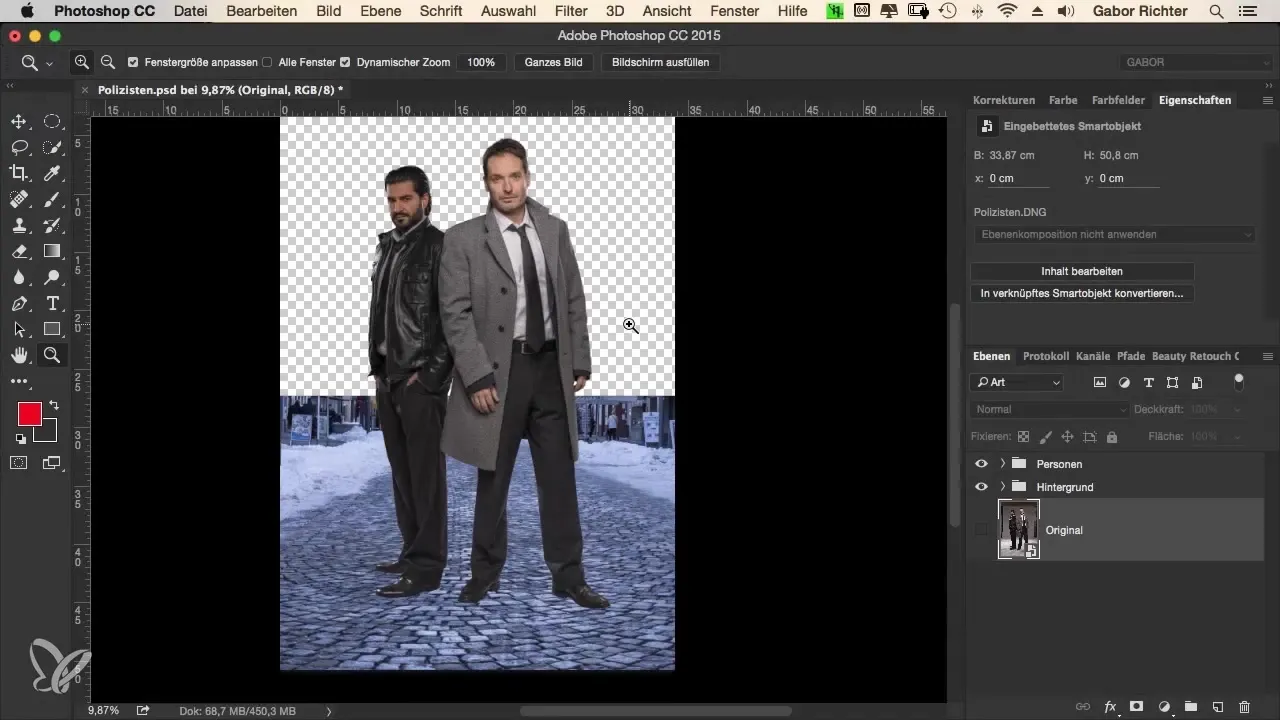
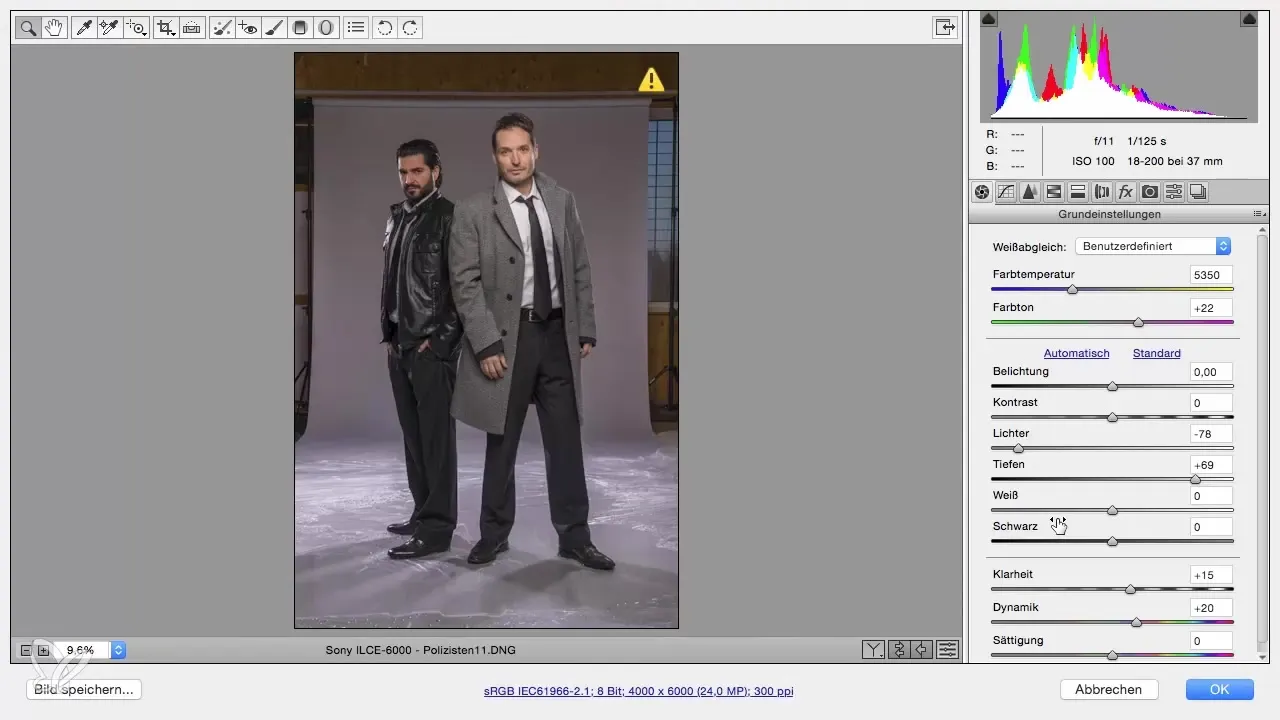
Now, let’s move on to editing the RAW file. By double-clicking on the file, you open the RAW editing window. Reduce the saturation to 0, as we want to work with brightness information only when creating shadows. Set clarity to 100% to highlight the contours of the shadows. Contrast should also be maximized to optimize shadow visualization.
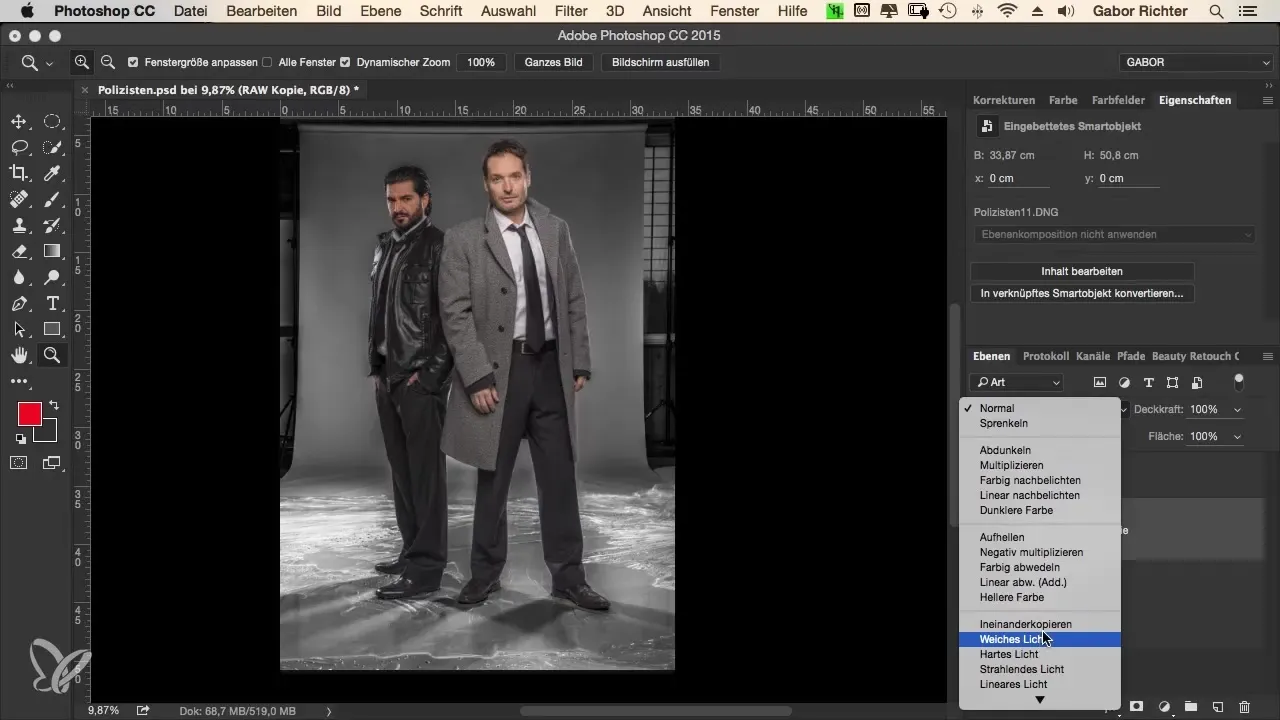
To effectively highlight the shadow, we change the blending mode of the shadow layer to “Soft Light”. This gives the shadow a more subtle, harmonious effect, which is particularly important for refining the look and achieving integration into the scene.
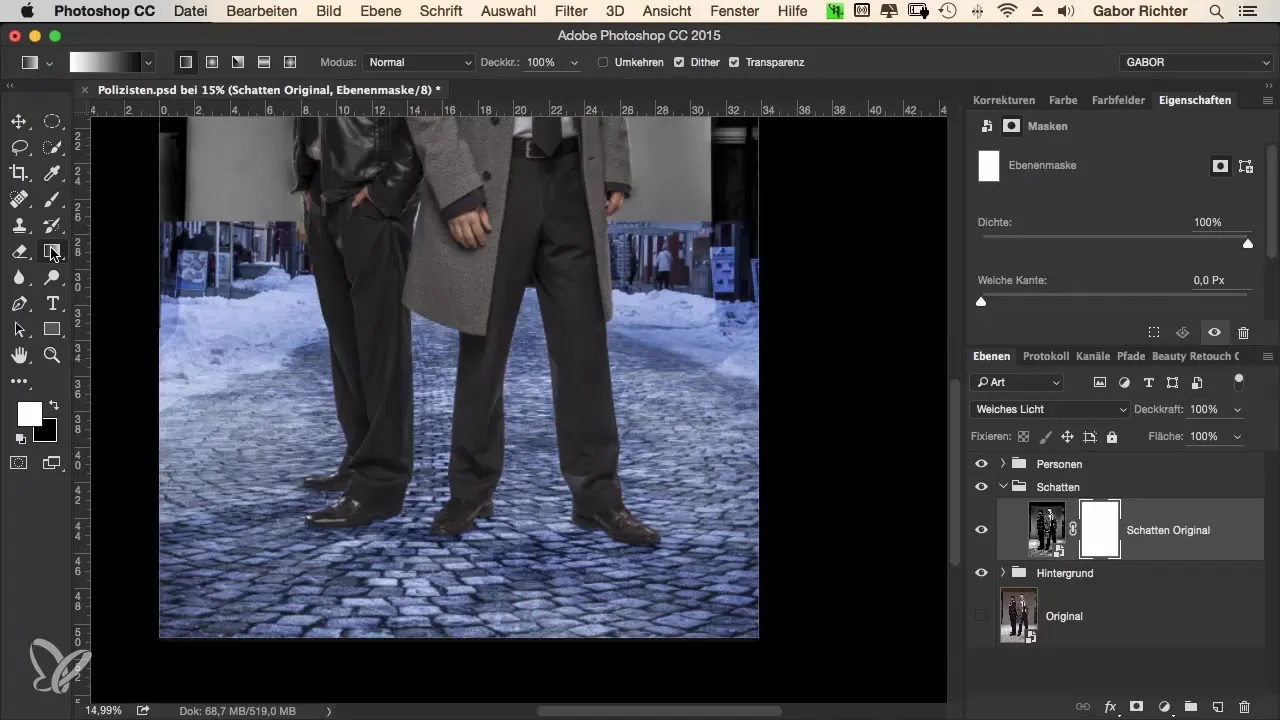
Now we want to address the original shadow present in the image. Apply a mask to the shadow layer to only reveal certain areas. Ensure that black and white are activated, and use the gradient tool to create a soft transition area where the shadow falls. Drag the gradient from bottom to top to make the shadow appear only at your chosen height, and adjust the gradient as needed.
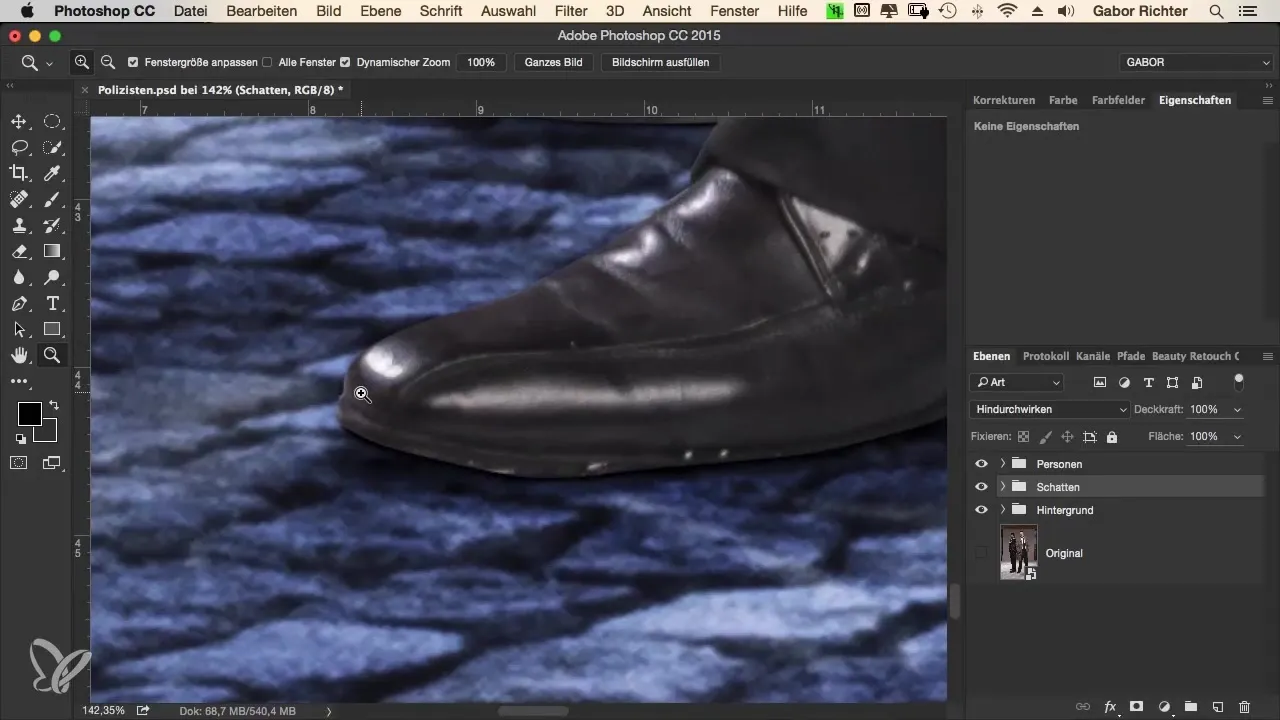
To enhance the shadow under the people’s shoes, create a blank layer and name it “Core Shadow”. Select a brush with 100% hardness and set the hardness to about 50% and adjust the size as needed. Then paint with black under the feet, holding the Shift key to draw straight lines. This provides a solid foundation and prevents the individuals from appearing to "float".
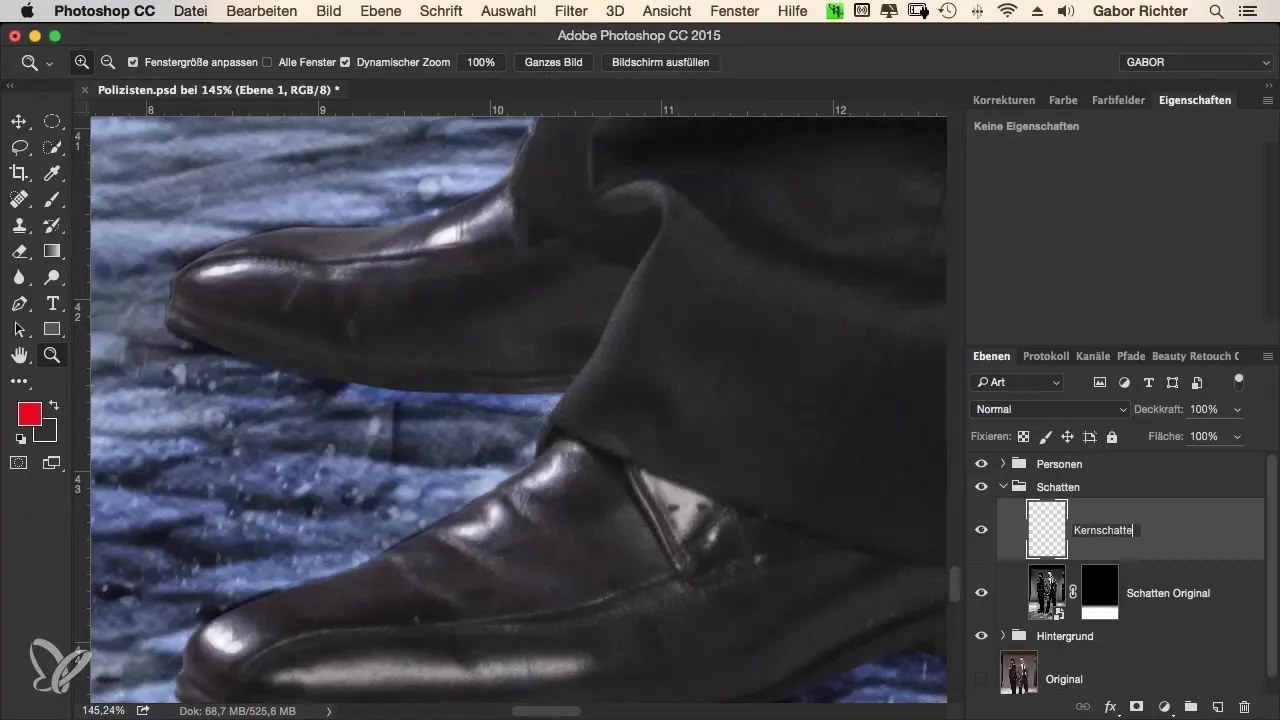
If you see distracting edges or lines appear at the shoes, note that this may arise from RAW development or the cutout. To smooth these unwanted details, apply the blur and adjust the settings until the rigid lines disappear.
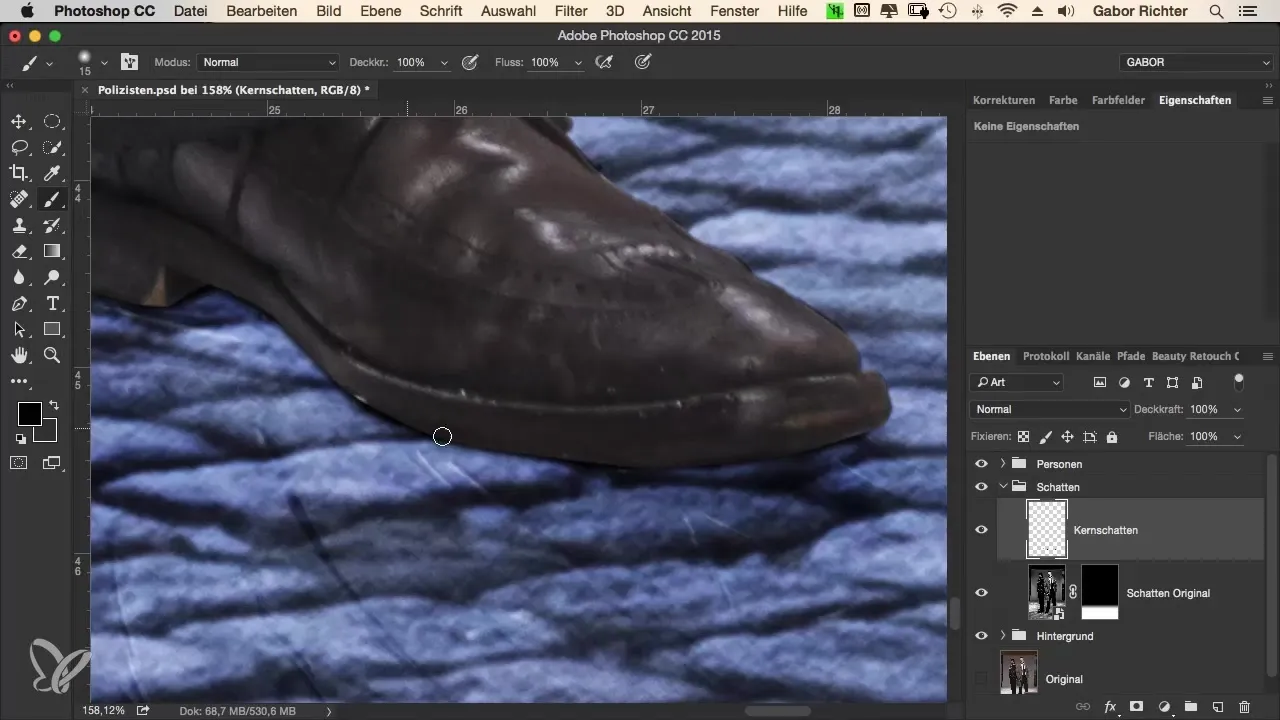
After the hard shadow has been created, it’s now time to paint a soft shadow. This should begin directly under the shoe soles, with a gradient that fades outward. Set the brush tool for a low opacity of about 20% and gently paint the edges. A soft transition ensures that the shadow appears realistic, without unnatural hardness.
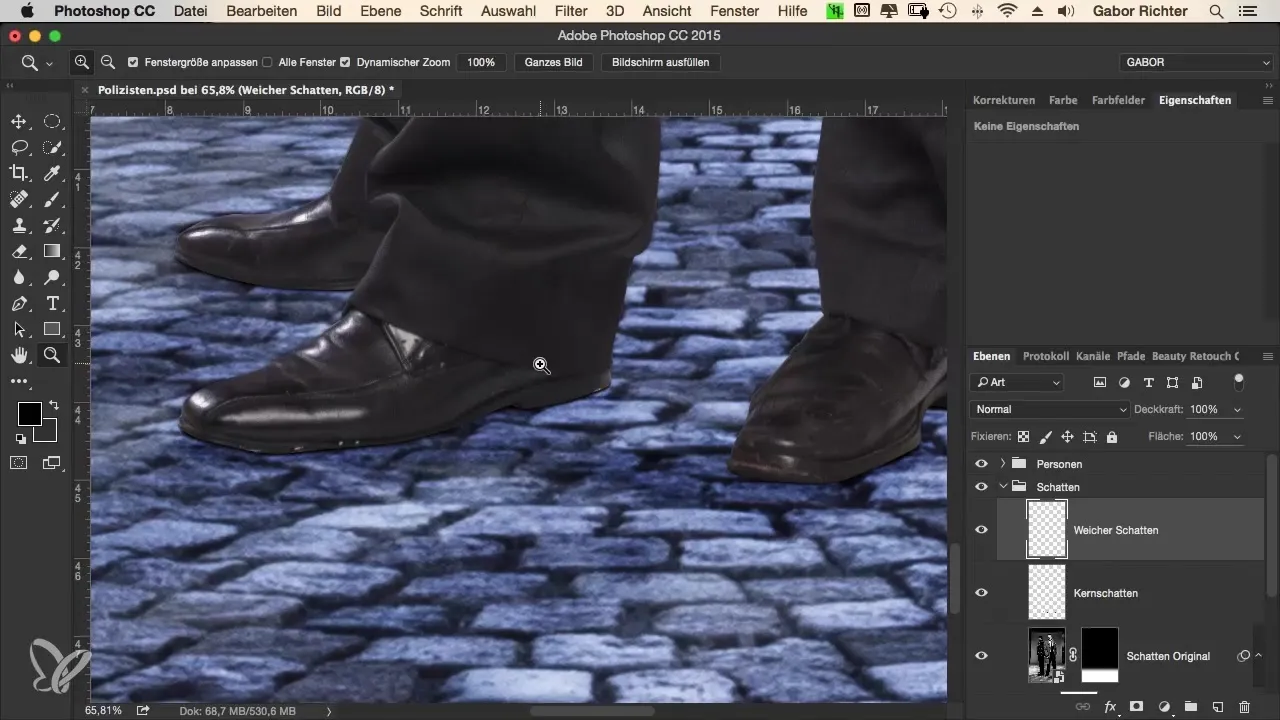
It is advisable to keep the shadow layer and its masks in separate groups, so you can make adjustments at any time. Close the group or deactivate it to assess the effect and make direct comparisons between with and without shadows.
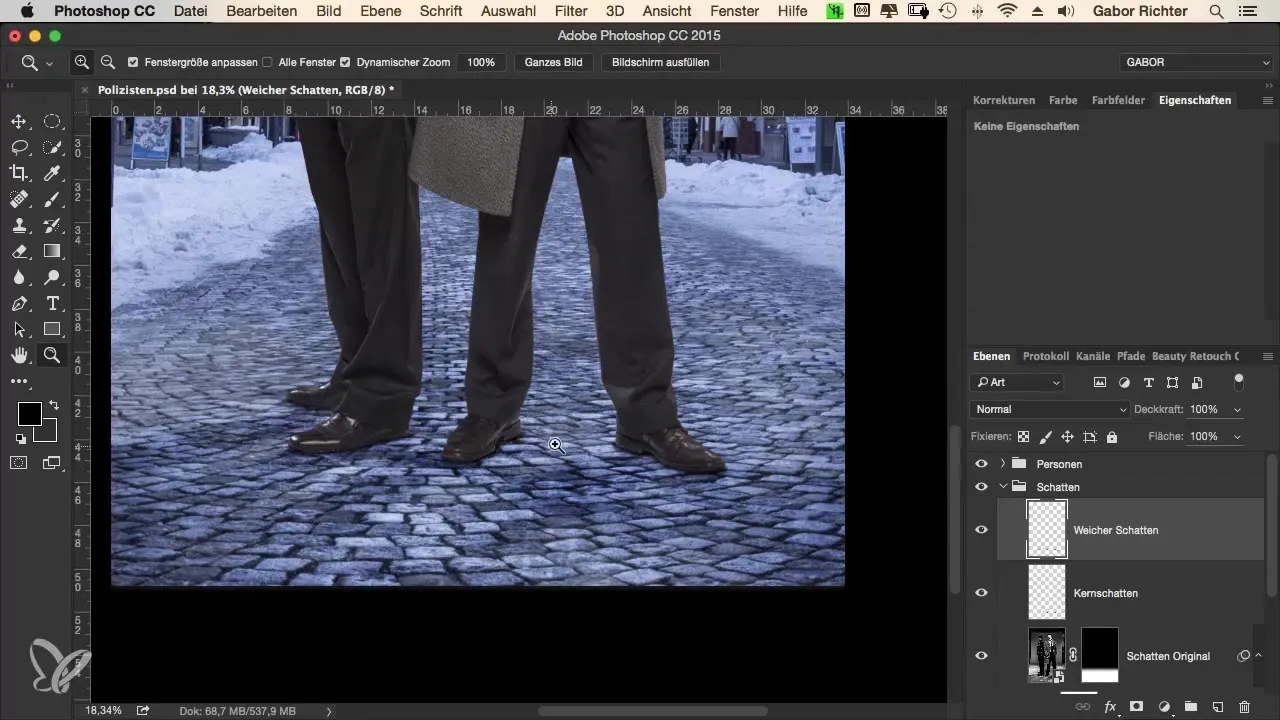
To adjust the sharpness between the shoes and the ground, you should note that pixel quality may vary slightly. A homogeneous look for the entire image is essential to ensure credibility and consistency. Experiment with sharpness and blurring to make the entire transition from the individuals to the ground as seamless as possible.
Summary – The Crime Look: Professional Shadows in Photoshop Setting and Adjusting
By targeted placement and editing of shadows, you can significantly enhance the overall effect of your image compositions. It is critical to choose the right settings and techniques to achieve realistic and harmonious results. Remember to use separate layers and masks to keep your workflow flexible and adaptable.
Frequently Asked Questions
How does the brightness of the shadow change?By adjusting clarity and contrast in the RAW development.
Why is it important to use separate groups for shadows?Separated groups allow for easier adjustments and better organization.
What can I do if the shadow looks unnatural?Experiment with opacity, blending mode, and the shape of the shadow.
Which tools are essential for setting shadows?The gradient tool, brushes, and masks in Photoshop are essential.
Is it necessary to edit the background when setting shadows?Yes, to ensure that light and shadow harmonize and appear realistic.


