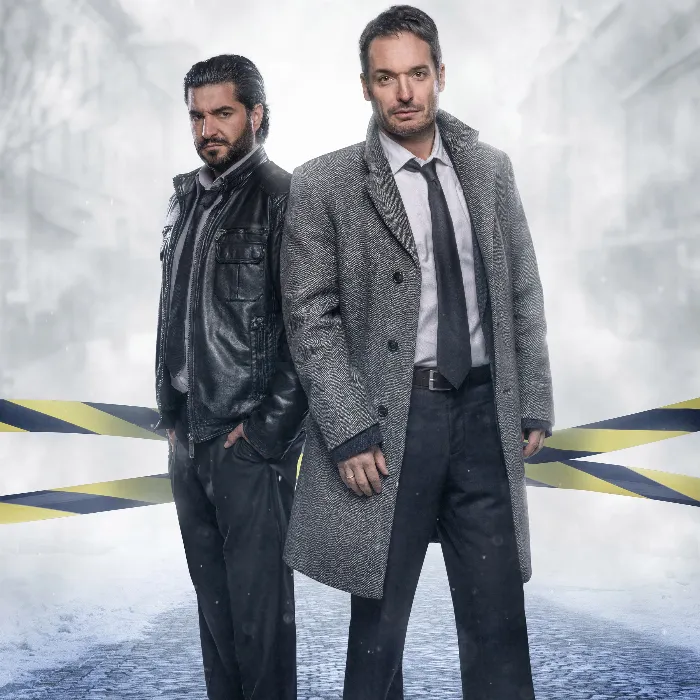
The art of Dodge and Burn in Photoshop is one of the most fascinating techniques to make portraits livelier and more three-dimensional. By making targeted brightness adjustments, you can model the facial features of a model and give them more expression. In this guide, I will show you step by step how to enhance the skin tones and details of a portrait using the Dodge and Burn technique. You will learn how to effectively use light and shadow to achieve impressive results.
Key insights:
- Dodge and Burn alters the perception of shapes.
- 50% gray layers are the key to subtle adjustments.
- Eyes and facial features can be emphasized through targeted brightness adjustments.
Step-by-Step Guide
First, it is important to create a new Dodge and Burn layer for the skin. Hold down the Alt key and click on the new layer icon. Then select the “Fill with Color” option and rename the layer to “Dodge and Burn Soft”. Make sure the layer is 50% gray to achieve the best results.
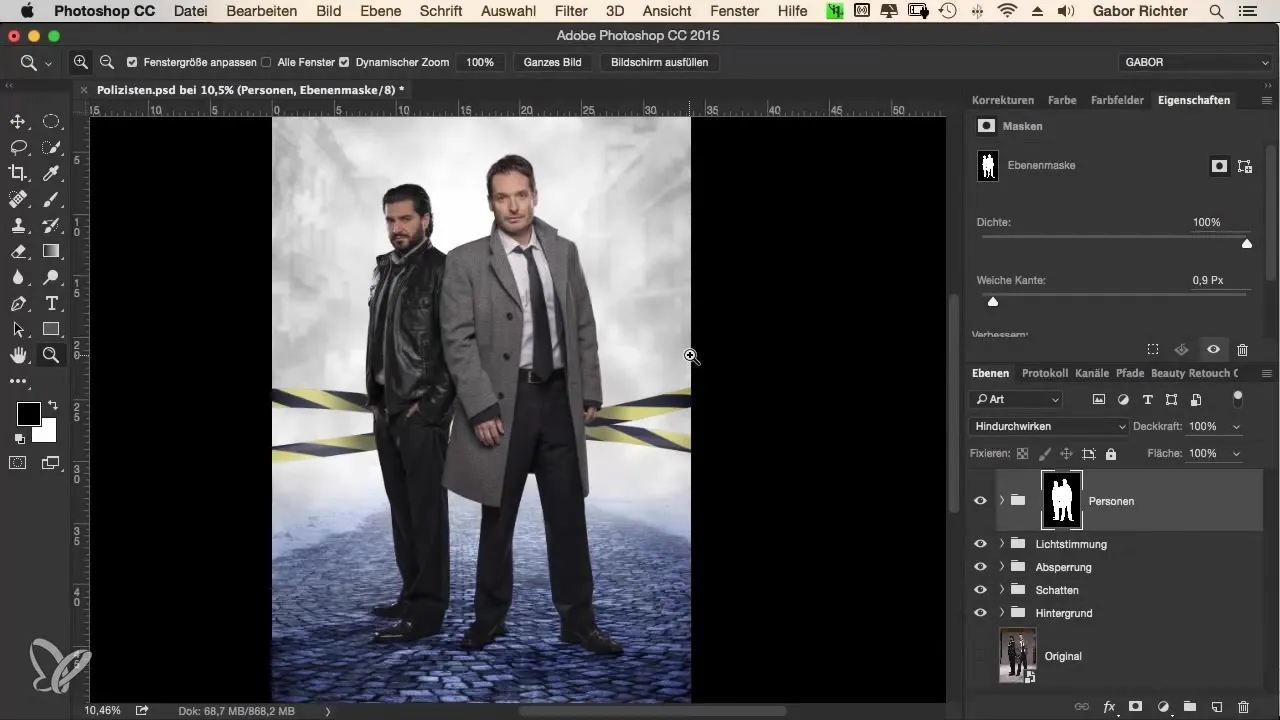
Now we start painting. Set the brush to an opacity of 3 to 5% – I recommend choosing 5% to be a bit bolder. Select the color black and adjust the brush size so that it fits well to the eyebrows. First, we darken the eyebrows to make them stand out in the image. Repeat this step for both sides.
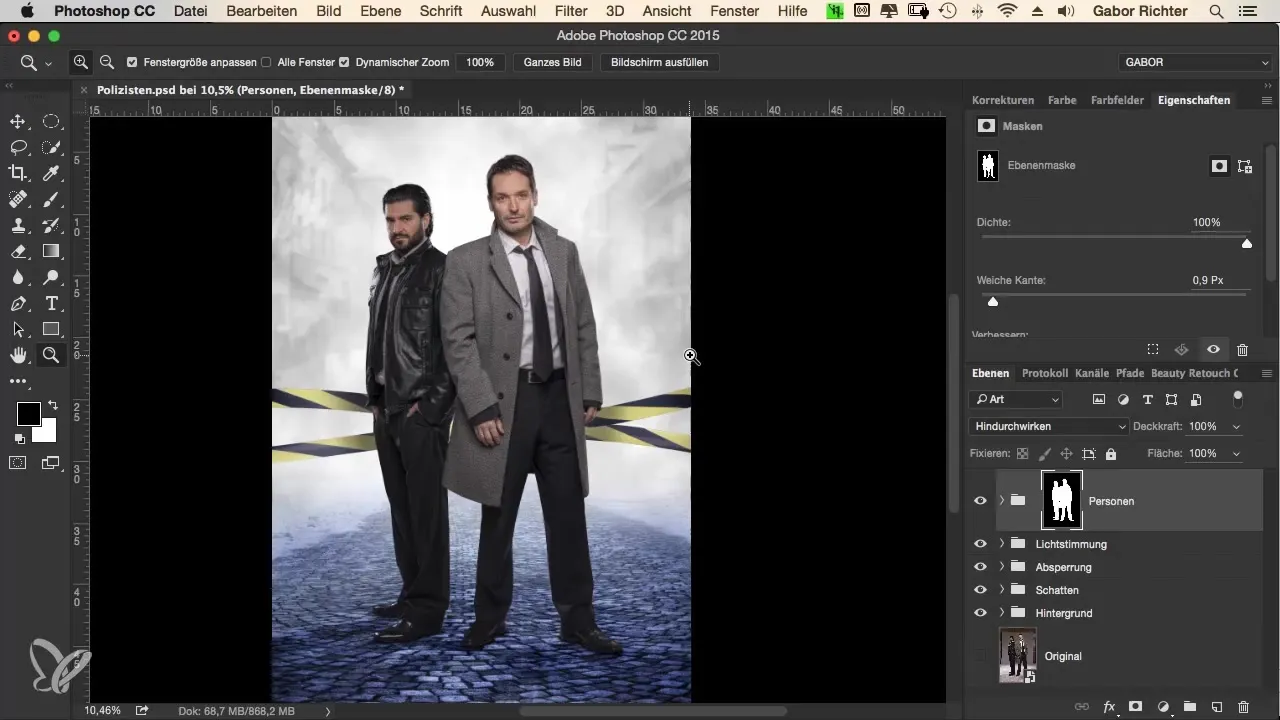
The next step is to contour the eyes. Here, I pull a value of 4. This adds more depth to the eyes by darkening the iris and brightening the light in the eyes. Repeat the process for the other eye; make sure the eyes are presented evenly differently.
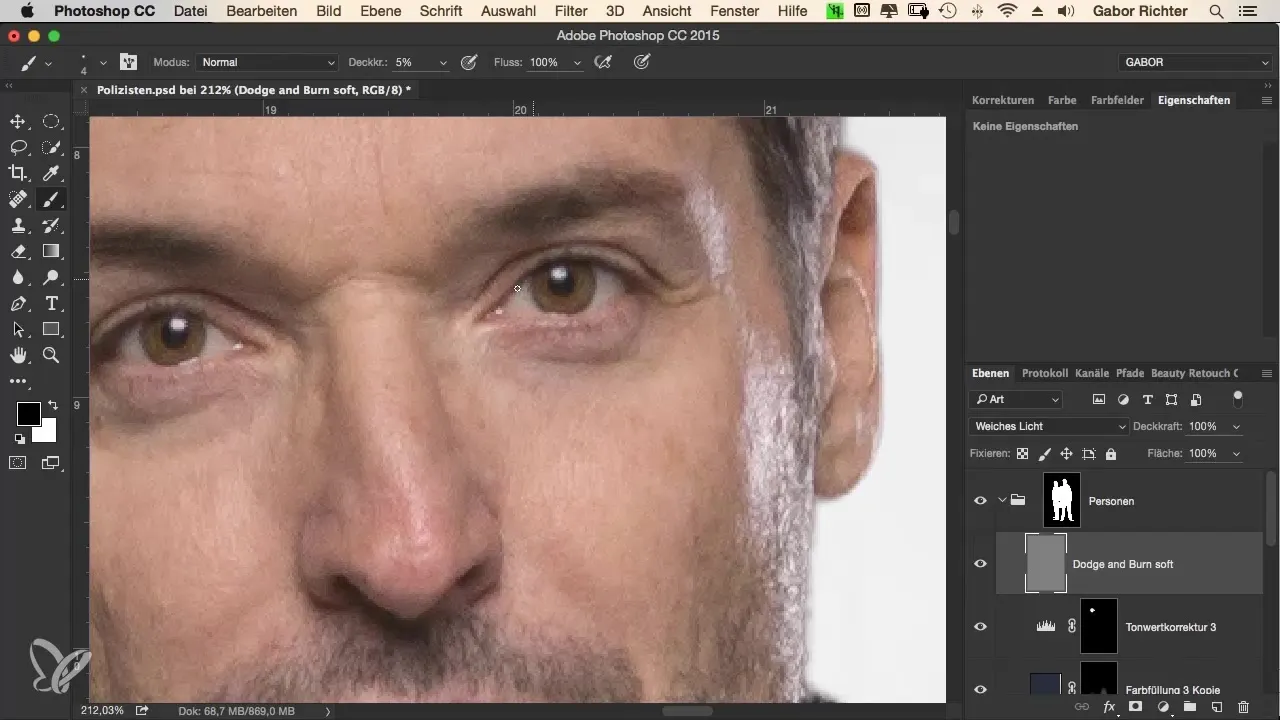
To give the face more shape, I paint a white dot in the center of the forehead. Make sure to paint over it several times, then darken the outer areas. The result will add additional dimension to the head. A small tip: vary the brush size to achieve the desired effect.

I also want to bring out the model's beard more. I darken it so that it looks more dominant in the image. Also, be sure to darken the lips, especially the depths, to create an interesting contrast. We can subtly brighten the bridge of the nose while darkening the surrounding areas.
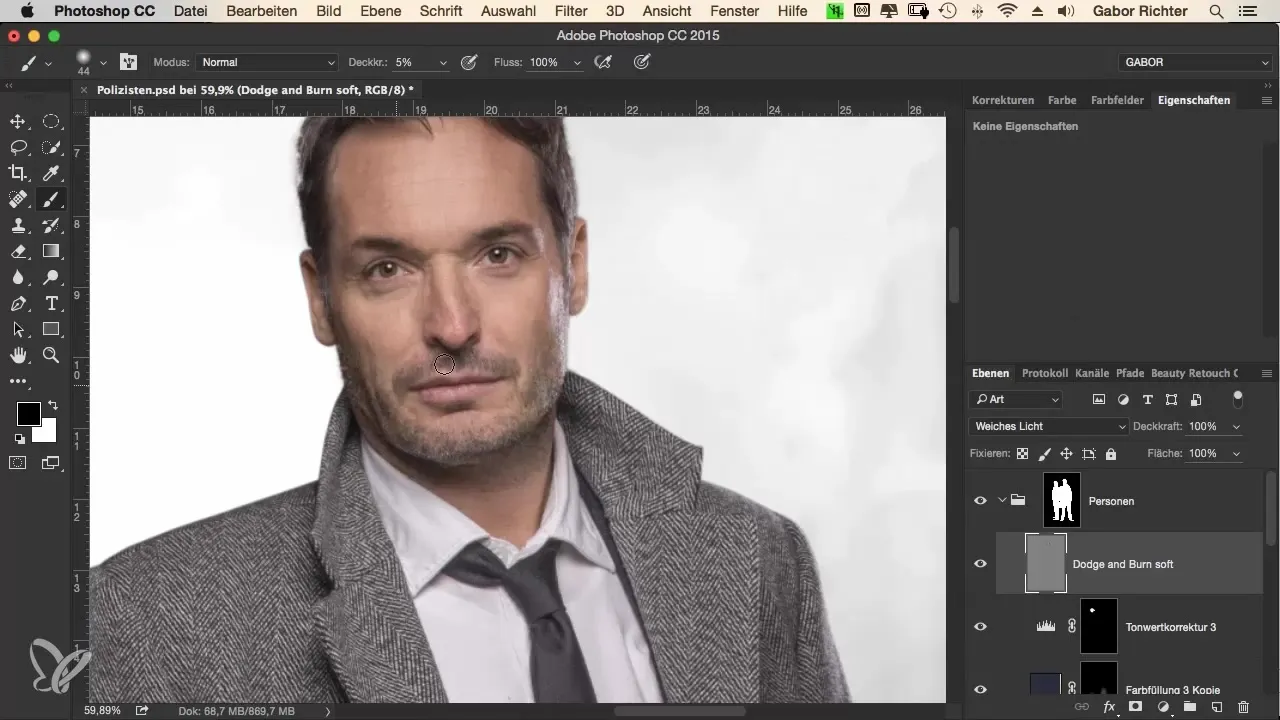
When certifying the face, you are not only addressing women. In the case of this man, I can even imagine making the area under the eye a bit darker to emphasize the tired, exhausted look. It adds more character to the portrait.
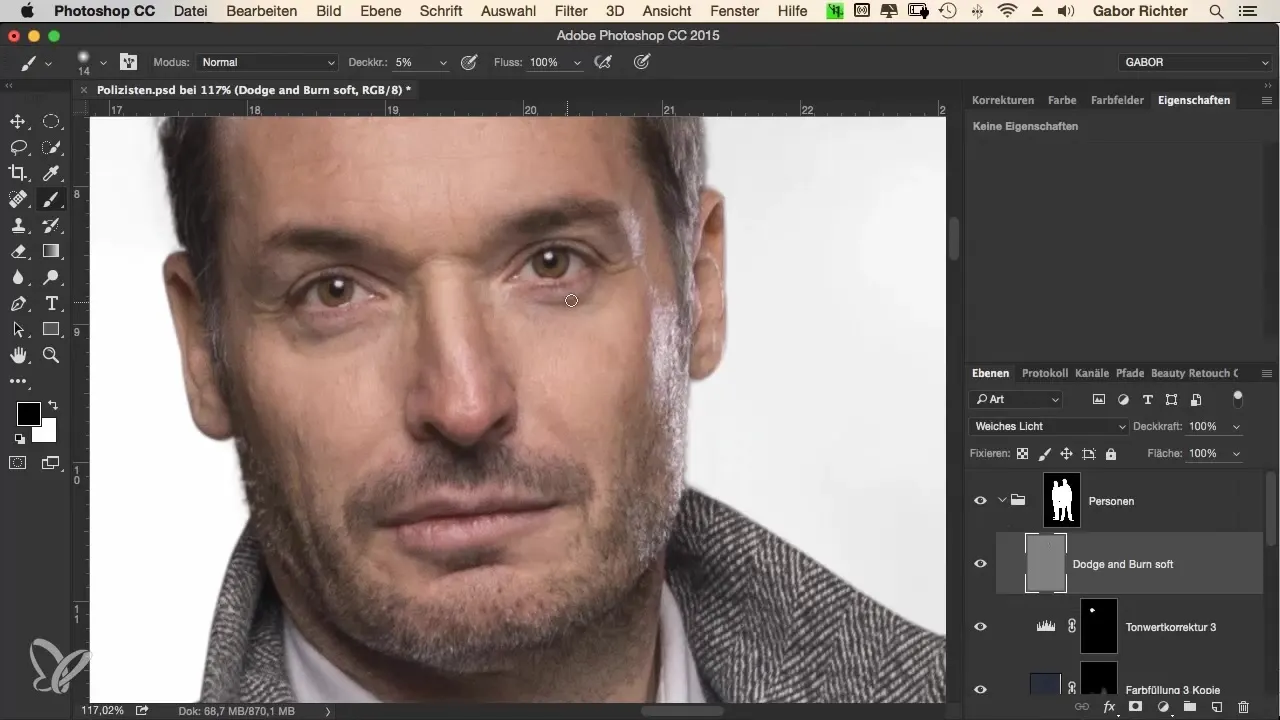
Now we want to brighten the existing lighting conditions in the face a bit to highlight the details. Focus particularly on the wrinkles around the nose and the chin, which can be emphasized noticeably with a little more brightness.
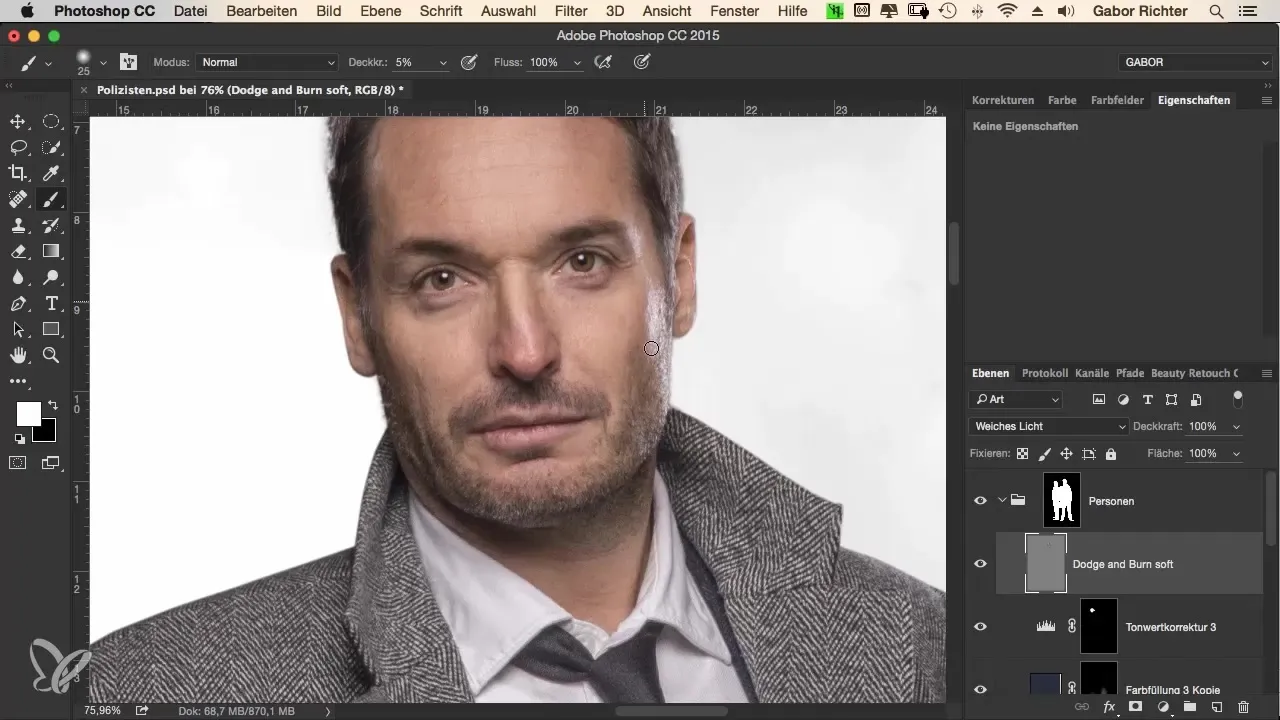
Next, gradually shift your attention to the model’s clothing. Here, you can again darken the contours of the eyebrows while being careful not to apply too much color, especially if the eyebrows are already dark. Additionally, you can add small wrinkles and slightly darken the cheeks to achieve a natural effect.
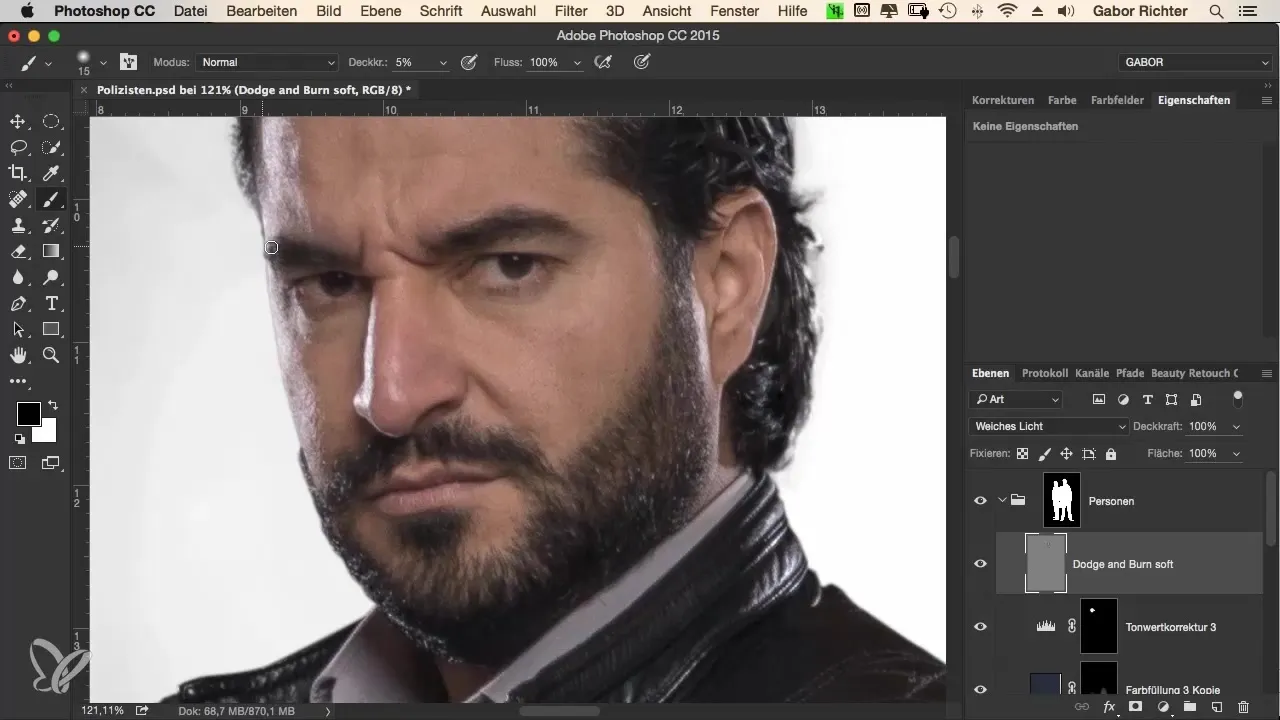
For the eye makeup, I also apply a dark tint here and brighten the reflections to bring more depth to the eyes. The play of light and dark tones makes a big difference in the final result.
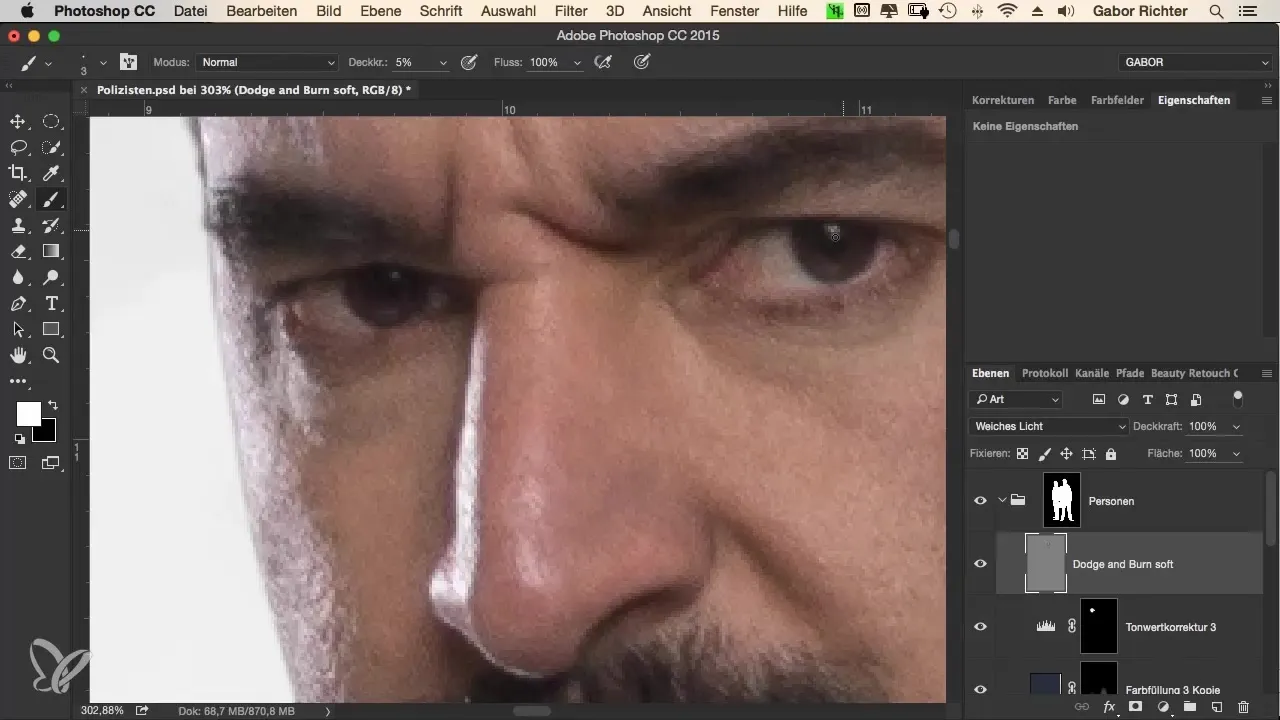
Now take a look at the differences. The model's gaze has significantly improved through the changes. And for the beard, it’s enough to darken it a little. For his hair, I want to add a bit more shine to make the hair look livelier.
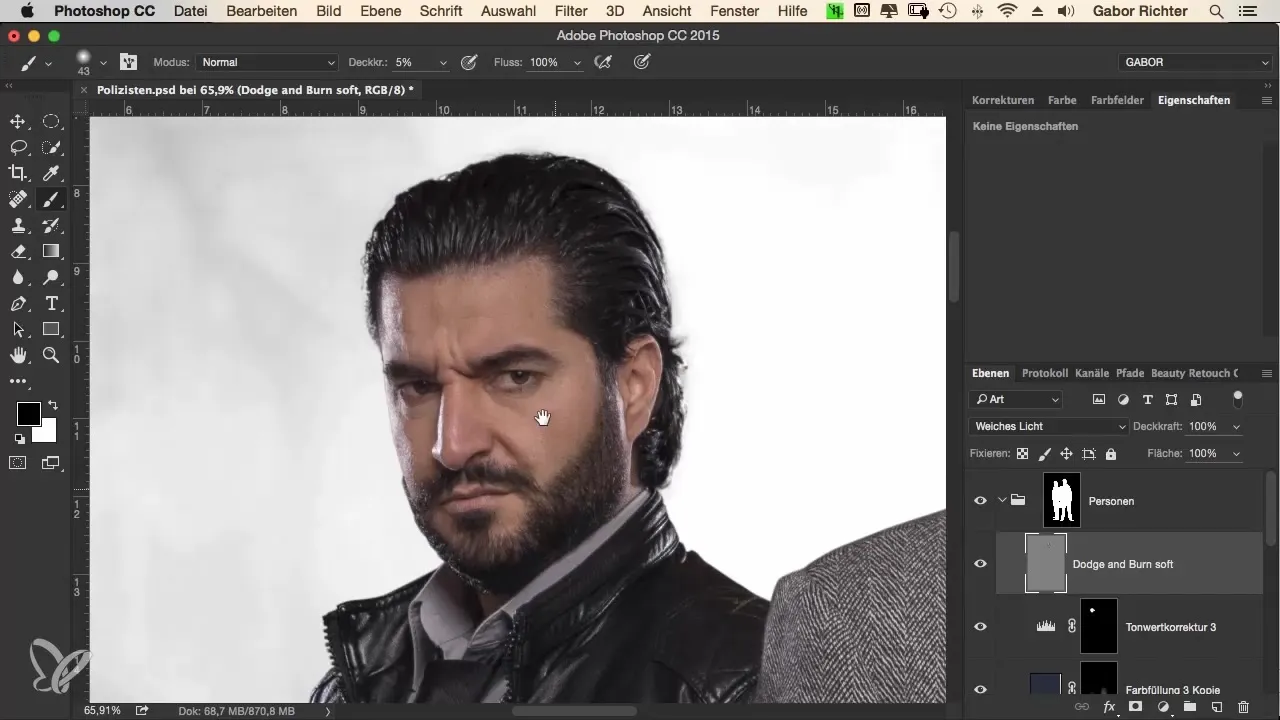
The shape of the hair should be slightly darkened while I simultaneously brighten the forehead to achieve a rounded, harmonious effect.
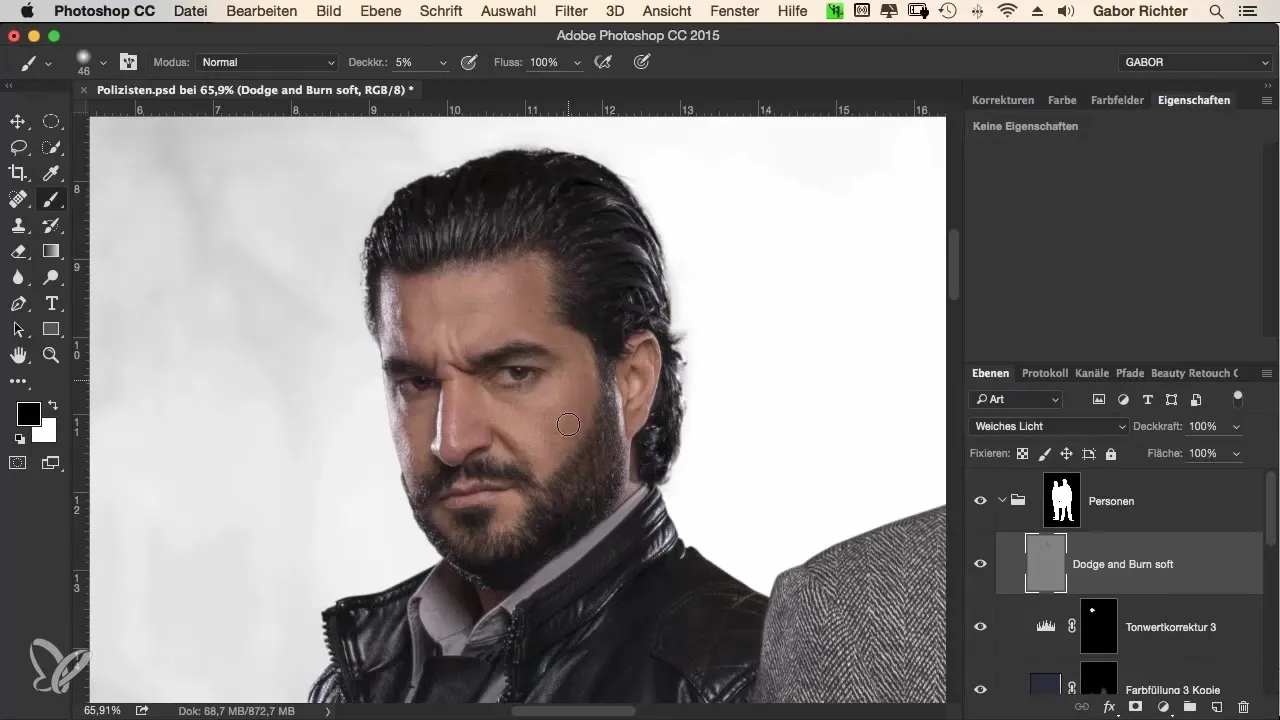
In the final step, I check the model's hands. In this case, nothing needs to be changed here as they are not in the foreground. Now you have learned the basics of the Dodge and Burn technique.
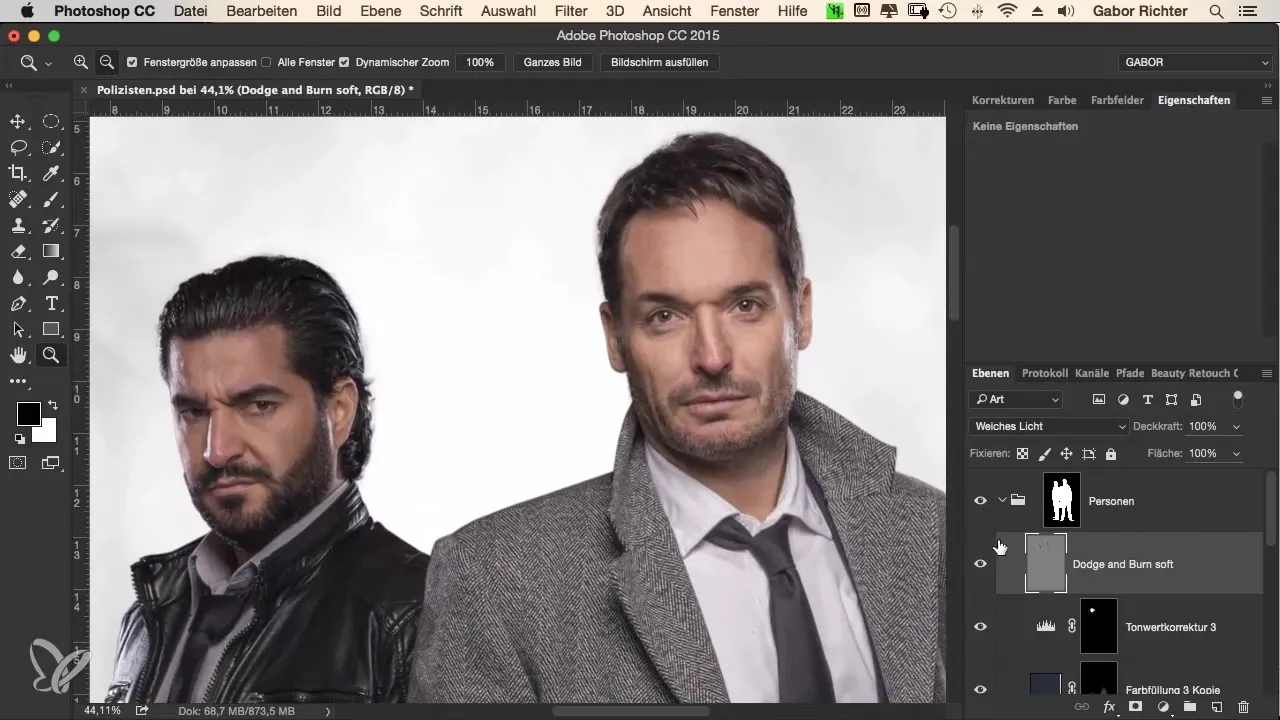
This method helps you to make not only the skin but also the clothing appear more three-dimensional and contrasting through Dodge and Burn, which you can try in the next step.
Summary – The Criminal Look: Dodge and Burn for a More Three-Dimensional Skin in Photoshop
The Dodge and Burn technique offers an exciting way to refine portraits and give them a three-dimensional depth. With targeted adjustments, you can focus on facial features, eyes, and other details. As you practice, you will find that this technique is incredibly valuable for editing photos of all kinds.
Frequently Asked Questions
How do I choose the right brush size for Dodge and Burn?The brush size should be adjusted to match the areas you want to edit. Start with a smaller size for detailed work and enlarge the brush for larger areas.
What opacity is best when using Dodge and Burn?An opacity between 3% and 5% is recommended so that the adjustments are subtle and easily manageable.
Can I use Dodge and Burn for other subjects?Yes, the technique is versatile and can be applied to portraits, landscapes, and all other types of images to emphasize light and shadow.
