Do you want to take your photos to the next level? The “Krimilook” offers a unique and intense fine look that makes your images extraordinary. In this guide, we will show you how to make final adjustments in Photoshop using the Camera Raw filter. It’s about refining your image in the final phase so that it looks truly complete and professional.
Main insights
- The Camera Raw filter offers a variety of settings for targeted adjustments.
- Consolidating layers into a single one, which is then used as a Smart object, makes working easier.
- Through precise adjustments of lights, shadows, clarity, and colors, you'll achieve the desired look.
Step-by-step guide
To achieve the Krimilook, carefully follow these steps:
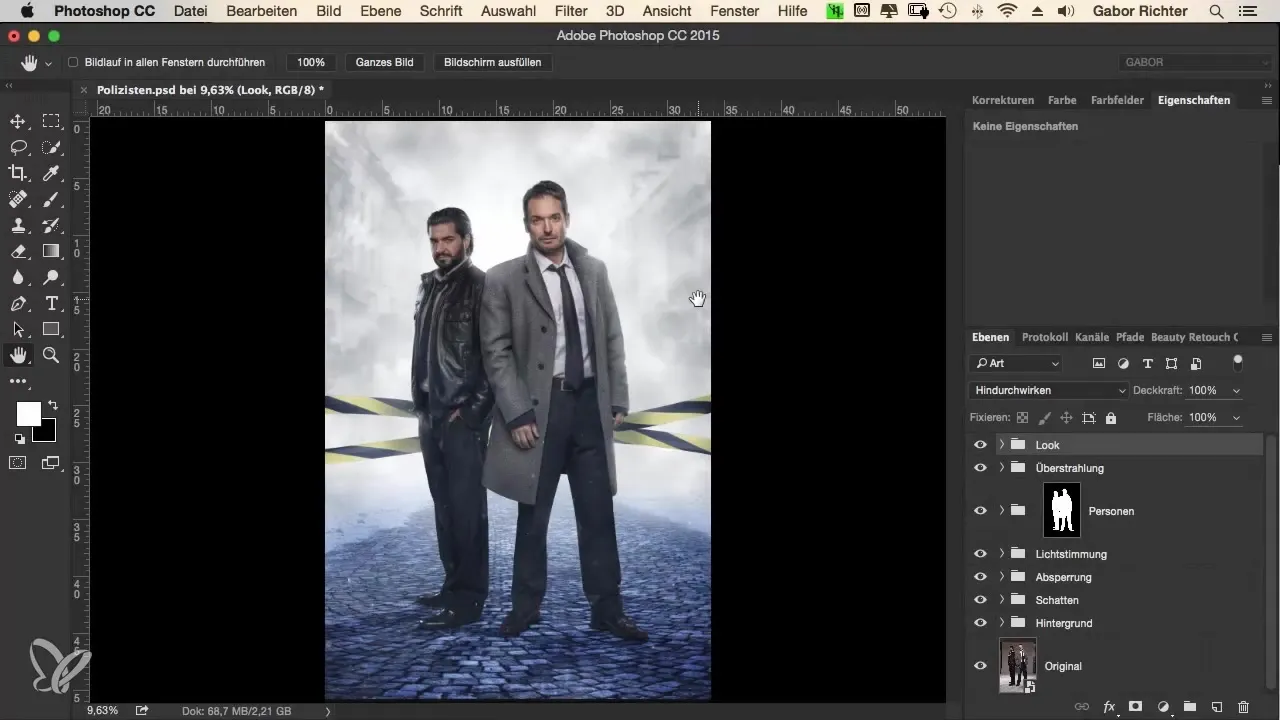
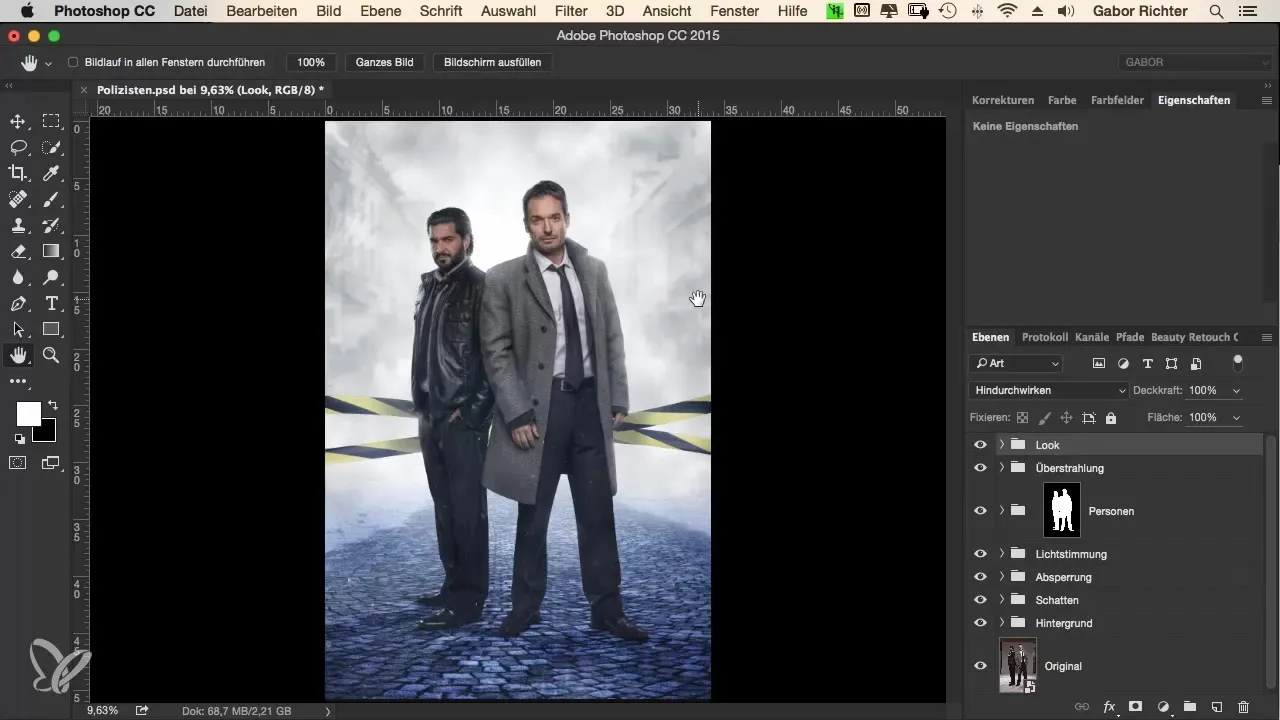
First, start by merging your edited layers for the final image. Go to the top layer in your layers panel and press Alt + Shift + E at the same time to unify everything visible on a new layer. For Windows users, the command is Ctrl + Alt + Shift + E. Name this new layer “Finale.”
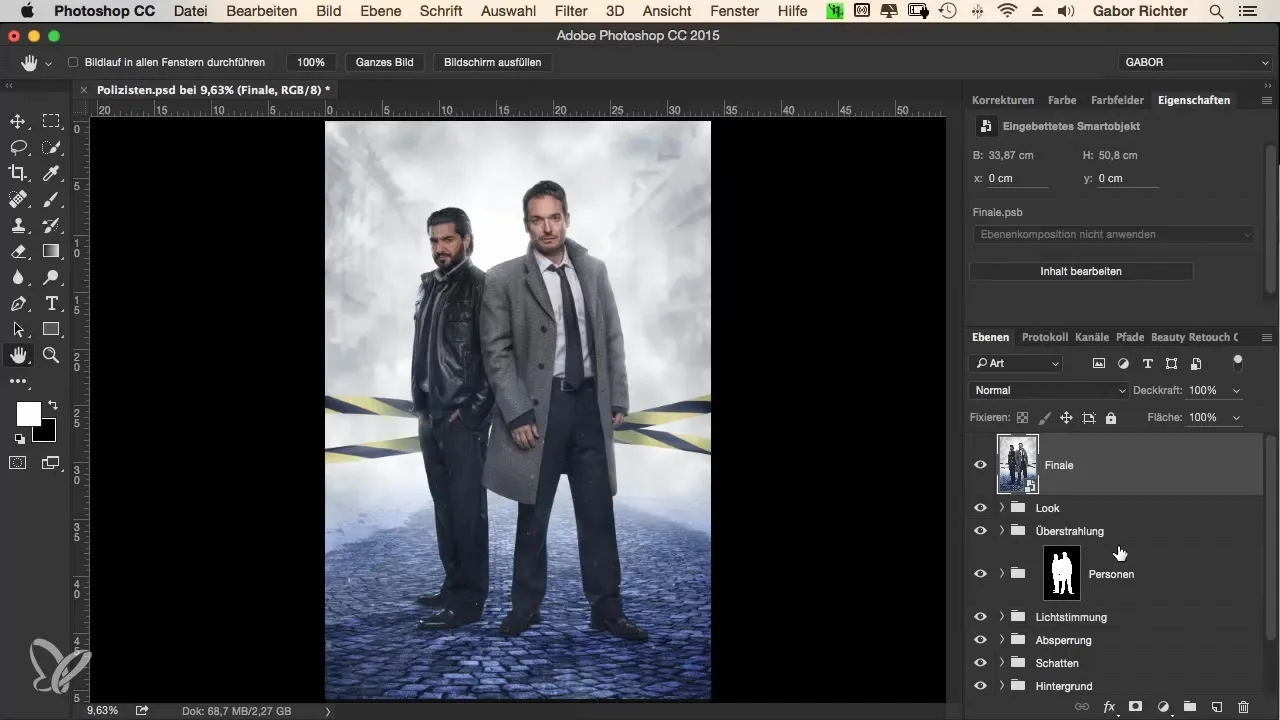
Now convert this layer into a Smart object. This is especially important because you can revert changes at any time without affecting the original layer. To create the Smart object, right-click on the layer and select the appropriate option from the context menu.
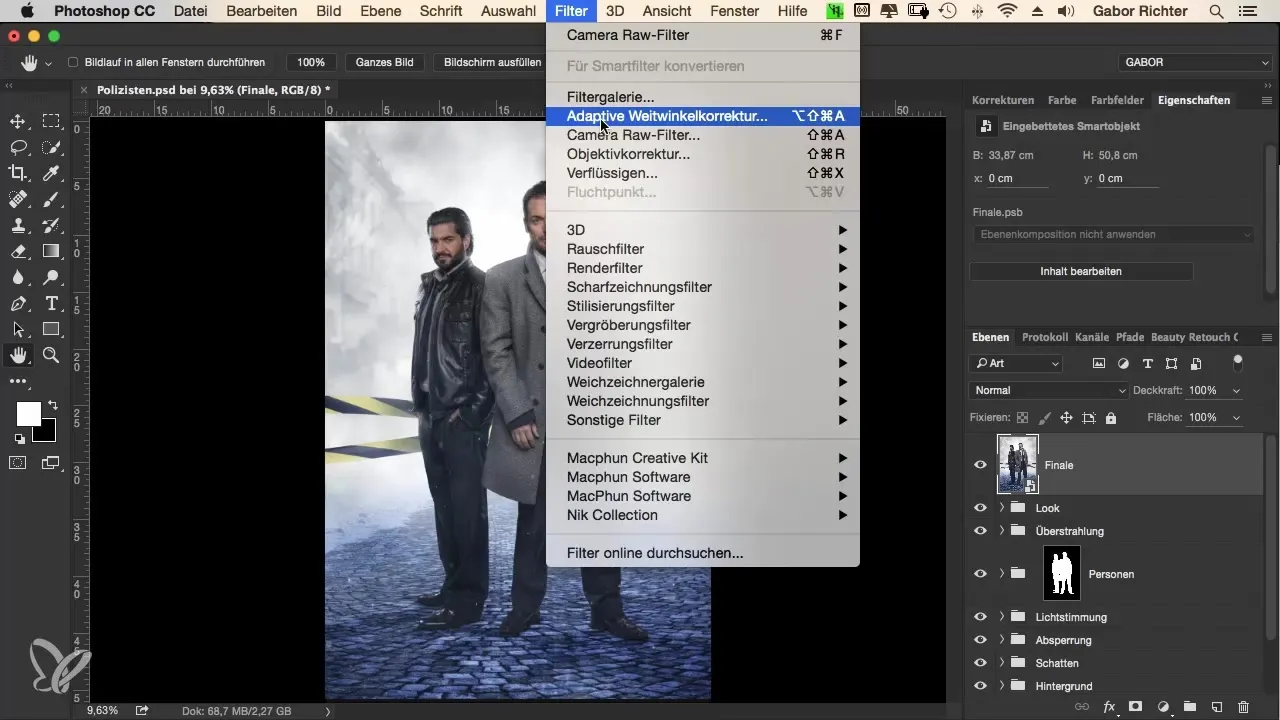
Once you have your Smart object, apply the Camera Raw filter. Go to “Filter” in the top menu bar and select “Camera Raw Filter.” This opens the Camera Raw panel where you will find a variety of adjustment options.
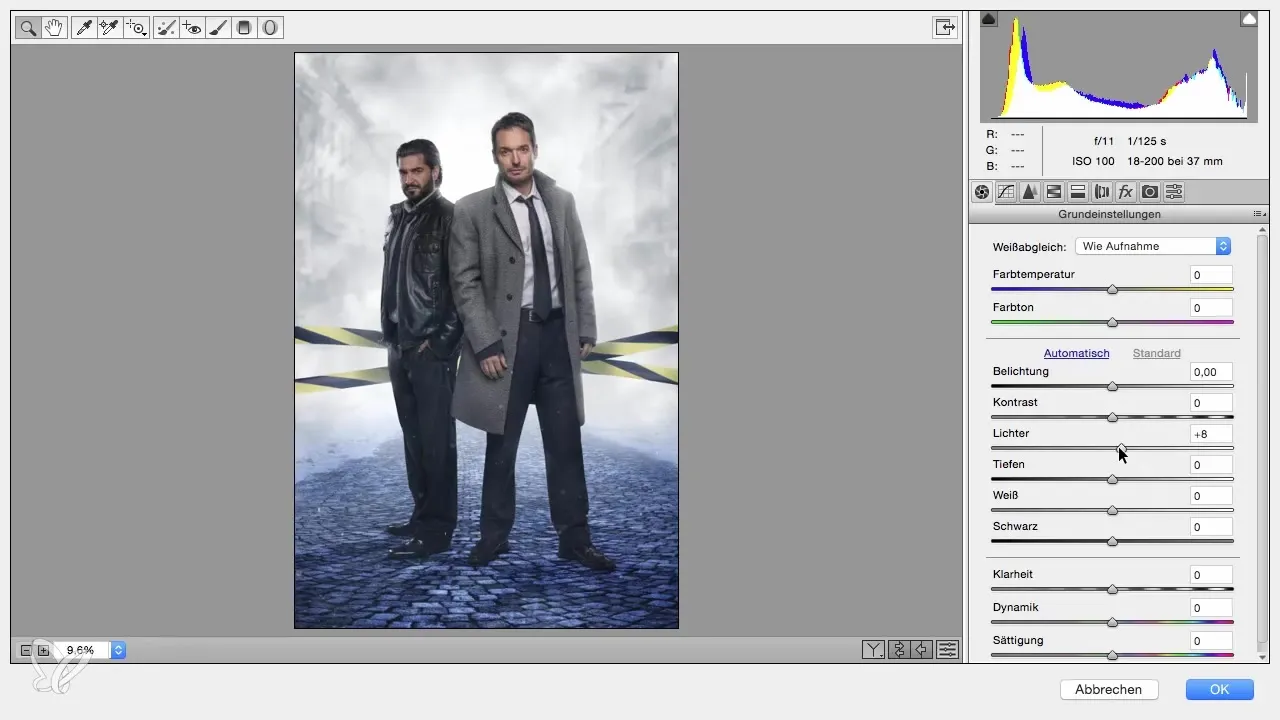
Your first adjustment will be with the lights. Move the slider for the lights slightly to the right, ideally to about +10. This helps bring more white into the image, giving it more light and structure.
Next, move on to the shadows. Here too, make a subtle change and set the value to +9. This adjustment ensures the colors look more vibrant without making the image look overly exaggerated.
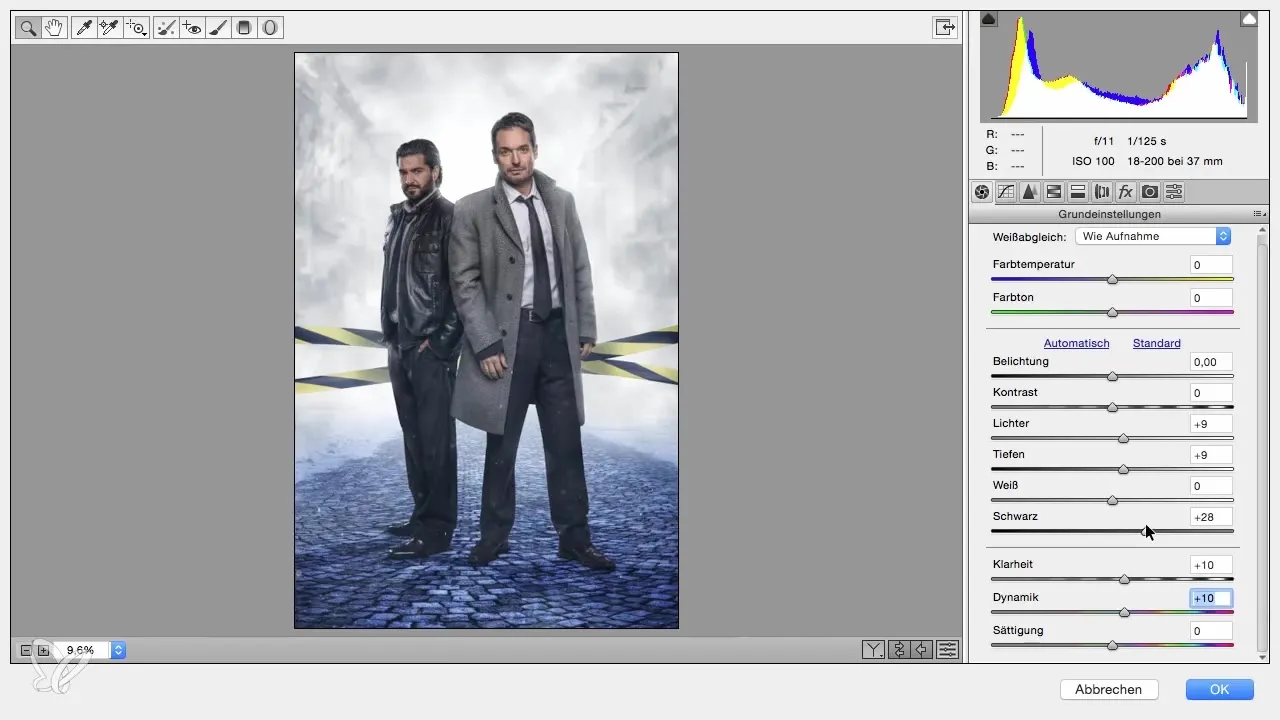
Next, you should increase the clarity. Set the clarity value to about +10, which emphasizes the outlines of your images and gives the details a stronger expression.
Colors are also important. For vibrance, choose a value of about +10 to subtly highlight weak hues without making the image look too saturated.
Another step is to set the black level slider to +30. This adjustment slightly constricts the contrast of your image, giving the overall look more softness.
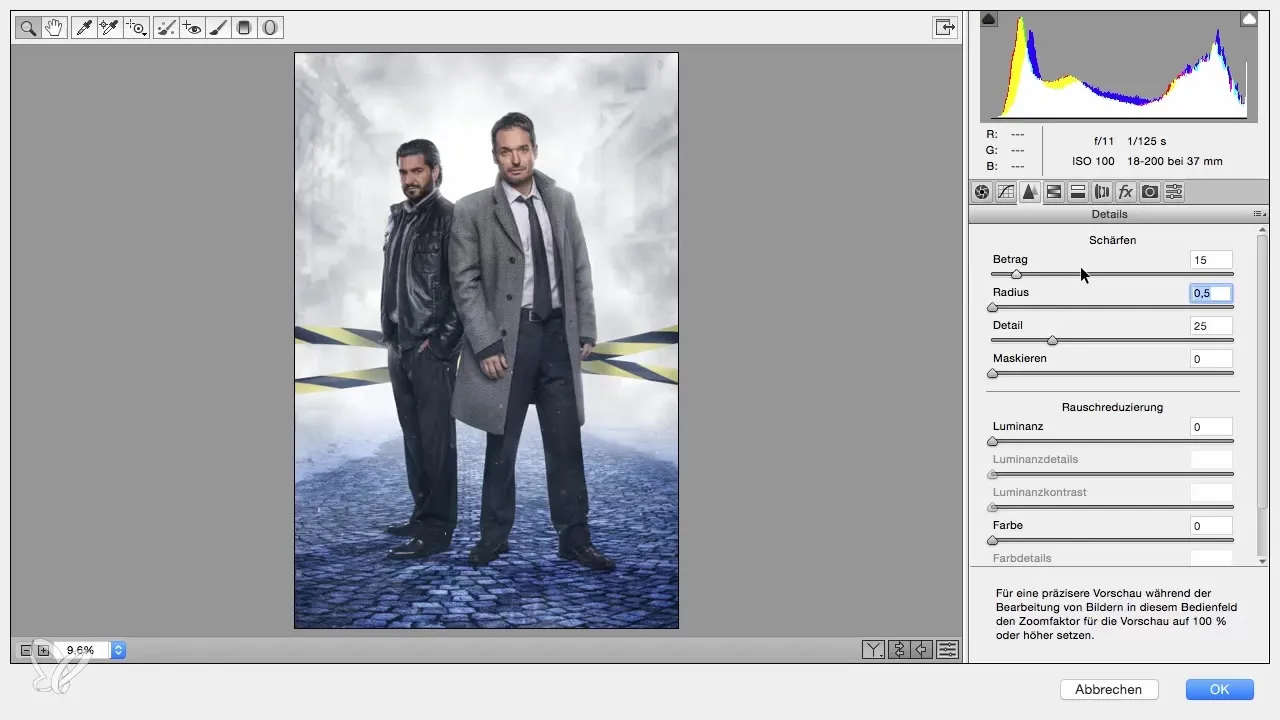
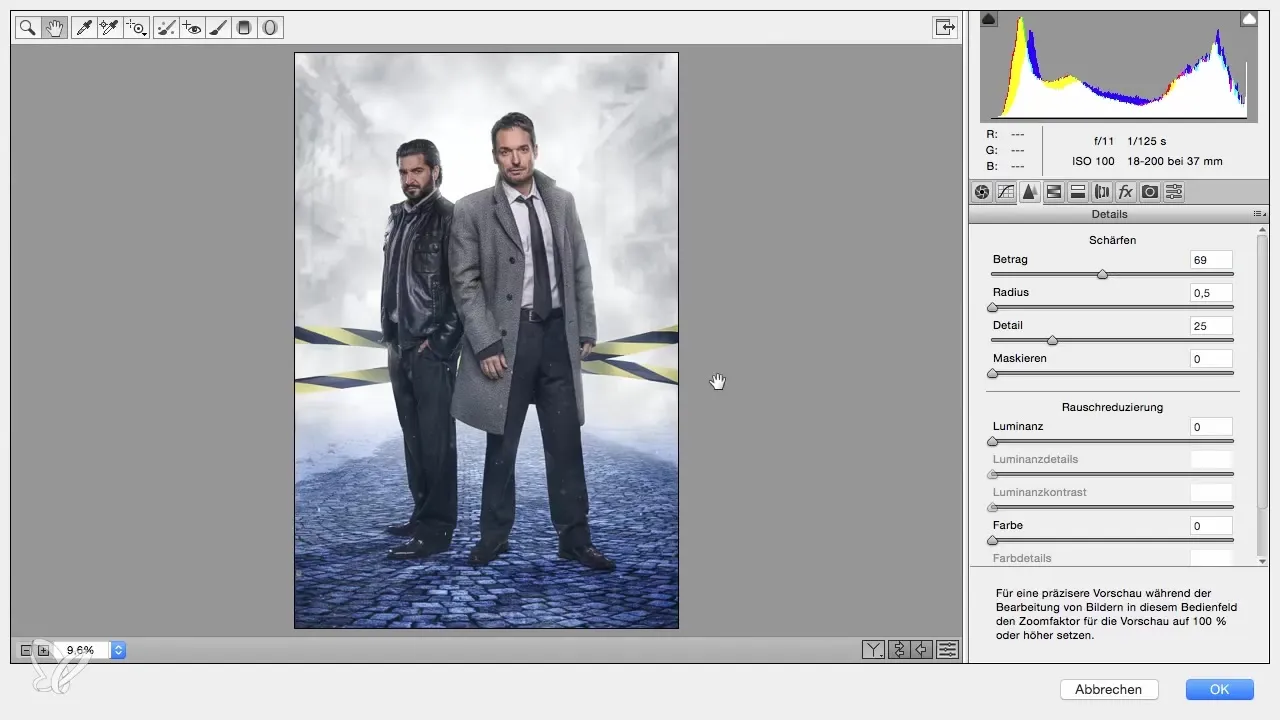
To sharpen the image overall, use the sharpening slider. Set the radius to 0.5 and the amount to about 70. Be careful not to overdo the sharpness. Just check the image in zoom to ensure that all details are clear and distinct.
Now take a look at the HSL window (Hue, Saturation, Luminance). Here you can control colors selectively. Start by increasing the brightness of the orange tones in the face by +15. This makes the skin adjustment softer and more vibrant.
Next, move to the blue tones and raise these by +20, while at the same time desaturating the blue tones by -10. This creates a harmonious balance in the image.
A final check before you finalize the image is to darken the yellow tones a bit. Set this value to -15 to emphasize the contrast and depth once again.
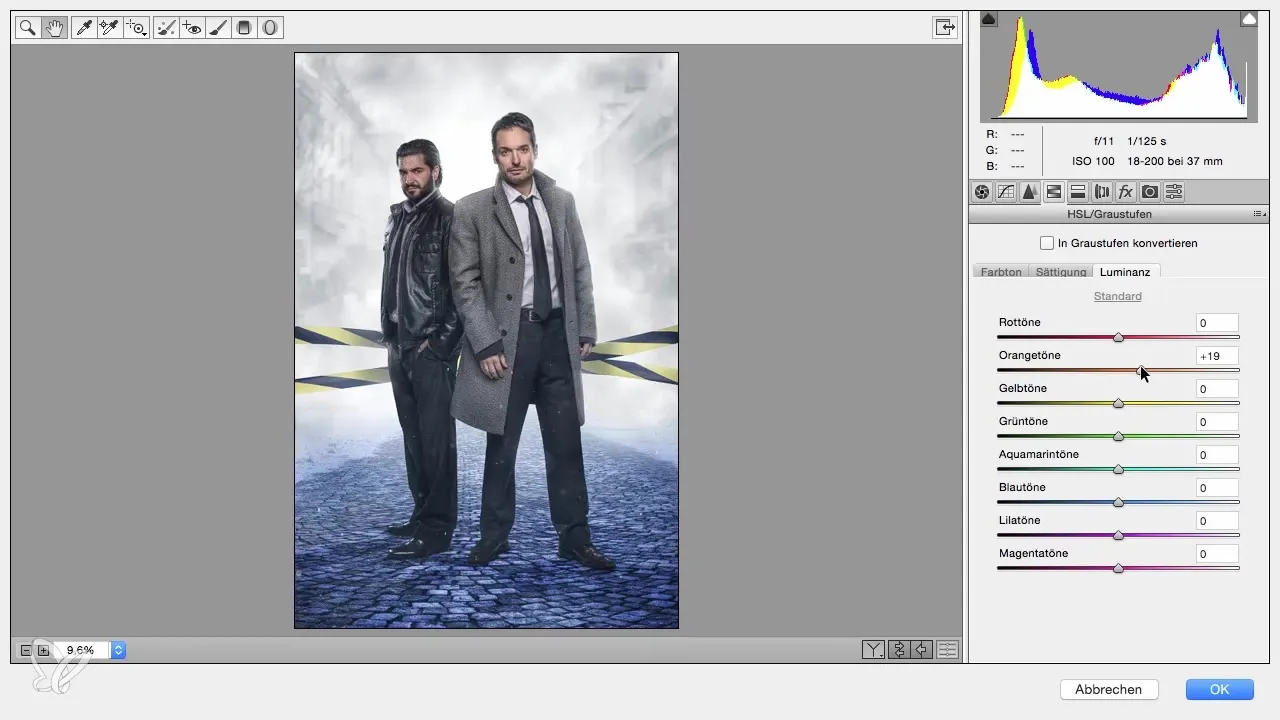
After you have made all adjustments, click “OK” to save your changes. Now you are back in Photoshop, and you can compare the result with your original image. This gives you an impression of the fundamental changes and adjustments you have made.
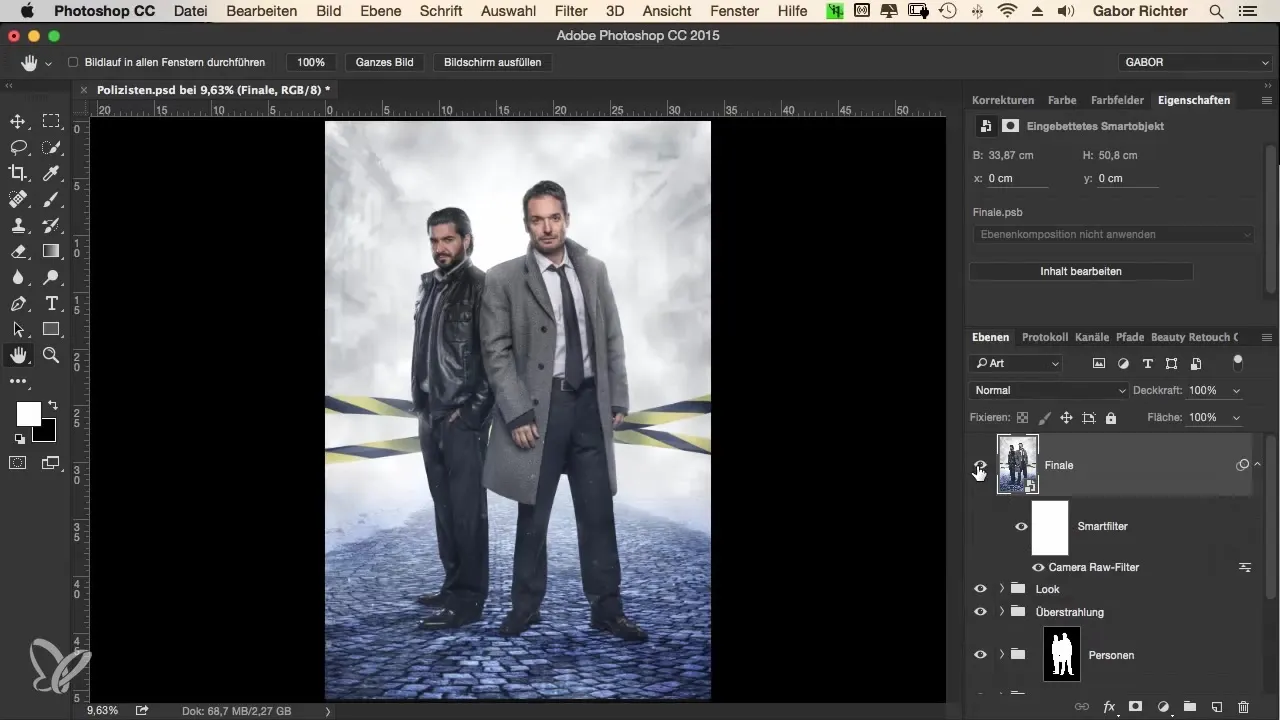
The final version becomes significantly more appealing through these steps. You can now proudly look at the result, which gains a professional look through these final refinements.
Summary – The perfect Krimilook – Step by step to the optimal image in Photoshop
By applying the Camera Raw filter in Photoshop, you can effectively optimize your images. Every detail you have edited contributes to a professional overall picture that is both fascinating and consistent. Utilize the filter's capabilities to achieve creative and appealing results.
Frequently asked questions
How do I open the Camera Raw filter?You can open the Camera Raw filter by clicking on “Filter” in the menu and then selecting “Camera Raw Filter.”
What are the advantages of Smart objects in Photoshop?Smart objects allow you to make non-destructive edits, so you can revert changes at any time.
How can I adjust the sharpness of my image?You can adjust the sharpness by setting the sharpening slider in the Camera Raw window. Be sure to set the amount and radius according to your needs.
How do the HSL settings affect the image?With the HSL settings, you can selectively control colors by adjusting hue, saturation, and luminance values, leading to a harmonious look.
What is the purpose of the Krimilook?The Krimilook aims to enhance images with an intense and dramatic effect to create a special atmosphere.


