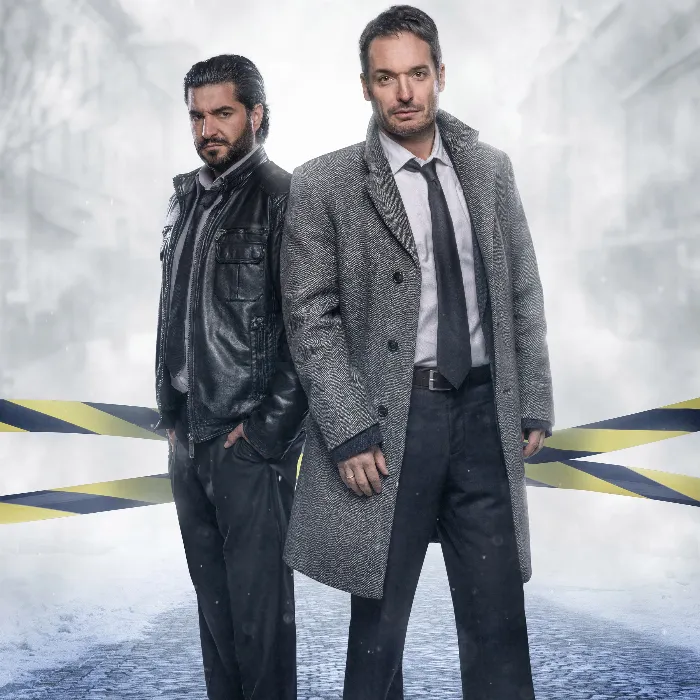
The special charm of a Bildlooks can often be crucial for the emotional impact of a photo. In this tutorial, I will show you how to create a “Krimilook” using Adobe Photoshop. The term describes a mysterious, tension-filled style that is often found in crime films and series. Through targeted color selection and effects, you will transform an everyday image into a captivating work of art.
Key findings
- The choice of colors is crucial for the mood of an image.
- With the right technique, you can achieve simple effects to create a professional look.
- Photoshop offers you numerous possibilities to create Bildlooks without compromising quality.
Step-by-Step Guide
To create your individual Krimilook, follow these steps, which are easy to understand and will help you achieve an outstanding result.
1. Make the right color selection
Before you start editing, take a close look at your image. Consider what emotions you want to convey. A mysterious look can be achieved with blue tones, which are often seen in crime series. Think about whether you prefer a cool blue or a darker variant.
2. Create a color fill
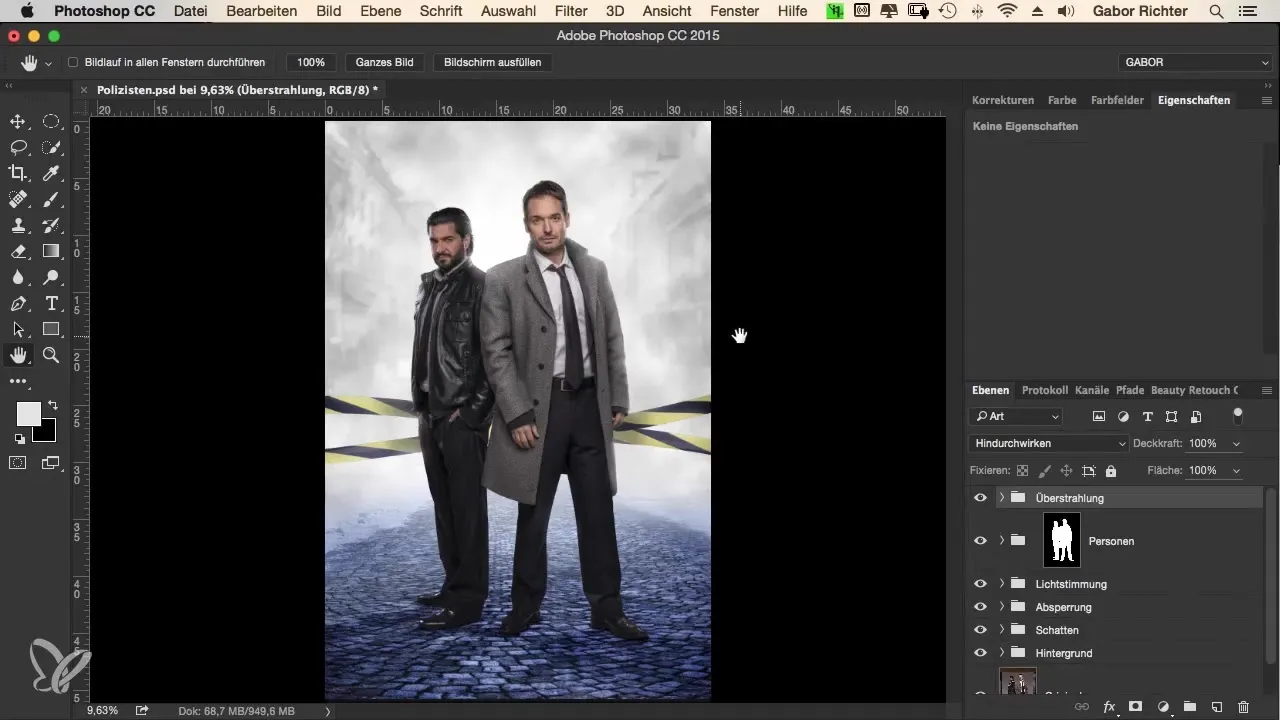
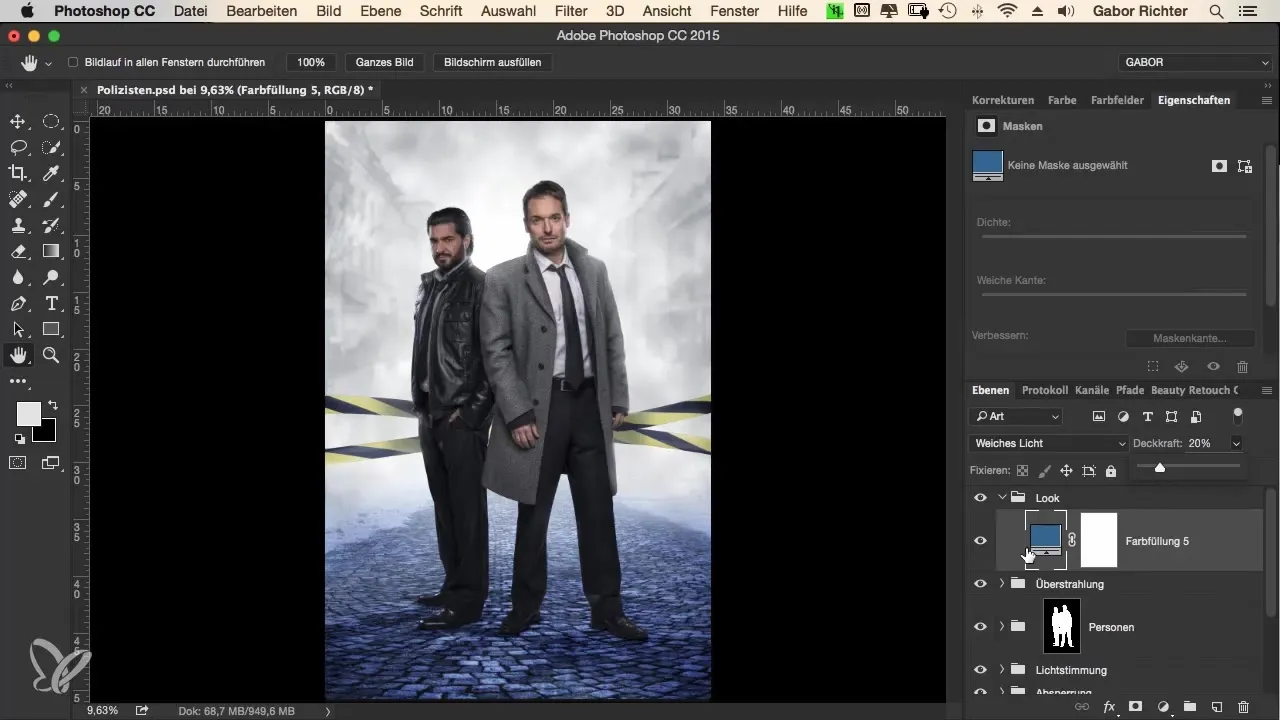
Create a new group and name it “Look.” Within this group, you can then create a color fill. Choose a cyan tone or another dark bluish color that is not too intense. Once you have created the color fill, set the blending mode to “Soft Light.” This ensures that the color interacts softly with your image.
3. Adjust the opacity
The opacity of this layer should be adjusted to soften the effect of the color. Set the opacity to about 16%. This gives the image a subtle effect that is still significant enough to change the overall image.
4. Add fog and mood
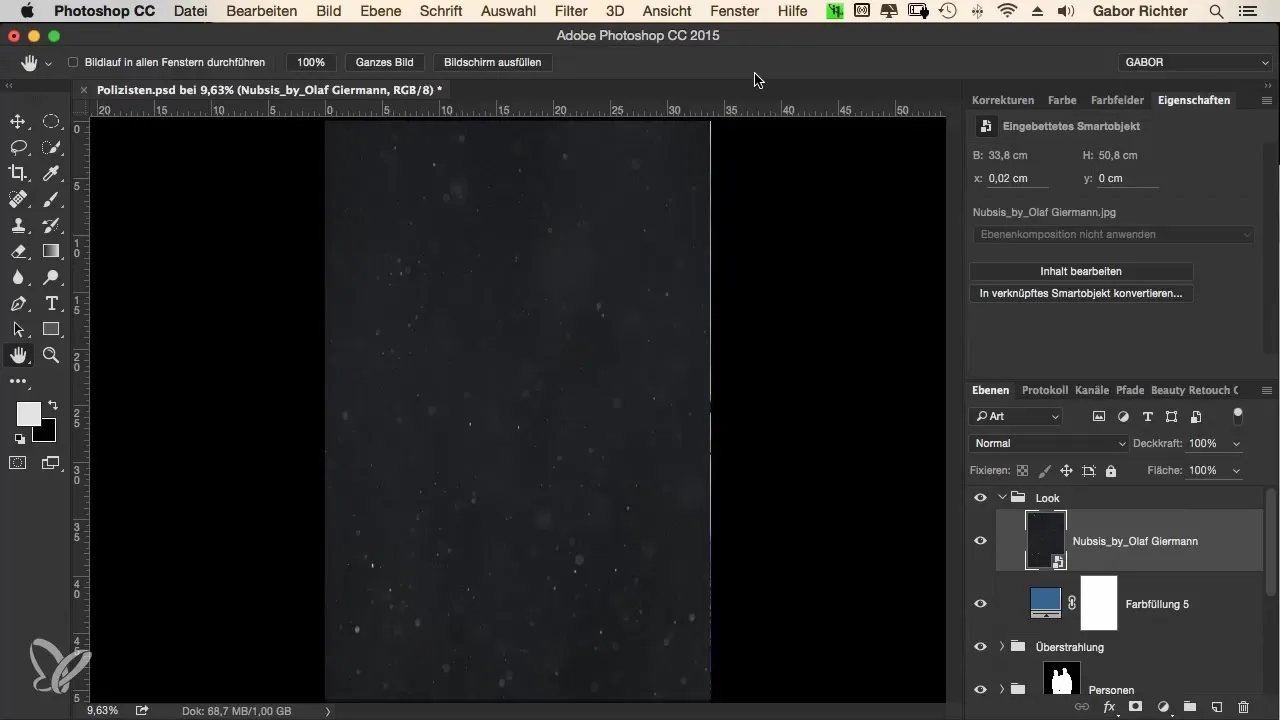
To further enhance the image, add a new layer and import particles that you captured with a flash under difficult lighting conditions. When you switch the blending mode to “Negative Multiply,” fine particles appear, giving the image a mysterious touch. These small effects can increase the tension in the image.
5. Adjust the particles
Position the particles so that they appear spatially without overlapping the main subject. Ensure that the particles do not appear on the face of the main subject. You can easily rotate and enlarge them to achieve the desired composition. A corresponding group will help you organize the elements more easily.
6. Adjust the shadows
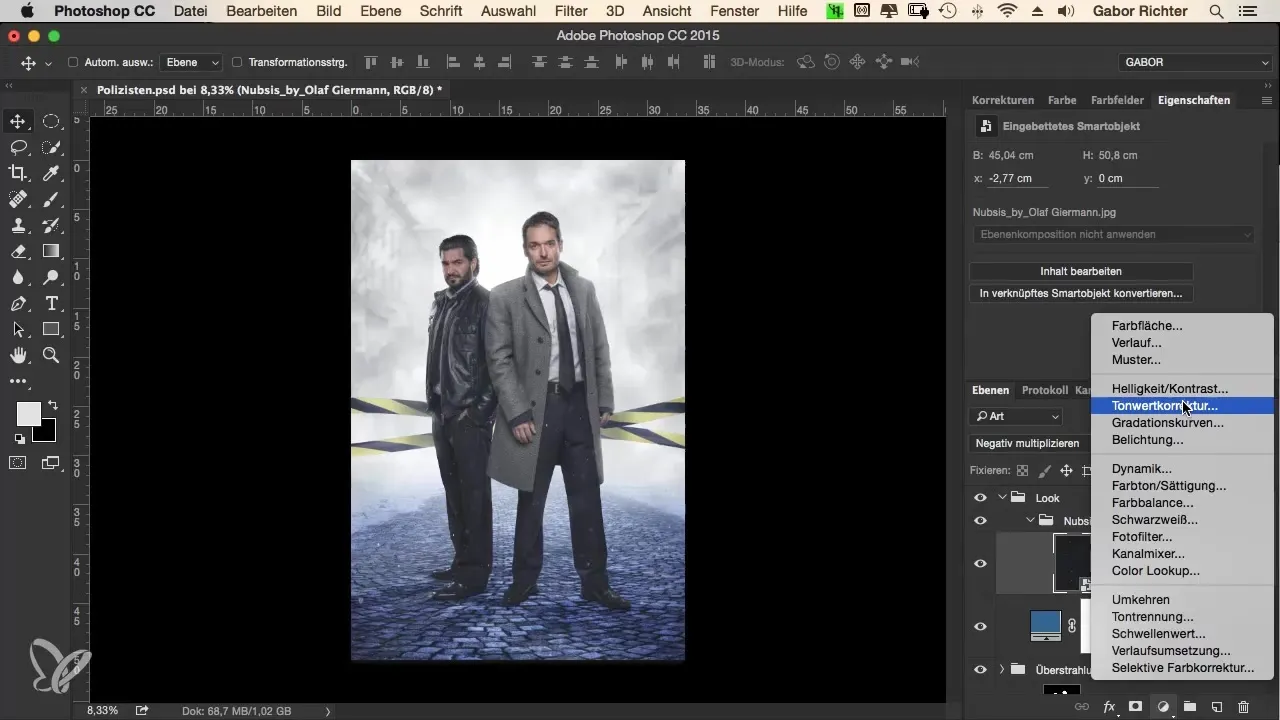
To avoid making the image look flat, add a levels adjustment to emphasize the shadows. Using a clipping mask allows you to apply this adjustment precisely without affecting the overall image.
7. Create fog
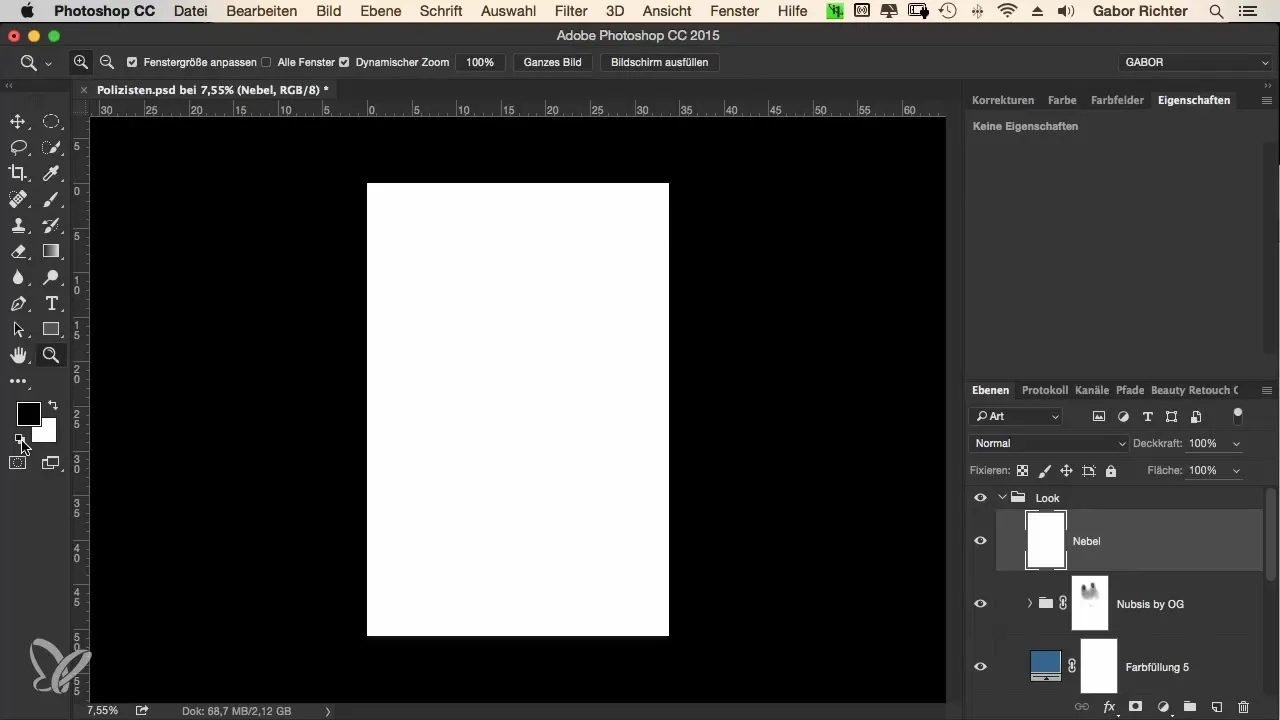
For a more even distribution of fog, you can create a blank layer again and use the “Difference Clouds” filter. This method distributes the fog unevenly across the image, which is very beneficial for the Krimilook. Also adjust the blending mode to “Soft Light” and reduce the opacity to about 20%.
8. Use brushes
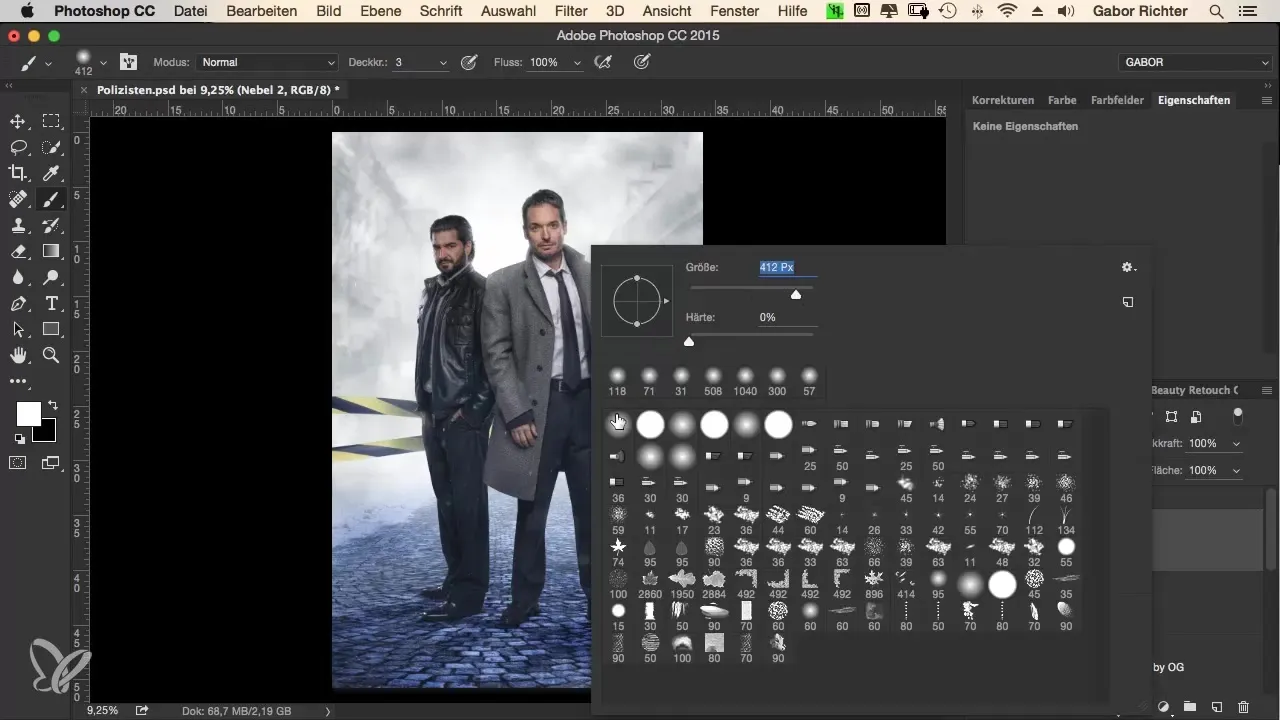
You can add some strokes in the image with a soft brush and very low opacity (1-3%) to enhance the fog effect. These additional fog effects help make the image even more atmospheric.
9. Make fine adjustments
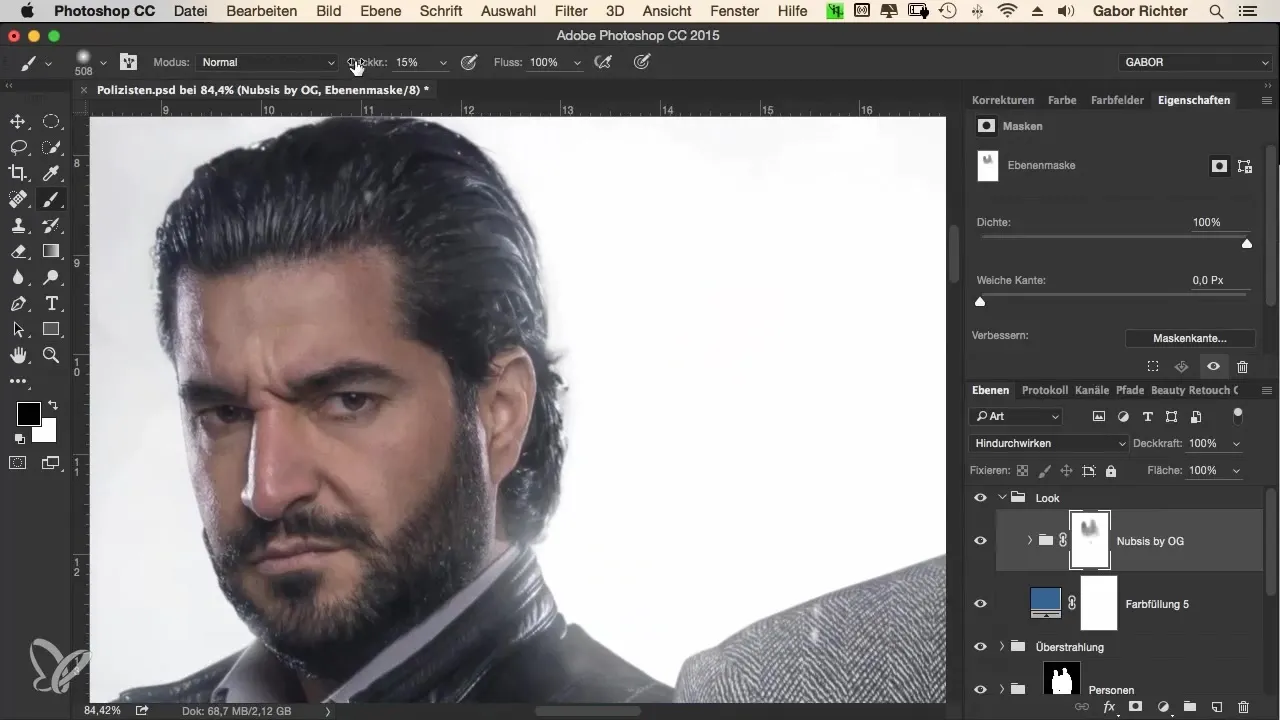
Look at the image from different perspectives and check if any early innovations need to be adjusted or removed to maintain contrast and clarity. Deactivate distracting particles that divert attention from the main focus.
10. Finalization and adjustment
Finally, reduce the opacity of the fog and particle layer to find the perfect balance between contour and mood. Check your image against the original shot and see if you are satisfied with the results.
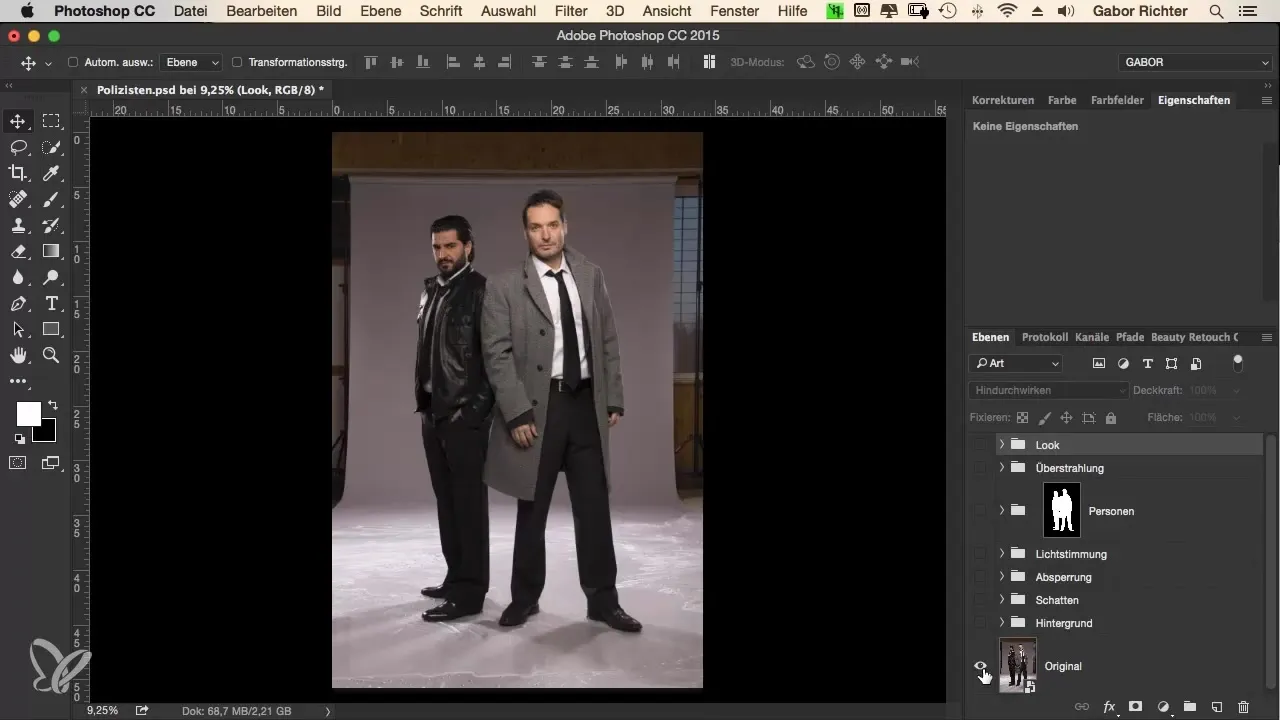
Summary – The Krimilook in Photoshop - Step-by-Step Guide to Creating a Mysterious Image Look
In the course of this tutorial, you have learned how to create a captivating Krimilook in Photoshop with targeted color selection and simple techniques. By following these steps, you can give your image a whole new atmosphere.
Frequently Asked Questions
How do I choose the right color for my image look?Consider the emotions you want to convey and choose a corresponding color that reflects them.
Can I remove or adjust the particles anytime?Yes, thanks to the use of groups and masks, you can make adjustments anytime to optimize the overall image.
What do I do if my image looks too flat?Add a levels adjustment to enhance the shadows and make the image look more vibrant.
