Creating an impressive light effect in your images can make the difference between an average photo and an impressive piece of art. In this guide, you will learn how to create an appealing glow in your subjects using Photoshop. This technique helps the depicted subjects blend more with their background and creates a dynamic visual result.
Key Insights
- Generate a white spot for the glow to achieve a realistic light effect.
- Adjust the brush and opacity optimally to ensure a harmonious integration of the light effect into your image.
- Apply the effect gradually and with patience to achieve a perfect final result.
Step-by-Step Guide
Step 1: Check the Original Situation
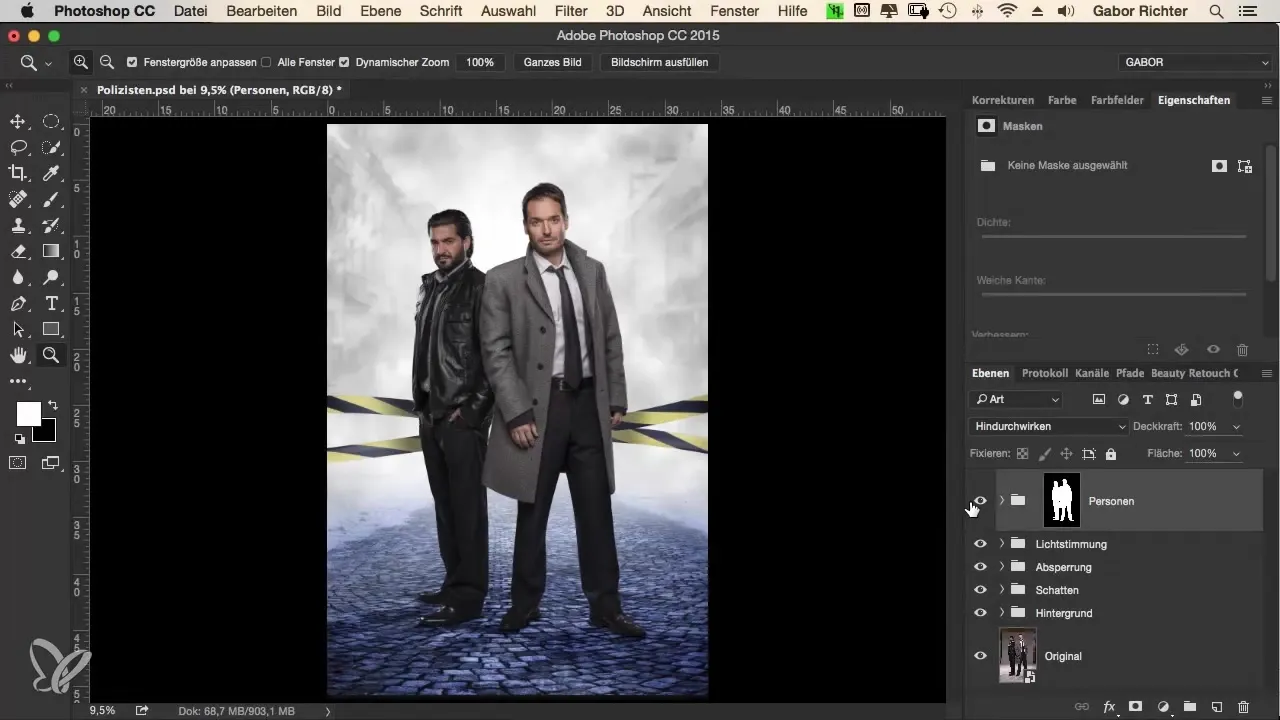
It's important to first take a look at the original image. Check if what you have created is successful and whether the depicted people are clearly recognizable. Do this as the first step to ensure that your further adjustments make sense.
Step 2: Create a Group
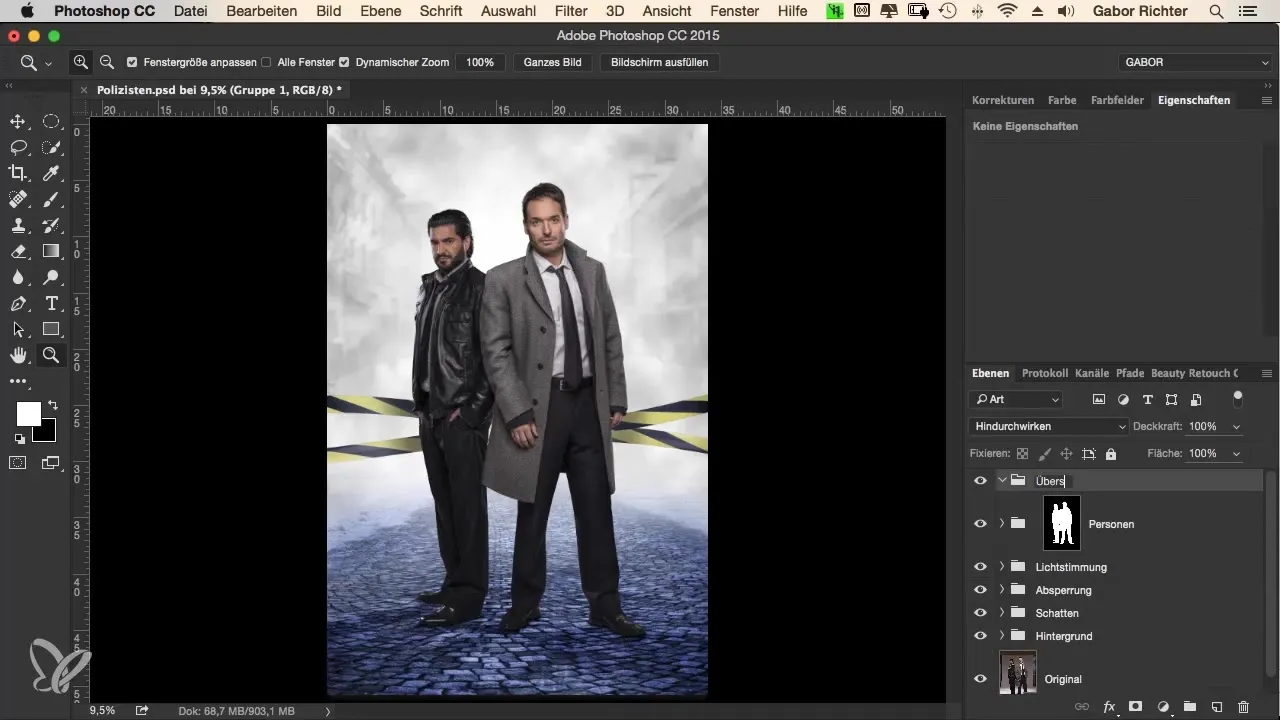
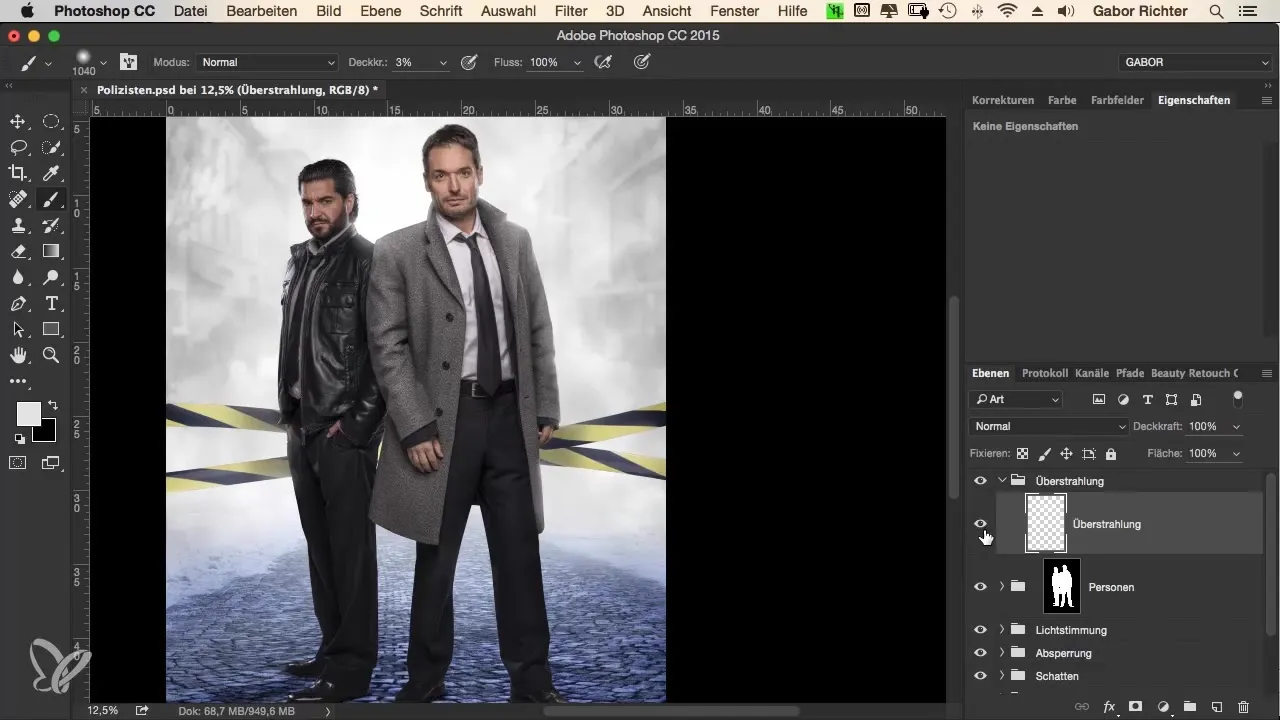
Create a new group in your project and name it "Glow". This keeps you organized and allows you to organize all relevant layers for this effect in one place. It helps you structure your work and switch back to the organizational layers at any time.
Step 3: Create a Blank Layer
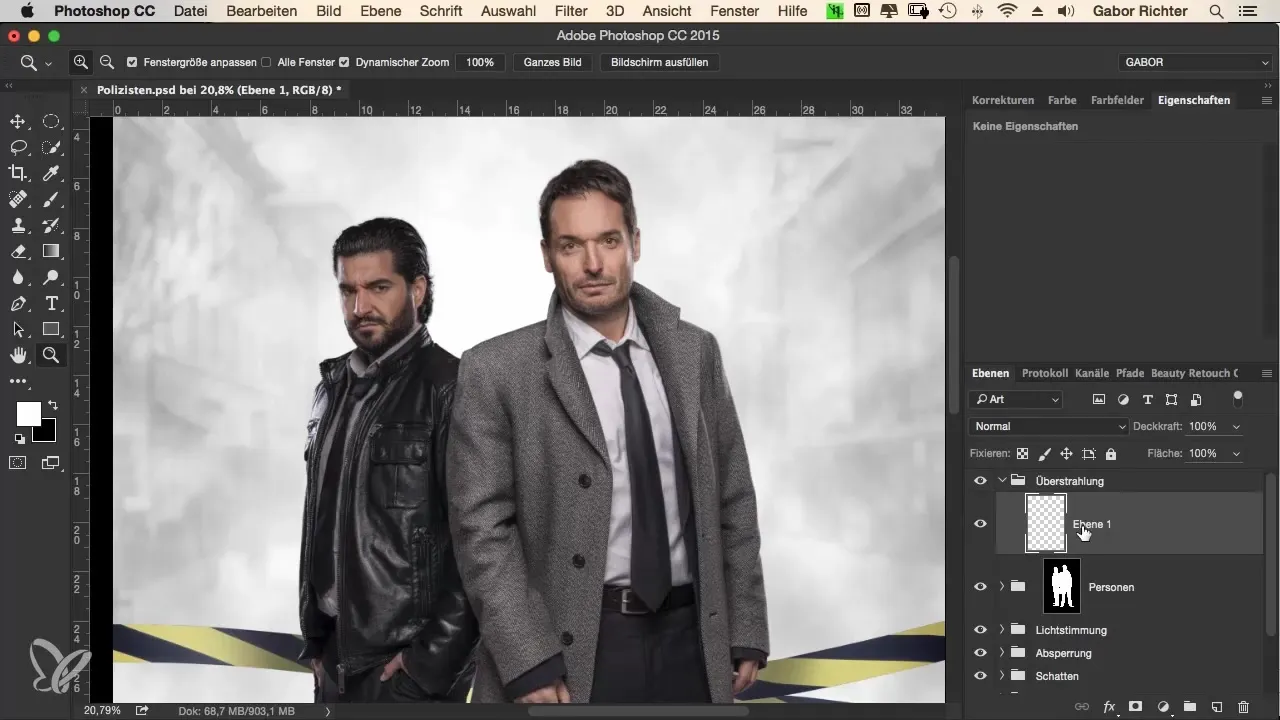
Now that you have your group, create a new blank layer. You can use the same name for this layer to label the effect. This makes it easier to keep track, especially if you have multiple layers in a group.
Step 4: Select Brush
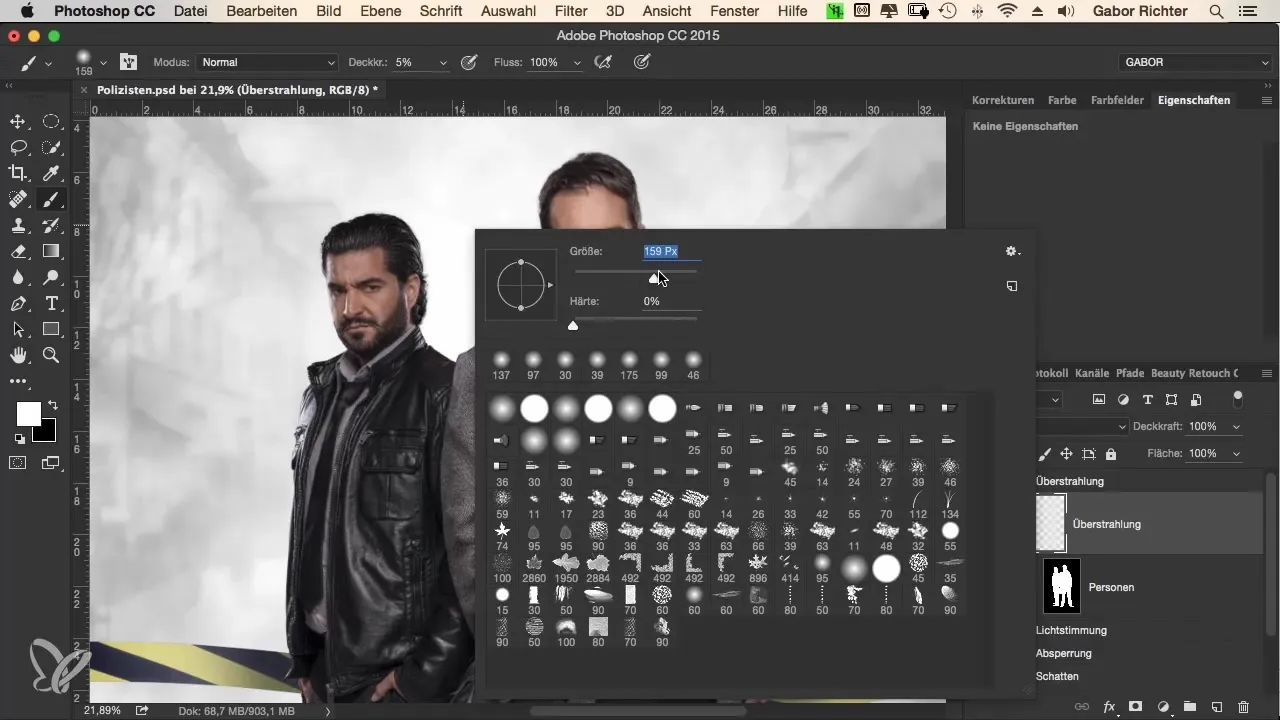
Select a brush with a size of about 200 pixels. Experiment with the size until you achieve the desired presentation for your glow. A larger brush size allows you to place larger light spots and make the image more dynamic.
Step 5: Apply Color
Using the Alt key, you can pick up the brightness information and ensure that you incorporate pure white into your glow. Start painting small lights gradually in areas where the light source should ideally appear, e.g., on the neck of the subjects.

Step 6: Apply Glow
The glow should start subtly. Draw small, point-like light accents and vary the amount to achieve a harmonious distribution. You will find that this enhances the illusion of light while simultaneously covering up imperfect edge areas.
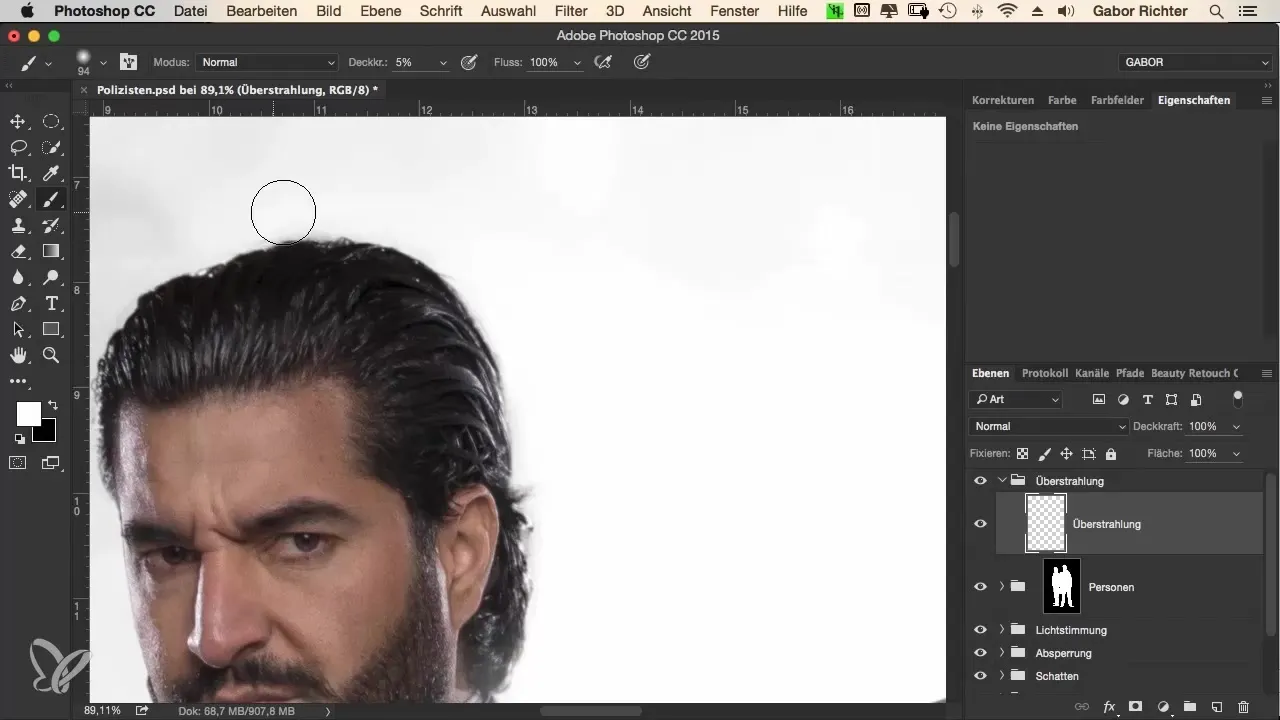
Step 7: Adjust Glow
Make sure to enhance the glow around the edges and hair to amplify the visual effect. Patience is key at this stage. Take your time and experiment with the light spots. You can work over the same areas multiple times to achieve a softer result.
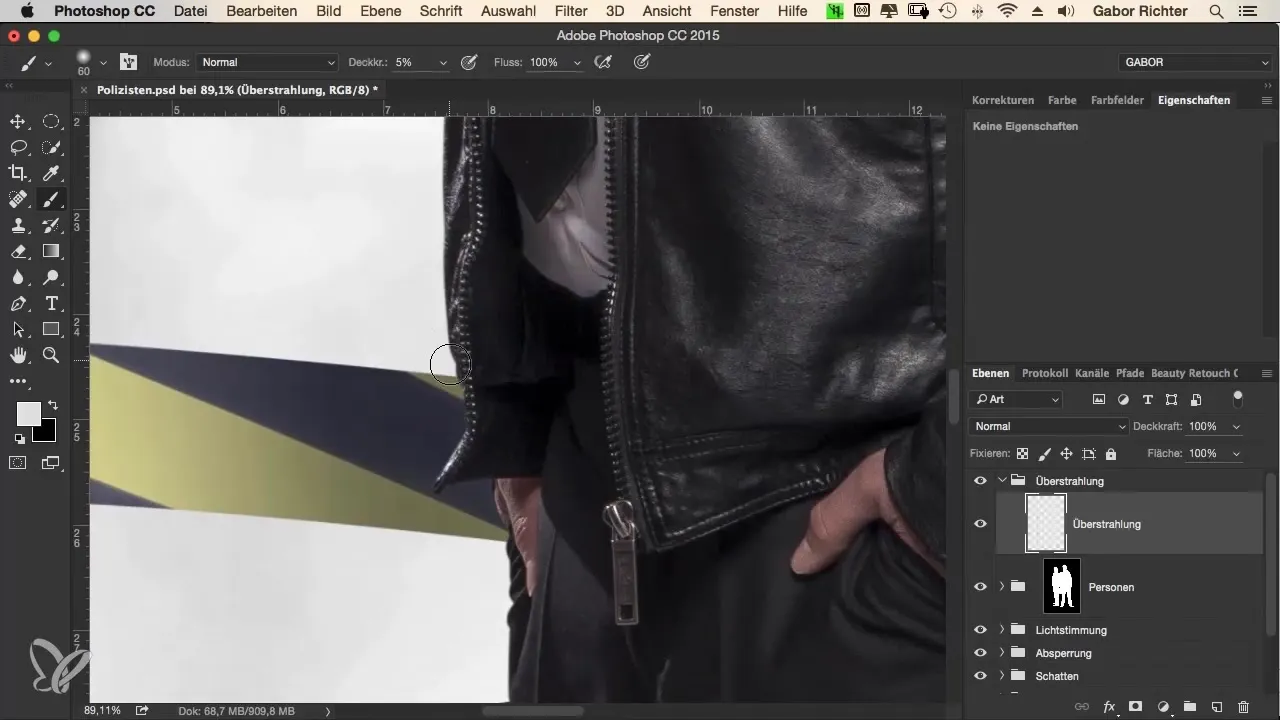
Step 8: Change Brush Size and Opacity
In this step, you can increase the brush size to about 300 pixels and adjust the opacity to 18-20%. This allows you to include larger areas in the glow while ensuring not to cover the facial area too much.
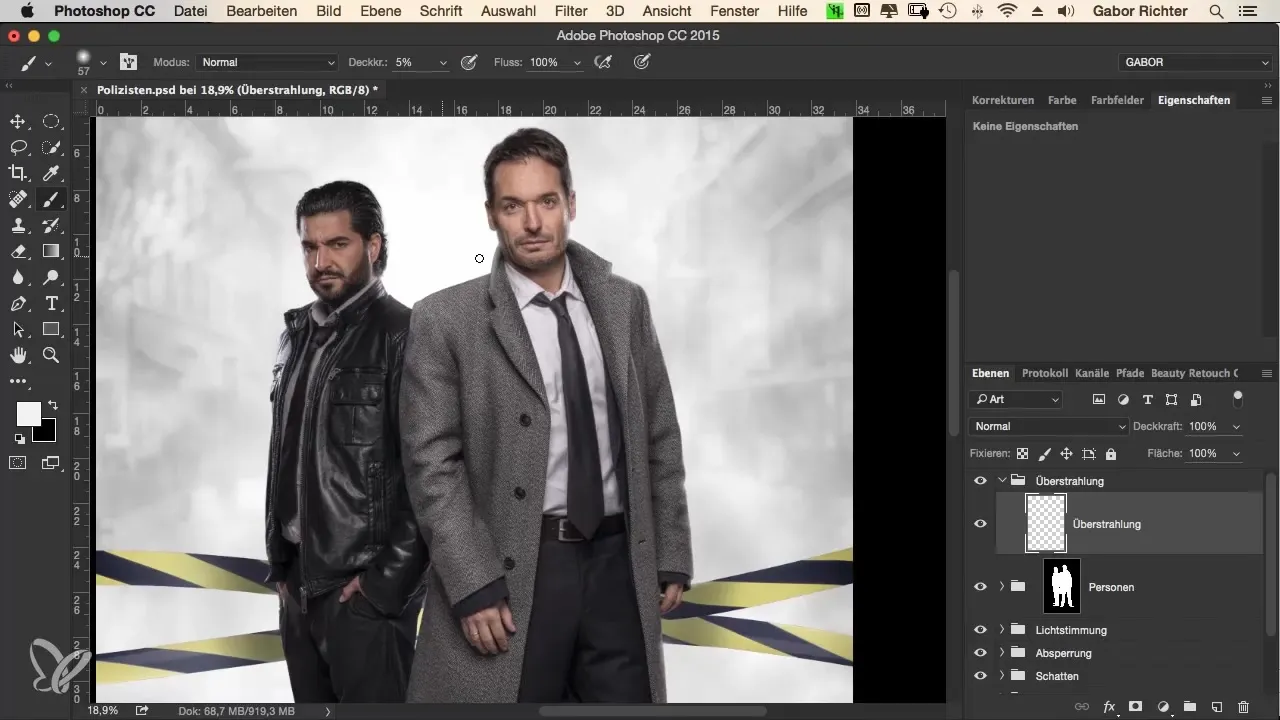
Step 9: Detail Work
Look at the details, such as the edges and the masking tape. It is important that the glow helps everything to merge harmoniously. Make sure not to paint over the skin to ensure a realistic effect.
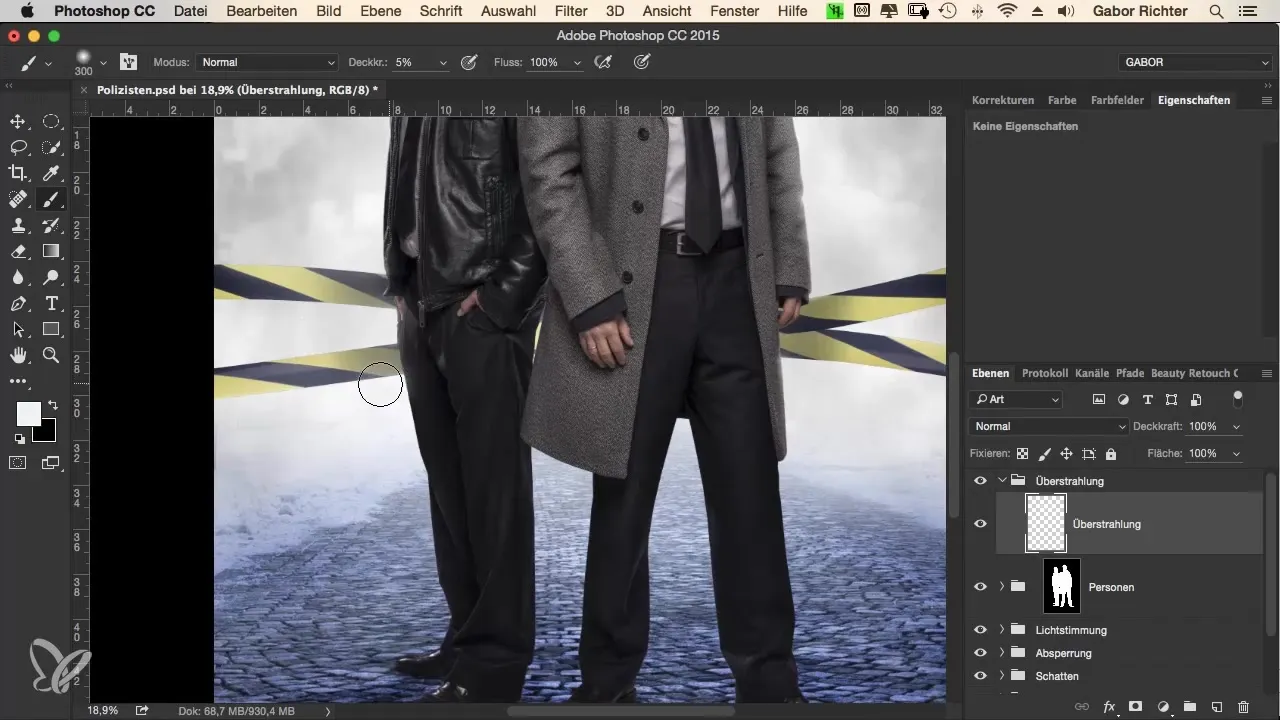
Step 10: Final Check
After the revision, check the image against the original shot. Ensure that the glow does not look exaggerated or unnatural. A single layer can already achieve an impressive effect when applied correctly.
Summary - The Criminal Look – Effectively Implementing the Glow Effect in Photoshop
Applying glows in Photoshop is a creative technique that can significantly enhance your image editing process. By combining brush sizes, tones, and patience correctly, you can achieve impressive light effects. Keep your layers clean and organized to maintain clarity and unleash your creative potential.
Frequently Asked Questions
How high should the opacity be when applying the glow?An opacity of 5% is optimal for achieving a soft effect.
Which tool is used for the glow?A brush of an appropriate size, e.g., 200 to 300 pixels.
Can I apply the glow to existing layers?It is recommended to create a new layer or group to keep track.


