
The crime scene look - workflow in Photoshop

- 17 lessons in over 90 minutes of video training from digital artist Gabor Richter
- Follow the creation of a composing scene and the complete workflow
- Including project files to join in and learn hands-on
Merge layers and effects to create the perfect image montage! What is important and how to implement it - presented in concrete examples.
17 Videos, 124 minutes
The crime look
The crime scene look - Photoshop workflow - 01 Puzzling, exciting and mysterious
2 minThis applies to the statement of the motif, the mood of which was created using Photoshop. Be there when Gabor lets his "pen tablet" spin and digitally creates a new scenario with you. Apart from the learning factor, which Gabor conveys simply, understandably and without complicated language, you are sure to have a lot of fun.
The crime scene look - Workflow in Photoshop - 02 Raw development
6 minRaw data can and should always be developed correctly for its intended purpose. It is the same with this somewhat more specialized raw development, where some sliders are not moved exactly as in the textbook. In this video, Gabor shows you what you should pay attention to during raw development in order to prepare the motif well for further procedures.
The crime scene look - Workflow in Photoshop - 03 Clipping
12 minIn this video, Gabor will show you two different ways of cropping. He explains the advantages and disadvantages of both options for separating one or more people from the background. In the video, you will find out which one suits you better and is more suitable for you.
The crime scene look - Workflow in Photoshop - 04 Background
8 minA montage of a person with a new background is not always easy. Especially when it comes to placing a new background so that it fits in. In this video, Gabor will explain and show you how to proceed in order to quickly achieve a usable result.
The crime scene look - Workflow in Photoshop - 05 Shadows
11 minShadows are the be-all and end-all of a montage. The shadow usually decides whether a montage has turned out well or not. In this video, Gabor gives you his most important tips to make the whole thing look as good as possible.
The crime scene look - Workflow in Photoshop - 06 Sharpness adjustments
6 minUnfortunately, this topic is too often forgotten when it comes to combining pixels from different motifs. Gabor will explain to you how to deal with different levels of sharpness and how you can adjust them.
The crime scene look - Workflow in Photoshop - 07 Fog
9 minTo use fog to create a dark mood, it is not always necessary to use Stocker materials. Especially not if you want to customize the fog the way you want it. Gabor will show you here how to create your own fog in Photoshop in no time at all.
The crime scene look - Workflow in Photoshop - 08 Color adjustments
8 minColors usually play a very important role in image montages. Especially when it comes to matching the color of the people to the background. In this video, you can see how easy it is to do this and how you can use it for other subjects in the future.
The crime scene look - Workflow in Photoshop - 09 Lighting mood
5 minThe human eye likes to wander from dark to light areas. In this video, Gabor shows you how you can use this knowledge and easily implement it so that viewers look where they should.
The crime scene look - Workflow in Photoshop - 10 Blocking
7 minSo that the motif does not remain too sober and the viewer can also develop a little story in their own head, Gabor will add a little extra to the picture. This barrier ensures that the whole thing is steered in the direction of the genre.
The crime scene look - Photoshop workflow - 11 Dodge and Burn (skin)
8 minPainting with light is always exciting. Especially when it comes to changing the shapes of people. In this video, however, Gabor will also show how he models with light in such a way that the people also appear much more three-dimensional.
The Criminal Look - Workflow in Photoshop - 12 Dodge and Burn (Clothing)
9 minThe garments should not only look three-dimensional, but also more "dimensional". Gabor will show you in detail how he works to make folds and flat shapes rounder.
The crime scene look - Photoshop workflow - 13 Overexposure
8 minIn this video, Gabor shows you how he goes about creating an overexposure in the subject. This additional artificial light will also help the people blend in even more with the background.
The crime scene look - Photoshop workflow - 14 image looks
8 minCreating a picture look is often difficult for many people. Gabor will show you how and why he decided on this one color and, of course, what his approach is.
The crime scene look - Workflow in Photoshop - 15 Camera Raw filters for the finale
4 minIn this video, Gabor shows you how to achieve the final image look with the help of the Camera Raw filter. With a selection of many settings in a dialog, you can make very specific and, above all, quick corrections.
The crime scene look - Workflow in Photoshop - 16 font
11 minThis video is all about the icing on the cake: Here, the photo is finished off with a cool lettering.
You might also like
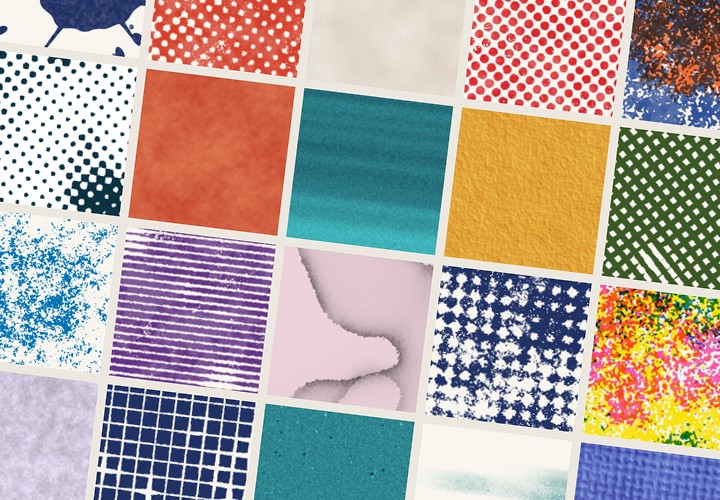
20 sets in 4K (4096 × 4096 px, 300 DPI) as JPG plus Photoshop patterns, calibrated to the fill method

More style, more power, more templates!

Full power, more inspirations, maximum WOW effect!
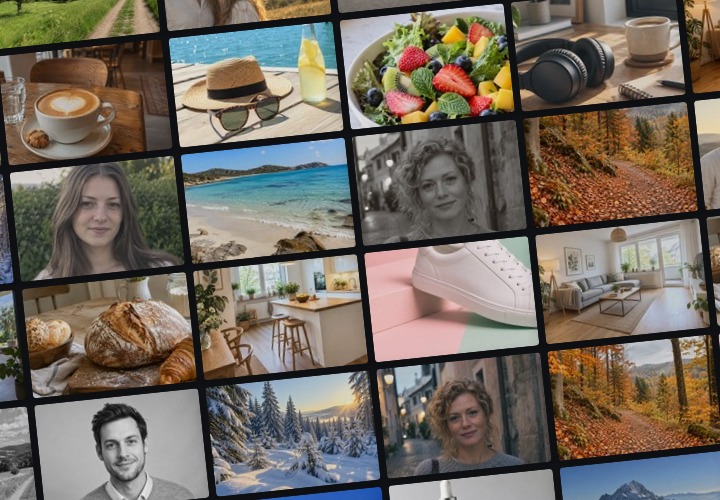
100 presets in 5 themes · each look in .xmp, .dng, and .costyle · for desktop and smartphone
Comment now „The crime scene look - workflow in Photoshop“