Sharpness-Adjustments play a crucial role in harmoniously connecting various image elements in a montage. In particular, the transition between the ground and the feet should appear smooth and convincing. In this guide, we will walk through the technique of sharpness adjustments in Photoshop step by step, so that in the end you achieve a professional result.
Key Insights
- The correct sharpness adjustment in the ground and shoe areas is crucial for a credible transition.
- Using masks and blur filters achieves more natural transitions.
- Continuous checking of sharpness and adjustments lead to better results.
Step-by-Step Guide
1. Analyze the Starting Situation
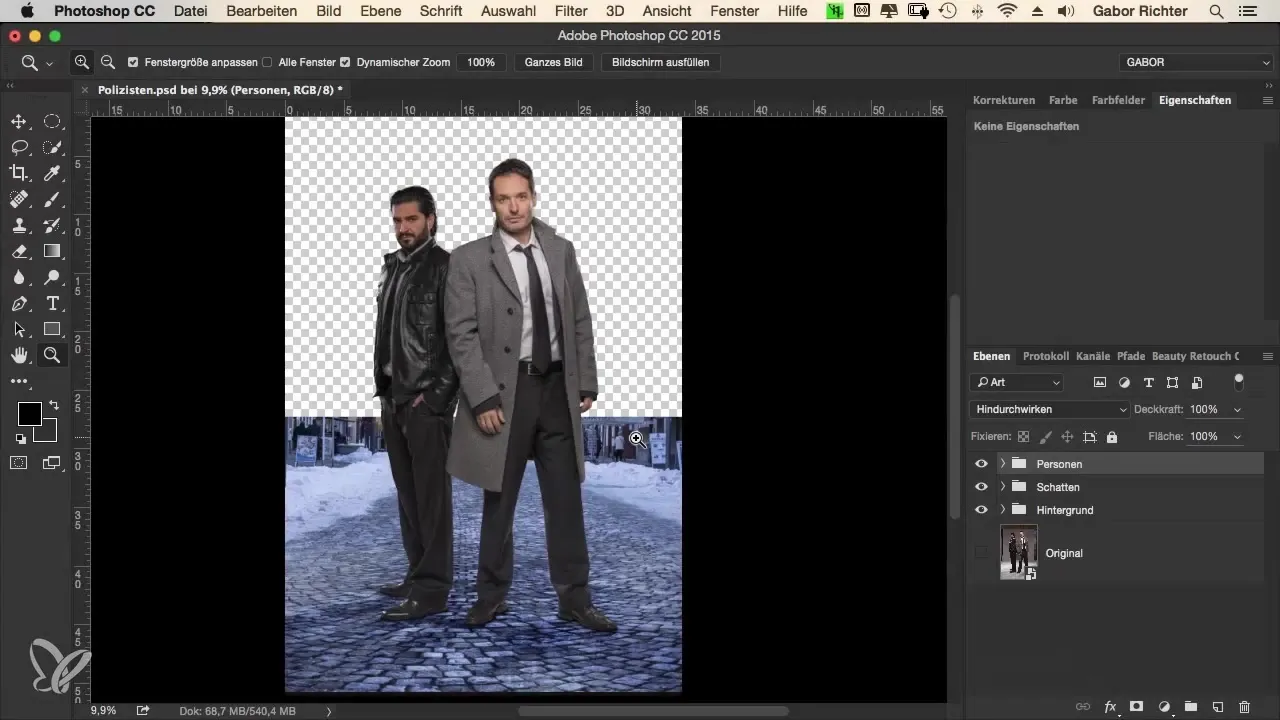
Before we begin with the adjustments, it is important to assess the current sharpness situation. Make sure that the sharpness in the lower third of the image is optimally set. Often, the transitions between the ground and the shoes are the critical point in a montage.
2. Define Soft Edges
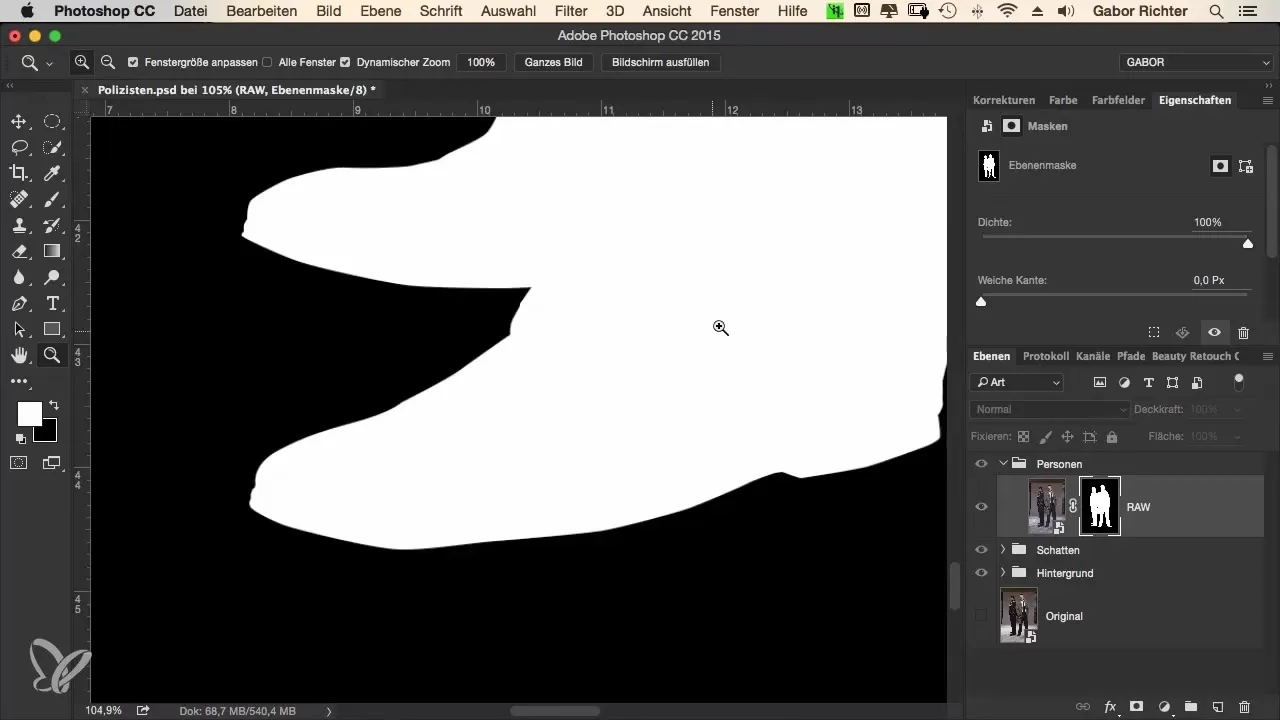
To improve the sharpness of the cut-out person, go to the mask of your cut-out. Here you can soften the sharp edges. A value of one pixel for the edge softness is often sufficient to minimize unnatural sharp edges.
3. Apply the Blur Filter
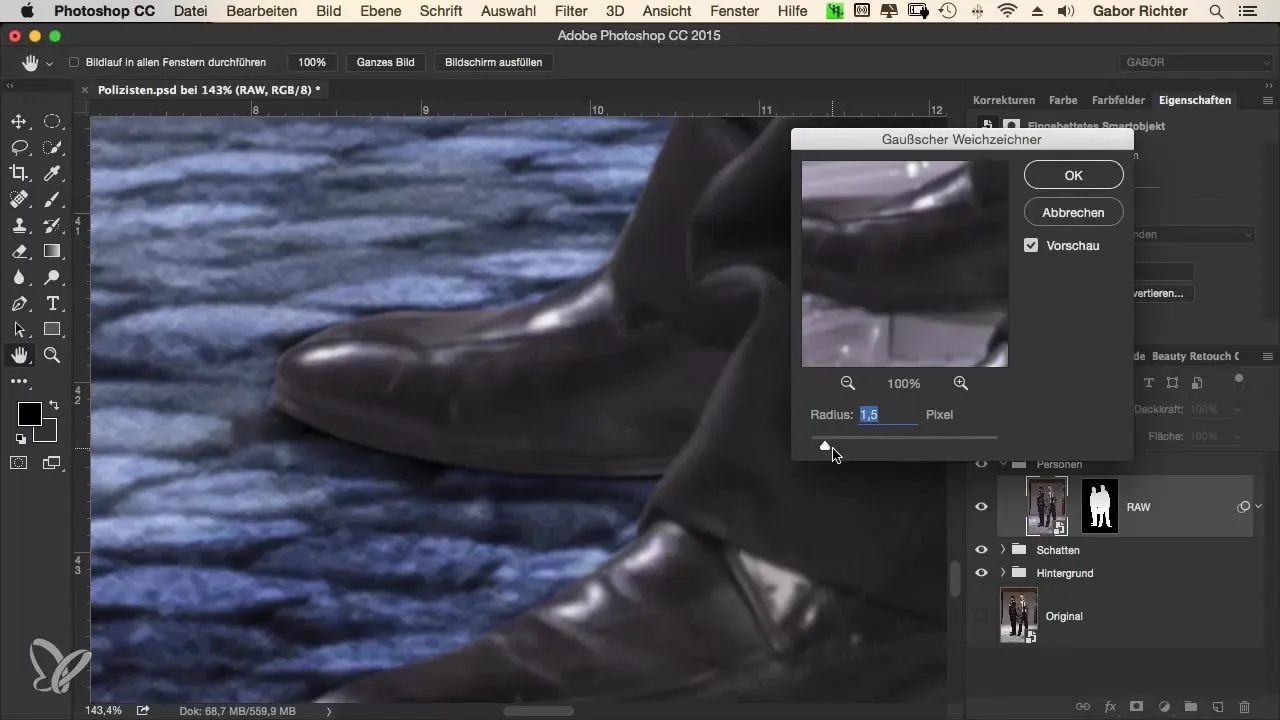
Now you need to apply the blur filter. Select the Gaussian Blur and set a value of about 1.5. Ensure that the entire image area becomes blurry, but this is not a problem at this point since we will fix that shortly.
4. Invert the Mask
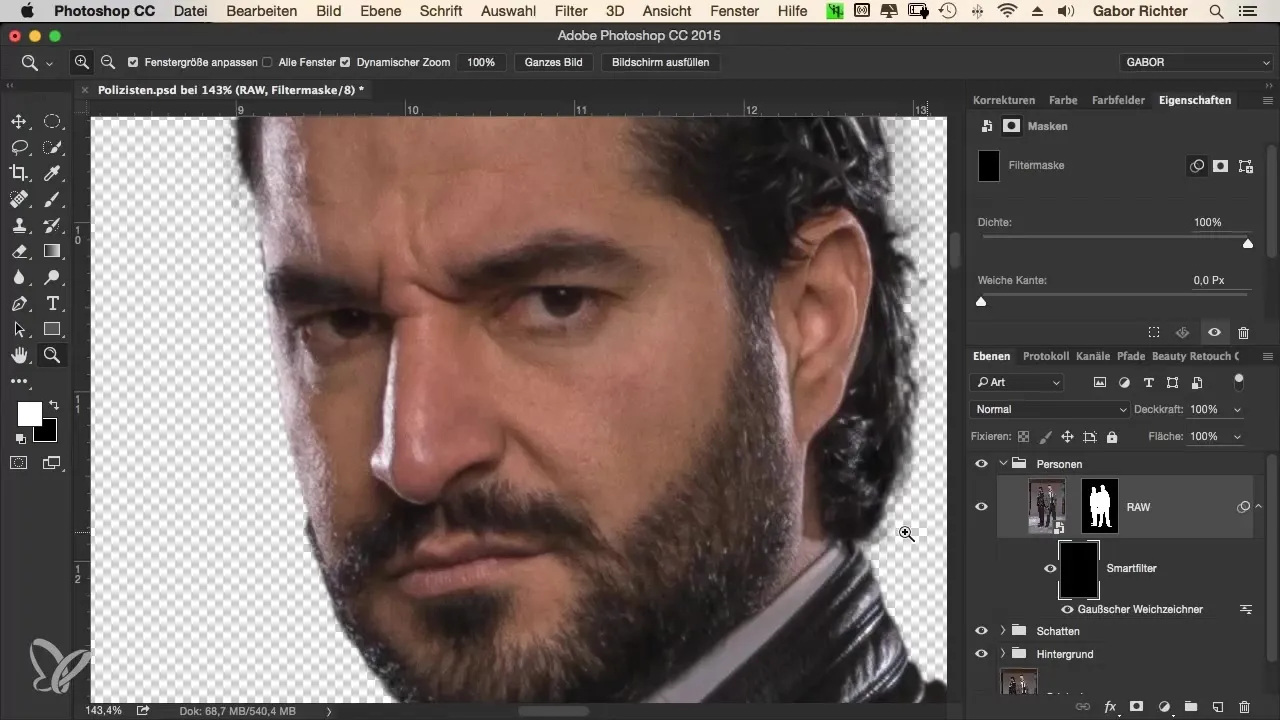
After applying the filter, you will notice that the entire image is blurry. To correct this, you need to invert the mask. This is done with the shortcut Command + I (or Control + I).
5. Partial Sharpness Adjustment
Now select the area of the shoes. Go back to the mask and set the foreground color to white with an opacity of about 20%. You can now use a soft brush to soften the transitions at the shoes. Work in several strokes to improve the natural transitions.
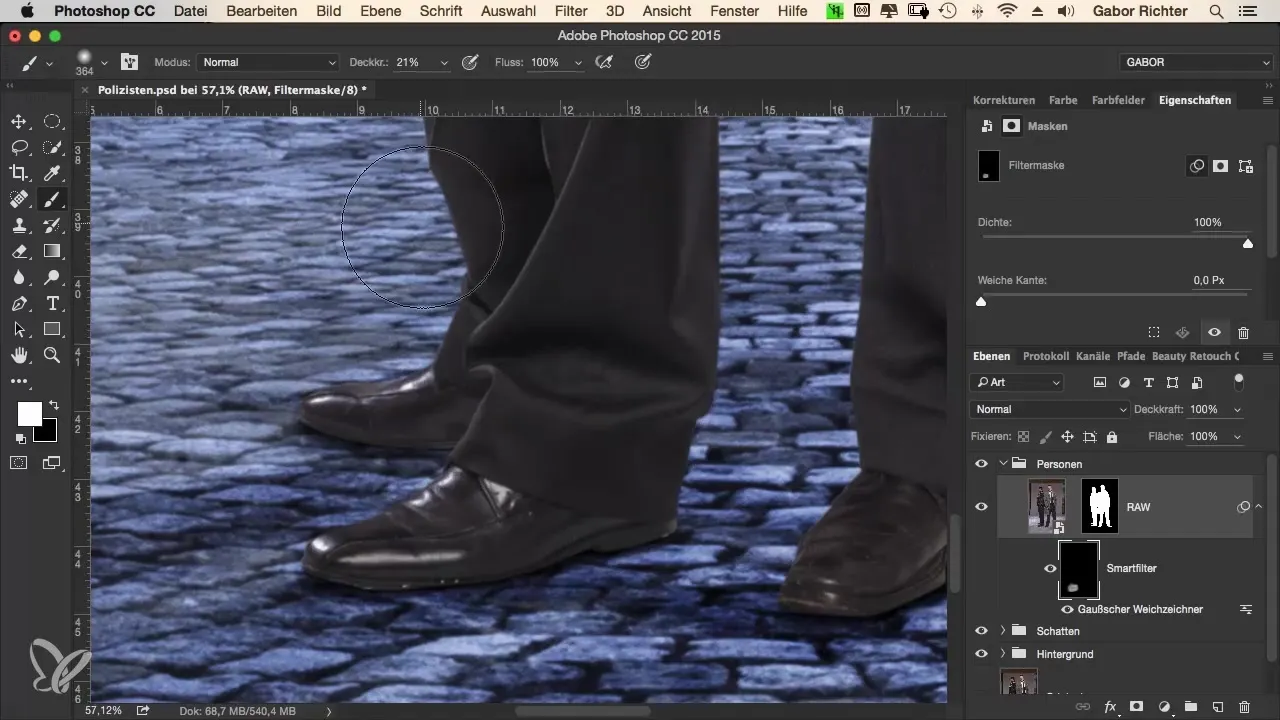
6. Fine-Tuning the Mask
Take your time to further optimize the mask. Pay special attention to the shoe sole; here a soft edge is particularly important as it represents the transition to the ground. Reduce the hardness of the brush tool to zero to achieve a smooth transition.
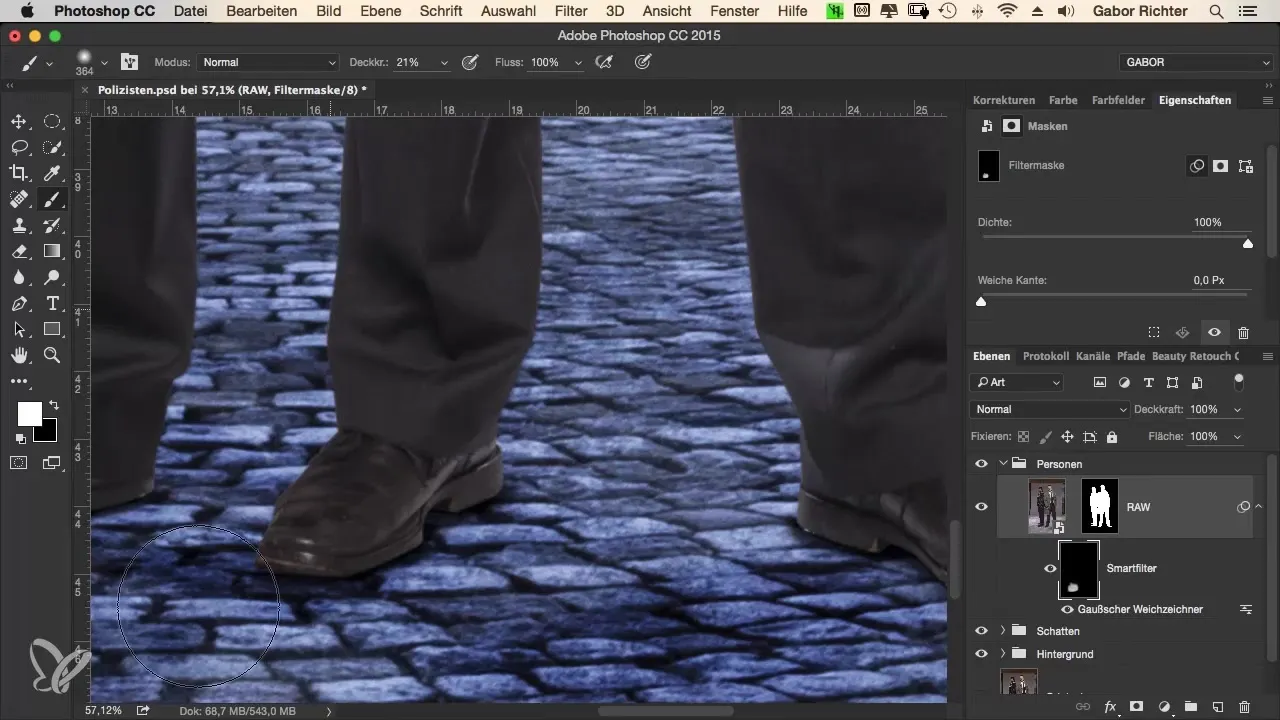
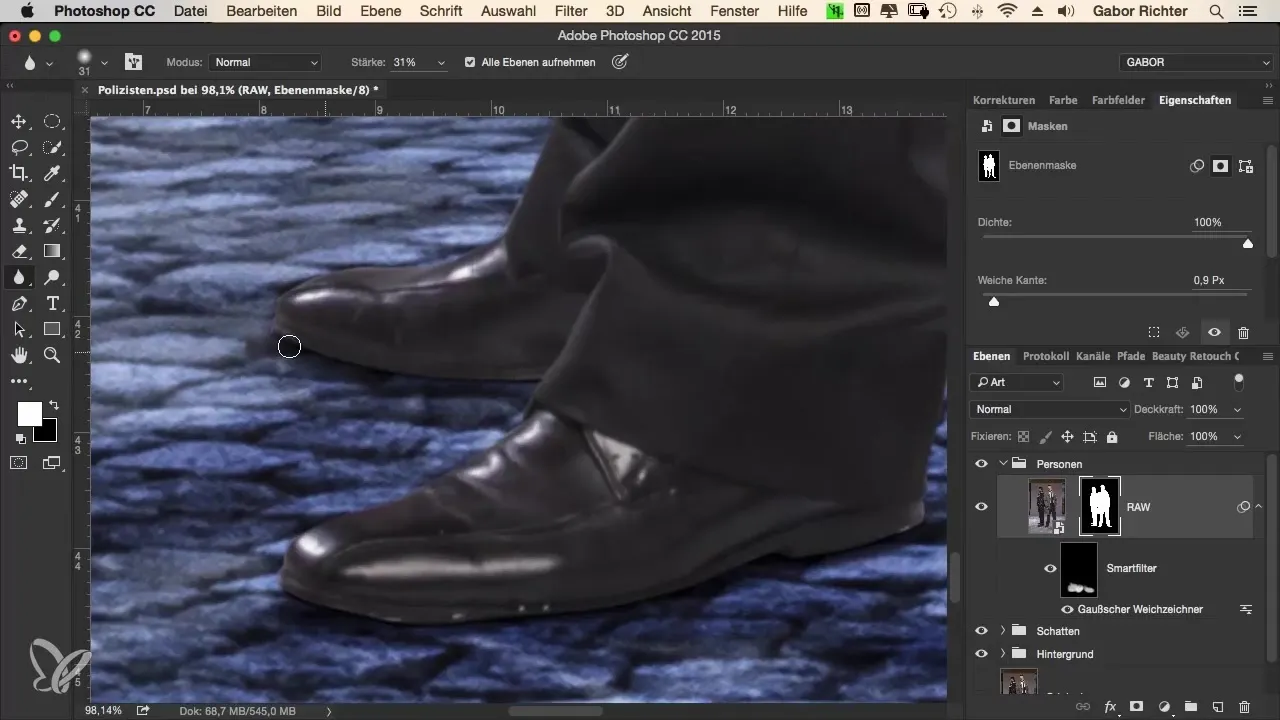
7. Deeper Sharpness Adjustments
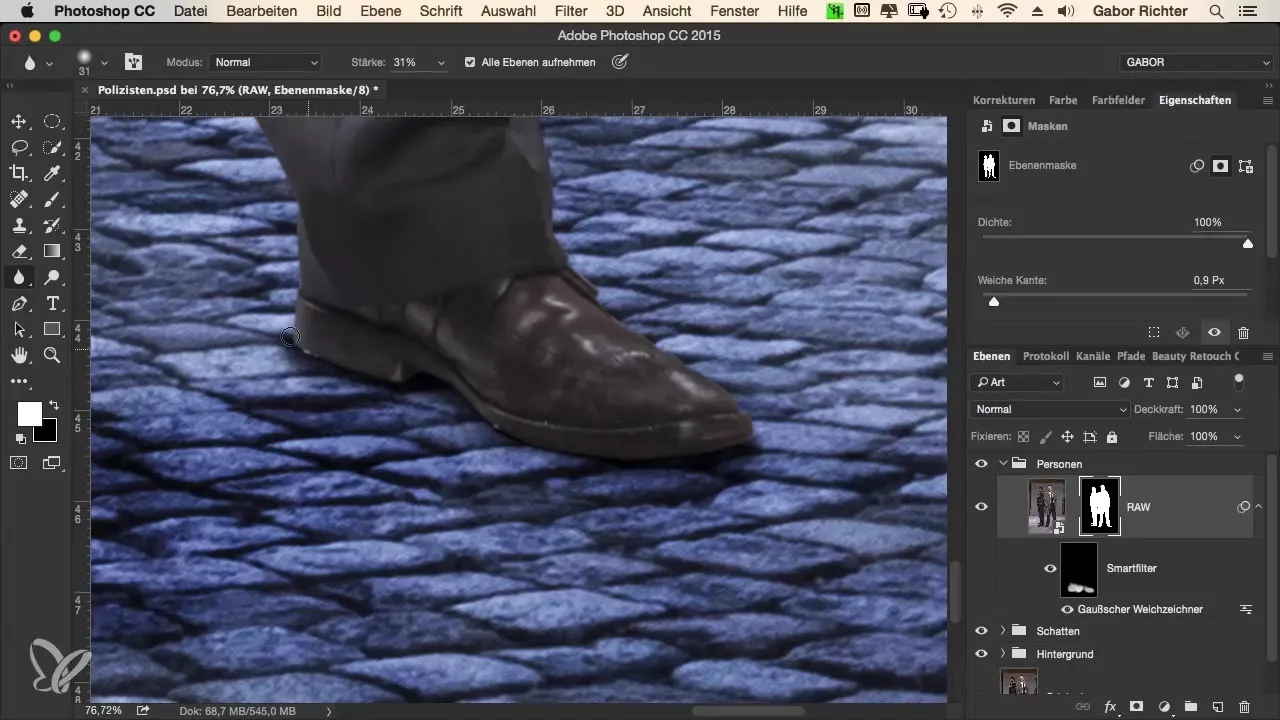
To further optimize the contours of the shoes and the transition to the ground, you can use the blur tool with a strength of about 30 on the mask. This is crucial so that the connection between the elements does not appear sharp-edged.
8. Color and Brightness Adjustments (Future Steps)
In the final step, which should be done later, color and brightness adjustments are needed. These are important to match the shoes to the ground and to create a cohesive image. Make sure that all elements harmonize before you review the final product.
Summary - The Crime Look - Effective Sharpness Adjustments in Photoshop
The sharpness adjustments in the lower third of the image are vital for realistic montages. With targeted edits via masks and blurs, you create a harmonious transition between the image elements. Future adjustments in color and brightness are the next steps to achieve a coherent overall image.
Frequently Asked Questions
What are the main steps for sharpness adjustment?The main steps are analyzing the starting situation, softening the contours, applying masks, and partial sharpness adjustment.
How can I soften the edges?You can soften the edges by using a mask for the cut-out and making the edges about one pixel soft.
What is the advantage of the blur filter?The blur filter allows you to make the transition between different image elements smoother, making them appear more realistic.
How do I handle blurred overall images?If the entire image becomes blurry, invert the mask to gently refine only specific areas.
What follows after sharpness adjustment?After sharpness adjustment, color and brightness adjustments should be made to achieve a harmonious overall image.


