It is essential to design your website to function optimally for both visitors and search engines. A well-structured navigation and appealing widgets contribute significantly to keeping users on the site longer and helping them find their way better. In this guide, you will learn how to set up effective menus and widgets to make your website more appealing and enhance its performance.
Key Insights
- The correct naming and structuring of menus affects search engine optimization.
- Widgets can be used to present content more clearly and improve the user experience.
- Custom links in menus create internal links that increase the relevance of the website.
Step-by-Step Guide
Step 1: Create a Sample Post
Start by creating a sample post. This will serve as a basis for displaying content in the widgets. Use an appropriate topic, such as "Wedding Checklist." Once you’ve written the post, publish it.
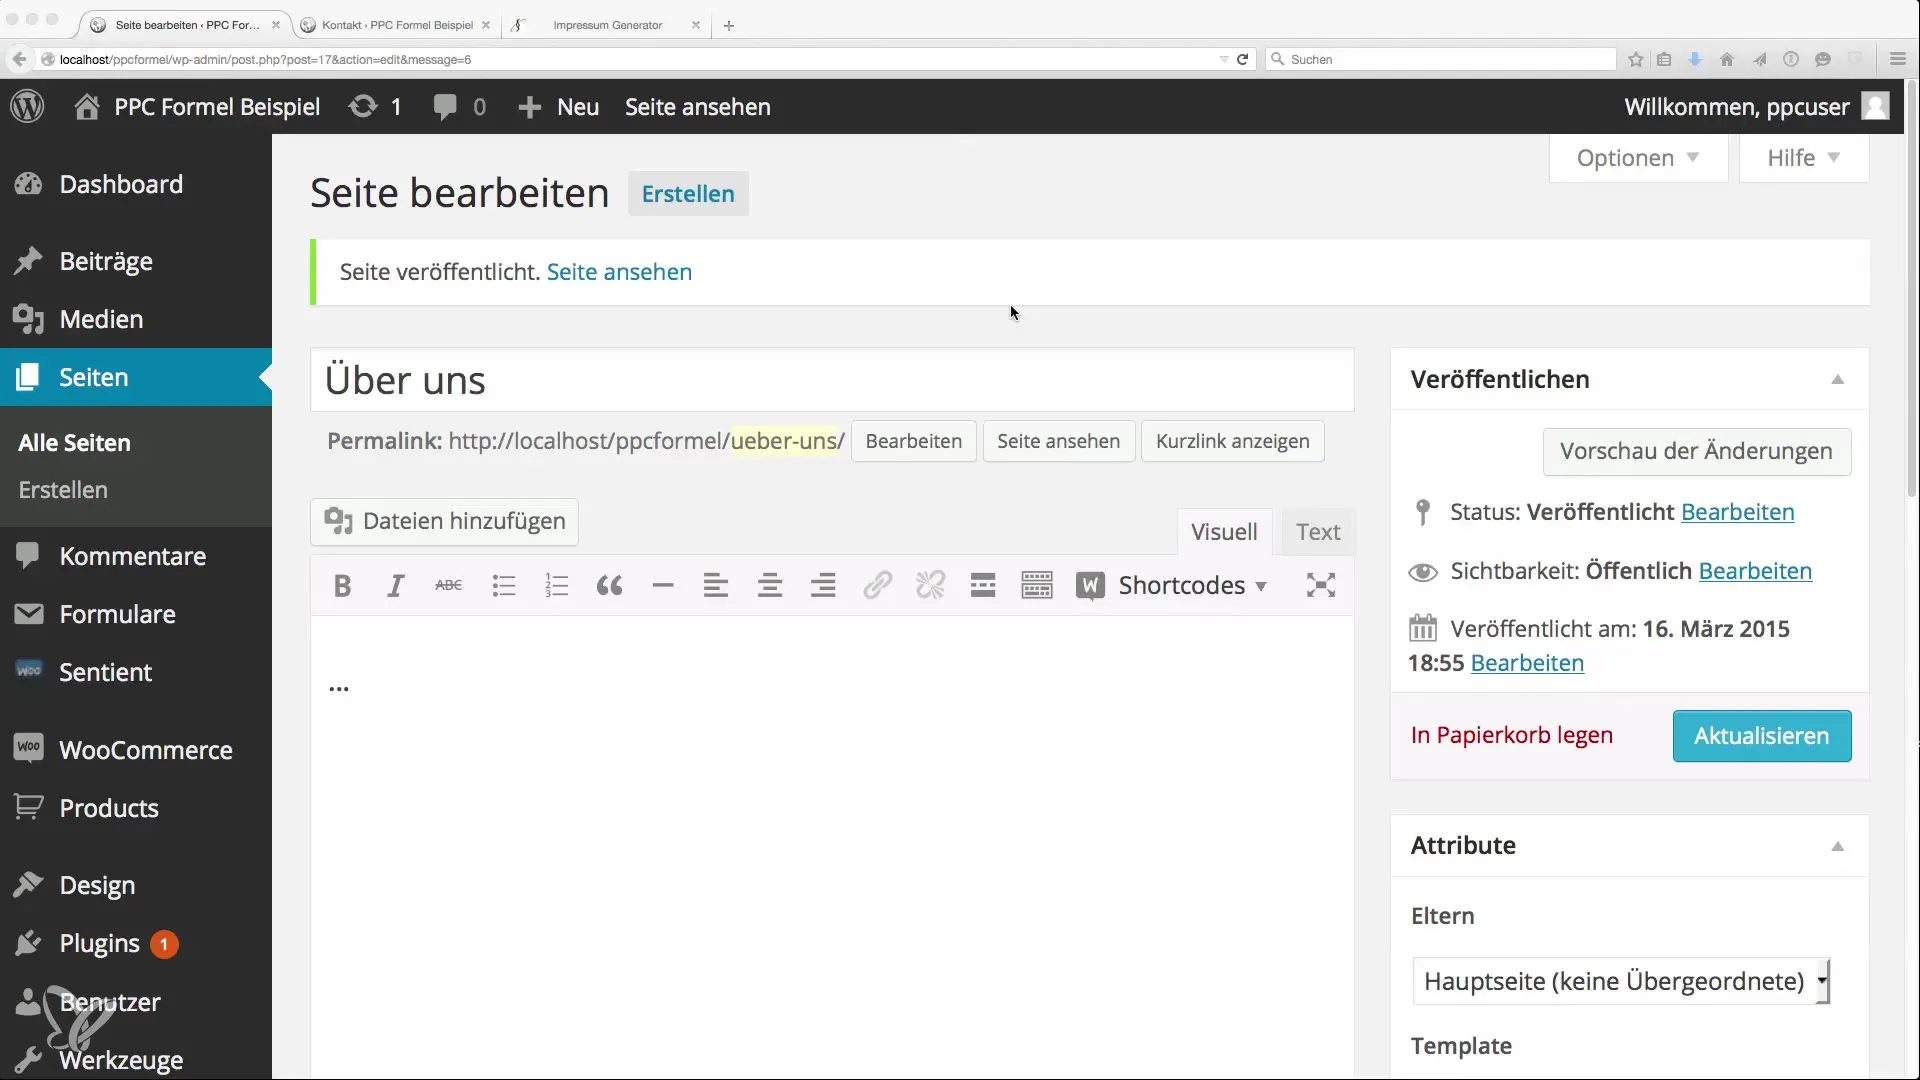
Step 2: Create a Main Menu
To set up the navigation, go to the "Design" section and select "Menus." Here you will create your first menu. Name it something like "Main Menu."
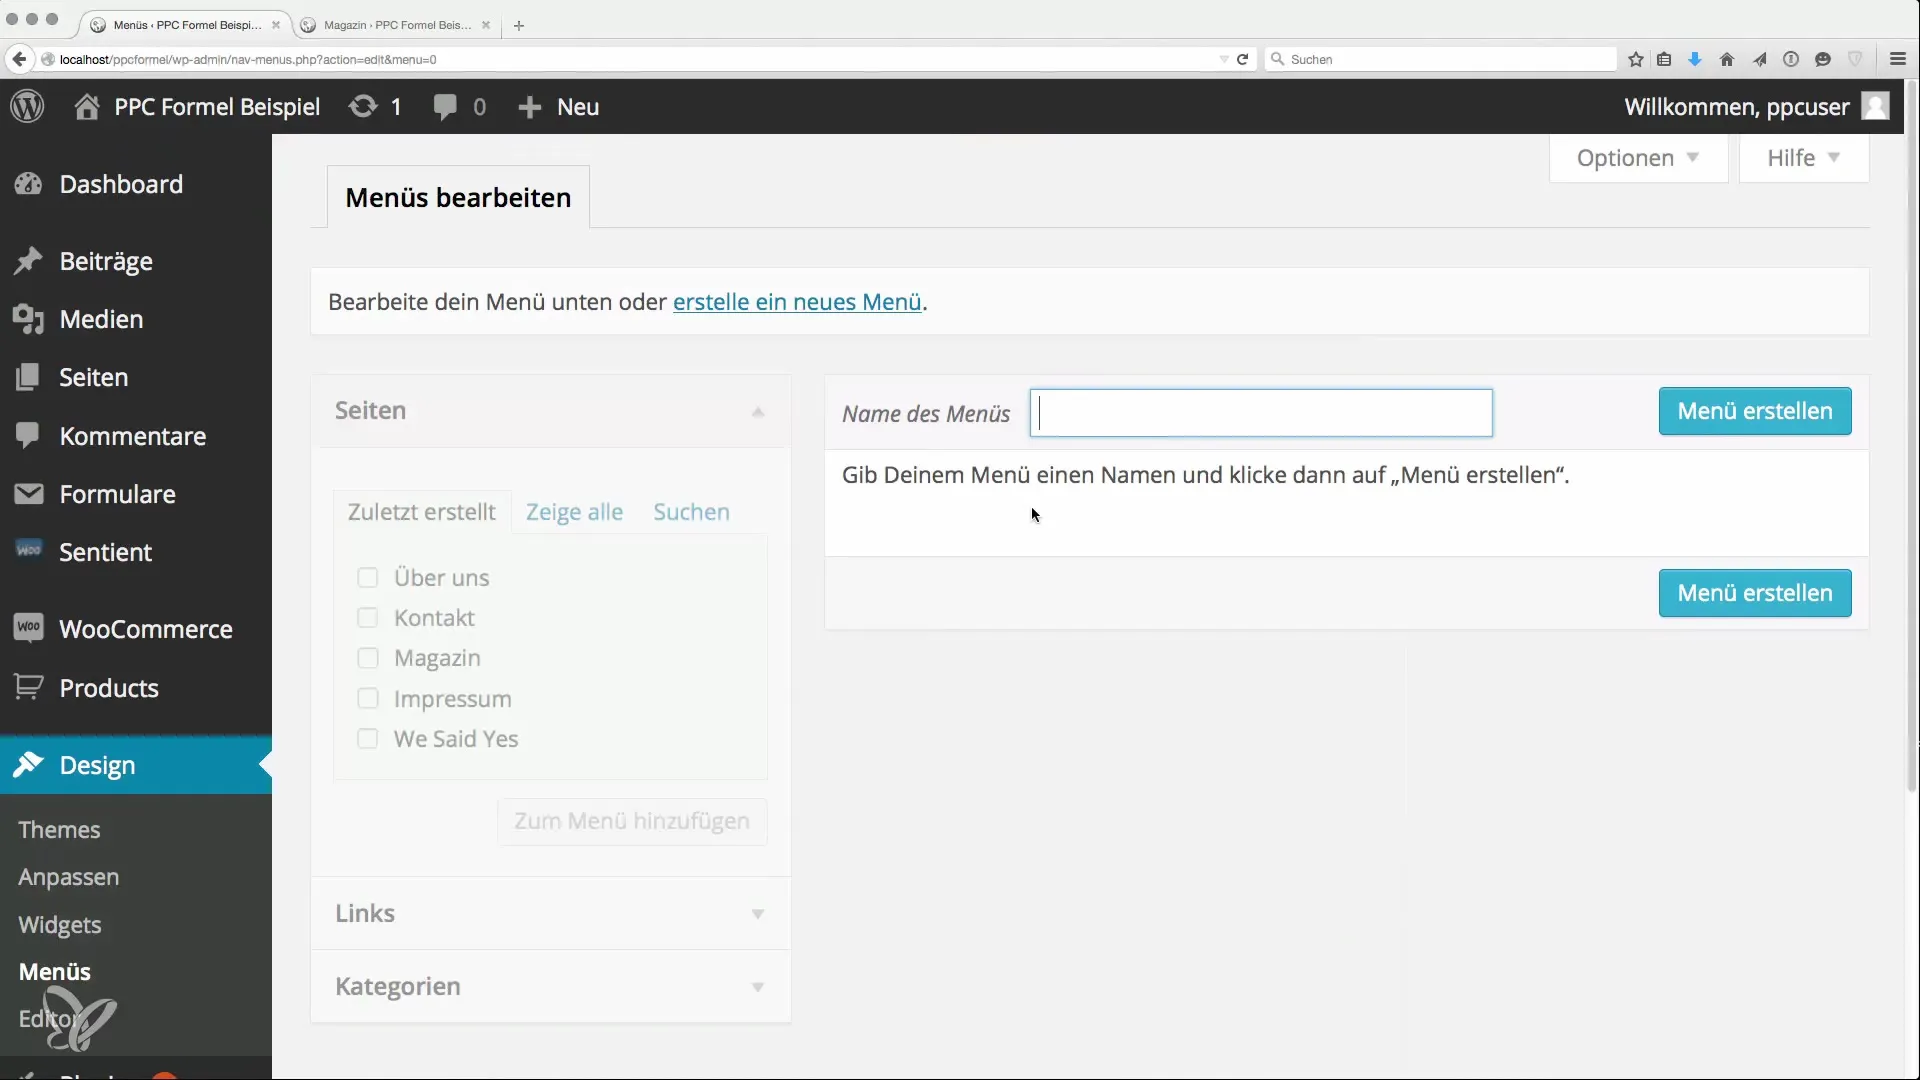
Step 3: Add Pages to Your Menu
Then add the various pages you want to work with. For example, select the homepage and set its displayed name in the menu to "Home." This prevents duplicate keywords from negatively impacting SEO.
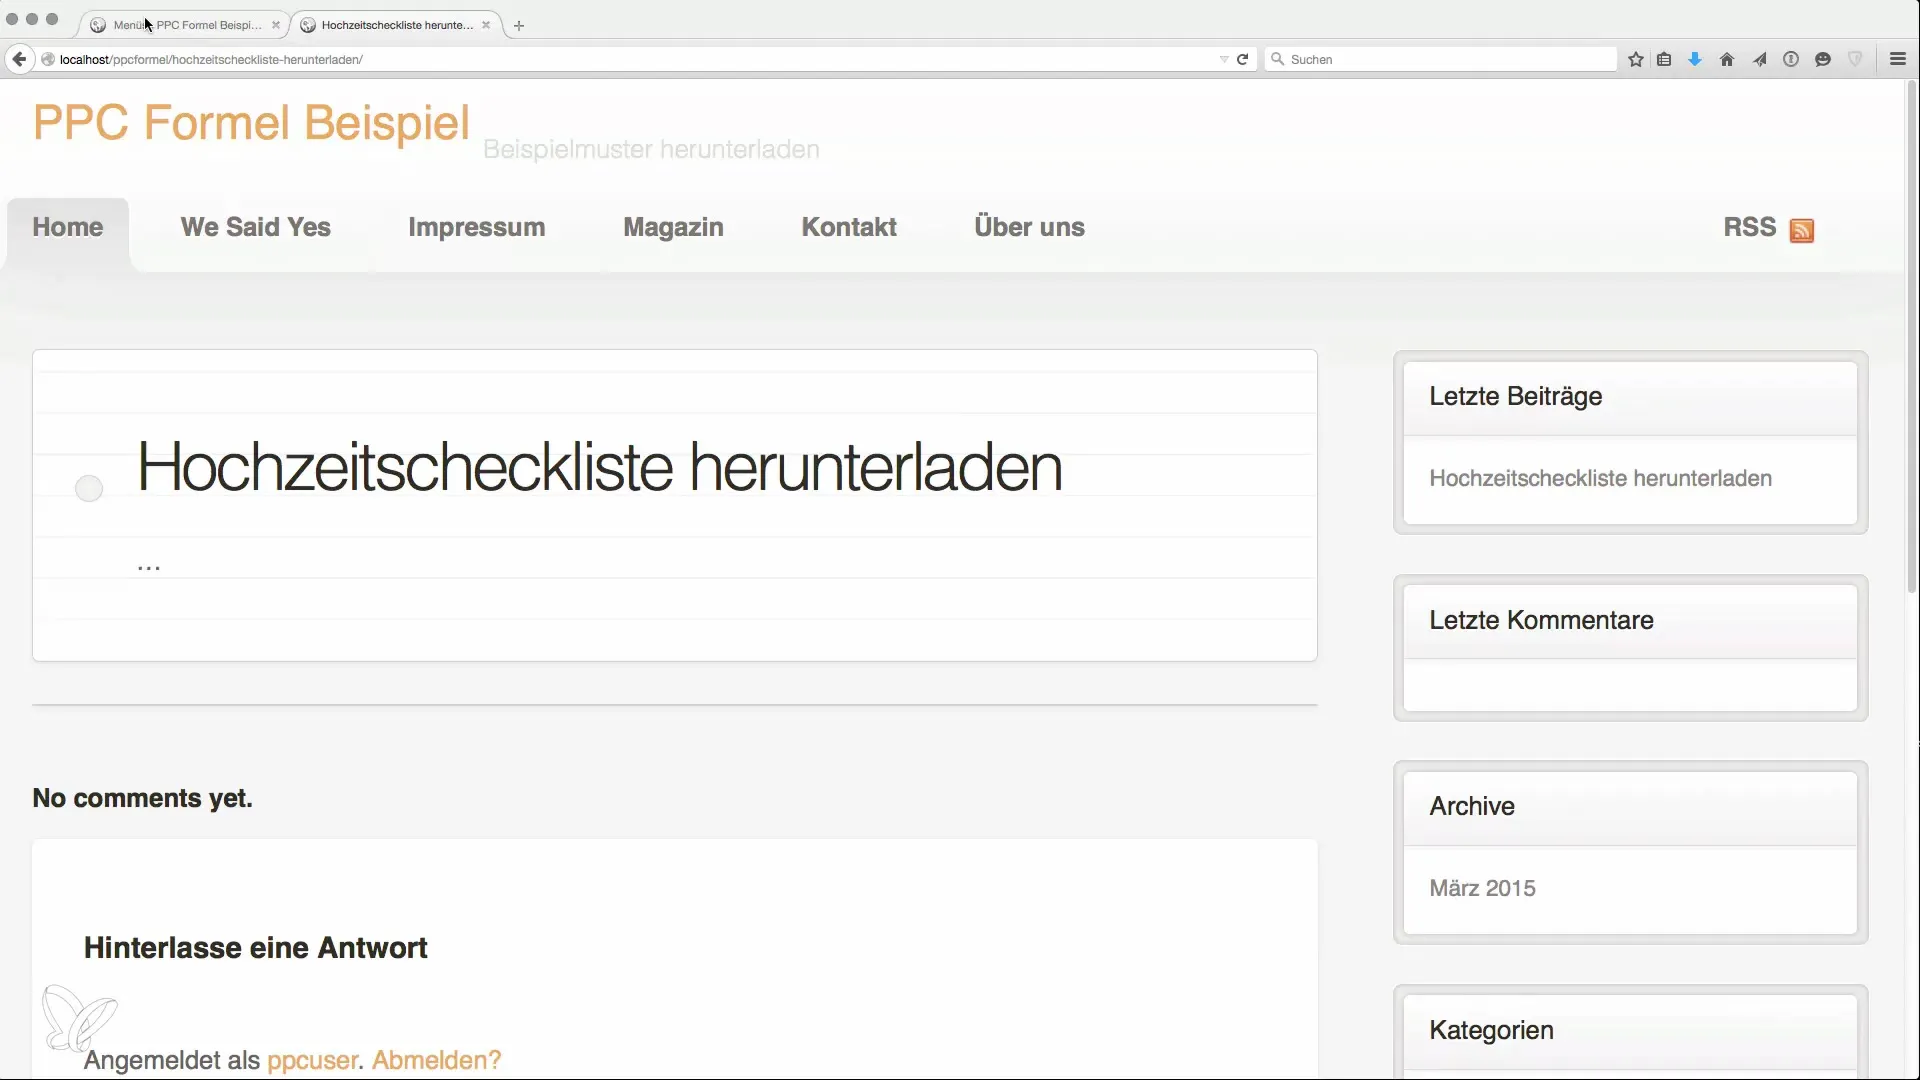
Step 4: Order and Positioning in the Menu
Arrange the pages in the menu logically for the user. The "Impressum" section can be moved down, while relevant pages like "About Us" and "Magazine" should occupy the top spots. Set the menu to function as the "primary menu" to increase visibility.
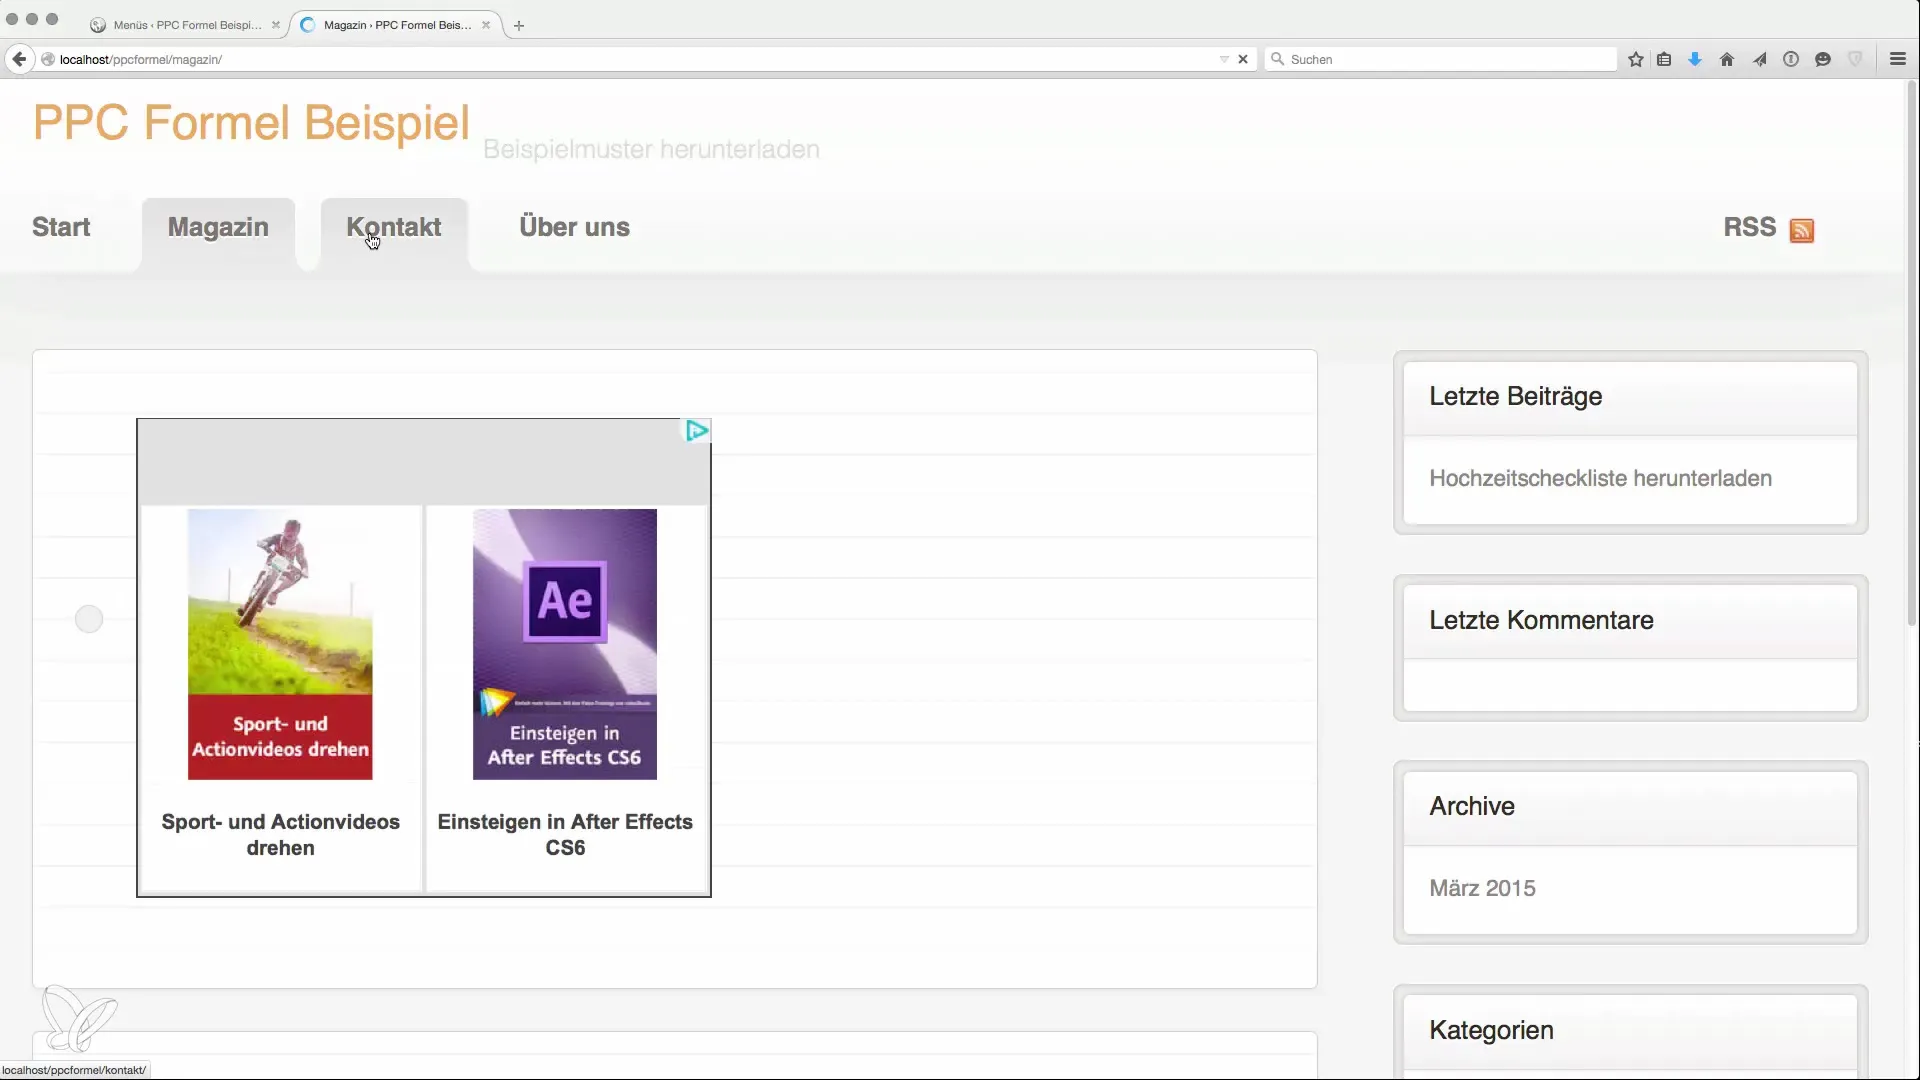
Step 5: Customize Widgets
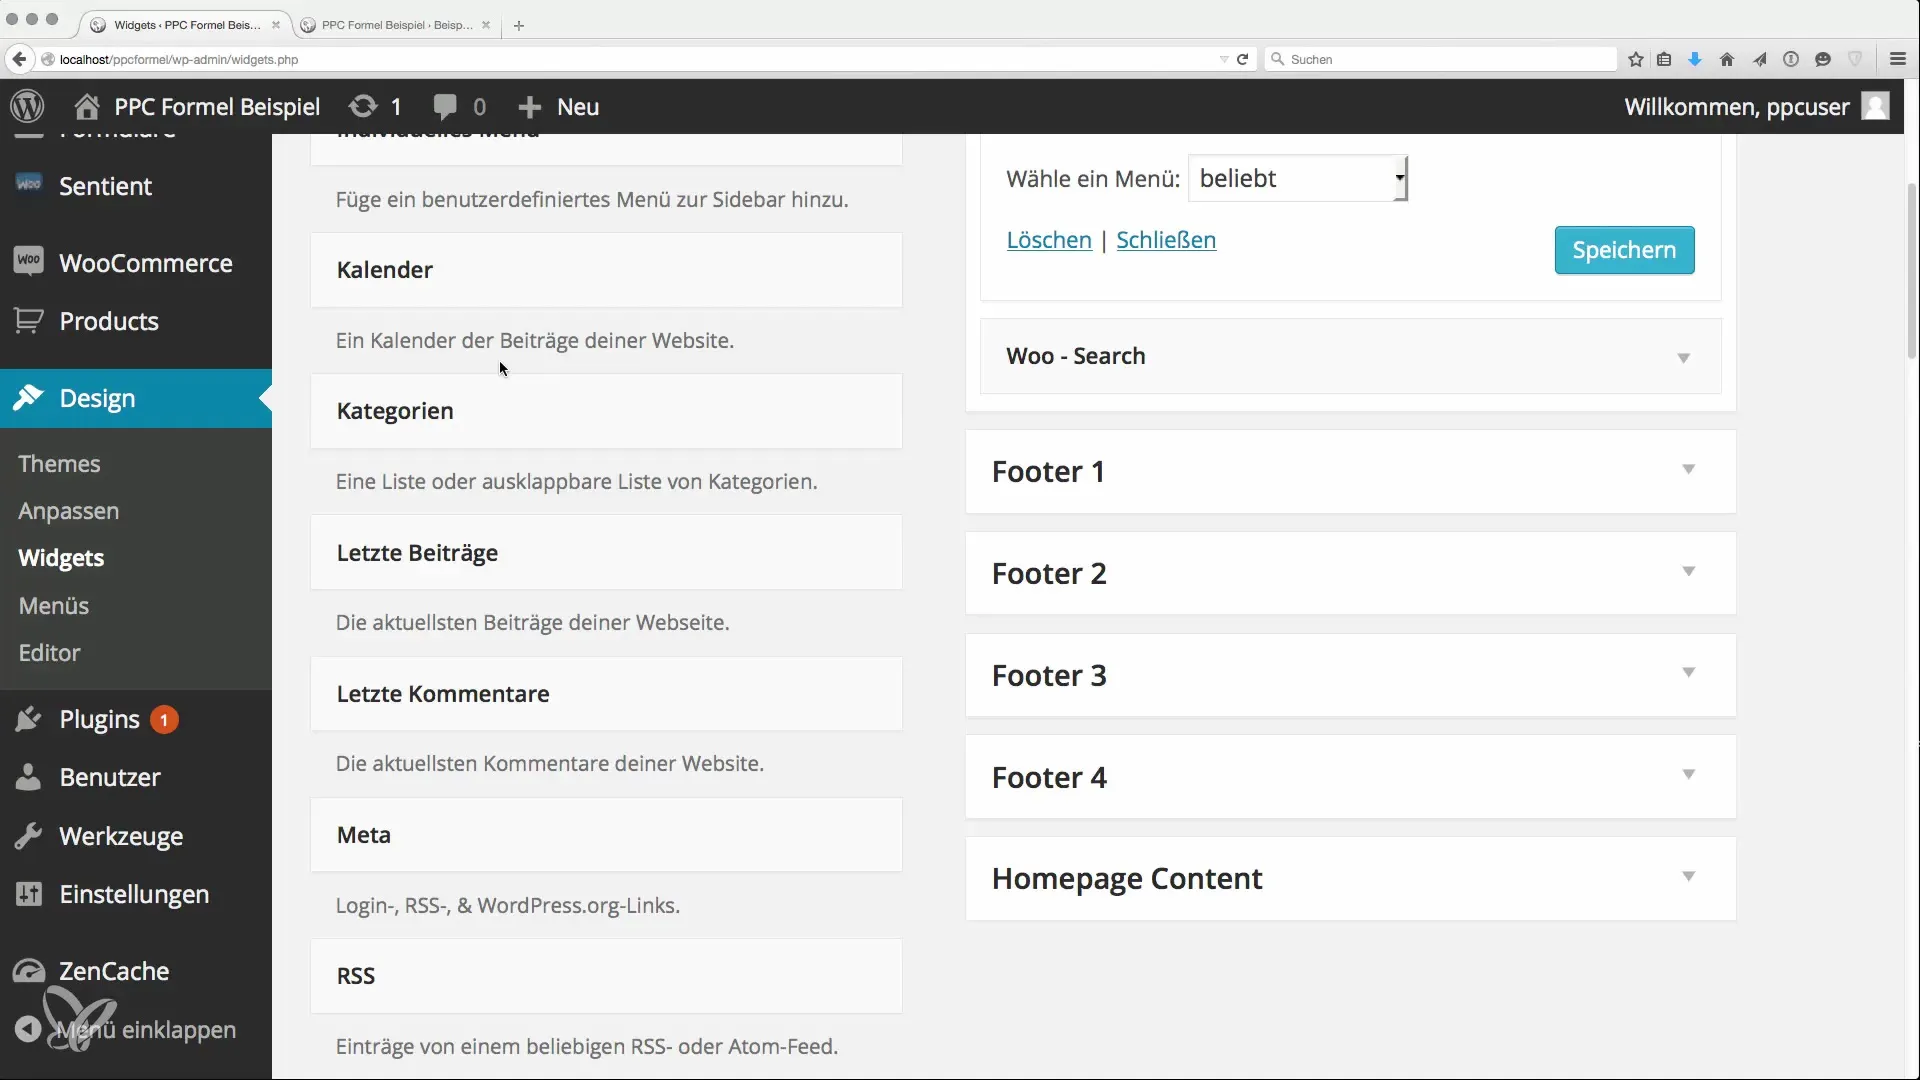
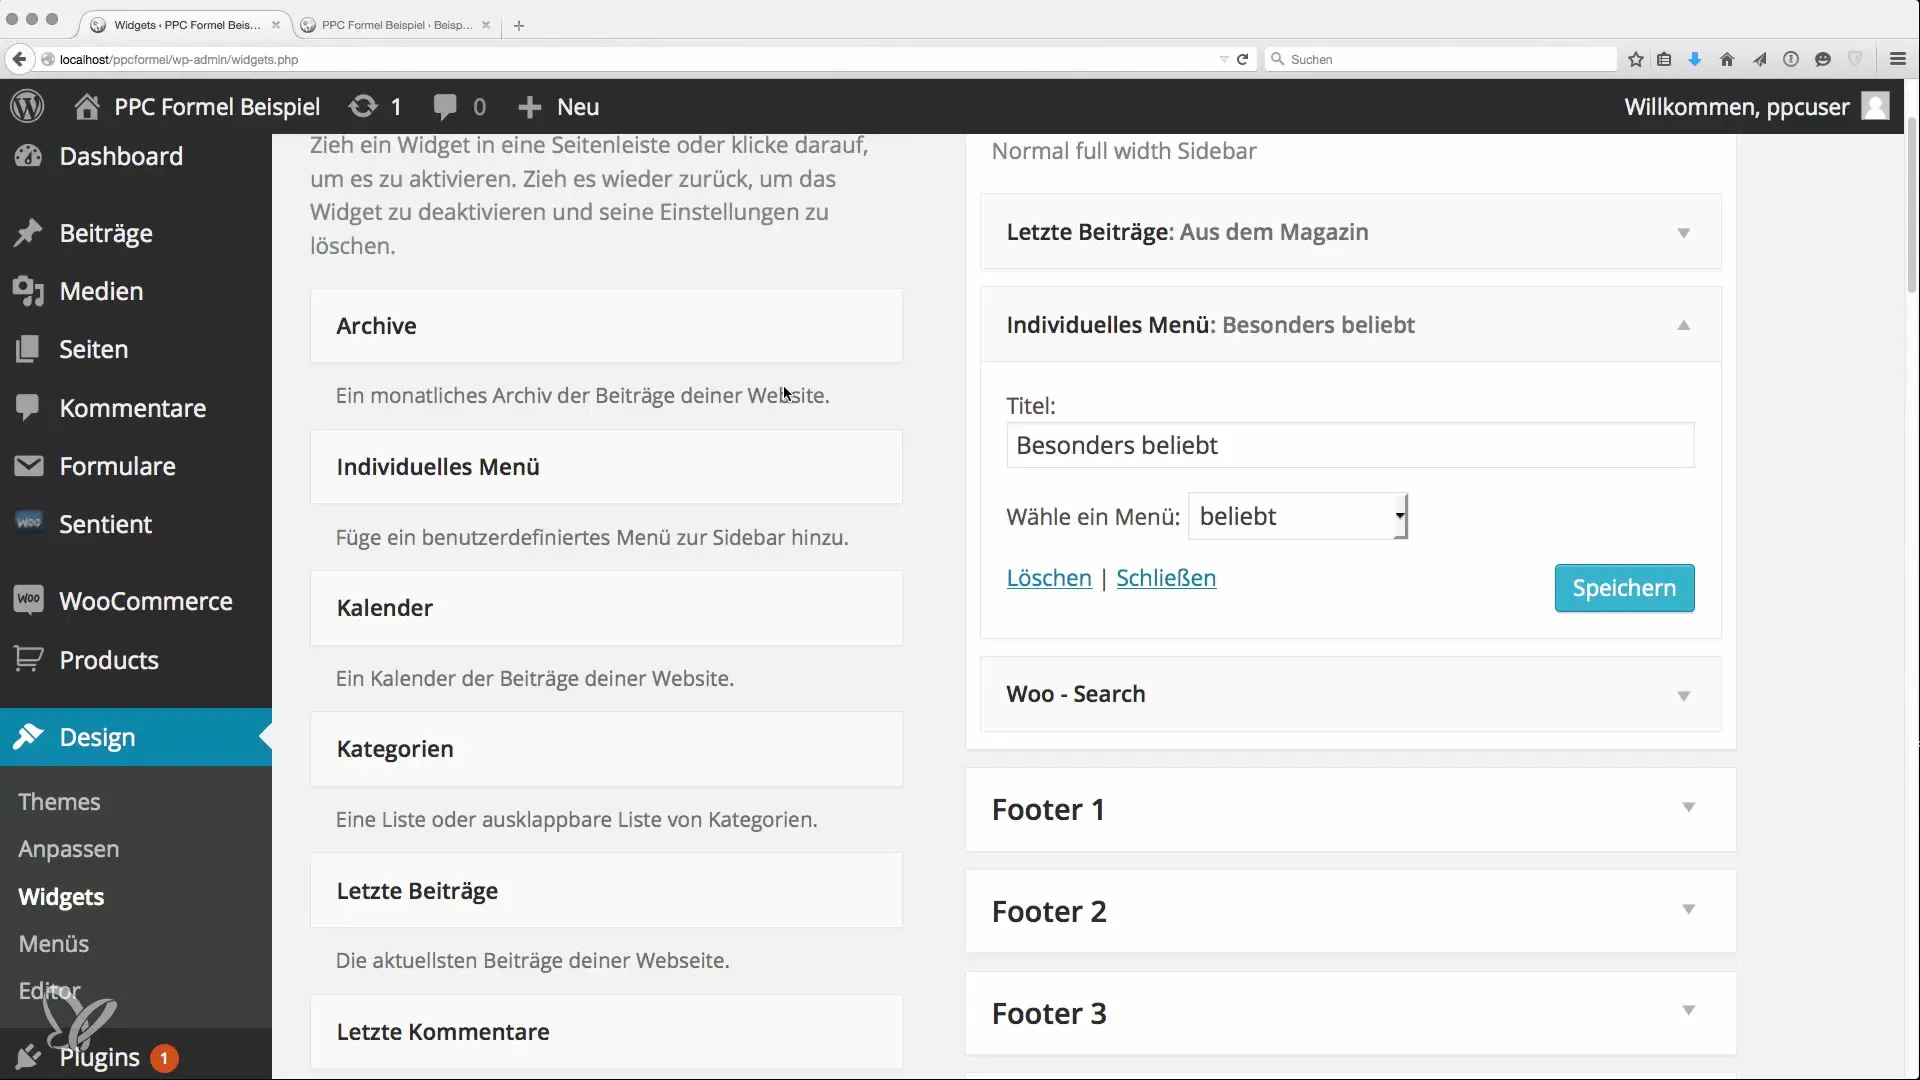
Go back to "Design" and select "Widgets." Here, you can adjust the default settings by removing unwanted widgets like the category list or archive. For example, keep only "Recent Posts" and "Search" to enhance usability.
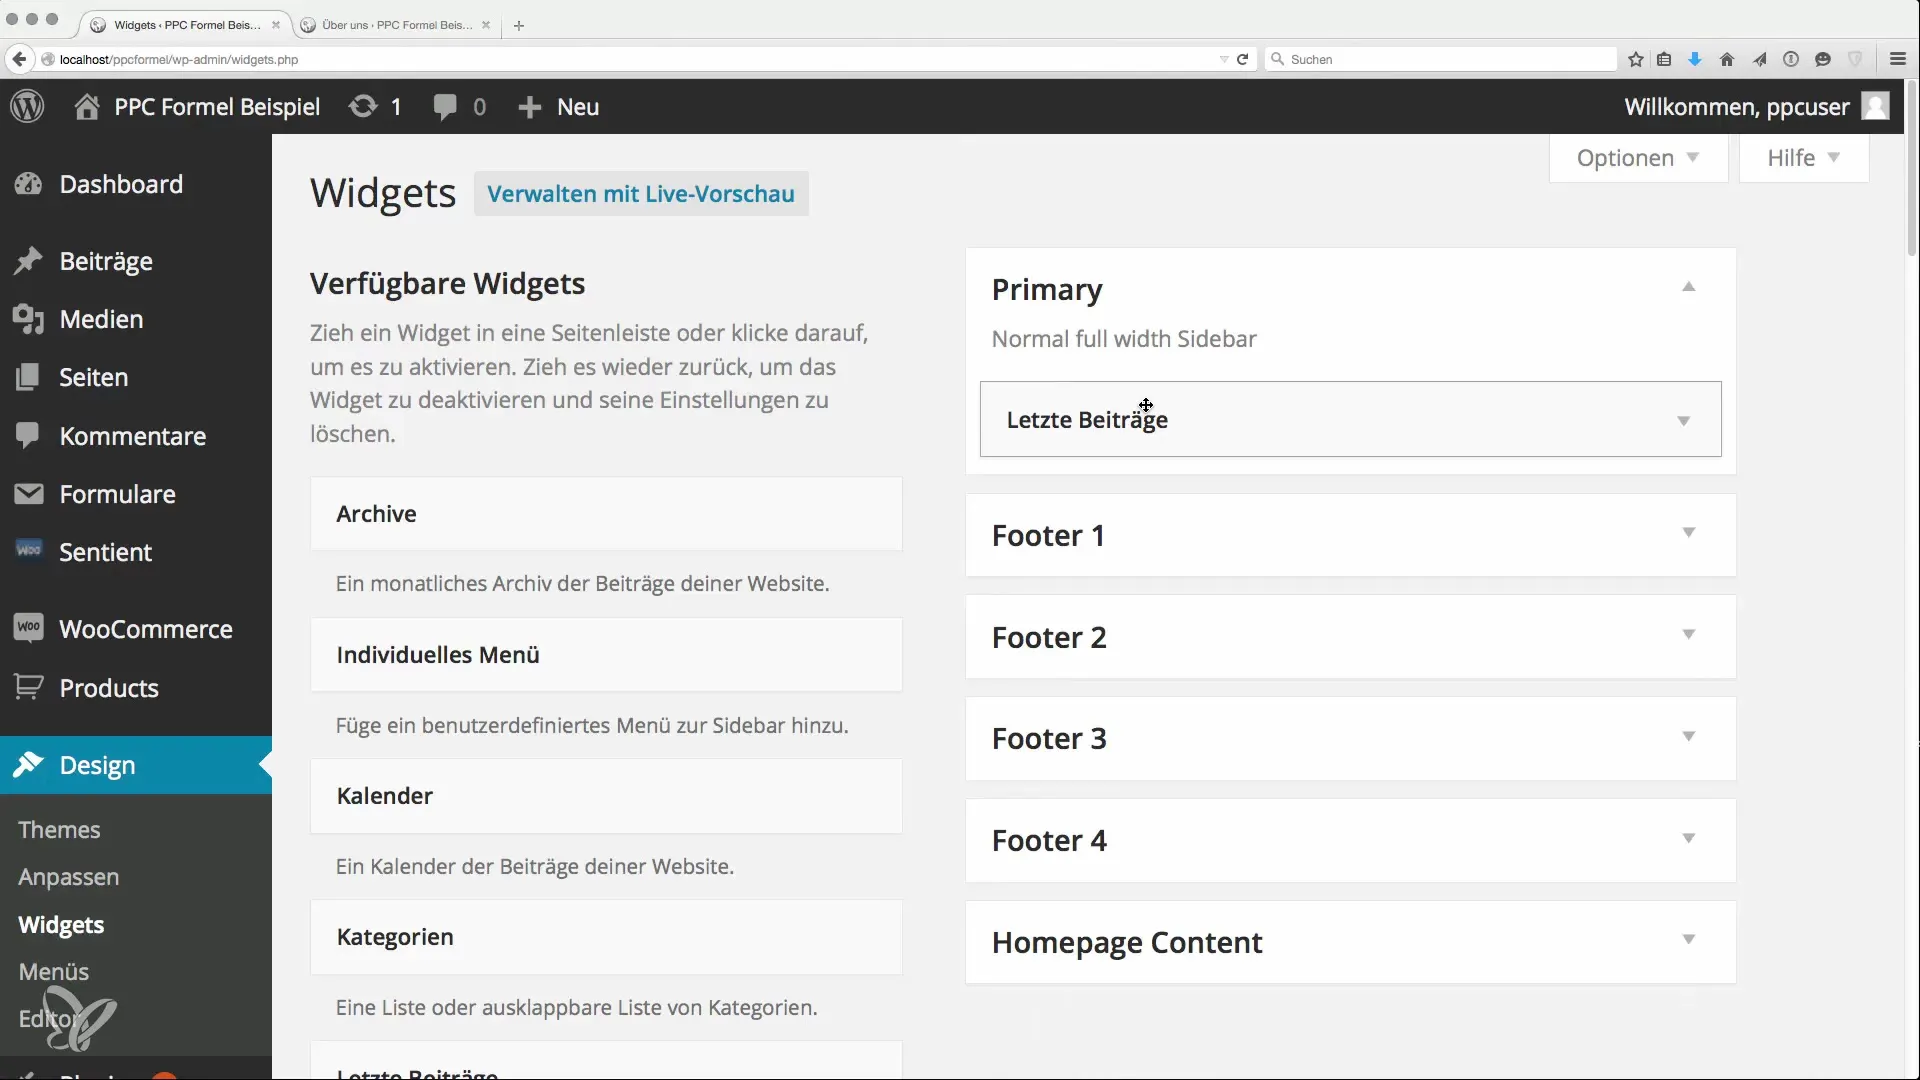
Step 6: Add a Search Widget
The search box is an essential element for improving navigation. Take the "Search Widget" and place it in an appealing location to ensure that visitors can quickly start searching.
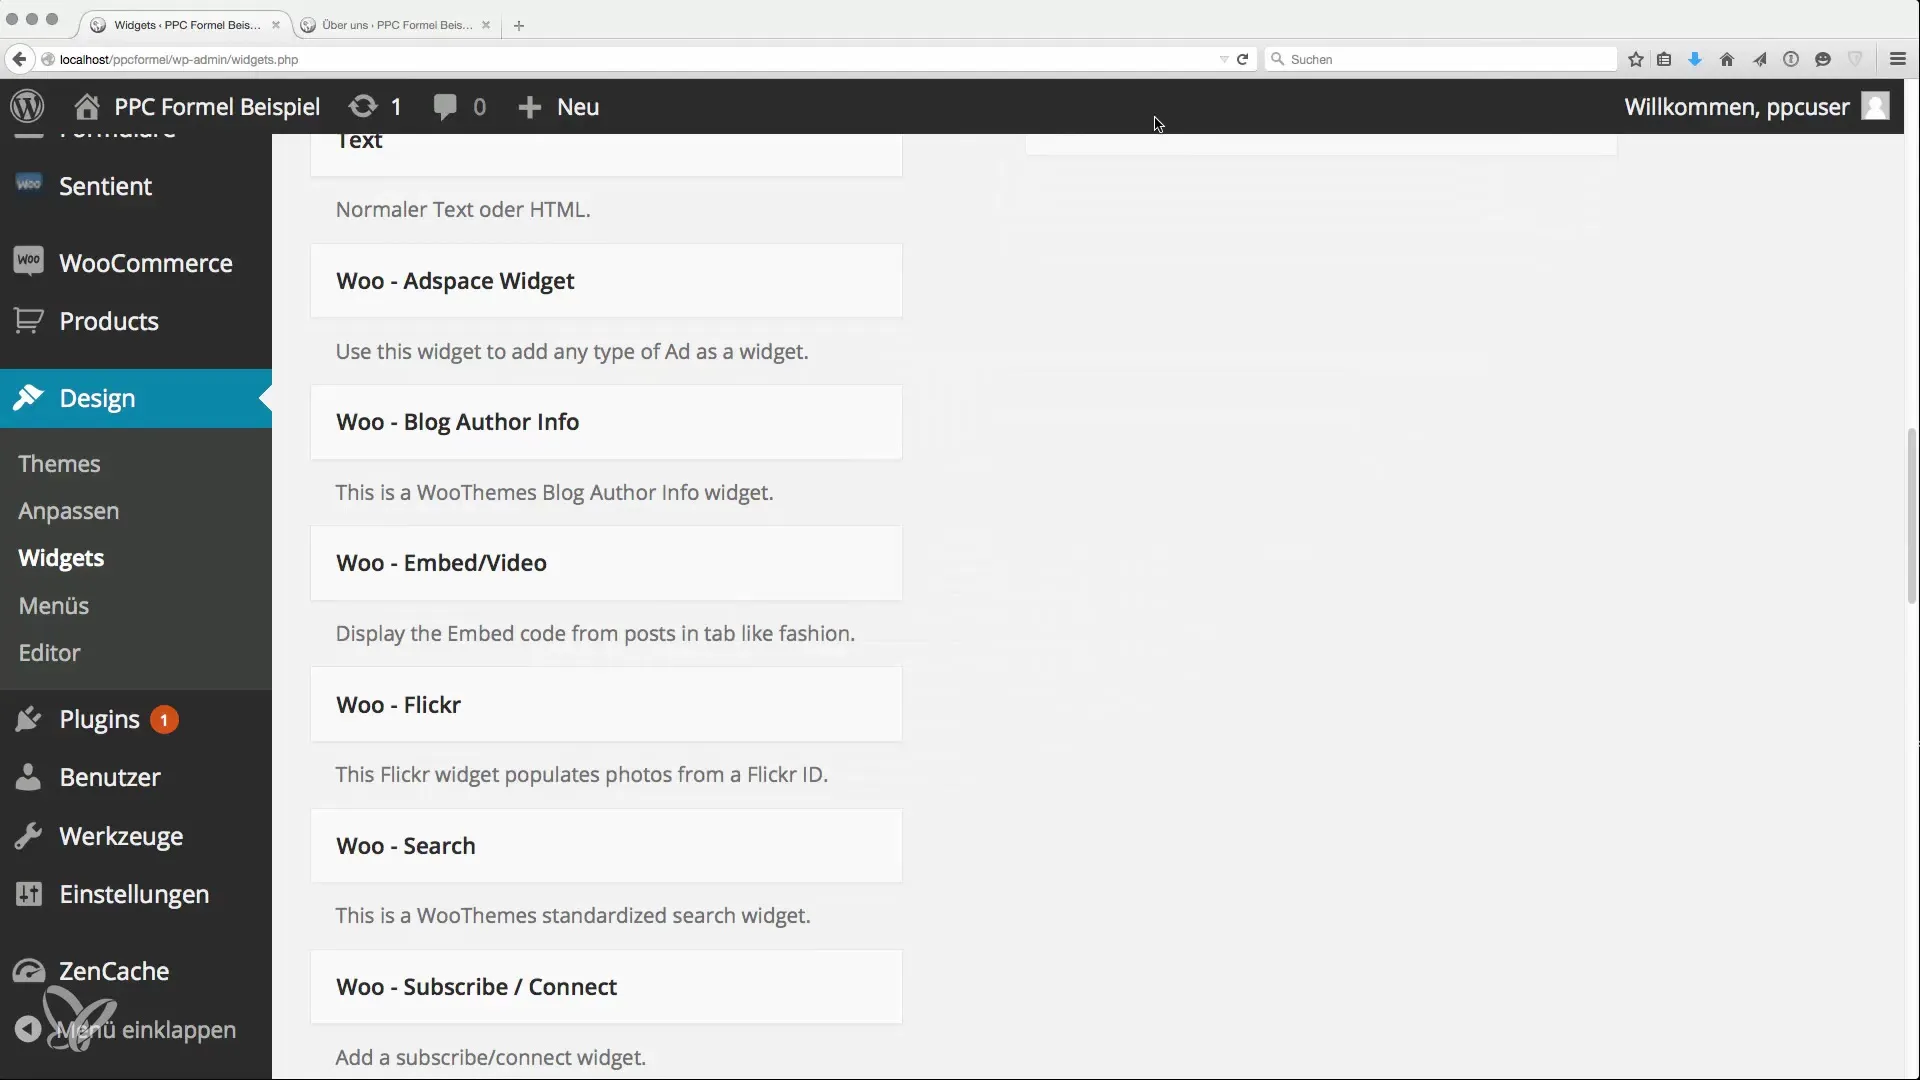
Step 7: Create a Custom Menu
Now create a custom menu to add special links to particularly relevant posts or documents. Name it something like "Popular Posts." Then add the links to important content and set the link text accordingly.
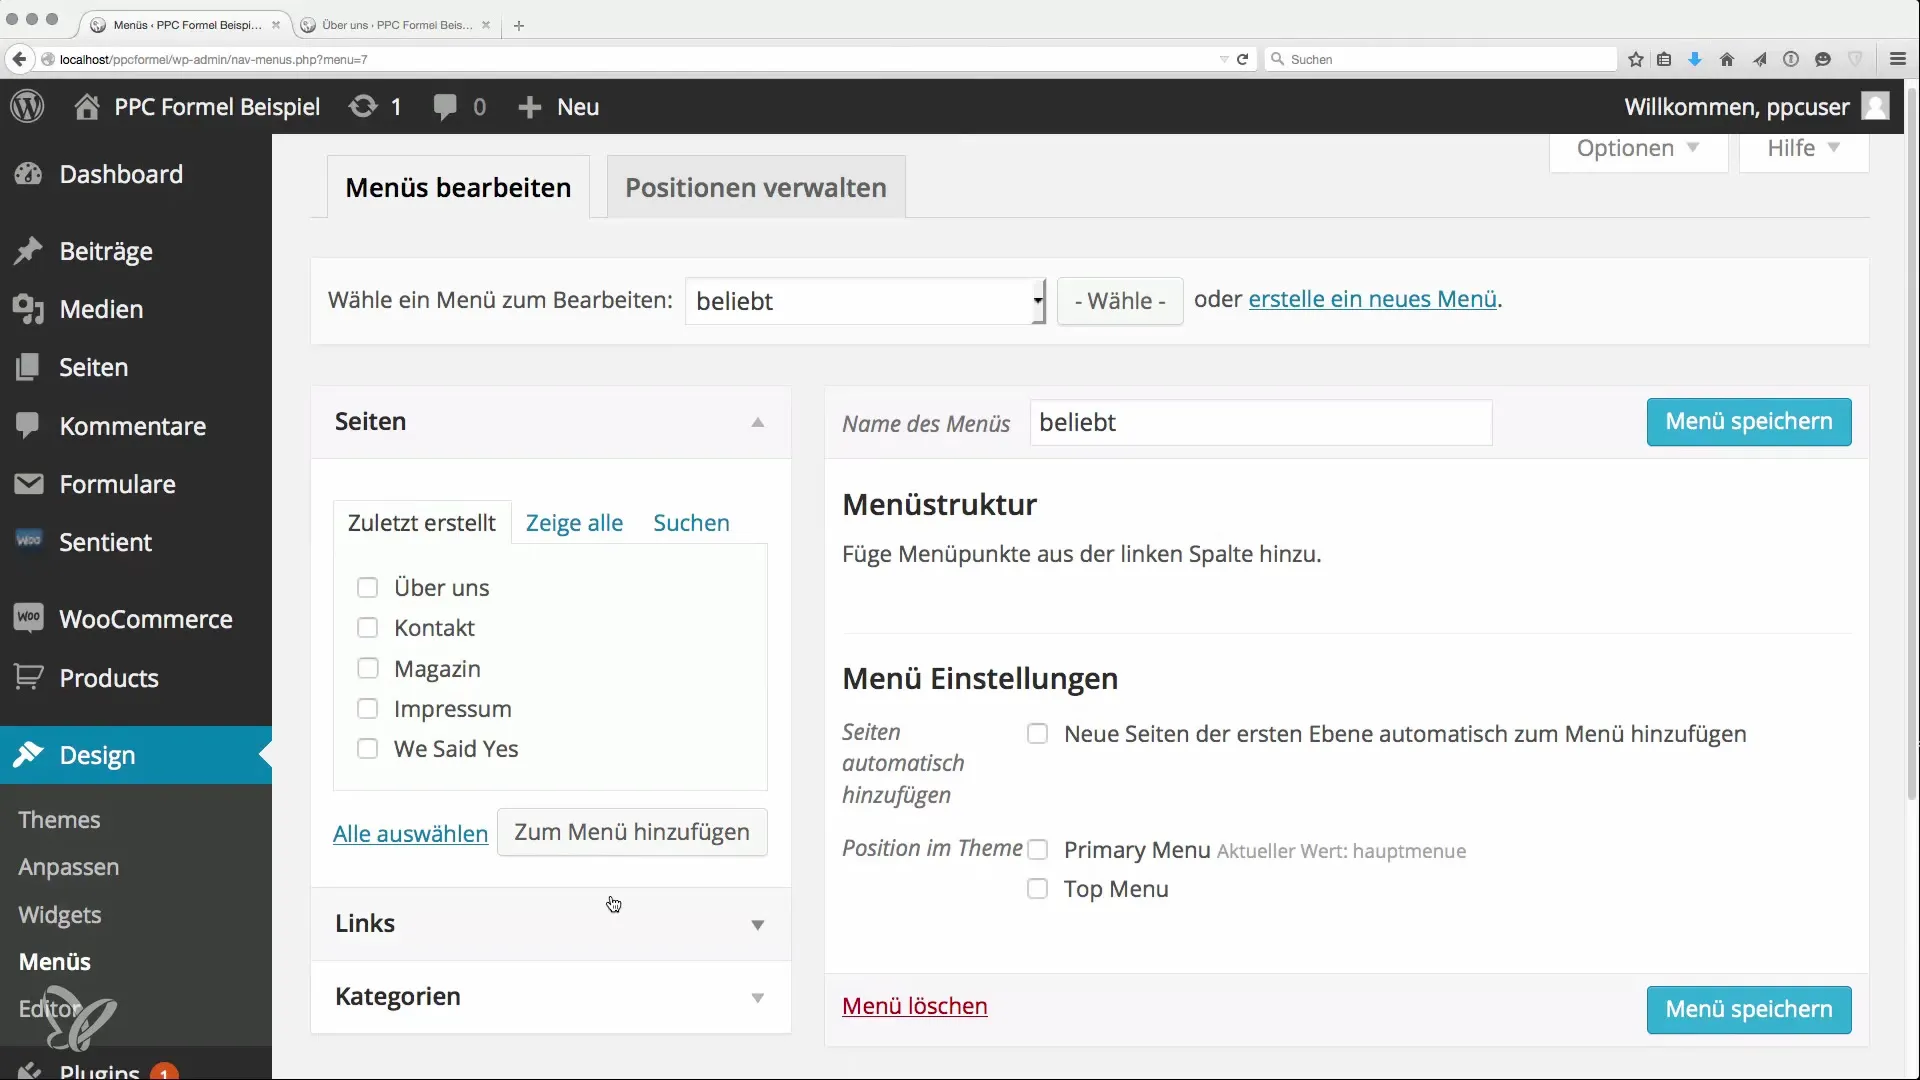
Step 8: Internal Linking System
Ensure that your custom menu is visible on all subpages. This supports internal linking and highlights the relevance of certain content, which is important for search engine optimization.
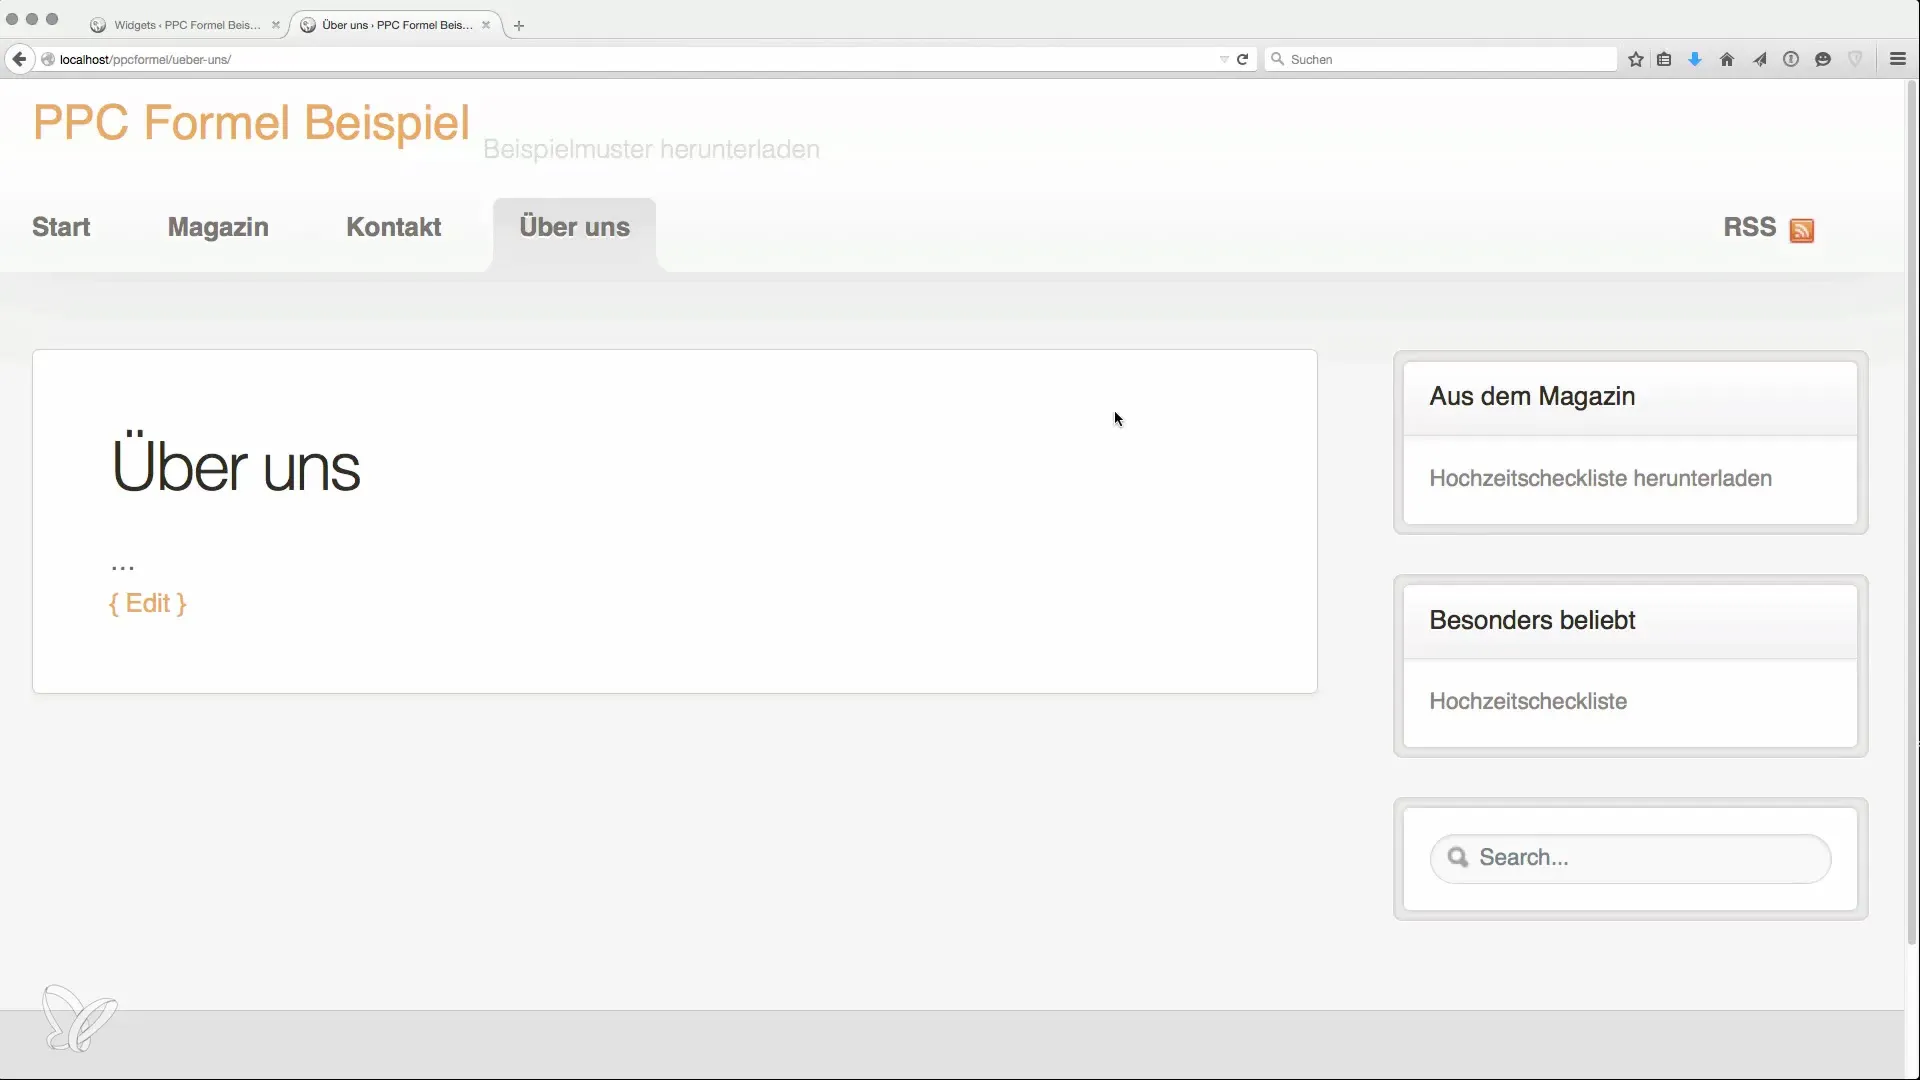
Step 9: Design Footer Areas
The footer of your website offers additional design opportunities. You can include a short "About Us" text, categories, or links to social networks. This contributes to user-friendliness and conveys professionalism.
Step 10: Integrate Additional Content
While your structure is now in place, the next step is to fill it with content. Whether it’s posts, media, or ads; make sure your website continues to grow and remains relevant.
Summary
You have now learned the basics for setting up menus and widgets on your website. These elements ensure that your content is well organized and user-friendliness is guaranteed.
Frequently Asked Questions
How do I create a menu?Go to "Design," select "Menus," and create a new menu. Name it and add pages.
Why is the naming of pages important?Optimal naming prevents duplicate keywords and helps to optimize SEO.
What do widgets include?Widgets are small elements that provide additional functions or information on your website.
How do I improve my internal linking?By integrating custom menus and links to important posts in your layout.
What can I include in the footer?In the footer, you can present various content such as "About Us," social media links, or categories.


