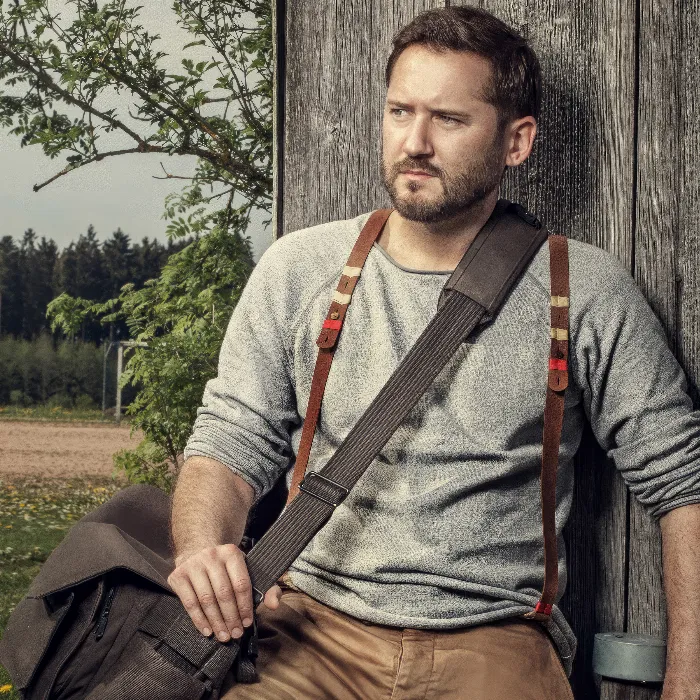
In the field of image editing, having a clear workflow is crucial. This guide focuses on editing a photo that is discussed in a YouTube tutorial. You will understand the steps necessary to take the image from the original shot to the final edit.
Main Insights
- The workflow includes several essential steps: RAW development, retouching, frequency separation, and more.
- Each step has specific objectives to optimize the image.
- The application of techniques like Dodge and Burn gives the image plasticity and depth.
Step-by-Step Guide
Step 1: Image Capture and Original State
The image we are working with comes from the camera and was taken by Benedikt. The original image serves as the basis for all further editing steps. The quality of the shot is already good, but there is room for improvements that we will work on further.
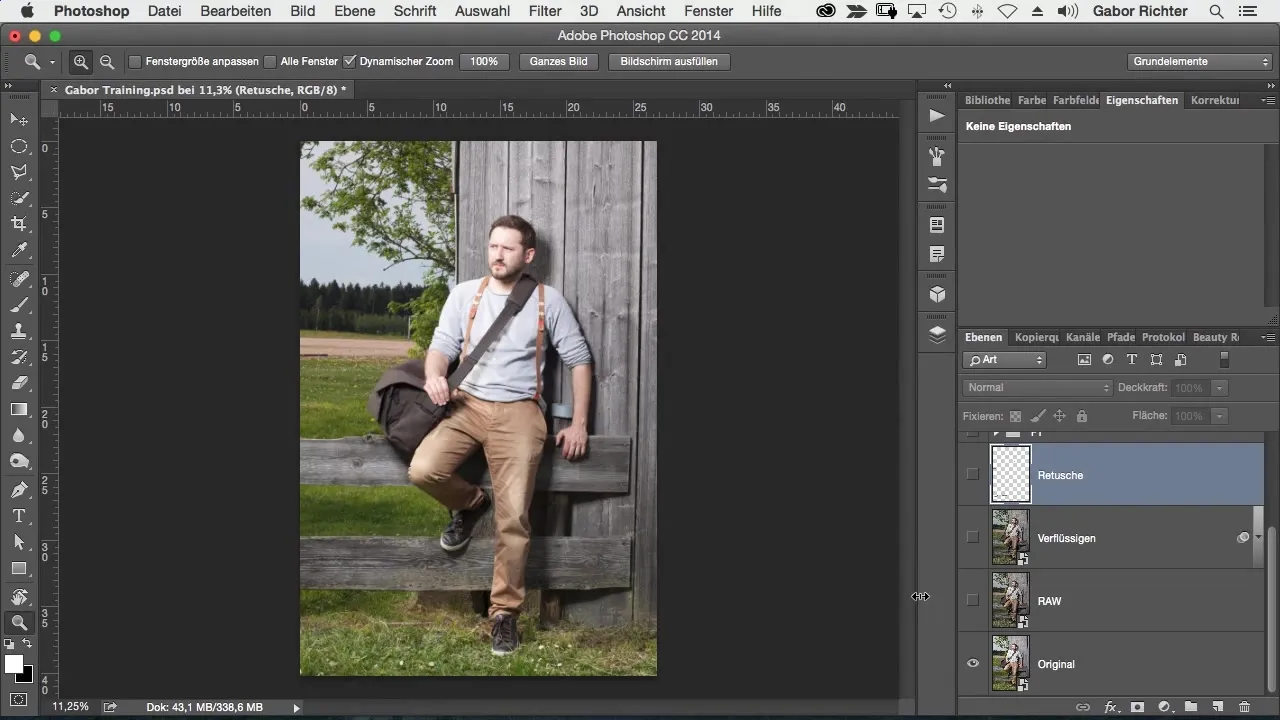
Step 2: RAW Development
After the capture comes the RAW development. At this step, the focus is on making the image more graphically appealing. You will highlight details and present the image in the right light. Color saturation will also be slightly reduced to achieve a clearer look.
Step 3: Adjustment of Shapes
An important element in image editing is the adjustment of shapes. In this case, the image needs to be altered so that the bag appears less bulky. It is crucial that the proportions are correct to achieve a harmonious composition.
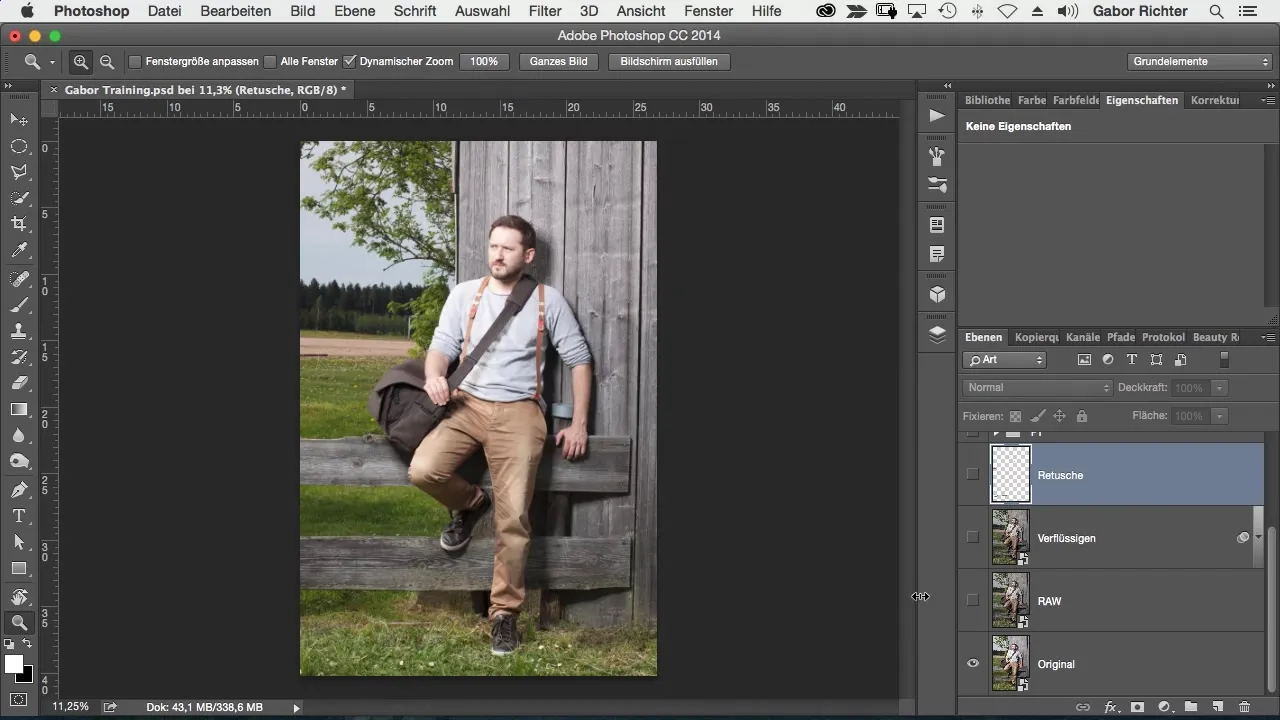
Step 4: Retouching of Distractions
Now comes retouching, an advanced step to remove unwanted elements in the image that could distract the viewer's attention. The goal is to direct attention to the main subject by purposefully removing distractions.
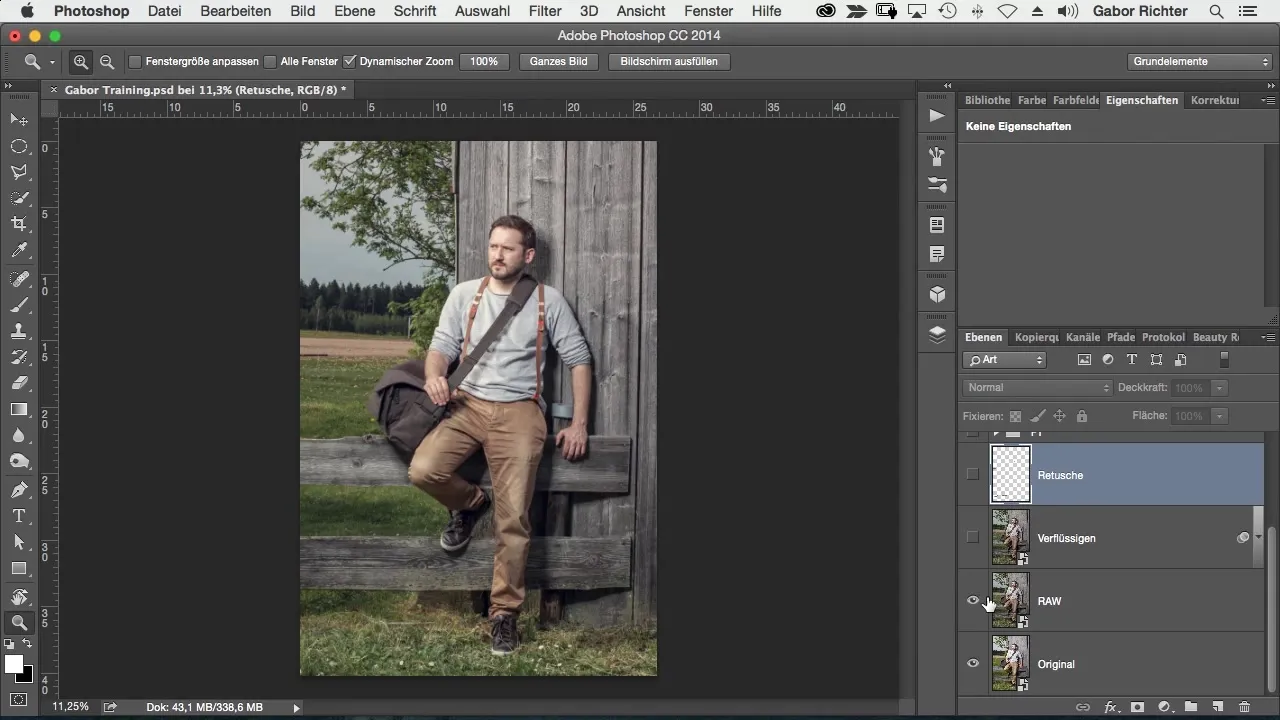
Step 5: Frequency Separation
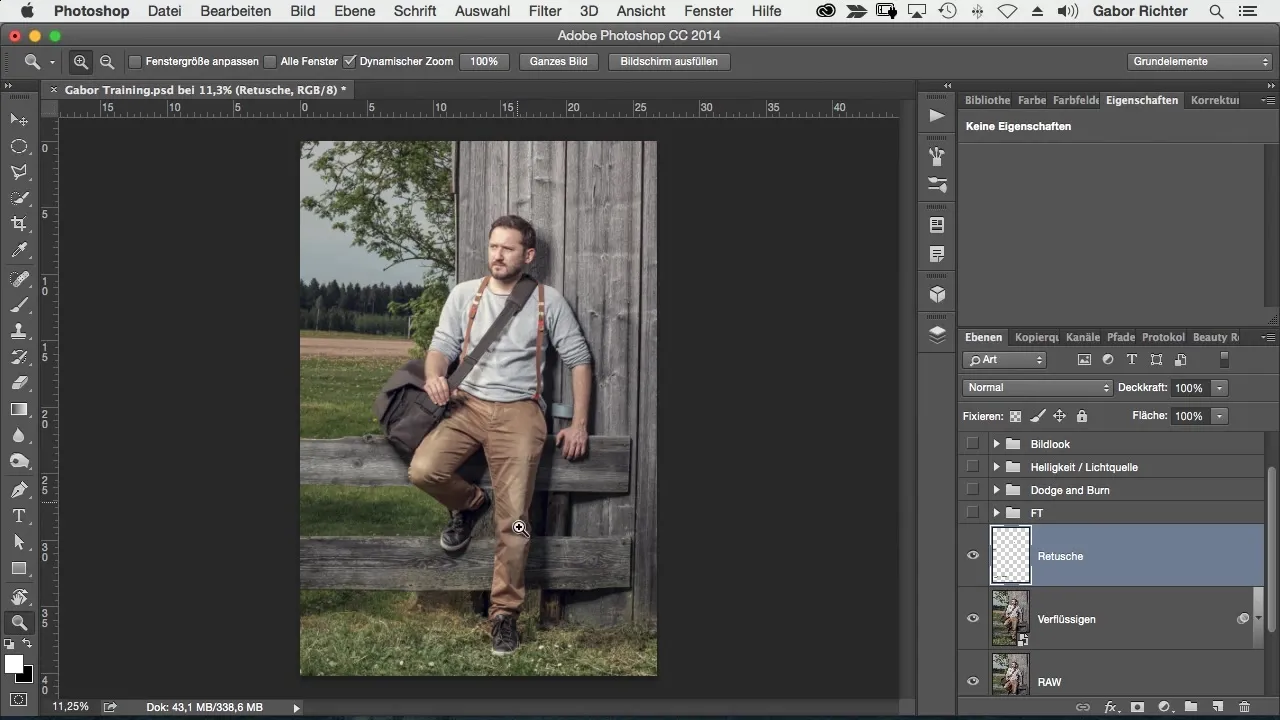
Frequency separation is a specialized technique that allows different areas of the image to be edited independently. In our case, we will focus particularly on the area of the pants, as it does not fit optimally into the overall aesthetics. This step is important to refine details further.
Step 6: Dodge and Burn Technique
The Dodge and Burn technique is a powerful tool for directing light and shadow purposefully. It helps to highlight the person in the image while simultaneously softening the background. Through targeted modeling, the image elements gain more depth and plasticity.
Step 7: Brightness Adjustment and Light Source Integration
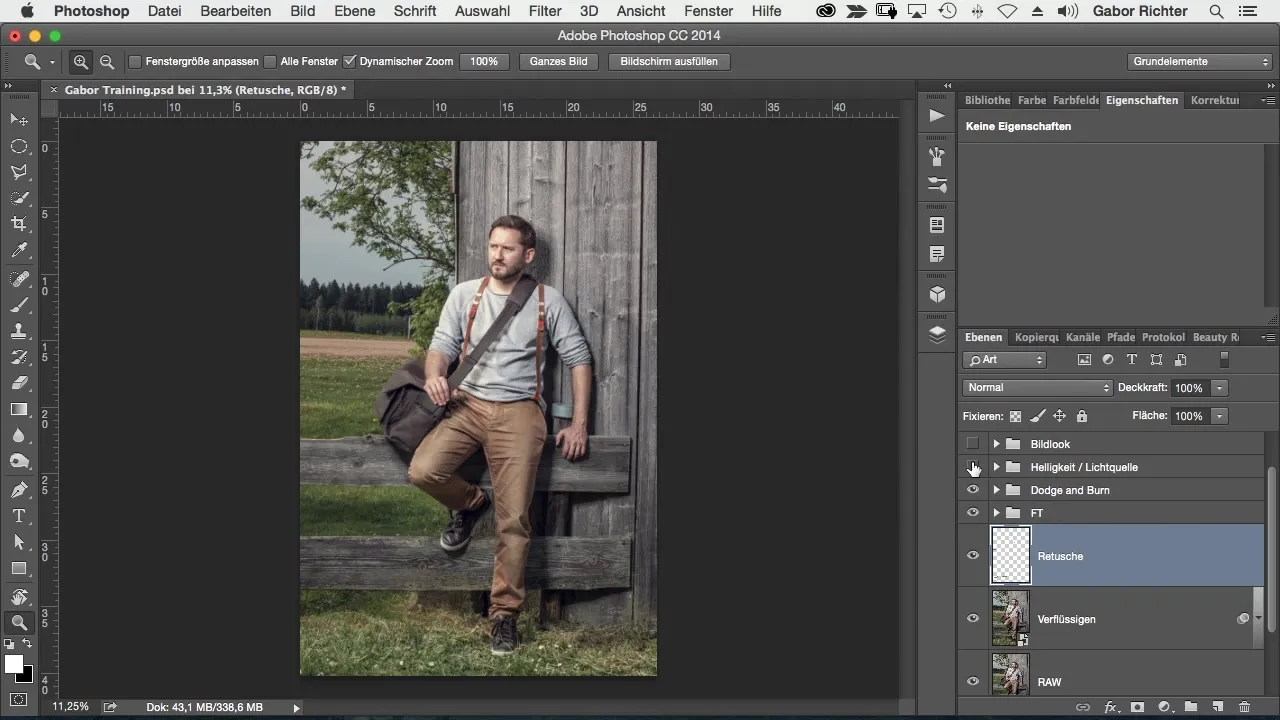
This step involves influencing the brightness of the image to place more focus on the main subject. Additionally, an extra light source is integrated into the image, further enhancing the overall effect.
Step 8: Application of an Image Look
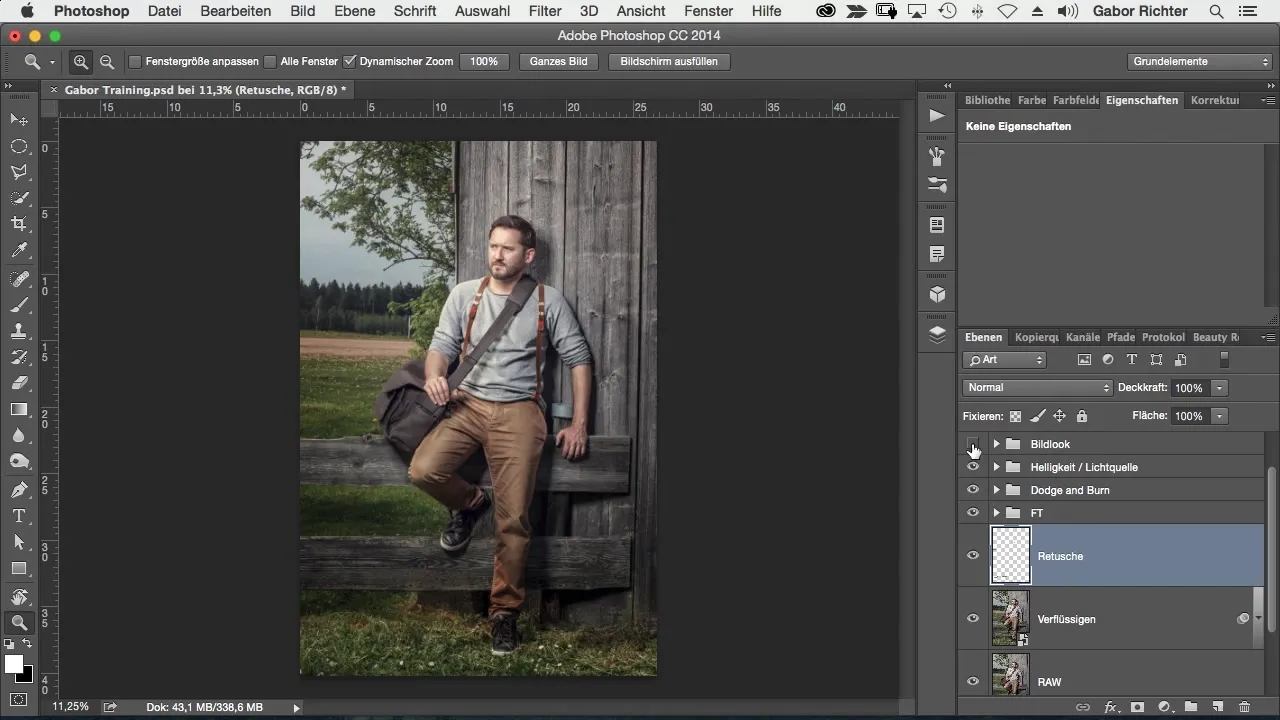
An image look gives the entire image a consistent theme and character. Here you work with color filters or presets to create a harmonious mood. This helps to make the image appear more emotional and convey the message you want to achieve.
Step 9: Final RAW Development
In the final step, a final edit takes place using RAW development. Here, you apply the finishing touches to present the image in its best form. You may also make adjustments to the lighting mood to ensure a coherent overall impression.

Summary – Black Forest: The Workflow in Photoshop
In this guide, you have received a comprehensive overview of the various steps in image editing. From RAW development, through retouching, to the final fine-tuning – each step contributes to transforming your image into a masterpiece. Use these steps to edit your own images quickly and efficiently.
Frequently Asked Questions
How long does it take to learn Photoshop?It depends on your prior knowledge, but with regular practice, you can learn the basics in a few weeks.
Can I save my work at any time?Yes, Photoshop allows you to save your work in various formats, so you can continue at any time.
What hardware do I need for image editing?A powerful computer with sufficient RAM and a good graphics card is recommended.
