The final editing of an image often requires patience and precision. However, with the right tools and techniques, you can achieve impressive results. This guide shows you how to effectively utilize the potential of Photoshop, especially through the Camera RAW filter, to give your images the final touches.
Key Insights
- The Camera RAW filter offers you flexible adjustment options without losing individual control.
- Creating a smart object allows you to change filter adjustments later.
- The use of vignettes and radial filters can enhance focus on the main subjects in your image.
Step-by-Step Guide
First, it is important to merge all visible layers of your image. To do this, press Command + Alt + Shift + E (for Windows Ctrl + Alt + Shift + E). This creates a new layer in Photoshop that contains all visible elements. Rename this layer to "Final" for easy identification later.
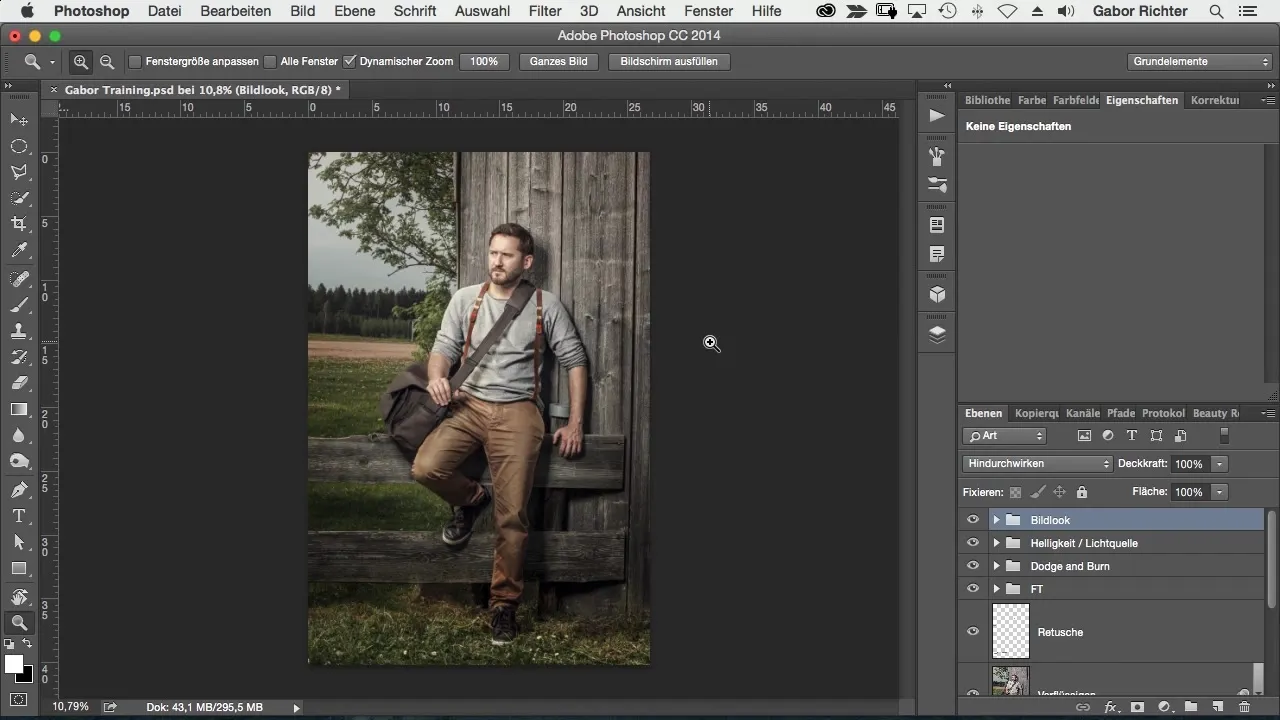
Since I like to keep full control while editing, I convert this new layer into a smart object. Right-click on the layer and select "Convert to Smart Object". This allows you to adjust any applied filter or image element later.
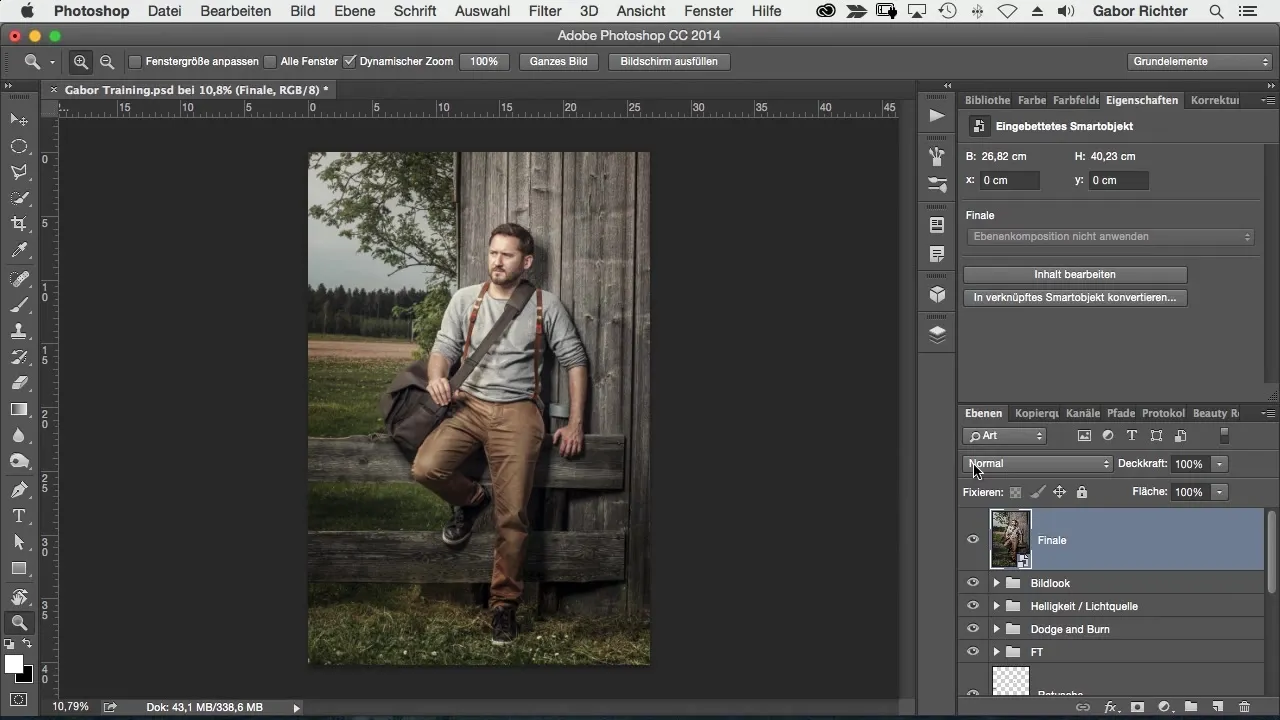
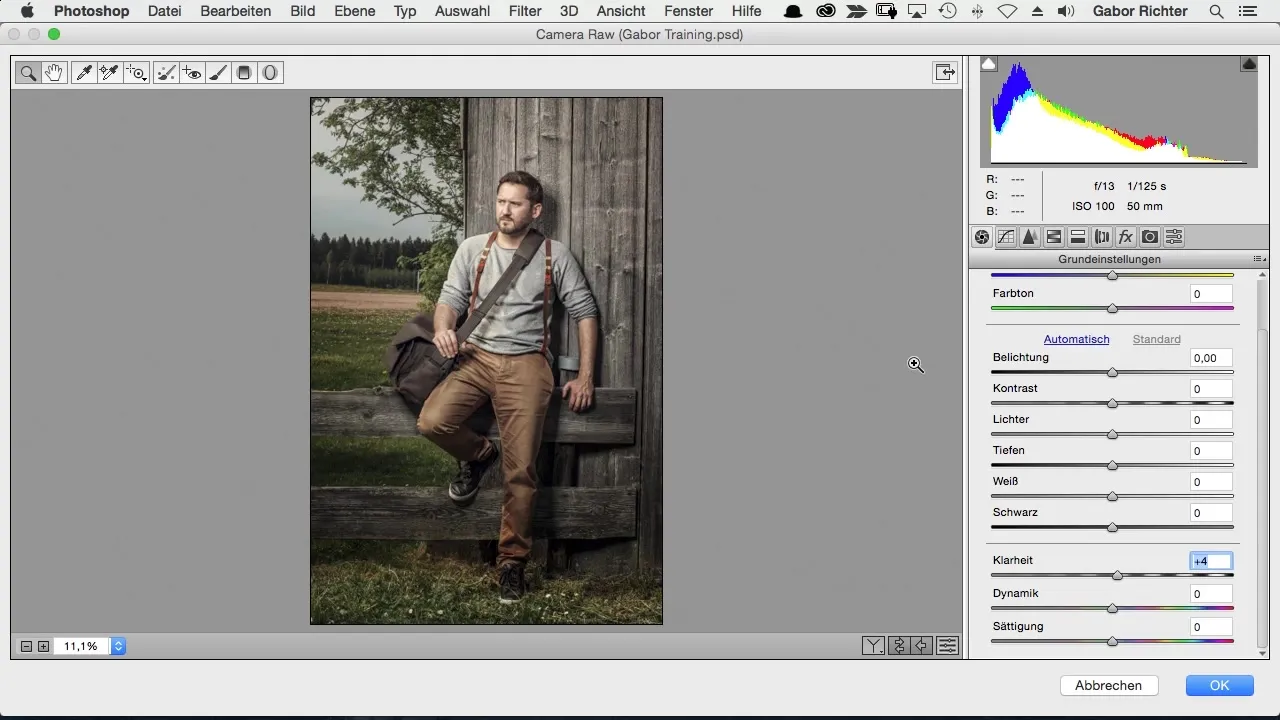
Now it's time to apply the Camera RAW filter. Go to "Filter" and choose "Camera RAW Filter". Here you can experiment with the various settings to achieve the desired look. First, I adjust the color temperature; you might want to make it a bit cooler or warmer.
An important aspect is clarity. I recommend making a slight increase here, perhaps by 5. This small adjustment slightly enhances the contours in the image without it being too noticeable. The finishing touches often make the crucial difference.
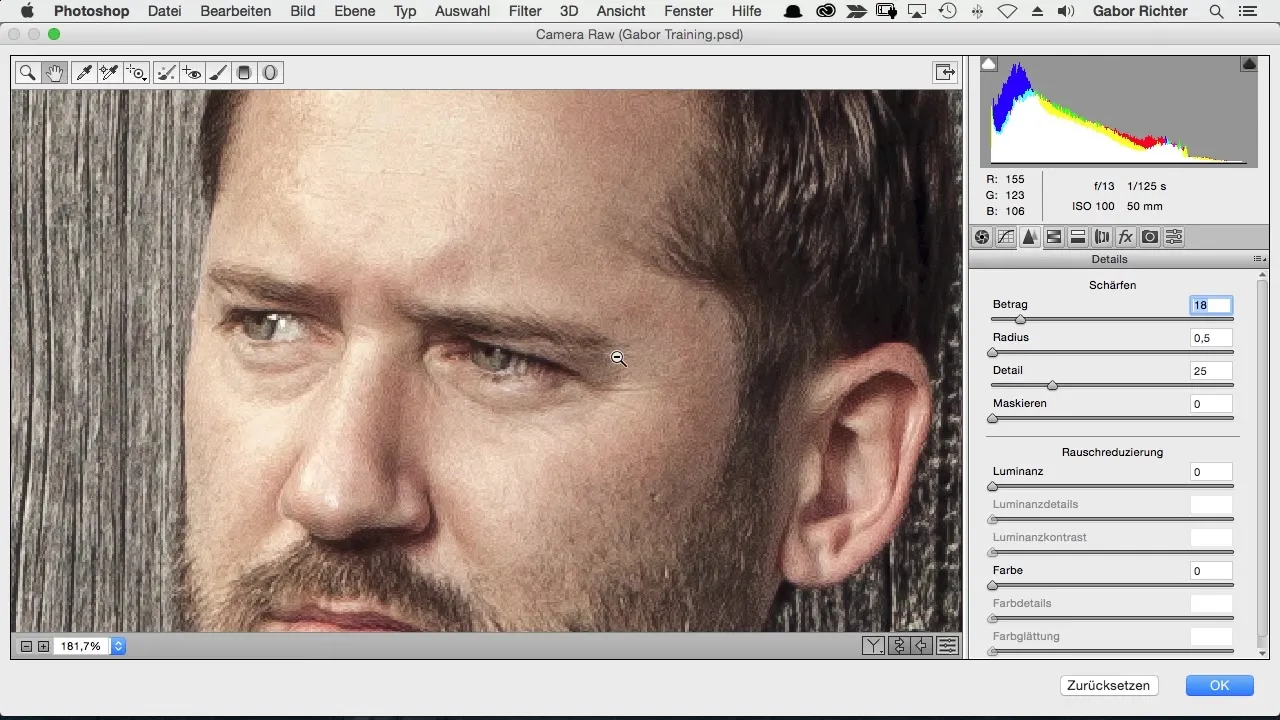
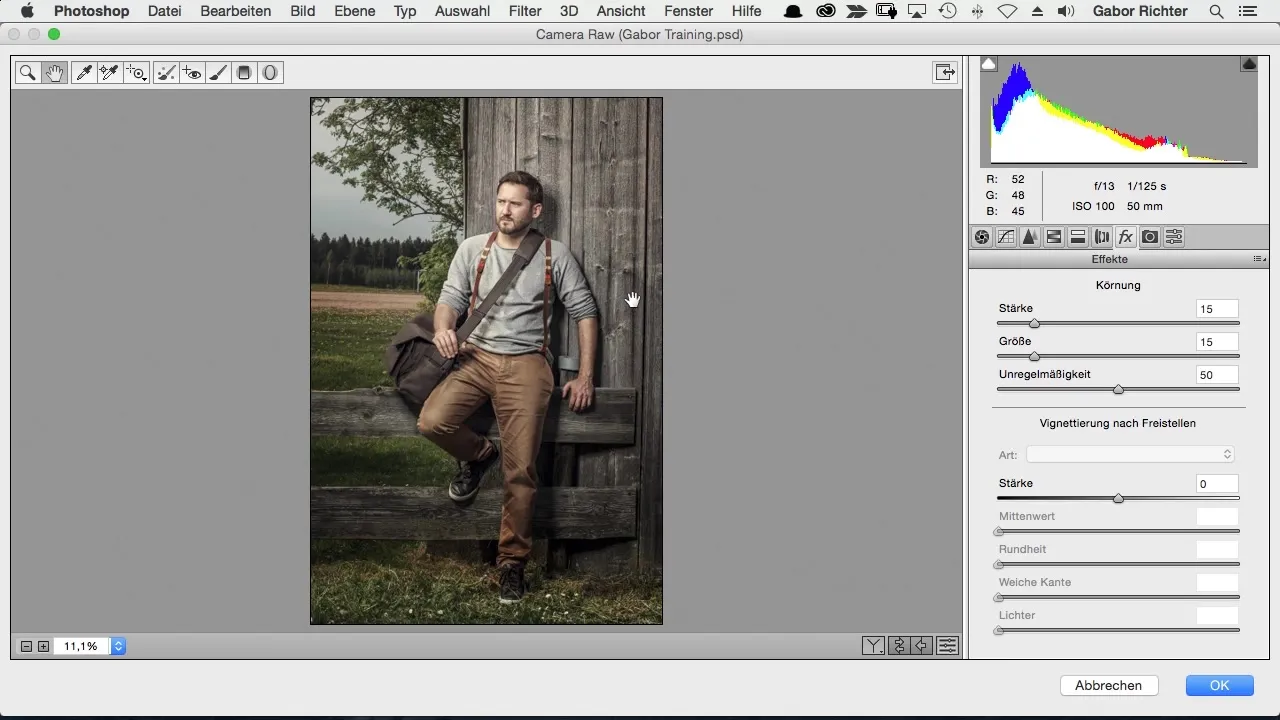
For the overall sharpness of the image, I use a value of about 20. If this causes the image to create noise, it is advisable to monitor this and possibly reduce the amount. But personally, I prefer a bit of grain to give the image more character. You can add grain in the effects area by adjusting the strength and fineness.
I also want to add a vignette to slightly darken the edges of the image and draw focus to the central subject. Go to the effects area and select the vignette. There you can adjust the vignette to meet your requirements.
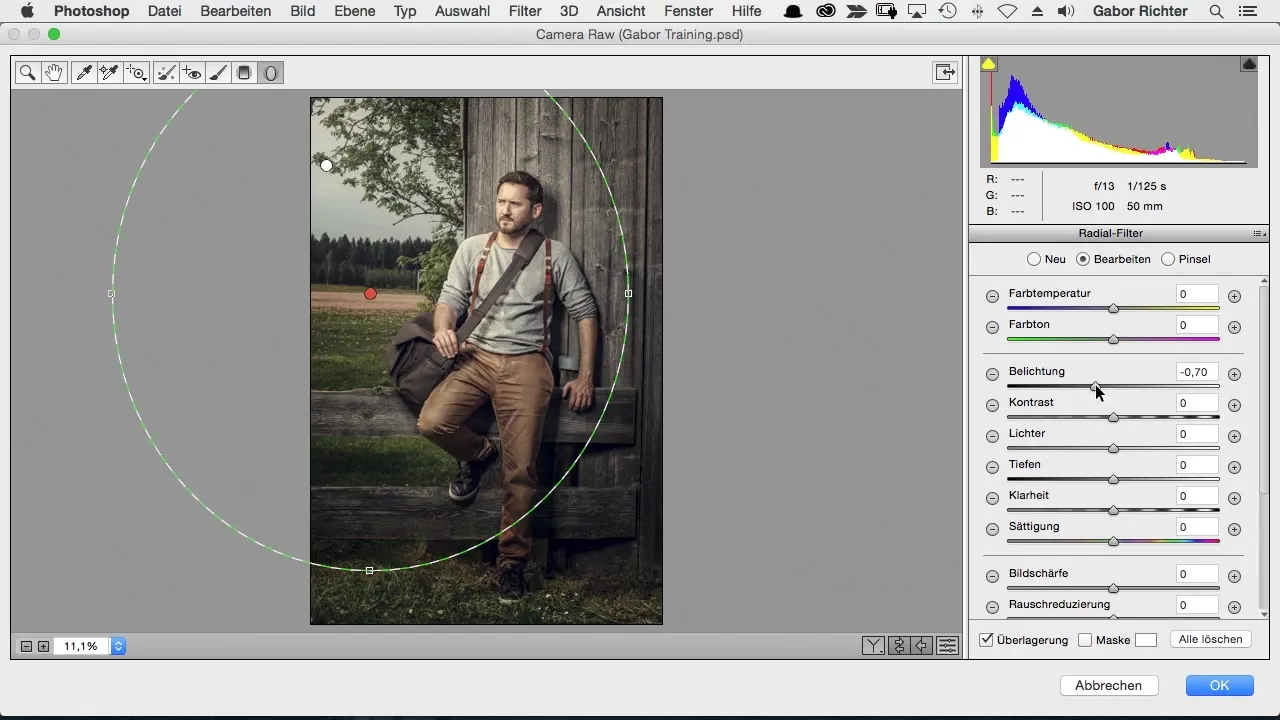
To avoid losing the light source that I placed in my image, I apply the radial filter. Draw a circle around the light and ensure that this area is not darkened. Everything outside the circle can, however, be made darker. If necessary, reset the values for local corrections to start from zero.
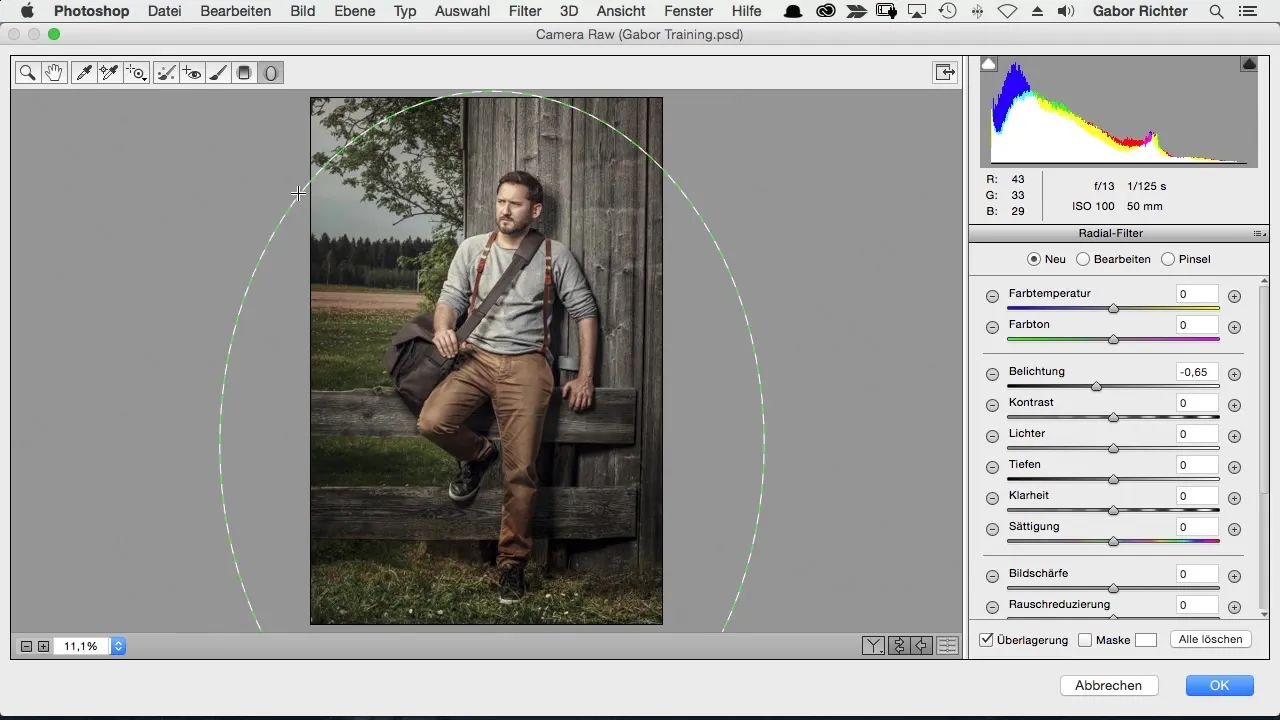
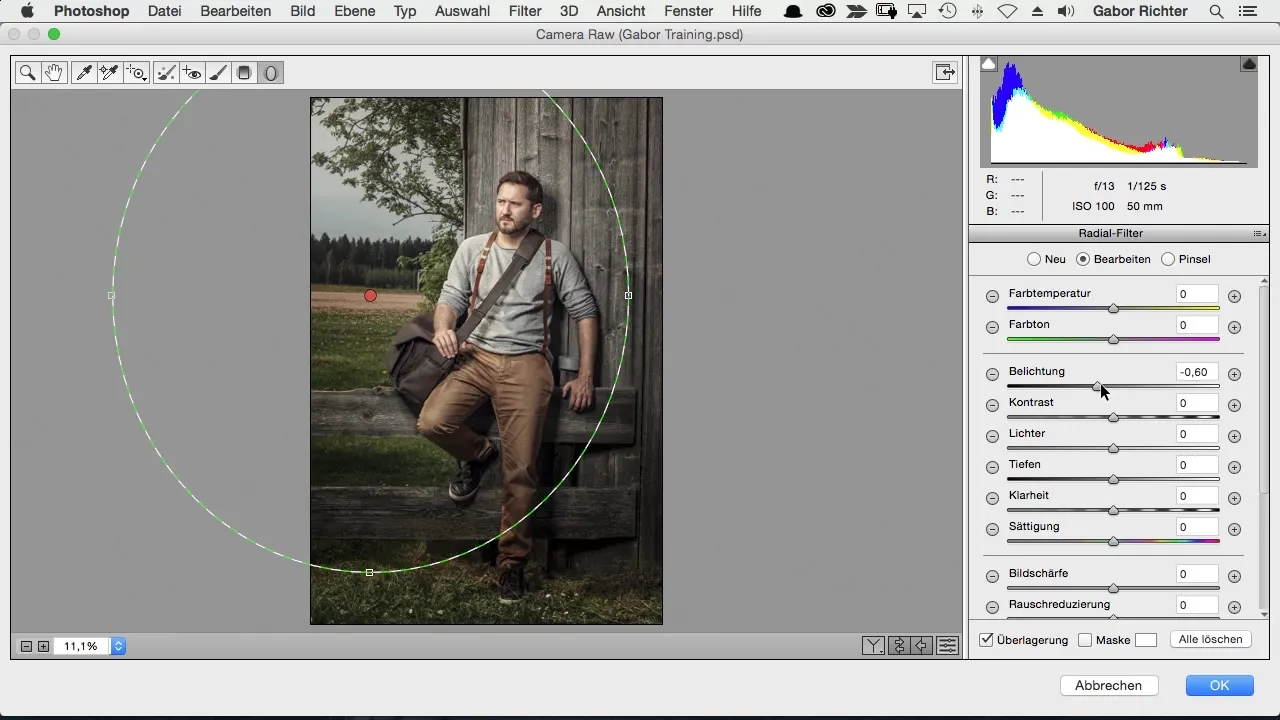
After applying the radial filter, you can adjust the exposure. I tend to slightly darken the exposure in the darker areas to increase contrast. Experiment with the values to achieve the desired result.
Another adjustment I like to make is the color grading for shadows and highlights. I slightly fade the shadows into a blue and the highlights into a yellow. These color adjustments give the image a special touch and enhance the depth.
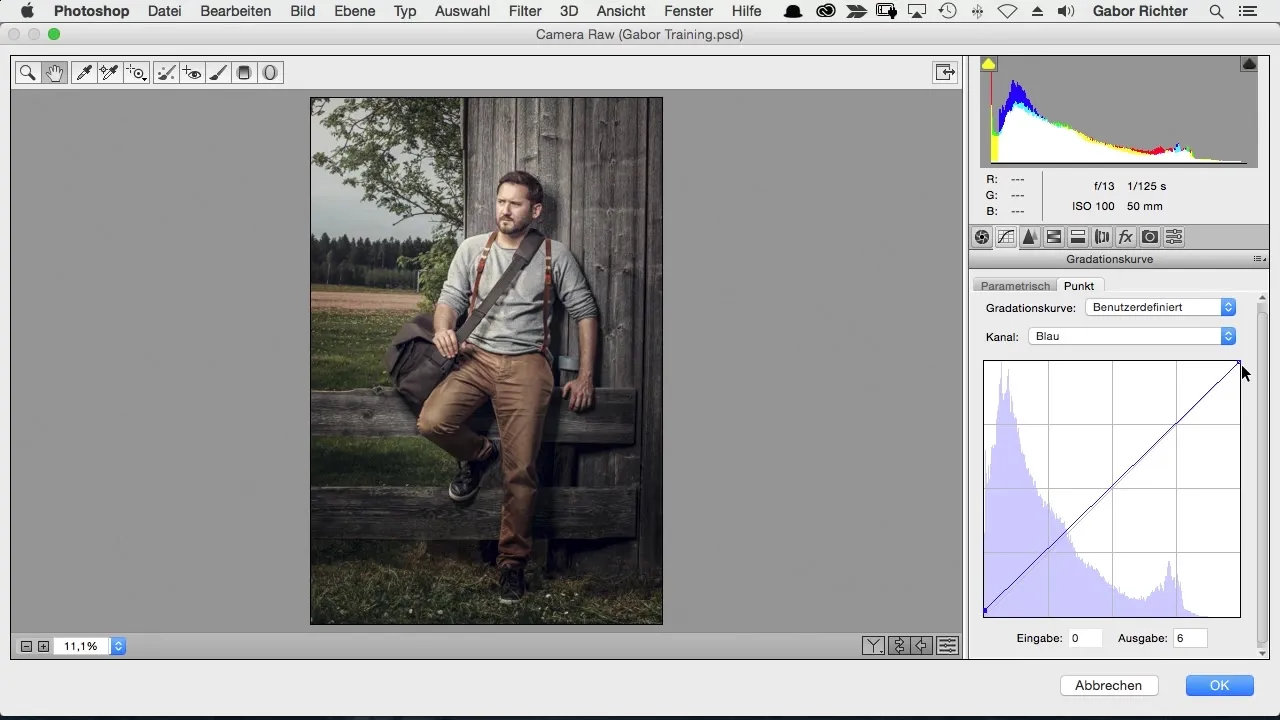
Once everything is adjusted, take a look at the overall image. Sometimes a final touch in the curves is necessary to optimize the balance between different colors. Consider whether you want to add more yellow to the highlights to create a warm effect.
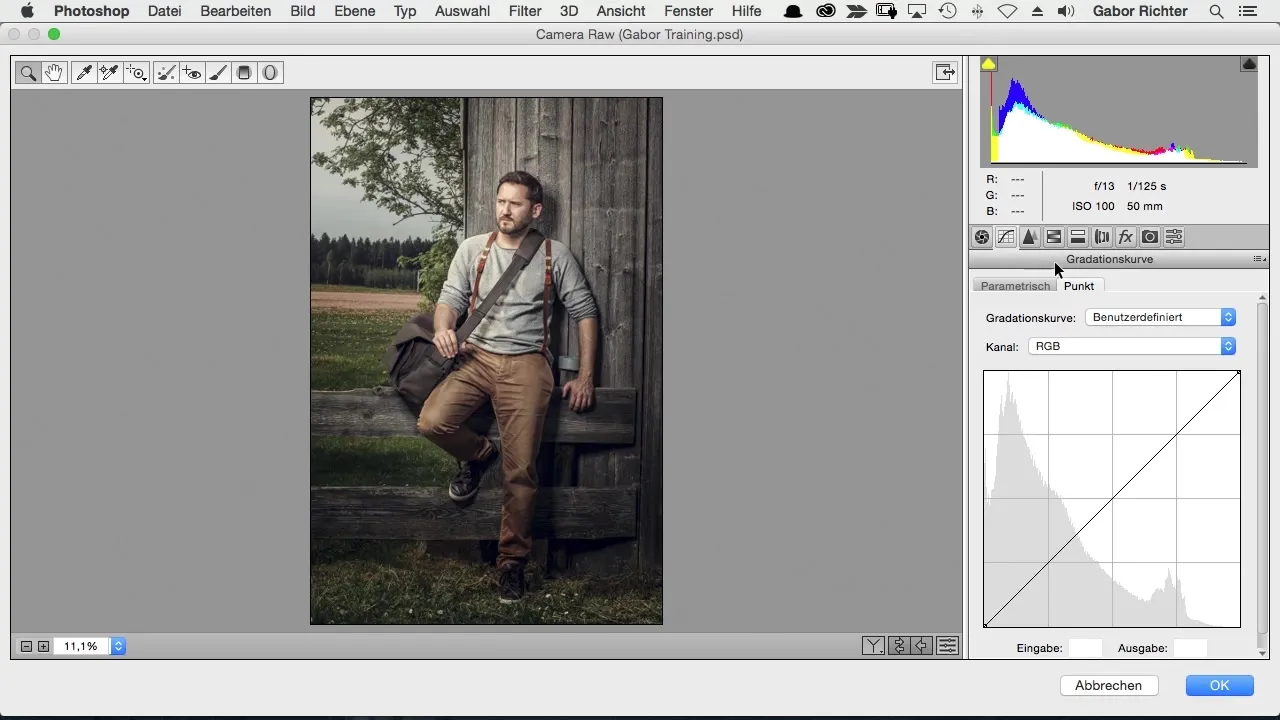
To be able to assess the image well, it may be helpful to change the brightness of your workspace. This makes it easier to view the final image and identify any weaknesses in the editing.
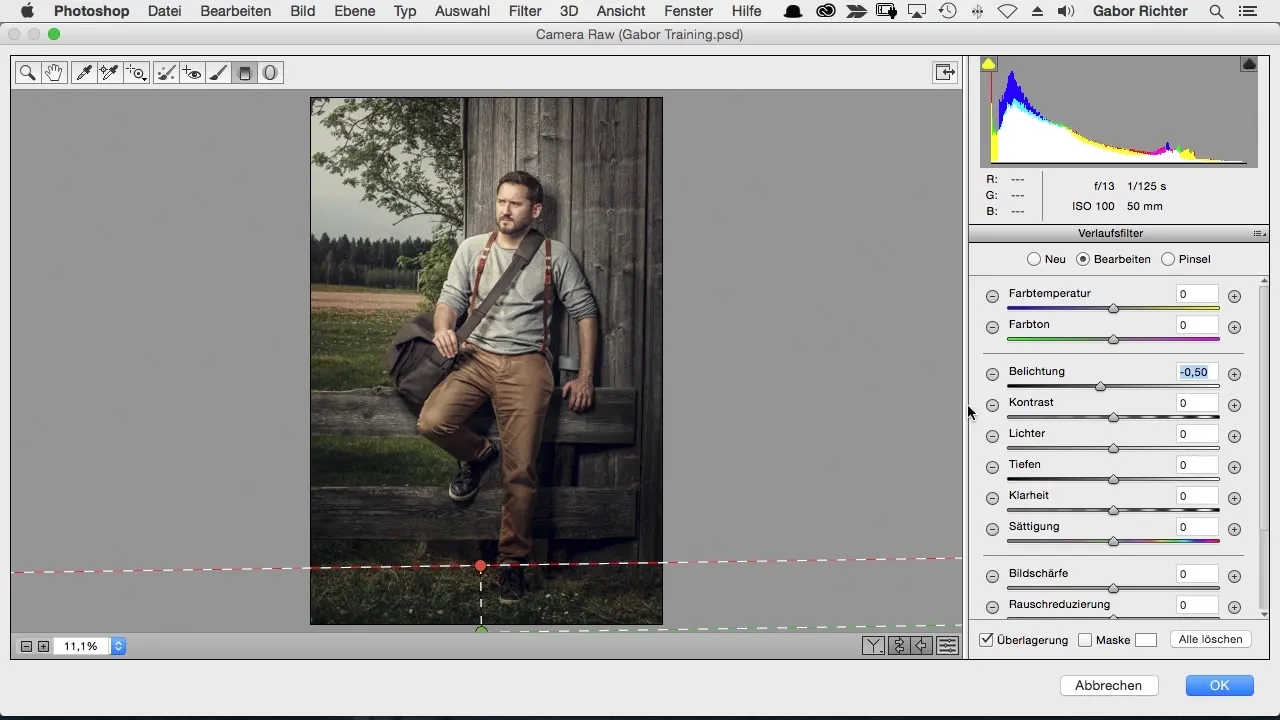
If the image still appears too bright, pull a gradient filter once more to darken certain areas. This helps to make the overall image more harmonious.
The final step is to save and export the image. Now you have a comprehensive guide for the final editing of your image in Photoshop. I hope the techniques are helpful for your own projects.
Summary – Photoshop Workflow in the Black Forest: Step by Step to Perfect Image Editing
You have learned how to take your images to the next level through the use of smart objects, the Camera RAW filter, and various adjustments in the areas of vignette and radial filter. Use these tips and tricks to enhance your creativity and your work.
Frequently Asked Questions
How do I convert a layer into a smart object?Right-click on the layer and select "Convert to Smart Object".
What is the Camera RAW filter and how do I use it?The Camera RAW filter allows you to adjust images without losing quality. You can find it under "Filter" in Photoshop.
How can I increase the clarity in my image?In the Camera RAW filter, you can adjust the clarity value. An increase of 5 often creates a subtle effect.
How do I add a vignette?In the effects section of the Camera RAW filter, you can create a vignette that darkens the edges of your image.
How do I save my edited image?Use the "Save As" function to export your edited image and save it in the desired format.

