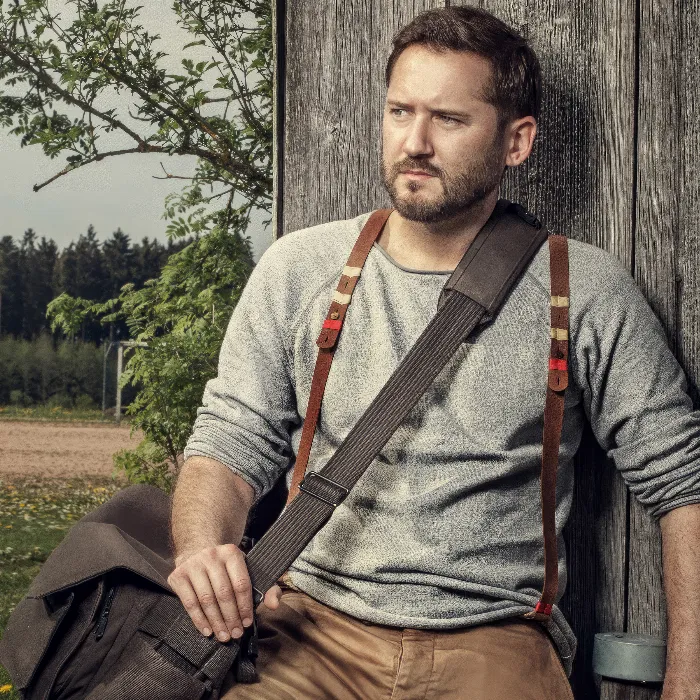
The art of photo editing encompasses various techniques to make photographs more vibrant and engaging. One of these methods is the Dodge and Burn technique. With this method, you can selectively control light and shadow in your image to create depth and dimension. In this guide, you will learn how to effectively use Dodge and Burn in Photoshop to enhance the texture and three-dimensionality of clothing and objects.
Key Insights Dodge and Burn is a technique where light and shadow are incorporated into an image. Using separate layers, you can increase the visibility of wrinkles in clothing, thereby enhancing the three-dimensionality of objects. It's important to work with a low opacity and focus on existing wrinkles.
Step-by-Step Guide
Preparing Dodge and Burn
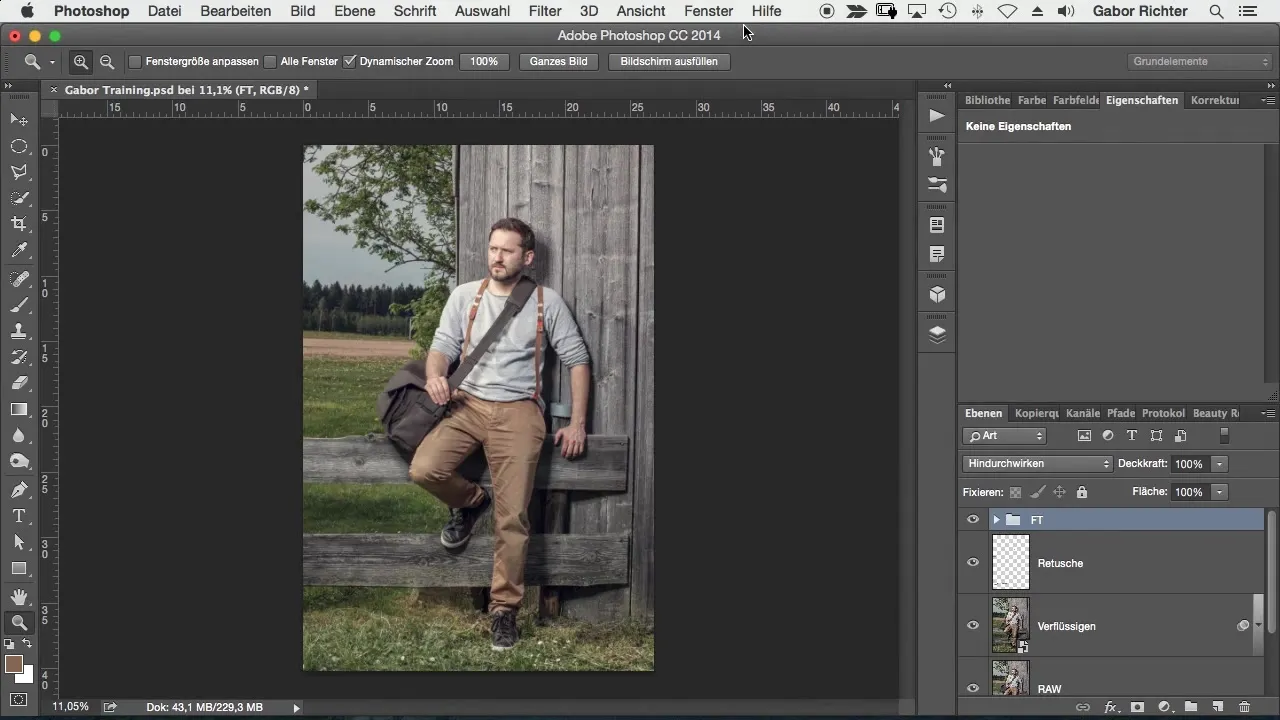
To start with the Dodge and Burn technique, you need to create a new layer. You can do this by holding down the ALT key and clicking on "New Layer". Name the layer "Dodge and Burn" or simply "DMB" and set the mode to "Overlay". Confirm that you want to create a 50% gray layer.
Selecting the Brush and Opacity
Now select the brush and set the opacity to about 45%. Make sure you are working in black and white mode. Use black to paint shadows and white to brighten. Initially, focus on the wrinkles in the clothing to create more depth.

Emphasizing Wrinkles
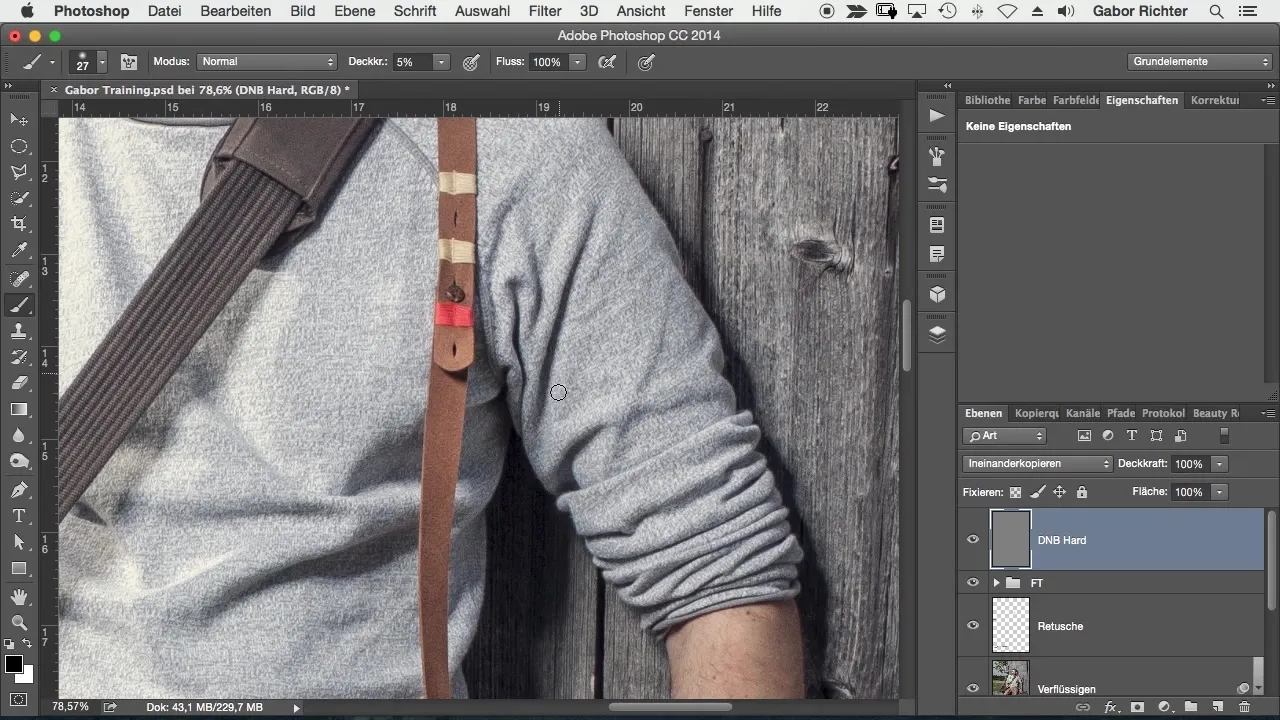
Start by drawing over the wrinkles to highlight the depth of these areas. Look for existing wrinkles and emphasize them by increasing the darkness of the wrinkles by about 15-20%. This technique works particularly well because you are working with shadows that are already present.
Practice Makes Perfect
If you are new to this technique, it is helpful to choose simpler subjects, such as clothing with existing wrinkles. Practicing will improve your feel for the Dodge and Burn technique, and you will become more confident in working with light and shadow.
Continue Working with Highlights
After you have emphasized the shadows, you can now start brightening the highlights. This enhances the three-dimensional effect and brings more life to your image. Switch between the white and black mode and ensure that you brighten the highlights to emphasize the desired areas.
Focusing on Specific Areas
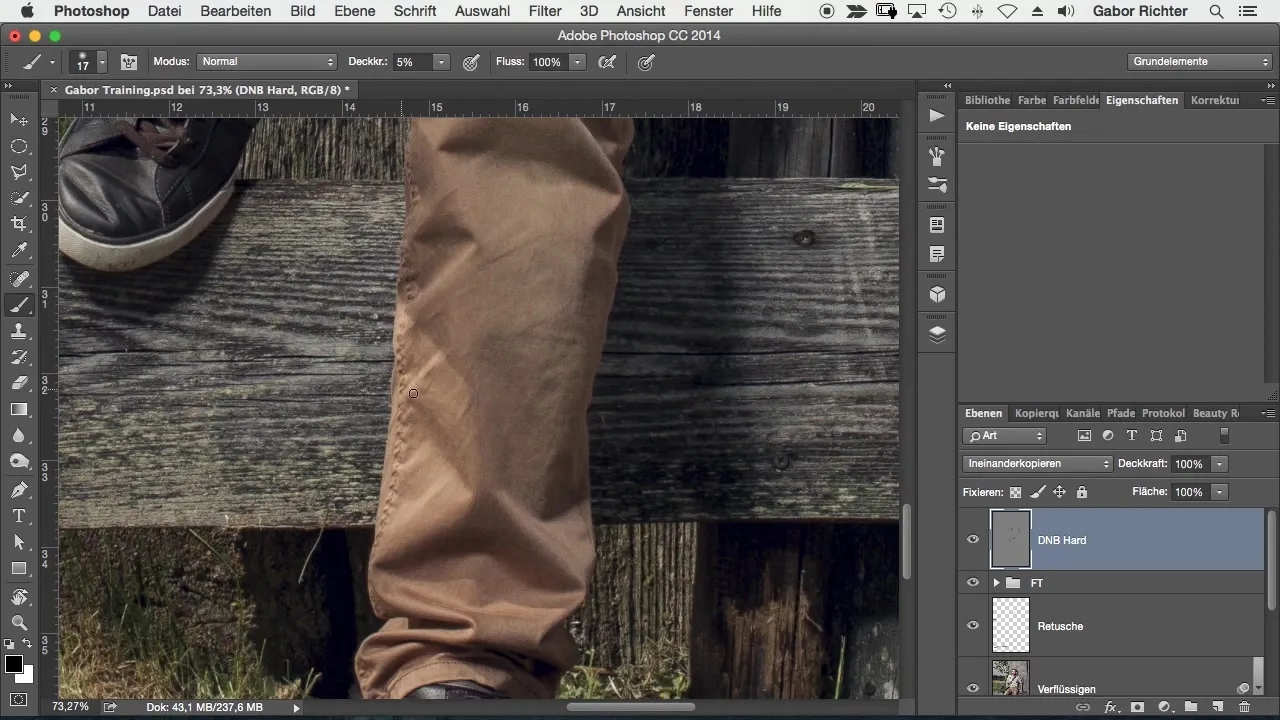
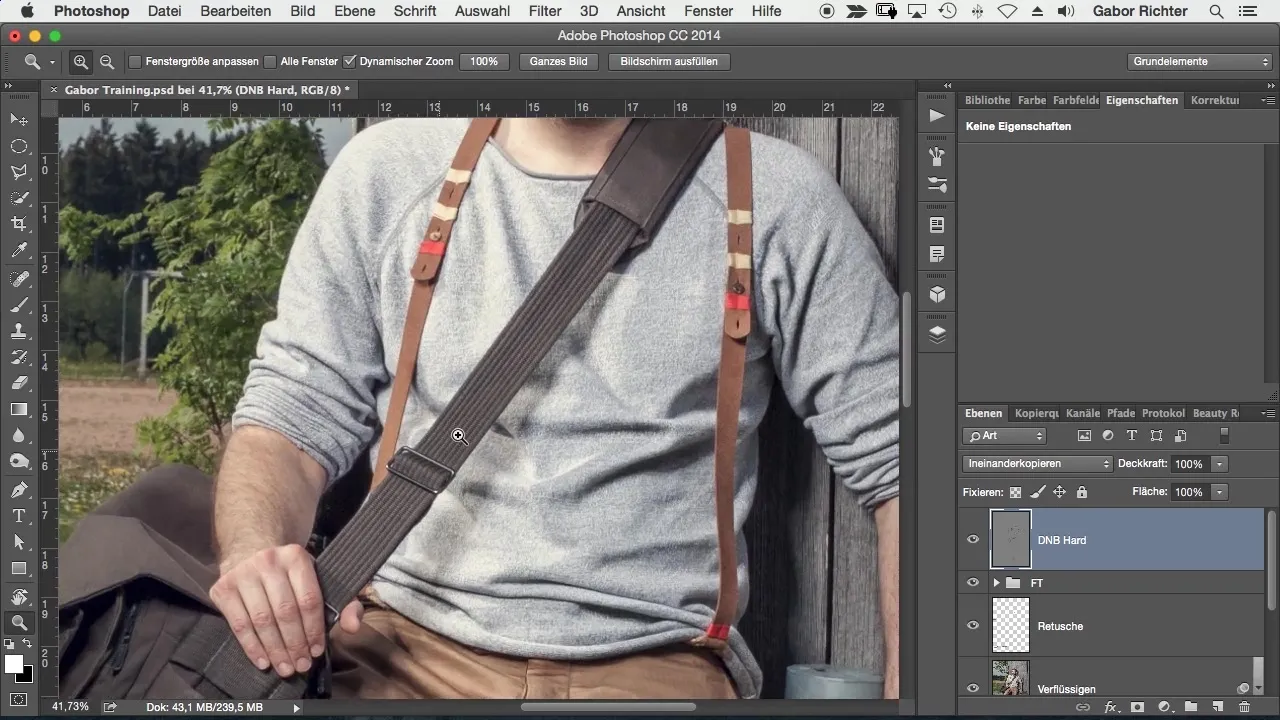
When focusing on specific areas like belts or suspenders, you can achieve even more with the Dodge and Burn effect. The same principle applies: parts that are closer to the camera should appear brighter, while deeper areas should remain darker.
Adjusting Areas with Lighting Mood
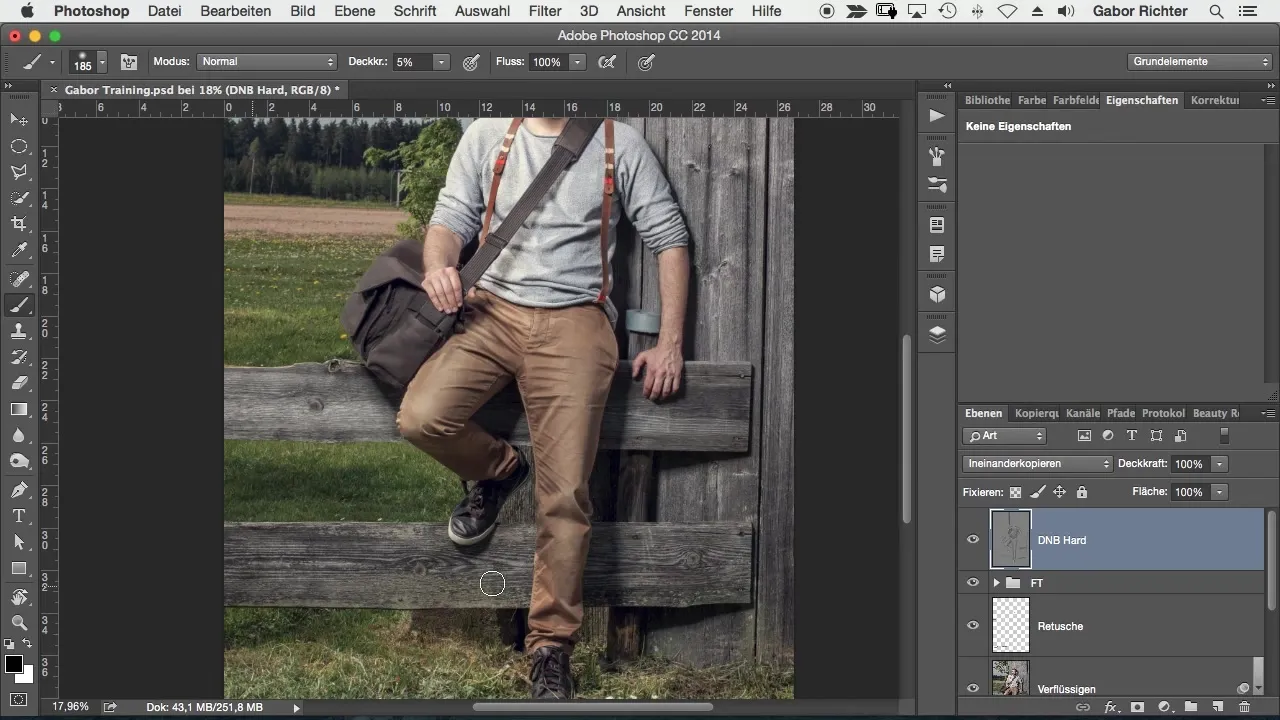
To enhance the overall effect of the image, be prepared to adjust other areas such as the building in the background. Working again with the shadows can help influence the lighting mood of the overall image, making it more appealing.
Final Steps and Fine-Tuning
Finally, check your image against the original images. Toggle the Dodge and Burn layer on and off to see what changes you have made, and make any necessary adjustments to perfect the image.
Summary – Dodge and Burn: A Powerful Technique for Three-Dimensional Images
With the Dodge and Burn technique, you can create deeper and more detailed images by skillfully controlling light and shadow in your image. While this method requires some practice, the results will help elevate your photography to a new level.
Frequently Asked Questions
What is Dodge and Burn?Dodge and Burn is a technique that deliberately applies light and shadow in an image to enhance depth and three-dimensionality.
How do I create a Dodge and Burn layer in Photoshop?Press the ALT key and click on "New Layer". Name it and set the mode to "Overlay".
What should the opacity be when painting?Start with an opacity of 45% and adjust as needed.
What areas are particularly suitable for Dodge and Burn?Wrinkles in clothing and textures in objects are ideal for experimenting with light and shadow.
How can I effectively change the lighting mood?By using the Dodge and Burn technique to both brighten and darken, you can drastically influence the lighting mood in your image.
