
BLACK FOREST - The workflow in Photoshop

- 13 lessons in just under 2 hours of video training
- Complete workflow from the initial image to the detailed final
- All the thought processes of a professional Photoshop artist
- From Gabor Richter, who shares his expertise and approach with you
Make a scene! Get more out of every pixel of your shots with this video training!
13 Videos, 117 minutes
Black Forest
Black Forest: The workflow in Photoshop - 01 Intro
2 minAs an introduction to the video training, an overview of the image and the edits made.
Black Forest: The workflow in Photoshop - 02 Raw: Part 1
15 minThis video is about raw processing - first part.
Black Forest: The workflow in Photoshop - 03 Raw: Part 2
6 minThis video is about raw processing - second part.
Black Forest: The workflow in Photoshop - 04 Liquefy
11 minIn this lesson, we will use the liquefaction option.
Black Forest: The workflow in Photoshop - 05 Retouching
9 minLet's get closer to the picture and try our hand at retouching.
Black Forest: The workflow in Photoshop - 06 Frequency separation
13 minThis is a practical demonstration of how to use frequency separation for image processing.
Black Forest: The workflow in Photoshop - 07 Dodge and Burn: Hard
15 minIn this video we use the Dodge and Burn method for retouching.
Black Forest: The workflow in Photoshop - 08 Dodge and Burn: Soft
15 minIn this video we also use the Dodge and Burn method for retouching, this time soft.
Black Forest: The workflow in Photoshop - 09 Brightness adjustments
8 minLet's make a few adjustments to the brightness of the image.
Black Forest: The workflow in Photoshop - 10 image look
7 minNow we refine the entire picture look.
Black Forest: The workflow in Photoshop - 11 Light source
3 minLet's take a look at the light source in the picture in this video.
Black Forest: The workflow in Photoshop - 12 vignettes
4 minDraw the eye? We can achieve this with a vignette, for example.
Black Forest: The workflow in Photoshop - 13 Finale
10 minThe grand finale to our image editing and this tutorial.
You might also like
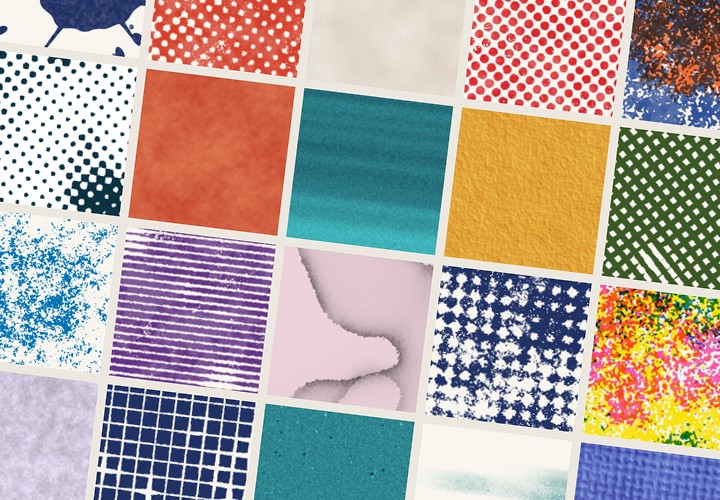
20 sets in 4K (4096 × 4096 px, 300 DPI) as JPG plus Photoshop patterns, calibrated to the fill method

More style, more power, more templates!

Full power, more inspirations, maximum WOW effect!

100 presets in 5 themes · each look in .xmp, .dng, and .costyle · for desktop and smartphone
Comment now „BLACK FOREST - The workflow in Photoshop“