Are you ready to give your image a unique look? Below, I will explain step by step how to create an image look in Photoshop that brings out the beauty of nature in the Black Forest. Let's get started and find out how you can adjust the colors to make them complement each other and create a cohesive overall image.
Key Insights
The combination of saturation, contrast, and creative color design is crucial for creating an appealing image look. By working with settings such as hue/saturation, black-and-white filters, and color layers, you can achieve the desired effect.
Step-by-Step Guide
First, analyze the image. When you look at the image, you can notice the different elements and colors that will help you create a look that emphasizes the mood of the subject. Think about which colors are suitable for the image. Also, remember that red often signifies aggression but can also represent love, while blue can convey a cool, dramatic tone.
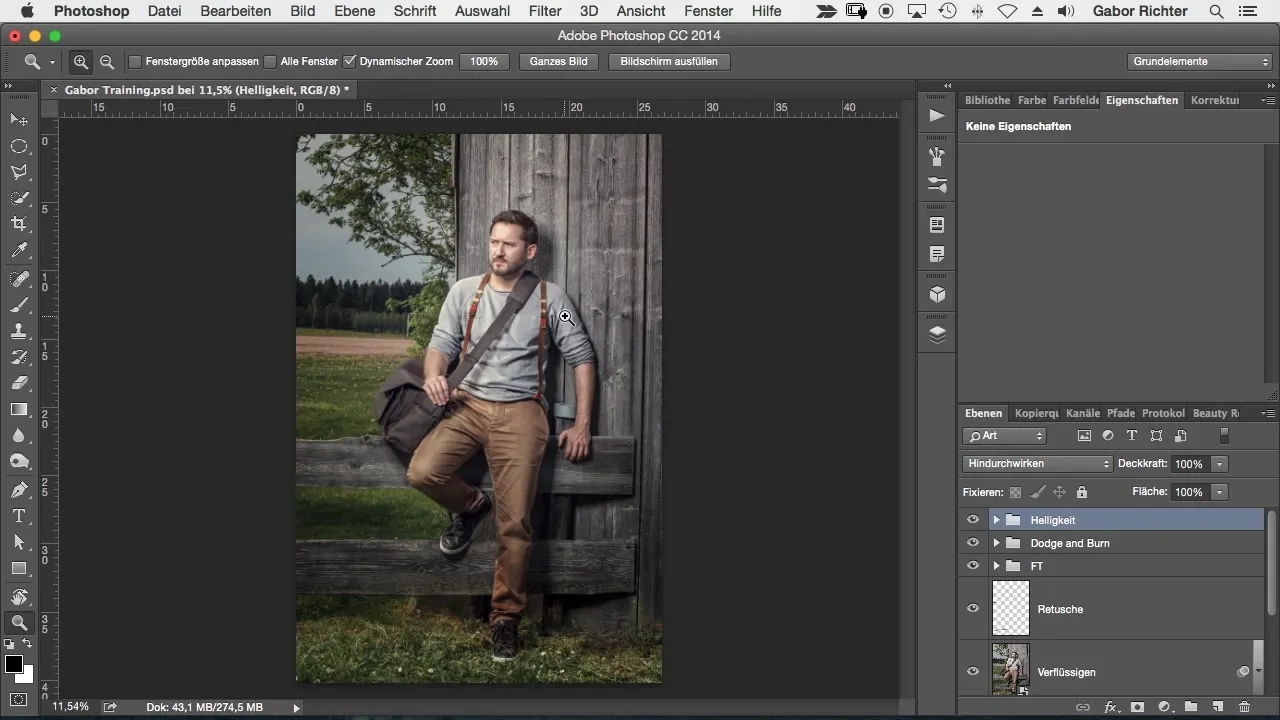
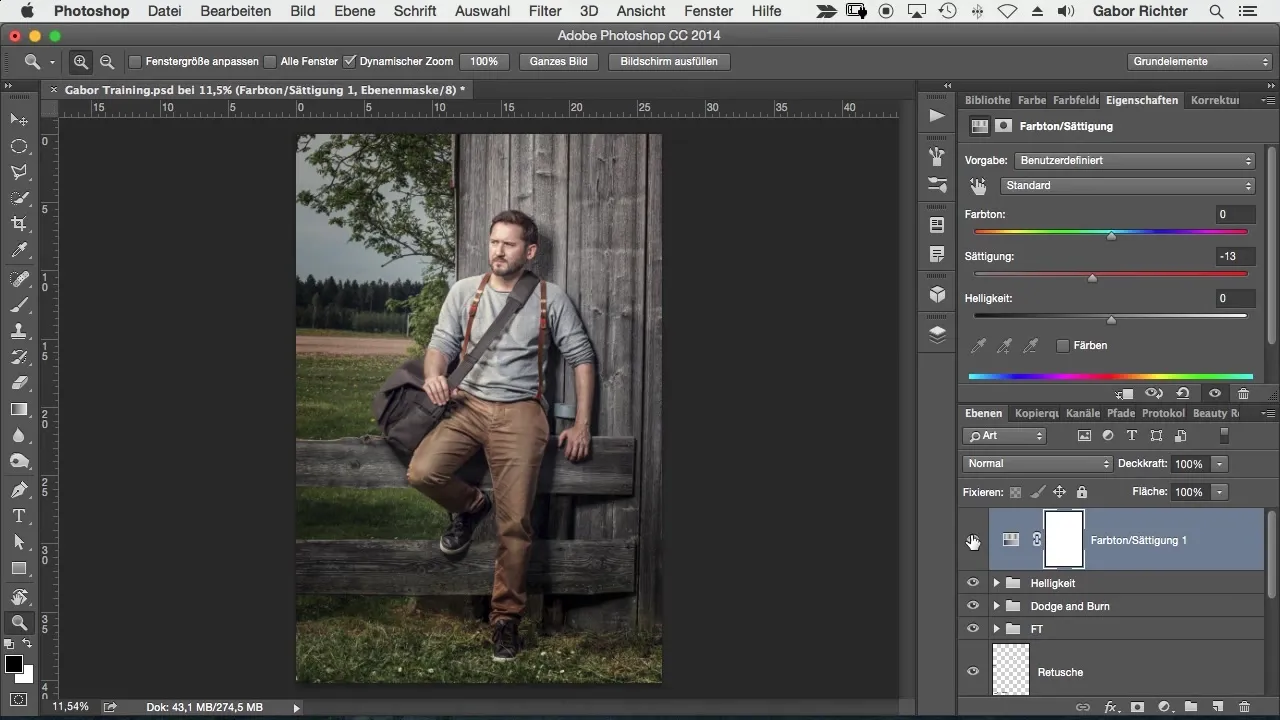
To effectively design the image look, start by desaturating the entire image. The goal is to make the colors appear less vibrant. To do this, go to the adjustment layers and select the 'Hue/Saturation' option. Reduce the saturation of the image by about -12 to create a subtler look. This will make the image less vibrant and more natural.
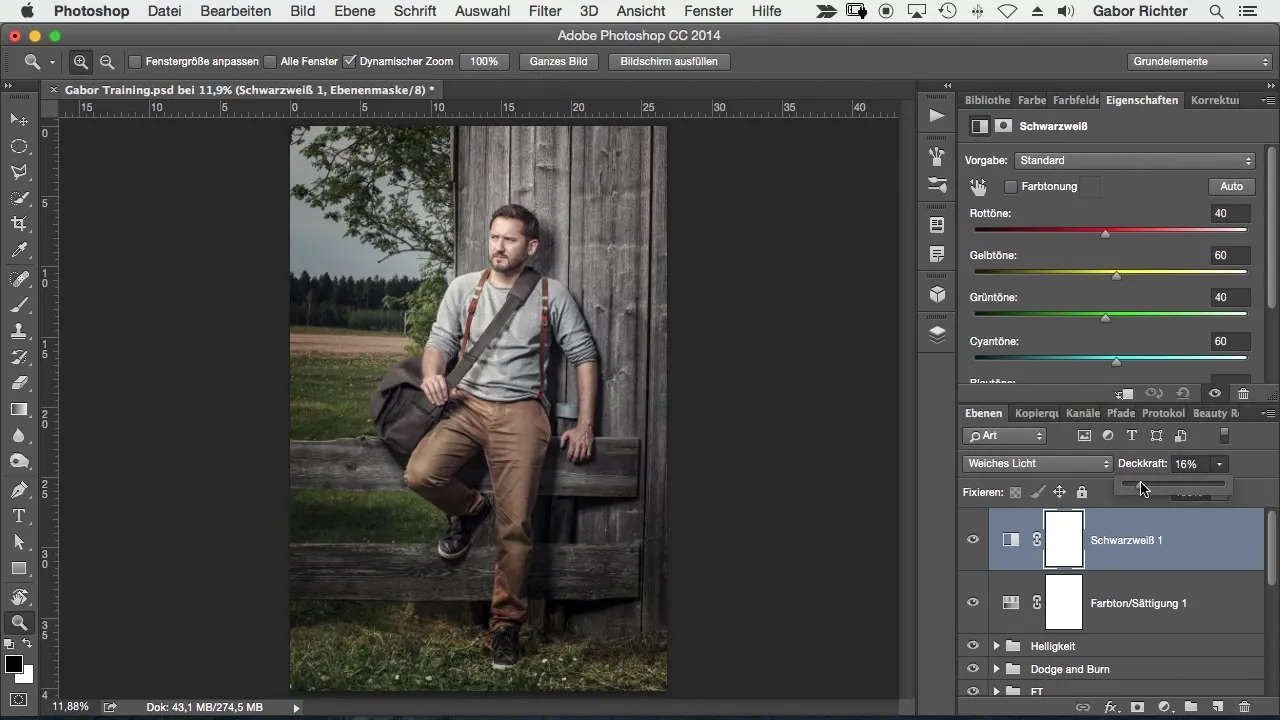
Next, play with the contrast of the image. Use a black-and-white adjustment layer and set the blending mode to 'Soft Light'. This will make darker areas even darker and lighter areas brighter. Be sure to reduce the opacity; a value between 15 and 18% can be optimal for this.
In the next step, focus on the coloring. Consider how you can bring life and nature into the image. Use a color layer to create the desired image look. You can choose a bold color like blue and reduce the opacity. Alternatively, you can change the blending mode to 'Soft Light' to achieve an interesting effect.
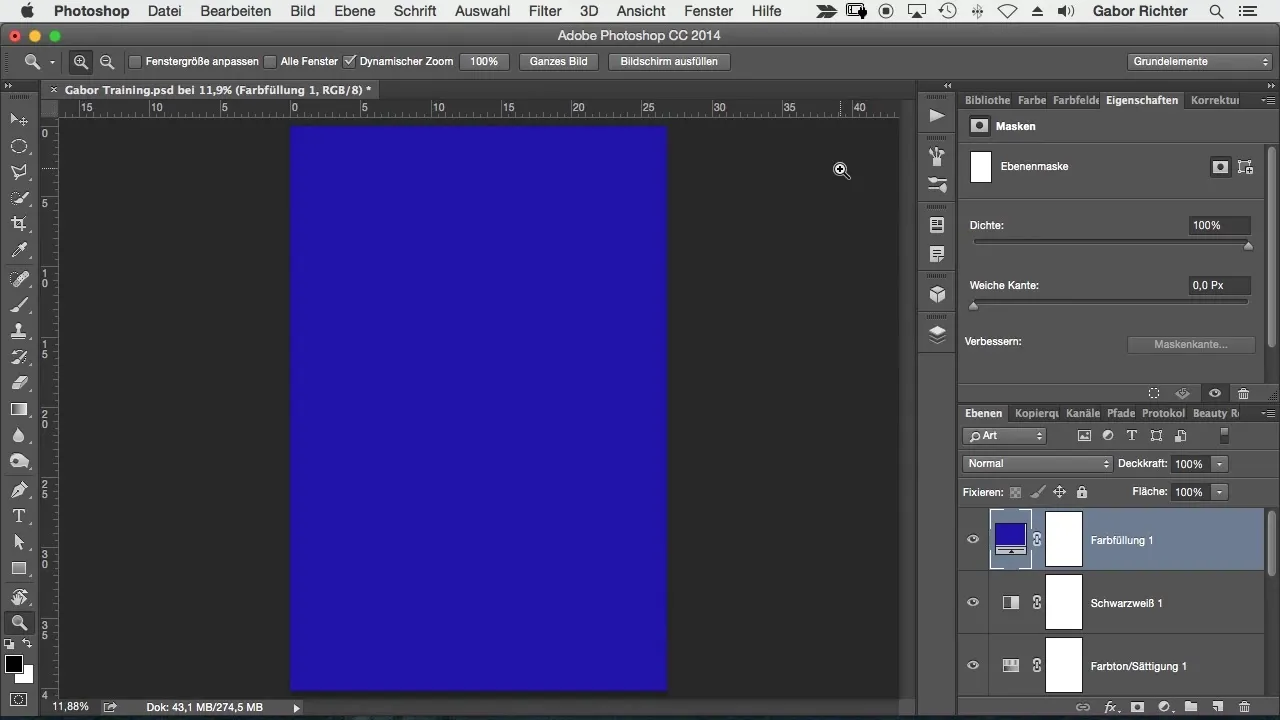
Now it's time to experiment with the opacity. Reduce the opacity to 25% to achieve a soft look. You can adjust the color in the color layer to further change the mood. Whether you choose red or an earthy orange – try different options to achieve the desired feeling.
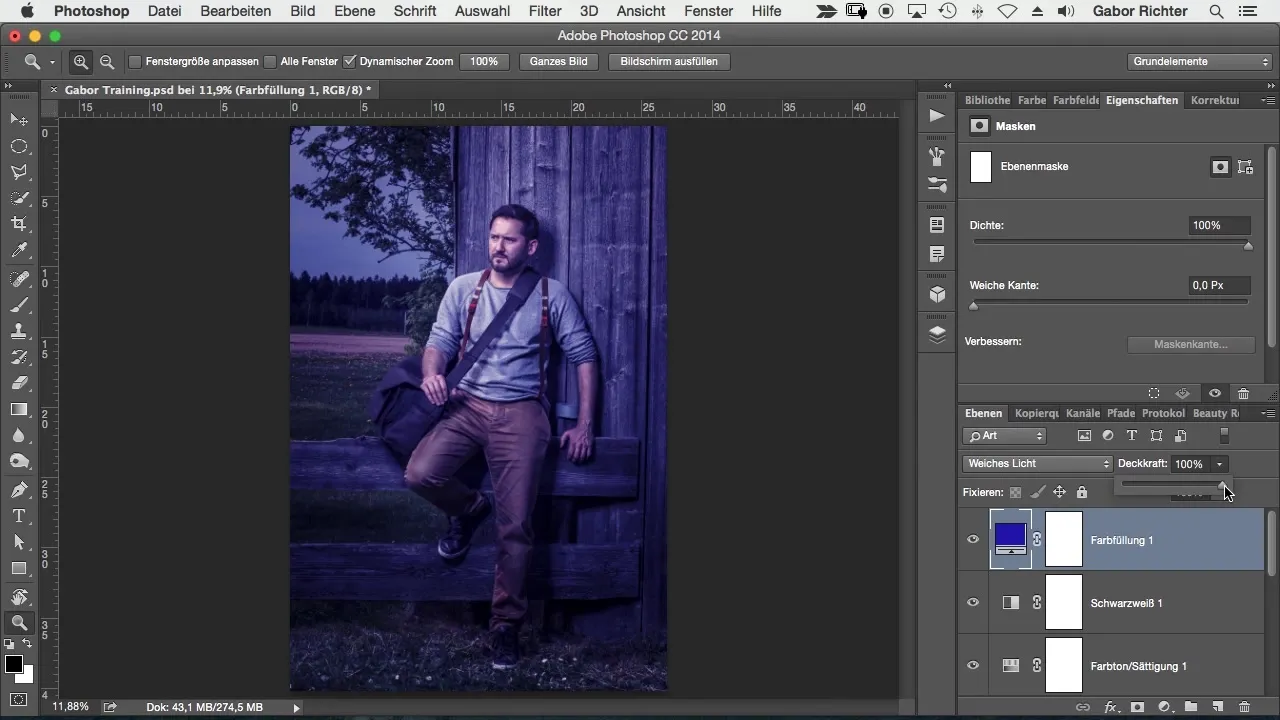
Make sure to group the color layers and name them 'Image Look'. This way, you keep track and can make adjustments if needed. The image should now have a harmonious look that reflects the soft colors and nature of the Black Forest.
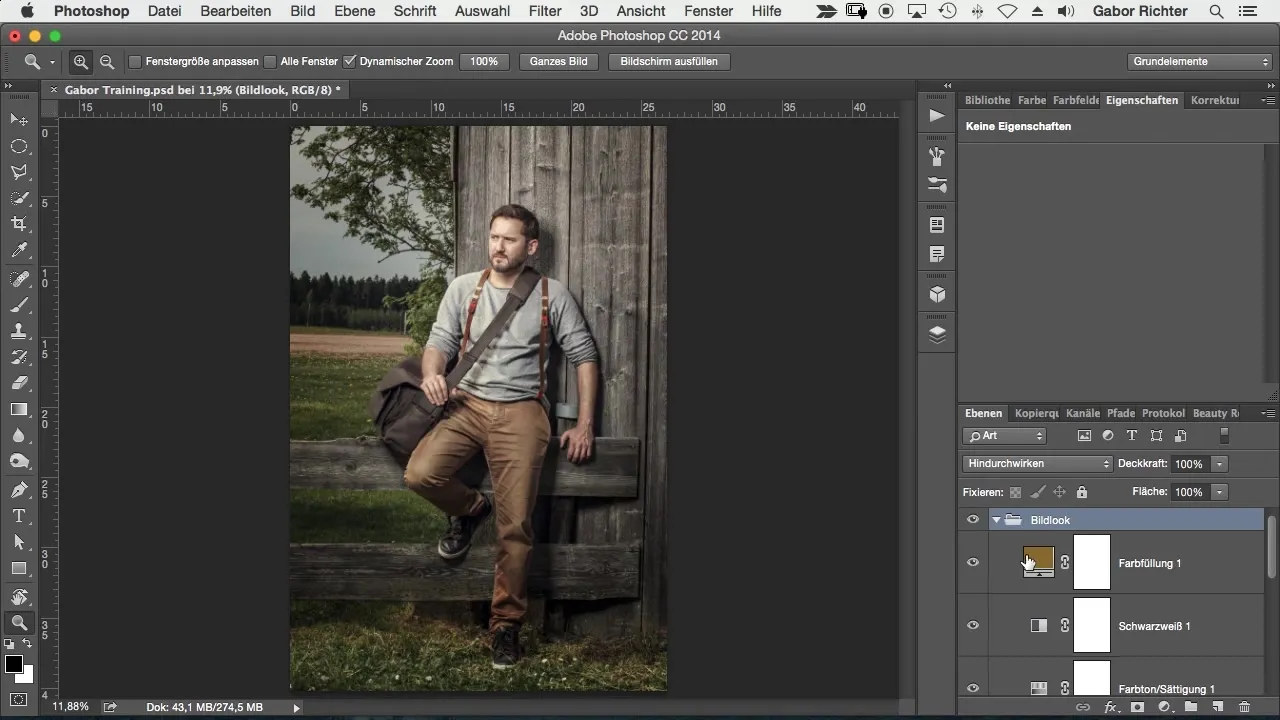
Finally, take a close look at the image. Consider whether you want to further experiment with the saturation or colors until you're satisfied with the final look. Remember that the final image look should be subtle and appealing – don't overdo it with the saturation.
Summary – Implementing an Image Look in the Black Forest Stylishly
In this tutorial, you learned how to create a custom image look in Photoshop that reflects the natural beauty of the Black Forest. Through targeted adjustments in saturation, contrast, and color, you can achieve the perfect look.
Frequently Asked Questions
How can I reduce the saturation of an image in Photoshop?Use the adjustment layer 'Hue/Saturation' to decrease the saturation as needed.
What does the black-and-white adjustment layer do?It helps increase contrast by deepening dark areas and highlighting light areas.
How do I change the blending mode of a layer in Photoshop?Double-click on the layer and select the desired blending mode from the dropdown menu.
How can I adjust a color in the color layer?Double-click on the color layer and select a new color from the color picker.
When should I adjust the opacity of a layer?If the effect is too strong, reduce the opacity to achieve a subtler look.


