You are currently in the process of RAW editing and want to learn more about the possibilities offered by Photoshop. In digital photography, the correct editing of RAW files is crucial to getting the best possible results from your images. This guide will walk you through the workflow in Photoshop, specifically focused on RAW development. You will learn how to effectively implement the basics and showcase your images optimally.
Key insights
- The sRGB color space is best suited for the online presentation of your images.
- The choice between 8 Bit and 16 Bit depends on your need for detail accuracy and file size.
- Editing the color temperature and exposure are key steps to improving your RAW data.
- Contrast, clarity, and sharpness help you bring out the image details better.
Step-by-Step Guide
First, open your RAW converter. Before you start editing, you should check the workflow options to ensure everything is set up according to your needs. Pay particular attention to the color space being used. If you primarily present your images online, choose the sRGB color space, as it is supported by most devices by default.
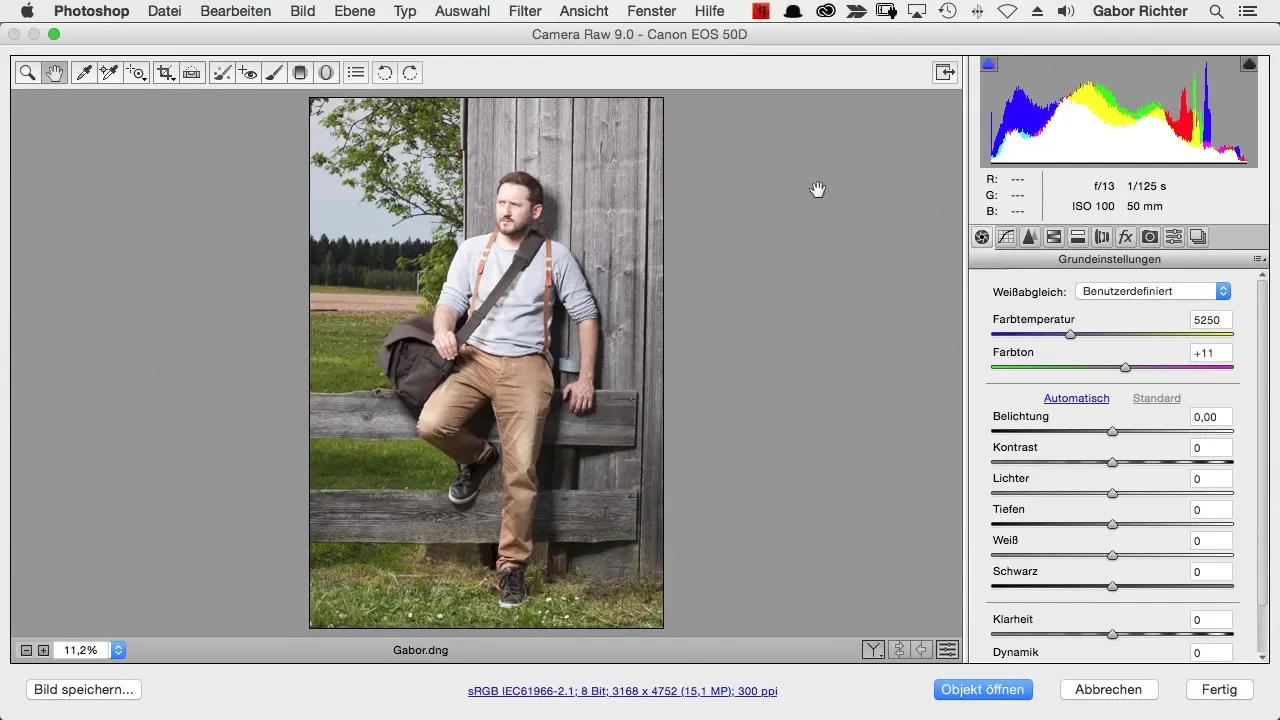
Equally important is the color depth of your image. By default, the color depth is set to 8 Bit, which is sufficient for most applications. A 16-Bit channel offers more color depth, but also significantly increases your file size and can slow down processing.
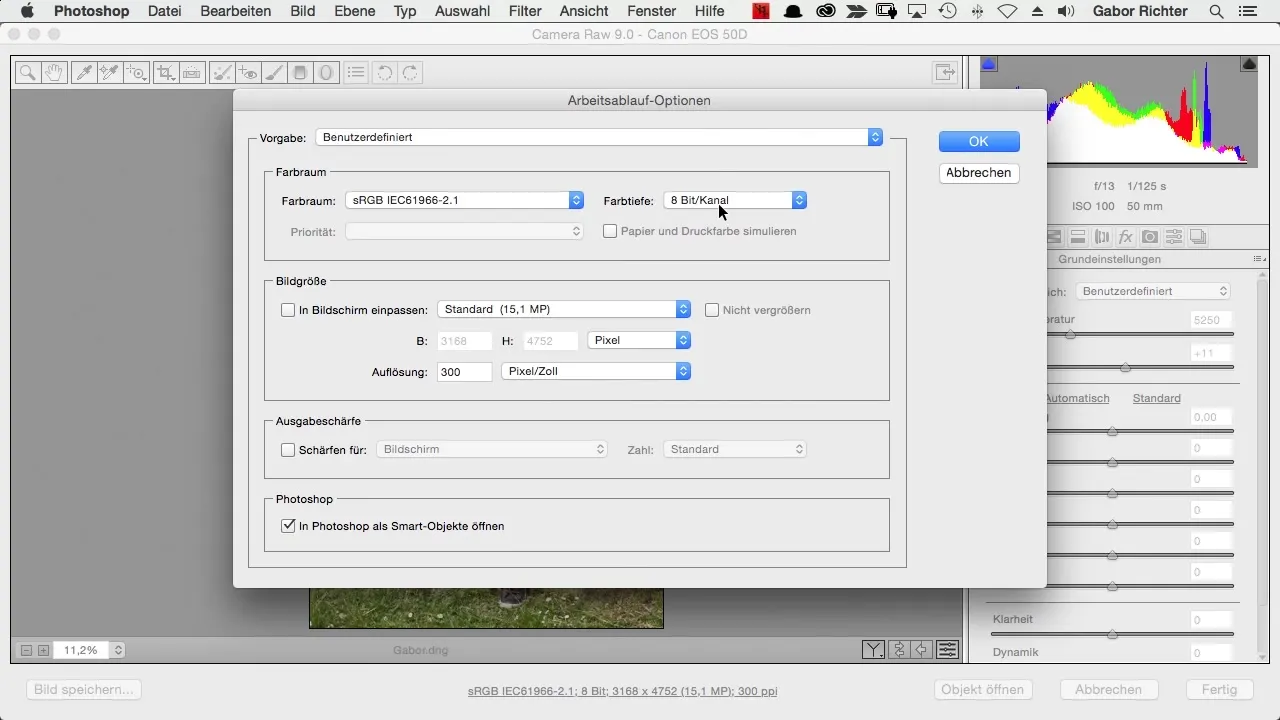
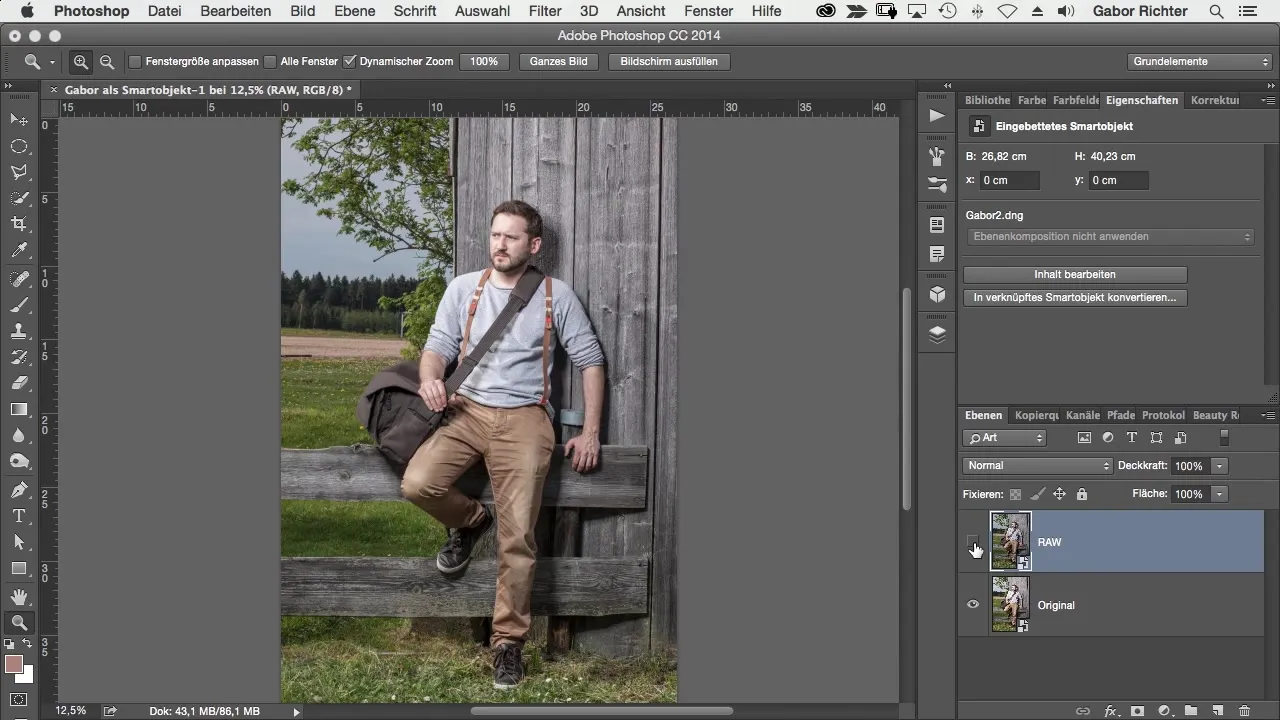
Make sure to activate the “Open as Smart Object in Photoshop” option. This allows you to return to your original at any time if you want to adjust your edits.
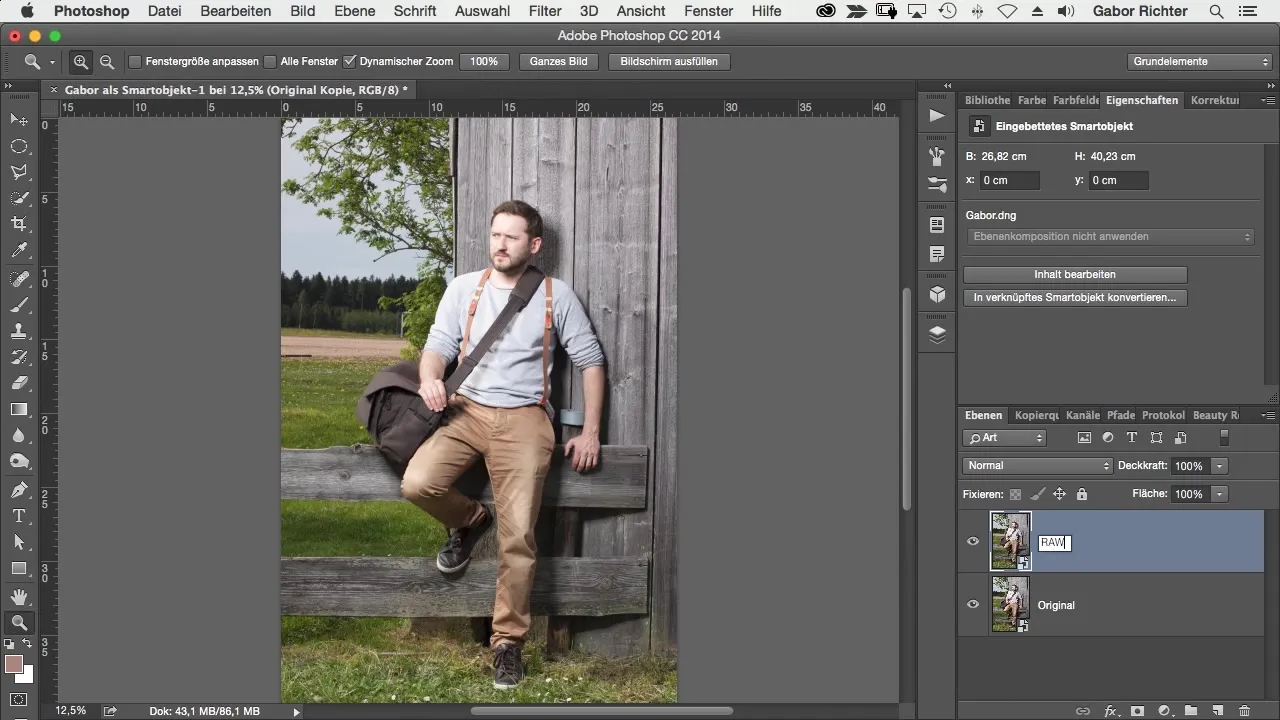
A good practice in RAW editing is to create duplicates of your RAW file. You can do this by creating a new Smart Object and naming it accordingly. This way, you always have access to the original file and can perform different editing steps independently.
Now start adjusting the color temperature of your image. It is important to adjust the hue so that it looks pleasing to your vision. Your goal might be to warm up the image slightly to create a warmer impression.
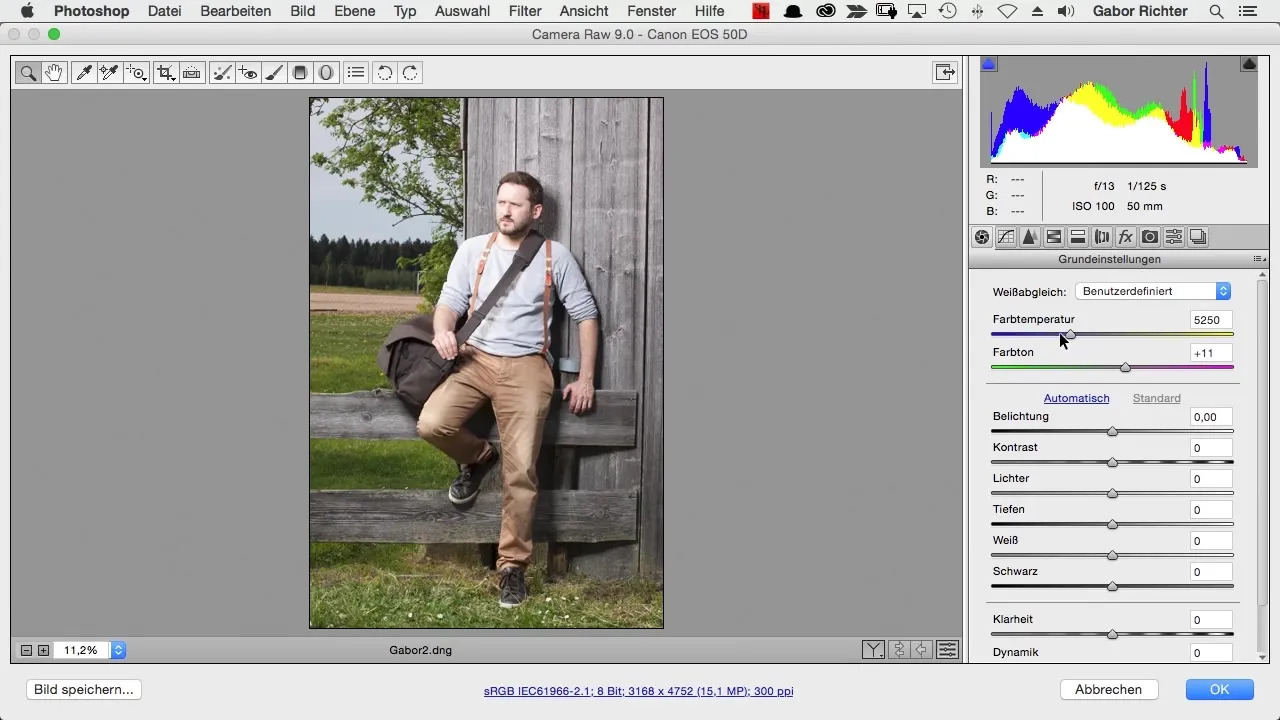
Once you have set the color temperature, check the exposure of the image. This is particularly important as you can adjust it later if the shot is initially too dark or too bright. The exposure slider can help you adjust the brightness of the entire image and ensure it is well balanced.
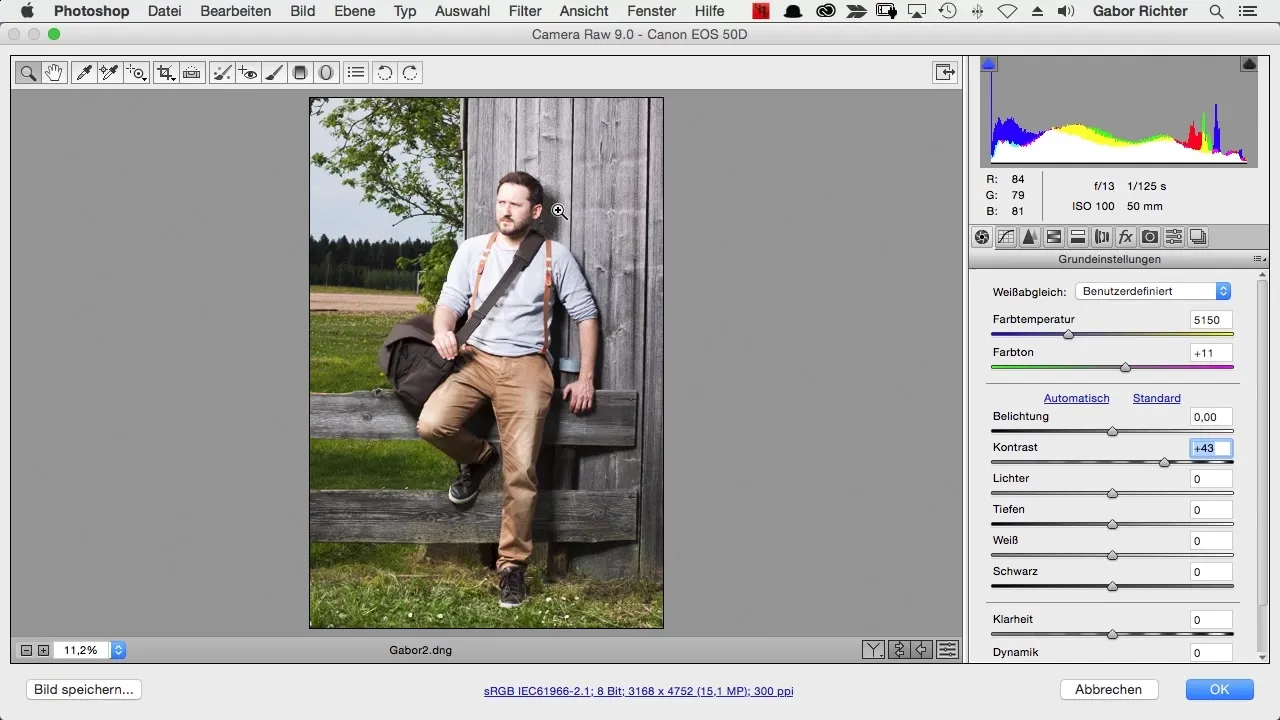
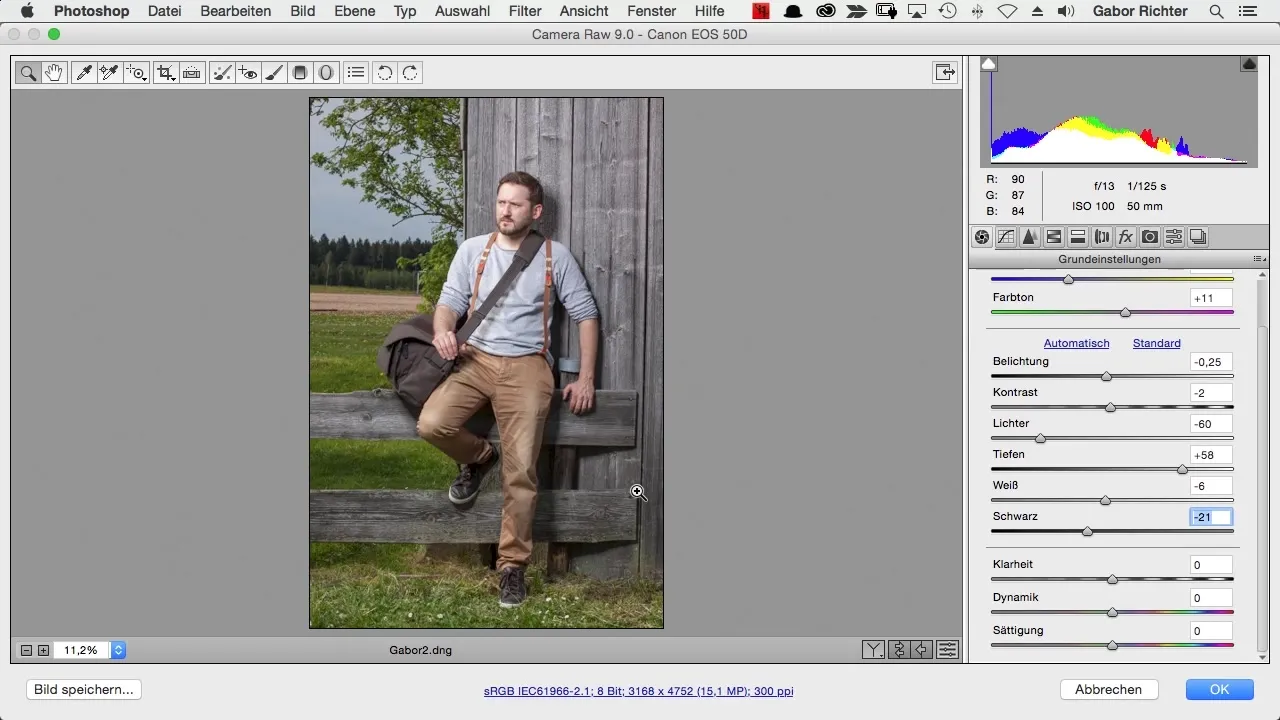
Another step is adjusting contrast and details. It is advisable to initially aim for a neutral look so you can later add the desired contrast precisely. Start by adjusting the “Lights” and “Darks” to gain more details from the highlights and shadows.
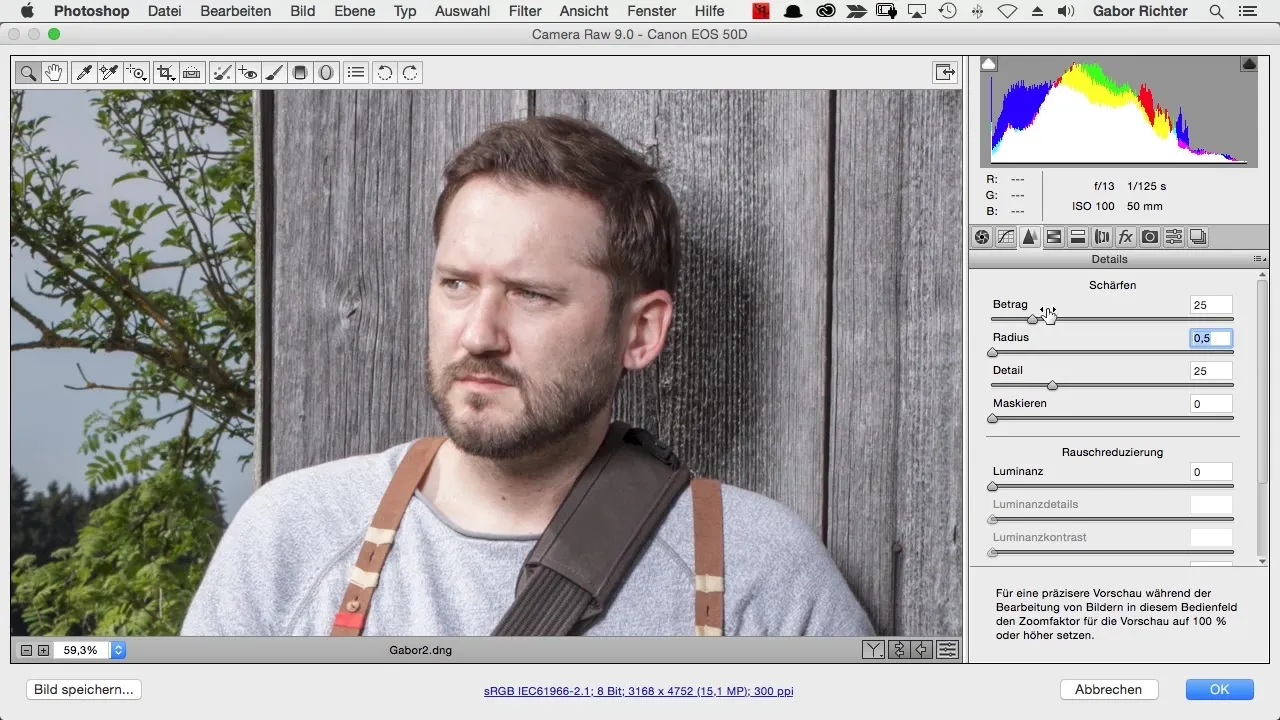
Now you can adjust the sharpness of the image. Sharpness should be emphasized, especially in portraits, to highlight relevant details. Be careful not to overdo it as this can lead to an unnatural look.
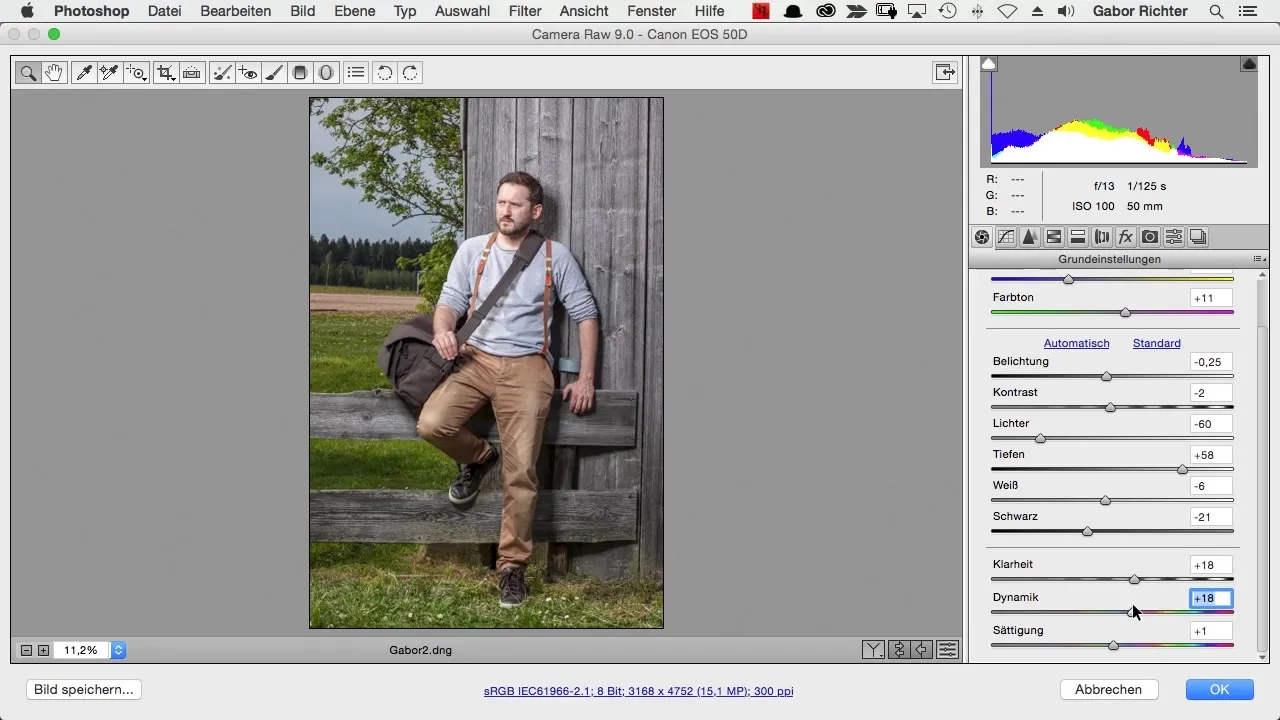
Also, apply the clarity slider to enhance the outlines in your image. It is advisable to use this slider sparingly to avoid exaggerated HDR-style effects.
The terms “Vibrance” and “Saturation” should also be considered. While vibrance enhances weak colors, saturation intensifies colors overall. Here, the subtle difference in image editing becomes apparent, as you can adjust the desired color nuances according to your goals.
Finally, review your progress. If everything looks to your liking, you can save your changes. With a well-thought-out editing of your RAW files, you create images that not only look good but also reflect your personal style.
Summary – RAW Editing in Photoshop: Step-by-Step Guide
The RAW editing in Photoshop opens up numerous opportunities to improve your photographic skills. From choosing the color space to the intricacies of image editing – this guide helps you unlock the full potential of your RAW photos.
Frequently Asked Questions
What is the ideal color space for editing images?The sRGB color space is ideal for web presentation as most devices support it.
Why should I choose 16 Bit instead of 8 Bit?16 Bit offers more color depth but requires more storage space and processing power.
How can I undo what I've done during editing?Use Smart Objects to return to your original file at any time.
What is the difference between Vibrance and Saturation?Vibrance enhances weakly present colors, while Saturation intensifies colors overall.
How can I ensure that my images contain details?Use the sliders for Highlights and Shadows to emphasize details in bright and dark areas.


