With the right adjustments, you can direct attention to the crucial elements of your image. Often, bright or eye-catching areas distract from the main focus. This tutorial shows you how to specifically adjust the brightness in your image to guide the viewer’s gaze where you want it. Let's go through the process of brightness adjustments in Photoshop together.
Main insights
- Bright areas in an image can distract from what is truly important.
- With the help of masks and tonal corrections, you can specifically adjust brightness.
- A soft selection is often more advantageous than a perfect one to avoid harsh edges.
Step-by-step guide
Step 1: Preparing the area
First, take a look at your image and decide which areas you want to adjust. Often, bright clothing or backgrounds are the cause of distraction. In our example, the sweater is too bright, so we'll start adjusting there first.
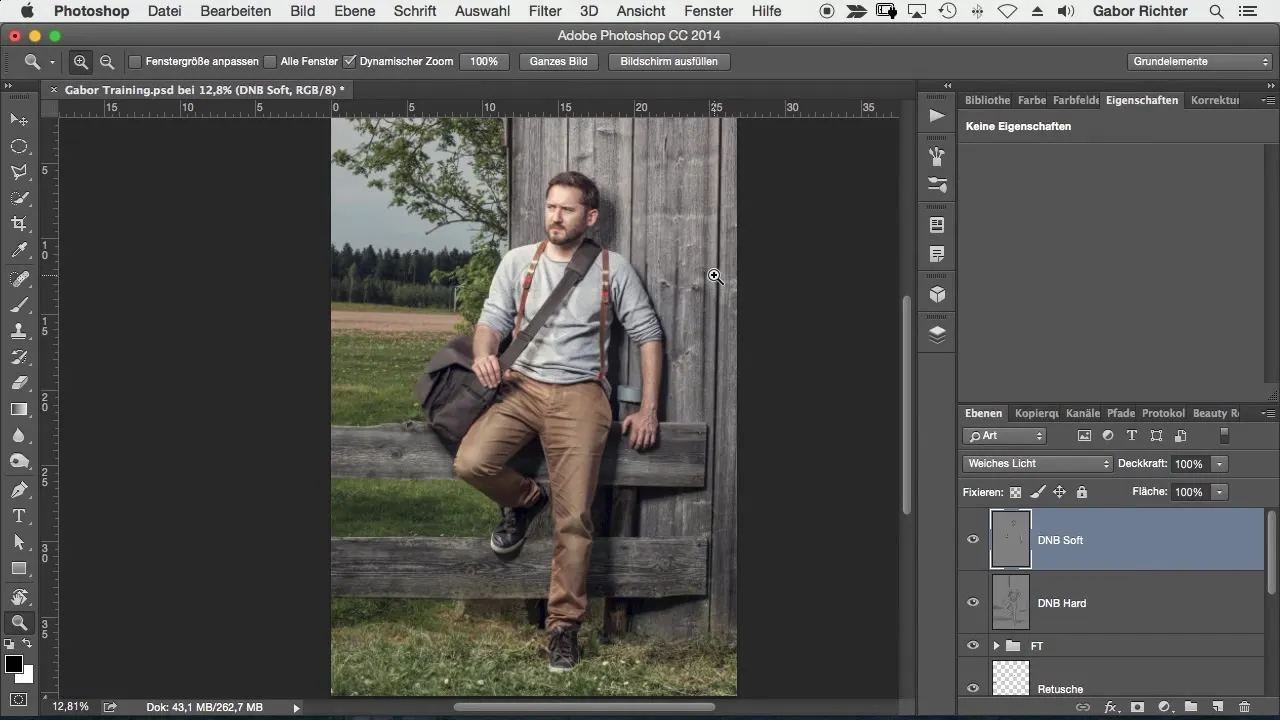
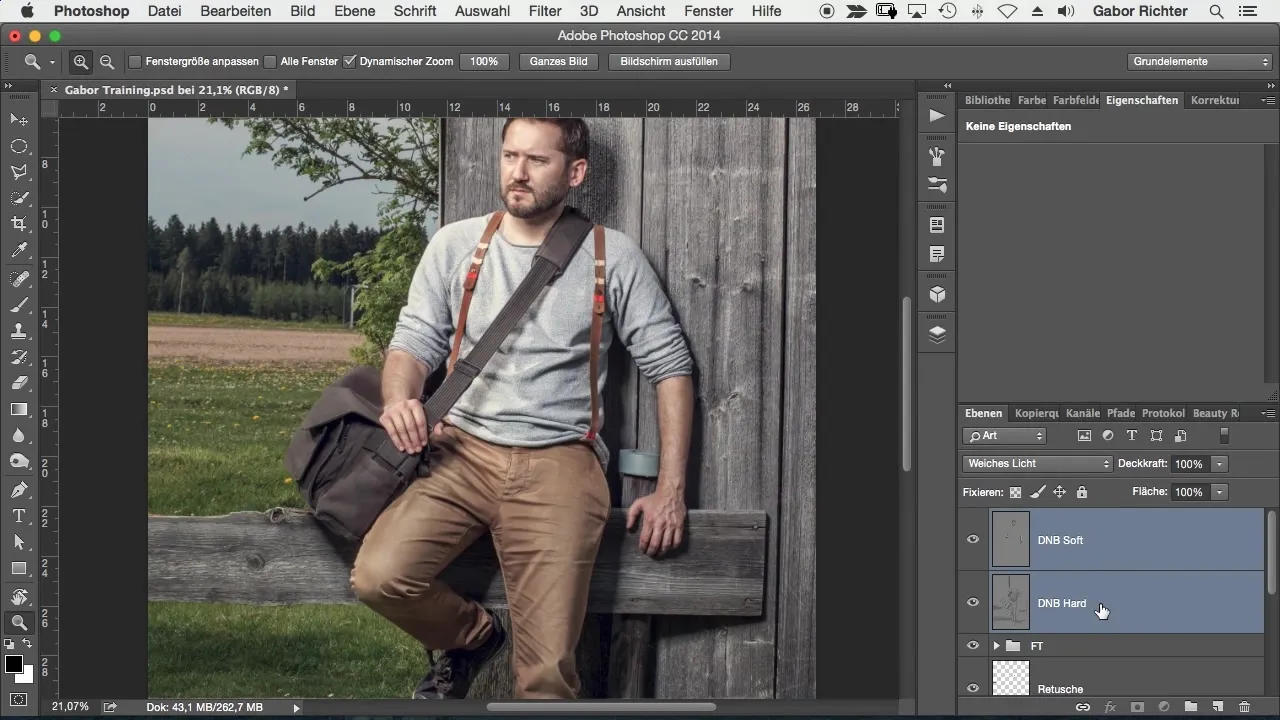
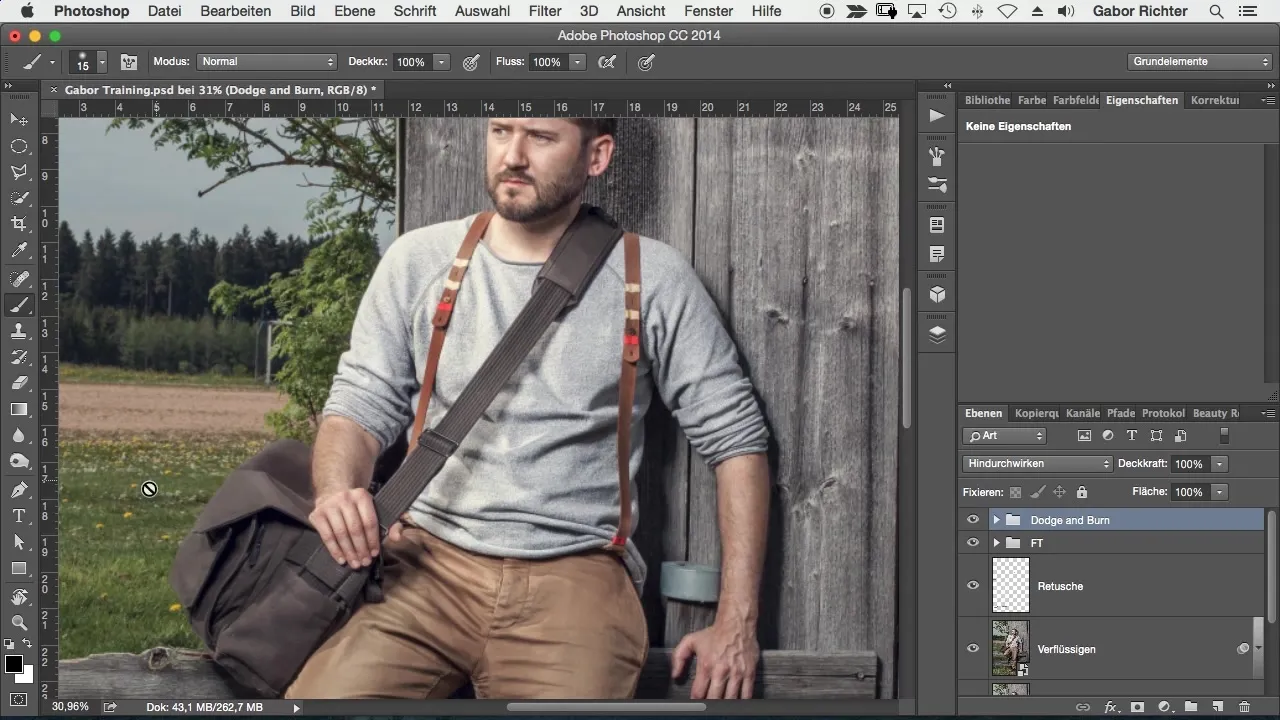
To structure the work, I recommend organizing all relevant layers into a group. Name this group something like "Dodge and Burn" to indicate that you want to apply brightness effects here.
Step 2: Selecting the areas
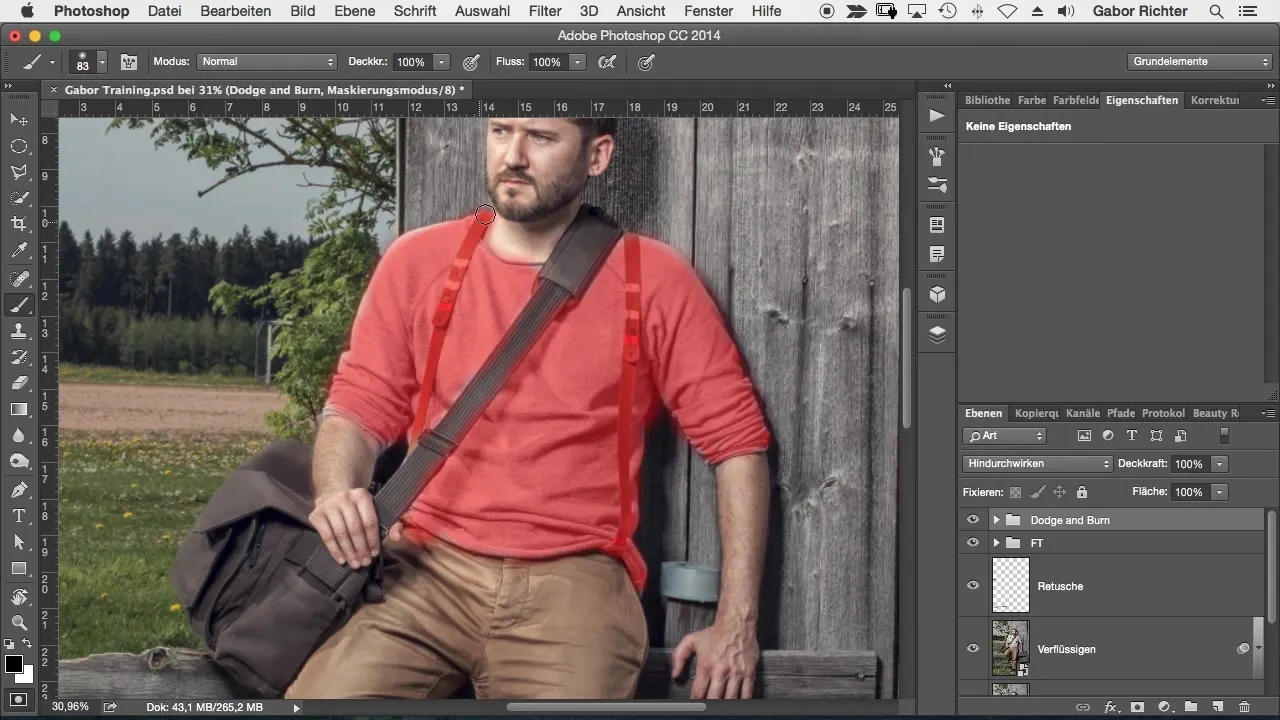
By using a brush and the selection mask, you can select the areas you want to darken. Set the opacity of your brush to 100% to make a clear selection. Then click on the masking mode, which allows you to see where your selection is being made. In the preview, these areas will appear red, helping you to define the target clearly.
Don't be too precise; rough selections often have the advantage of being less noticeable. The goal is to maintain a natural appearance, so avoid harsh edges.
Step 3: Make brightness adjustments
Once you are satisfied with the selection, create a new adjustment layer – in this case, a tonal correction. This allows you to specifically change brightness. Move the midtones slider to the right to darken the selected area, here being the sweater.
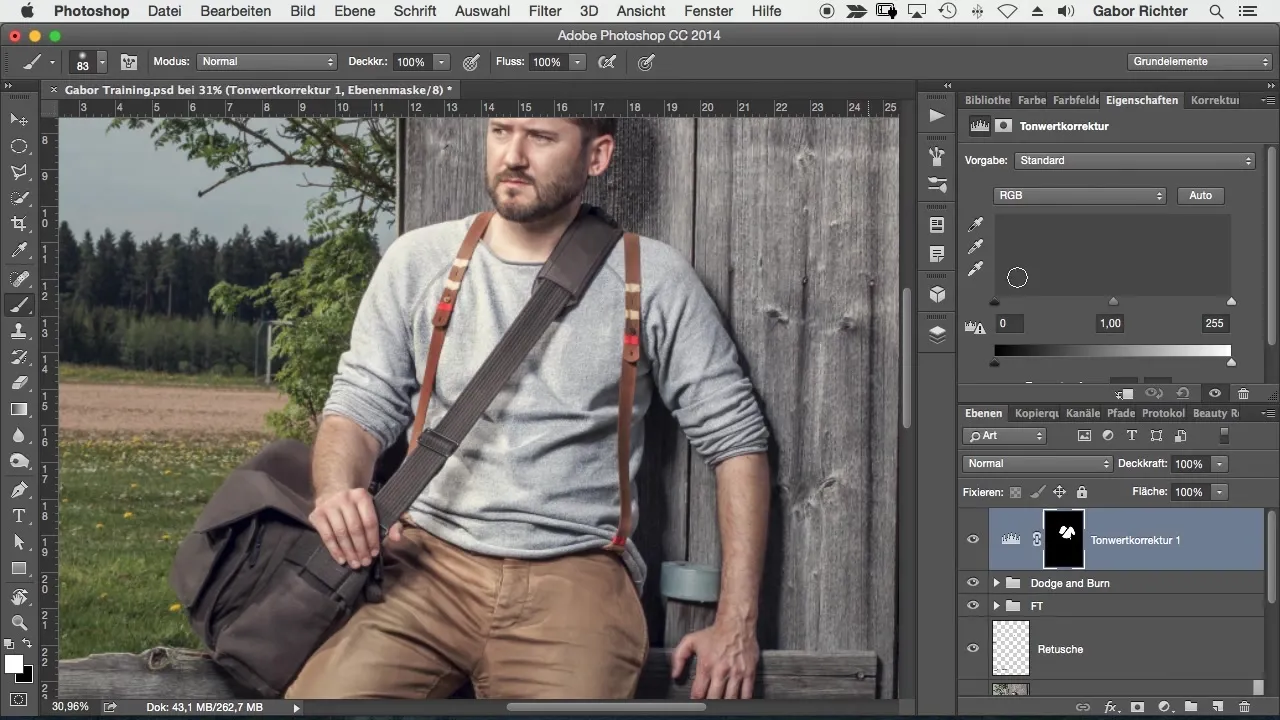
Observe the image from a certain distance while making the adjustments. It is important to check whether the overall effect is correct and if the details of the sweater are enhanced by this.
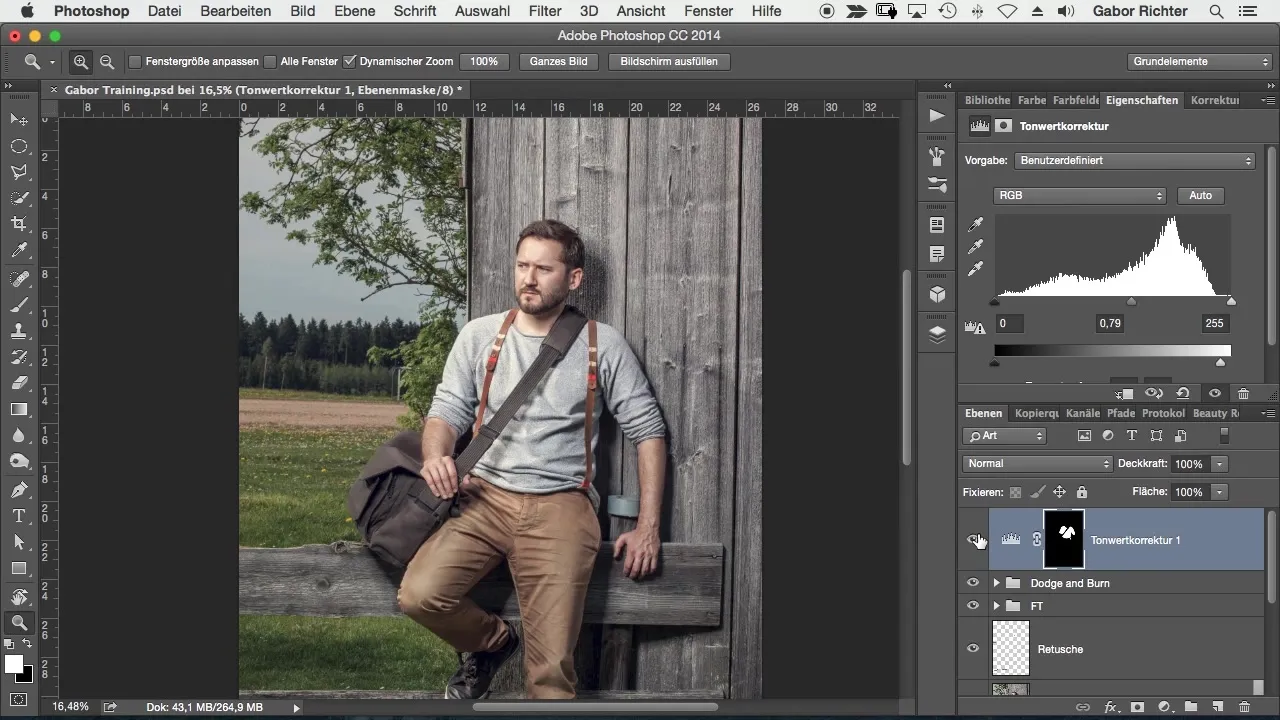
Step 4: Further adjustments
Now that the sweater is adjusted, you can turn your attention to other areas – like the pants or the neck. Select another area and repeat the same steps.
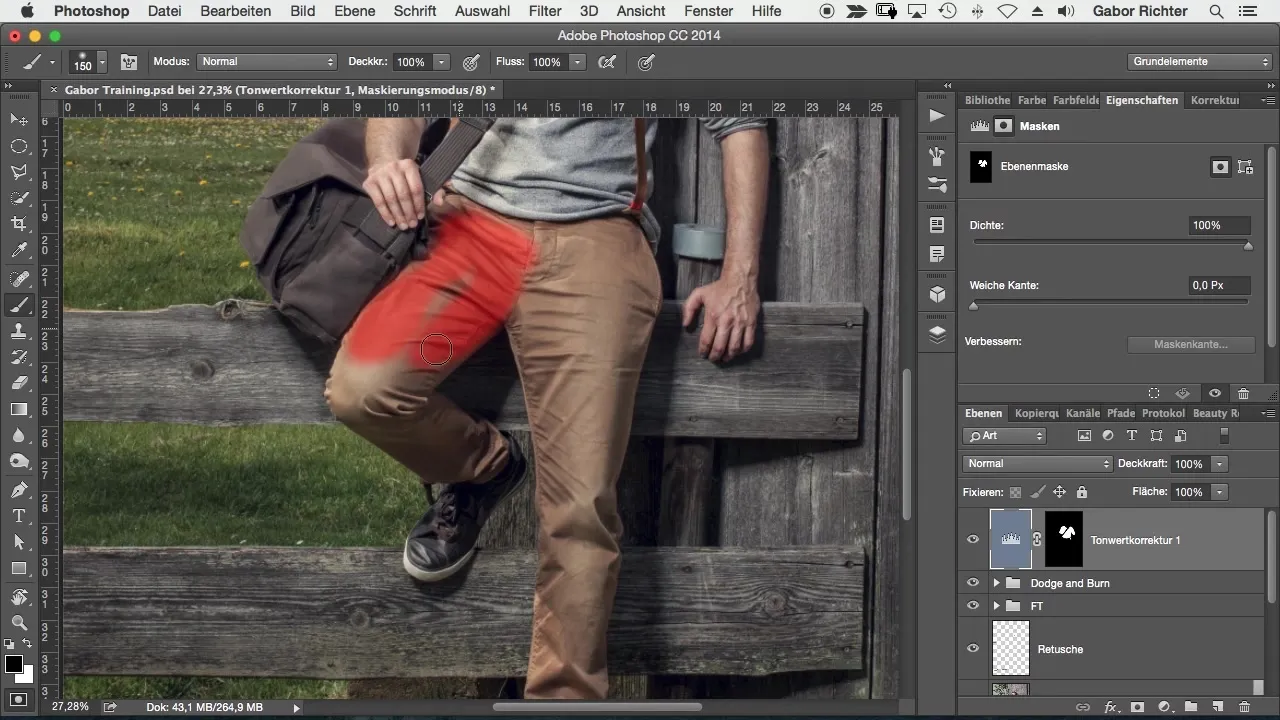
The tonal correction can also be helpful here. Darken the pants using a similar method, and notice the change in the image. The same steps can be applied to areas with different lighting conditions to create a harmonious appearance.
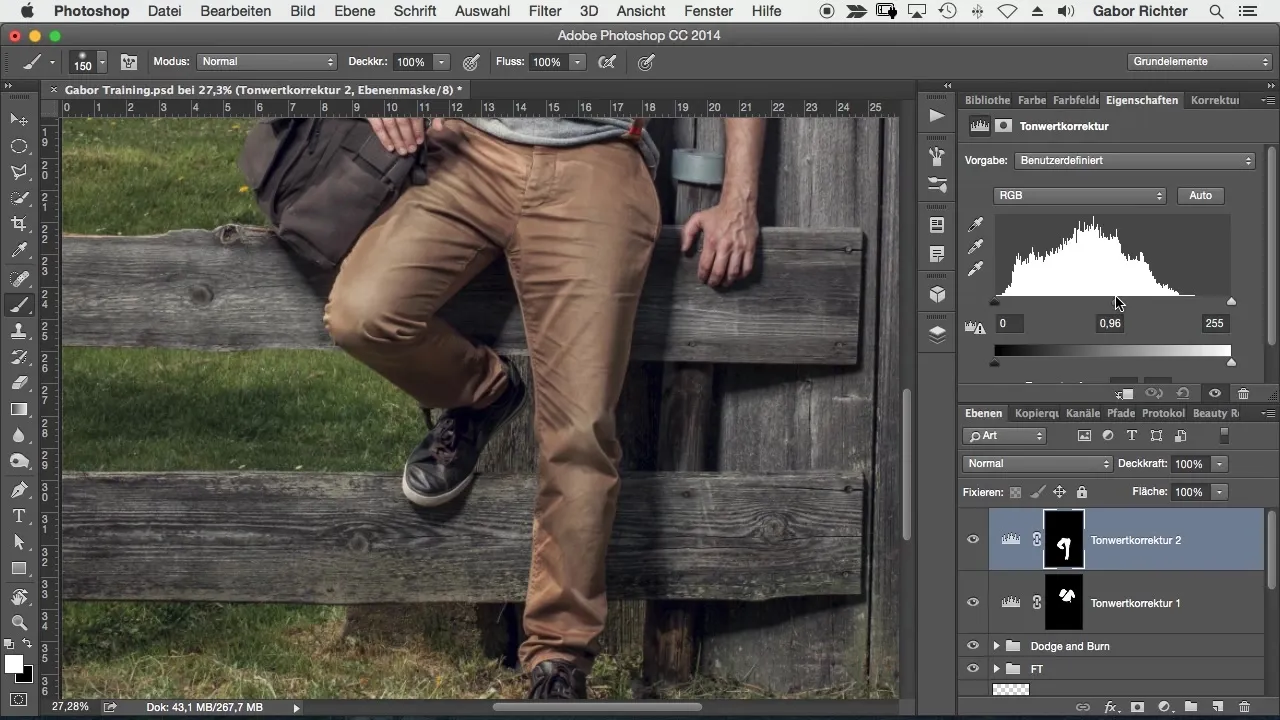
Step 5: Fine-tuning
After the rough adjustments, it's time for fine-tuning. Reduce the opacity of your brush to create targeted light and shadow effects. Try to darken bright spots slightly and redirect the focus further onto the face.
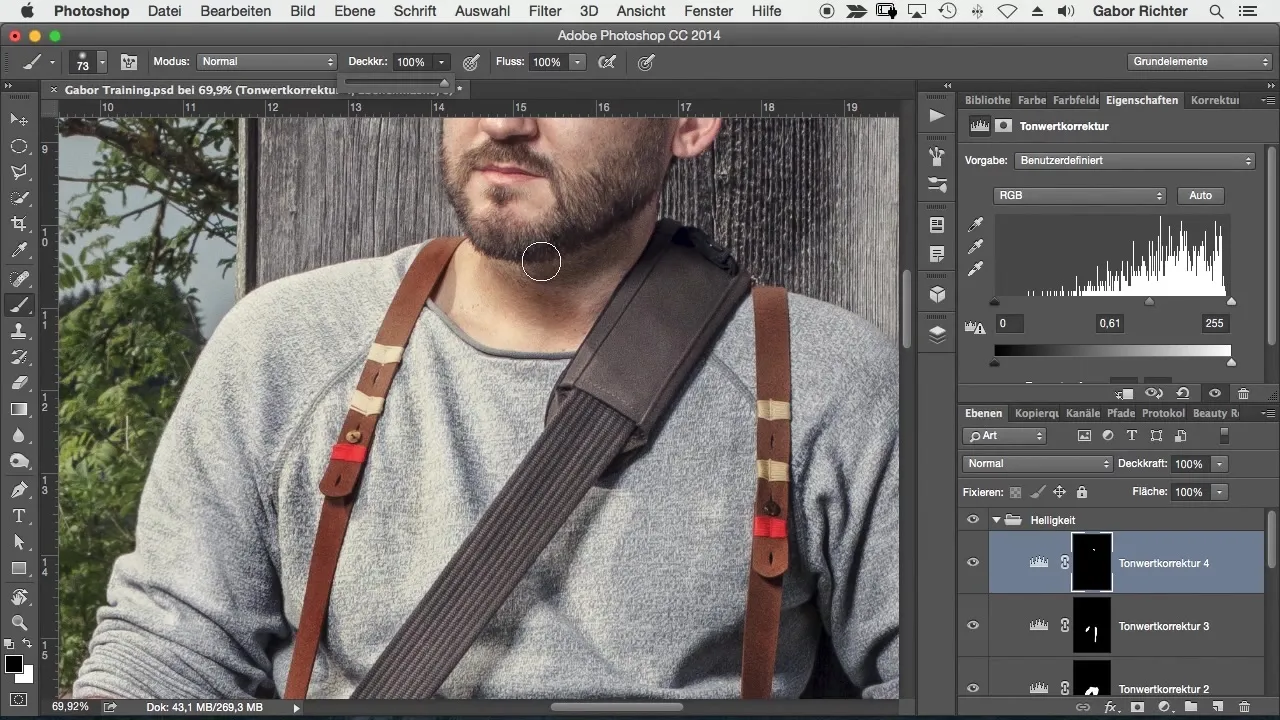
Also check other areas in your image: Is the overall image harmonious? If you feel that the balance of light and dark is not right, you can make adjustments to the image elements.
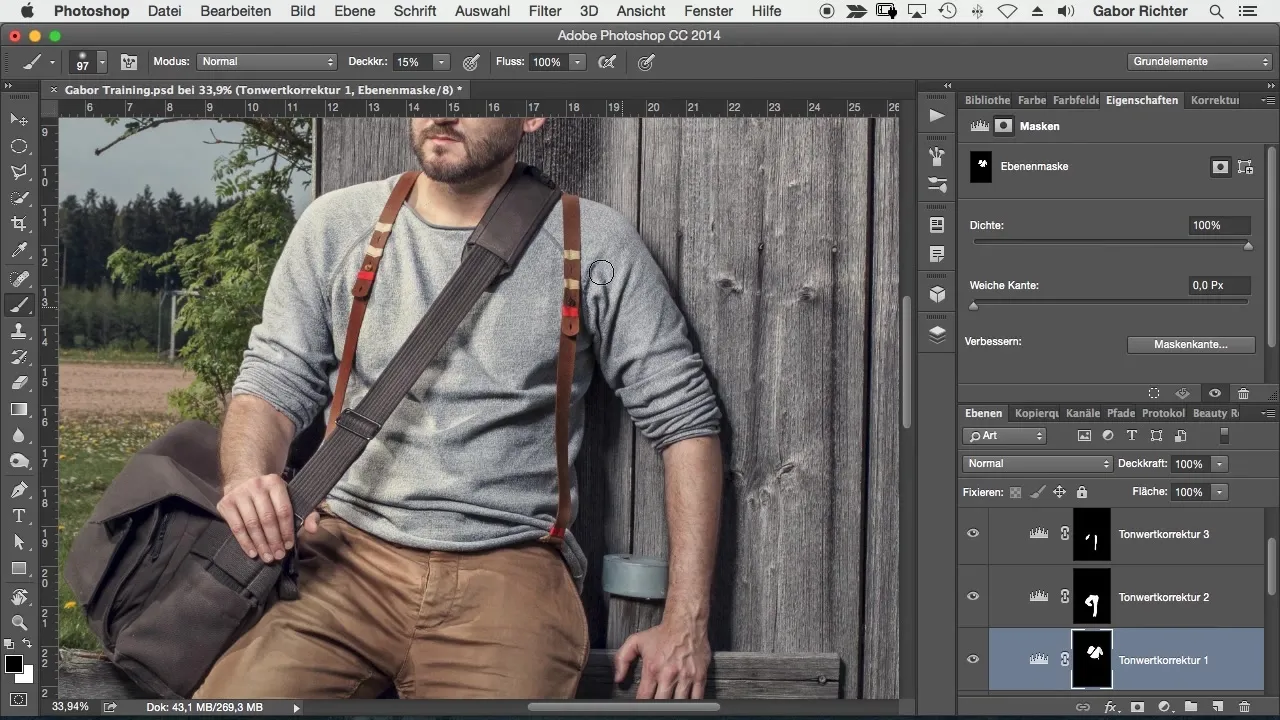
Step 6: Compare results
Finally, it is sensible to make a comparison between the original image and the edited version. By clicking and comparing, you can easily see how the adjustments have changed the perception of the image.
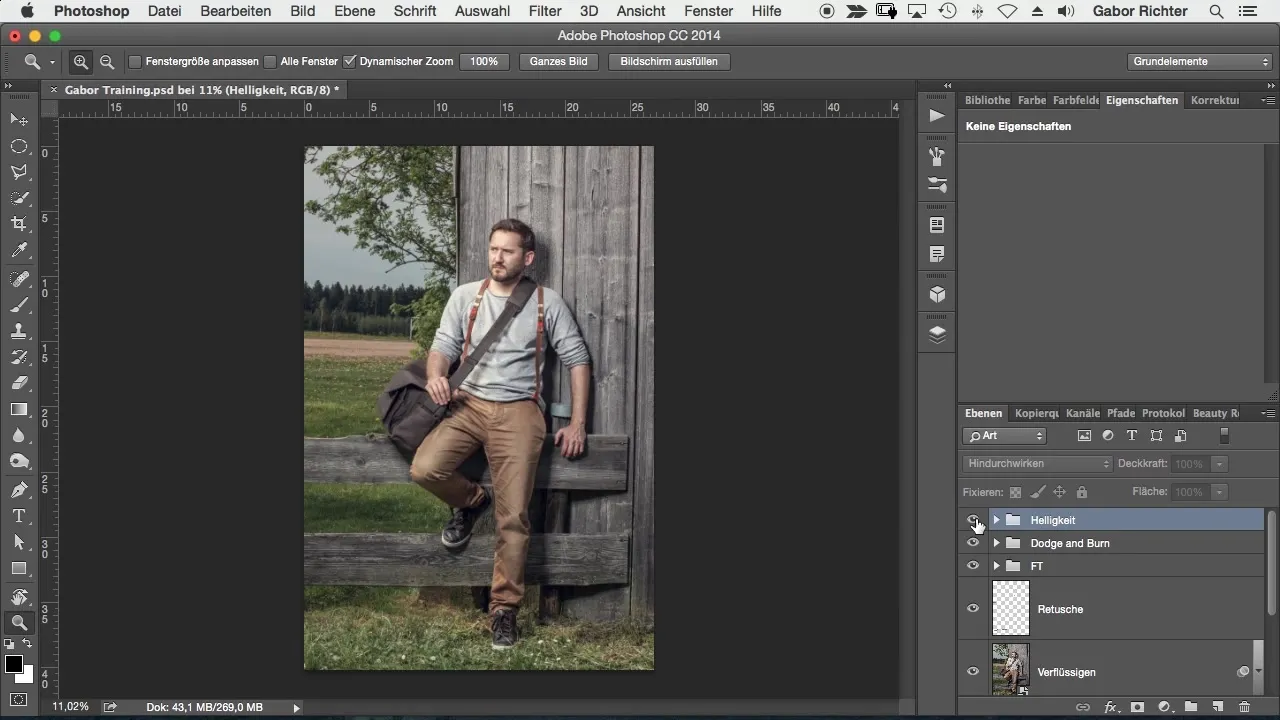
Summary – Effectively Implement Brightness Adjustments in Photoshop
Brightness adjustments are crucial to reducing distractions in the image and directing focus to the essentials. In this tutorial, you learned how to work specifically on your image using masks and tonal corrections to optimize it. The right adjustments help guide the viewer’s eye to the areas you want to highlight.
Frequently Asked Questions
Which areas should I adjust first?Focus on bright elements that distract from the main focus first.
How do I create a group in Photoshop?Select the desired layers and press Ctrl + G (Windows) or Cmd + G (Mac).
Why are soft edges better?Soft edges appear more natural and less noticeable, allowing the edited areas to harmonize with the image.
How can I properly use tonal correction?Slide the midtones slider to adjust the brightness specifically; regularly test the effect.
Is it possible to set multiple tonal corrections?Yes, you can make multiple adjustments for different areas of the image.


