The art of retouching can make the difference between an average and an outstanding image. With the right techniques and tools in Photoshop, you can remove distracting elements and harmonize the overall picture. Today, we will dive into the retouching process and look at how you can effectively fix small imperfections.
Key Insights
- Retouching is a subjective process; what is distracting to one person may be irrelevant to another.
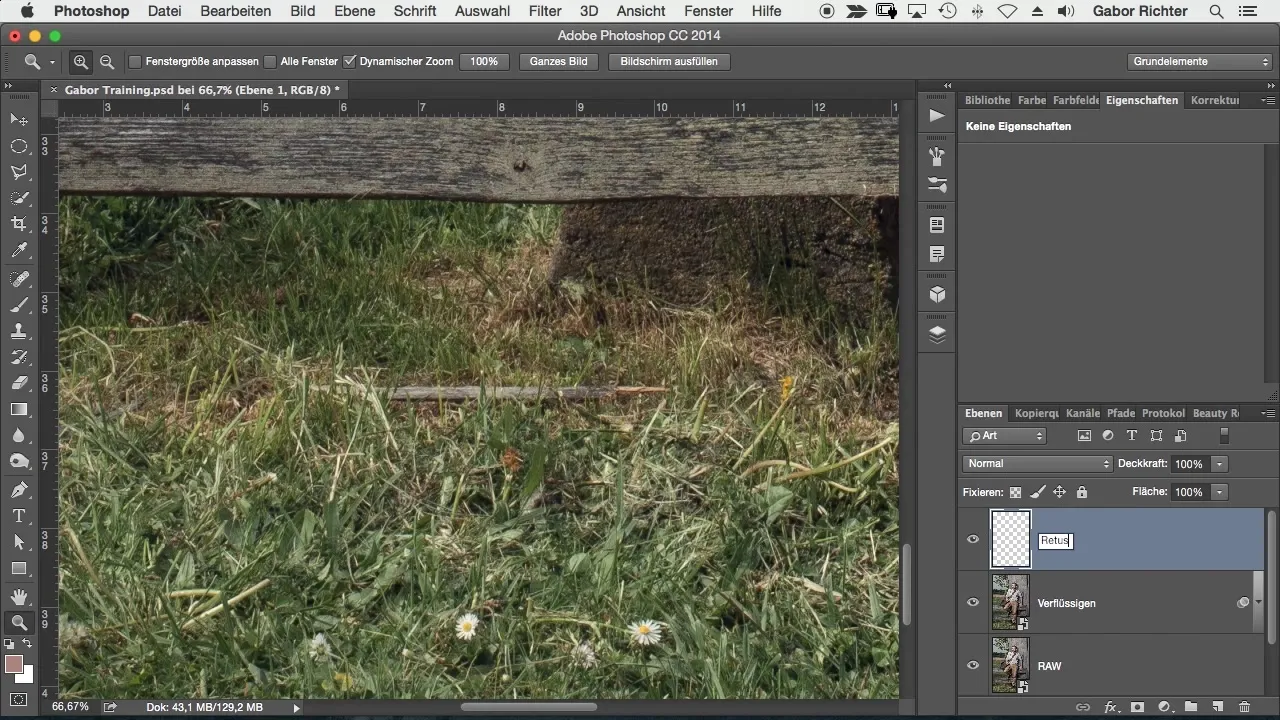
- It makes sense to work with a blank, named layer for retouching to work non-destructively.
- The Clone Stamp and Spot Healing Brush tools are essential aids for effective retouching in Photoshop.
Step-by-Step Guide
In the following, I will describe the steps to retouching your image. Be sure to apply the techniques and familiarize yourself with the tools.
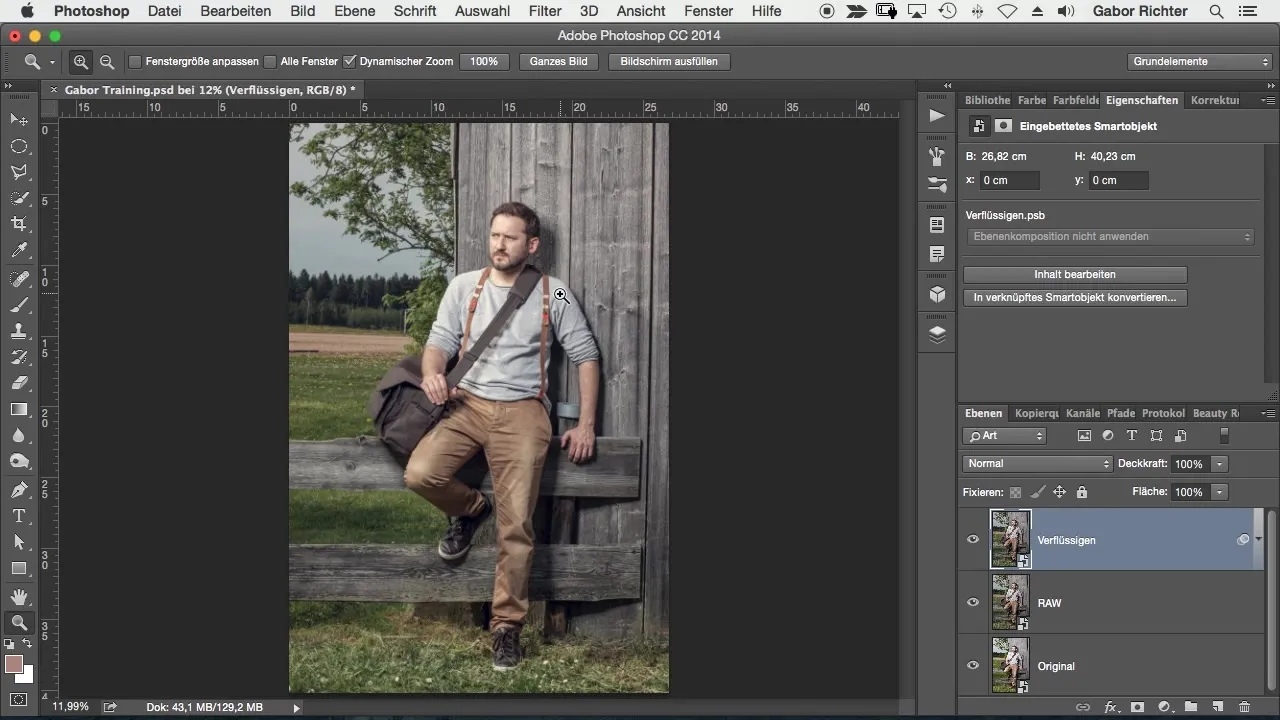
First Step: Assessing the Image Take a close look at your image and consider which elements are distracting to you. As you test the image, you will likely discover various details—such as small wood pieces on the ground or irregularities in the grass. Here is a screenshot from the video that gives you an idea of how I identified the sources of distraction.
Second Step: Create a New Layer To perform your retouching non-destructively, you should create a new blank layer. Name this layer "Retouch." This way, you keep the original data of your image and can easily undo changes later. Below is a screenshot illustrating this step.
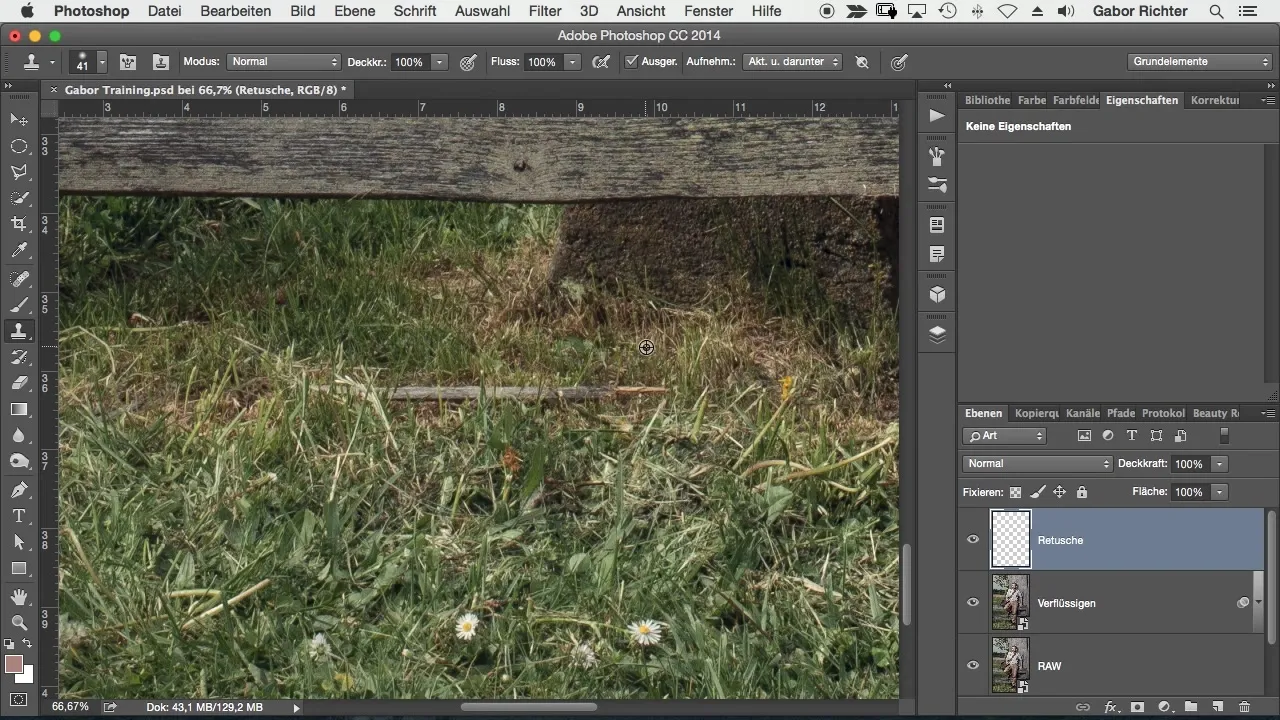
Third Step: Use the Clone Stamp Take the Clone Stamp tool and set it to 100%. Make sure that the current layer is not active and select the layer below. This way, you can transfer elements from the underlying image to your retouch layer. It is important to first select the source by holding down the ALT key and clicking on the desired area. Here you can see how I have applied this in my image.
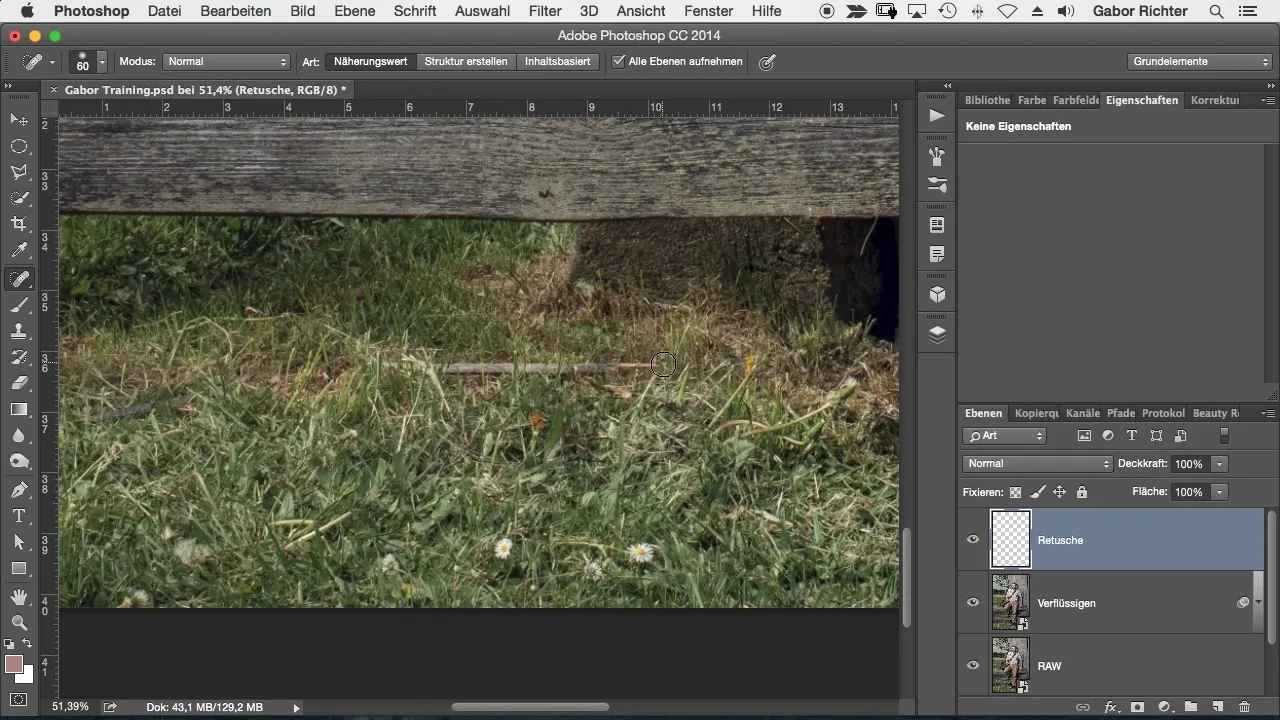
Fourth Step: Optimize with the Spot Healing Brush A great alternative to the Clone Stamp is the Spot Healing Brush. Make sure that "All Layers" is activated. You only need to drag the brush over the distracting spots. Photoshop will then automatically try to fill these areas with suitable pixels. This saves time and preserves the natural texture of the image. In this step, the following screenshot will help you understand the application.
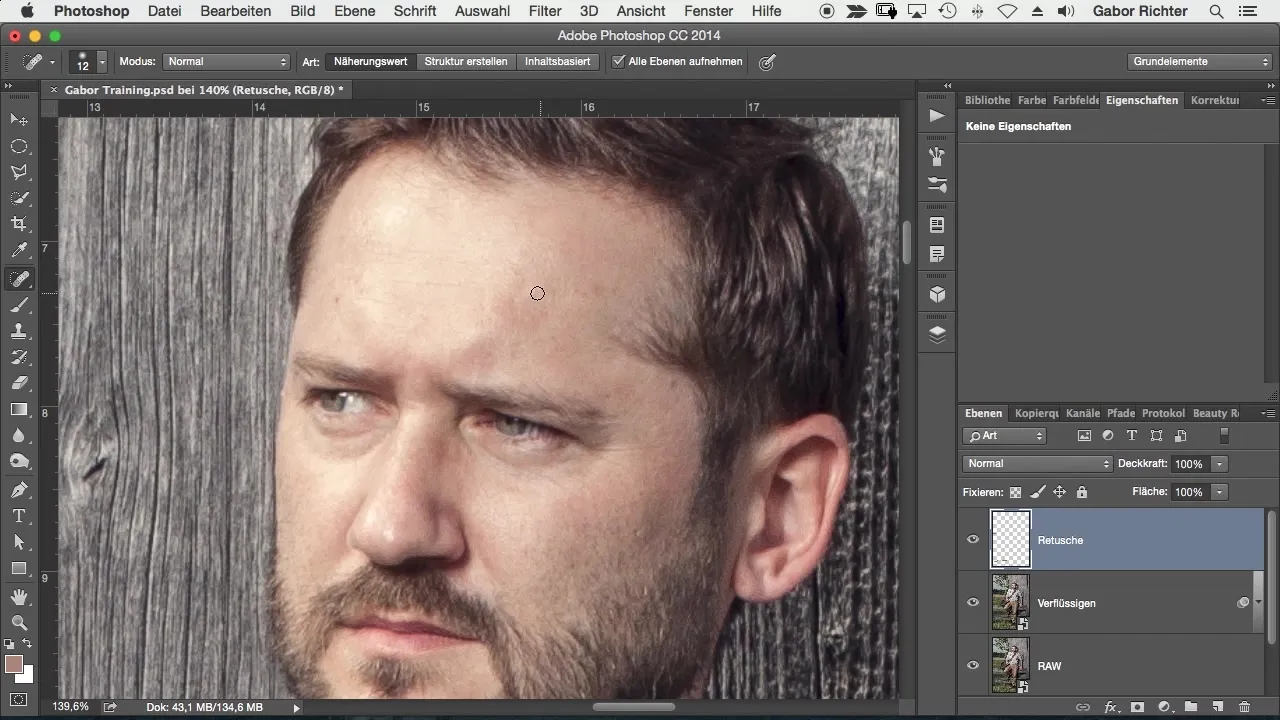
Fifth Step: Detail Work When retouching, it is important to keep details in mind. I have worked on some small spots on the face with the Spot Healing Brush. Instead of working across large areas, it's better to work point by point. This often yields better results. Take a look at the screenshot to better understand the technique.
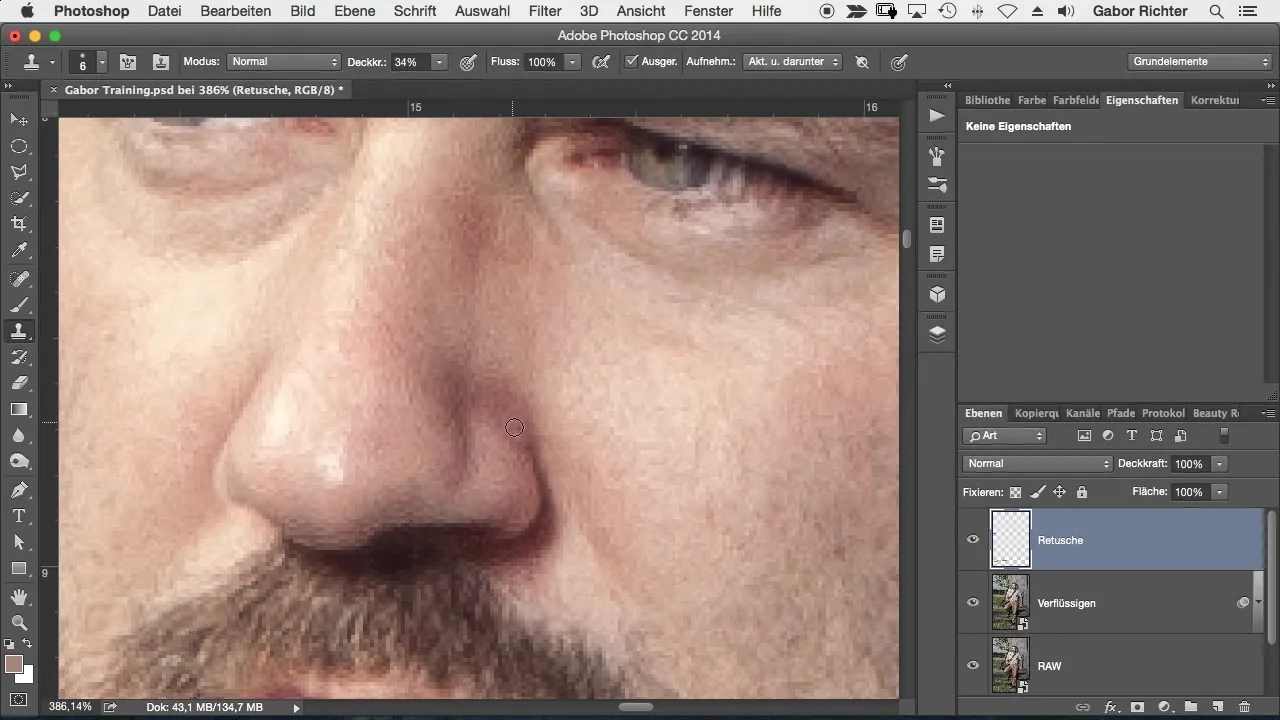
Sixth Step: Refining Skin Imperfections Even small imperfections or wrinkles can be retouched. Here you can use the Clone Stamp effectively by reducing the opacity to achieve a smooth transition. This method ensures that the image remains natural. You can see it in the following screenshot.
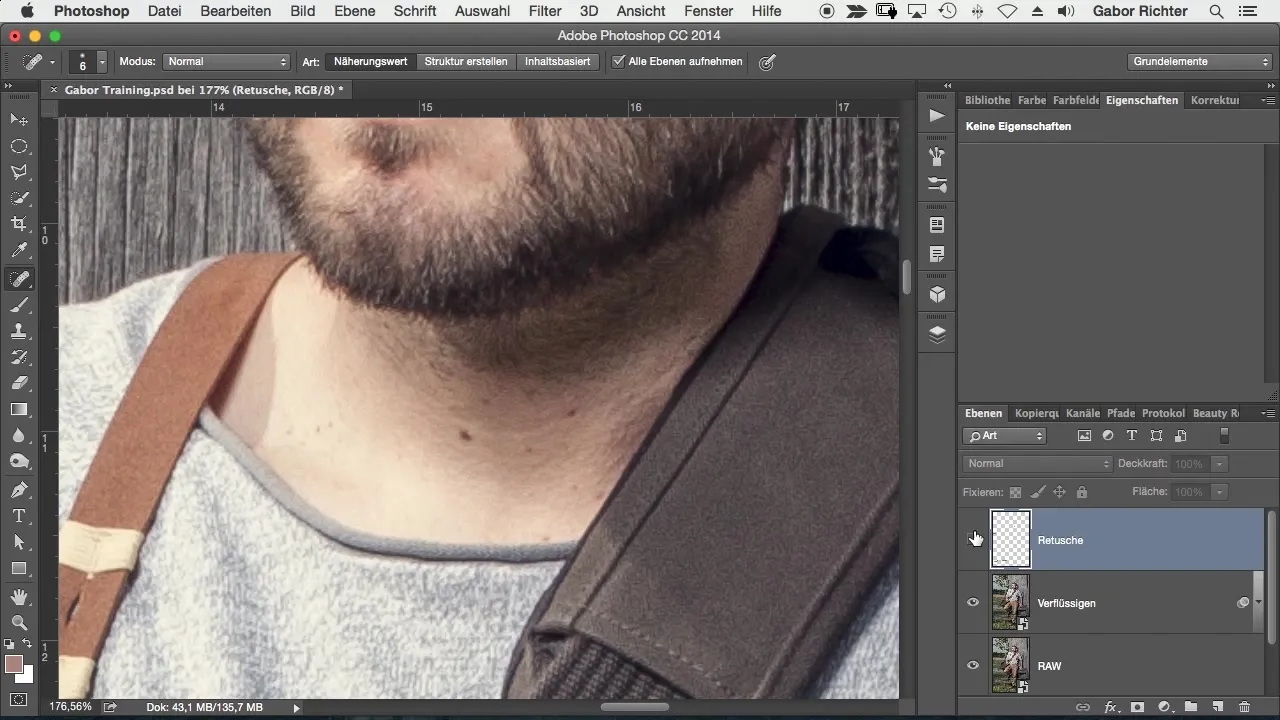
Seventh Step: Control of Contours When retouching near the face, special care is required. The contours should remain clear to avoid making the image look artificial. Here, both the Clone Stamp and the Spot Healing Brush can be useful—choose the appropriate tool depending on the situation. An example of this approach can be seen here:
Eighth Step: Final Check After you have made all the desired retouches, it is important to look at the image as a whole. ZOOM out to see if the changes appear harmonious. You will see that small adjustments can lead to a big difference. The last screenshot shows before and after the retouching.
Summary – Professional Retouching in Photoshop: A Comprehensive Guide
In this guide, you have learned how to apply effective retouching techniques in Photoshop, from the initial assessment of your image to creating a working environment to using the various tools. These professional tips will help you significantly improve your retouching skills.
Frequently Asked Questions
How can I ensure that my retouching looks natural?Make sure to reduce the opacity of your brush tools and work in small areas to preserve texture and details.
What should I do if I’m unhappy with a retouch?Since you worked non-destructively, you can make changes at any time by adjusting the layer or undoing the step.
How do I discover the best tools for my retouching?Experiment with different tools in Photoshop and find out which ones best suit your style and the requirements of your images.
Should I always work at 100% opacity?No, it is often better to work at a reduced opacity to create natural transitions and avoid making the image look artificial.
Is there a difference between the various retouching tools in Photoshop?Yes, each tool has its own strengths and weaknesses. The Clone Stamp is ideal for specific areas, while the Spot Healing Brush can be useful for tricky textures.


