An appealing image magically draws the viewer's gaze. Often, the use of a vignette can be crucial in directing focus to certain areas of the image. The outer area is darkened, while the main subject is highlighted. In this guide, you will learn how to effectively create a vignette in Photoshop to enhance image aesthetics and generate targeted attention.
Key Insights
- A vignette can direct the viewer's gaze to the main subject.
- Selections in Photoshop help to adjust the vignette precisely.
- Using adjustment layers like tone correction allows you to control brightness flexibly.
- Types of masking and their hardness affect the transition and effect of the vignette.
Step-by-step Guide
In the following, I will describe the process for creating a vignette in Photoshop. Each step will be illustrated with a screenshot to help you better understand the procedure.
Step 1: Open Image and Prepare
First, open your image in Photoshop. Make sure you are working with a copy to avoid damaging the original. Consider which areas of the image you want to darken.
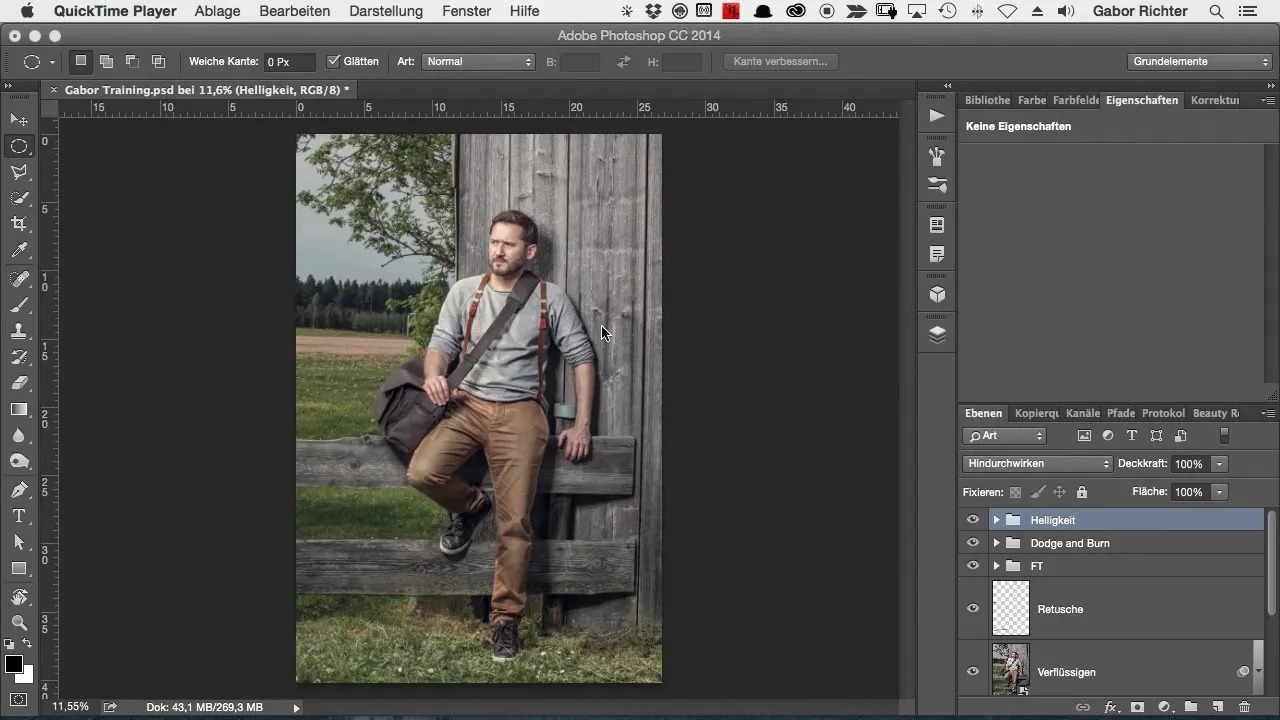
Step 2: Create Elliptical Selection
Select the "Elliptical Selection" tool from the toolbar. Draw an ellipse around the area of the image you want to keep in focus. This selection will be the area that remains unchanged while the edges are darkened.
Step 3: Soften Edges
To create a smooth transition between the darkened area and the main subject, go to "Select" and choose "Modify Selection." Choose "Feather" here and set a value of about 300 pixels to minimize hardness.

Step 4: Add Level Adjustment
Now add a "Level Adjustment." Click on "Layer" in the menu bar, go to "New Adjustment Layer," and select "Levels." This setting allows you to adjust brightness easily and effectively.
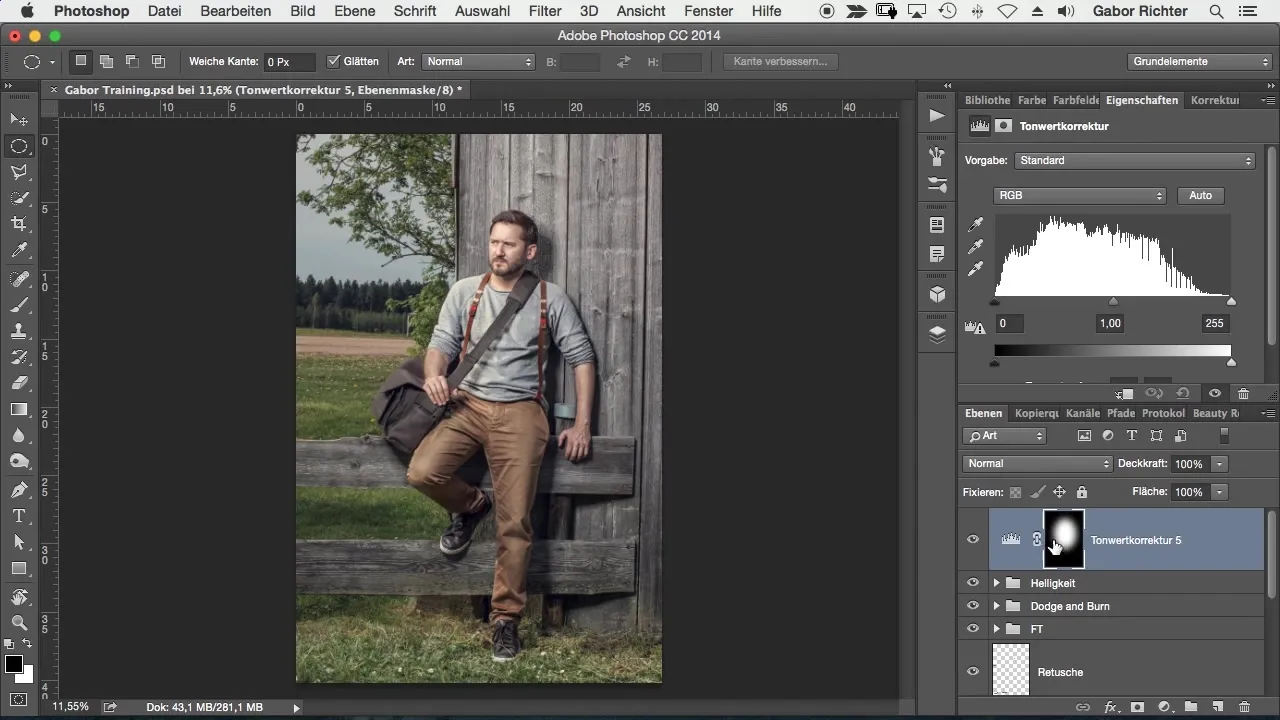
Step 5: Invert Selection
Since you want to apply the vignette to the outer area, you need to invert the selection. Press "Command + I" to invert the selection.
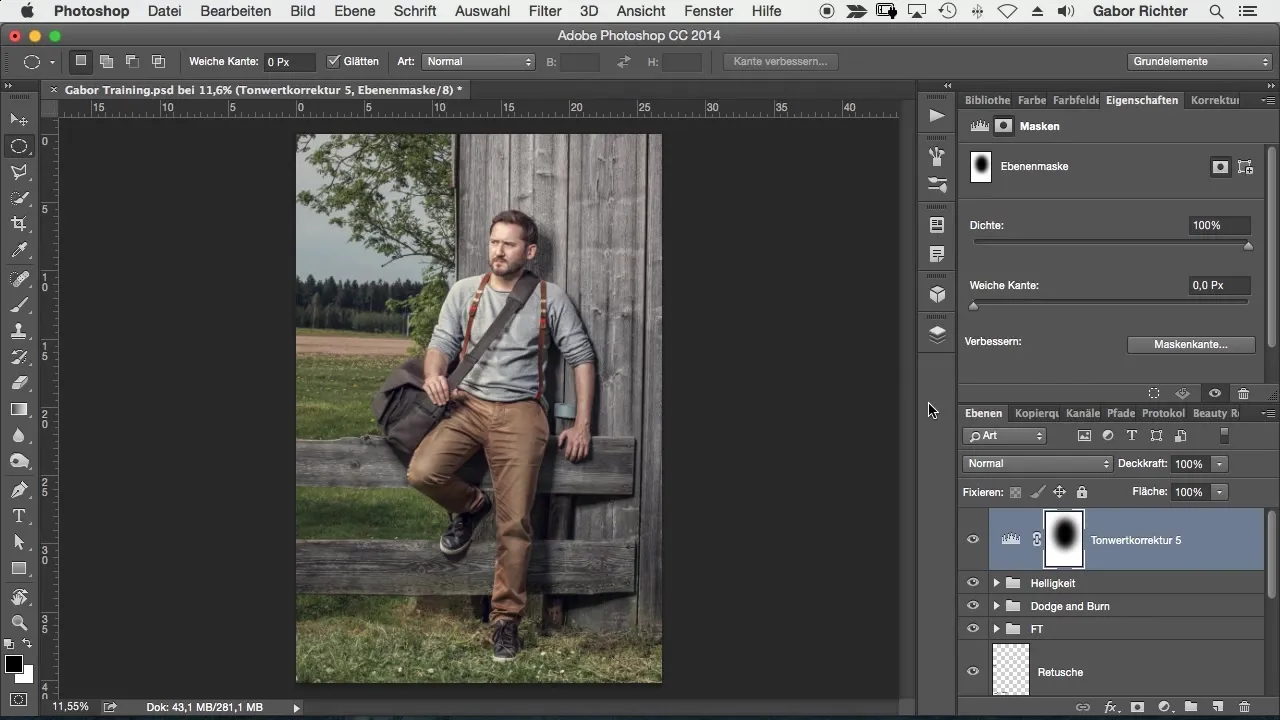
Step 6: Adjust Brightness
Now you can adjust the brightness of the image in the Level Adjustment. Darken the edges until you are satisfied with the result. Experiment with the sliders to achieve the desired effect.
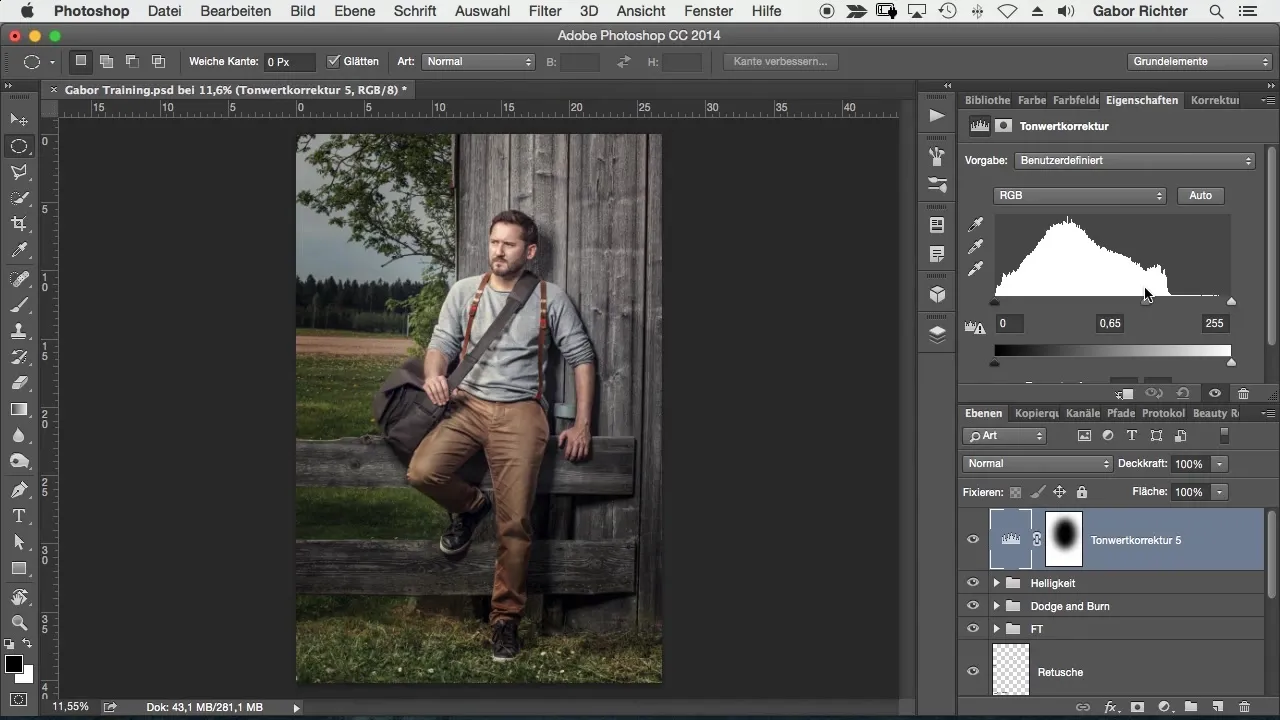
Step 7: Further Adjust Elliptical Selection
To further refine the edges of the vignette, select the mask of the Level Adjustment. Then choose "Feather" again to make the edges of the selection even softer. This helps create a smoother transition.
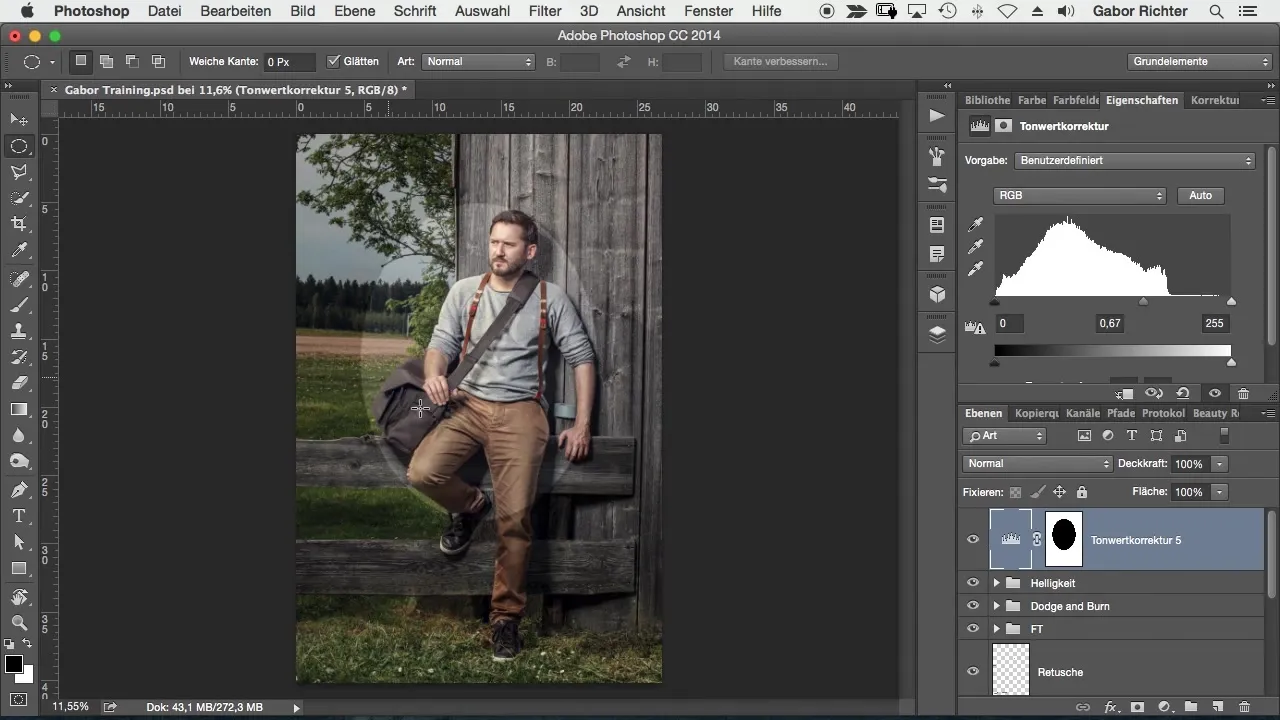
Step 8: Position and Adjust Vignette
Now click on the mask to bring the vignette to the right place in the image. You can make it larger or smaller as needed. Be sure to keep the focus on the main subject.
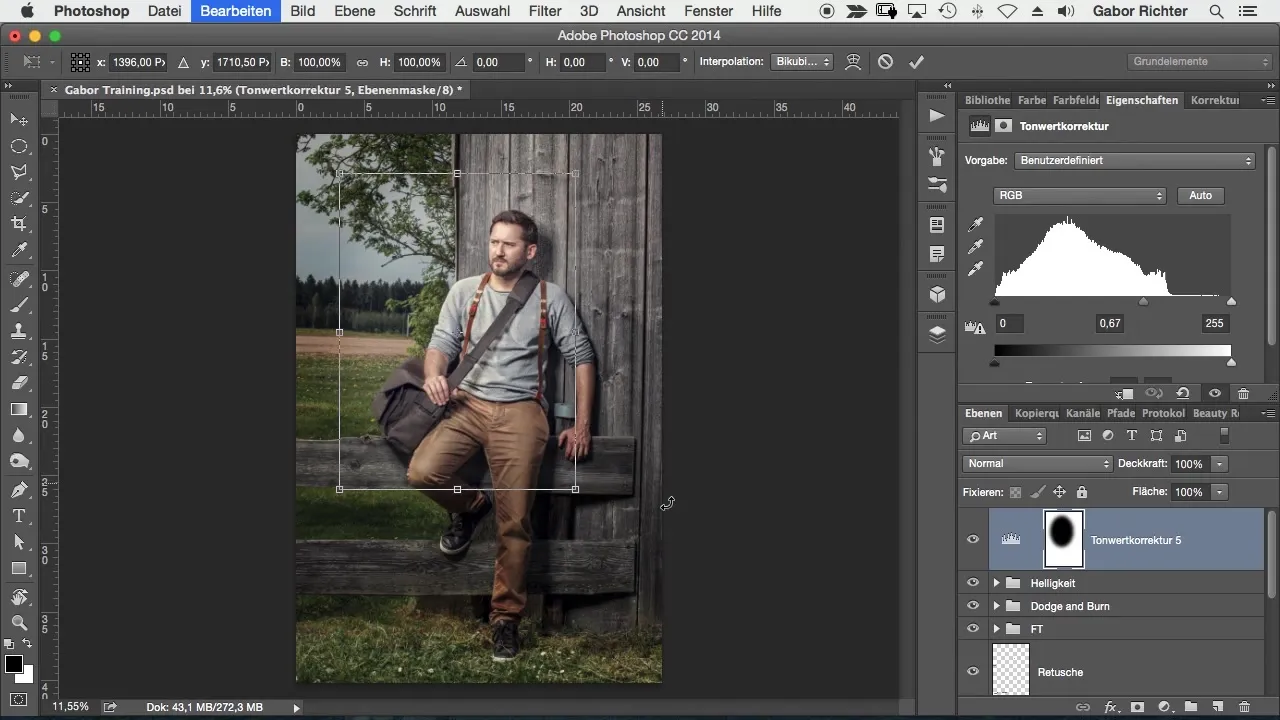
Step 9: Further Refine Effect
If the effect is still too strong or not harmonious enough, you can further reduce the brightness or soften the edges again. Test different values until you find the optimal adjustment.

Step 10: Save and Organize Adjustments
Consider whether you want to group the adjustments. Create a new group to organize the levels and vignette. This way, you will have a better overview of your layers.
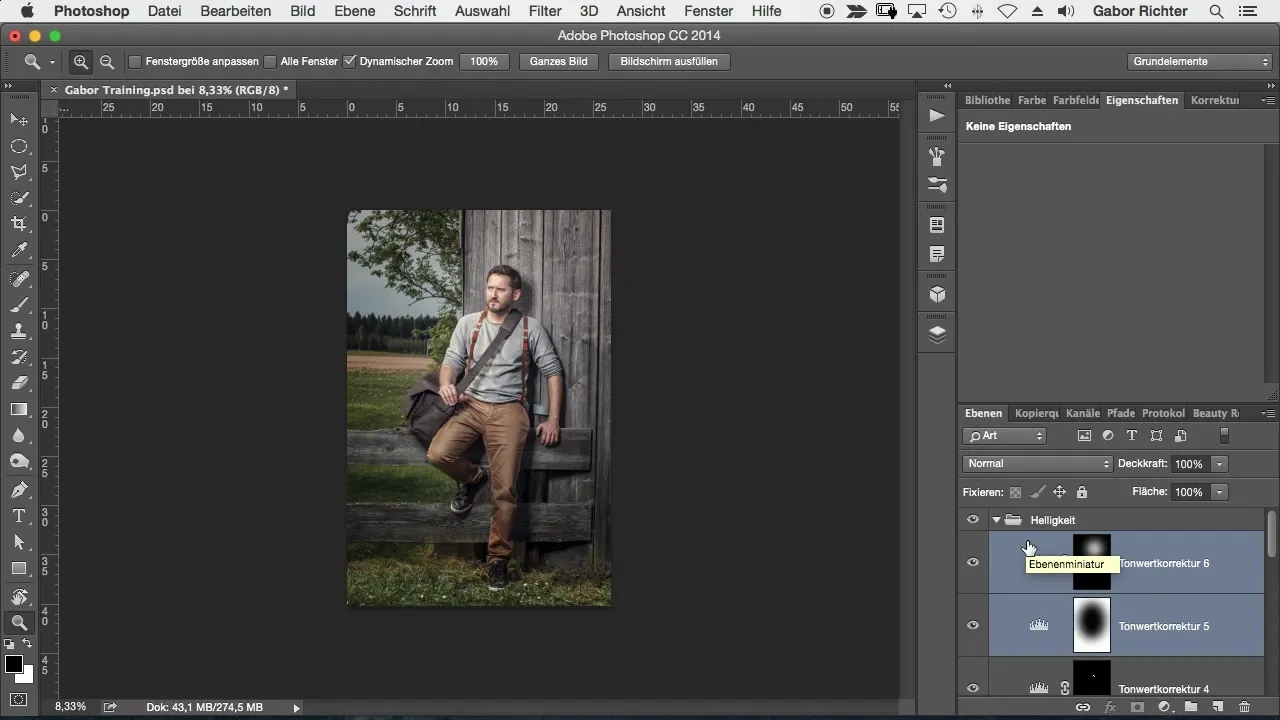
Summary - Creating a Vignette in Photoshop: Step-by-Step Guide
Using a vignette in Photoshop is a simple yet effective method to direct the viewer's gaze and bring the main subject to the forefront. By combining selections, feathered edges, and brightness adjustments, you can achieve an appealing result. With this step-by-step guide, you are well-equipped to enhance your photos using vignettes.
Frequently Asked Questions
How does the elliptical selection work in Photoshop?The elliptical selection allows you to select an oval area you want to edit.
Can I apply a vignette to other types of images?Yes, the technique is suitable for various image types, from portraits to landscapes.
How soft should the transition of the vignette be?It depends on your personal taste, but a soft edge creates a more harmonious look.


