Liquify is a powerful tool in Photoshop that allows you to creatively alter shapes and details in your images. In this guide, you'll learn how to effectively achieve the desired results with the Liquify filter. The focus here is not just on using the tool but also on how to create an environment that allows you to make precise and controlled adjustments. Let's dive into the details.
Key Insights
- Liquify is not just a filter but a creative tool.
- Using smart objects allows for undoing changes.
- Masking tools help avoid unintended changes.
- Fine adjustments can make the difference between an average and a high-quality image.
Step-by-step Guide
Step 1: Prepare the Image and Create a New Layer
Before you begin liquefying, it is important to prepare your layer. You want to create a new layer where you can make your adjustments without altering the original image. To do this, use a special shortcut. On Windows, press Ctrl + Alt + Shift + E or on Mac, Cmd + Alt + Shift + E. This will merge all visible layers into a new layer. Name this new layer "Liquify."
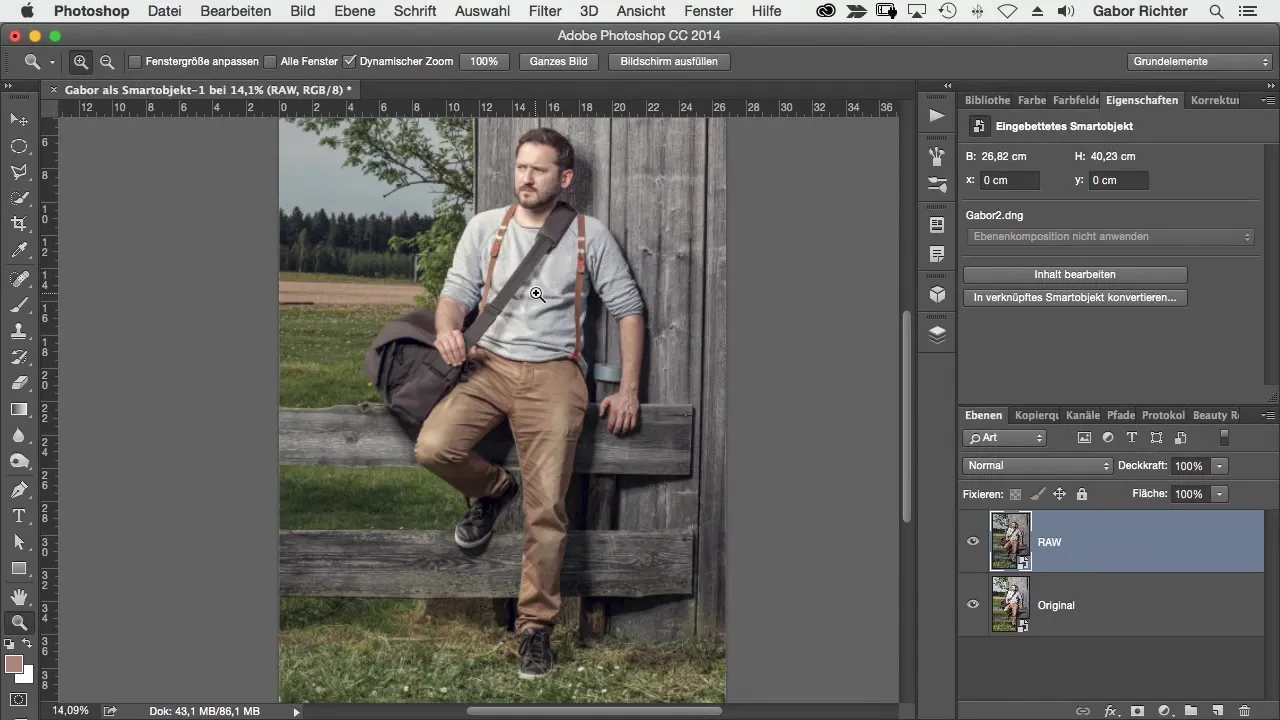
Step 2: Convert to Smart Object
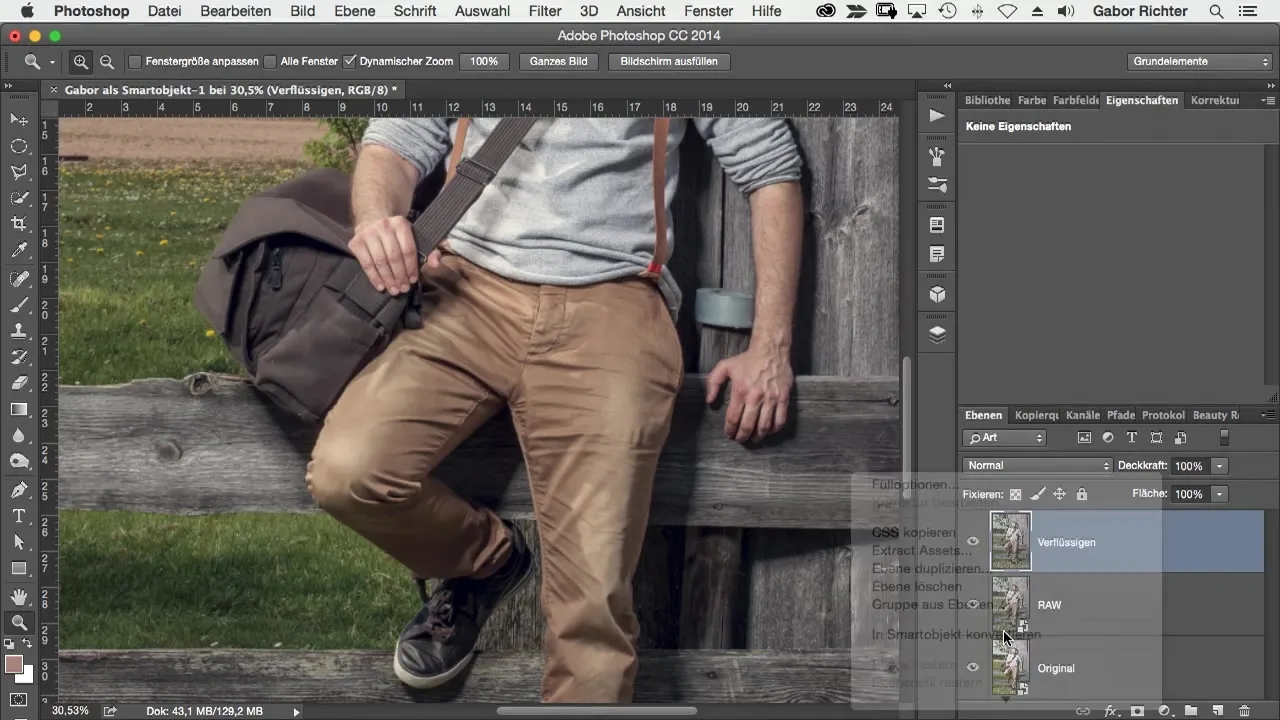
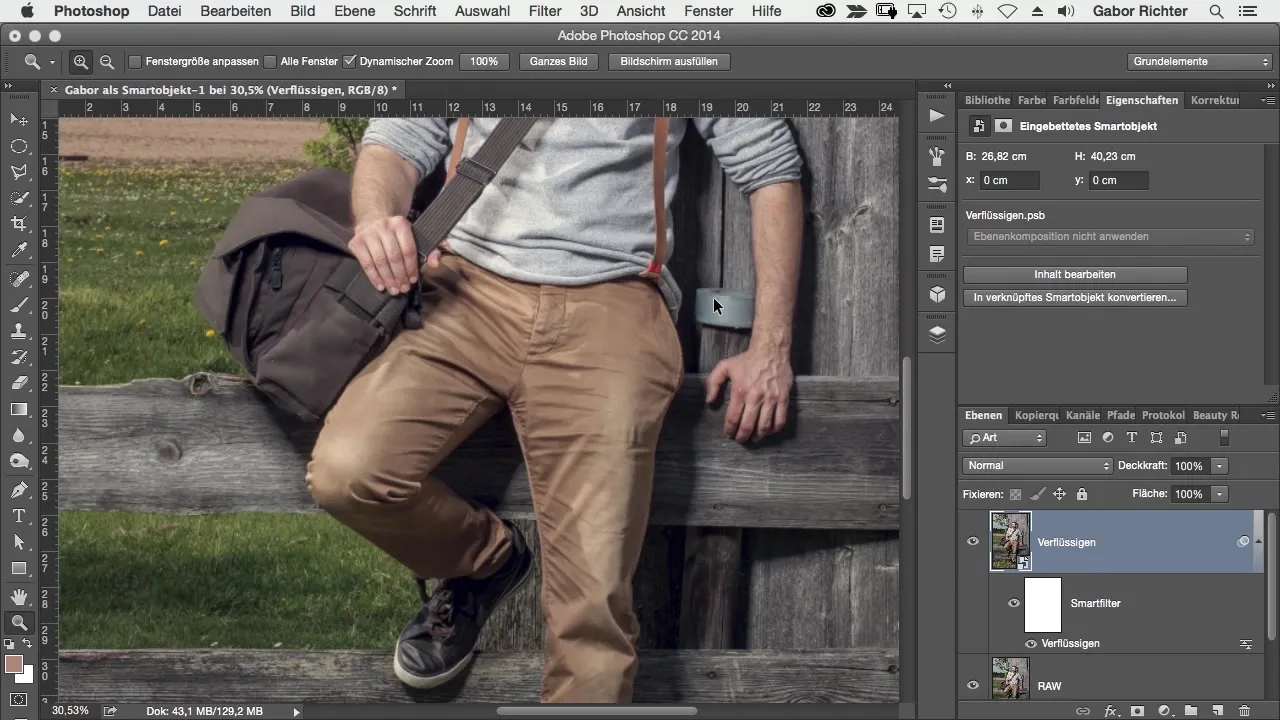
In the next step, you'll convert the new layer to a smart object. This gives you the flexibility to adjust your changes during editing. Right click on the new layer and select "Convert to Smart Object." This allows you to return to the Liquify filter at any time should you be unhappy with the changes.
Step 3: Apply Liquify Filter
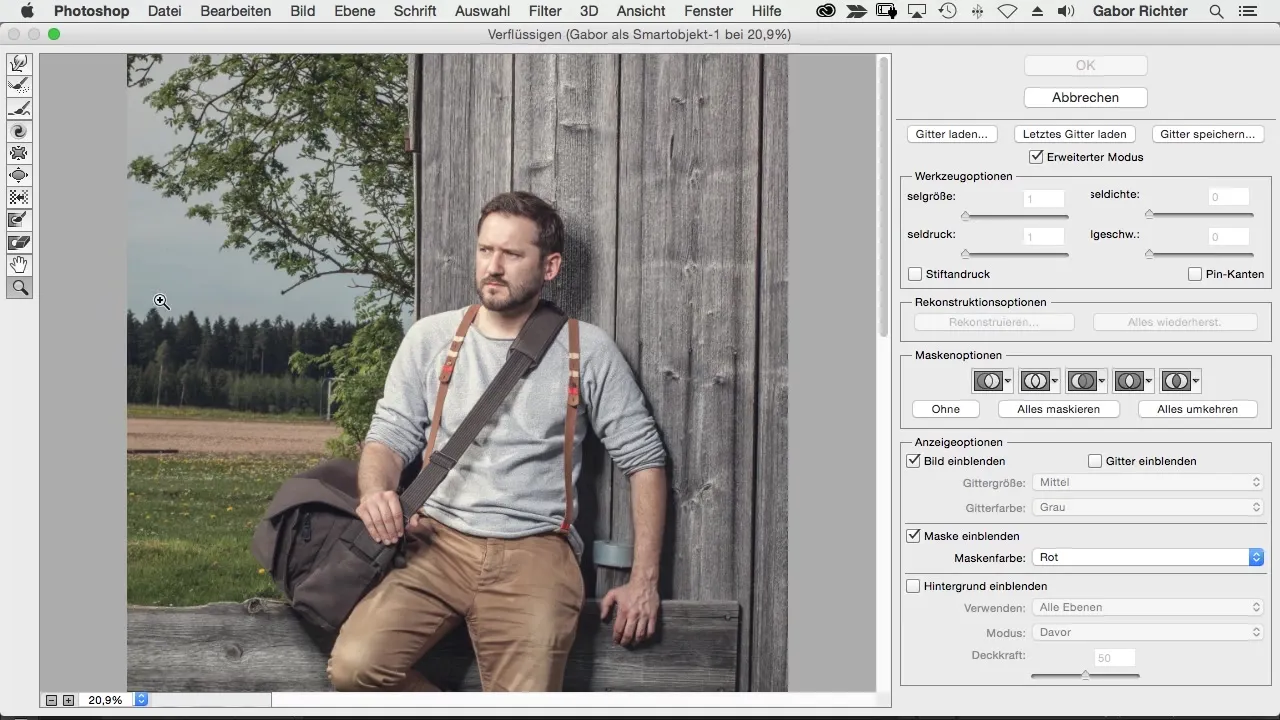
Now it's time to apply the Liquify filter. Go to Filter and select Liquify. This opens the Liquify workspace where you can work with various tools. Your goal is to adjust specific areas of the image, in this case, the pocket and the pants pocket.
Step 4: Work with the Forward Warp Tool
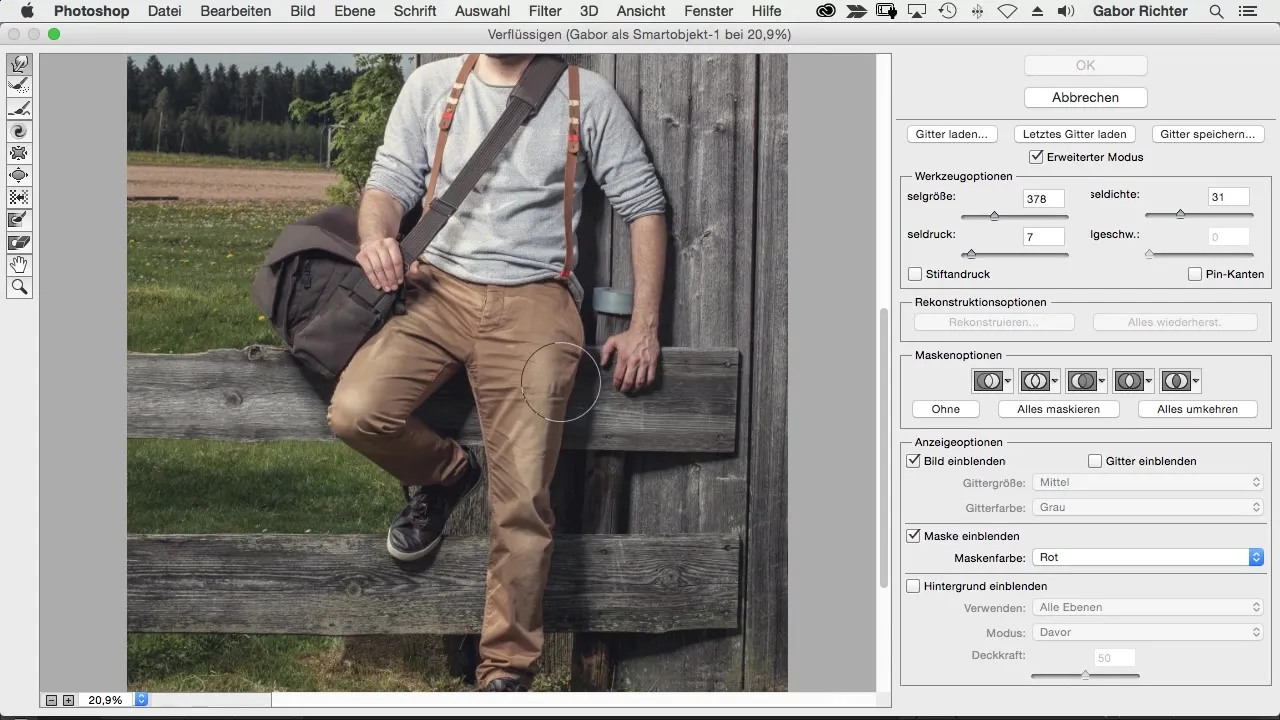
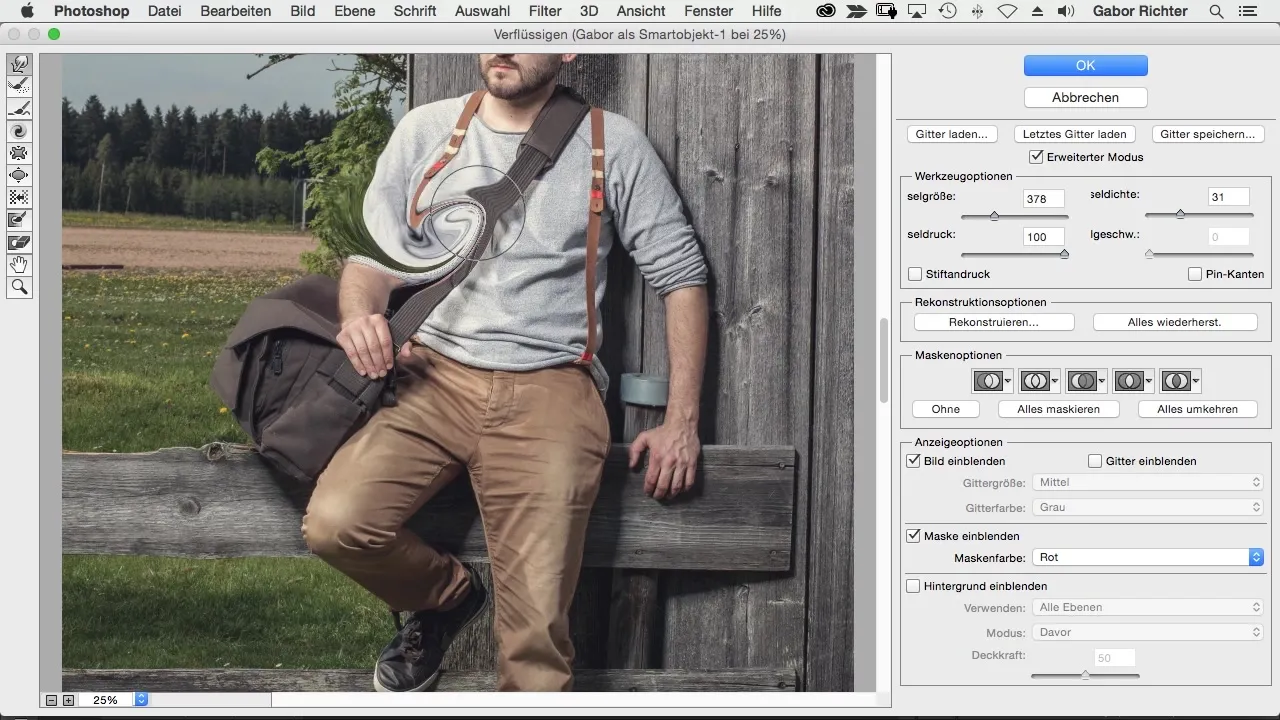
The next step involves using the Forward Warp Tool. Select this tool and gently push the pocket inward. Be careful not to liquefy too much at once. You want to achieve a subtle change that doesn't stand out too much in the final image.
Step 5: Adjust Brush Pressure and Size
When using the Forward Warp Tool, adjust the brush pressure to control the intensity of the changes. A brush pressure of around 20% is often ideal because it allows for precise and gentle adjustments. You can also vary the brush size to target different areas of the image.
Step 6: Use of the Freeze Mask
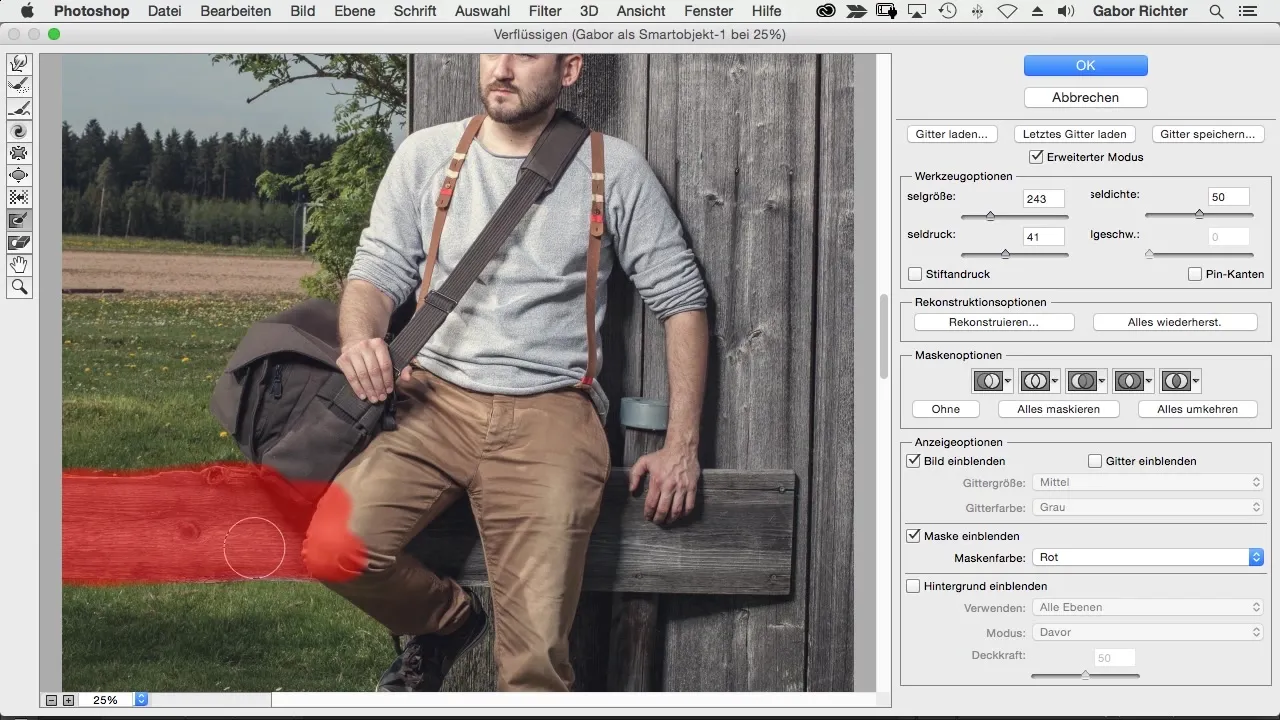
To avoid unintended changes to specific areas of your image, you should use the Freeze Mask. Paint over the areas you want to protect, such as the arm or the wooden board. This ensures that these parts of the image remain unchanged while you work on other areas.
Step 7: Push the Pocket to the Right
Now you focus on pushing the pocket slightly to the right. Start by grabbing the outer edge of the pocket and gently pulling it to the right. Keep an eye on the other parts of the image to ensure that you avoid any unintended distortions.
Step 8: Make Fine Adjustments
After you've completed the main adjustments, review each area again to see if further corrections are needed. It’s important to continually view the image as a whole to decide if you want to make any additional adjustments.
Summary – Black Forest: Liquify in Photoshop
Using the Liquify tool in Photoshop can add a new dimension to your images. With the right preparation, the use of smart objects, and the application of masking techniques, you can make precise and effective adjustments that enhance the image. It is the art of fine nuances that makes the difference between an ordinary and an outstanding image.
Frequently Asked Questions
How can I ensure that certain areas of my image remain unchanged?Use the Freeze Mask to protect specific areas of the image.
What makes a layer a smart object?It allows you to apply filters non-destructively so you can change adjustments later.
How do I adjust the brush size when liquefying?You can change the brush size directly in the Liquify filter menu.
Do I have to use the same brush pressure settings as in the tutorial?Not necessarily. You can adjust the brush pressure to your personal feel and the specific situation.


