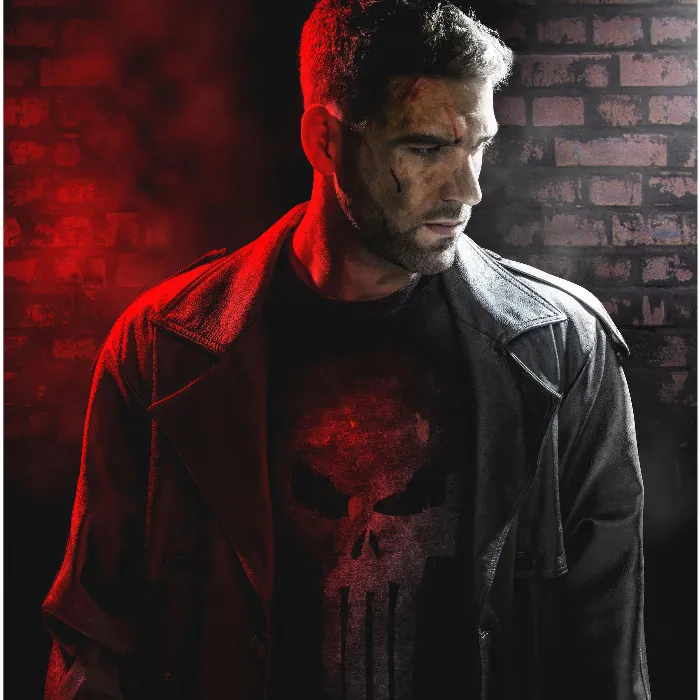
The creation of an atmospheric and profound image requires a thoughtful lighting design. In this guide, I will show you how to make targeted brightness adjustments using the Dodge-and-Burn technique to achieve better contrast and a more three-dimensional representation, reminiscent of "The Punisher." The right lighting accents bring dynamic elements to your composition and help to foreground the central figure.
Main insights
- The Dodge-and-Burn technique is essential for creating lighting effects and adding depth to the characters.
- Regular structuring and naming of your layers facilitate later editing and help maintain clarity.
- Tonality adjustments are an effective means of brightness adjustment and darkening image areas without loss of color quality.
Step-by-Step Guide
1. Set the Basics
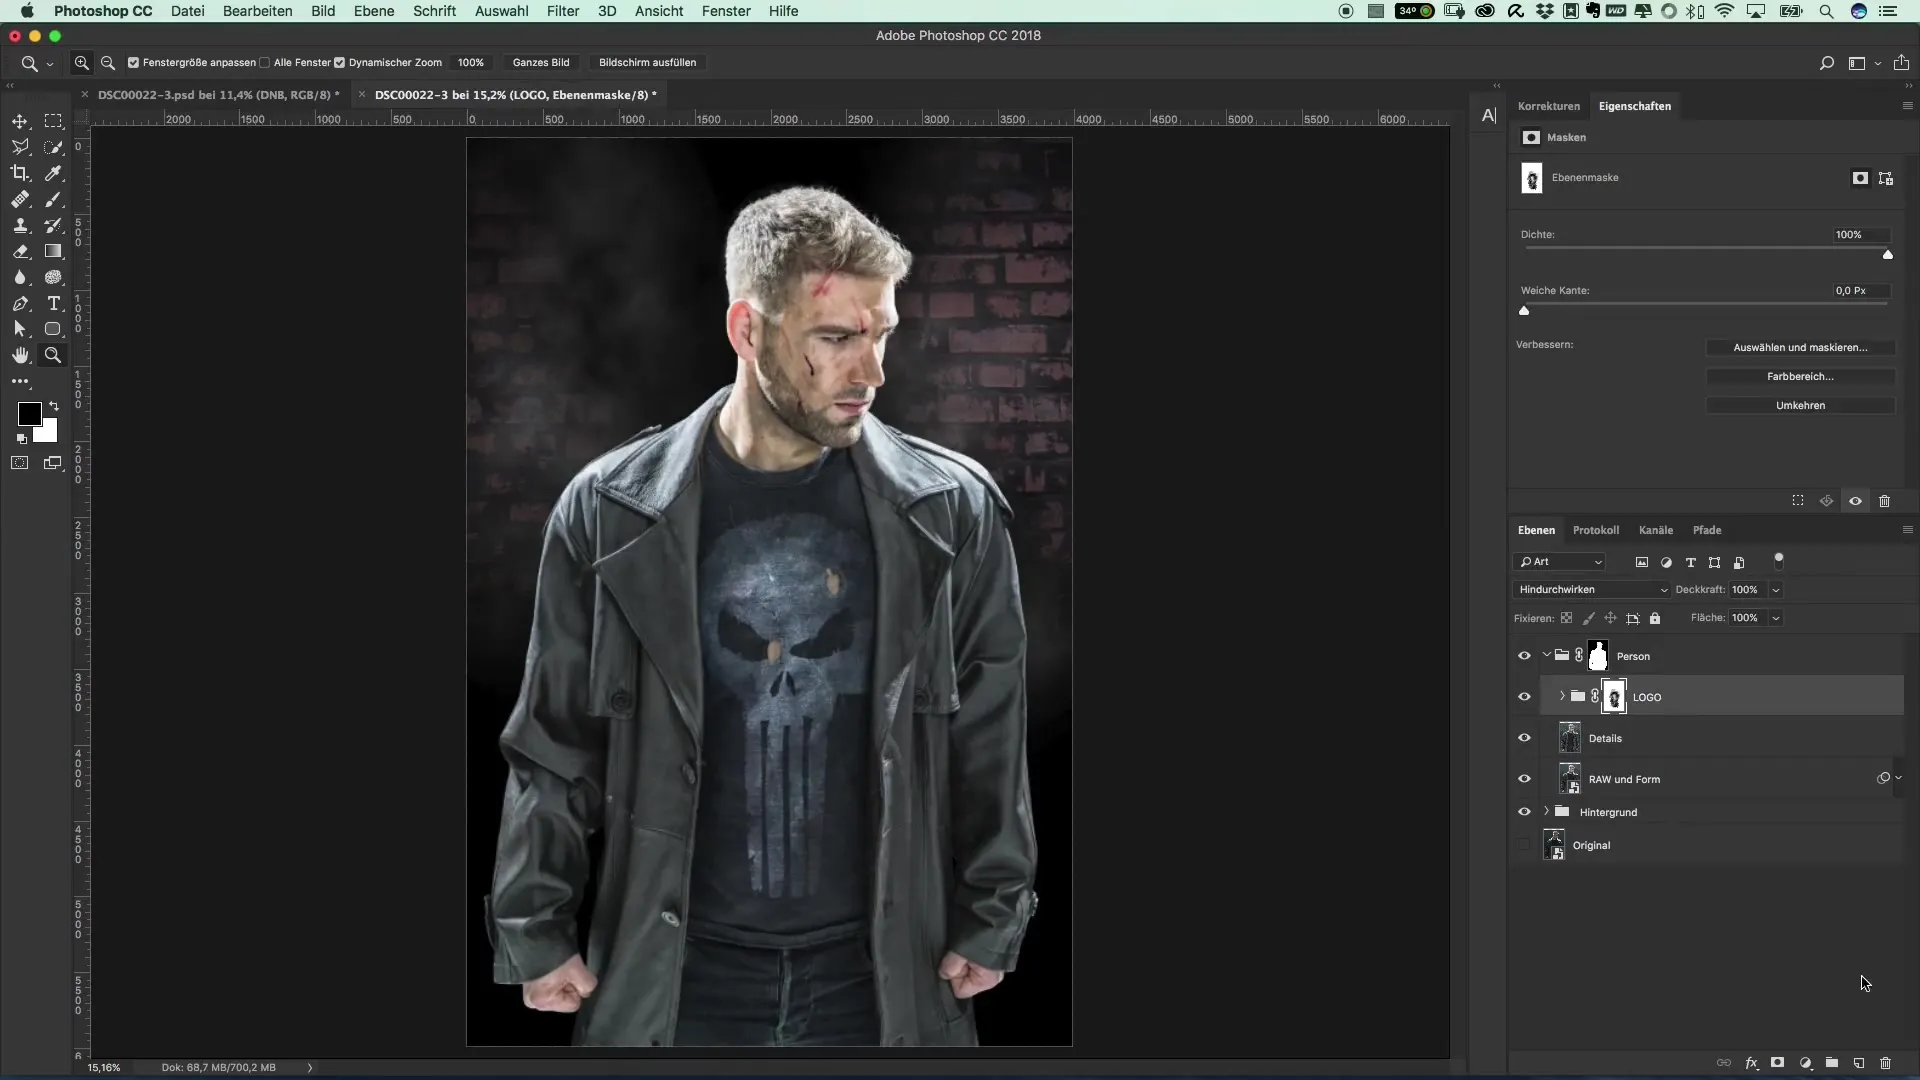
Before you start the editing process, tidy up your layers. This is important for being able to trace back what you have edited later. Give each layer a clear name, such as "RAW" or "Shape". This saves time and avoids confusion in advanced steps.
2. Create Dodge-and-Burn Layer
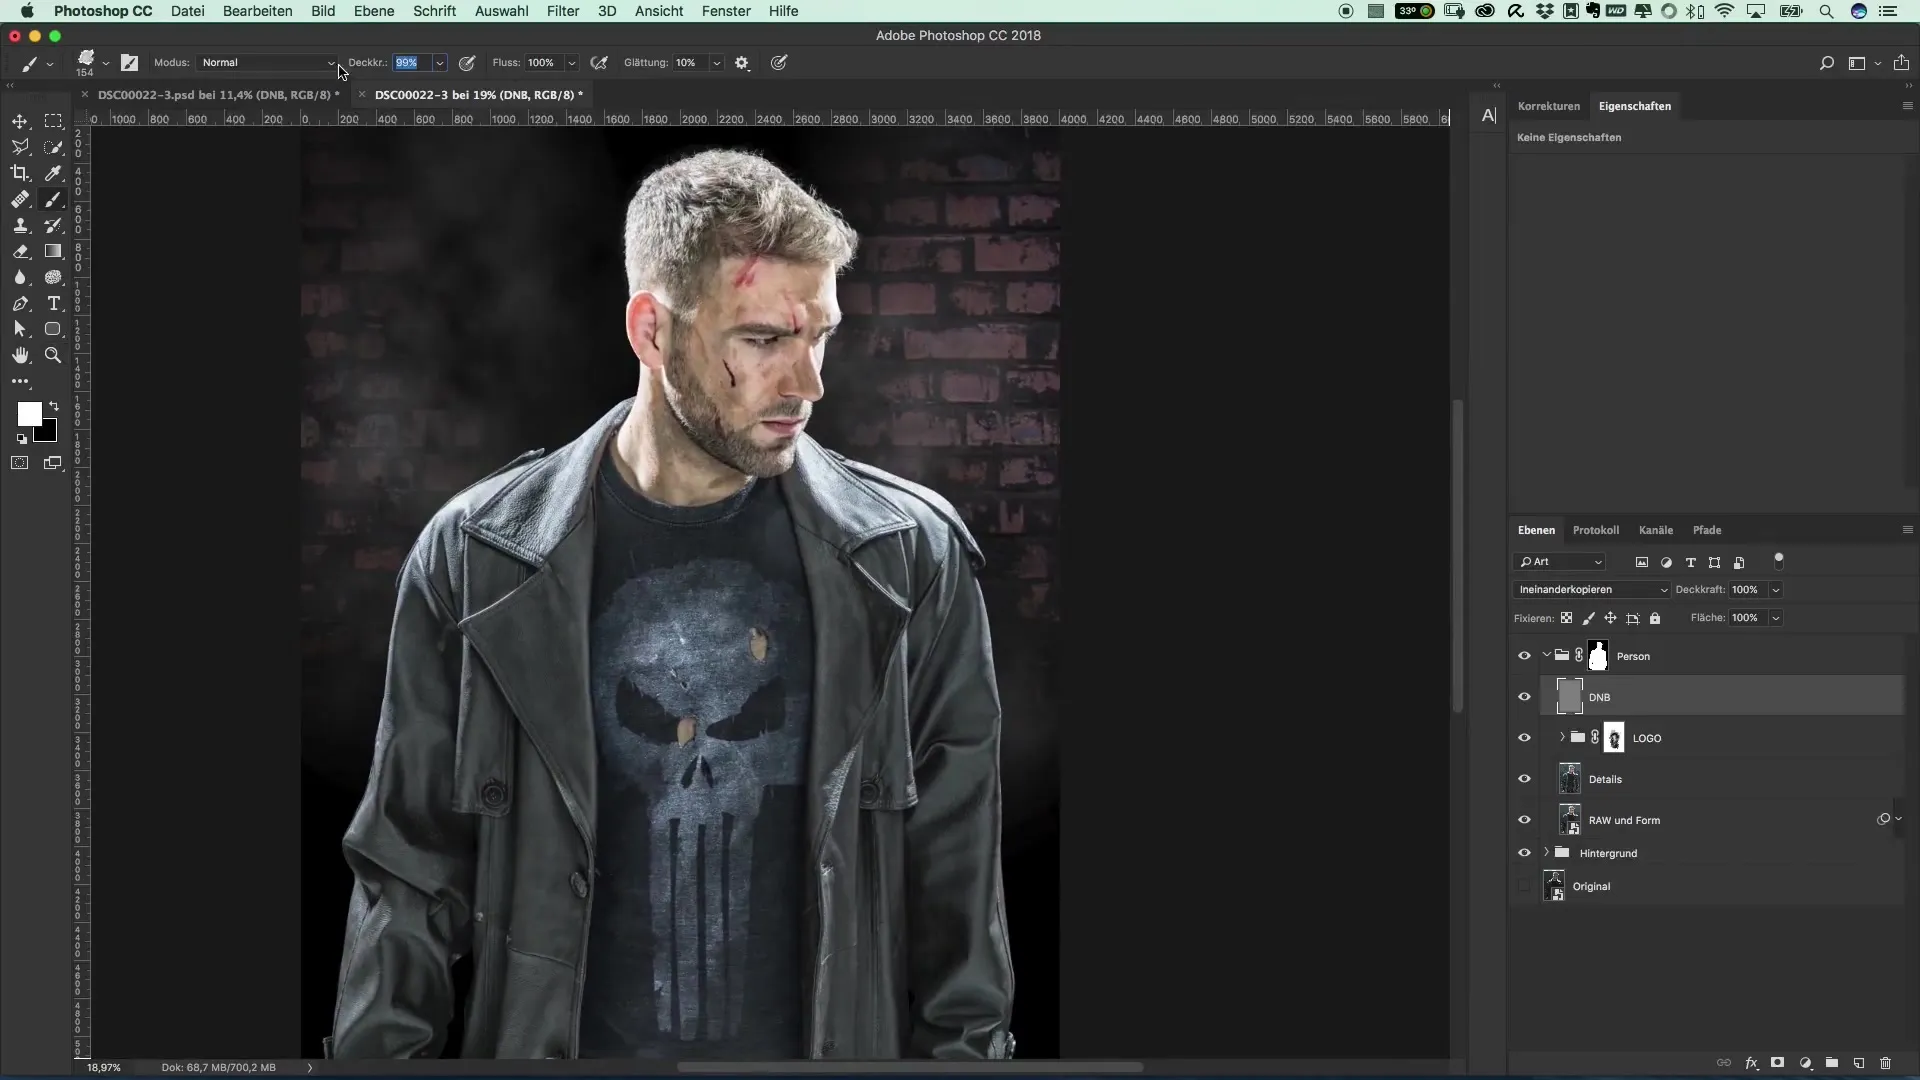
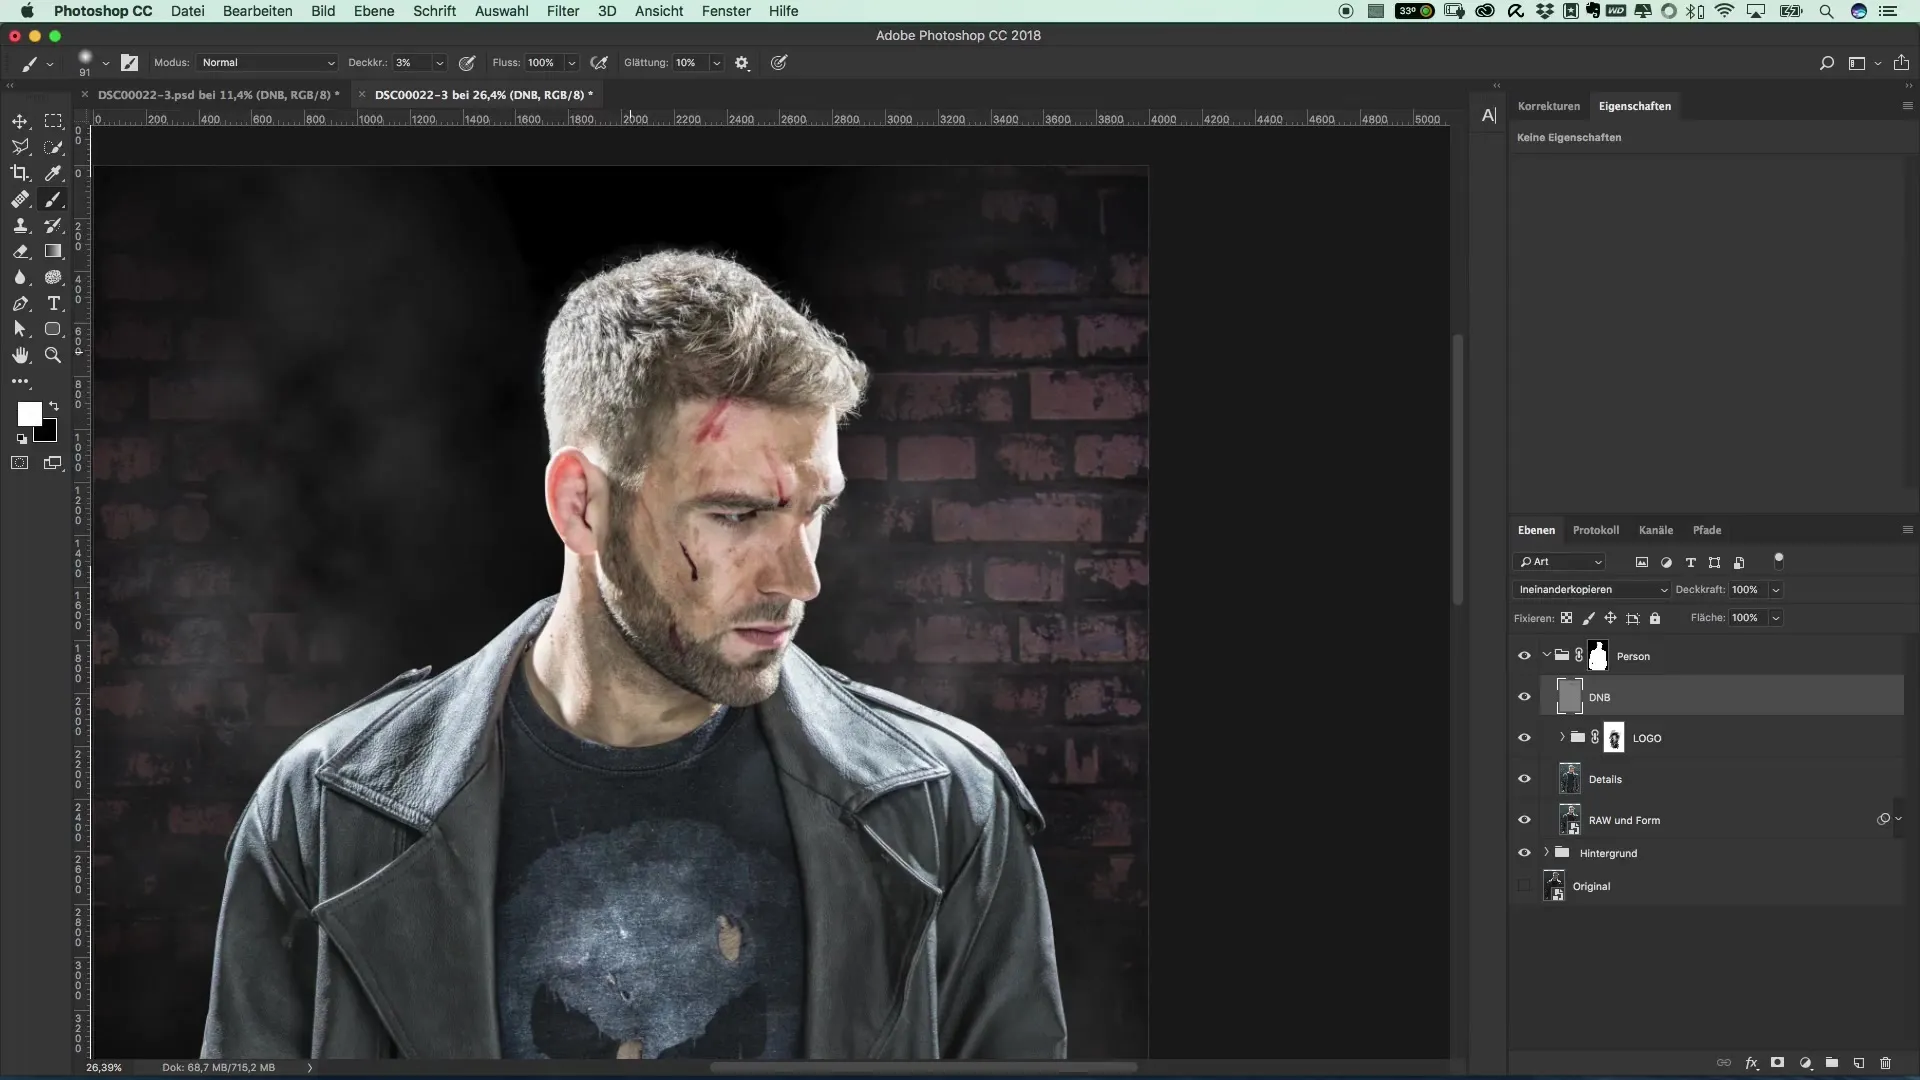
Create a new Dodge-and-Burn layer. To do this, hold down the ALT key and click on the new layer icon. Name the layer "DMB Dodge & Burn" and select the "Overlay" mode. Set the fill method to 50% gray. This gives you a neutral foundation to add light and shadow.
3. Define Light Factors
Now the exciting phase begins: You paint in light. Choose a soft brush with an opacity of 3% and start modeling the light on the face. Work carefully to maintain the contours and ensure that the brush is used evenly.
4. Highlight Details
No matter how small the changes are, even subtle adjustments in the beard or eyebrows can make a big difference. Focus on gently darkening the dark areas so they transition smoothly. Try different strengths and techniques to see what works best.
5. Apply Darker Tonality Correction
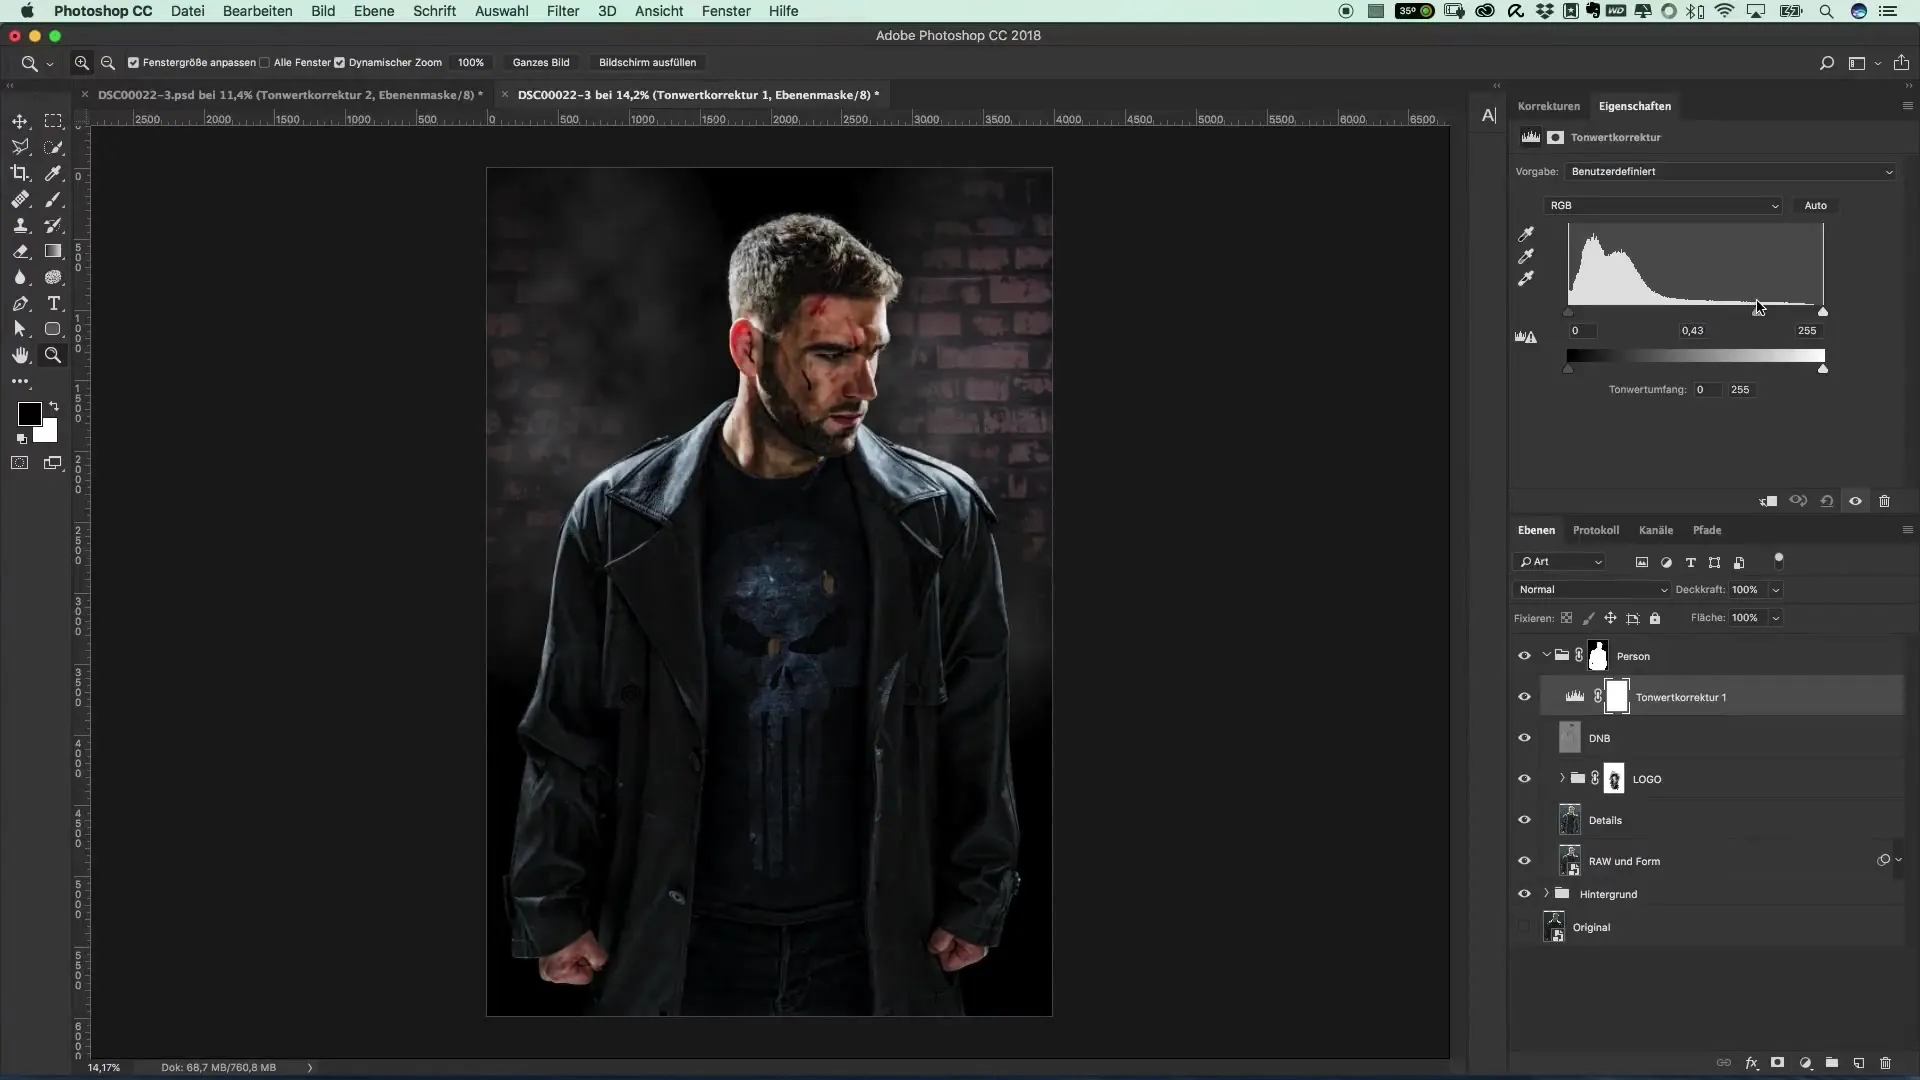
To place the main figure in the shadows and integrate it more harmoniously into the scene, you will now create a tonality correction as an adjustment layer. Shift the midtone slider drastically to the right to dim the bright spots.
6. Selection of Masking
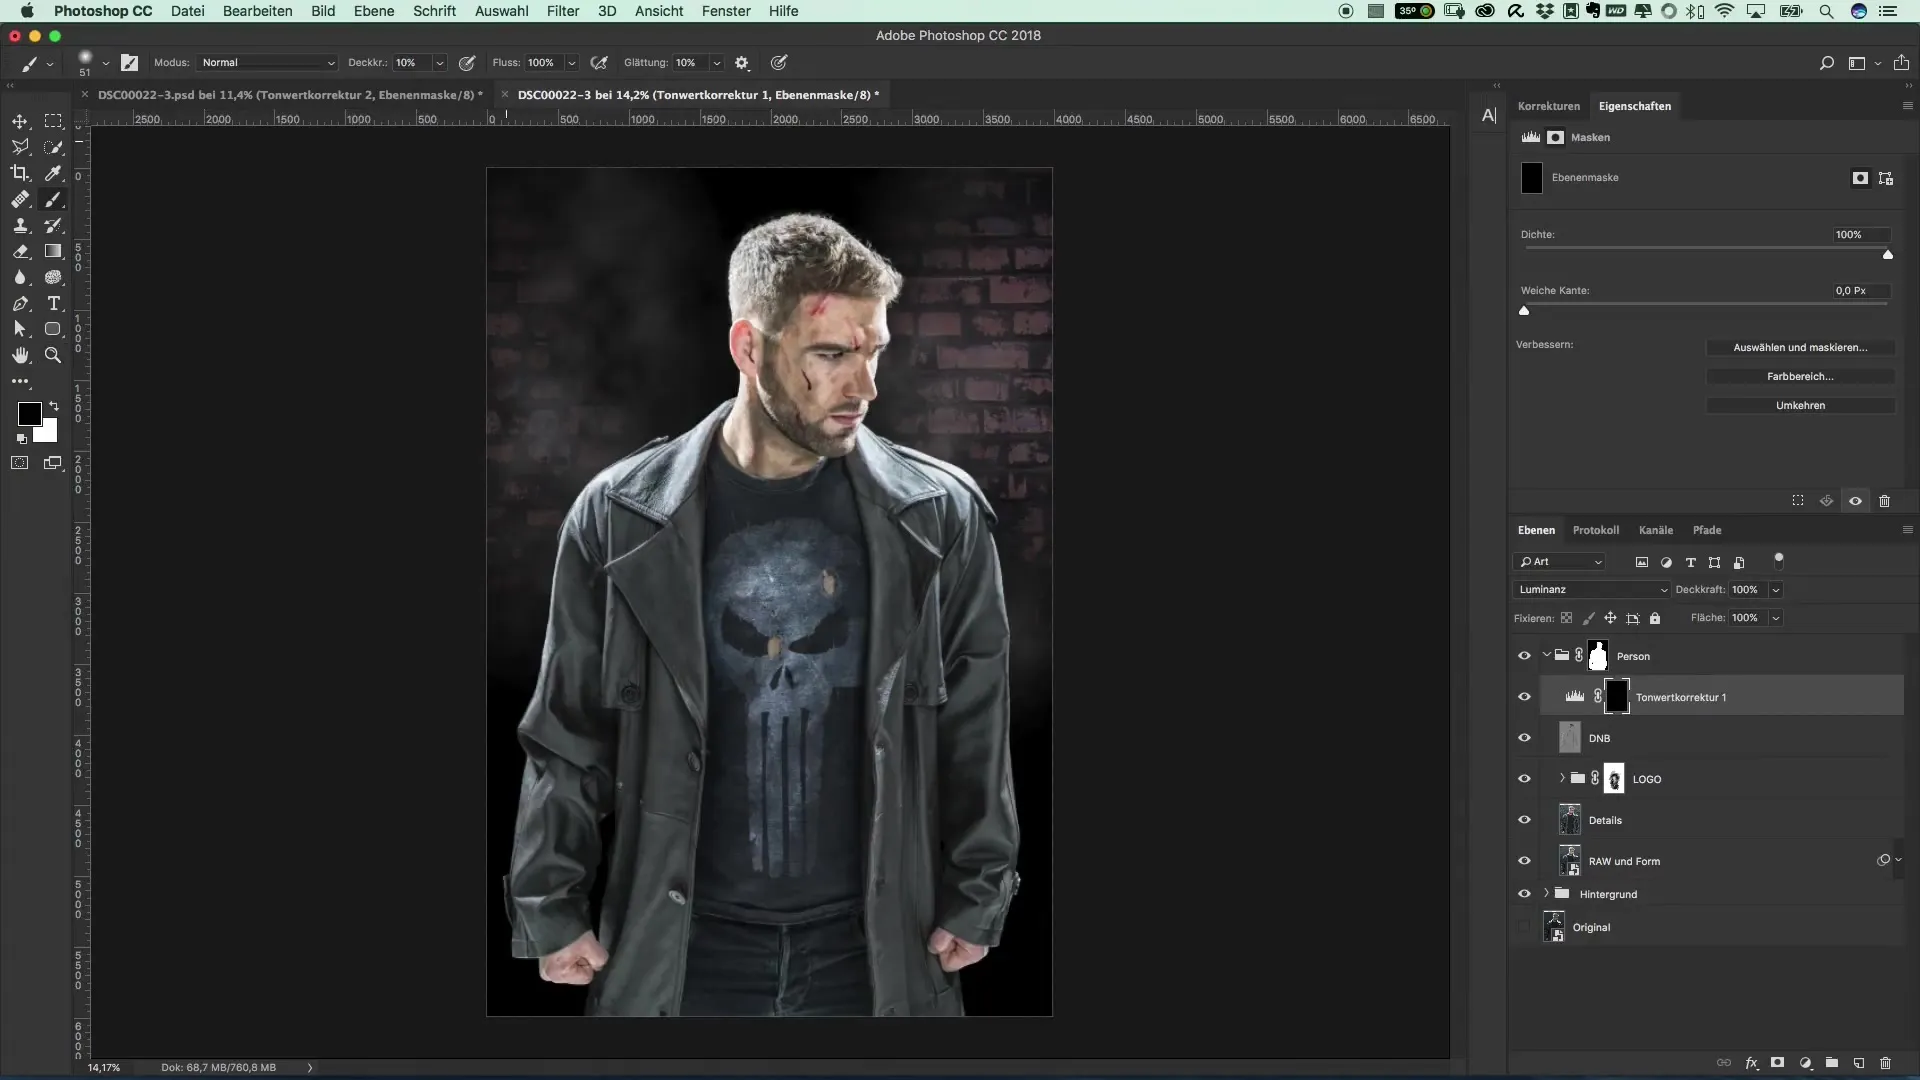
After the entire figure has become too dark, you should invert the mask of the tonality correction. Now use a brush with an opacity of 10% to selectively lighten the desired areas again. Start at the head and work your way down, without losing the contours.
7. Detailed Adjustments
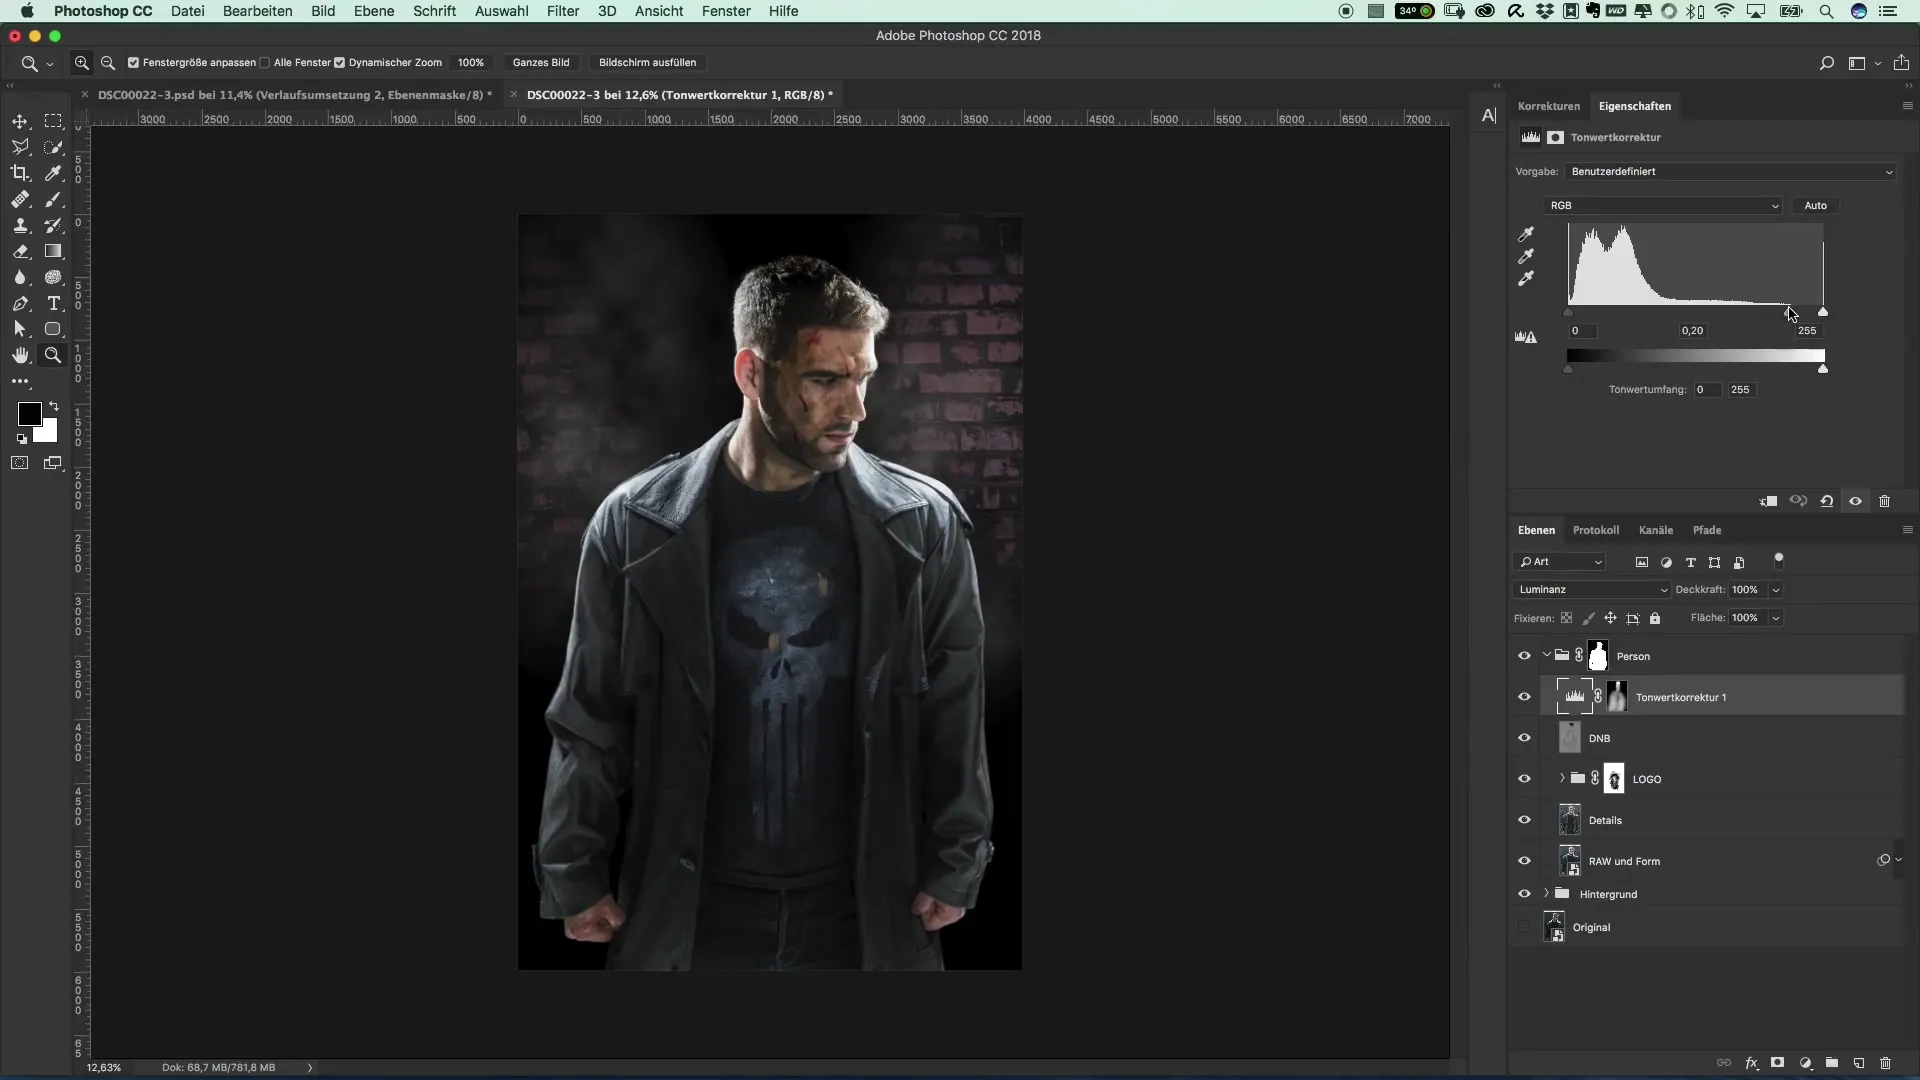
In the final step, you can intensify the dark areas once more. Adjust the settings again to increase the darkness until you are satisfied with the result. Make sure that the transitions remain soft and no strong lines are visible.
Summary - Guide to Adjusting Brightness and Light for a Dark Film Style
With the techniques for brightness adjustment and the use of Dodge-and-Burn techniques outlined here, you have the fundamentals to create visually striking and atmospheric images. It is important to show creativity and also to experiment with the tools to achieve the desired effect.
Frequently Asked Questions
How does the Dodge-and-Burn technique work?This technique uses bright and dark spots to create depth and highlight details.
Why is naming the layers important?Accurate naming helps you keep track later and make adjustments effectively.
How can I ensure that the colors do not get lost?In the tone correction, you can set the mode to "Luminosity" to only affect brightness.
How do I achieve a three-dimensional image?By skillfully playing with light and shadow, you give your image more depth and dimension.
