Are you interested in image editing and want to find out how to create images in the style of cinematic posters? In this guide, you will learn step by step how to edit a RAW image using Photoshop Camera Raw and achieve the desired cinema and lighting effects. Let's go through the process of image development together and find out how you can transform your image into an impressive work of art.
Main Insights
- The handling of the regular settings in Photoshop Camera Raw is crucial for the visual look of the image.
- Color temperature, highlights, and shadows are important parameters for image editing.
- HSL corrections can be used subtly to optimize the hue and luminance of specific areas.
Step-by-Step Guide
First, open the image you want to edit in Photoshop. Make sure that the image is in RAW format to take advantage of the flexible editing options.
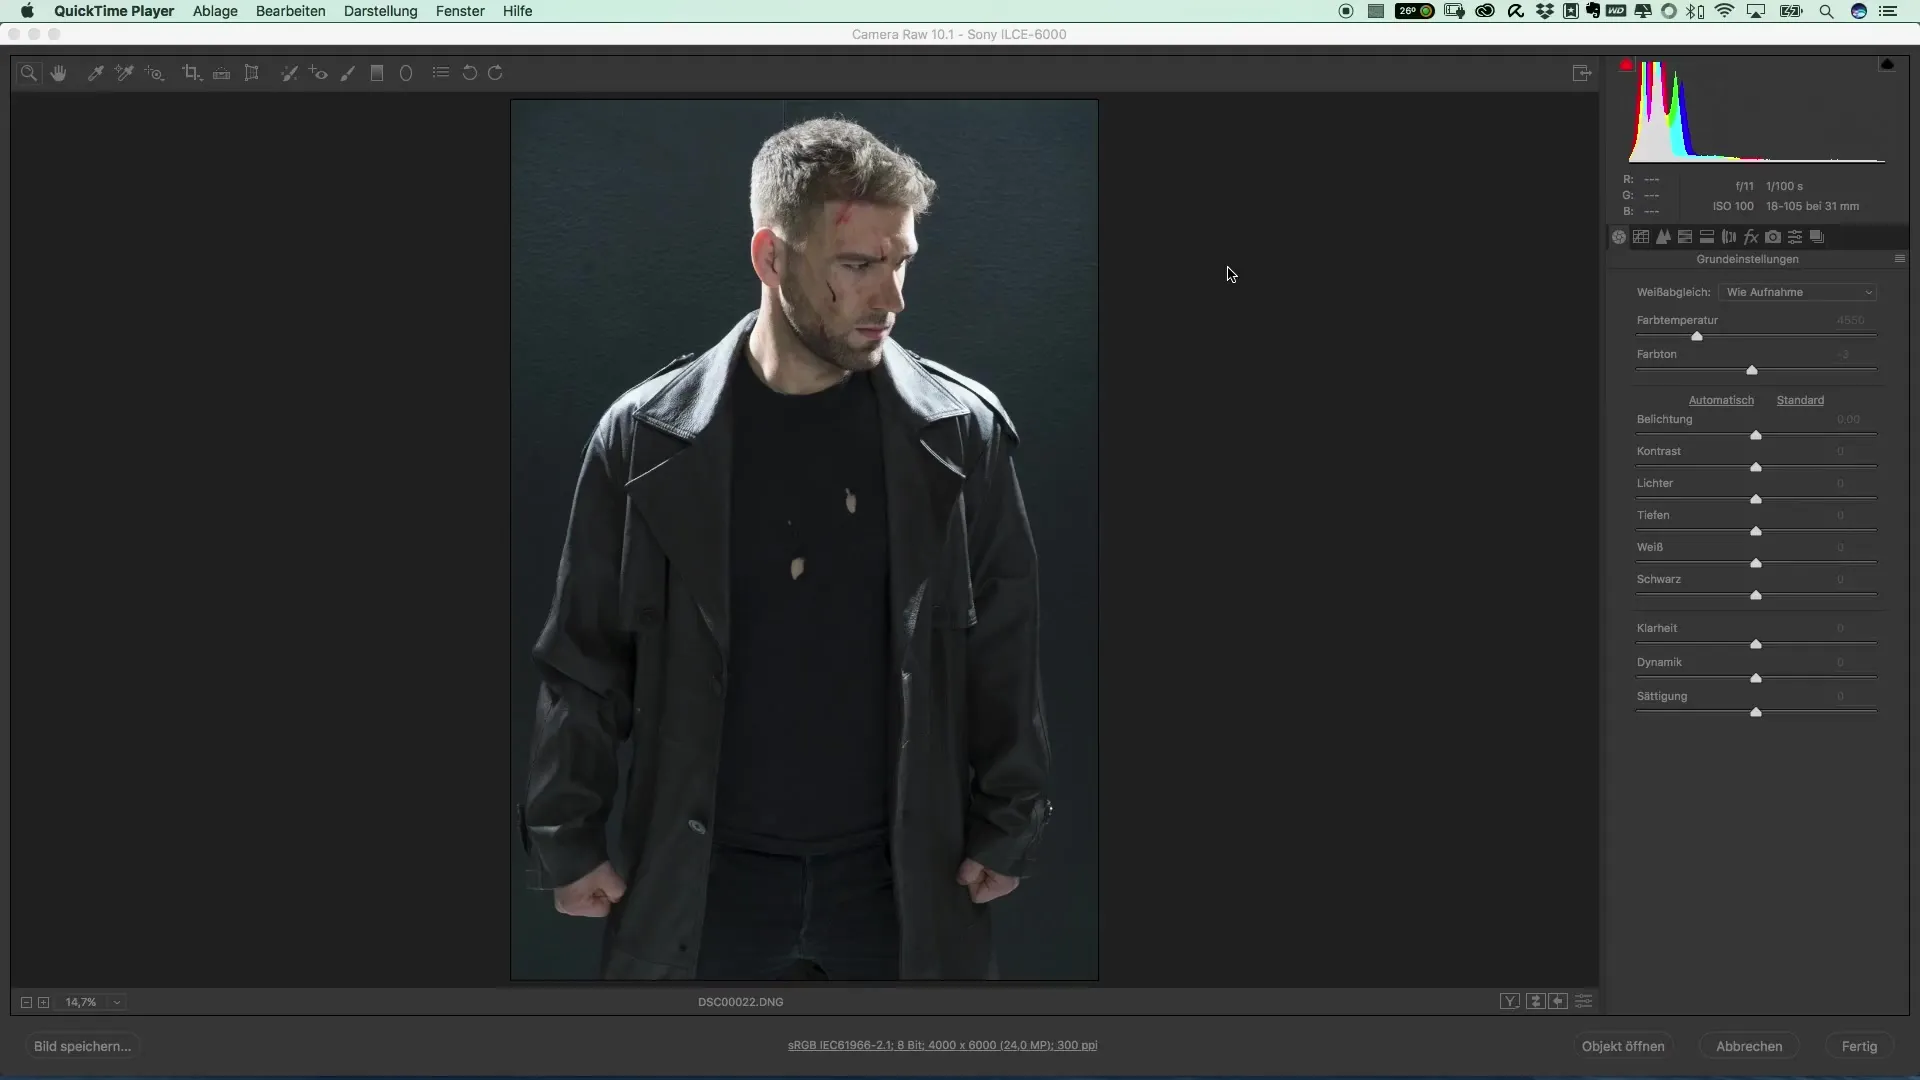
Once the image is loaded in Photoshop, create a duplicate of the original. This gives you the option to work non-destructively and keep the original image as a backup. You can do this by creating a new smart object from the copy.
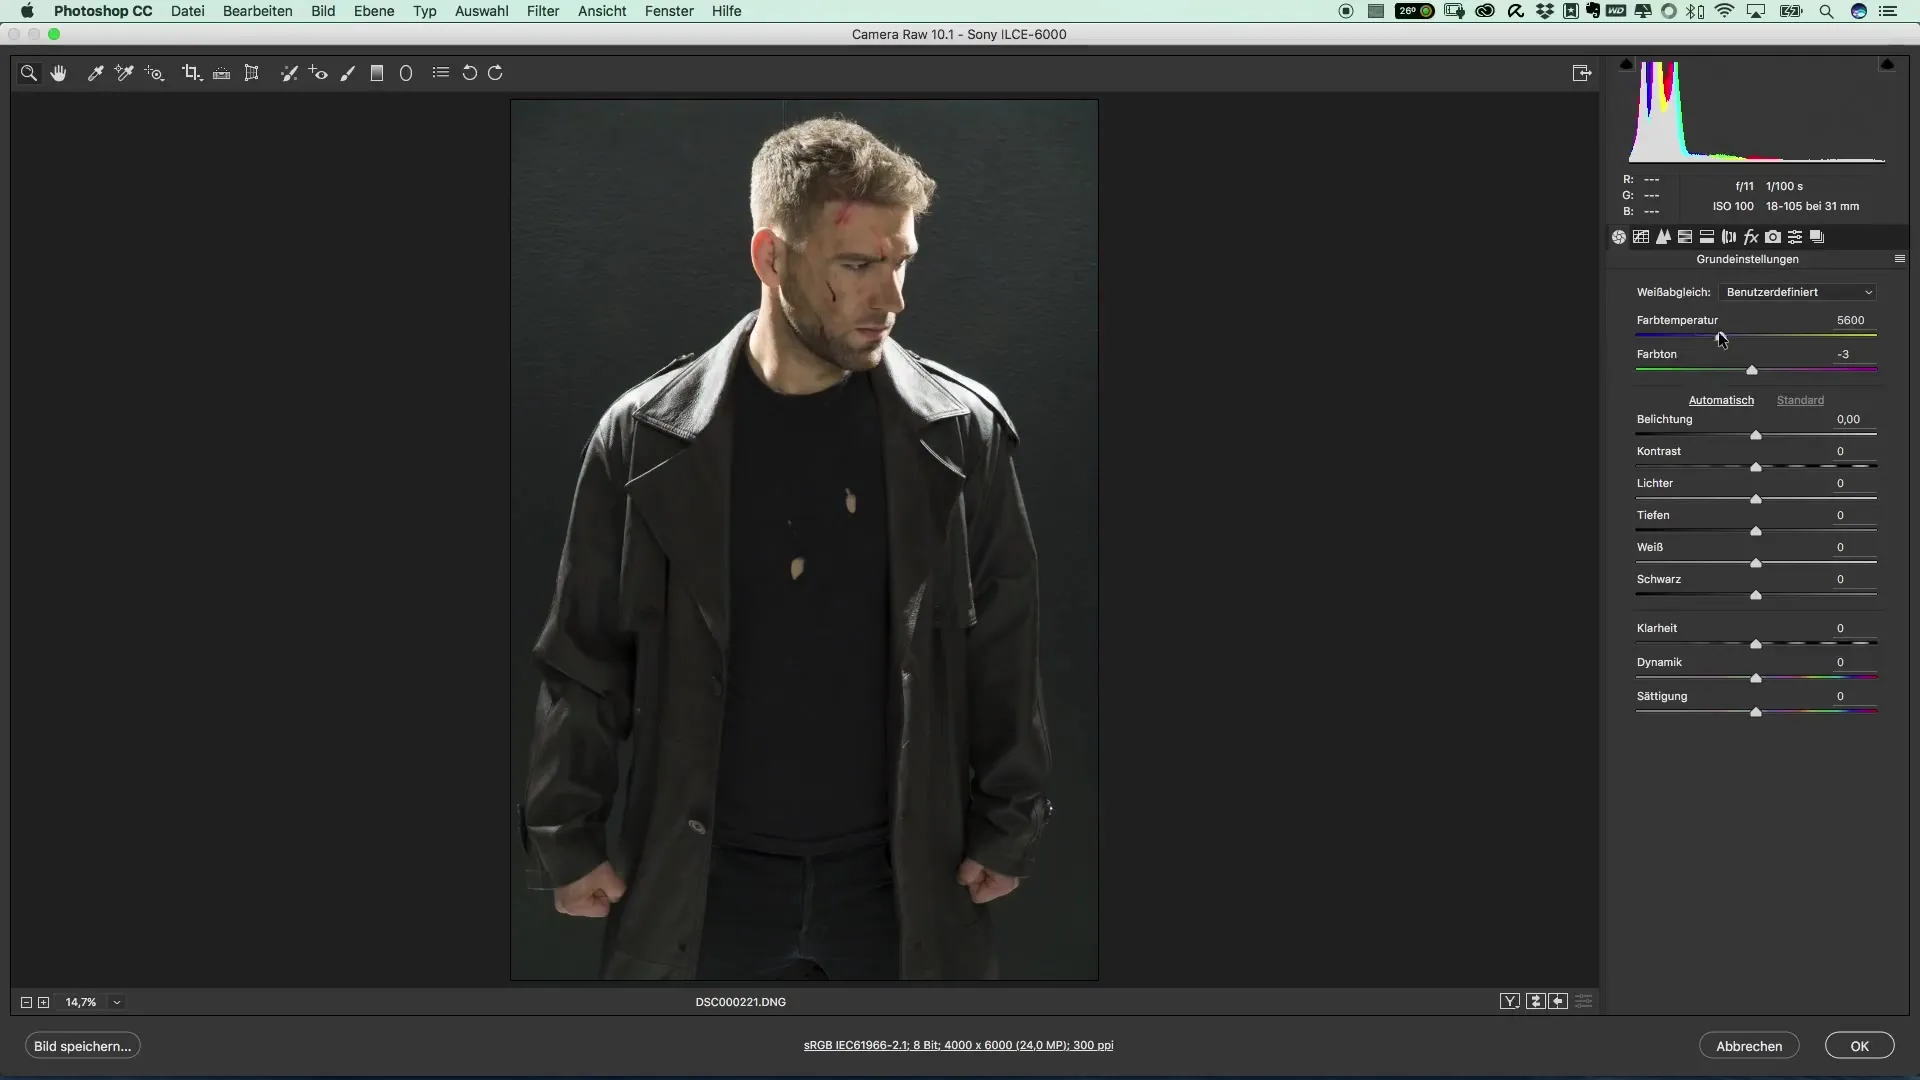
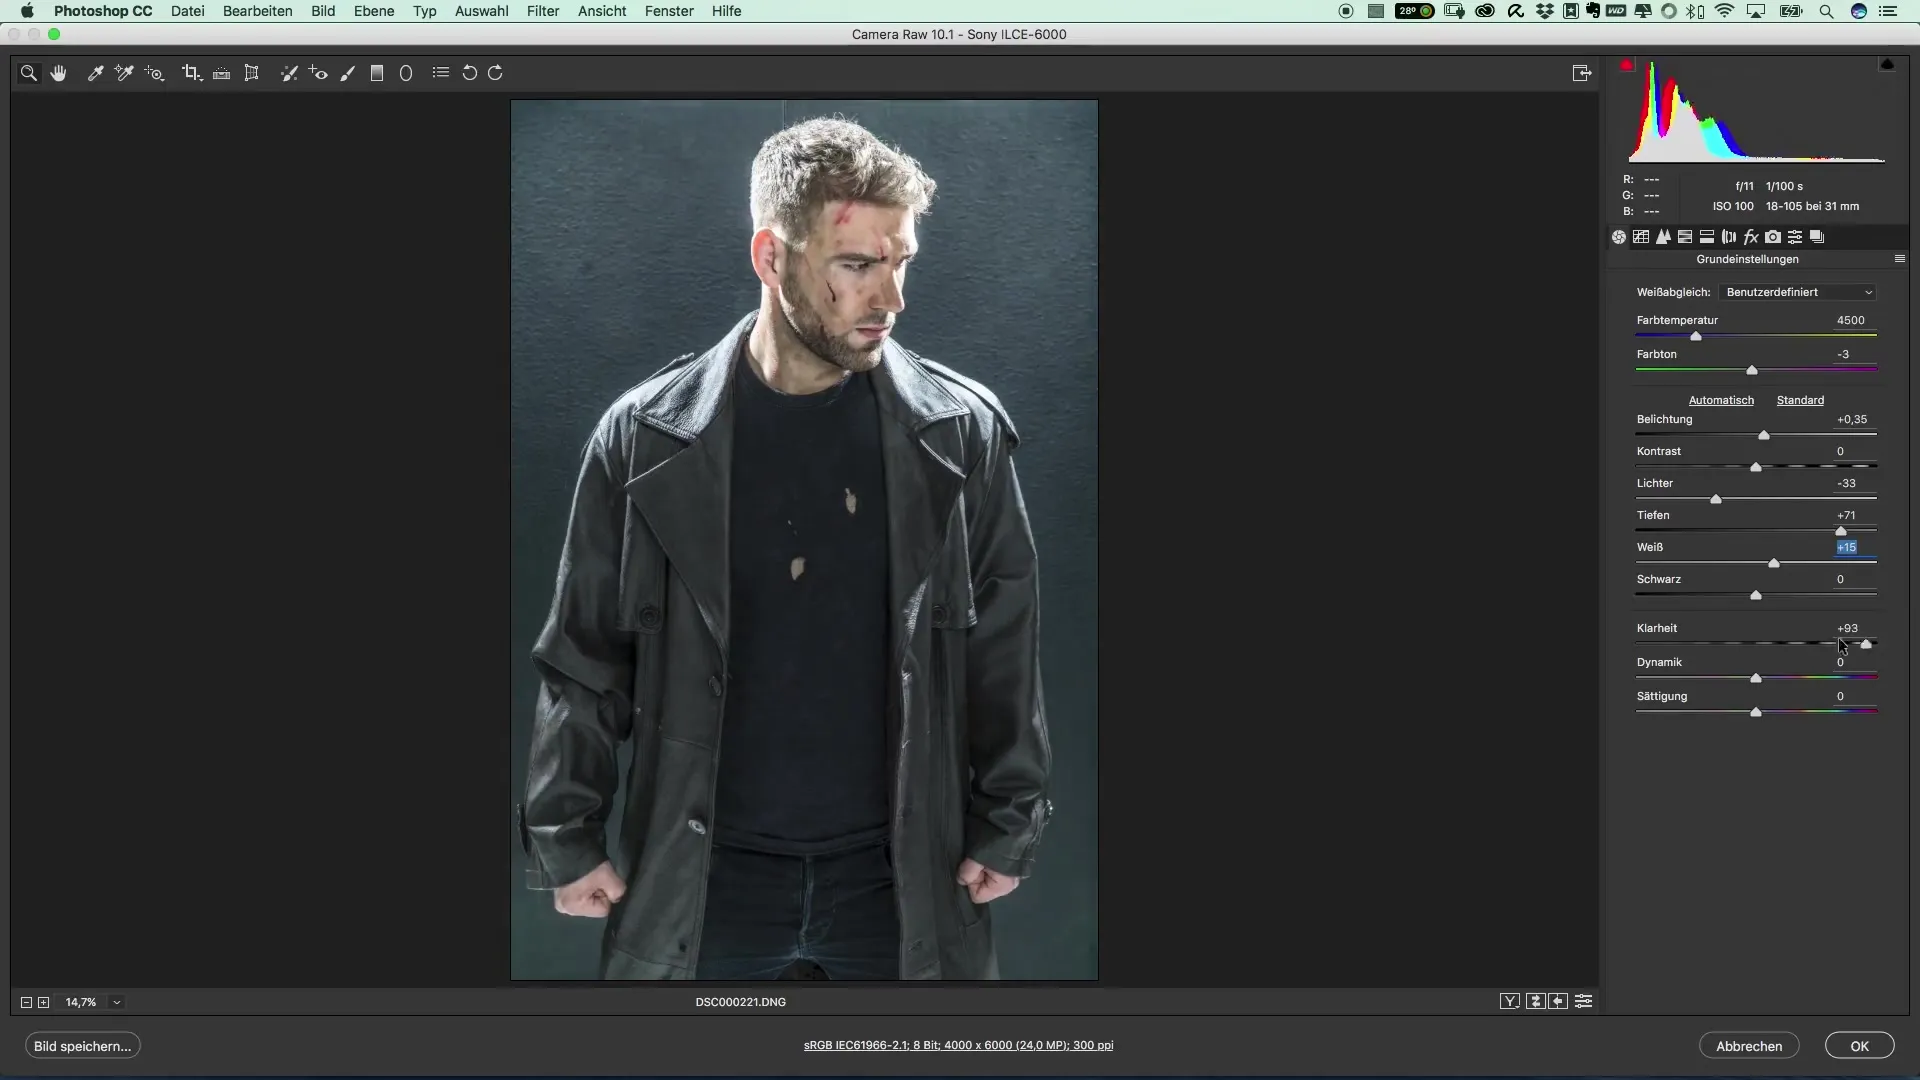
Now it’s time to make your basic adjustments. Go to the color temperature and set it. Start with the value that looks best for your subject. It often makes sense to choose slightly cooler tones that can then be adjusted in the subsequent steps.
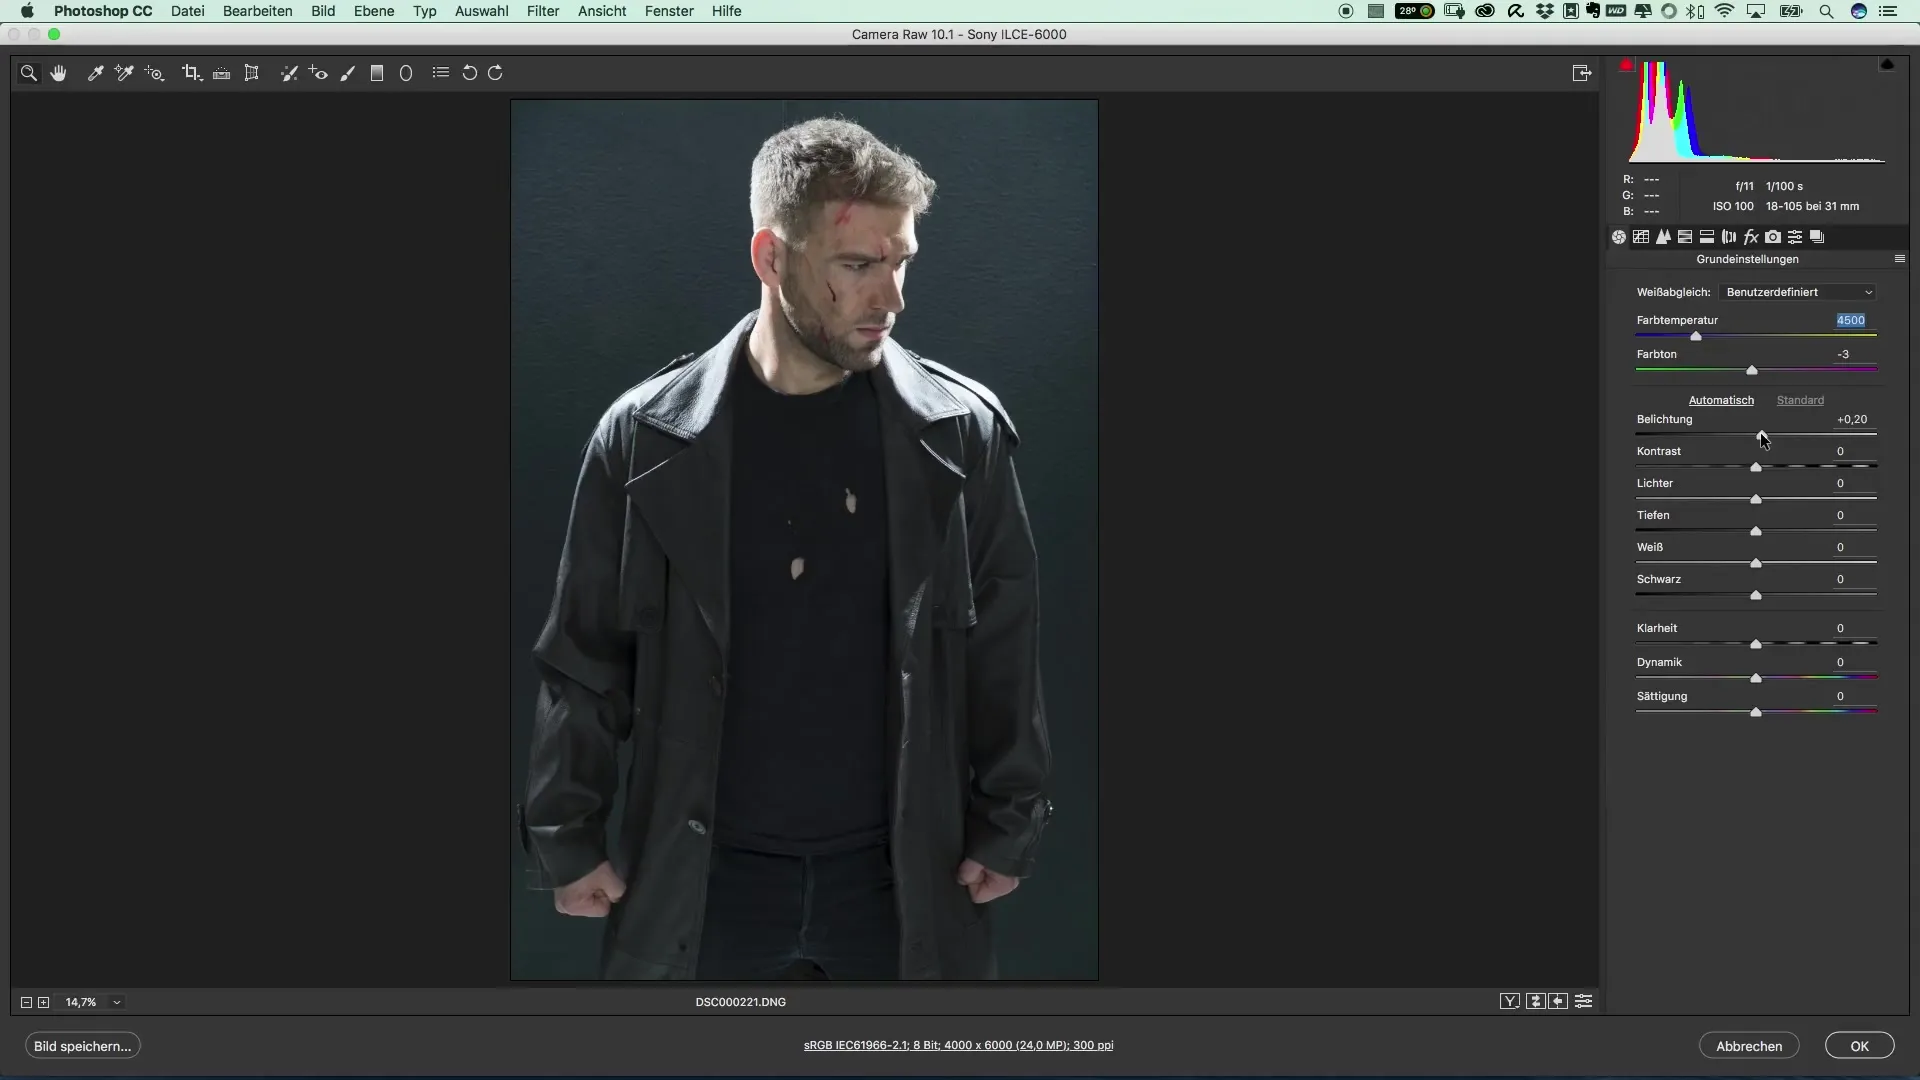
Next, adjust the light and contrast. Start with the exposure – increase it gently to bring out more details in the image. The goal is to emphasize the contrasts without making the image look overexposed.
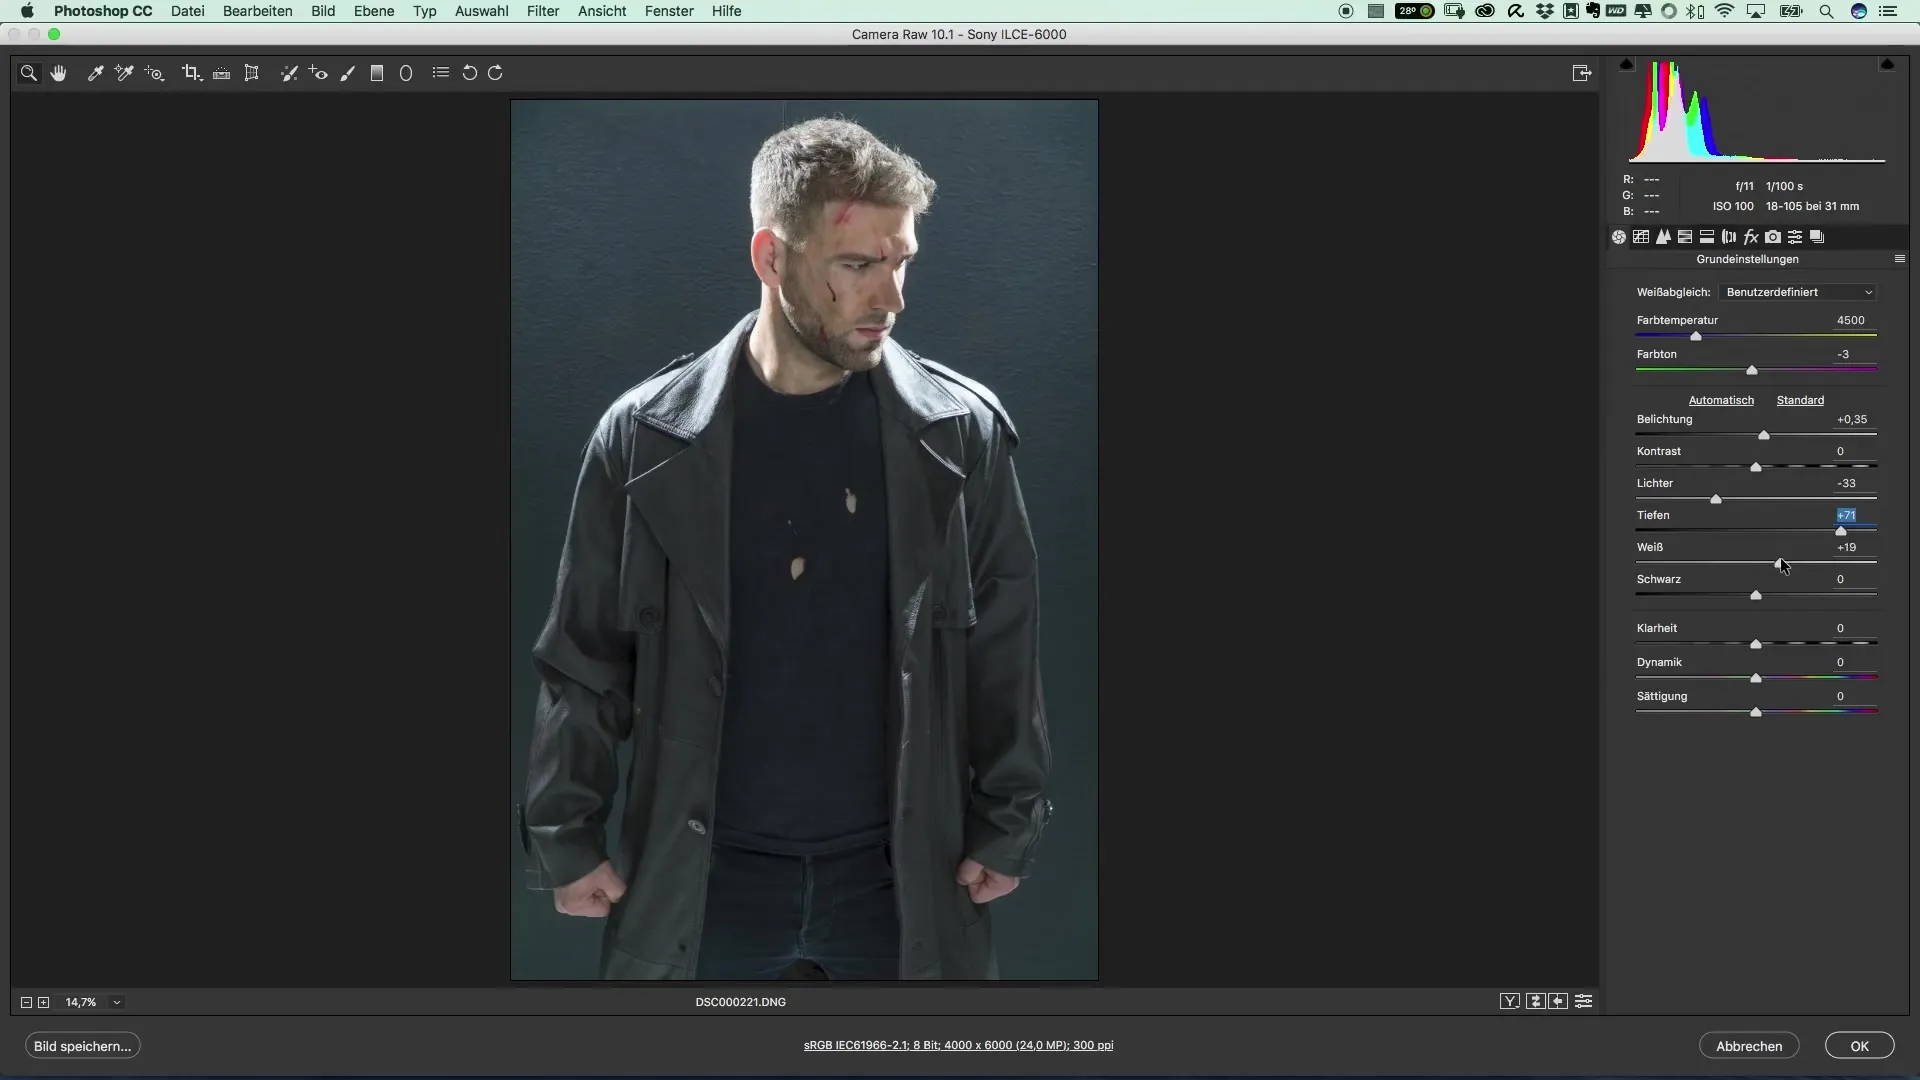
Now comes the most important part: fine-tuning the highlights and shadows. These sliders are crucial for the graphic plasticity of your image. Move the highlights to the left to avoid overexposure, and work with the shadows to bring out details from the dark areas.
The next steps involve adjusting the white point to ensure a balanced color distribution. You can make this adjustment quite subtly to make the image appear more harmonious.
A often overlooked but powerful slider is the clarity slider. Here you can enhance the contours. However, do not overdo it; stay within reasonable limits to achieve a realistic yet impressive result.
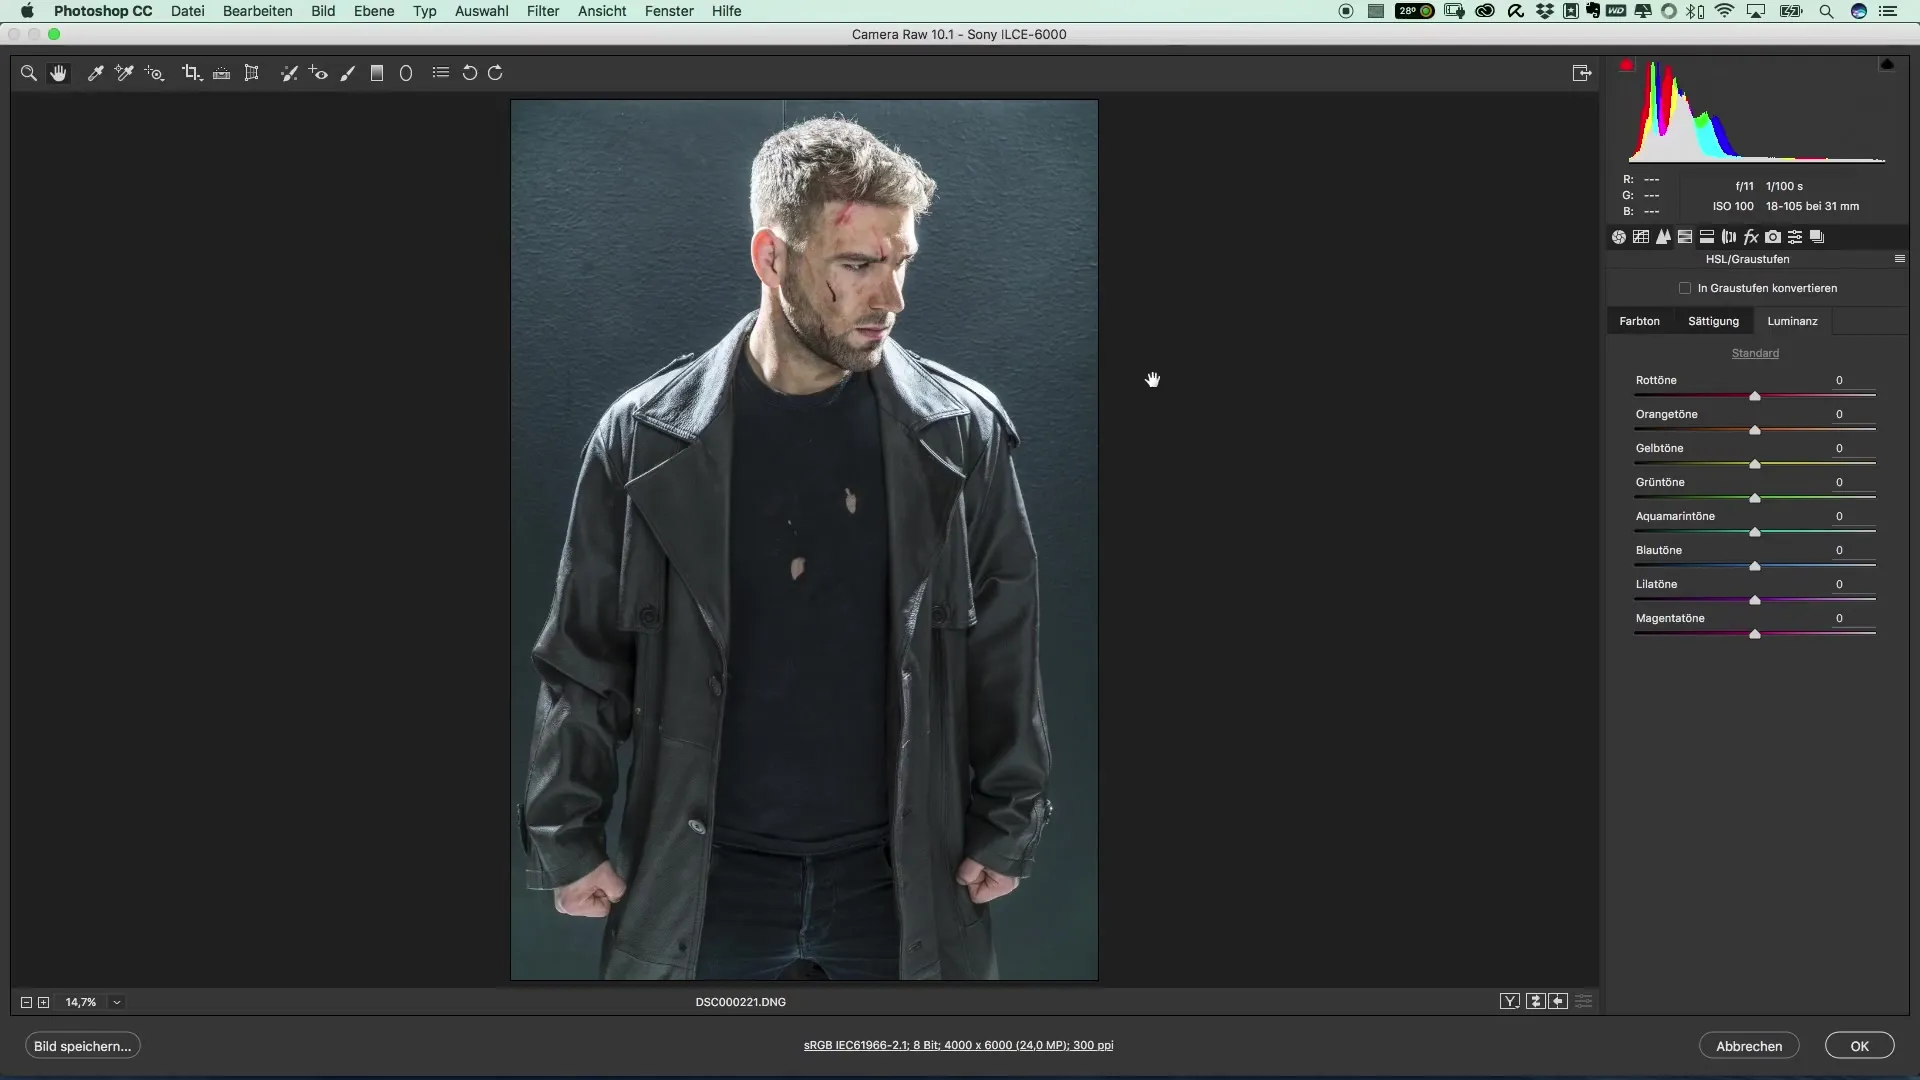
After you have adjusted the clarity, you should take care of the colors. Look at the HSL values (Hue, Saturation, Lightness) and play with them to create more impact in certain areas. Start with the reds, as these are usually dominant in portraits and can make significant accents.
Once you are satisfied with the colors, confirm the changes and return to Photoshop. Here you can immediately see the difference between the unedited and edited image. The before-and-after view gives you a good perspective on the improvements.
Summary – Popular Movie Posters and Cinema Effects: The Style of The Punisher
Unlike ordinary image editing, here you focus specifically on the technique to reproduce the dramatic and cinematic effect of posters like those of "The Punisher." By carefully playing with exposure, colors, and sharpness, you achieve an image quality that is both artistic and professional.
Frequently Asked Questions
How can I optimize colors in the image?Use the HSL settings to edit the luminance and saturation of specific colors.
Why is clarity important?The clarity slider enhances the contours, giving your image more depth and structure.
How can I ensure that I don't overexpose?Look at the highlights and adjust them to prevent overexposure in the image.


