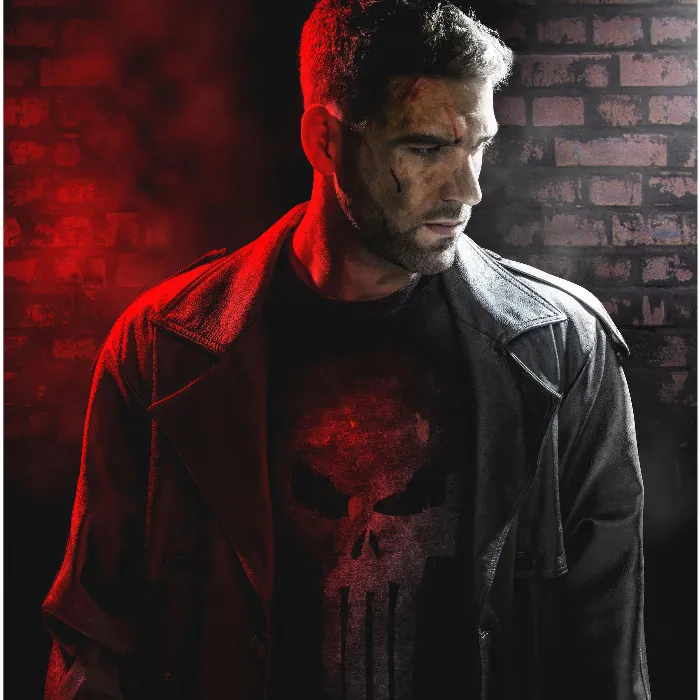
You want to master the lighting technique of a photoshoot that corresponds to the style of “The Punisher”? In this guide, you will learn how to effectively set up a photo set and use various light modifiers for impressive results. Gabor will show you step-by-step how he configures the flashes and how you can adopt his techniques to enrich your own photography projects.
Key Insights Below are the key points to keep in mind when setting up your photo set:
- Gray backgrounds are neutral and make it easier to cut out subjects.
- The targeted use of accent lights helps to define contours and adds depth to the image.
- Hard light creates crisp, expressive shots.
- With digital post-processing, you can creatively set light accents.
Step-by-Step Guide
1. Choosing the Background
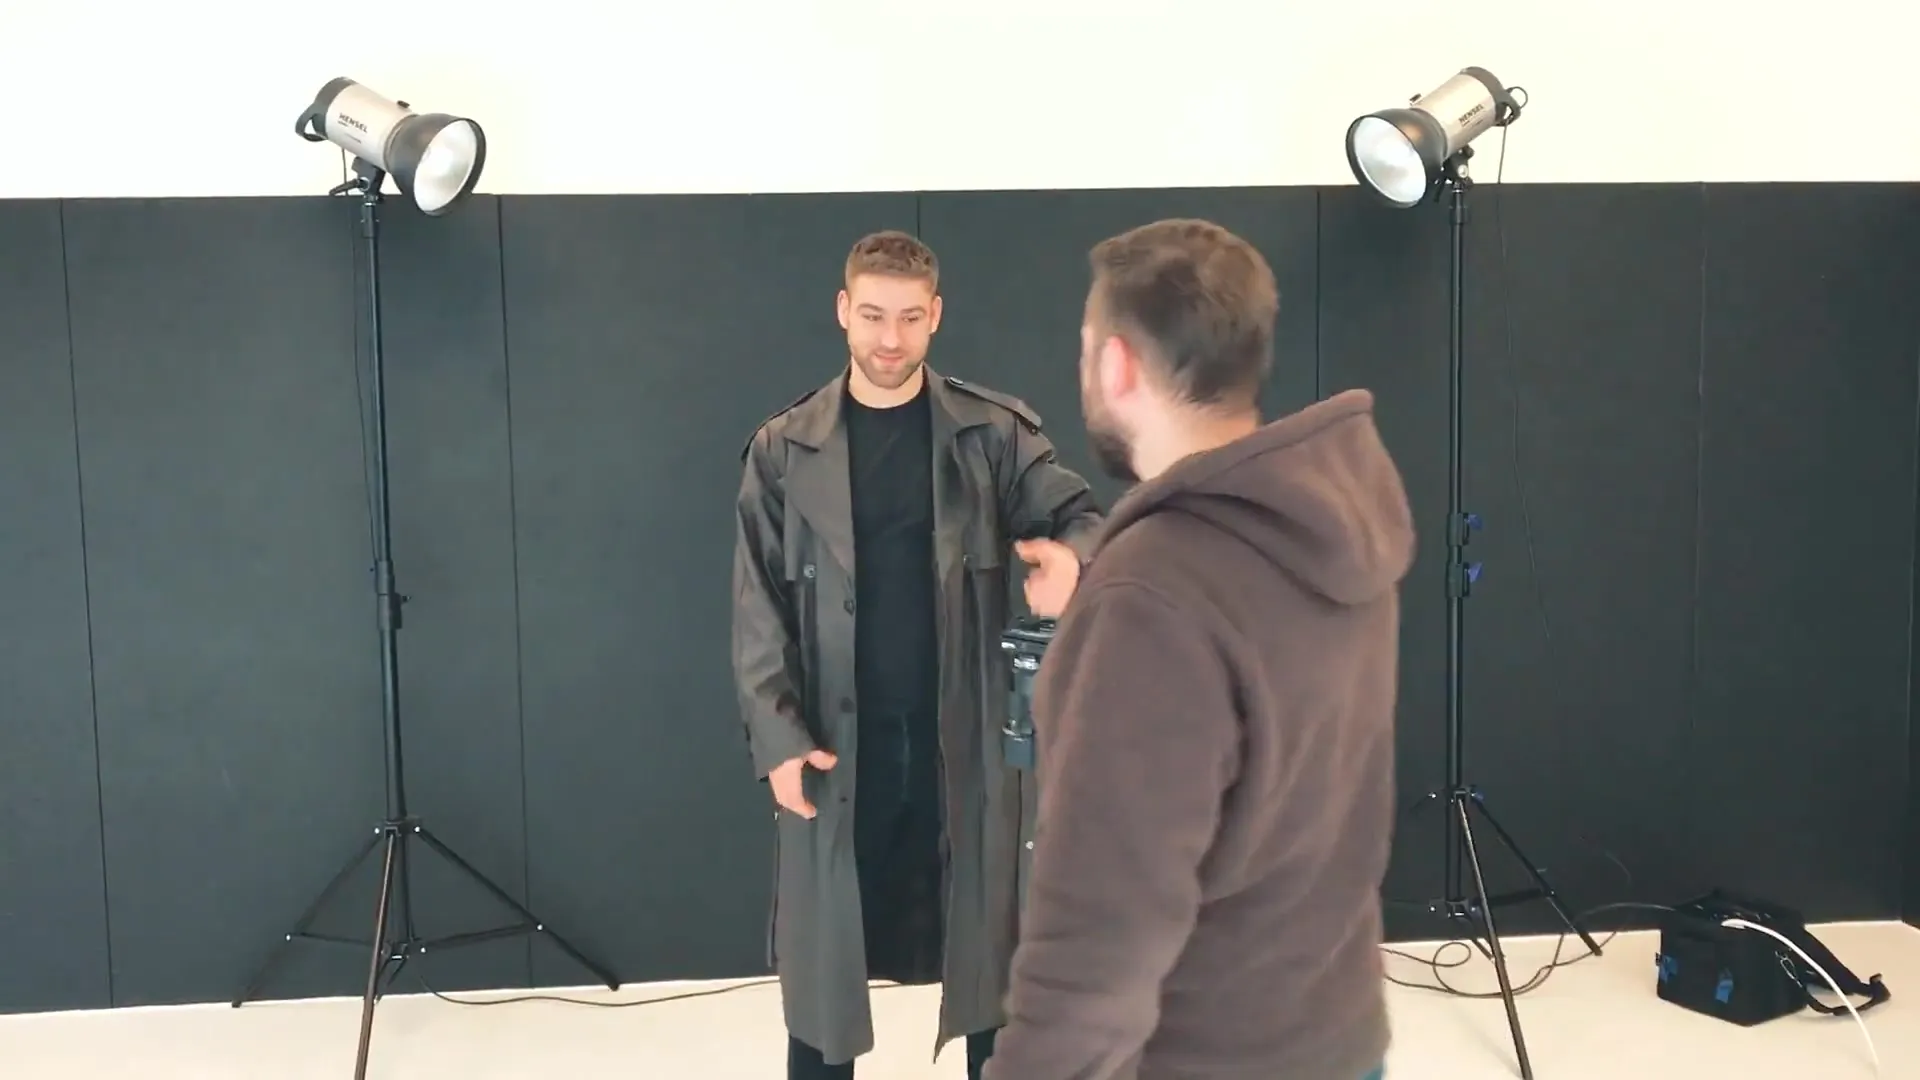
Start with selecting your background. Gabor explains that a gray background is ideal as it is neutral and facilitates cutting out. He emphasizes that you should think about how the light will be reflected. A white background could lead to unwanted emphasis on the light edges, while a black background presents challenges with dark subjects.
2. Setting Up the Flashes
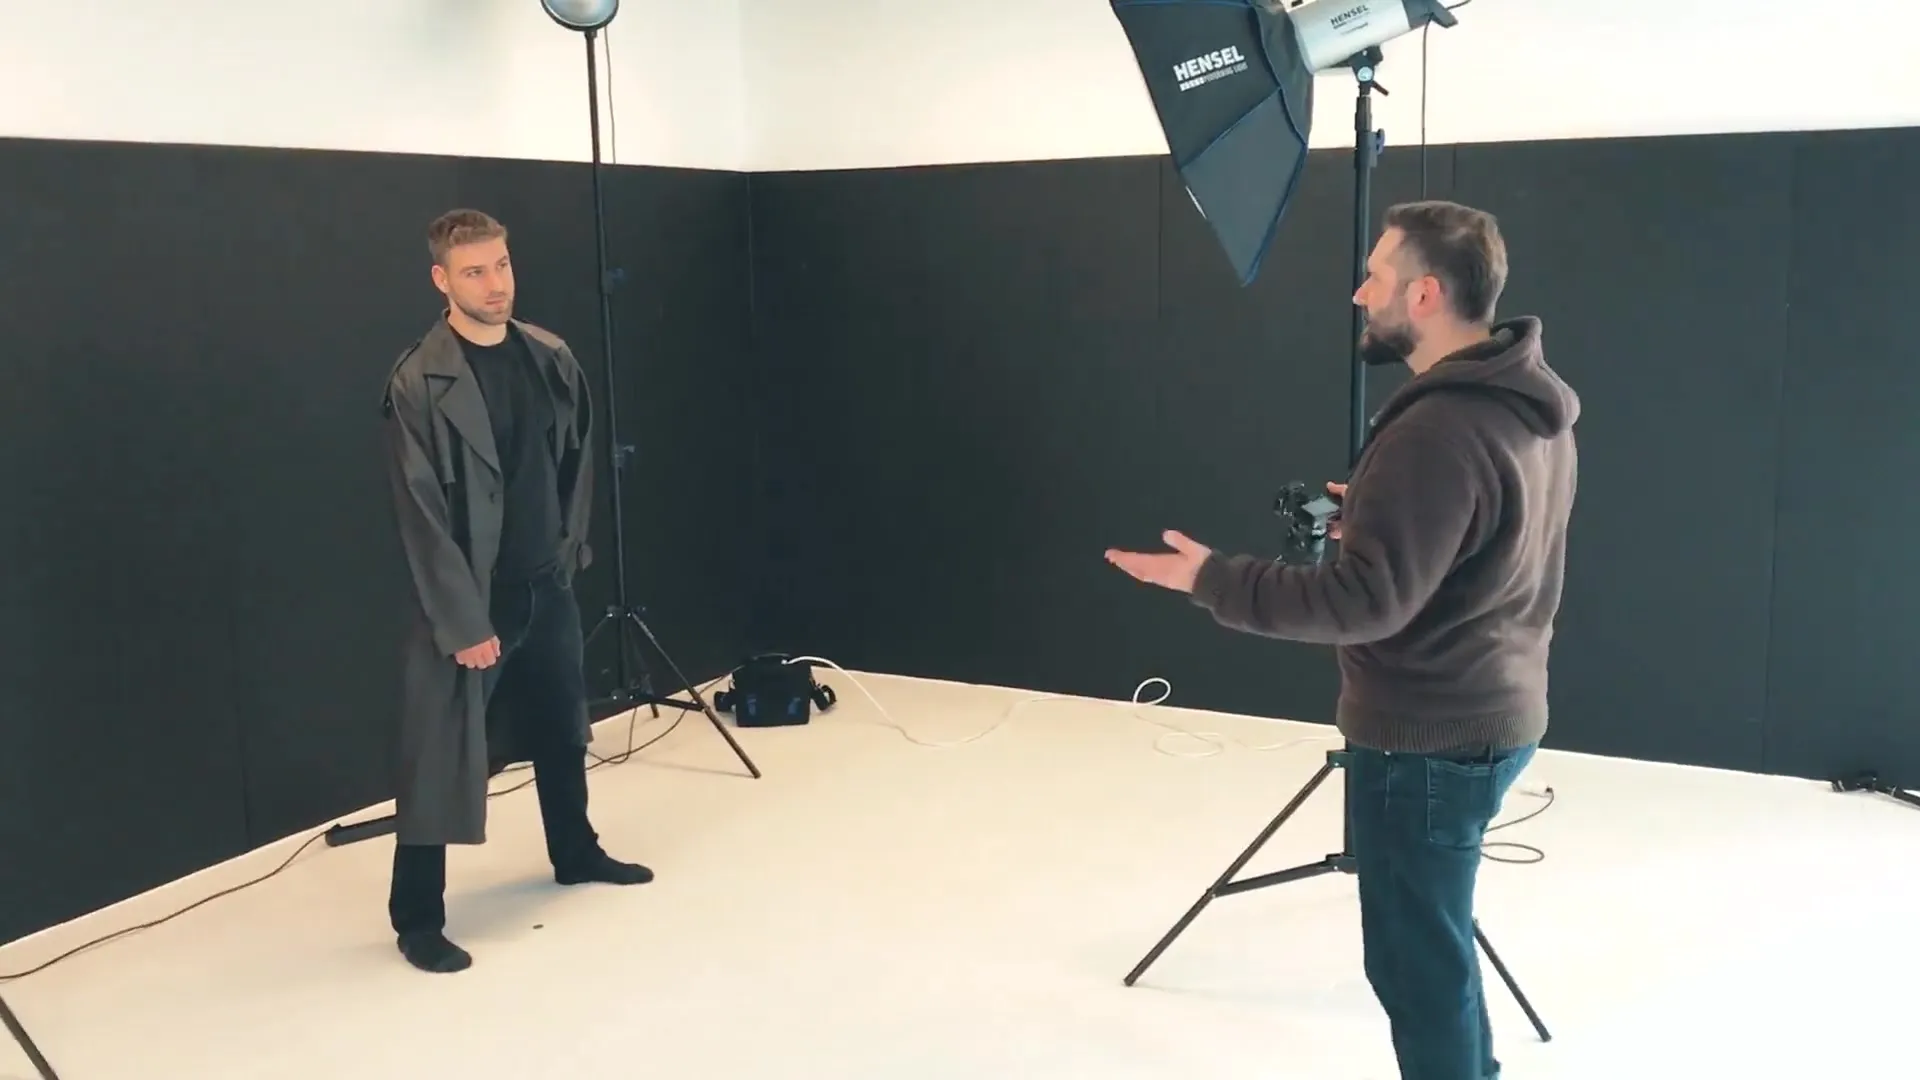
Once you have chosen the background, it is time to bring in the flashes. Gabor uses accent lights that illuminate the contours of the model. These accent lights create dramatic effects, and color gels can also be used to add special accents. However, be aware that colors can scatter significantly when using gels, which requires precise alignment of the flashes.
3. Taking Test Shots
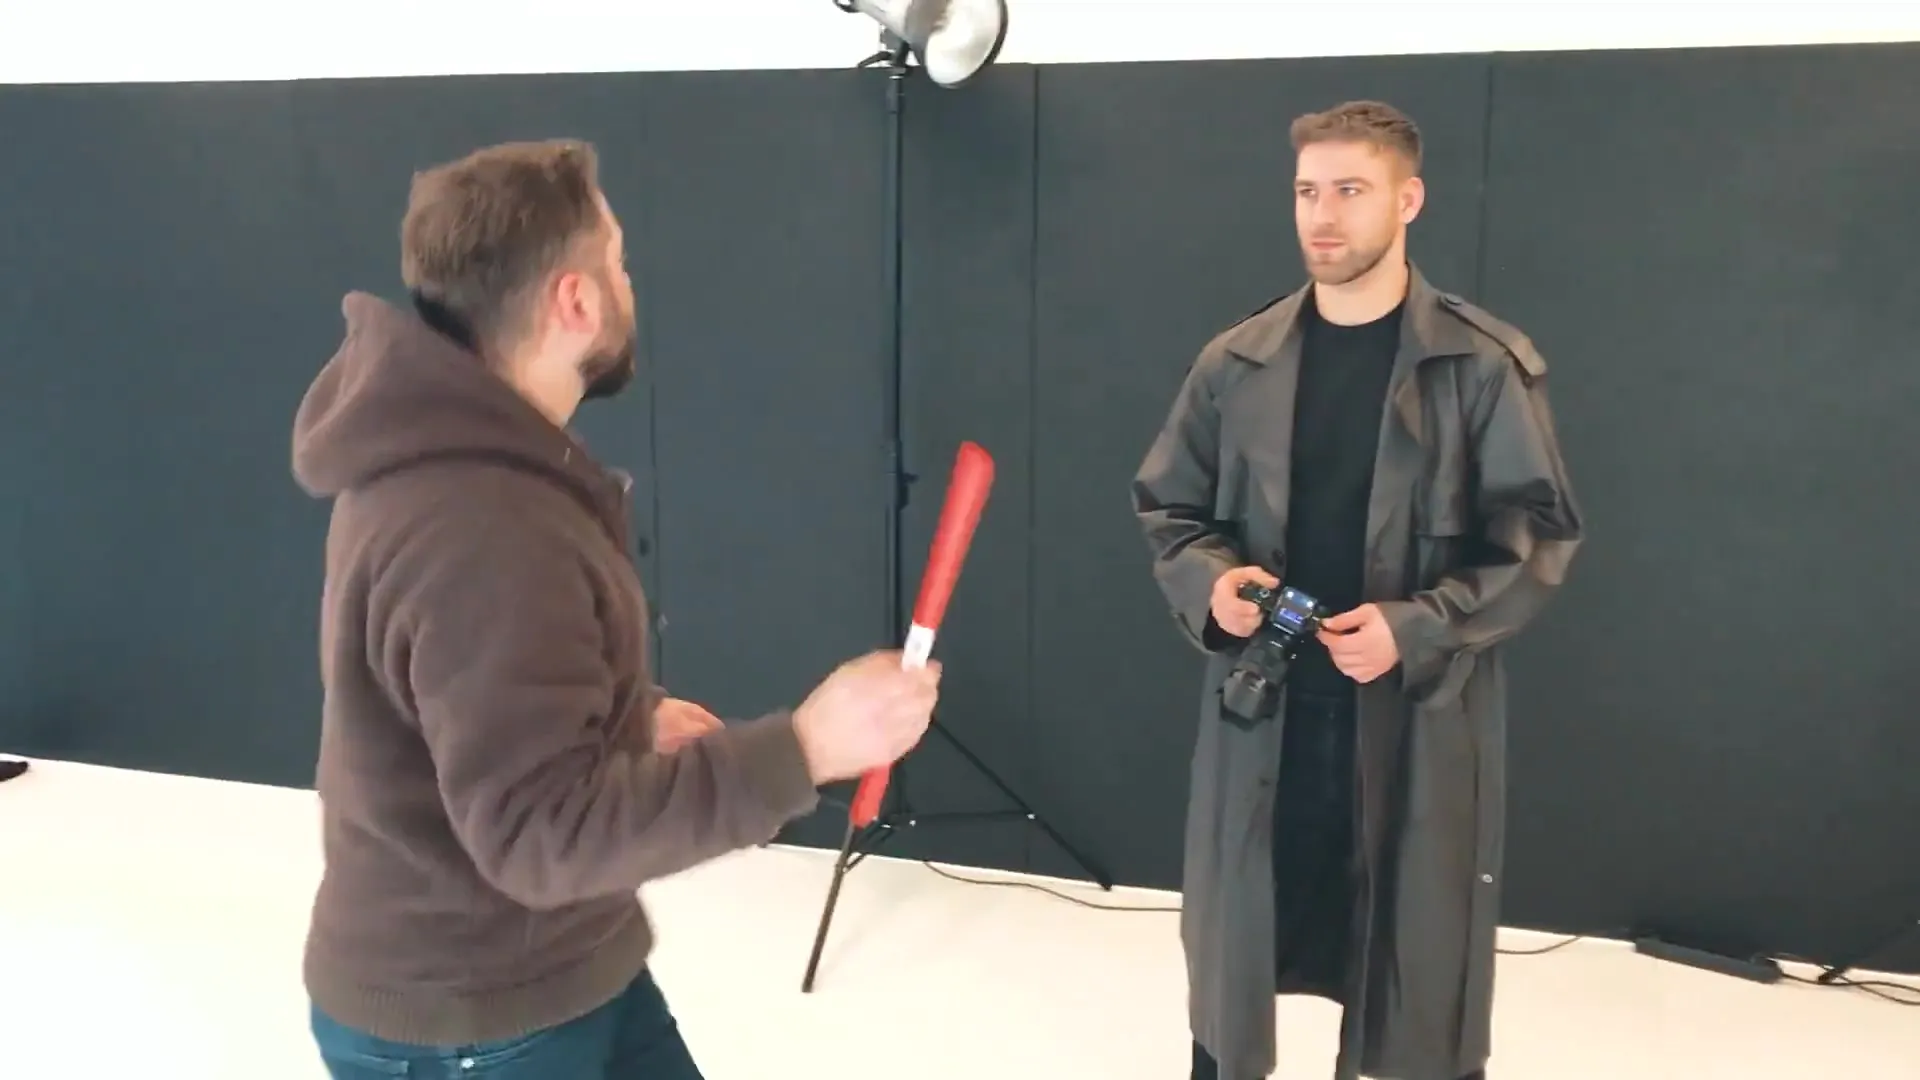
With the flashes set up, you can start taking test shots. Make sure that there is enough light for both the side edges and the front of the model. If the image is not yet optimal, adjust the positioning of the model or the camera to improve the lighting conditions.
4. Adjusting Light Intensity
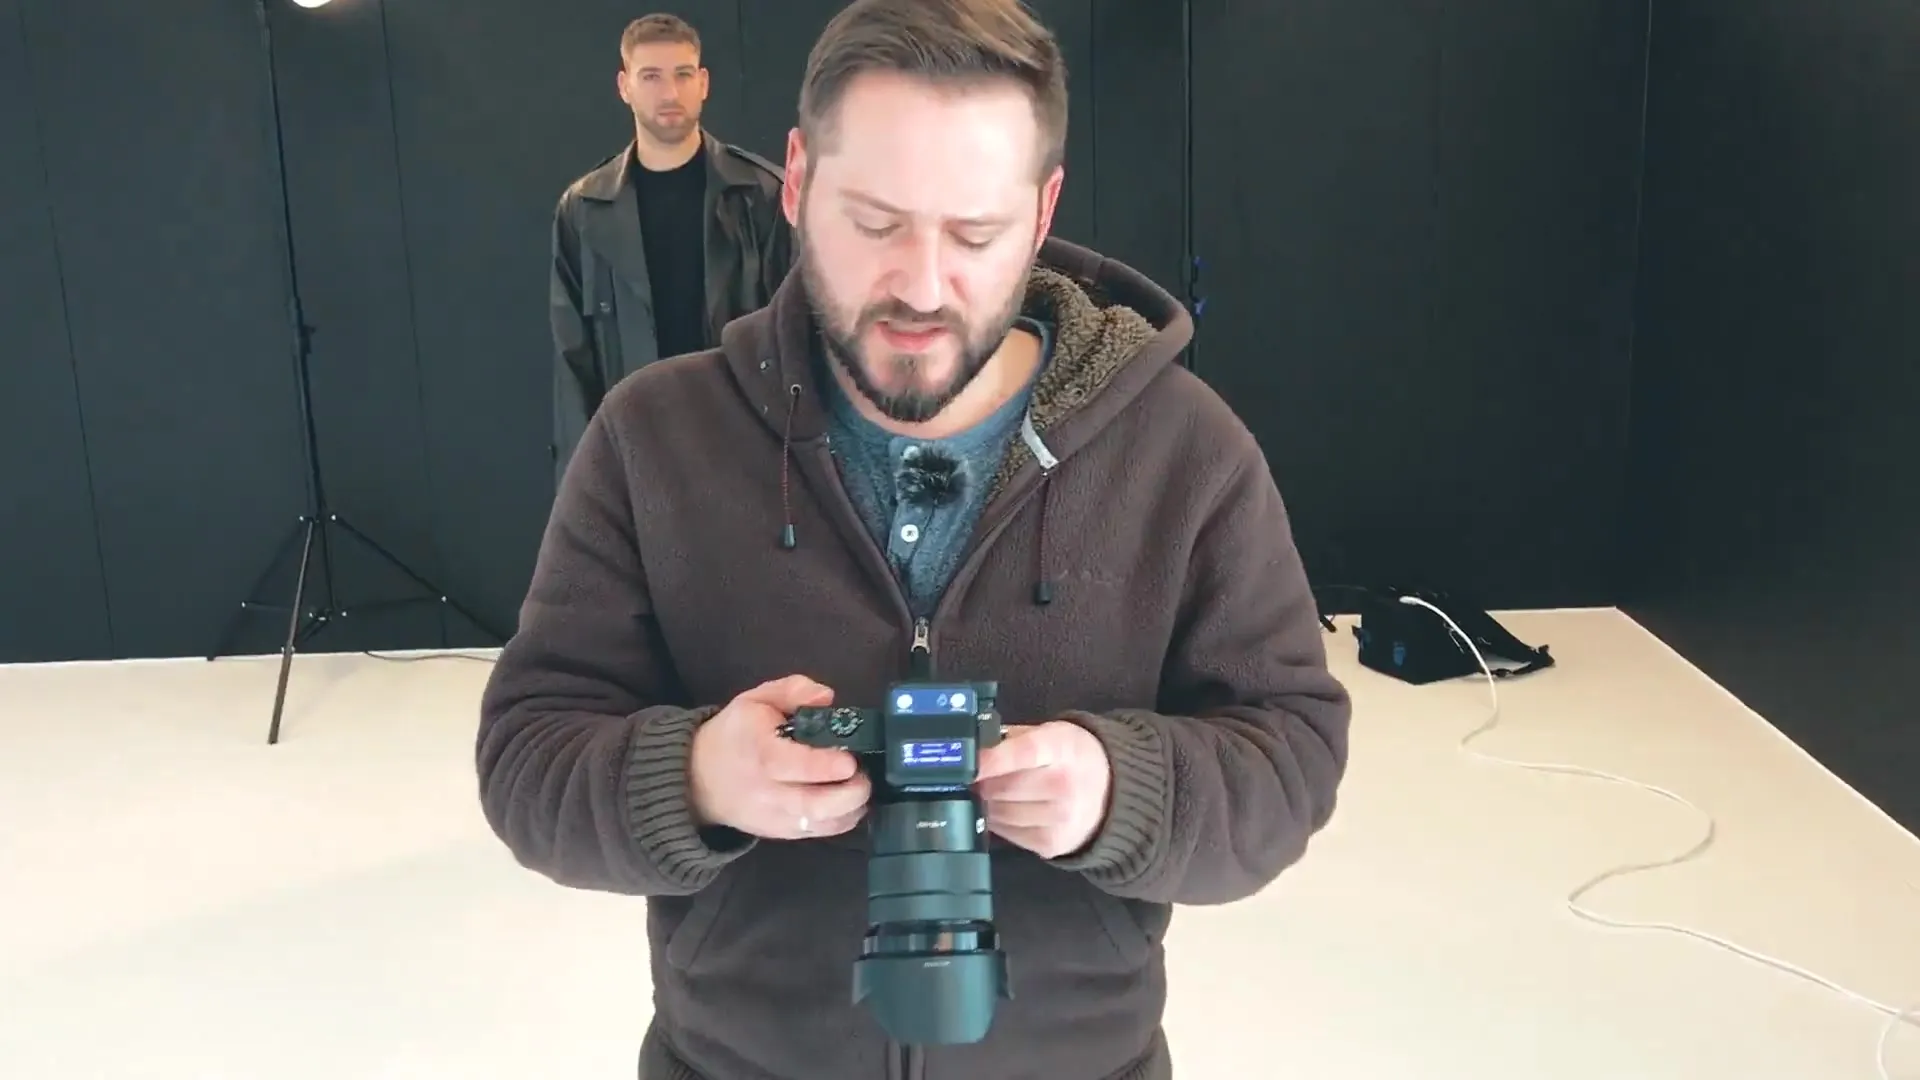
After taking test shots, adjust the intensity of the flashes as needed. Gabor emphasizes that you should experiment with the brightness of the accent lights to achieve the desired effect. Be careful not to crop the model's head.
5. Creating Three-Dimensionality with Lighting
To add more depth to the image, add an additional flash. This flash should be set softer and aimed at illuminating the front of the model. Make sure to align the other flashes in such a way that they not only create hard light but also provide the corresponding shadows on the face.
6. The Shot
When all the lights are positioned and the settings are correct, it's time to take the final shot. Gabor uses the opportunity to activate multiple flashes simultaneously. Ensure that the model's pose is set and that all light sources work harmoniously together to create the desired image.
7. Post-Processing
After the shoot, it is important to refine the captured images in post-processing. Gabor recommends using Photoshop to add additional light accents to give the effects achieved with the flashes the final touch. This way you can further optimize the look.
Summary - Movie Poster Style and Photography: Light Setup for “The Punisher”
In this guide, you have learned how to set up a photo set for photographing in the style of “The Punisher.” From selecting the background to specific light design and post-processing - this technique is applicable for both beginners and experienced photographers.
Frequently Asked Questions
How do I choose the right background?A gray background is ideal as it reflects neutral light and facilitates cutting out.
Which light sources are best for dramatic effects?Accent lights create dramatic contours and are perfect for adding depth to images.
How can I adjust light intensity during the shoot?You can adjust the intensity of the flashes directly on the device and vary the positioning of the flashes to achieve desired effects.
Is it necessary to use multiple flashes?Not necessarily, but multiple flashes help significantly improve the three-dimensionality effect and the lighting conditions.
When should I start with digital post-processing?Start post-processing after you have taken your photos to finalize the details like light accents.
