To maximize the visual impact of an image, it is often crucial to harmoniously combine different elements. In this tutorial, you will learn how to edit an image using the Camera Raw filter and targeted adjustments, making it stylistically appealing and intense. Let's discover meaningful nuances that shape the artwork.
Key Insights
- A harmonious fusion of background and subject enhances the overall impression strength.
- The use of curves helps optimize the image exposure.
- Noise can contribute to the authenticity and atmospheric depth of an image.
- Camera Raw offers versatile adjustment options for final refinements.
Step-by-Step Guide
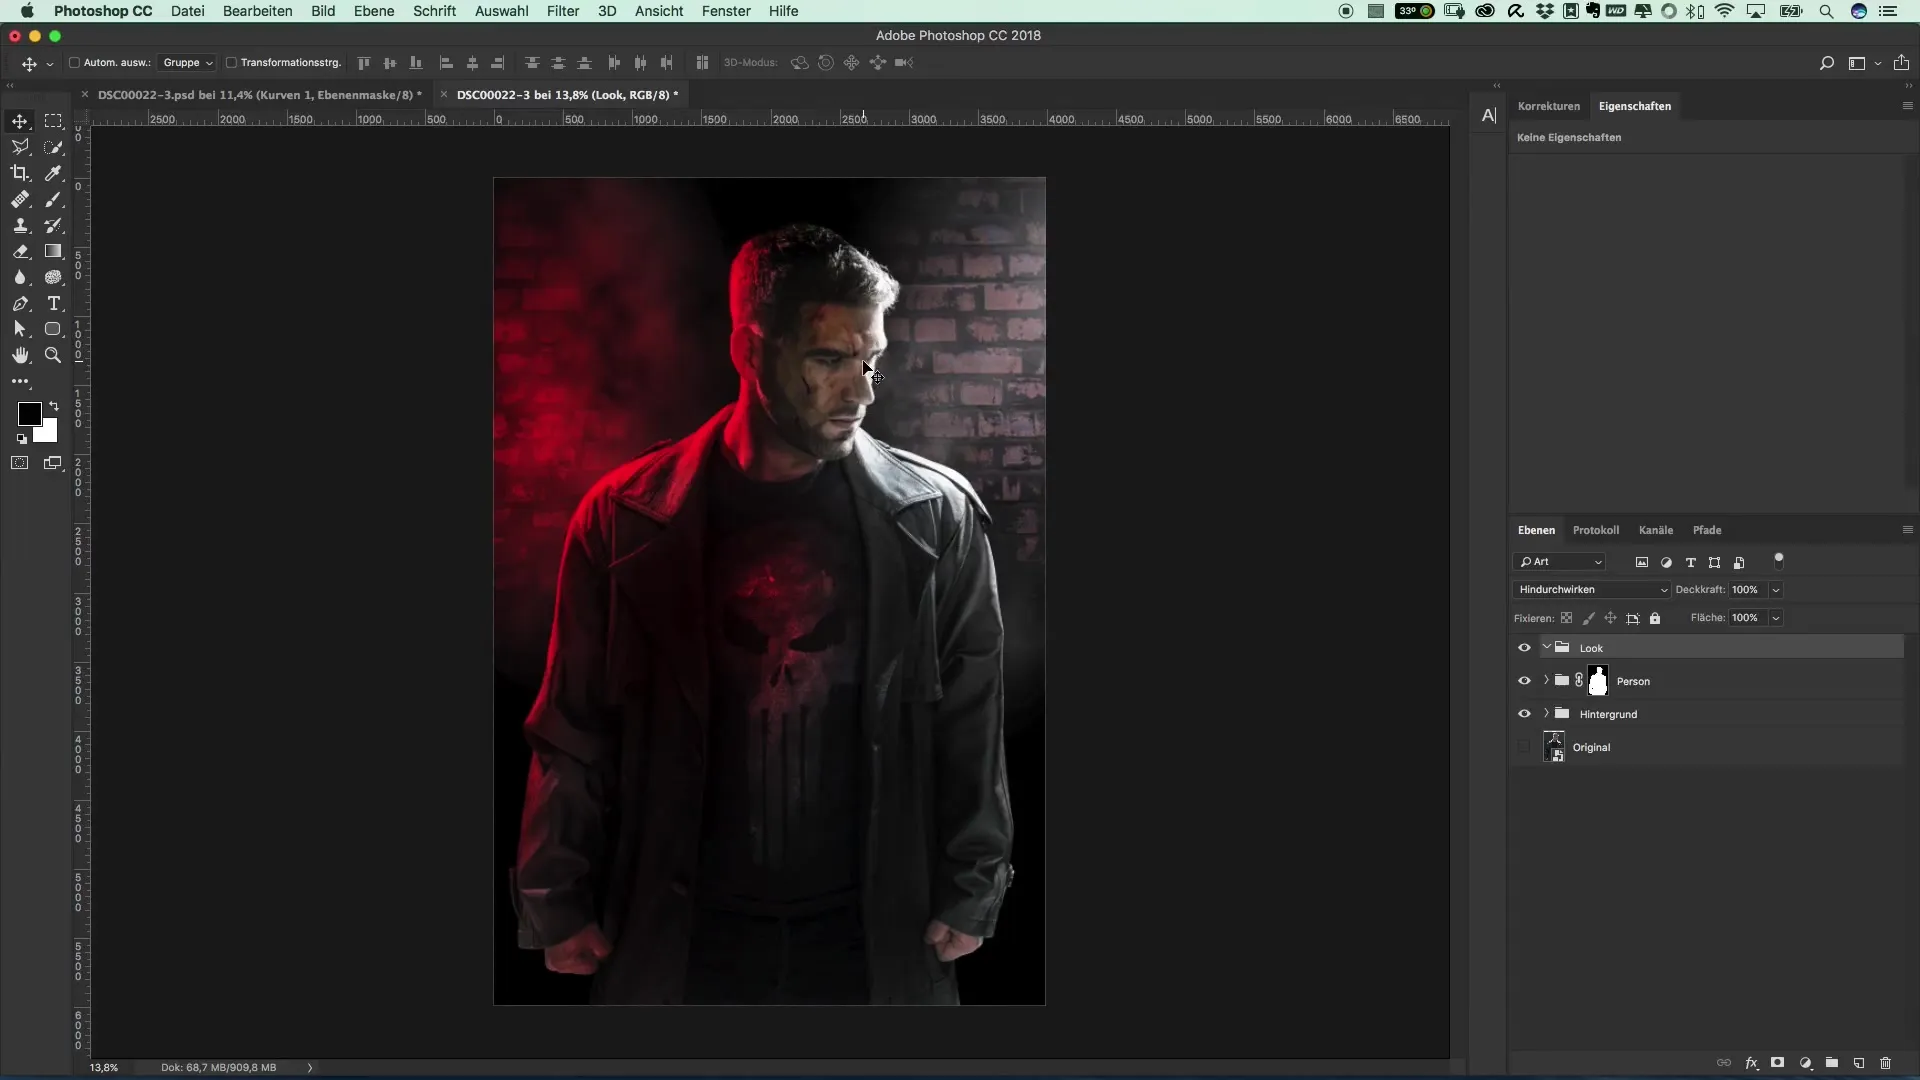
First, after you have created the scene, it is important that you edit the background and the subject separately so that they work better together afterwards. To make this integration more effective, create a new group that you call "Look." This group should include all adjustments that are placed over the entire image.

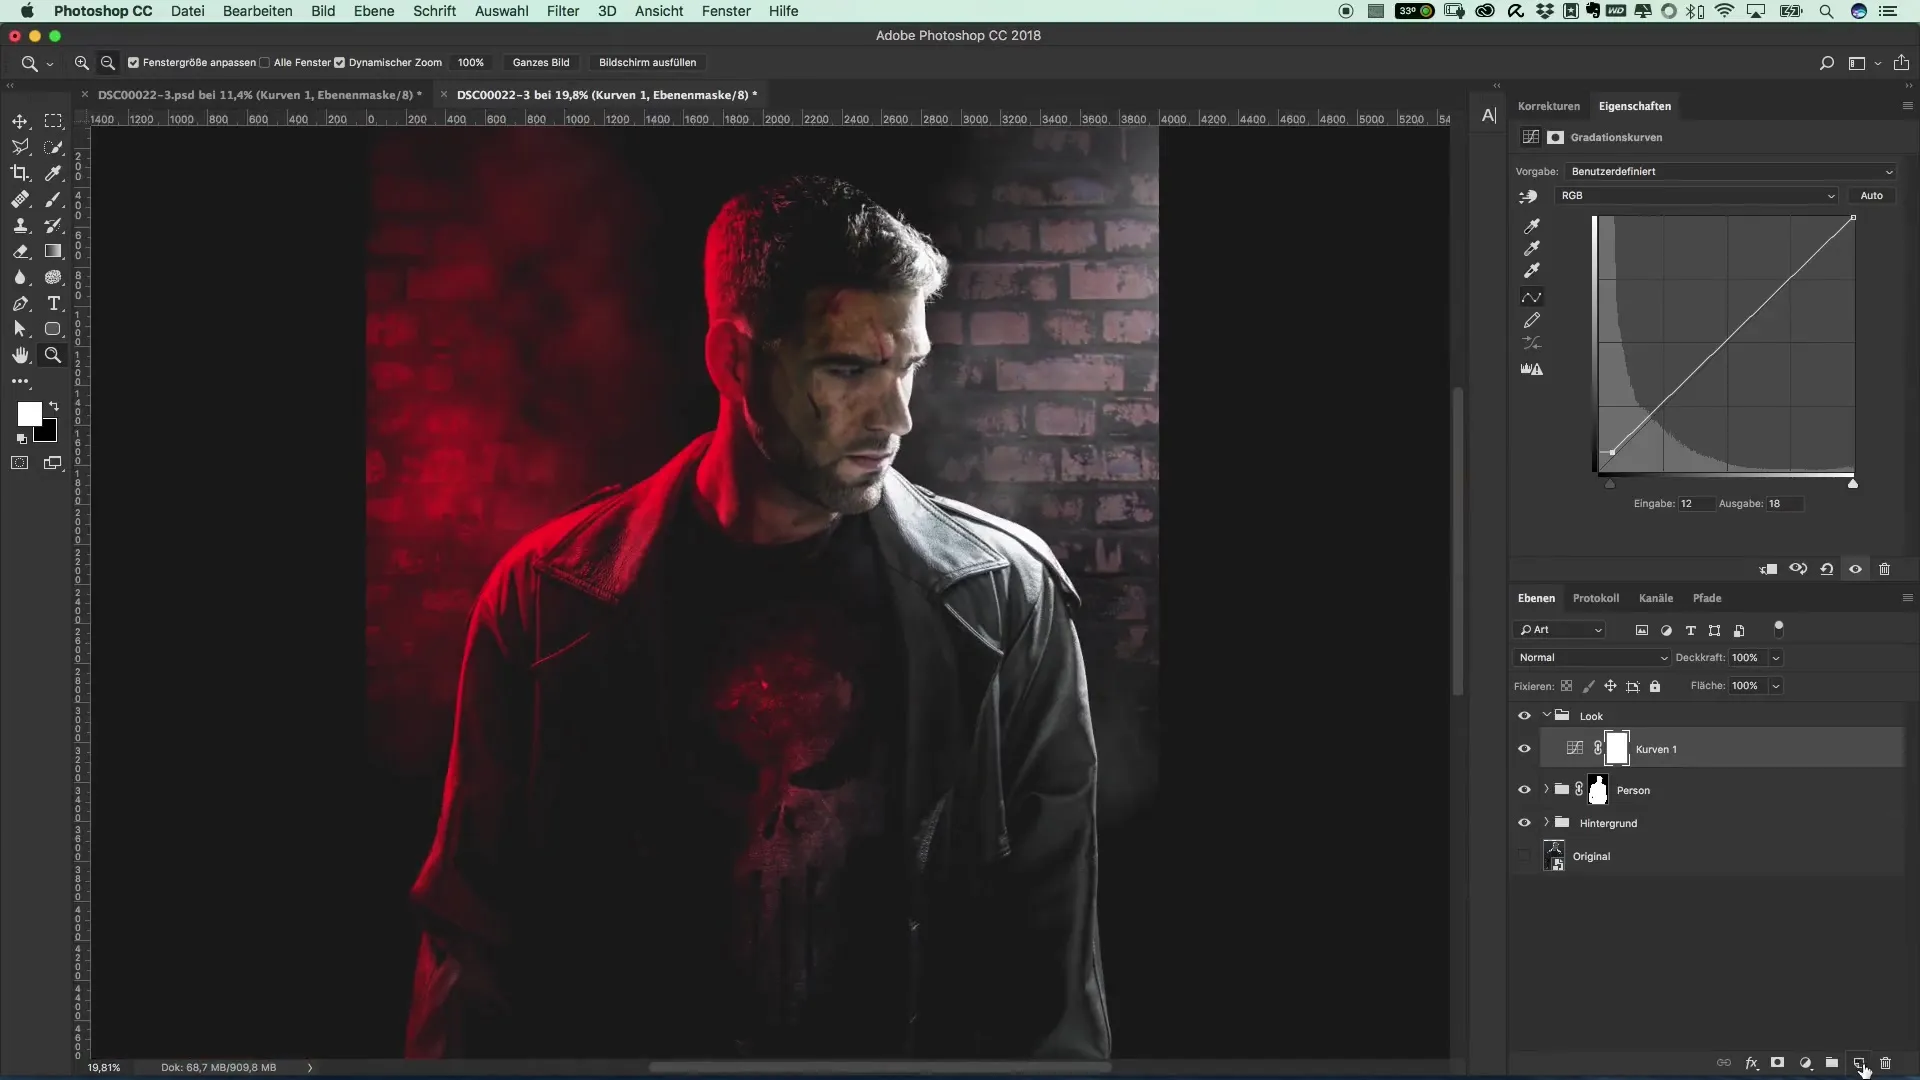
The first step in the Look group is to apply a curve. Here you pull the curve slightly upwards at the dark points to soften the heavier black values a bit and brighten the image overall. Be careful to only touch the dark areas to avoid losing the depth of the image.
It may happen that some details are lost in the process. Don't worry, you can make corrections at any time, but for now, let the dark areas have a bit more light. Another step you should take is to add a slight noise over the entire image. For this, create a new "Dodge and Burn" layer and set the mode to "soft light" with 50% gray.
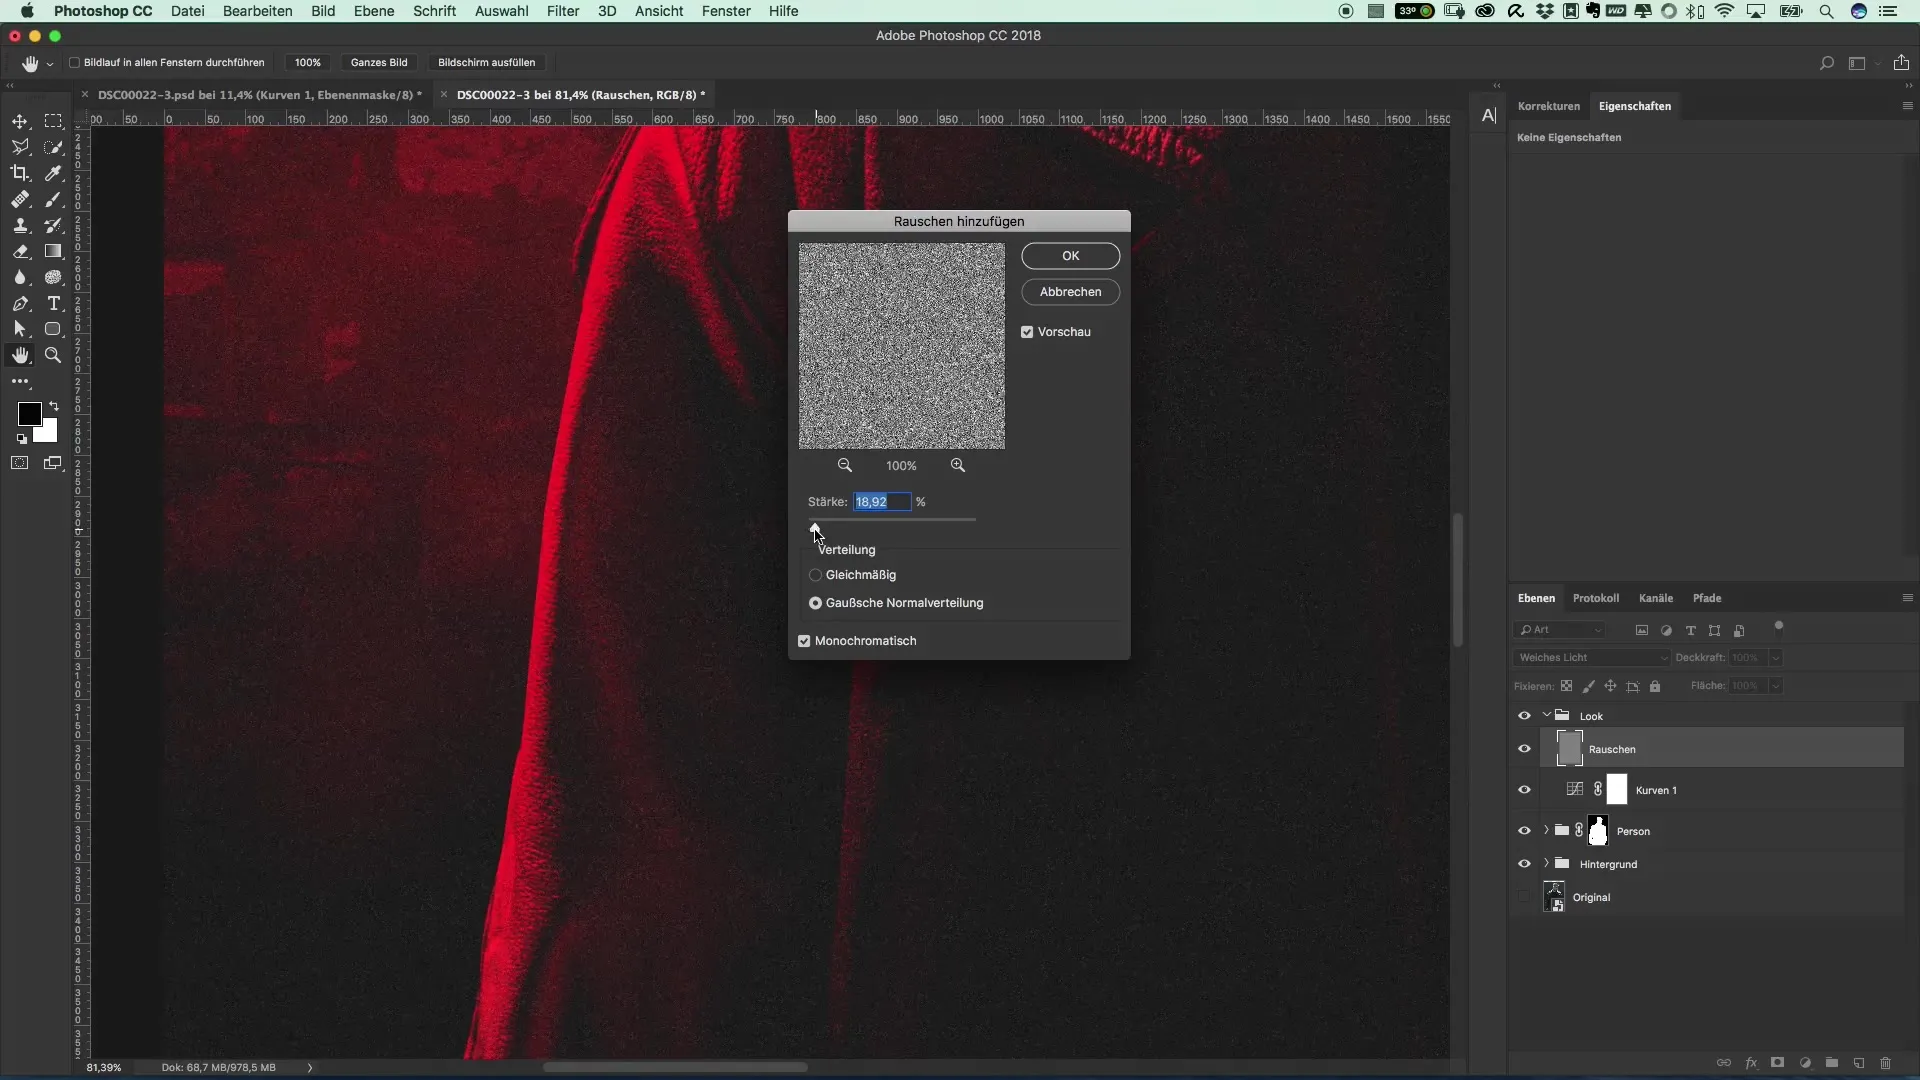
Now it gets interesting: To add noise, select the "Noise Filter" and add a subtle amount. A value of around nine should be sufficient to give the image an interesting texture that is reminiscent of night scenes and enhances the character of the image.
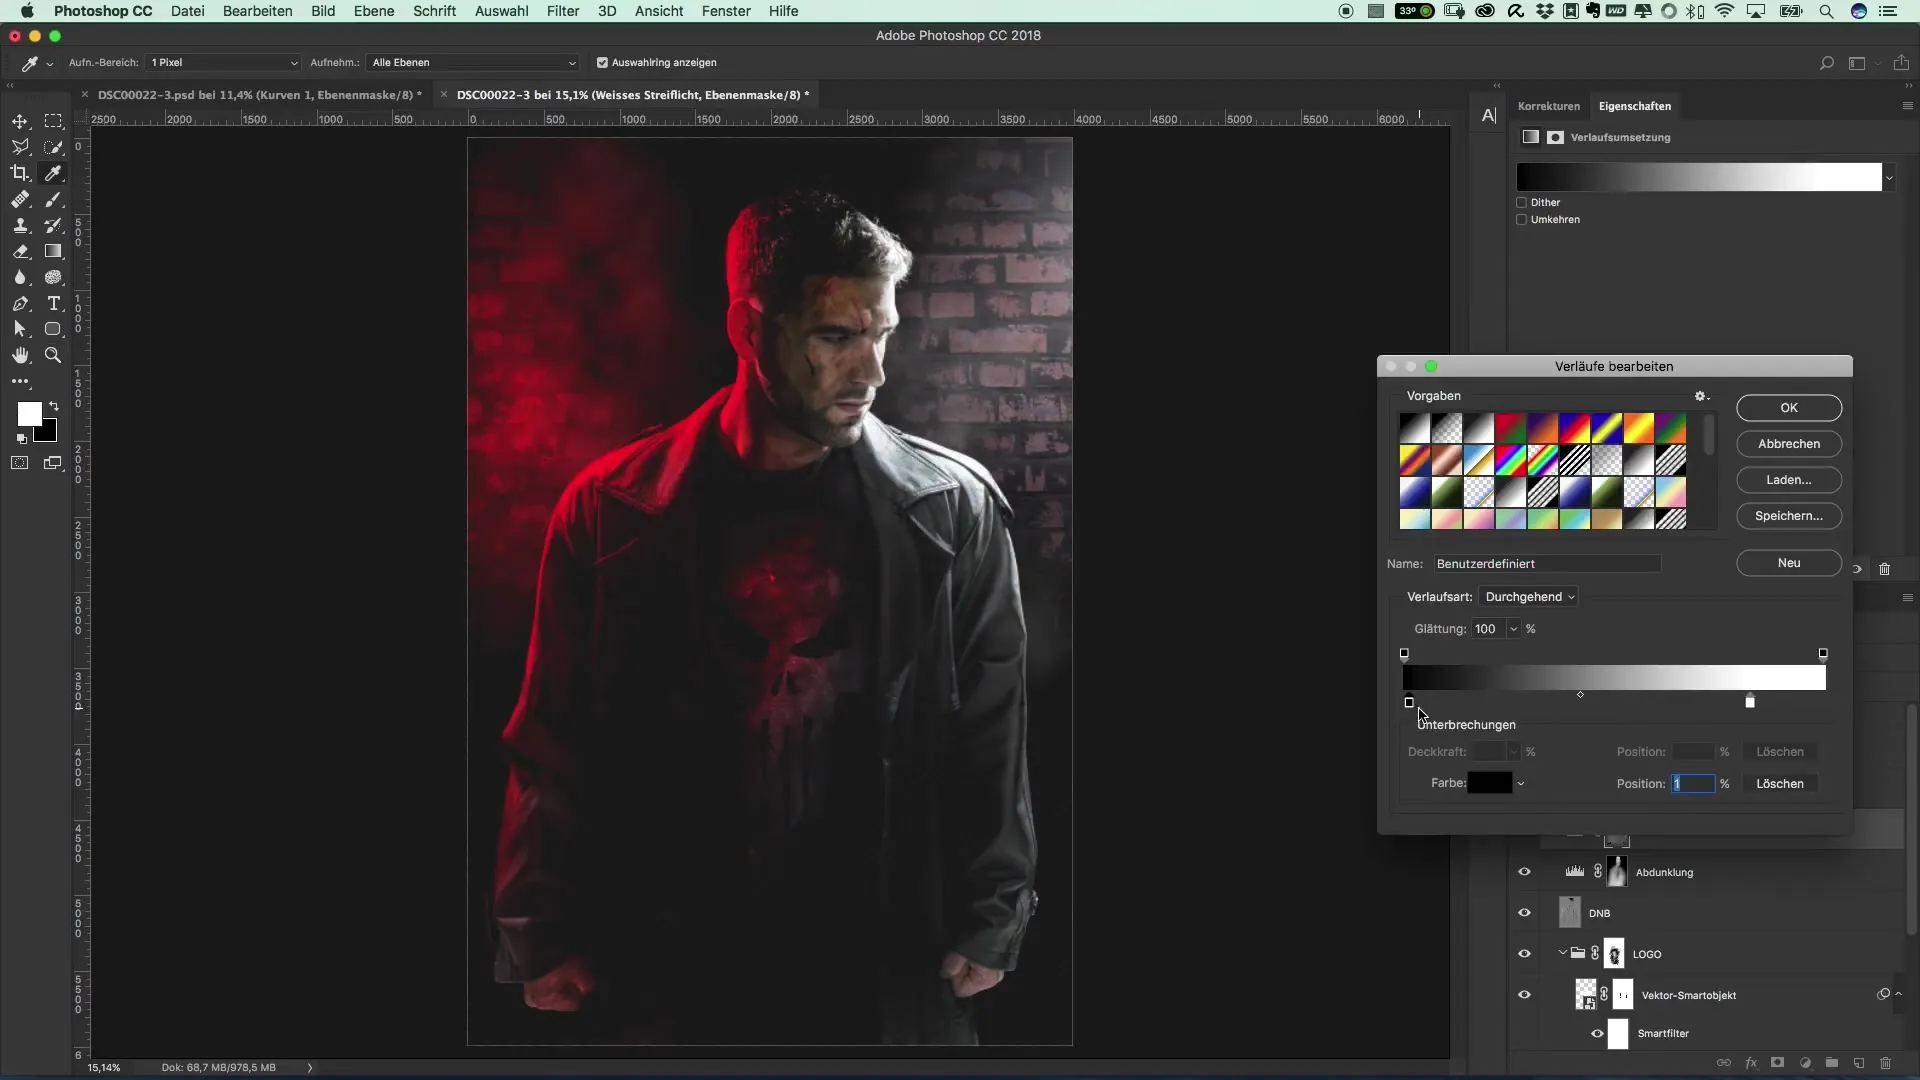
The adjustments in the dark areas are also important. If you notice that some areas have become too dark, play with the layers by quickly toggling some on and off. This way, you can discover how the black-and-white settings affect the image. Often, returning some black helps to emphasize the details again.
Now it is time to bring the image editing to a final phase. You need to merge the entire image with the previous adjustments. Use the shortcut “Command + Alt + Shift + E” on Mac or “Windows + Alt + Shift + E” on PC to merge everything into a new layer. You can convert this layer into a Smart Object for more flexibility in post-editing.
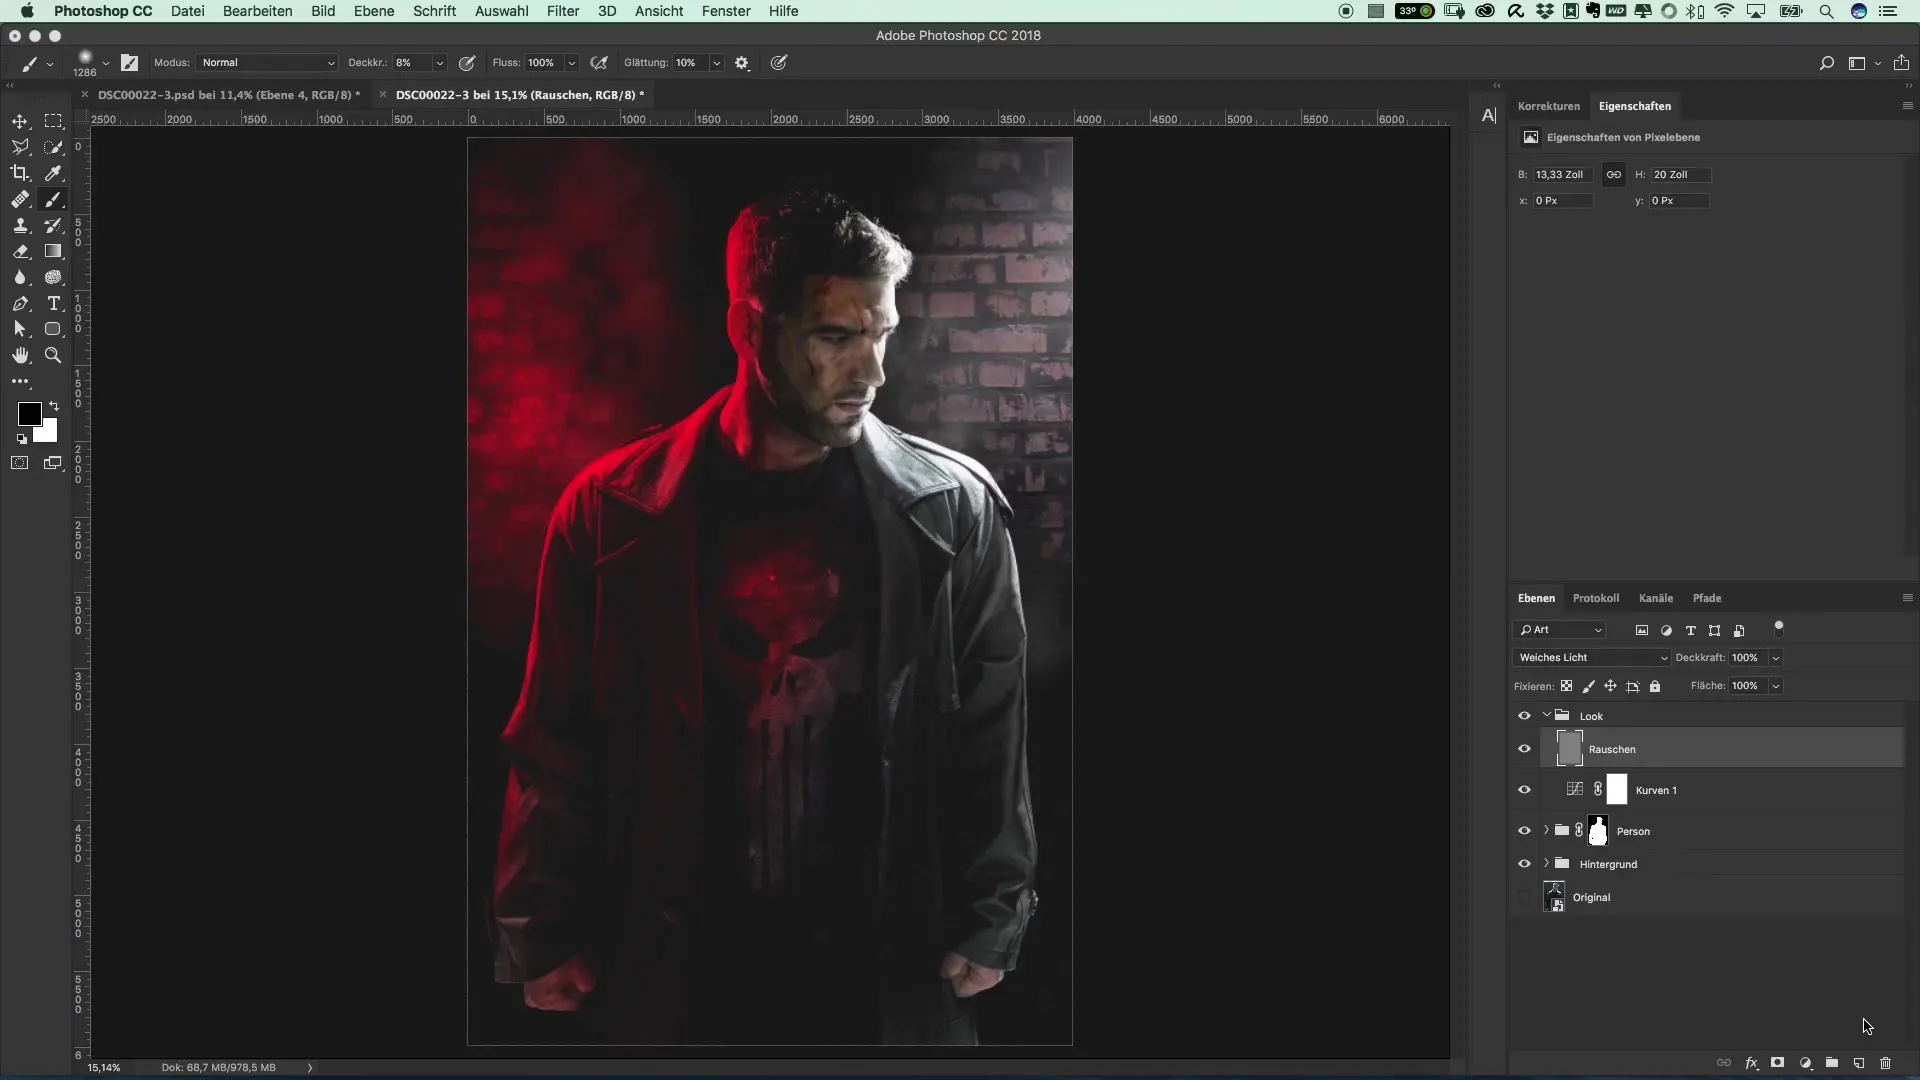
Next, apply the Camera Raw filter. One of the first adjustments should be to increase the clarity. This gives your image a crisper look. You can also boost the vibrance to make the colors more intense, especially the red, to give certain areas more expression.
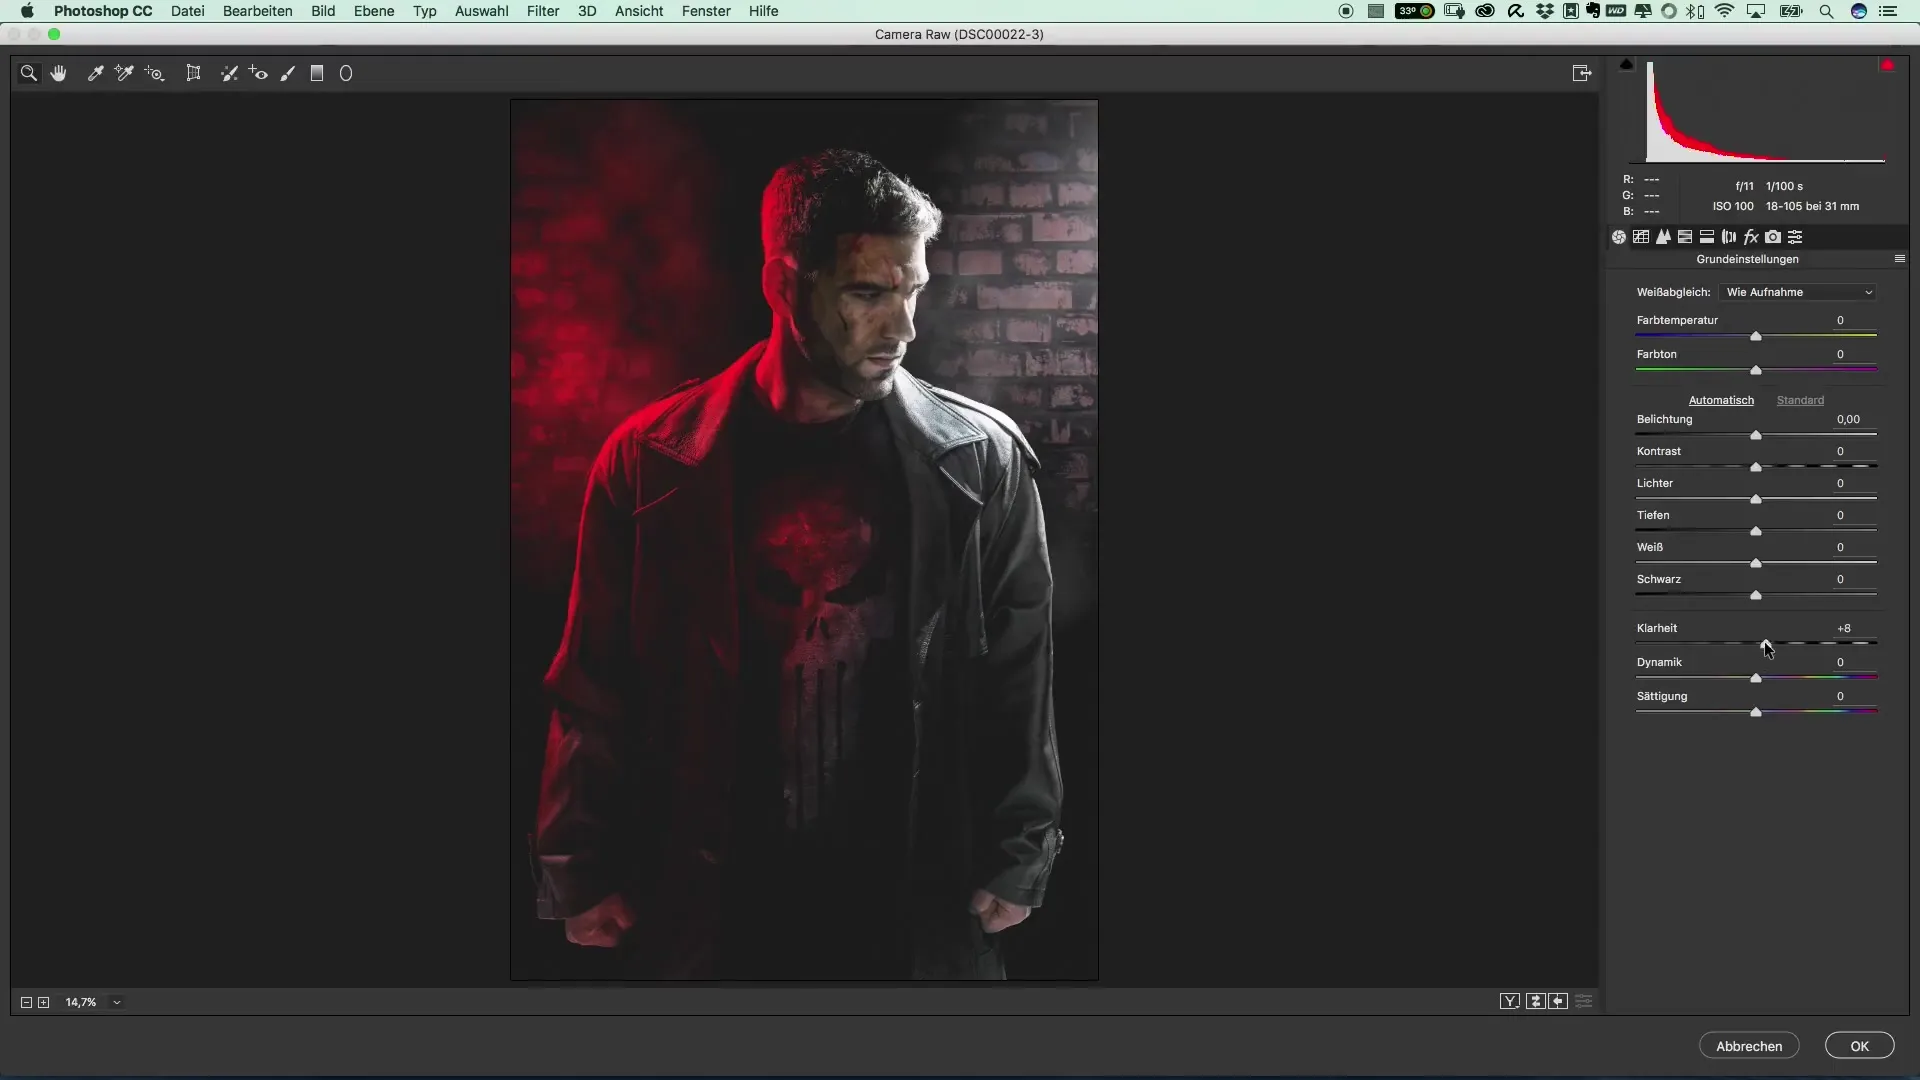
Another effective fine-tuning is the adjustment of the light values. By brightening the lights, you enhance the prominent light edges in the image, creating a particularly exciting visualization. At the same time, it would be good to create a gradient from bottom to top to gently darken the lower areas of the image – perhaps by 0.5 stops.
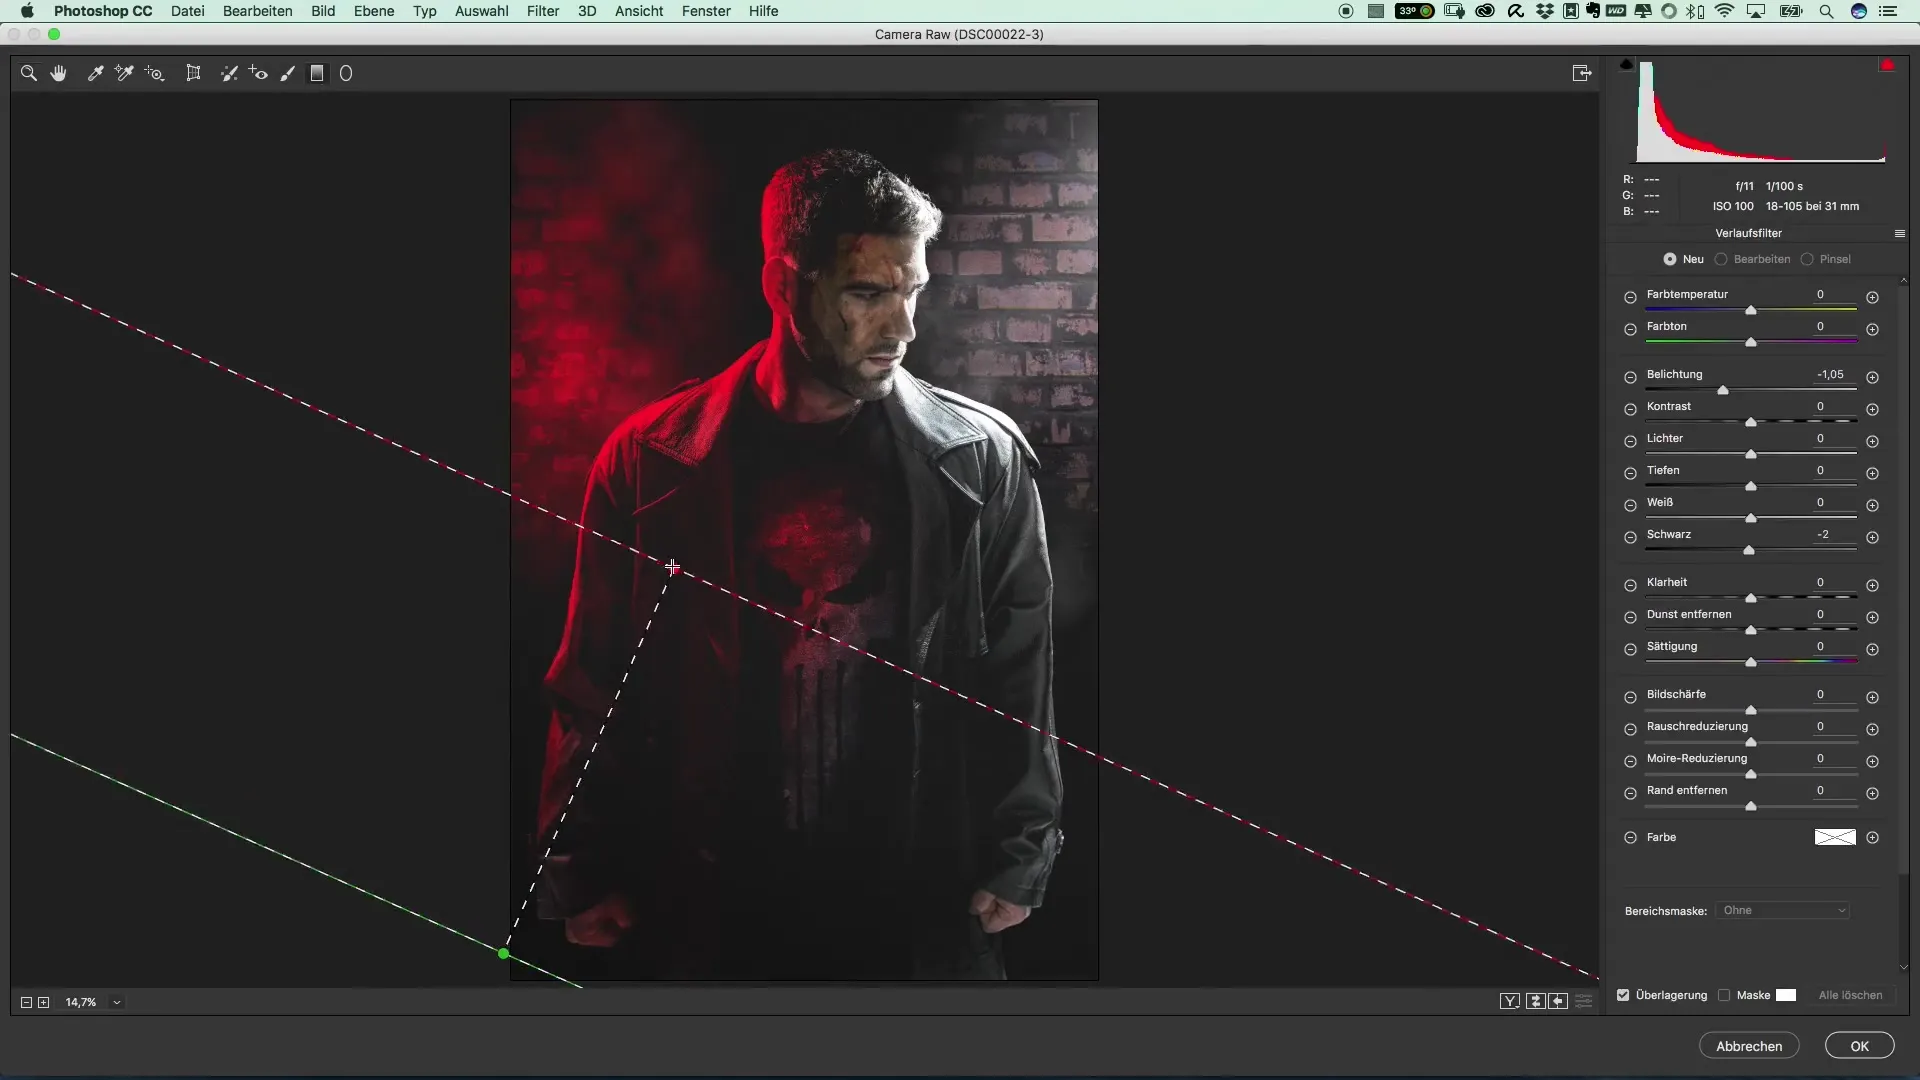
An important point for the final adjustment is enhancing the red. You can either increase the brightness of the red to create more depth or boost the saturation to emphasize the intensity of this color. For this, use the HSL settings within Camera Raw.
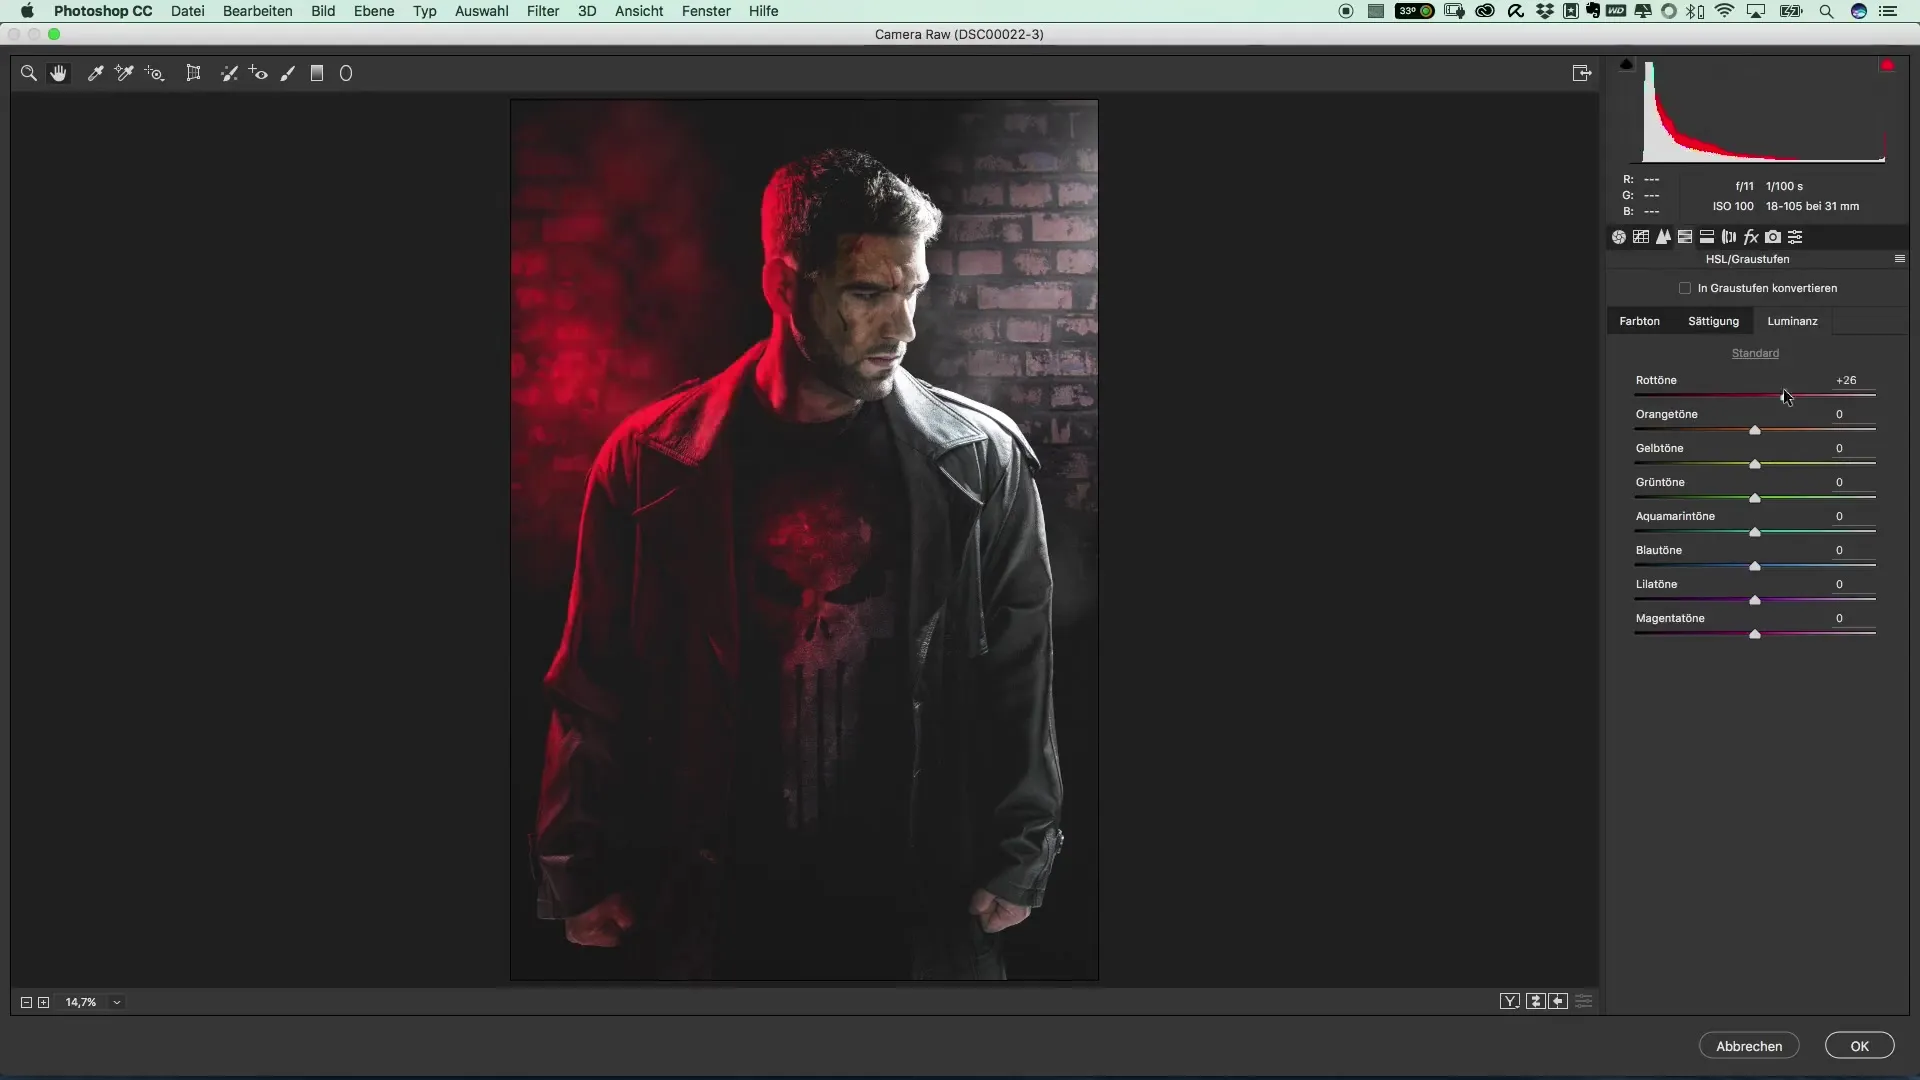
With these simple adjustments, the image already gains its special character. Add your personal style and experiment until the image meets your expectations.
Summary – Popular Movie Posters and Cinema Effects: The Style of The Punisher – 18 Fine-Tuning/Image Look
Editing an image requires skill and attention to detail. With the techniques described, you can realize your artistic vision and achieve an impressive result. Don't lose courage to try different approaches to find your own distinctive style.
Frequently Asked Questions
What is the first step to improve the look?You should create a new group that consolidates all adjustments.
How can I brighten the image?Use a curve and pull the dark areas slightly upward.
How do I add noise?Create a Dodge and Burn layer and apply the noise filter.
Why is it important to play with the layers?By toggling them on and off, you can discover how different adjustments affect the image.
How do I convert the edited layers into a Smart Object?Use the shortcut Command + Alt + Shift + E (Mac) or Windows + Alt + Shift + E (PC).
What do the Camera Raw adjustments do?They help optimize the clarity, vibrance, and light values of the image.

