The art of cut-out is one of the fundamental skills in digital image editing. It becomes particularly challenging when it comes to fine details like hair or stubble. In this tutorial, I will show you how to efficiently refine an existing mask for cut-outs using special tools, without resorting to tedious detail work.
Main insights
- With the refine edge tool, you can make precise adjustments.
- It is important to ensure that the "Include all layers" option is enabled.
- A subsequent correction can be easily done with the brush tool.
Step-by-step guide
First, we want to make sure you are familiar with the source material. Your image should already be cut out, but the details – especially the hair – definitely need refining.
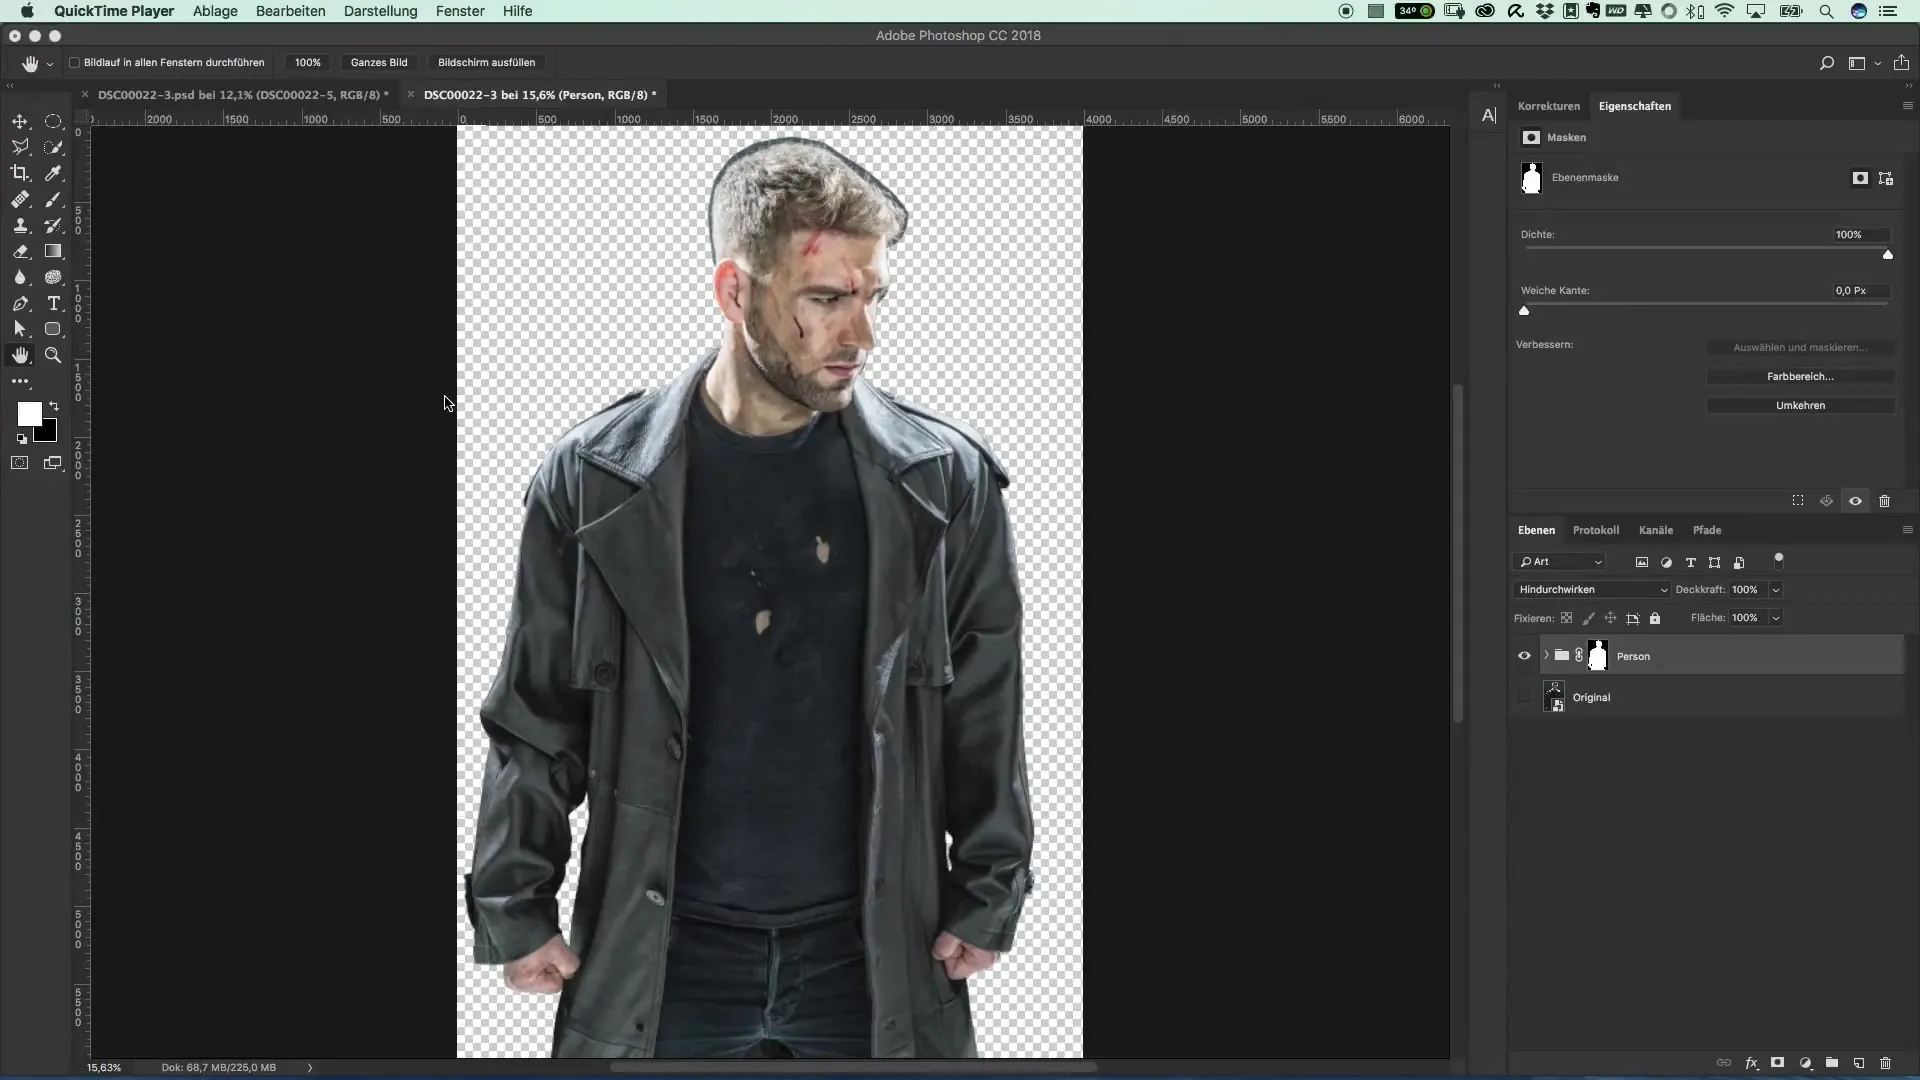
Check the entire image and ensure that the edges do not look too sharp or unnatural. In particular, hair often looks unnatural, making it important to find a good solution here. You should be proud of your result, so post-processing is essential.

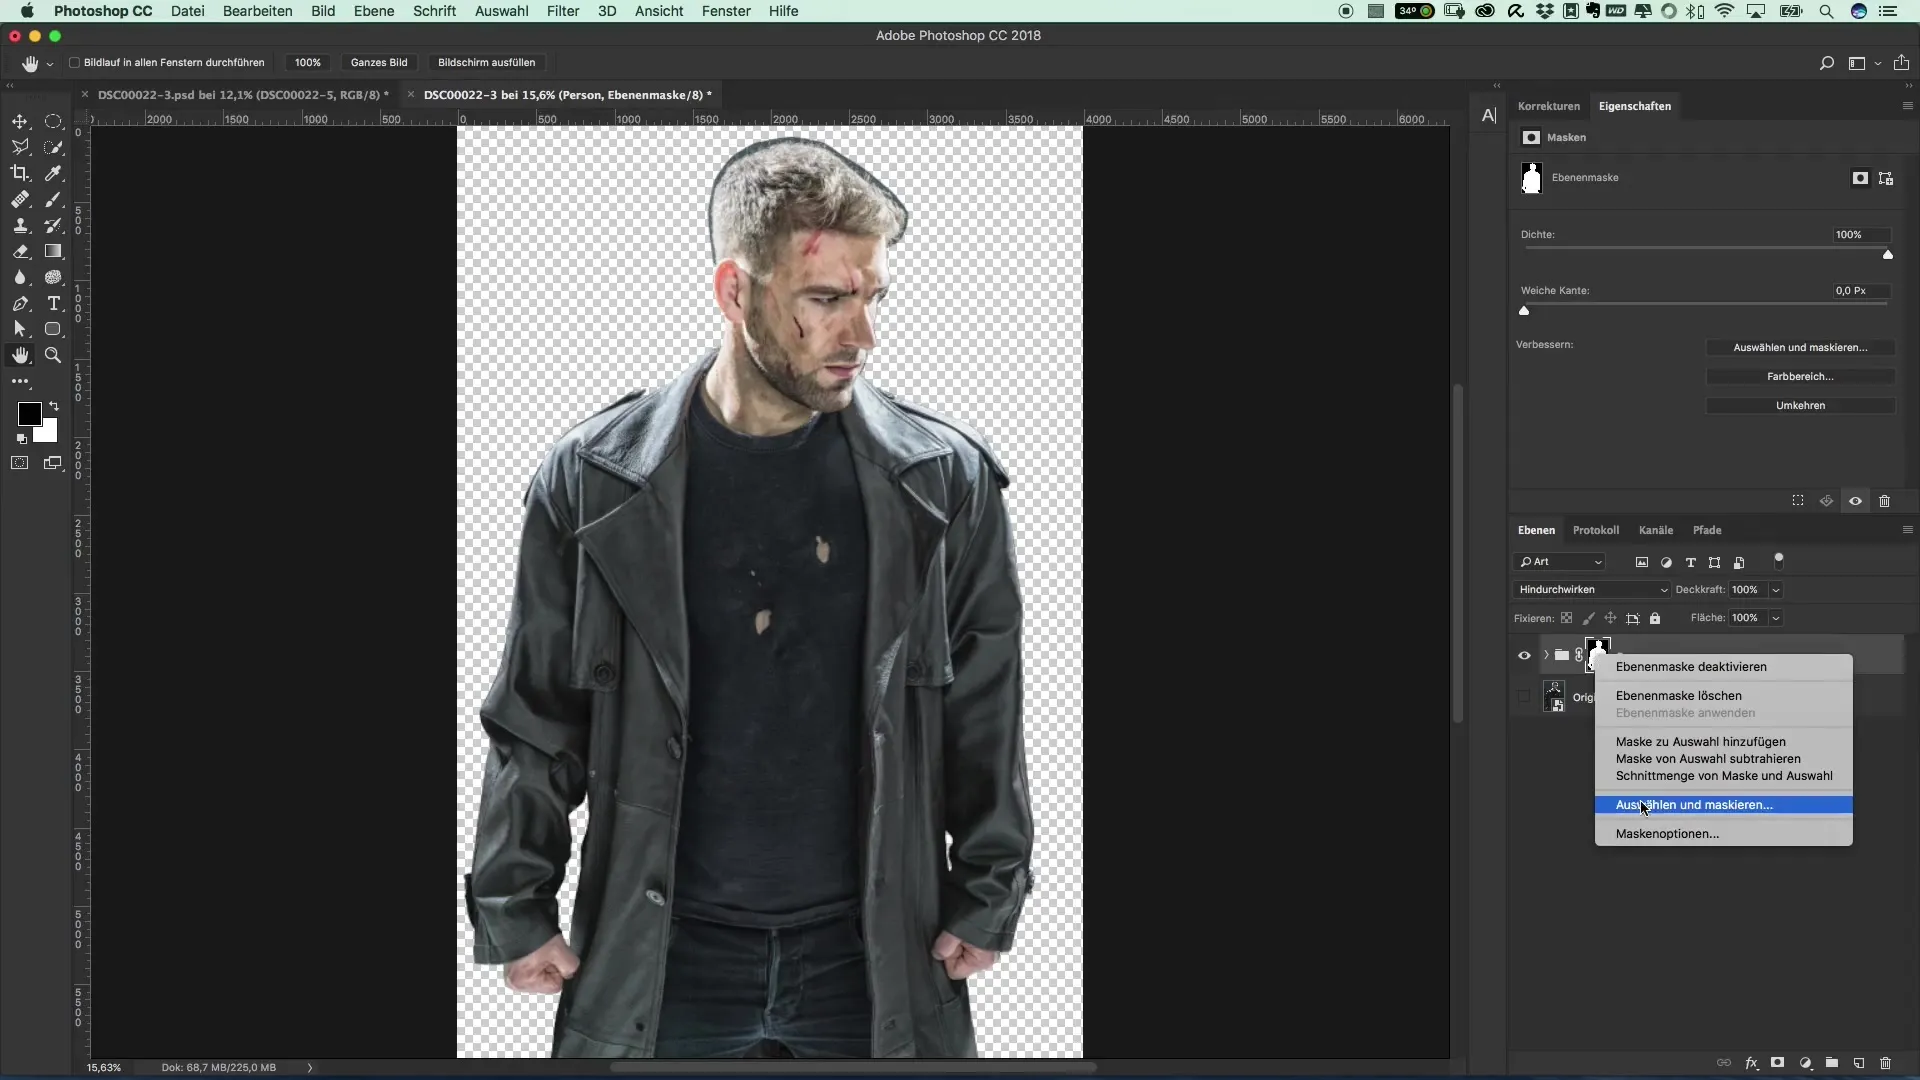
The next step is selecting your mask. Right-click on the cut-out mask and select "mask." This will open a new dialog window where various tools are available to you.
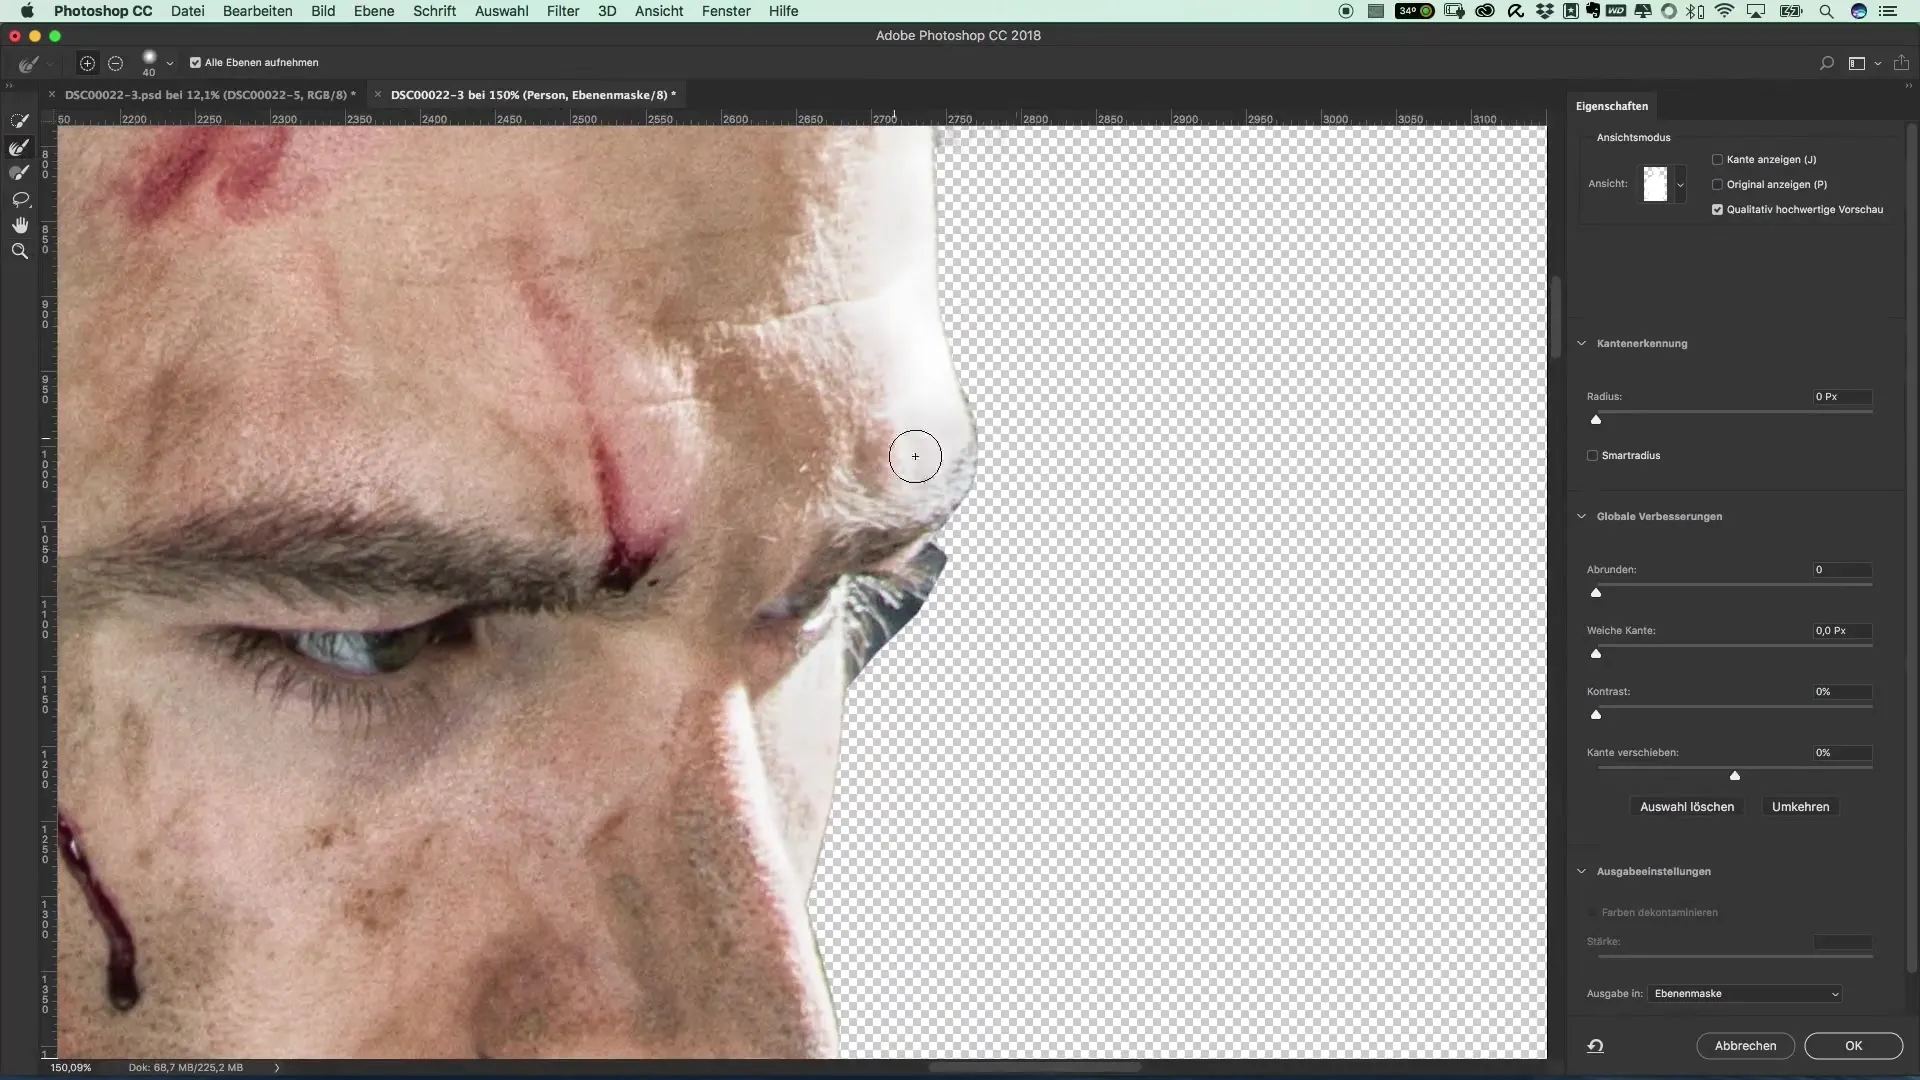
To work precisely on the hair, it’s best to zoom in a bit closer. This gives you a better overview of the fine details that need to be taken into account. Make sure to include eyelashes and stubble in your editing.
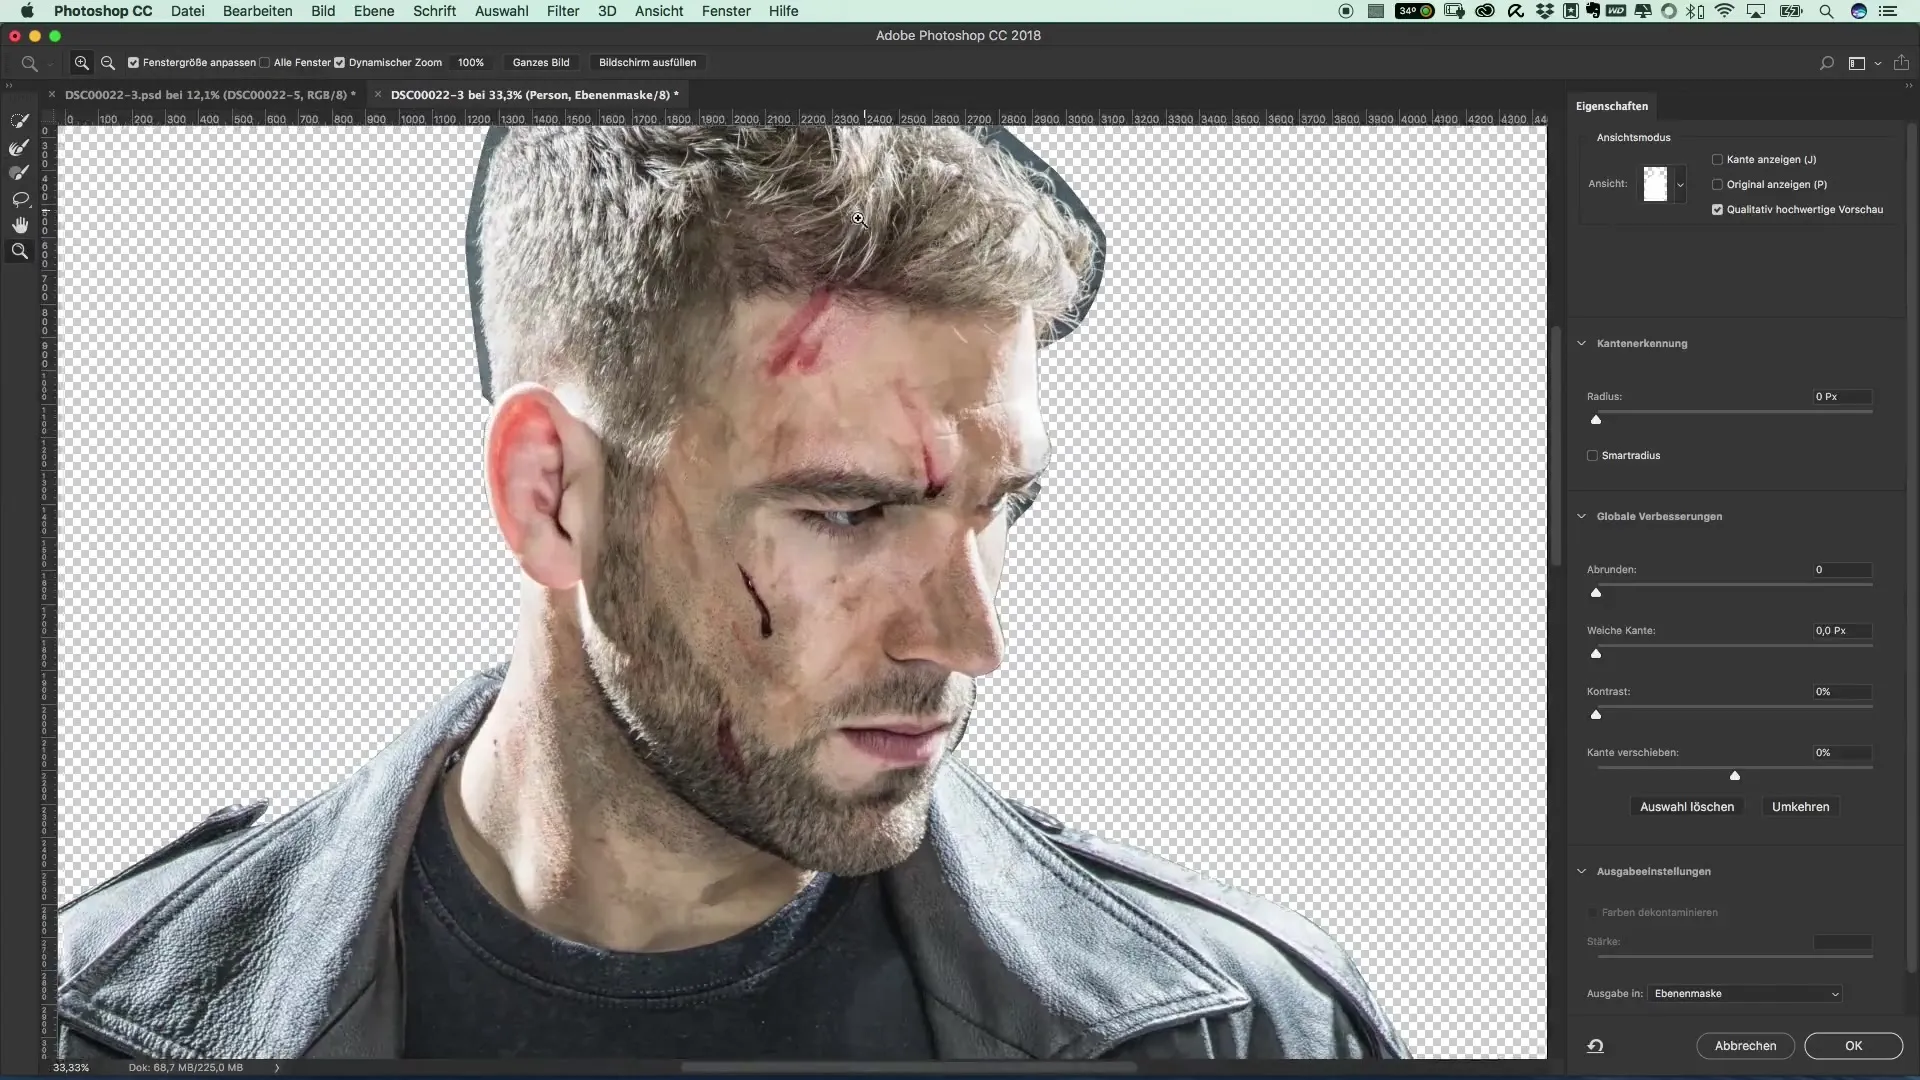
Now it’s time for the refine edge tool. It is important that you do not select the upper tool, as it is not necessary in this case. Instead, focus on the contours of the hairline to gently integrate the hair.
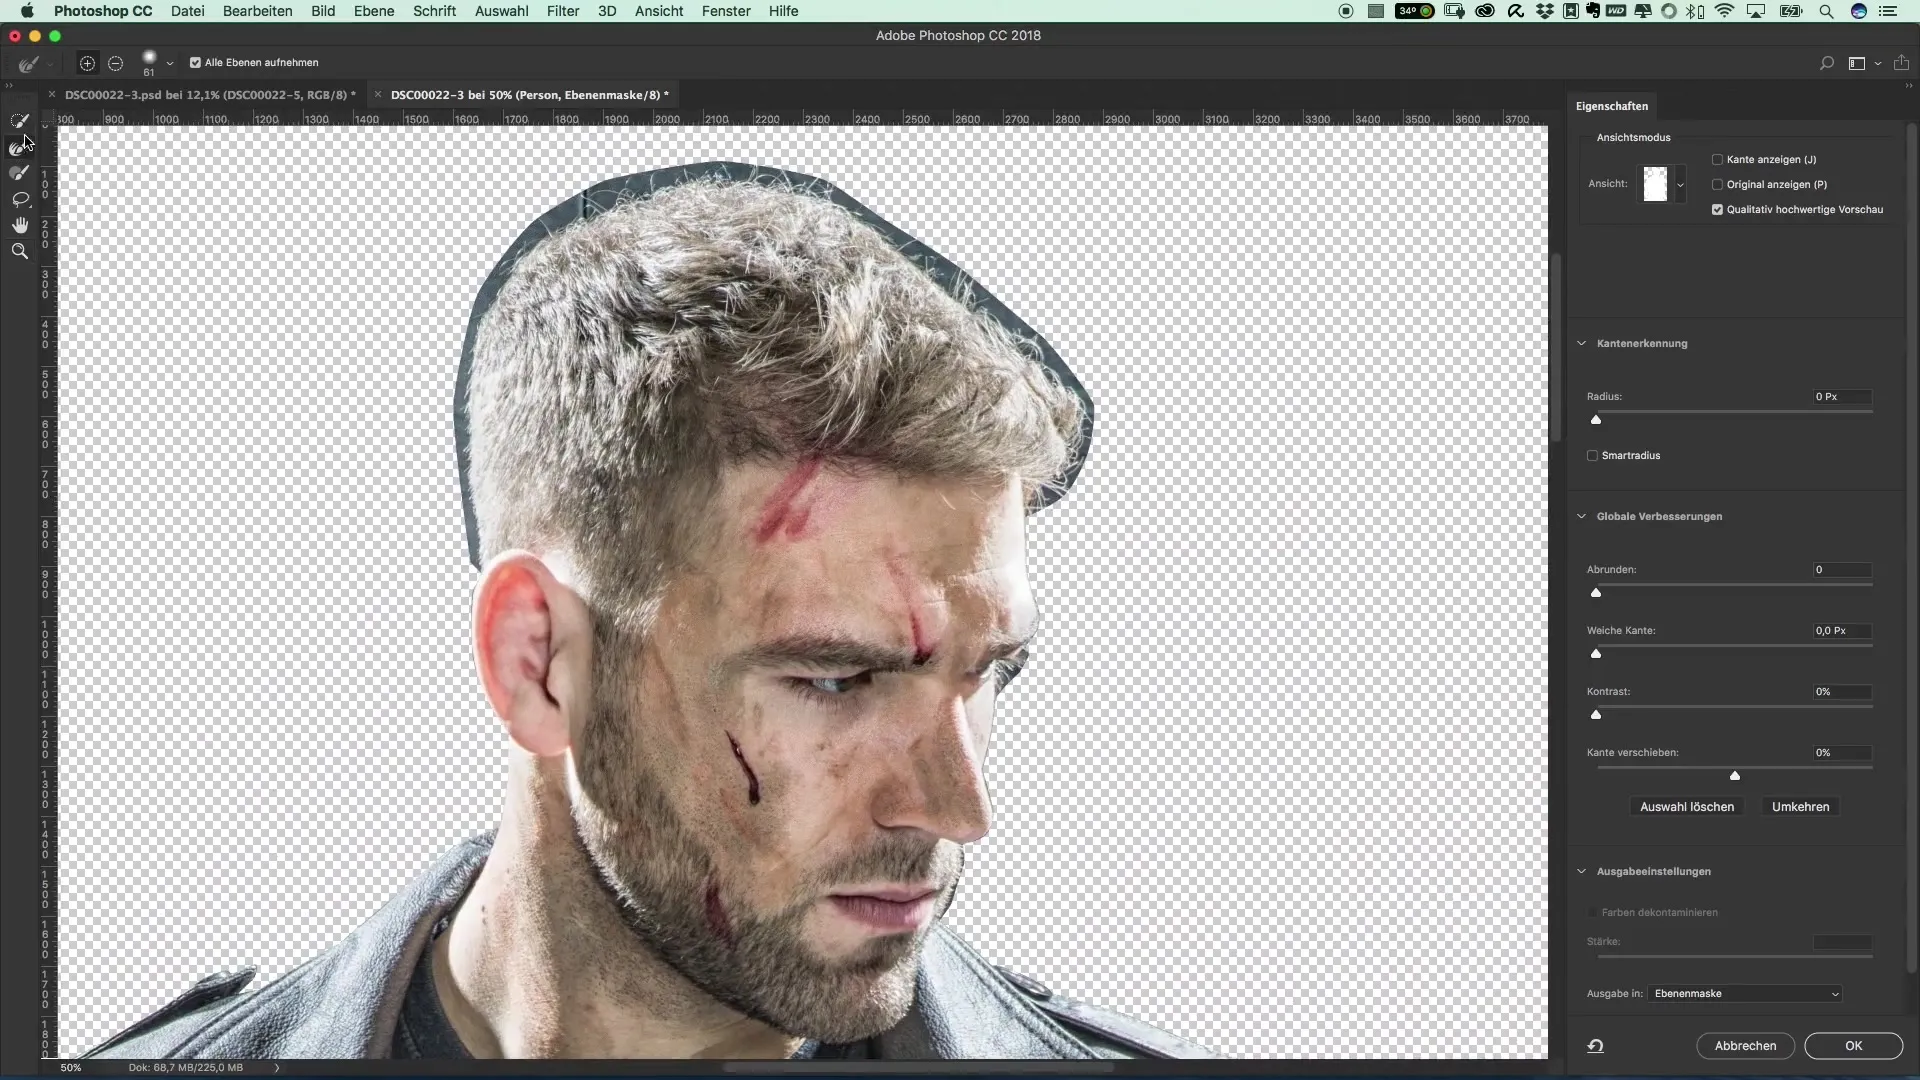
Reduce the tool size for more precise editing and carefully trace along the contours. Frequently pause the mouse pointer at tight spots to consider Gabor’s method of gentle adjustments.
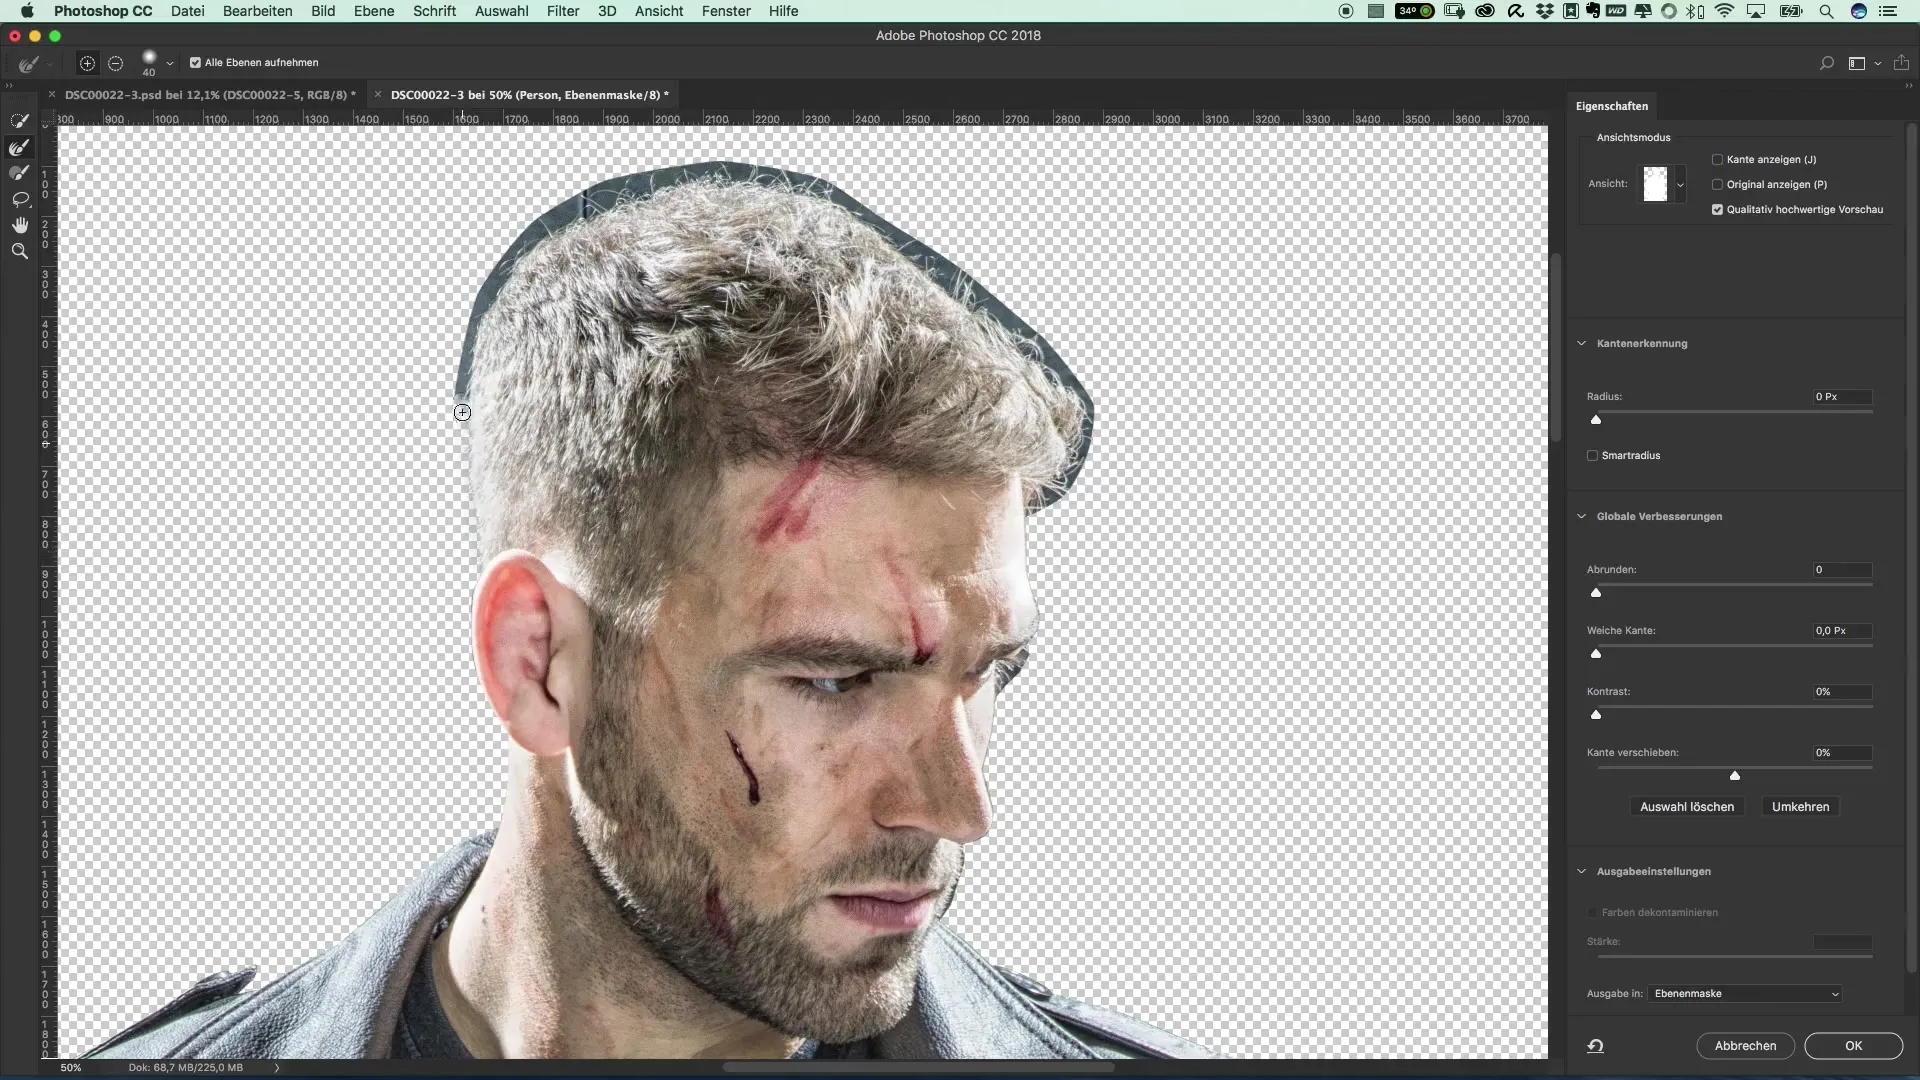
A fundamental aspect is to ensure that the "Include all layers" option is enabled. Otherwise, you won't be able to make all the necessary adjustments within a group, which complicates the process significantly.

Especially with hair, small black spots can be quite acceptable as long as you know that the future background will be black. This not only looks better but also saves your nerves.
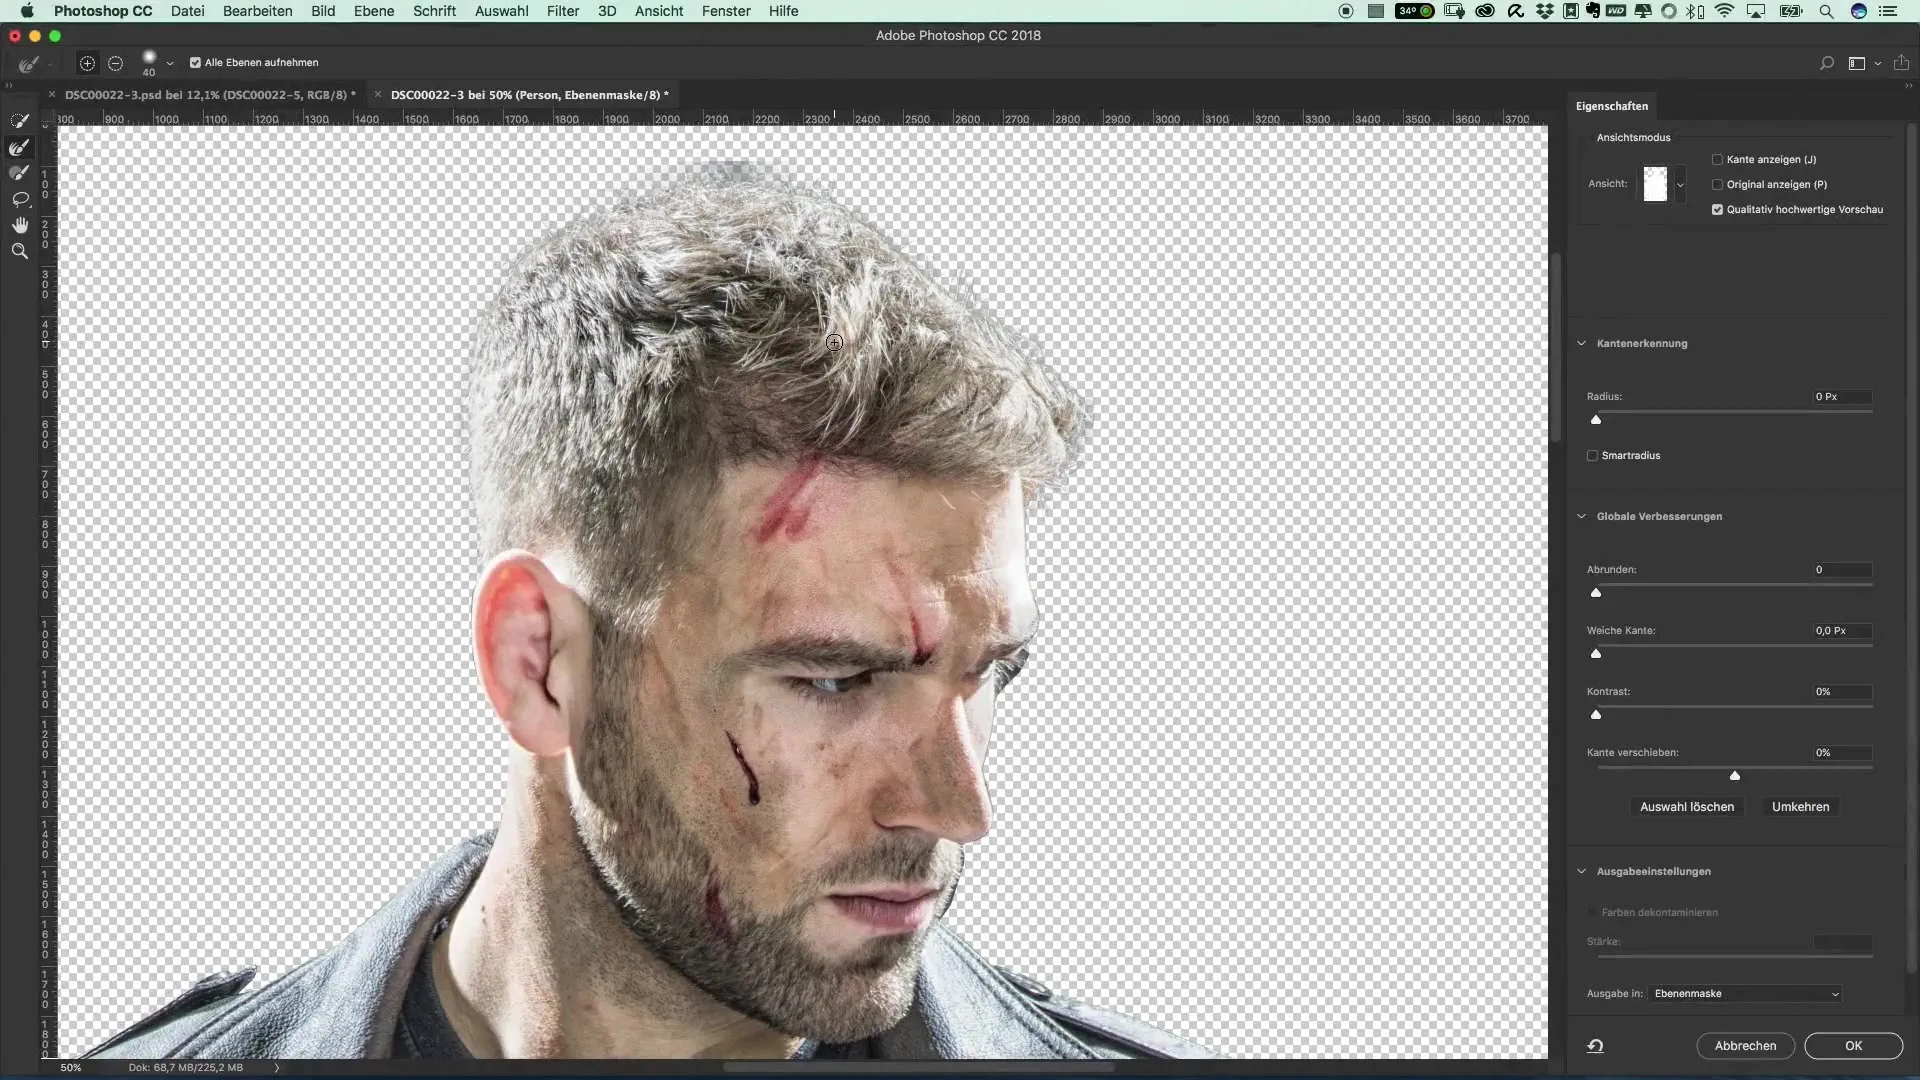
Pay special attention to the fine details – such as the eyelashes. Ensure that the images are not overly altered from the color palette so that the natural look is preserved.
To check the quality of the cut-out, hold down the Alt key while clicking on the mask. This way, you can see where further post-processing might be necessary.
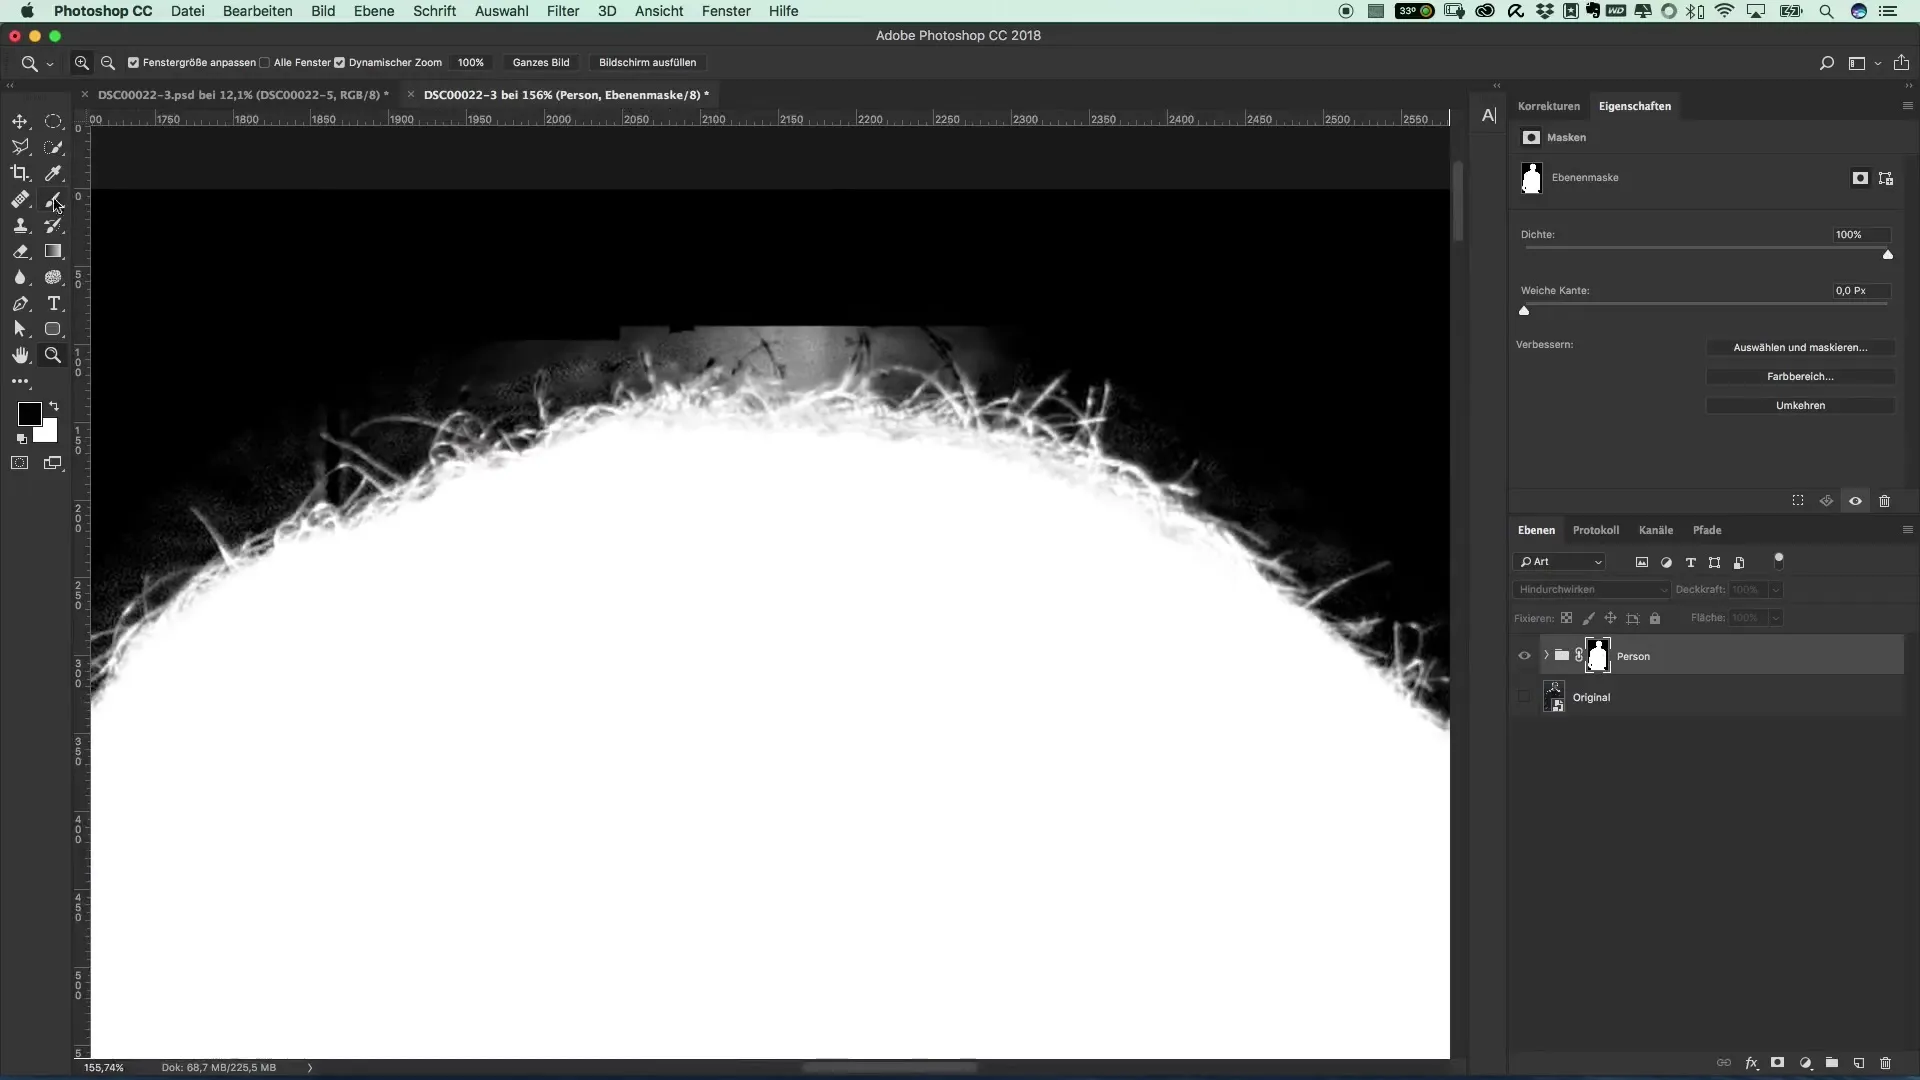
If you find areas that do not appear as desired, you can refine these with a black brush tool. Simply brush over to make the edge finer and the image appear more harmonious.
Summary – The Style of The Punisher – Cut-Out Refine
This guide provides you with the tools to refine your cut-outs accurately and efficiently. With targeted adjustments and the right technique, you can optimize the image and achieve a professional look.
Frequently Asked Questions
How can I improve the hair structure when cut-out?Use the refine edge tool to refine the fine details.
What do I need to keep in mind when working with different layers?Enable the "Include all layers" function to facilitate editing.
Can I also edit other parts of the image?Yes, just ensure the edge of the cut-out remains soft while you optimize the image.


