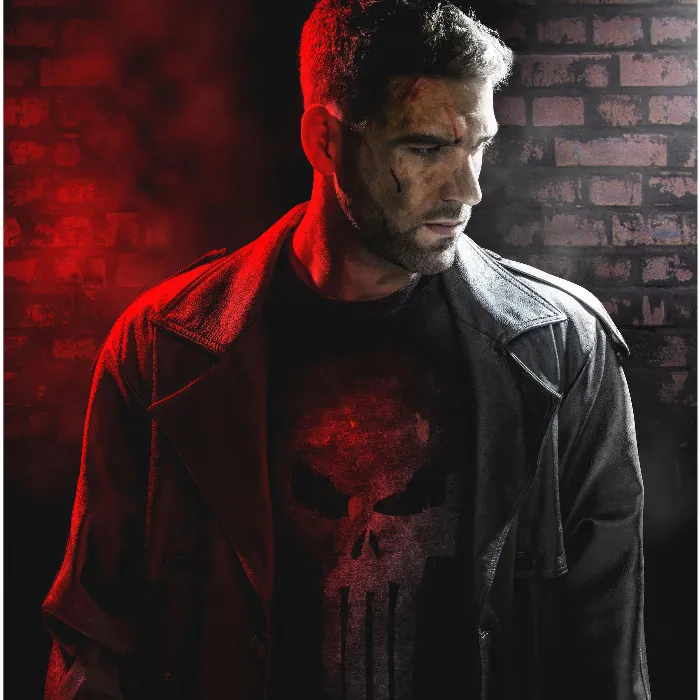
T-Shirts with custom designs are very popular. Whether for your own style or for an event, a self-designed T-shirt is always something special. In this tutorial, I'll show you how to easily create your own graphics in Photoshop and ultimately print them on a T-shirt. Let's get started!
Key Insights
- With Photoshop you can create high-contrast and realistic T-shirt designs.
- Using various layer effects gives your design the finishing touch.
- A targeted use of brushes helps achieve the desired "used" or "dirty" look.
Step-by-Step Guide
To create your own graphic, follow these steps:
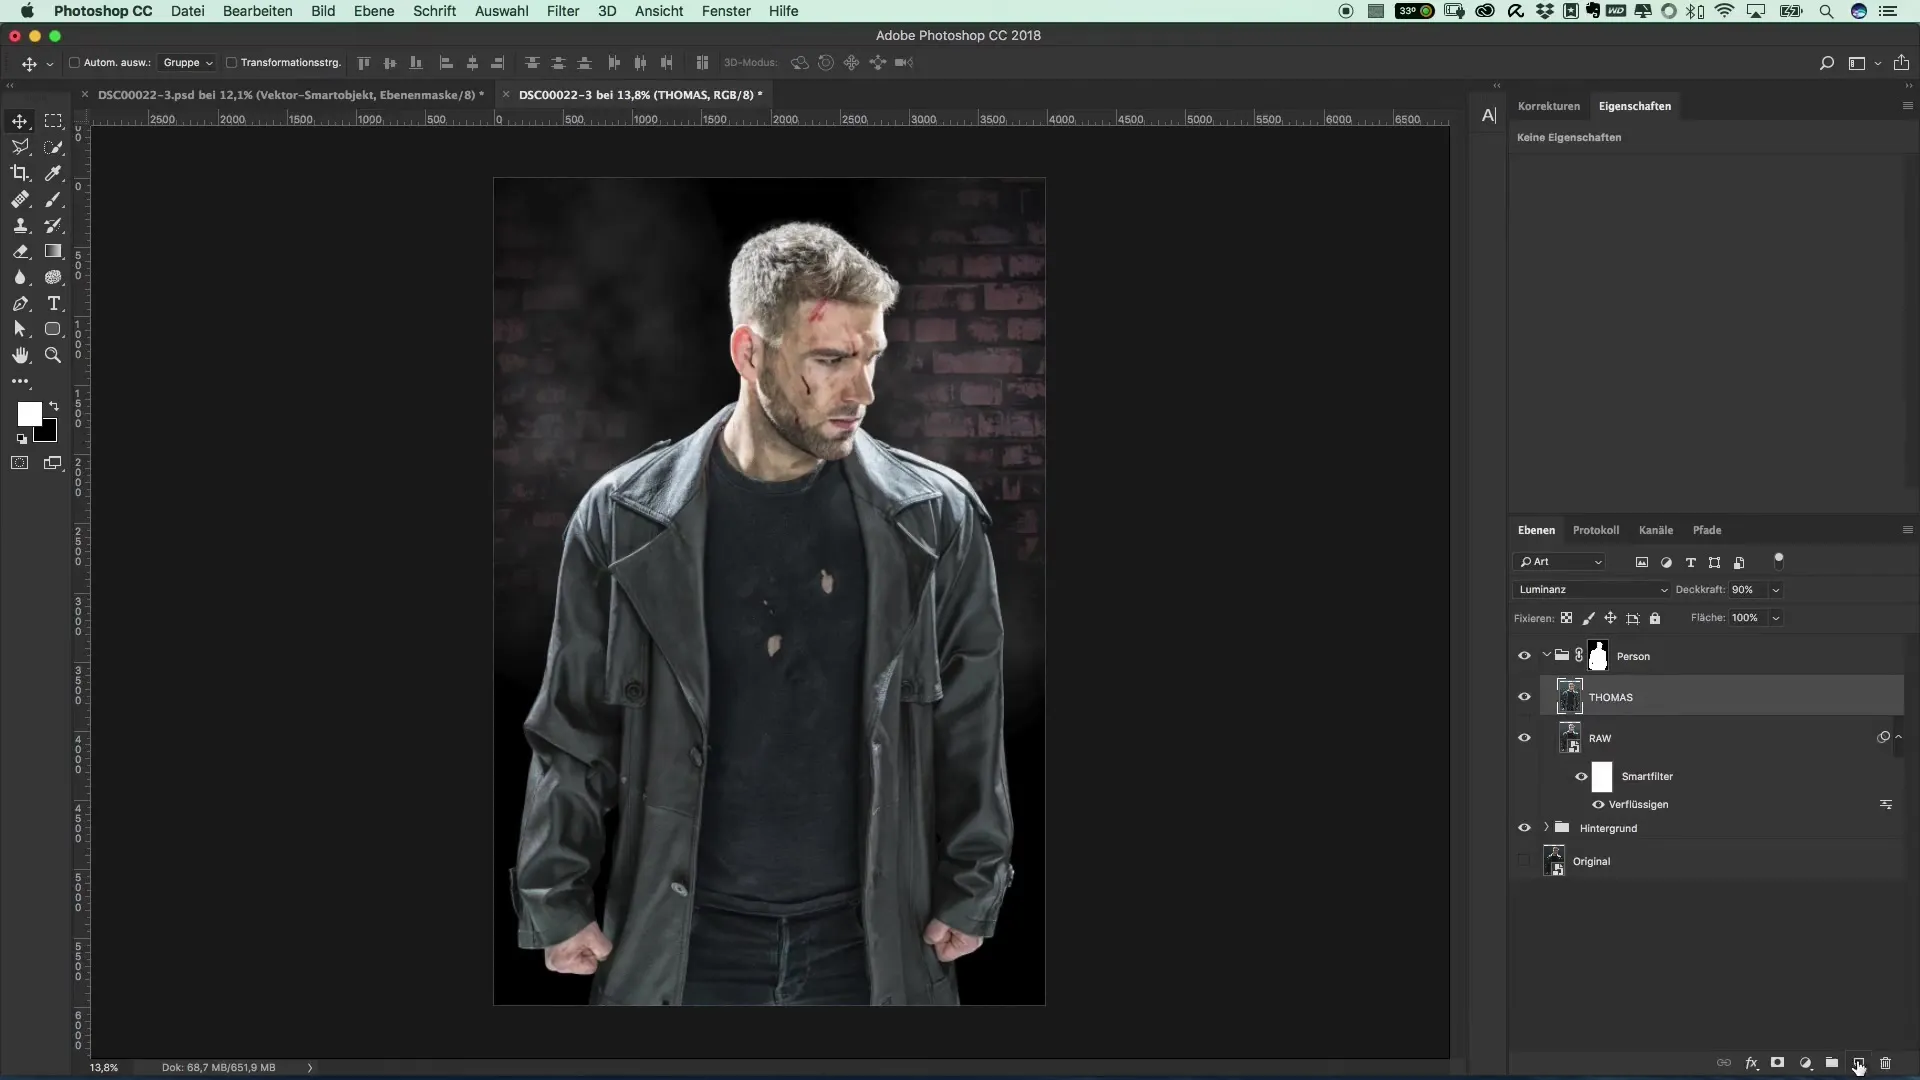
Start with a blank T-shirt in Photoshop. It is important to choose a T-shirt that is not yet printed so you have full control over the design. You can use an existing image of a T-shirt or create a mockup.

Create a new layer for your logo. Go to the layers panel and click on the new layer icon. Name the new layer something appropriate, like "Logo". This helps maintain clarity.
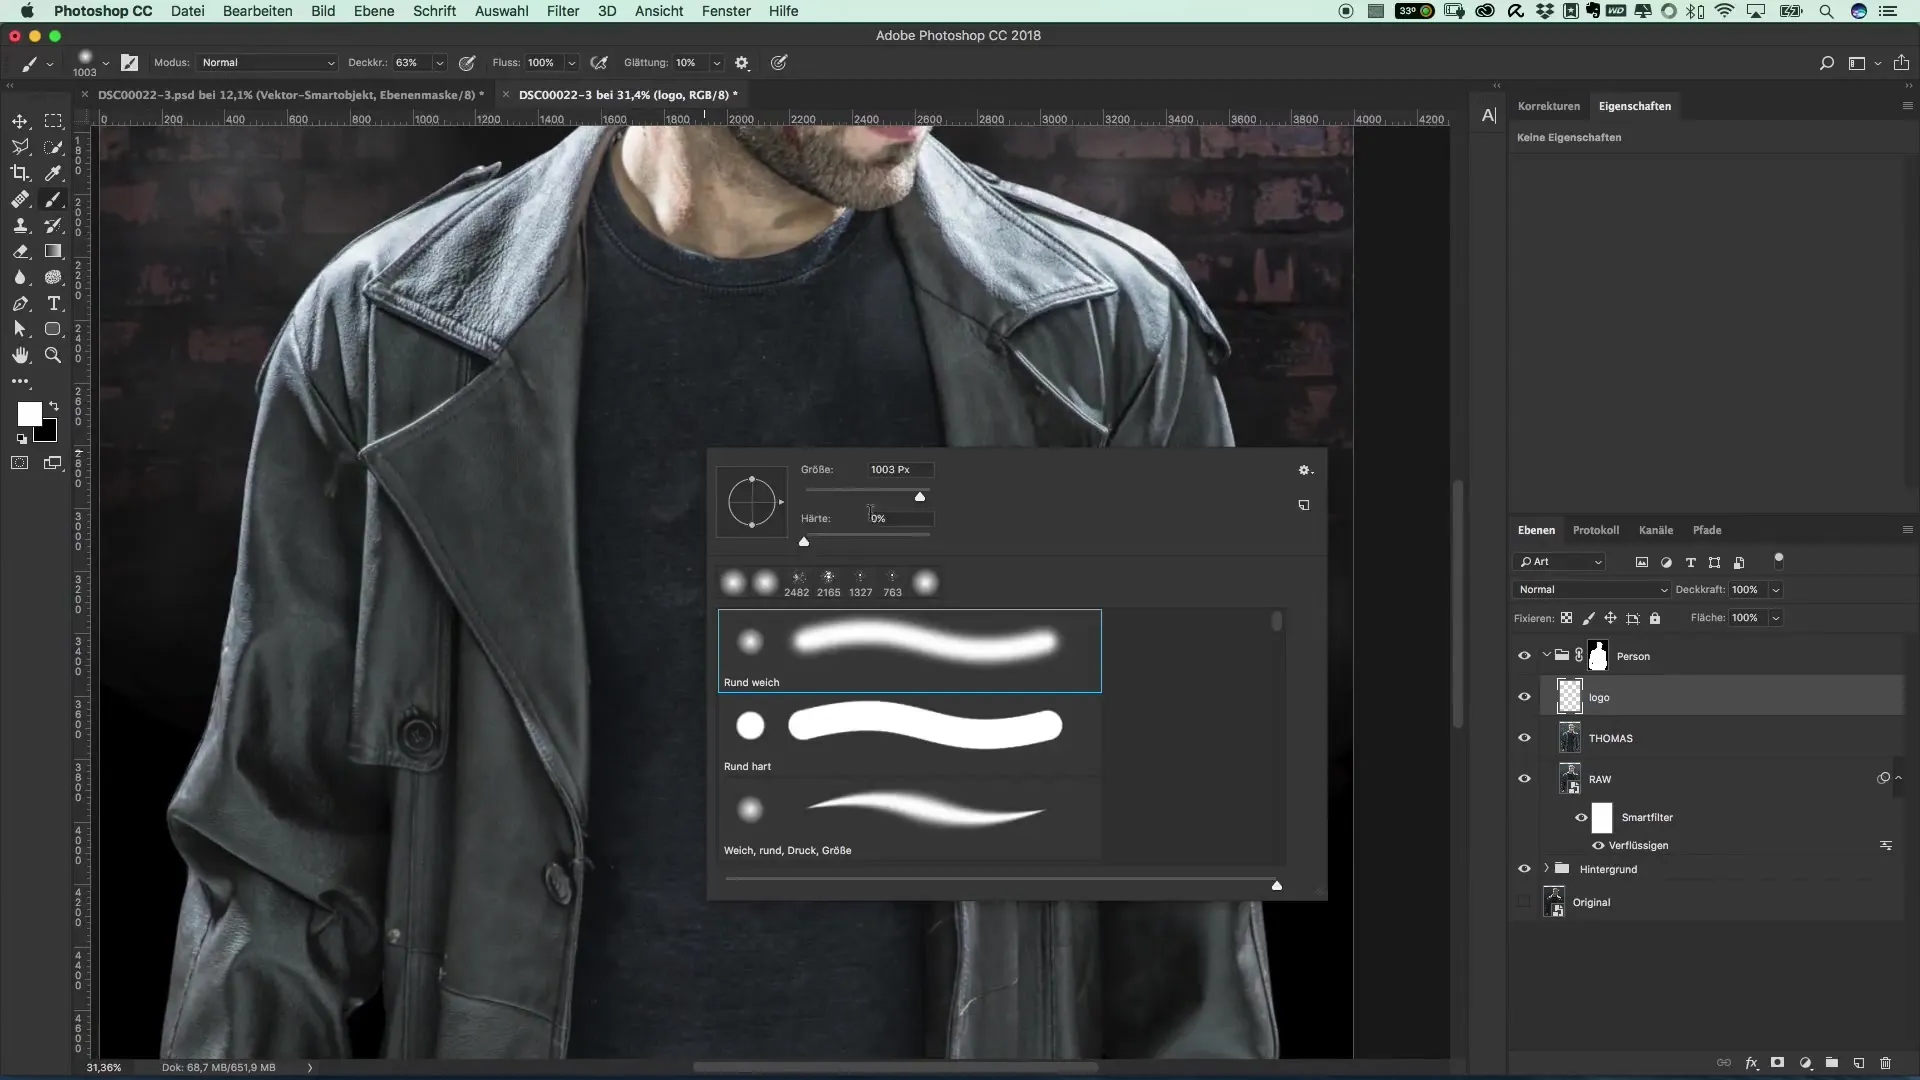
Now you can start drawing your logo. Use the pen tool and choose a simple shape or a smiley as a starting point. You can keep it creative and even make it a bit abstract. Give your logo a white color and use an opacity of 100%.
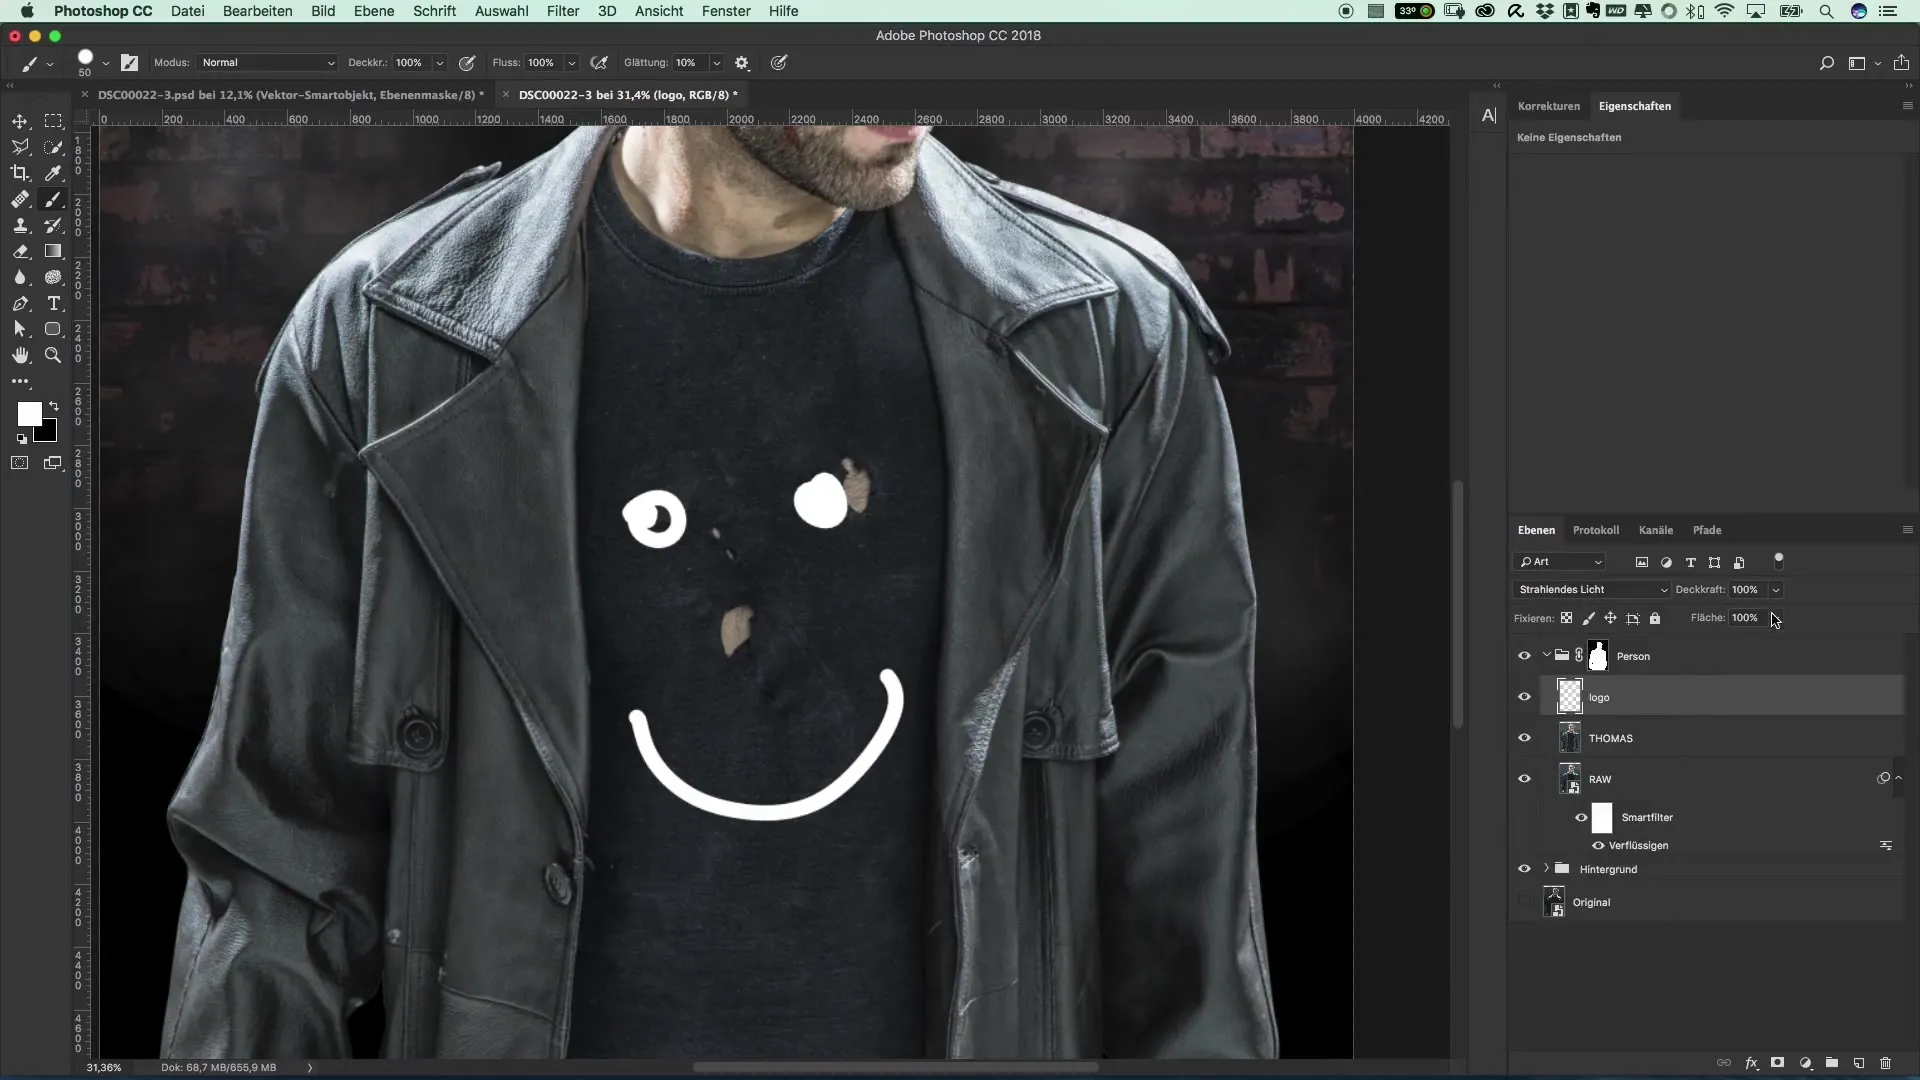
Set the layer's blending mode to "screen". This will help integrate your logo better into the T-shirt design. Adjust the area until you are satisfied with the appearance. You can continuously adjust the graphic elements until everything looks harmonious.
If you are satisfied with the shape of your logo, you can save it for further editing. It is important to save the file as PNG or PSD. This keeps the formatting and layers intact in Photoshop.
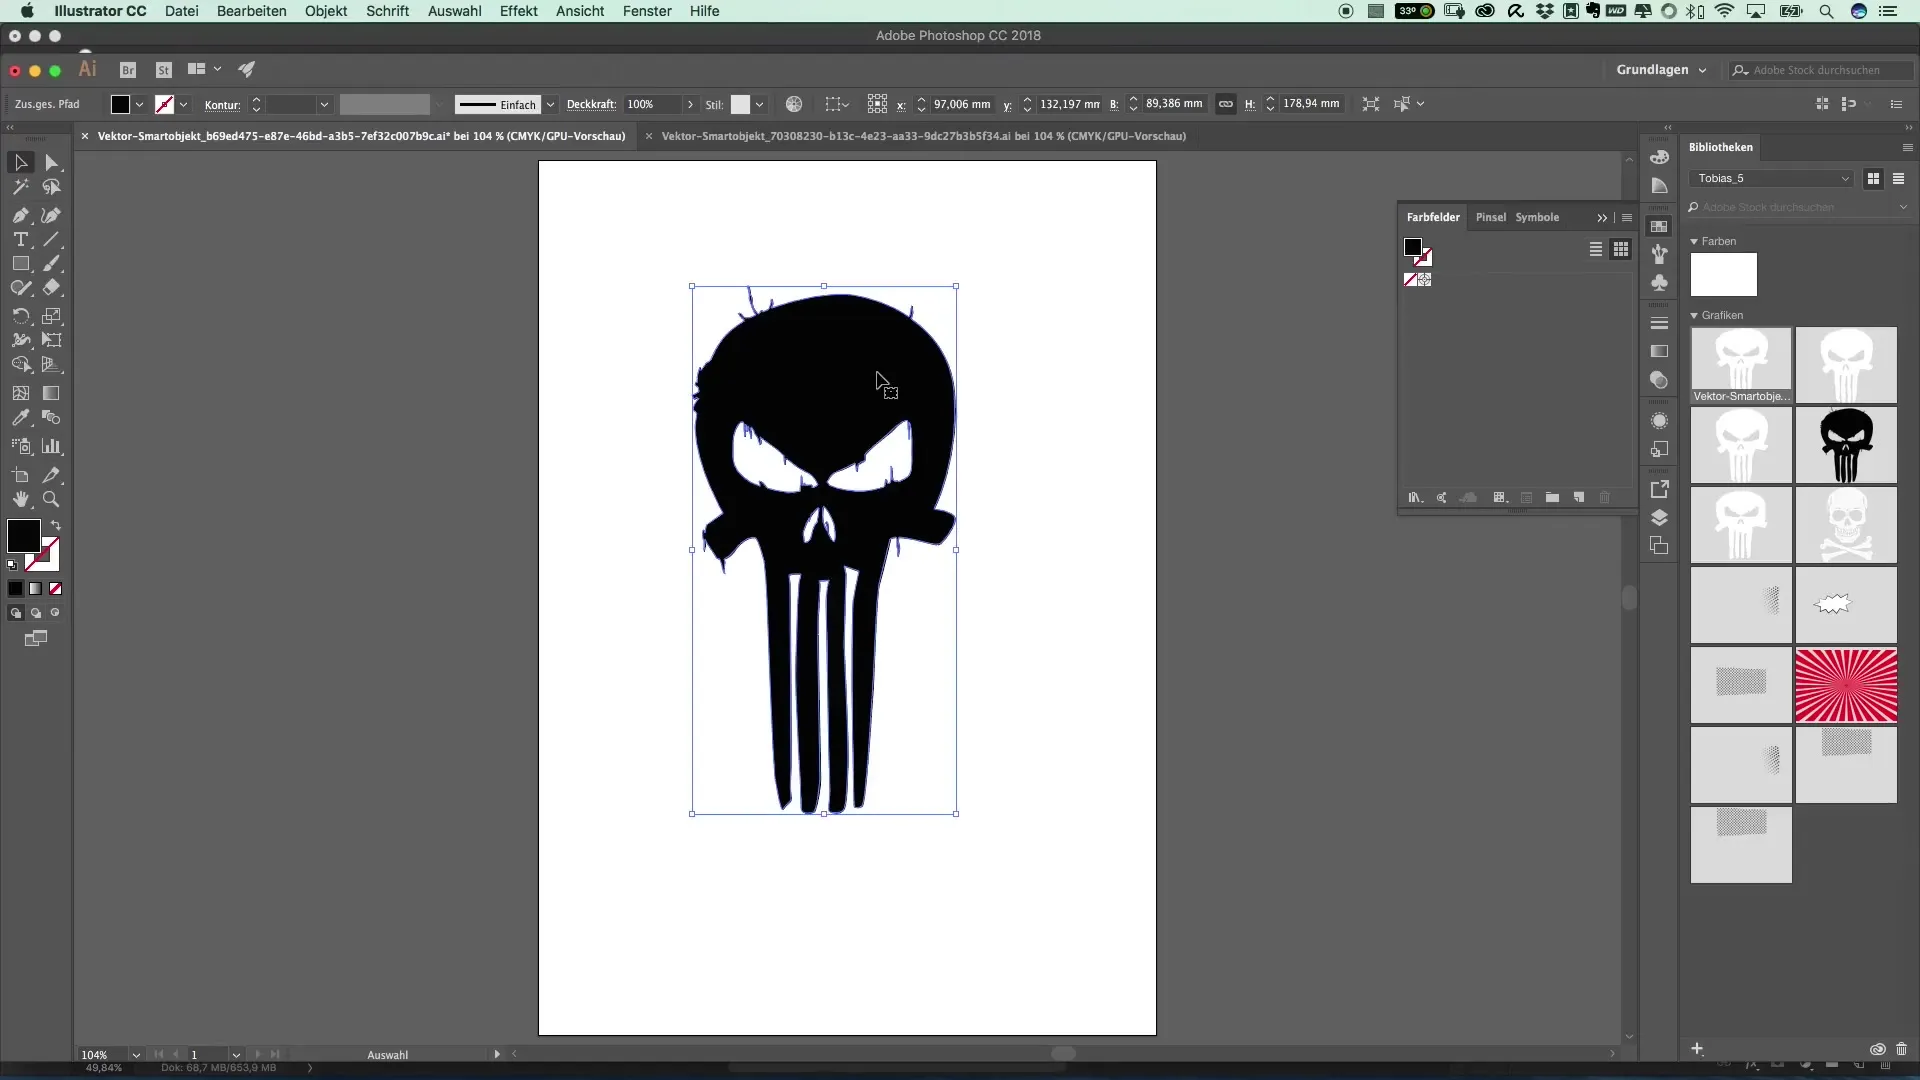
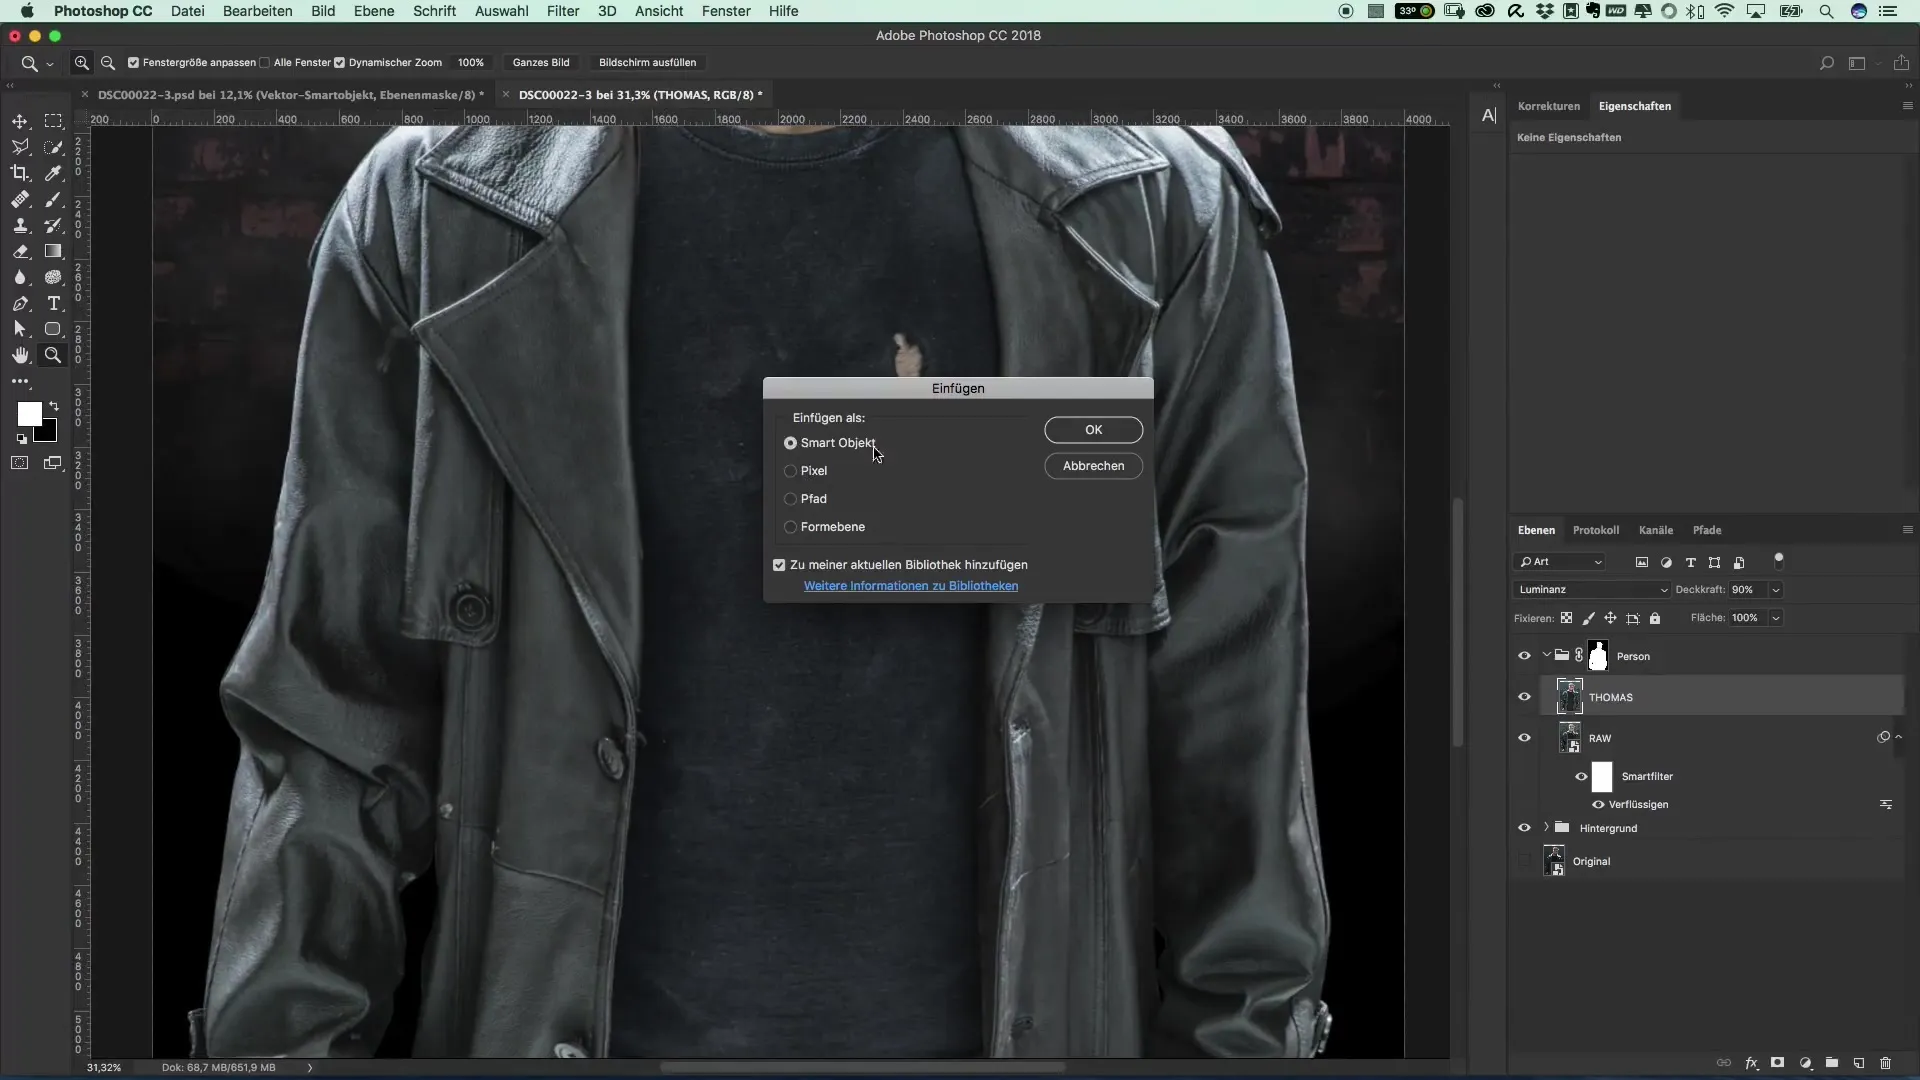
Return to your T-shirt design and insert your logo as a smart object. This makes it easier to make changes without compromising quality. Position your logo on the T-shirt and ensure that it looks realistic. It can look even cooler if the logo slightly disappears under the clothing or is larger.
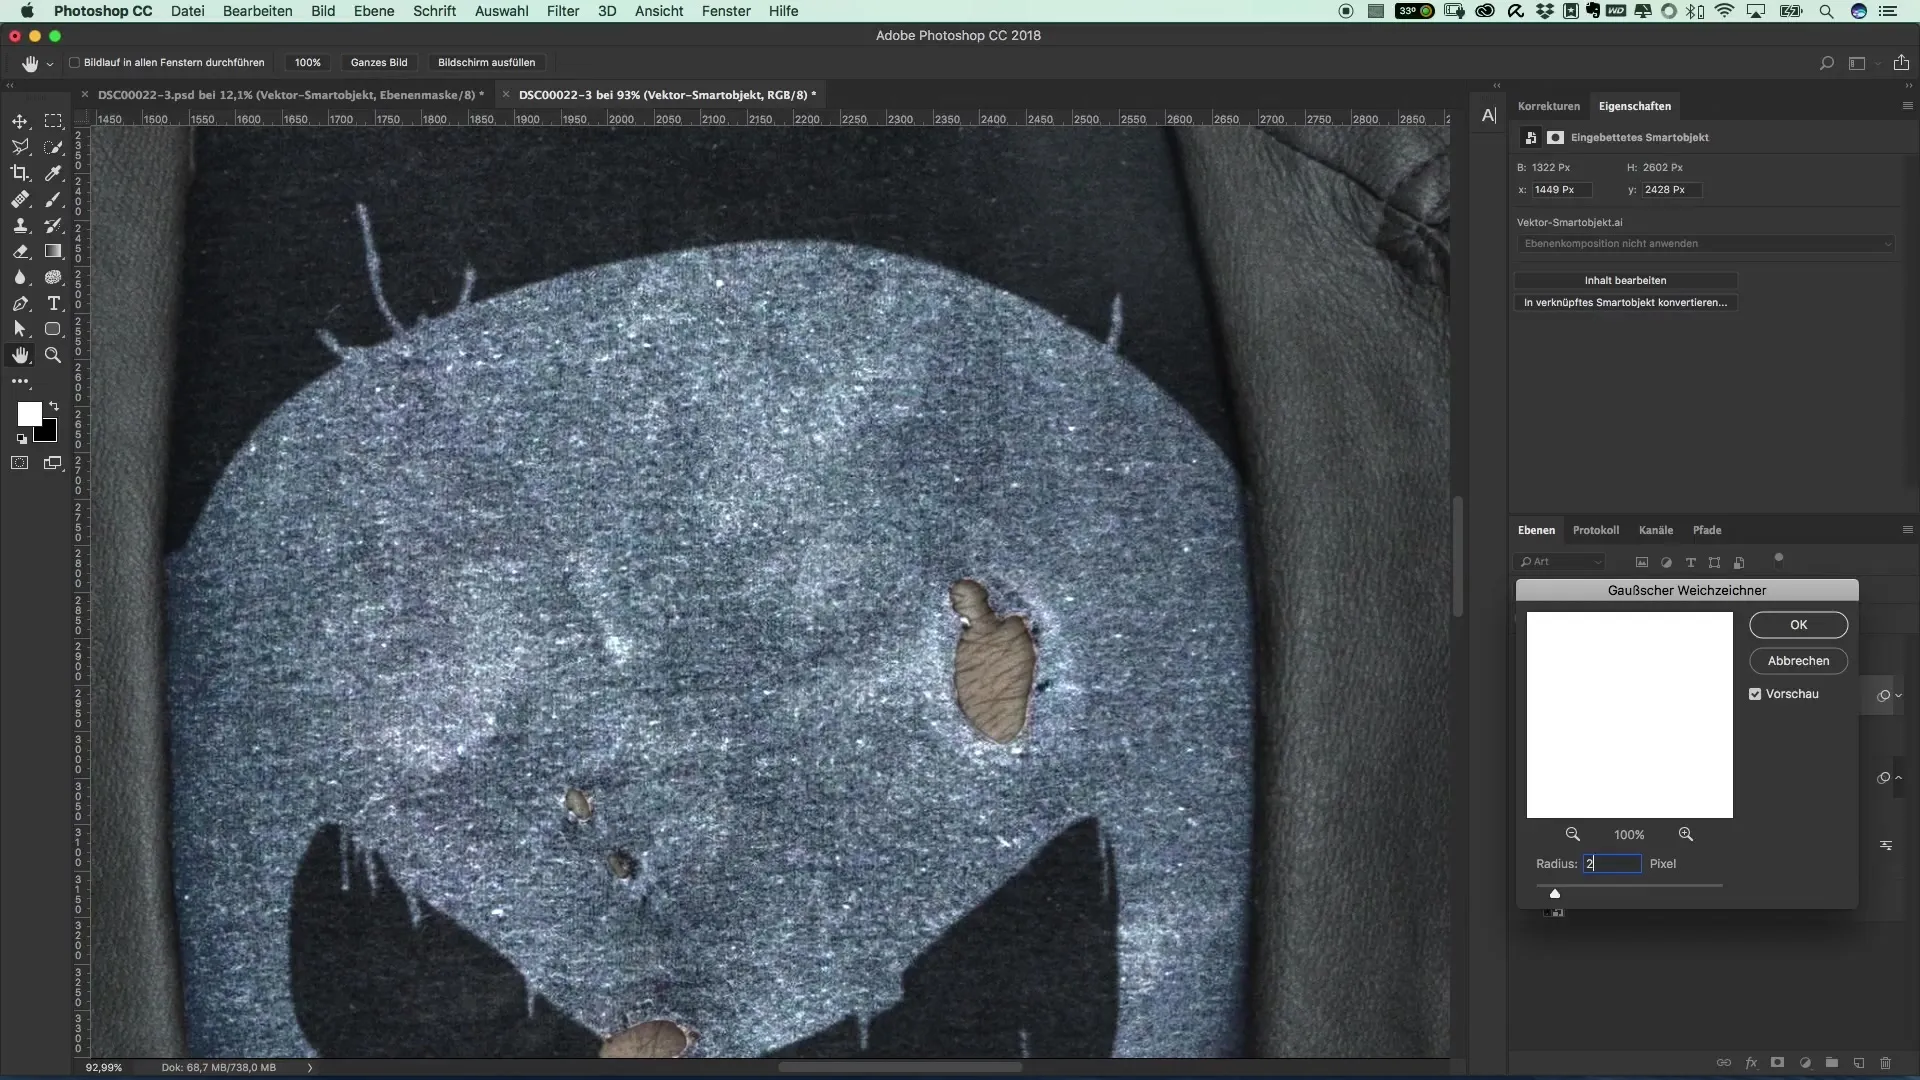
To achieve a more natural look, be sure that it does not appear too sharp-edged. Use the blur filter (e.g. Gaussian Blur) to soften the edges of the logo. A value of two pixels should be sufficient to achieve the desired effect.
The T-shirt may still look too clean. To create a "used" look, you can use brushes to help create imperfections. Choose suitable brushes that you like and that can create a rough or dirty effect.
Create a new group in your layers panel for the brushes and put a mask on it. Reduce the brush opacity to make the effects softer. It's best to use a brush size of 7 and click on the desired spots. This will create a slightly irregular effect that looks very natural.
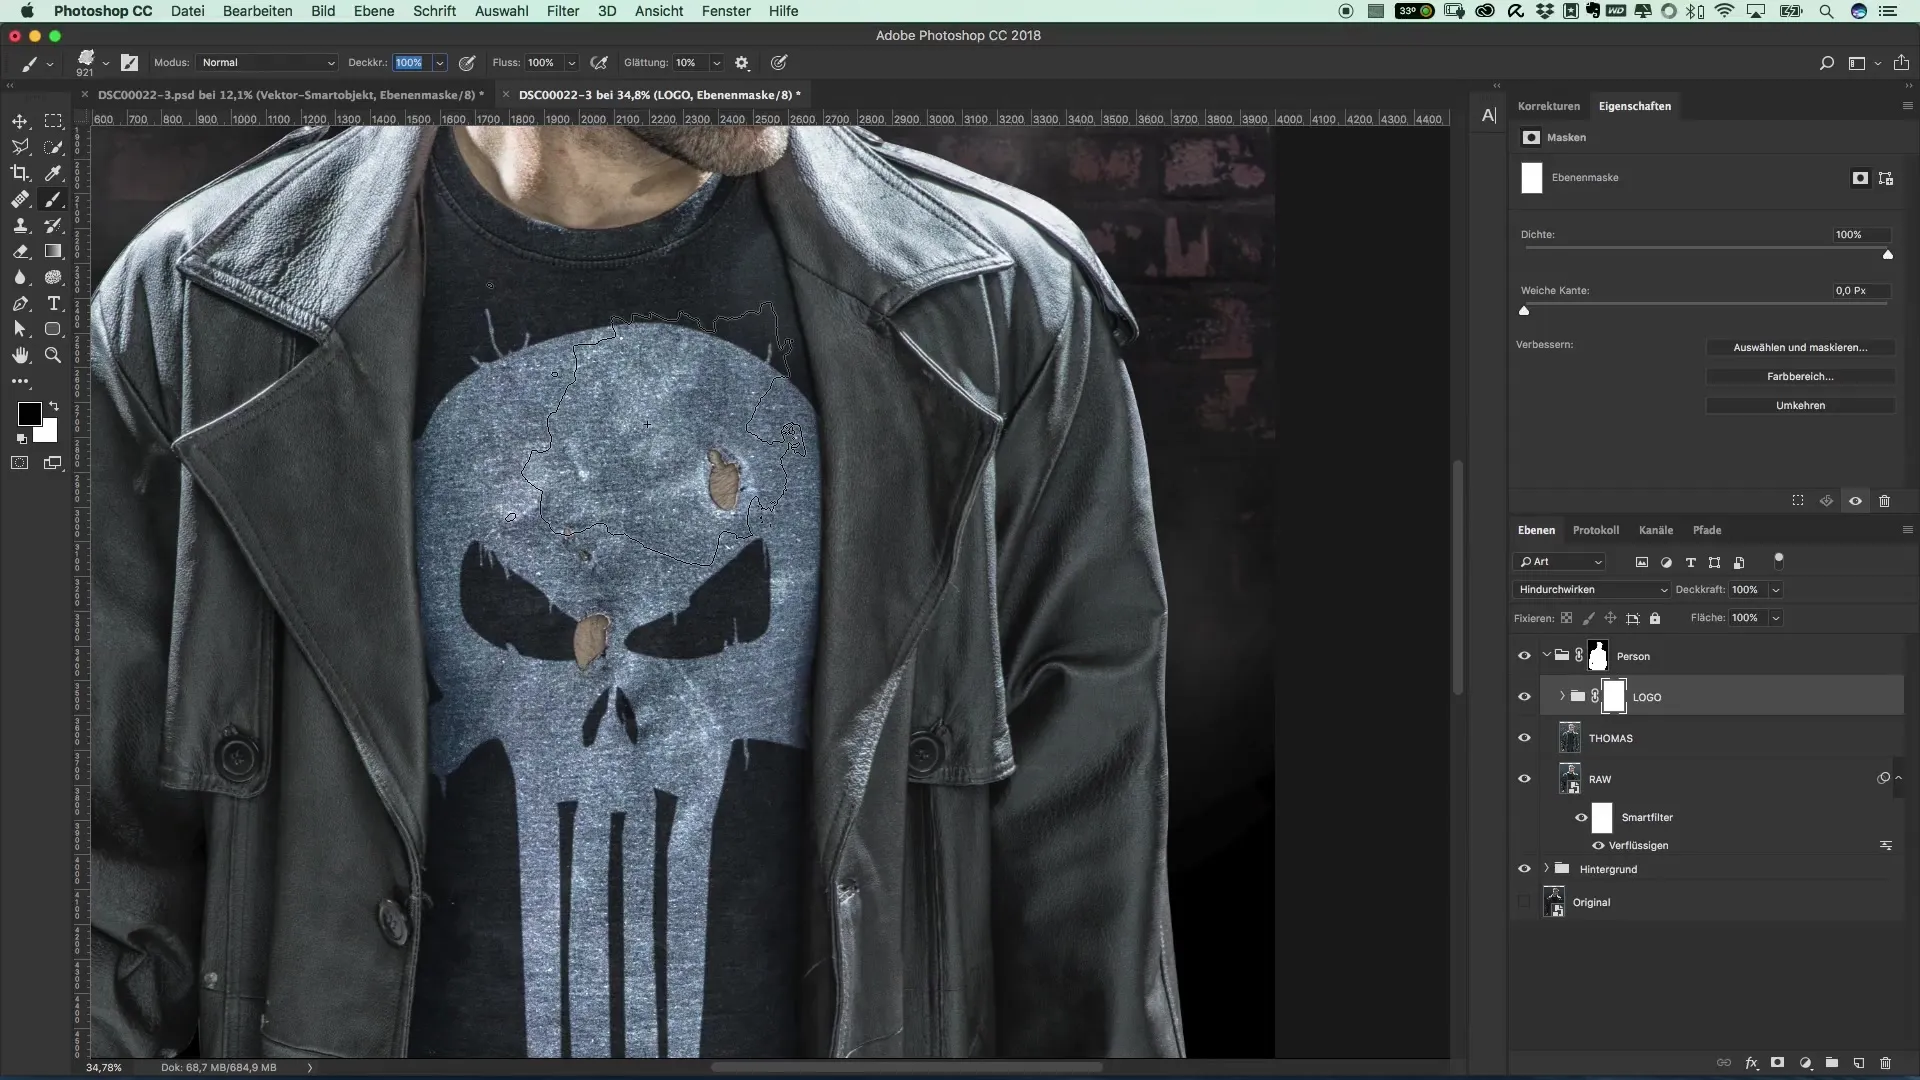
If you are not happy with the result, you can increase the opacity and work with stronger brush strokes. Feel free to experiment with the different brushes and opacity values to create the perfect look.
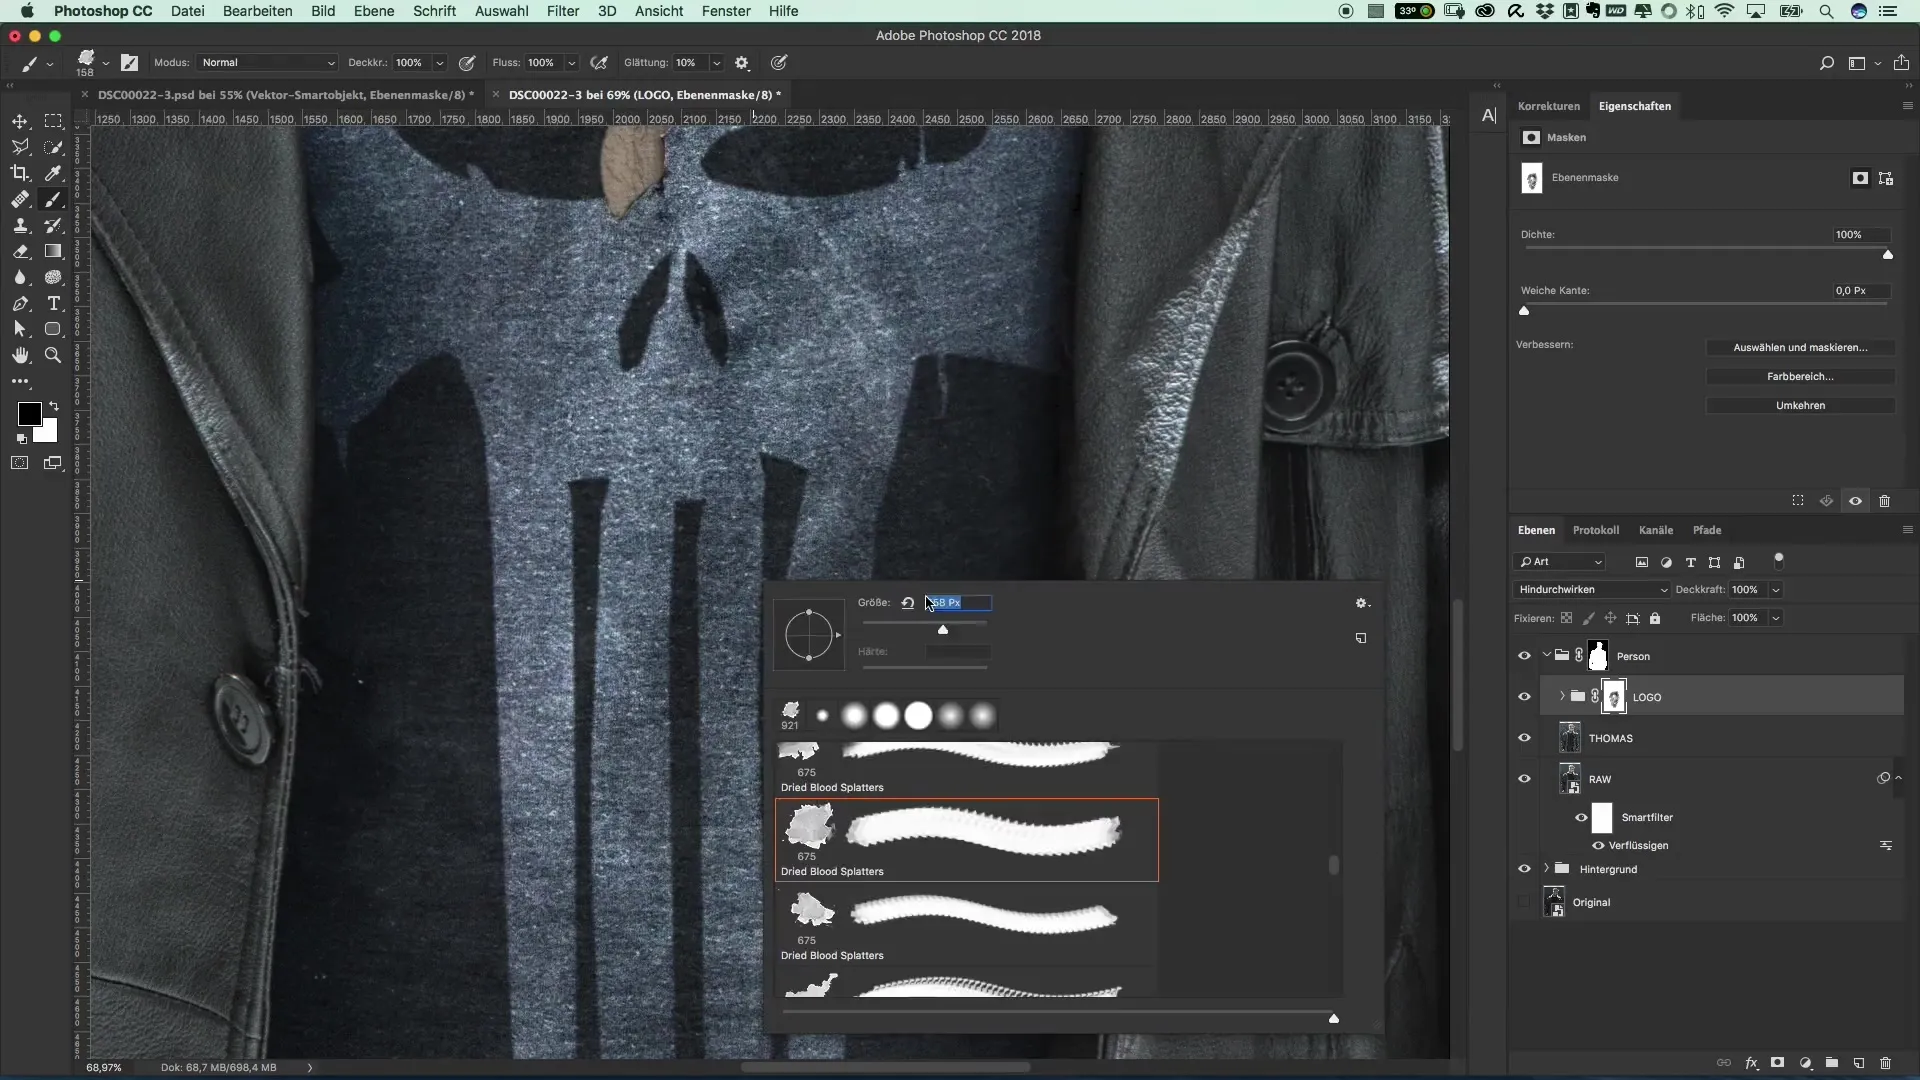
Once you have completed your design, do a final review. Hide the original mask to see the finished T-shirt design. This process keeps the design organic and gives it the desired character.
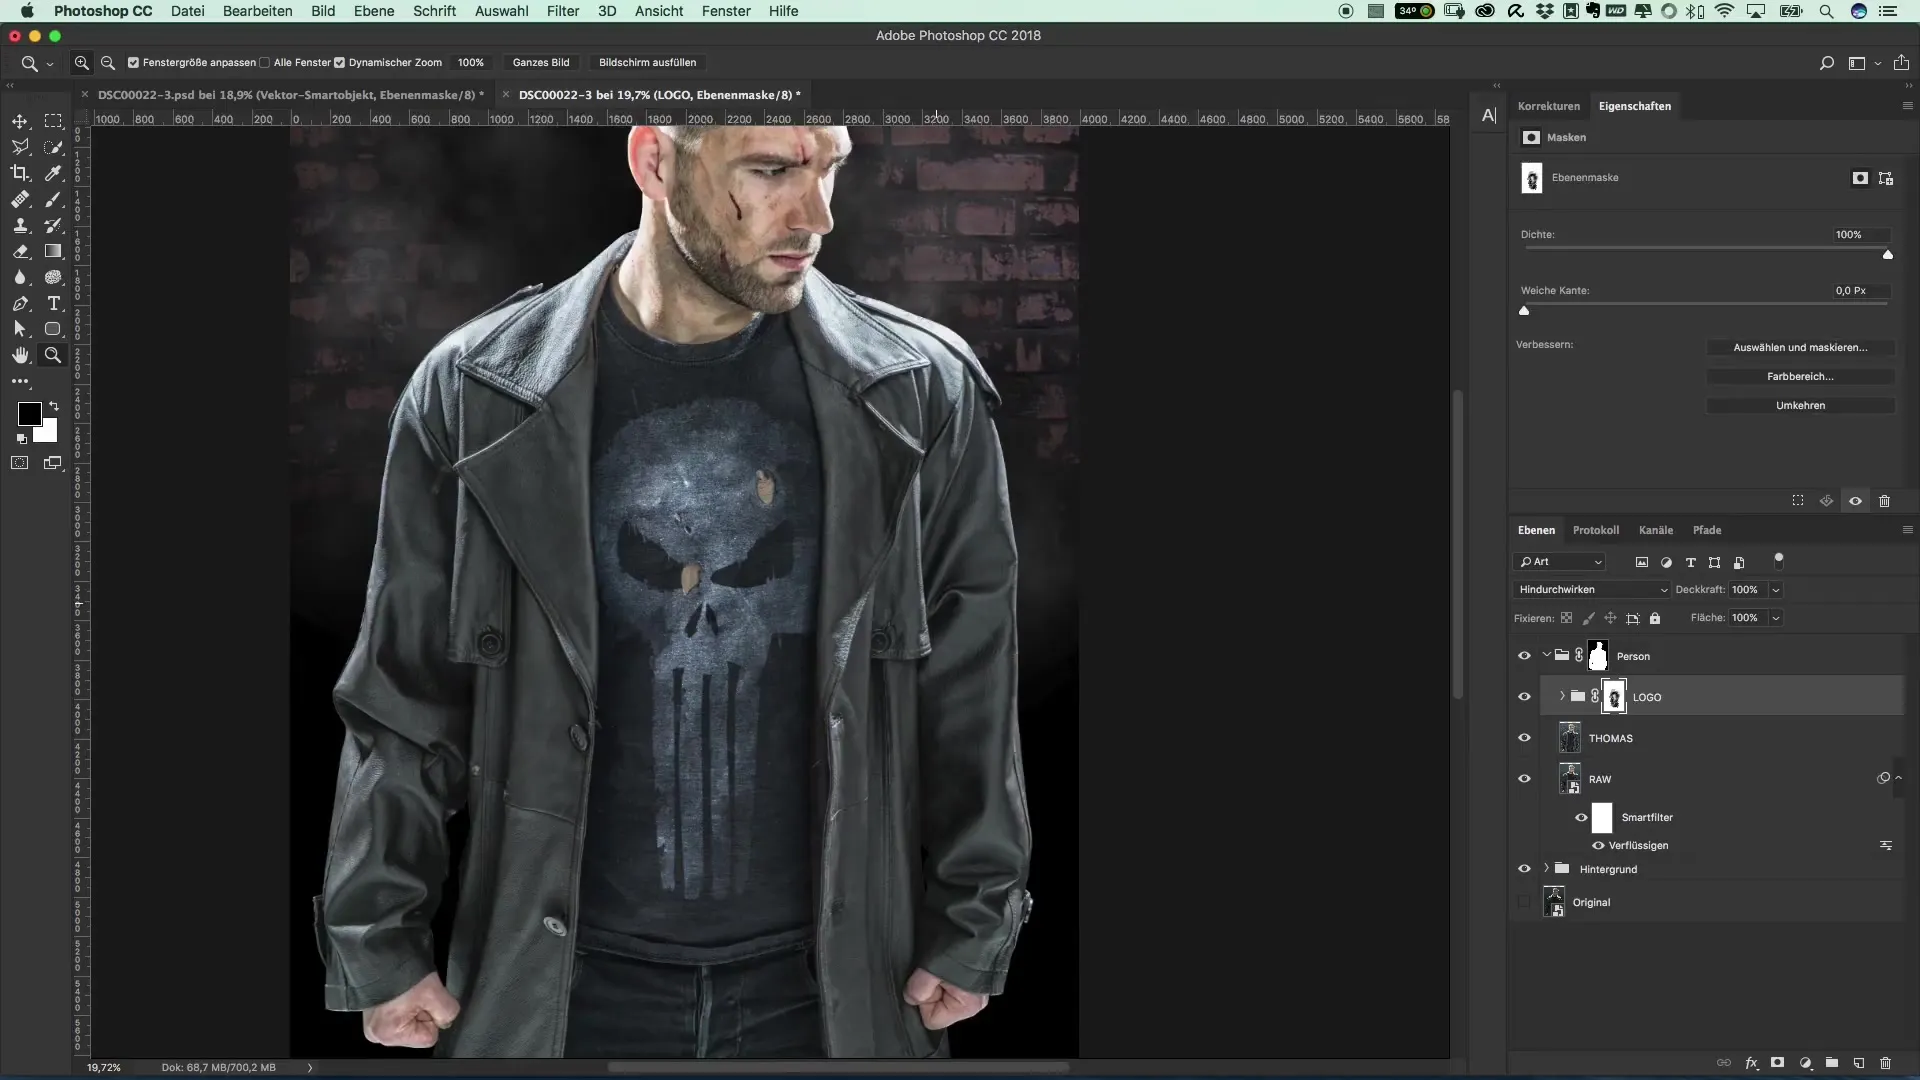
Summary – T-Shirt Printing Design: Effectively Create and Print Your Own Graphics
After following these steps, you should have a custom T-shirt with your own logo. Photoshop provides you with all the tools you need to bring your creative vision to life. Experiment with different designs and have fun!
Frequently Asked Questions
How can I save my graphic?Save it as PNG or PSD to avoid losing formatting.
Can I use colors other than white for the logo?Yes, try different colors to make the design more interesting.
How do I make my T-shirt design more realistic?Experiment with blur filters and brush strokes for a "used" effect.
What if I'm not satisfied with the result?You can always make changes in the smart objects to improve the design.
Are there recommended brushes for the "dirty" look?Yes, you can find many free brushes on platforms like Deviant Art.
