Photo editing is an art in itself, and the ability to make targeted adjustments can have a significant impact on the final result. In this tutorial, I'll show you how to use the Liquify Filter in Photoshop to more effectively enhance the shoulders of a figure, thus improving the overall effect of the image. This approach is ideal for creating enough space for printing on T-shirts later.
Key Takeaways
- Use Smart Objects for gradient changes to ensure flexibility.
- The Liquify filter allows for precise adjustments without permanently altering the original image.
- Techniques for reshaping body proportions can significantly enhance the visual impact.
Step-by-step Guide
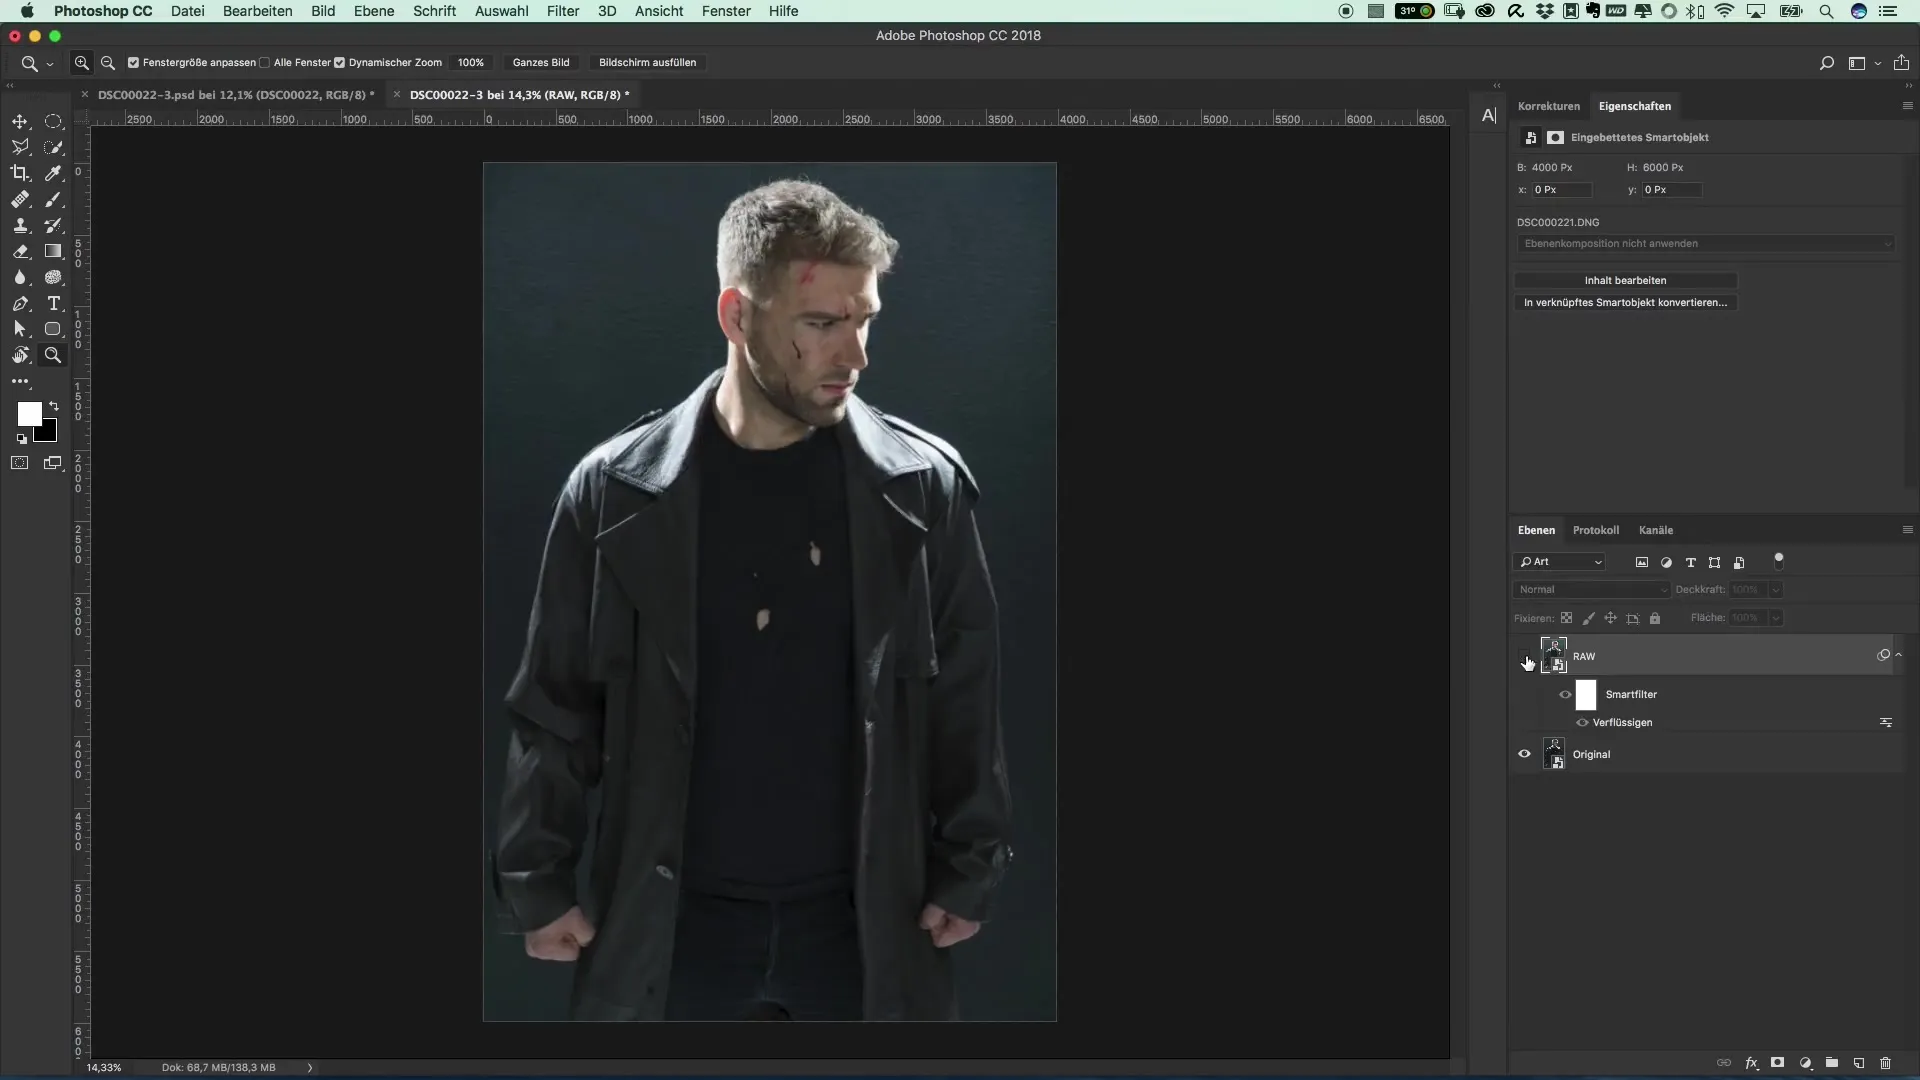
First, make sure your image is opened as a Smart Object. This way, you always have the option to undo adjustments and reapply the Liquify Filter. To achieve this, follow these steps:

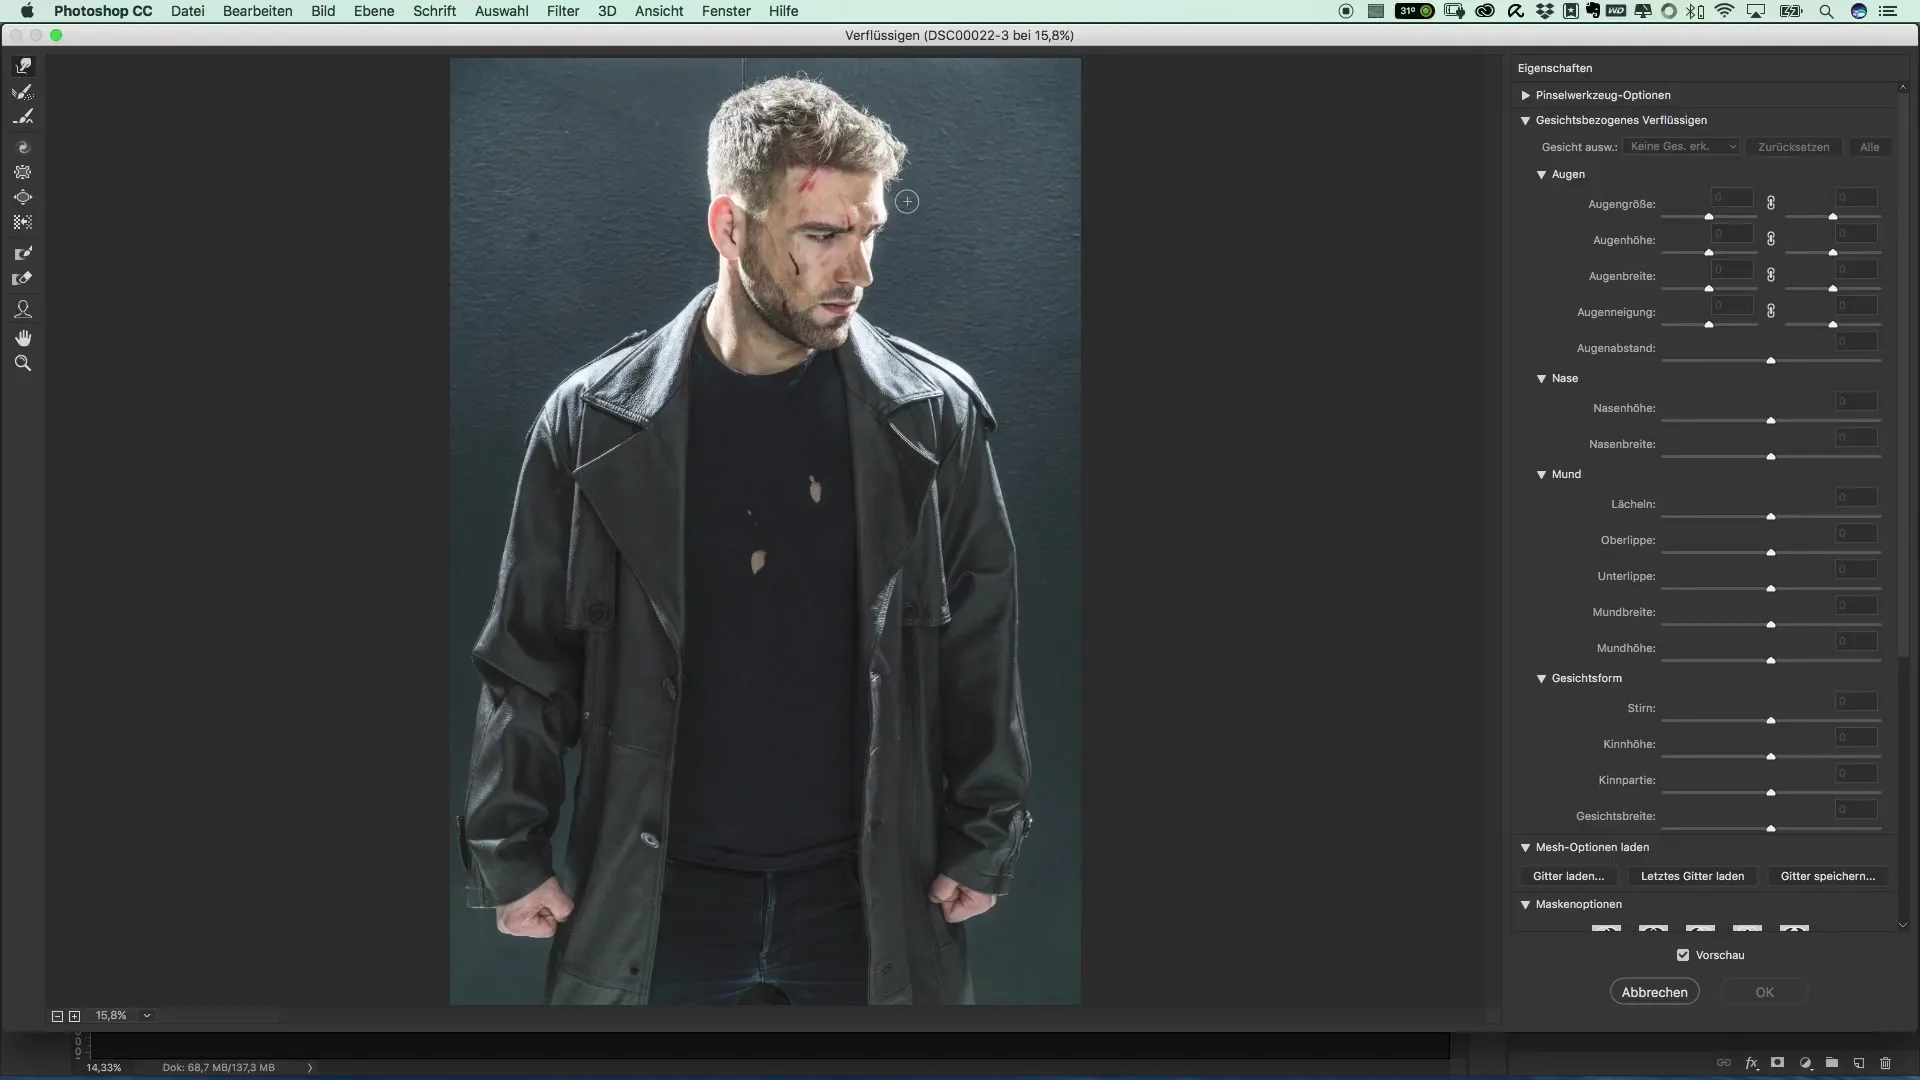
Now start with the Liquify filter. Click on Filter in the top menu and select Liquify. Here you can make the desired adjustments to make the shoulders appear wider.

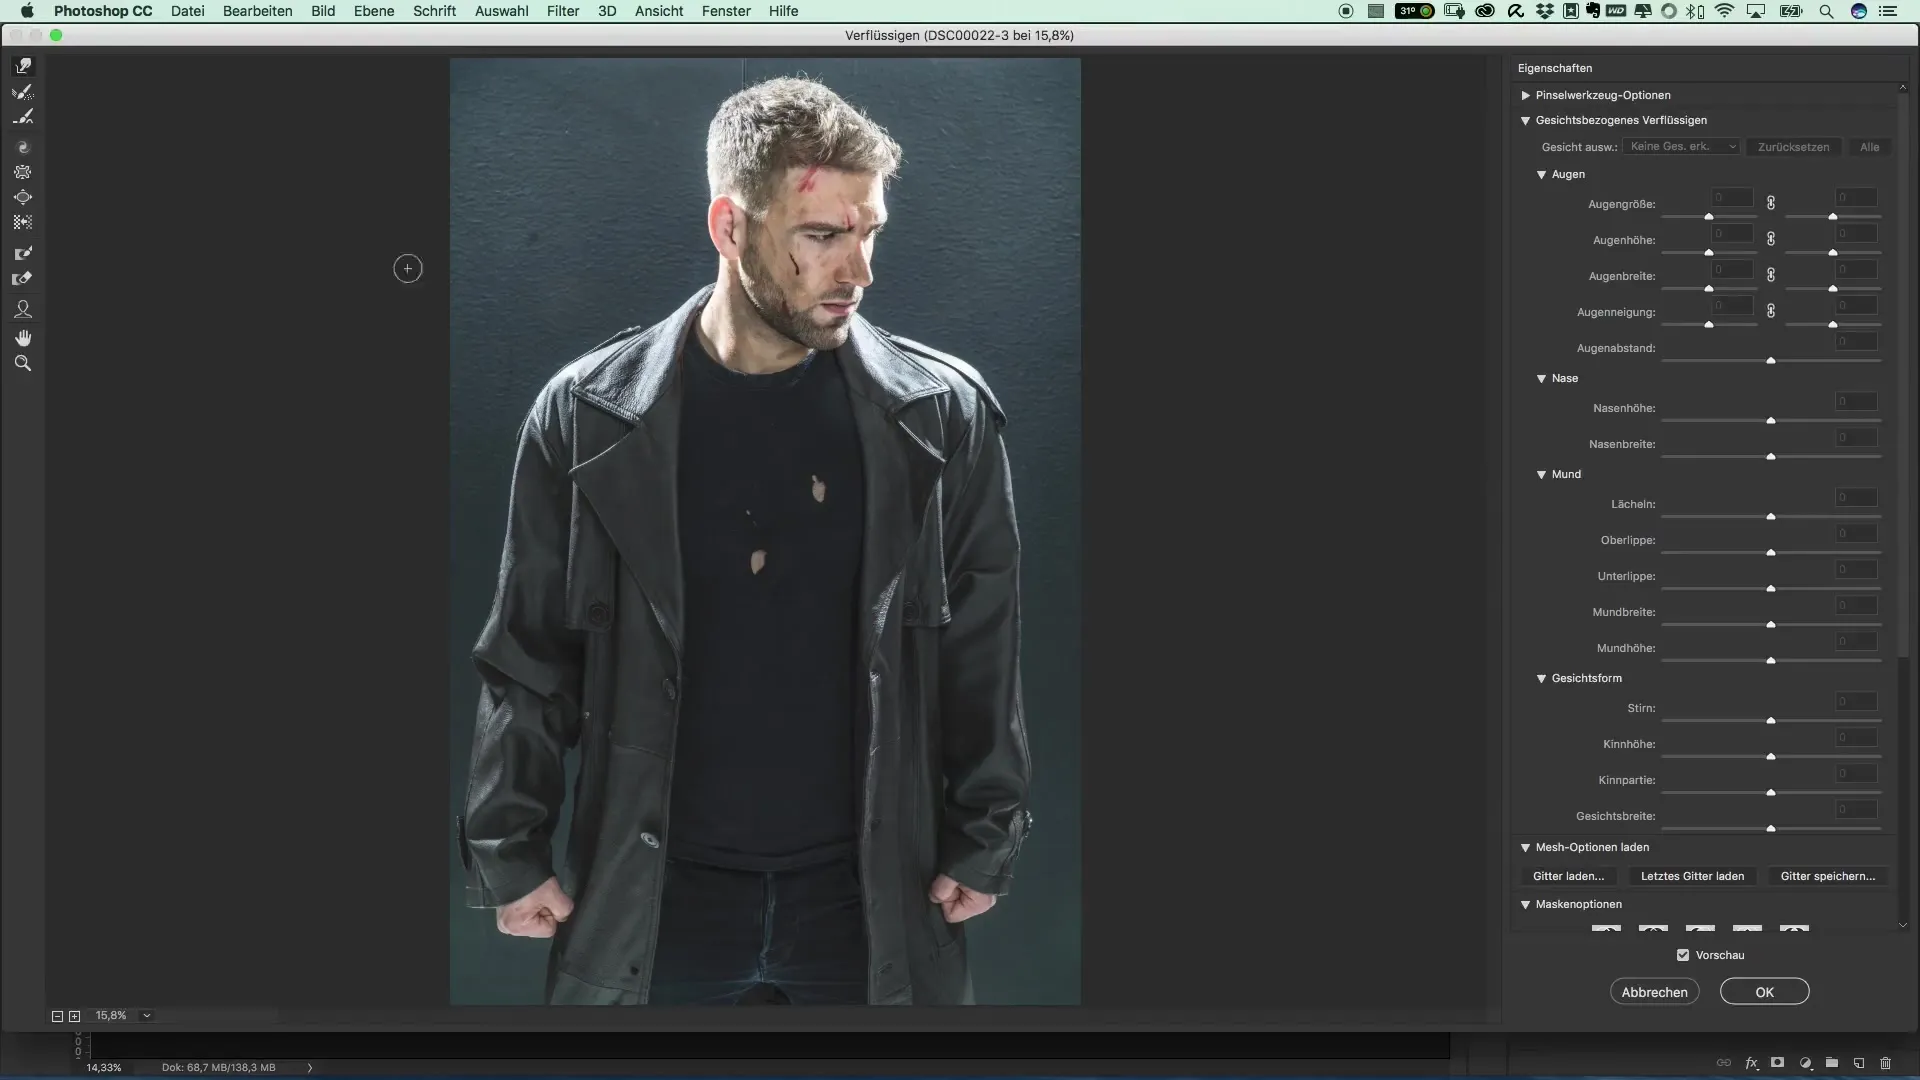
The goal is to make the shoulders a bit more robust. Start by simply dragging the shoulders left and right to edit them. At the same time, make sure that the neck is not displaced, to maintain a natural position.
Evenly enlarge the shoulders so that both sides are proportionally adjusted. Move the shoulders to create more space, making it look like the figure has a more muscular chest.
Make sure that the jacket looks a bit open to create the impression of more body mass. You should ensure that both the shoulders and the jacket harmonize well.
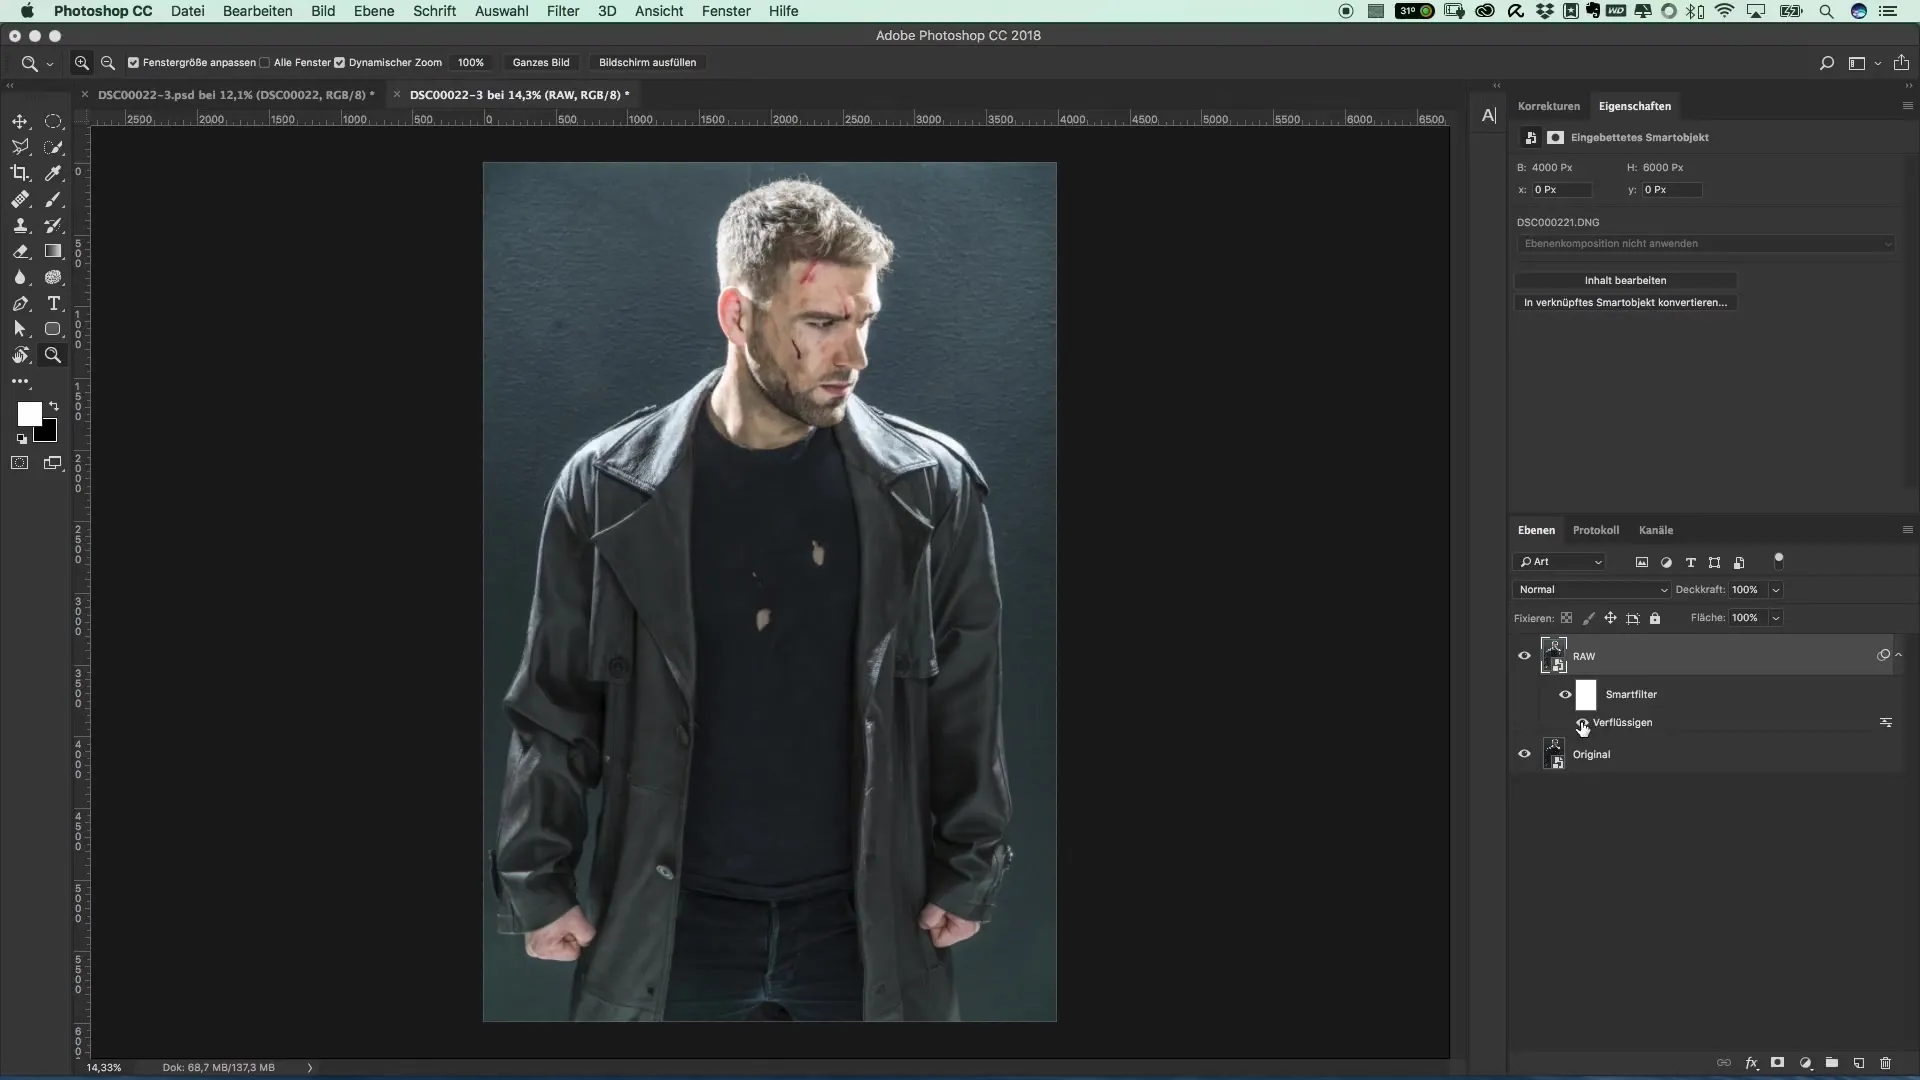
Finally, confirm with OK and observe the change. You will see that the difference is striking. Before, the figure appeared significantly narrower than after.

An added advantage of using Smart Objects is that you can reset or change these adjustments at any time. If you are dissatisfied with the current edit, you can simply revert to the original Smart Object.

The editing with the Reconstruction Brush allows you to change small details as needed. Deactivate the Liquify function to compare the original image with the edited version and see how much potential improvement has been achieved.

The final result should be harmonious and visually appealing. The adjusted shoulders not only make the figure appear more muscular but also create space for future prints on the jacket.
Summary – Guide to Improving Shoulders in Photoshop with the Liquify Filter
In this guide, you learned how to specifically adjust the shoulders of a figure using the Liquify Filter in Photoshop. By utilizing Smart Objects and precise editing tools, you can alter the proportions to achieve an impressive result.
Frequently Asked Questions
How can I ensure that my changes do not affect the original image?Use Smart Objects to always have access to the original image file.
Can I apply the Liquify Filter multiple times?Yes, as long as you are working with a Smart Object, you can reapply the filter at any time.
How do you set the shoulders proportionally?Make sure to edit both shoulders evenly and move them simultaneously for a symmetrical result.


