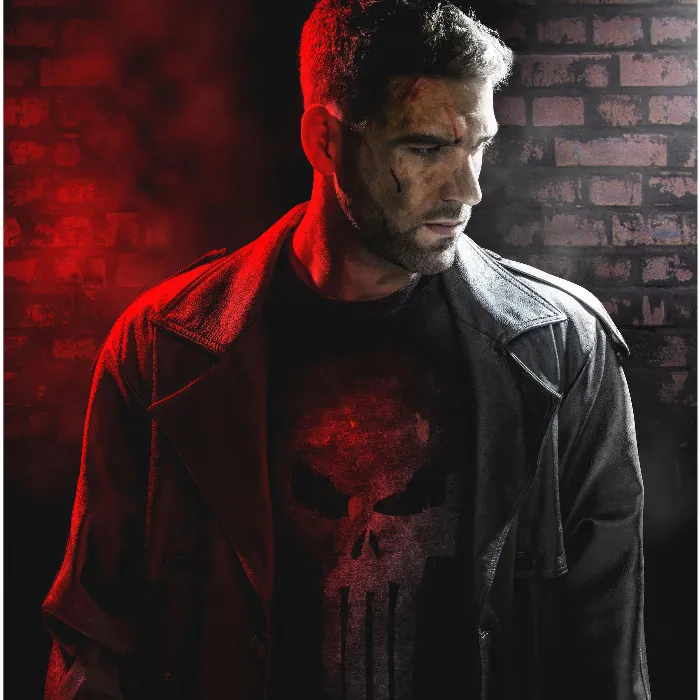
Are you looking for a way to give your images a mysterious atmosphere? In this guide, I will show you how to create a subtle fog effect with simple means and a special filter, which adds a dark and exciting touch to your subject. Take your Photoshop skills to the next level and bring the feeling of “The Punisher” to your own creations!
Key Insights
- Fog can create effective mood elements in images.
- You don't need expensive stock or special brushes.
- With filters and masks in Photoshop, you can create custom fog designs.
- A slight adjustment can unleash enormous visual potential.
Step-by-Step Guide
Start with a blank document in Photoshop. It is important that you create a new layer that we will fill with fog later. You can do this by creating a new layer and naming it accordingly.
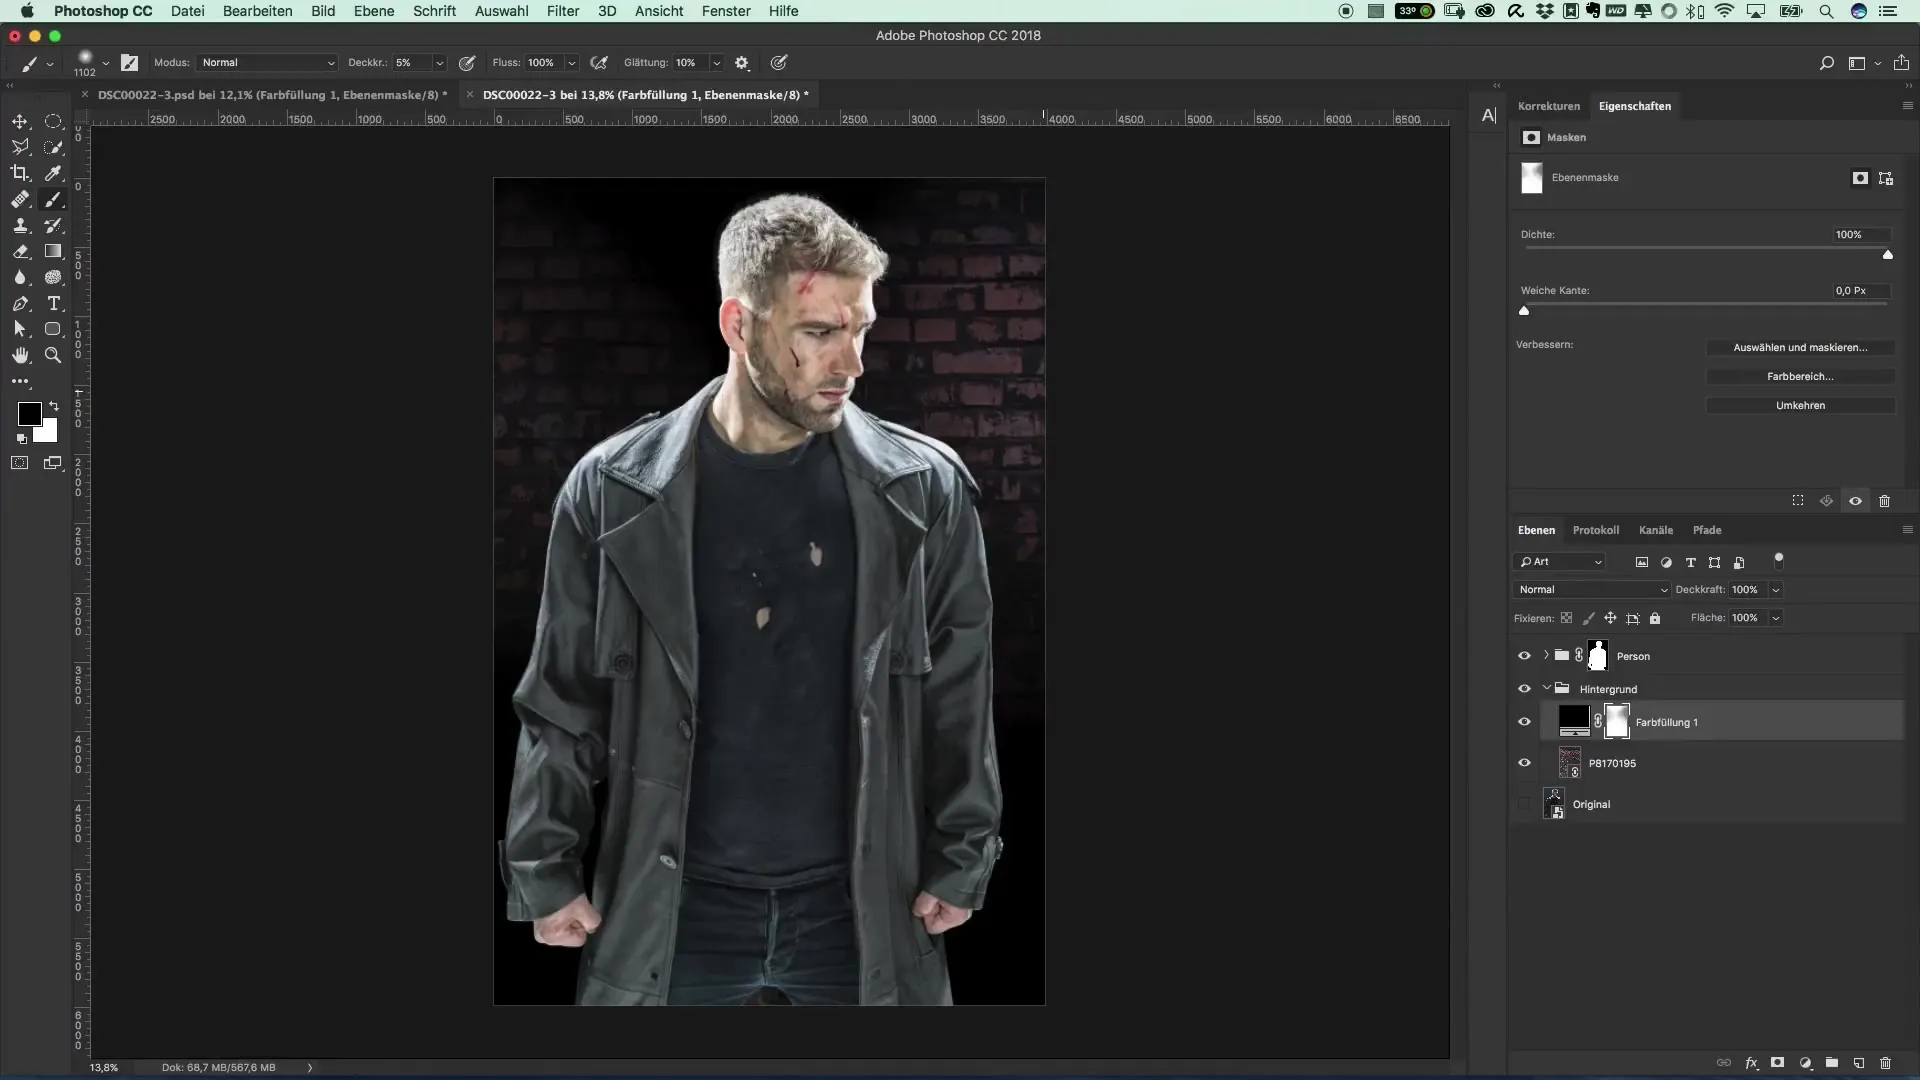
Now that you have a blank layer, you need to set the foreground and background colors. Make sure they are set to black and white. This color choice is crucial for the fog that we will generate shortly.
Now comes the exciting part: Select the Filter menu item, followed by “Render Filter” and then go to “Difference Clouds”. This filter will create your fog effect. You will quickly see how the fog spreads across the image, adding visual depth.

Once the fog is visible, you need to adjust the layer's blending mode. Set it to “Negative Multiply” – this will better integrate the fog into the image and make it look more natural.
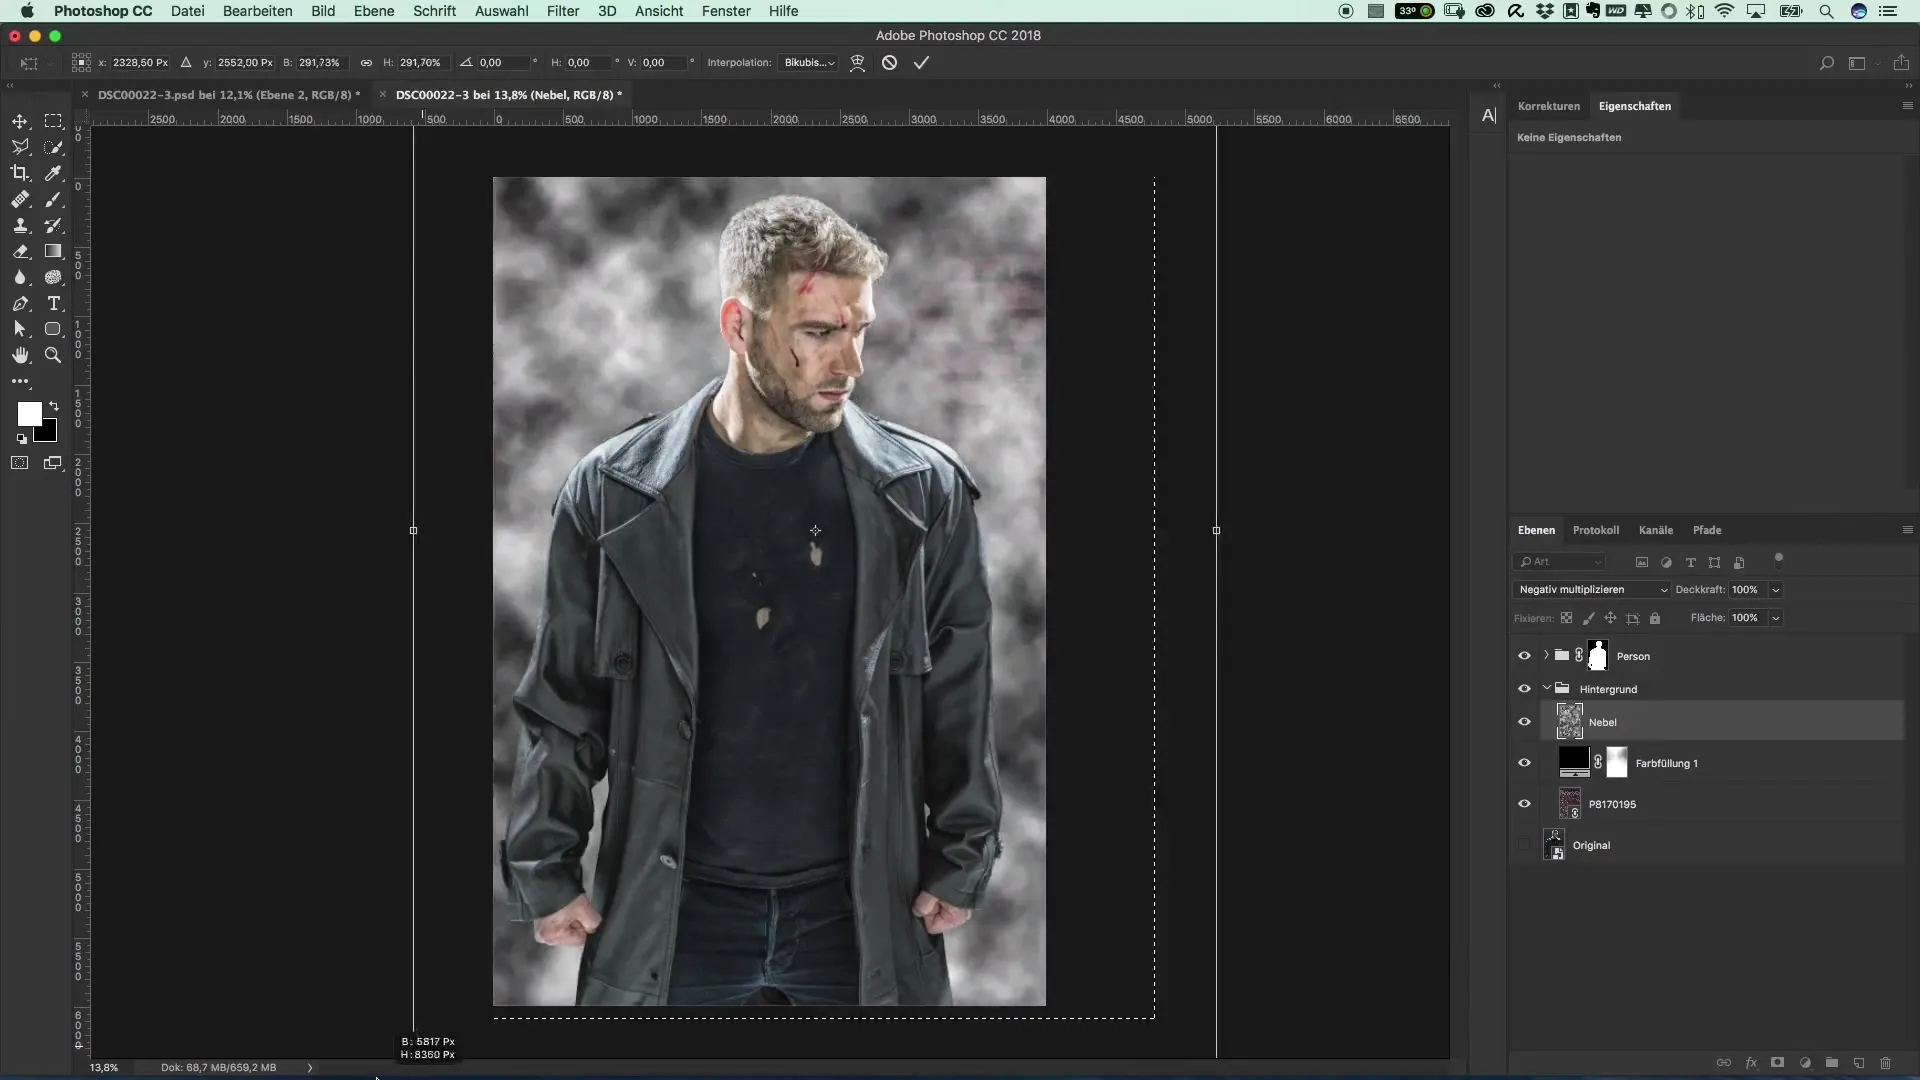
You now have a nice fog image, but the fog clouds may be too small or don't look quite right in your image. Select a small area and transform this section to make it larger. This will create a more pronounced effect of the fog in the image.
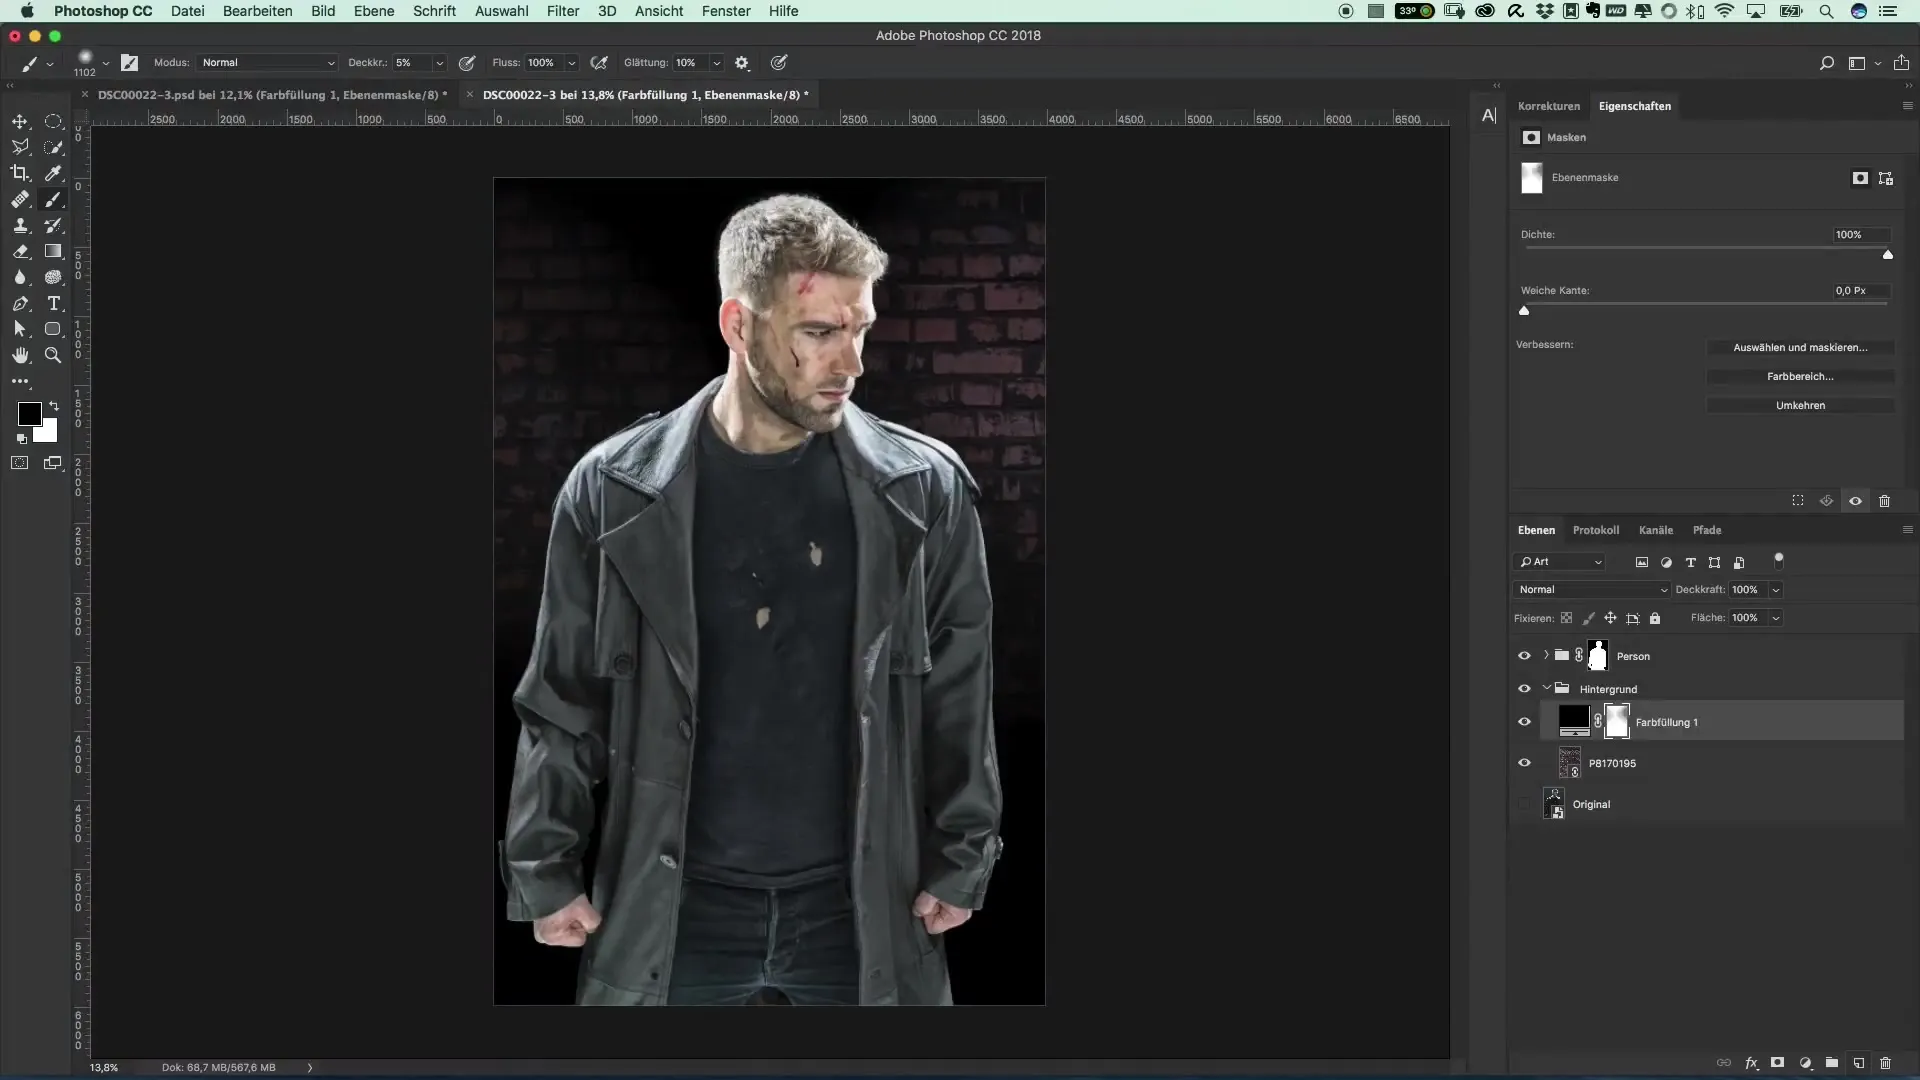
To optimally place the fog, now add a mask. This allows you to subtly integrate the fog into the image. Choose a black mask and select the brush with low opacity, about 5-10%. This will help you to insert the fog subtly without being too intrusive.
Now is the moment when you gently paint the fog into the image with the brush. Keep the opacity low to ensure the fog effect appears soft and harmonious. Depending on your image, you will quickly notice the change.
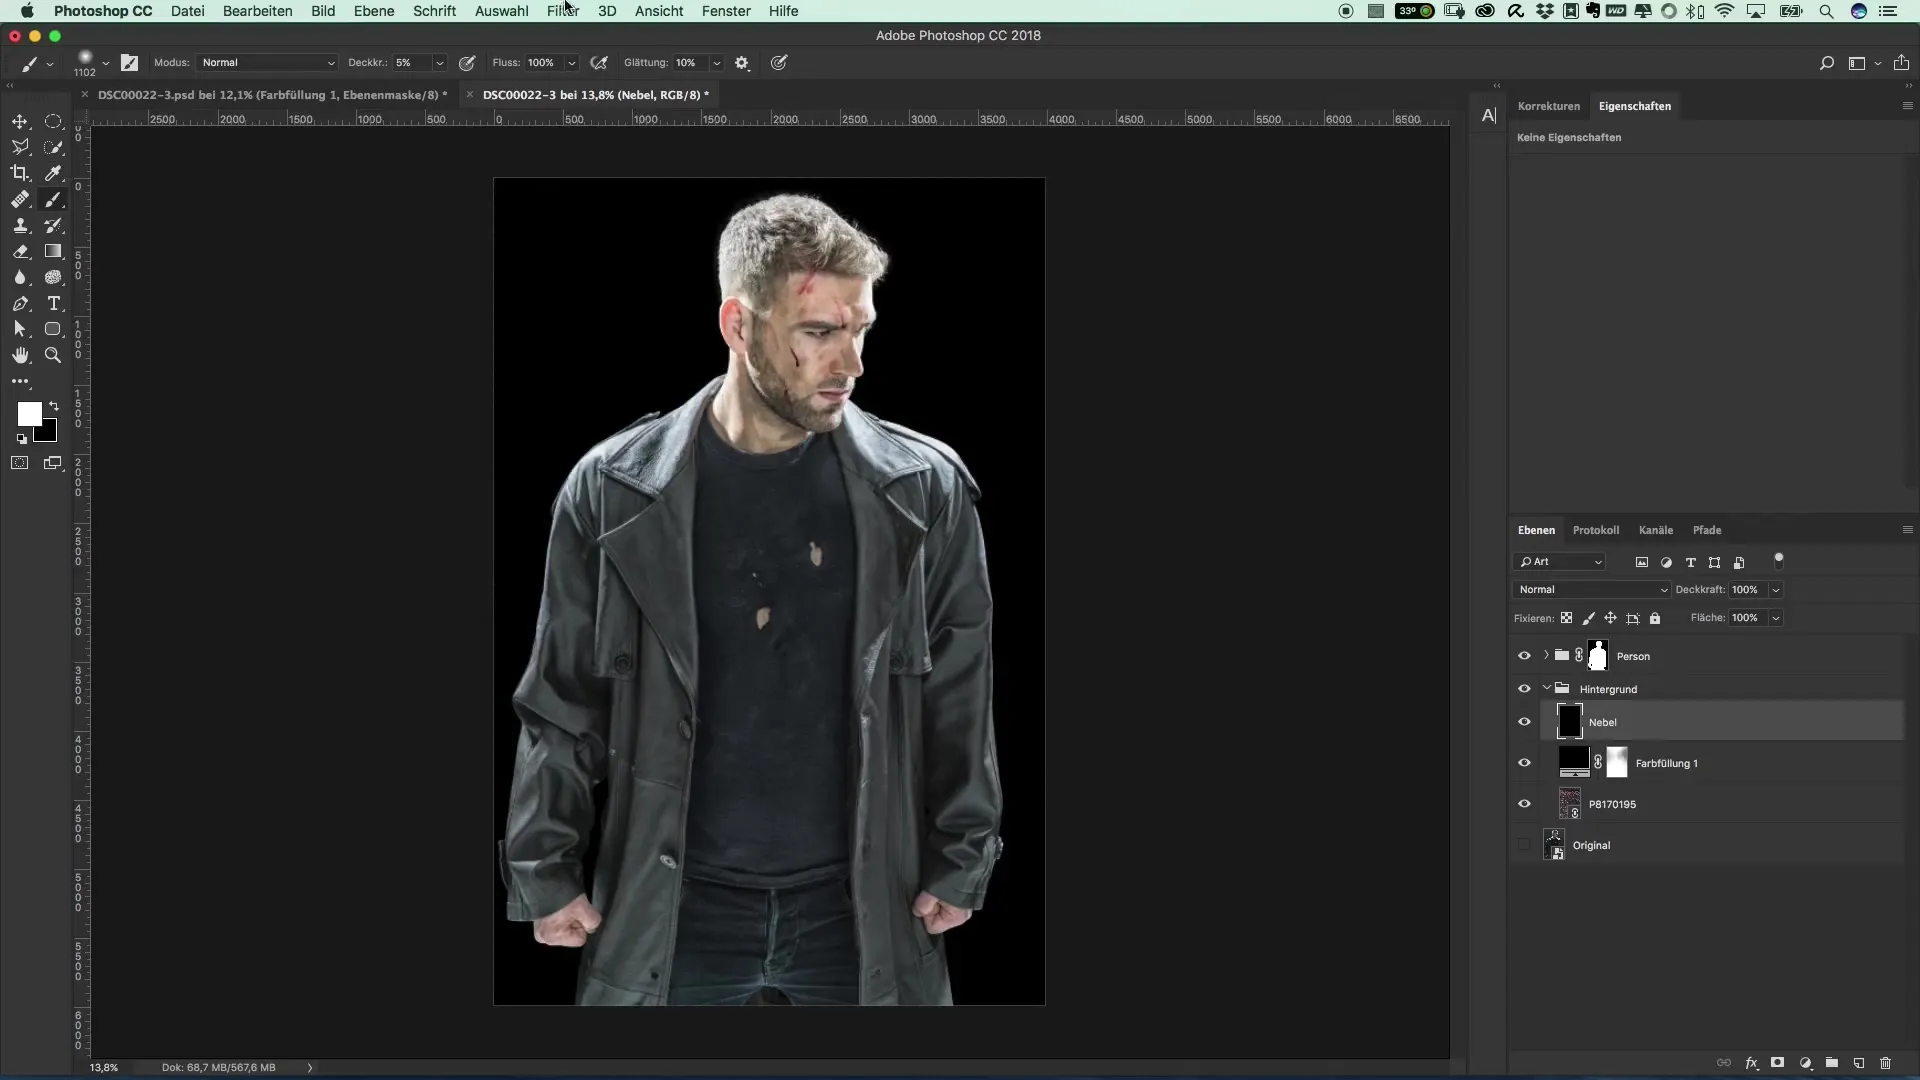
If you find that some areas have become too flat, you can edit them with the same black mask. Simply paint over the relevant areas to make them deeper and darker again. This will create more contrast between the fog and the image content.

When you are satisfied with the fog, it is time to position it correctly in the image. Select the fog group and the original file, and move the fog slightly down to create more space. Make sure the composition remains harmonious.
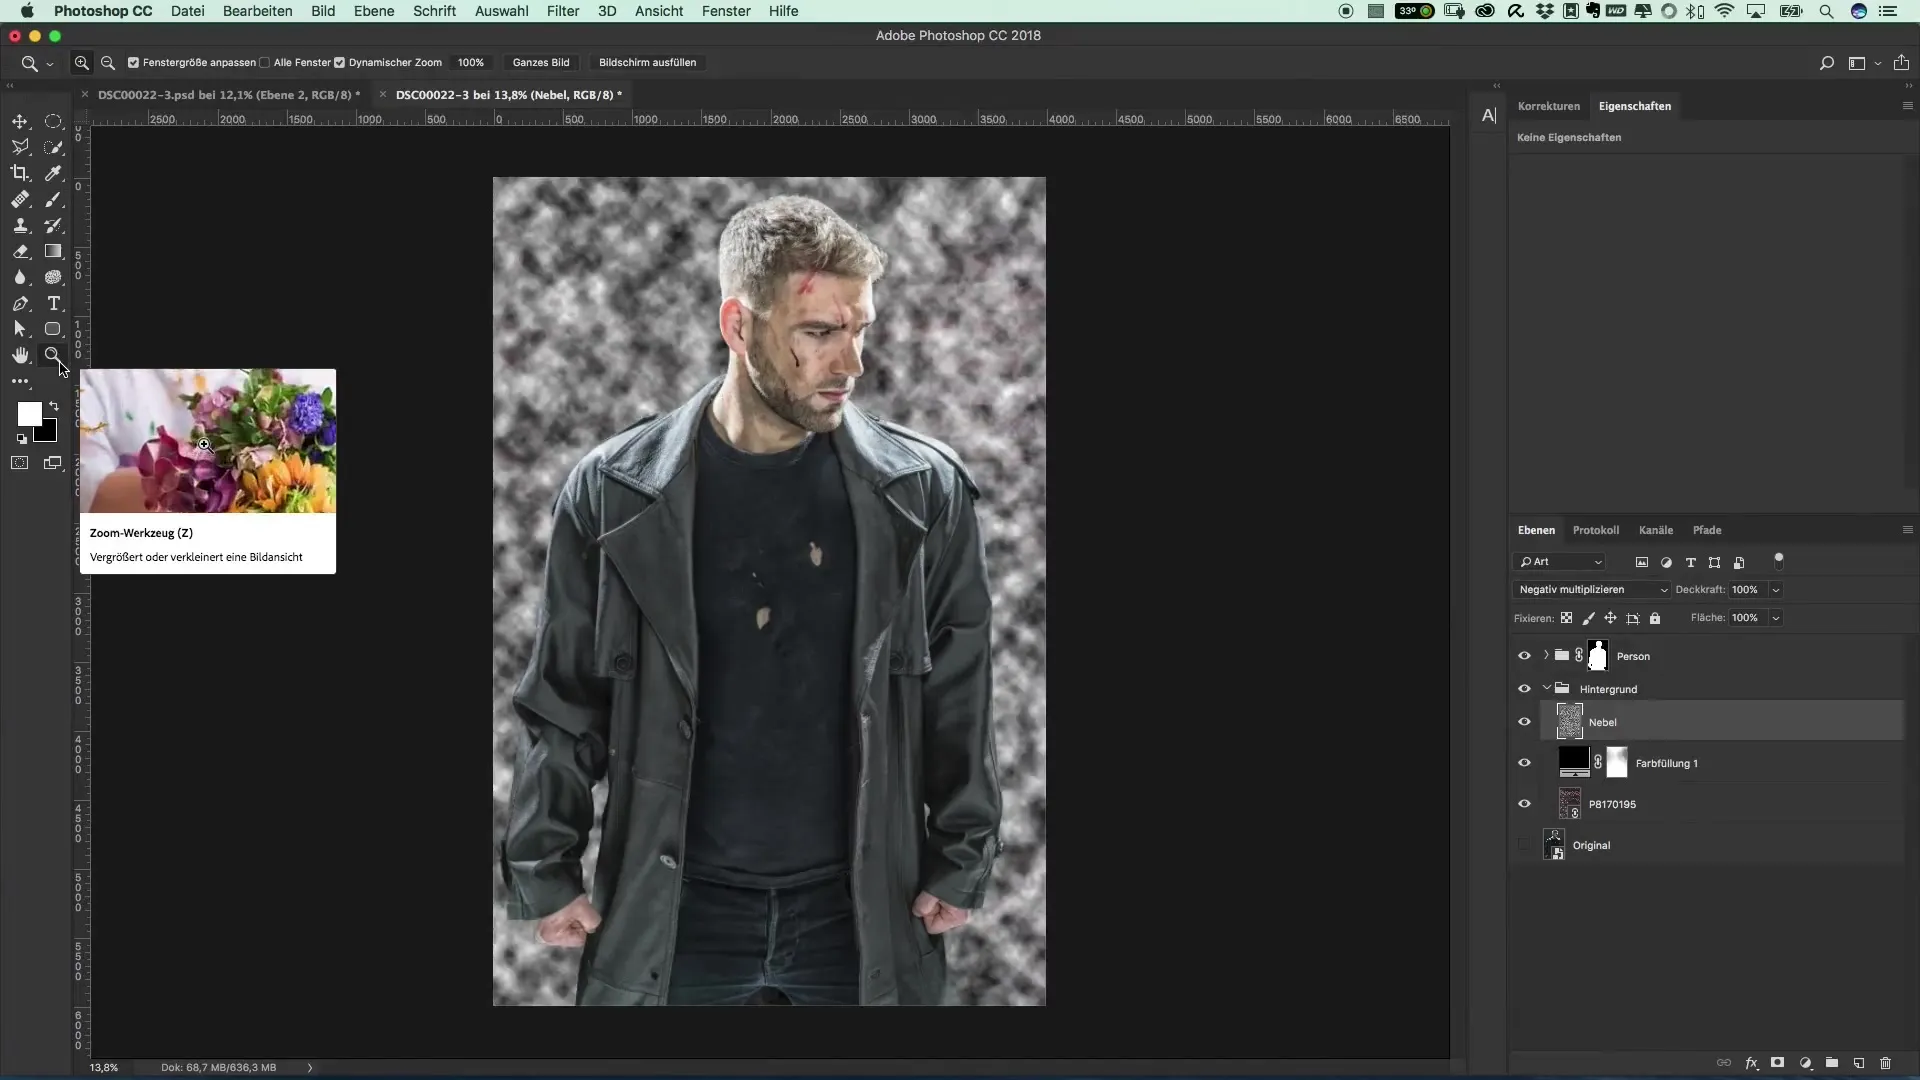
Finally, compare your image “before” and “after.” You will see how much influence the fog has on the overall effect of your subject. It is fascinating to experience how such simple adjustments can make huge differences.
Summary – Popular Movie Posters and Cinema Effects: The Style of The Punisher – 13 Easy Fog Effects
By following the steps in this guide, you can achieve an impressive fog atmosphere in your image compositions. With simple techniques in Photoshop and a touch of creativity, your image will acquire a whole new atmosphere that impressively reflects the style of “The Punisher.”
Frequently Asked Questions
How can I adjust the fog later?You can change the opacity of the fog mask or edit individual areas with the black mask to adjust the visibility of the fog.
What tool do I need for editing?This guide uses Adobe Photoshop, as the described filters and functions are available there.
Can I use other colors as well?Yes, you can experiment with different color combinations. However, make sure it leaves a harmonious overall impression.
