The insertionof a new background into a scene can drastically change the overall visual impression of an image. In this guide, you will learn how to effectively insert a background into your image to enhance the overall picture and achieve a consistent color mood. With specific tips and techniques, we will show you how to find the right balance between the subject and the background. Let’s dive in right away.
Main Insights
- Pay attention to the mood and lighting conditions when selecting the background.
- The distance between the subject and background affects the image depth.
- RAW files allow flexible adjustments to colors and brightness.
- With the right tools, you can optimize the contrast and clarity of the background.
Step-by-Step Guide
To insert a new background into your scene, follow these steps:
Selecting the Background and Initial Preparations
First, you need to select a suitable background. It should match the mood of your image. You can use a location you photographed yourself to achieve an organic look.

Create a new group for your background. This keeps the project organized and makes future adjustments easier.
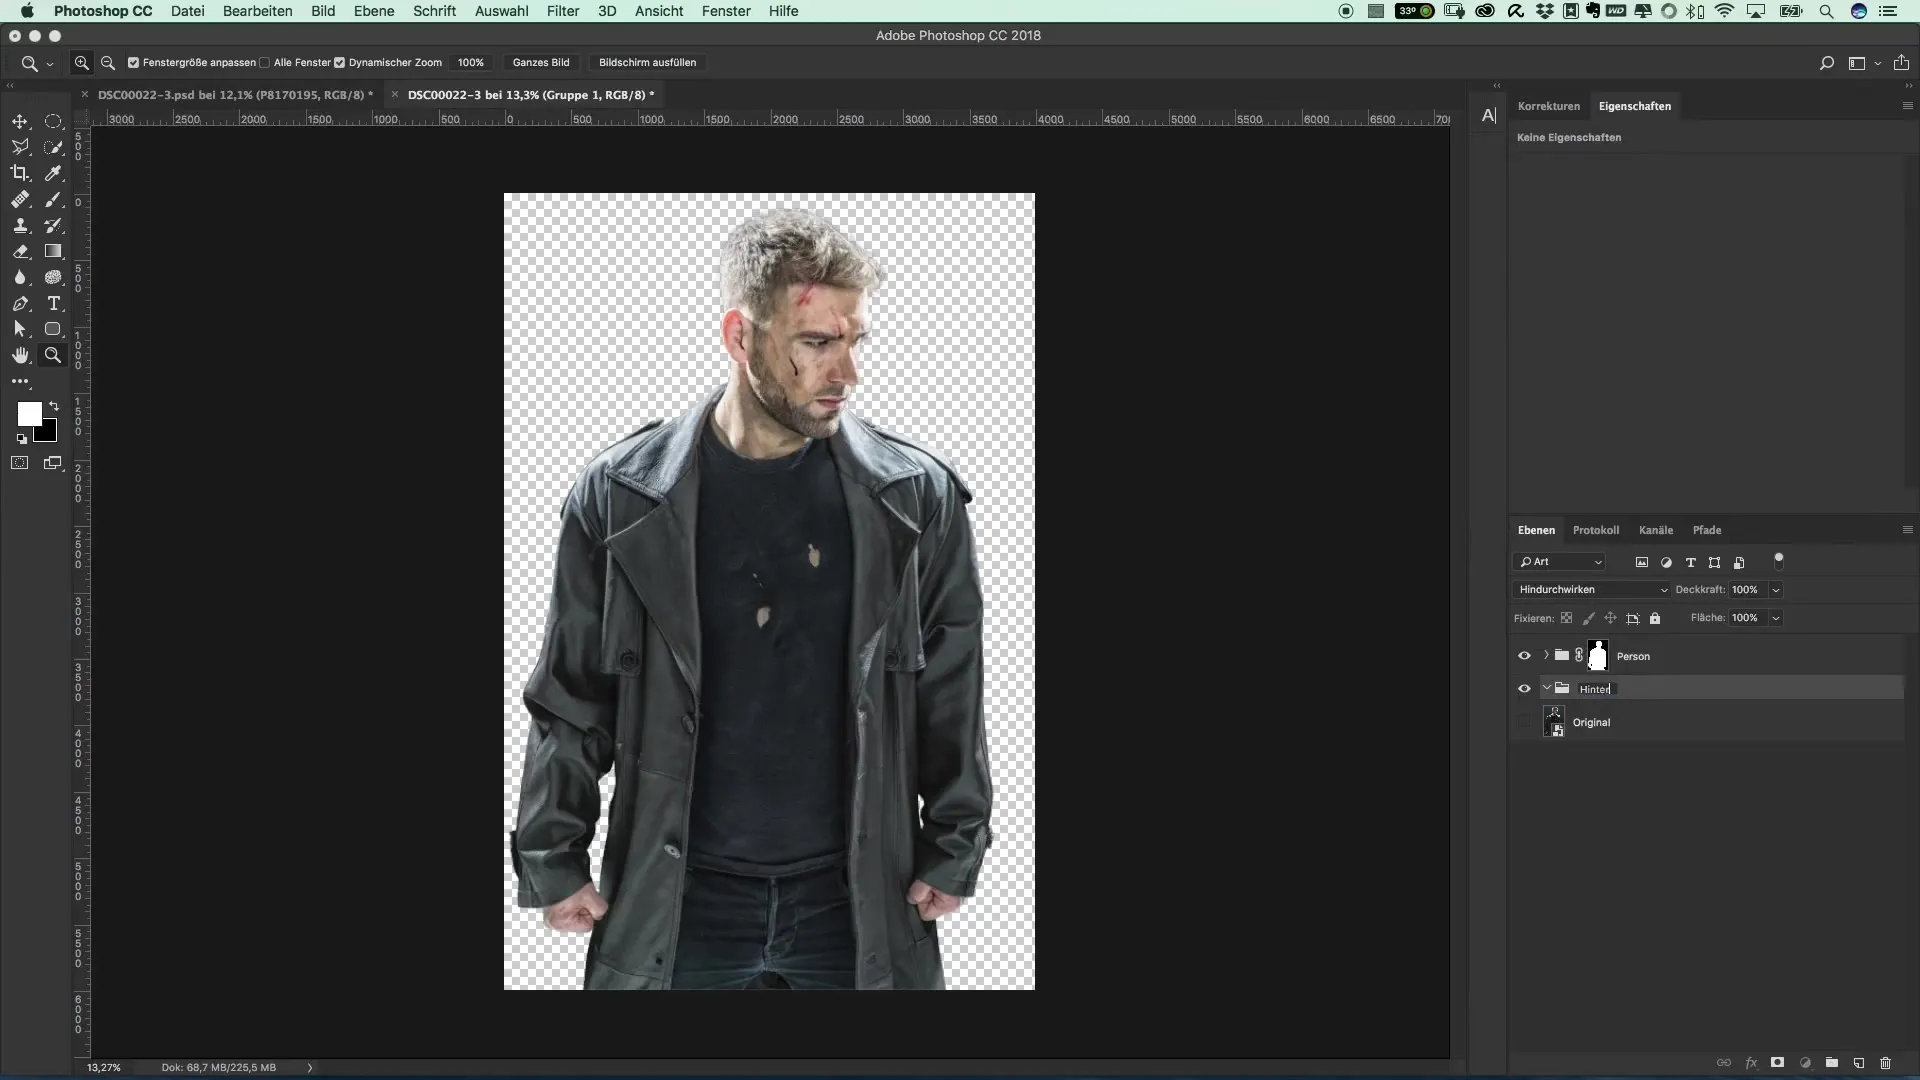
Inserting and Positioning the Background
Insert the background into the image. Initially, you should set the position roughly without immediately starting fine adjustments. Consider how far the subject should be from the background. With small stones, the background can appear farther away, while it gets closer when the stones are represented larger.
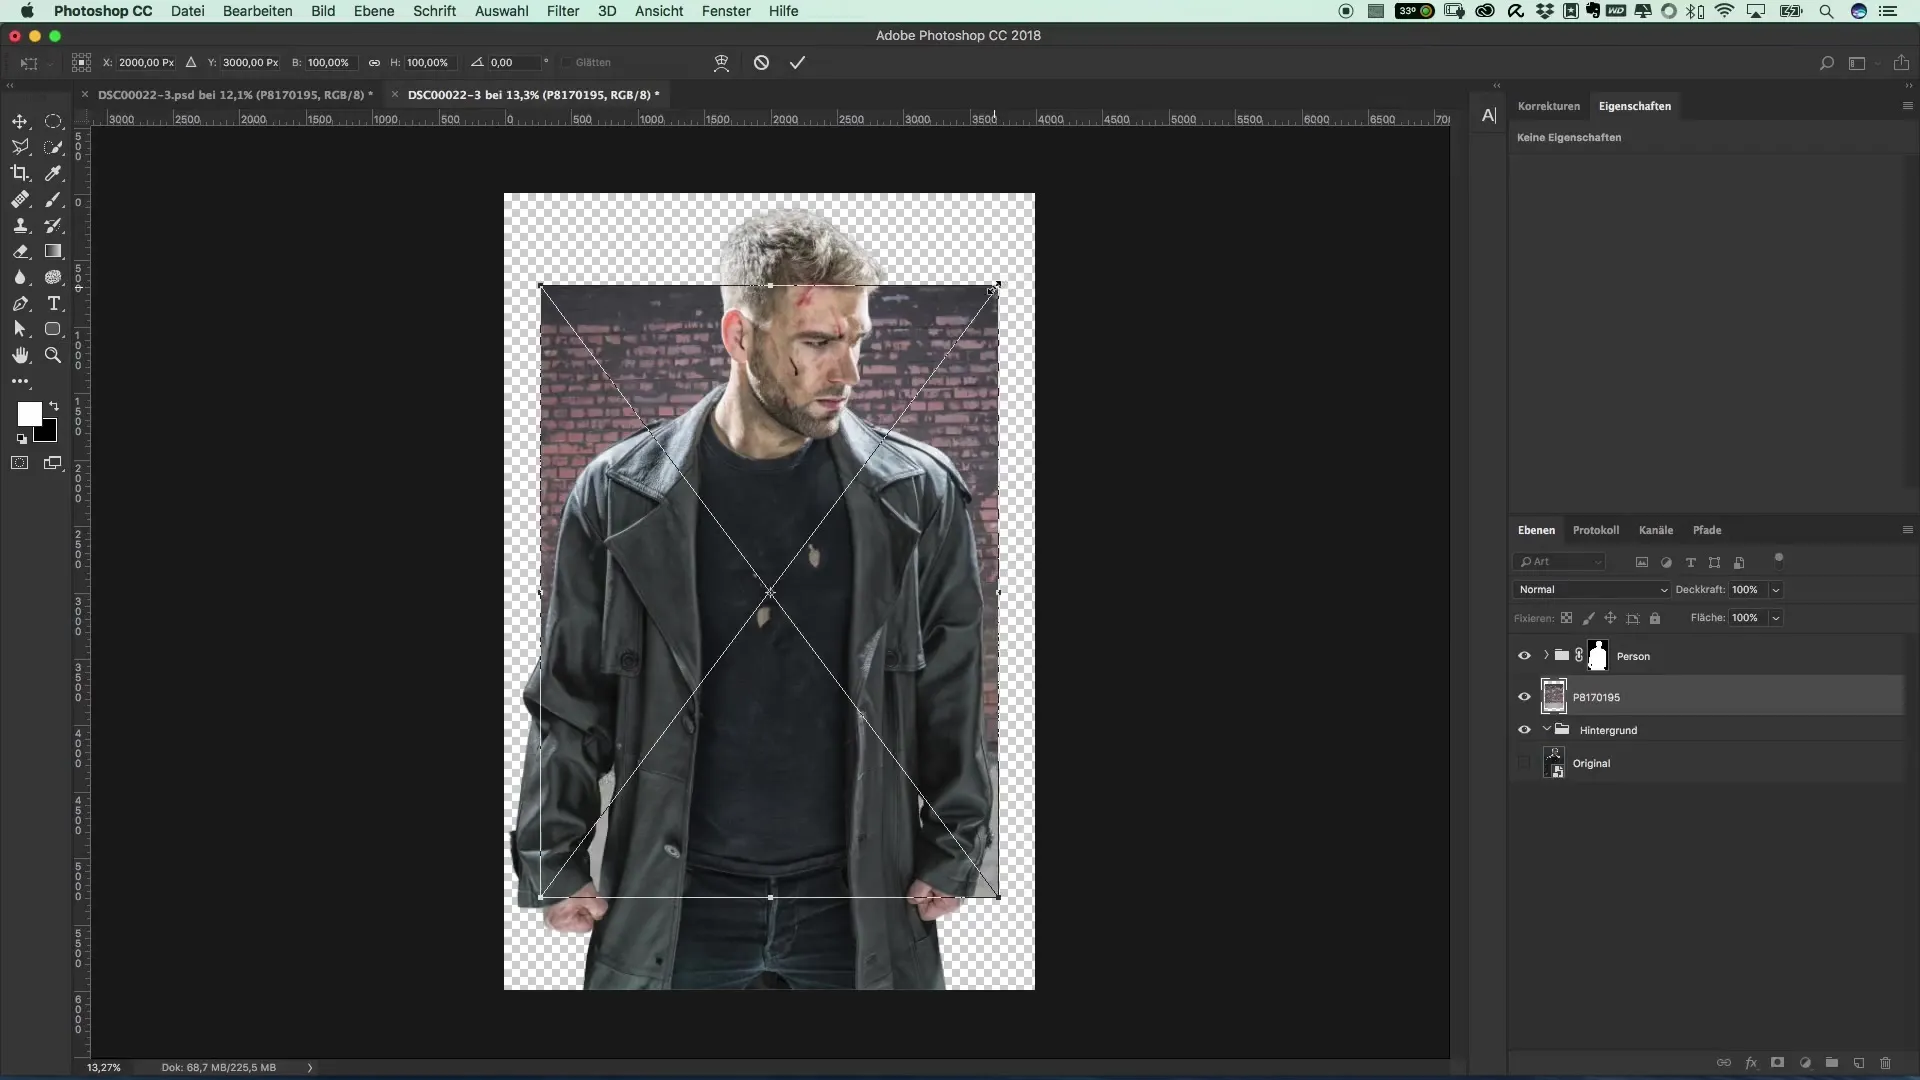
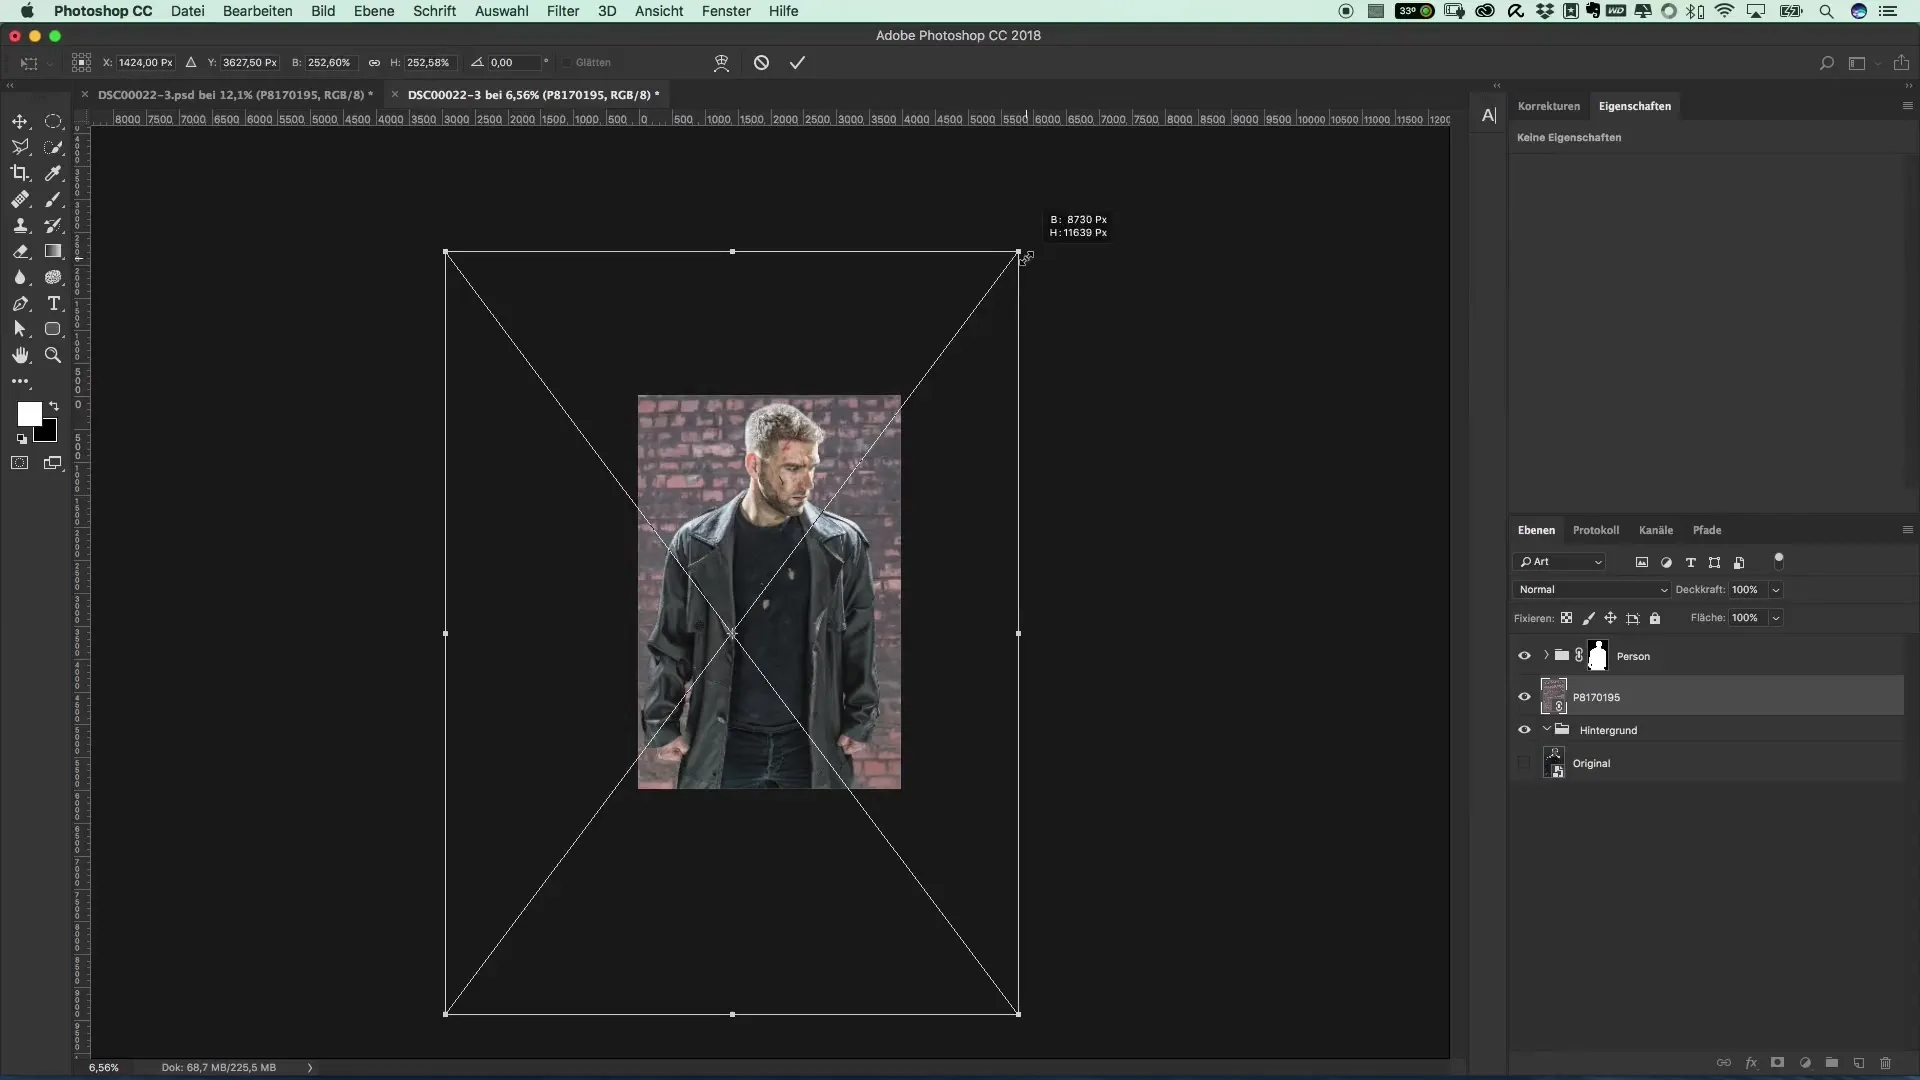
Now it’s important to scale the background to achieve the desired effect. Don’t forget to slightly rotate the background to set its perspective correctly.
Making Color Corrections
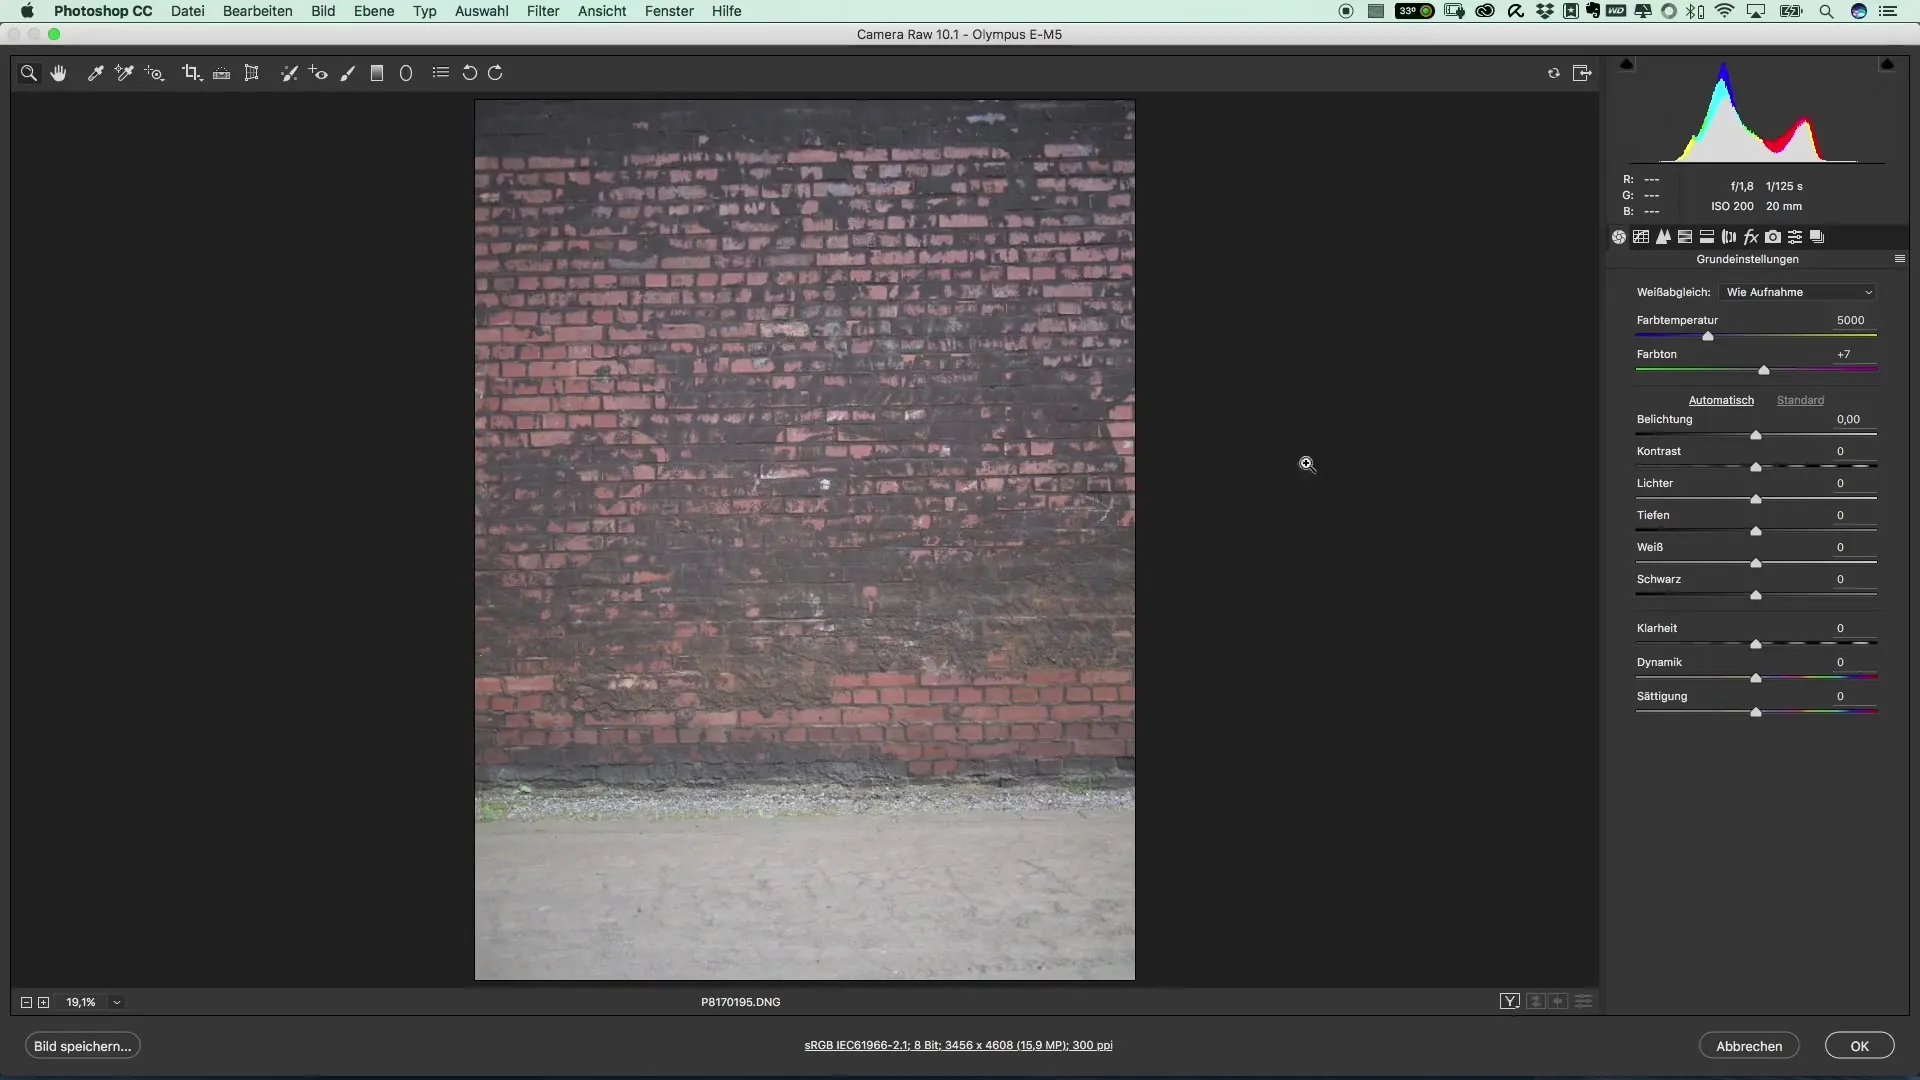
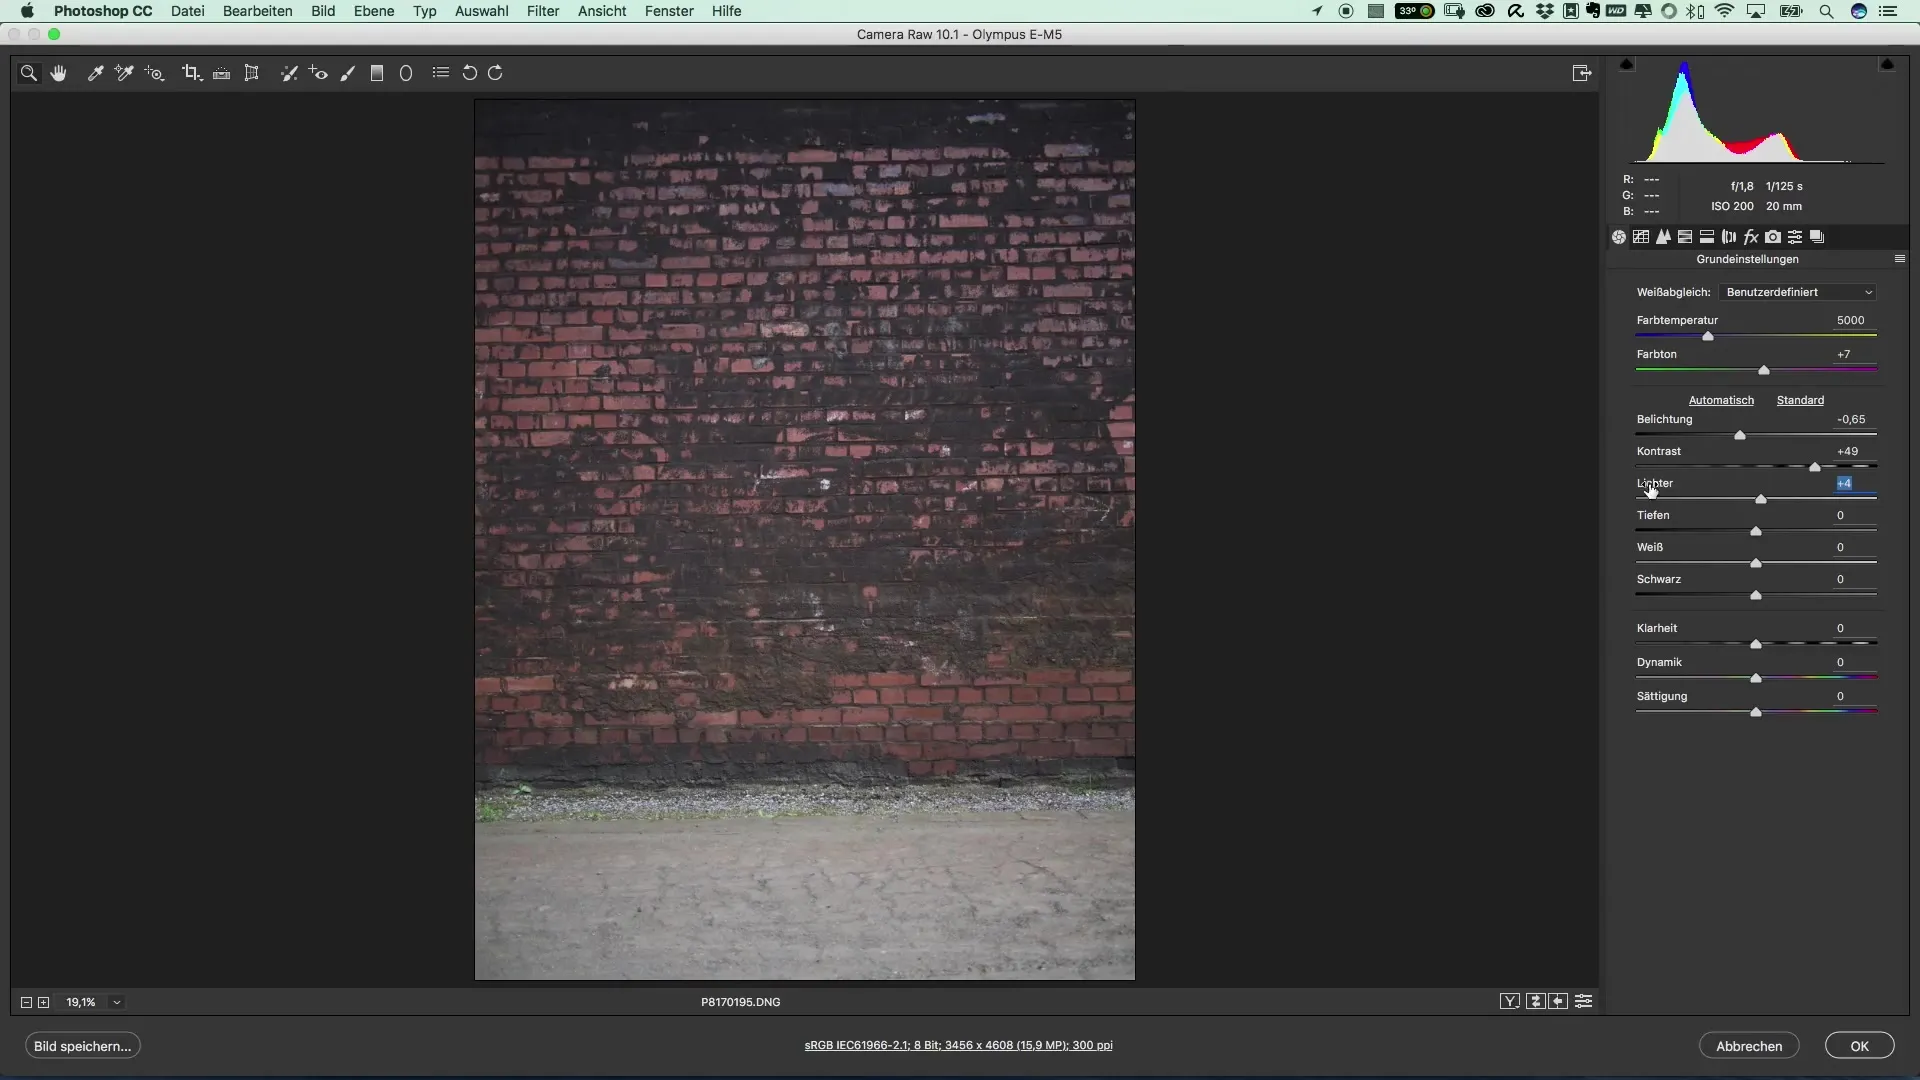
Often, the color scheme of the background doesn’t directly match the scene. Therefore, you can make adjustments. Since you are working with a RAW file, you have the option to effectively change the color temperature and brightness.
Start with brightness. Darken the background as needed to create more contrast. You should also adjust the lights and shadows to achieve a harmonious overall picture.
Optimizing Contrast and Clarity
Enhancing the contrast can make the background appear more vibrant. You can use the clarity slider to emphasize the transparency and structure of the background.
Make sure not to overdo it so that the background doesn’t appear busy, but remains well integrated into the image composition.
Fine-tuning the Background
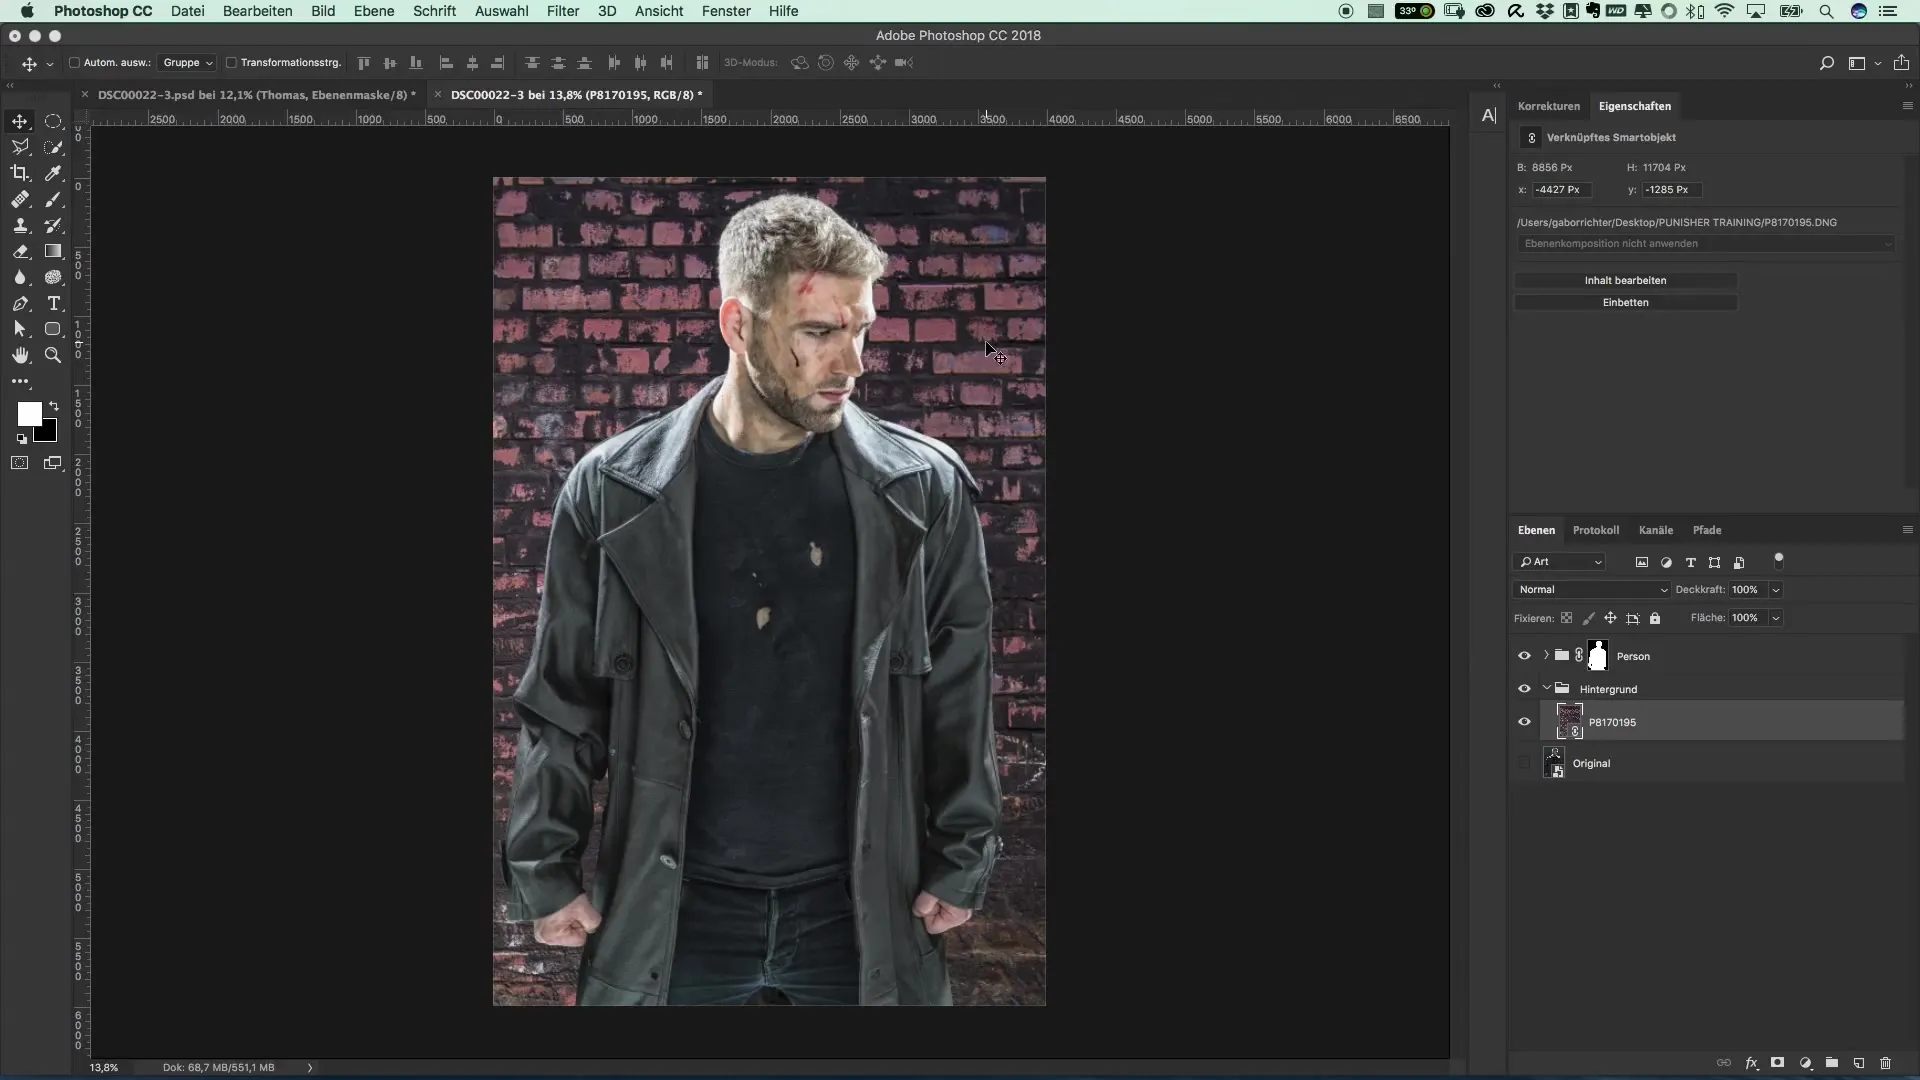
Go through the final adjustments to ensure all elements work well together. The top area of the background should be light, while the lower parts can be darker. This gives the image a natural structure.
Final Assessment
Take a look at the overall picture. You should be able to be satisfied with the respective color correction. Ensure that the background and subject harmonize well and that the image has a good depth effect.

Summary – Popular Movie Posters and Cinema Effects: How to Position a New Background While Editing
The placement of a new background can significantly influence the atmosphere of an image. By selecting the right background and adjusting brightness, contrast, and clarity, you can give your images a professional look. With this step-by-step guide, you are well-equipped to enhance your own projects. Good luck with your creative work!
FAQ
How do I choose the best background?Select a background that matches the mood and lighting of your main subject.
How does the distance of the subject to the background affect the effect?A greater distance makes the background appear farther away, while a smaller distance adds more depth.
Can I adjust the color of the background afterwards?Yes, with RAW files, color temperatures and brightness can be easily adjusted.
What is the clarity slider?The clarity slider enhances the detail accuracy in an image but can also be overdone.
How important is contrast adjustment?Targeted contrast adjustment significantly increases visual impact and improves image composition.


