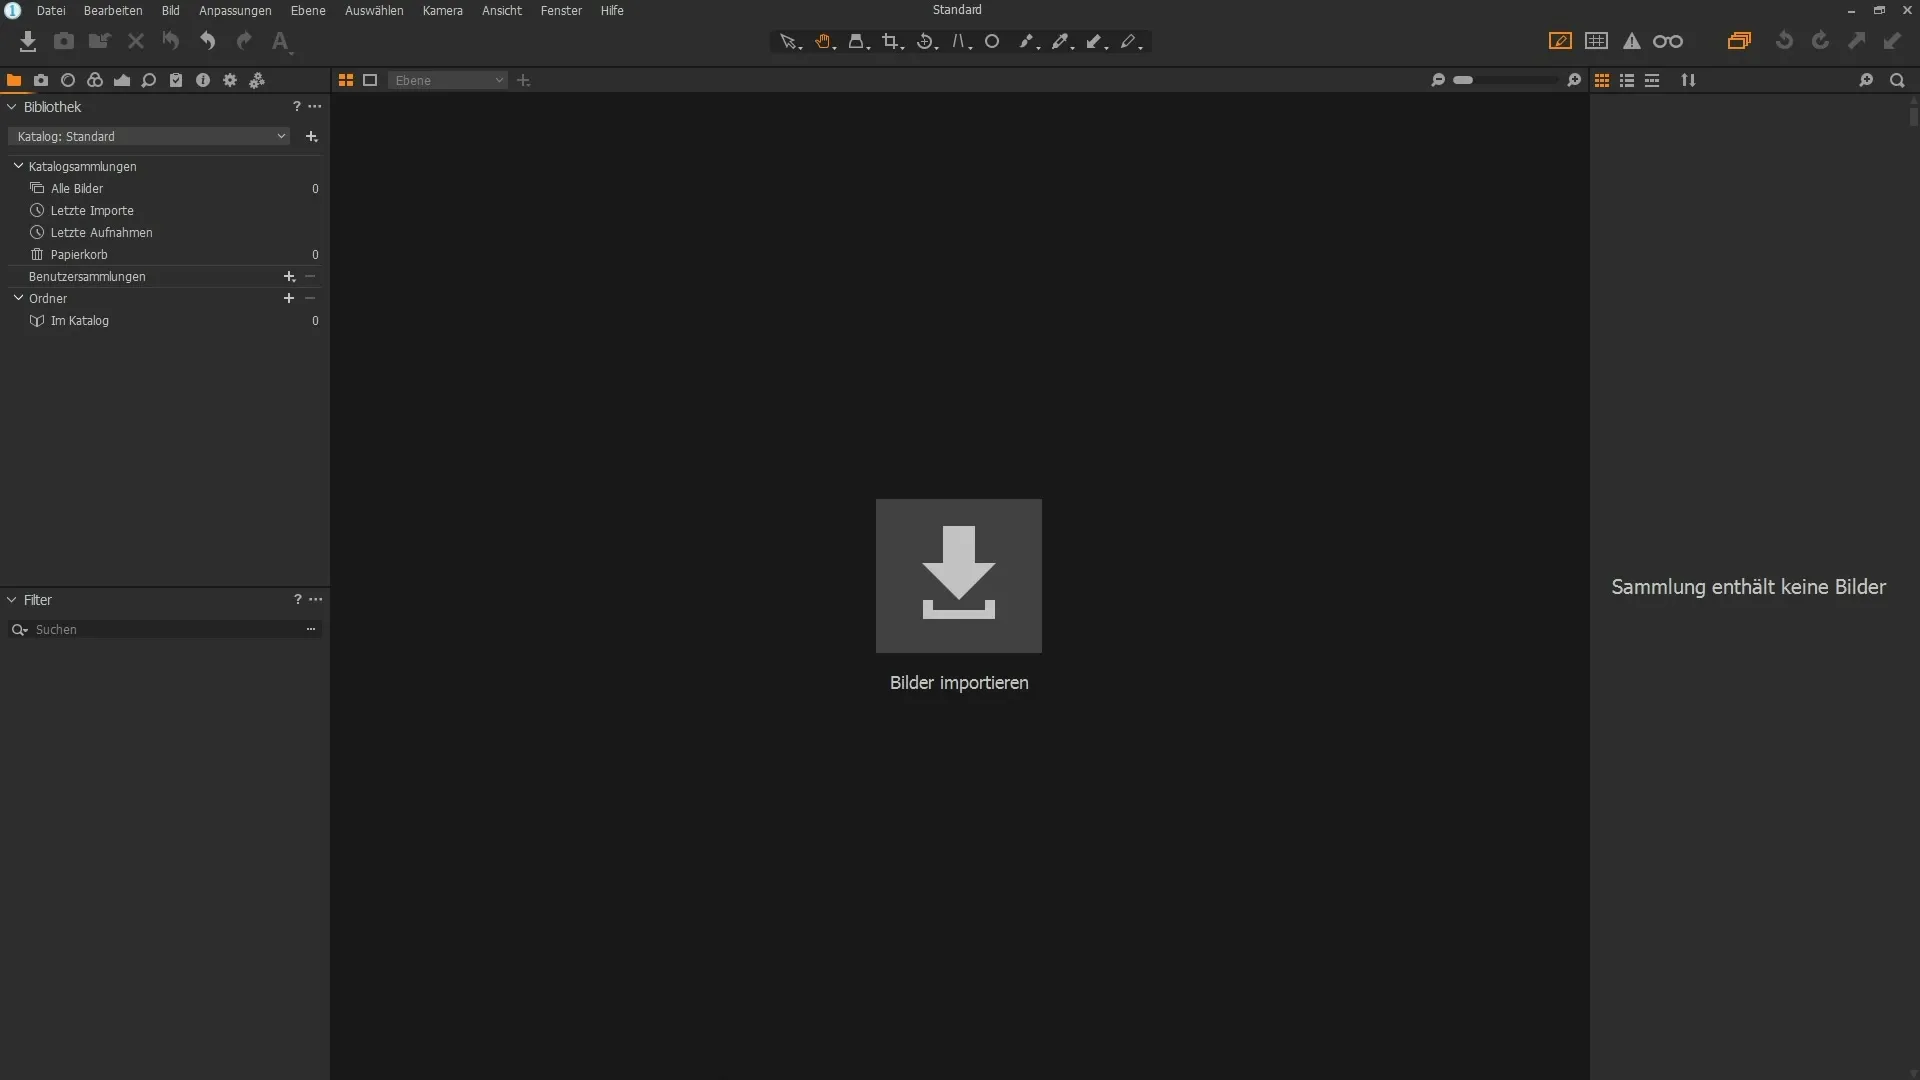
CaptureOnePro allows you to customize the user interface, enabling you to work more efficiently. After working with this software for a while, you've surely noticed which tools you use regularly and which are of little help to you. This guide will show you how to personalize your workspace and save it for easy access at any time.
Main Insights
- You can customize the toolbar and the tool column to display only the frequently used tools.
- It is possible to create your own workspaces and switch between them.
- Workspaces can be saved, deleted, or reset to maintain clarity.
Step-by-Step Guide
Start by customizing the toolbar of Capture One Pro. You will quickly find that it allows you to show only the essential tools you really need. To customize the toolbar, right-click on an empty area of the toolbar. Here you can click on the “Customize” option to open a dialog box listing all available tools.

You can now either drag these tools into the toolbar or drag existing icons back into the dialog box to remove them. An example could be the icon for annotations in an image that you do not use. Just drag it into the dialog box to remove it from the toolbar.
If you want to make further adjustments, you can also add new icons. Select a desired tool and drag it to the desired location in the toolbar. For example, if you frequently need the guideline to better assess the image, you can easily add it there. Don't forget to save your layout by clicking on “Done.”
Now take a look at the tool column on the left side. This includes various categories of tools. Again, it makes sense to remove categories you never use. Right-click on an empty area in the tool column and choose the option “Remove Tool Tab.” For example, if you do not use the “Stacks” category, you can remove it here.
Additionally, you can add more categories that are relevant to your workflow. Creating a tab like “Black and White” can help you find the corresponding filters quickly. To do this, right-click again and select “Add Tab” to arrange the new tools centrally.
Now you have the freedom to arrange the various filters according to your needs. If this provides an enhancement for your work, you can implement this by adding or reorganizing the individual filters. When customizing, make sure you not only arrange the tabs, but also keep the palette for special adjustments floating for quick access.
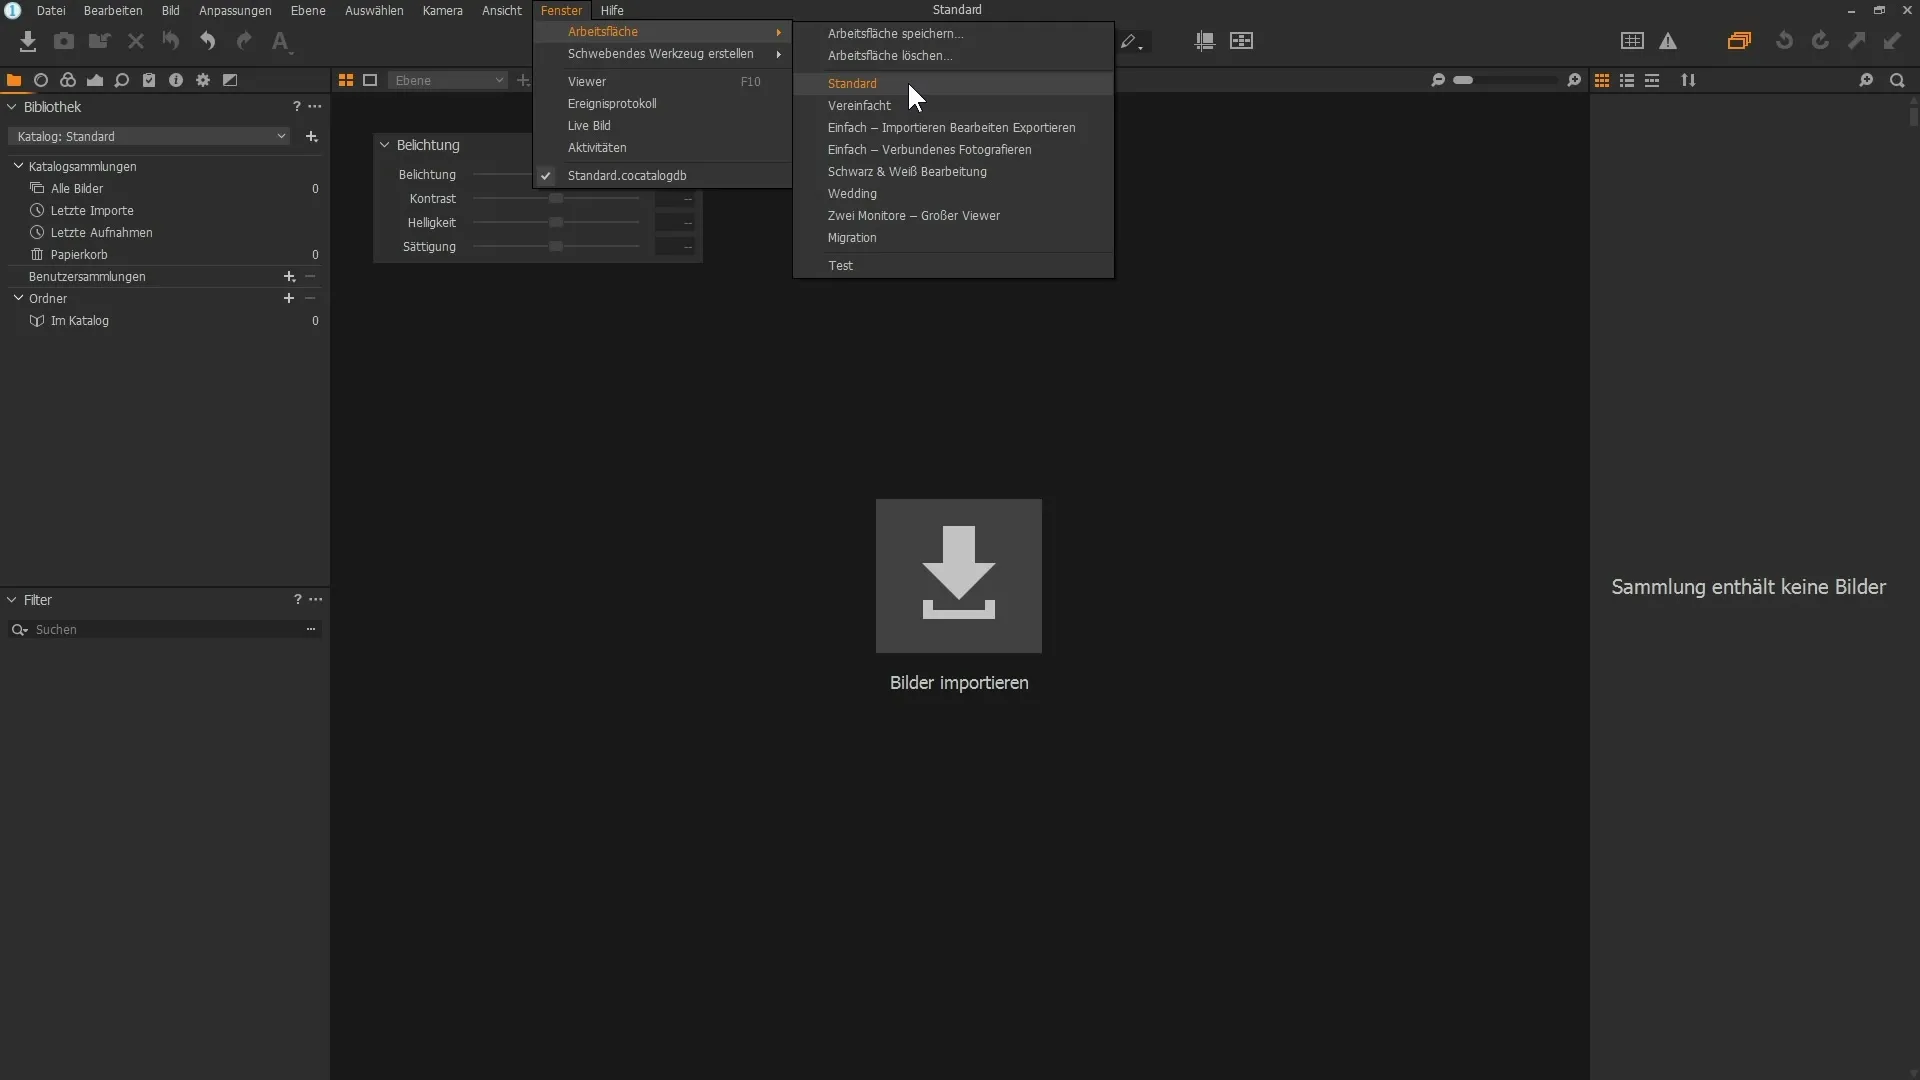
To save your personalized settings, go to “Window” and select “Save Workspace.” Rename the workspace to something meaningful, such as “Test,” and click “Save.” With this, you have secured your current workspace and can access it at any time.
If you wish to restore the default settings at any point, simply go to “Window” and then “Workspace” and reset everything to “Default.” This way, you can undo all adjustments and see the view after a fresh installation.
If you have created multiple workspaces, you can easily switch between them. This flexibility allows you to use different layouts depending on your specific workflow. Additionally, you can also delete workspaces that you no longer need by going to “Delete Workspace” and selecting the corresponding workspace.

Summary – Creating Custom Workspaces in Capture One Pro
By creating customworkspaces in Capture One Pro, you can personalize and optimize your digital workspace. You not only gain clarity but also efficiency.
FAQ
What is a workspace in Capture One Pro?A workspace is a customized user interface that saves your preferred tools and settings.
How can I customize my workspace?Right-click on an empty area in the toolbar or tool column and select “Customize” to make your adjustments.
Can I create multiple workspaces?Yes, you can create as many workspaces as you need, depending on your workflow.
How do I reset my workspace to the default view?Go to “Window,” select “Workspace,” and click on “Default.”
How do I delete a workspace?Select “Delete Workspace” and then the workspace you wish to remove.


