CaptureOnePro has established itself as an extremely concise and flexible software for photo editing. A particularly powerful feature of this software is the ability to organize editing steps across different layers. This allows you to make adjustments not only more precisely but also manage them more efficiently. In this guide, I will go into detail about how you can use layers in Capture One Pro effectivelyto optimize your images.
Main insights
- With layers, you can target your editing steps and make adjustments afterward.
- Masks allow you to select and edit specific areas of an image.
- The opacity of a layer can be adjusted to achieve various effects.
- You can show and hide layers at any time to compare changes.
Step-by-step guide
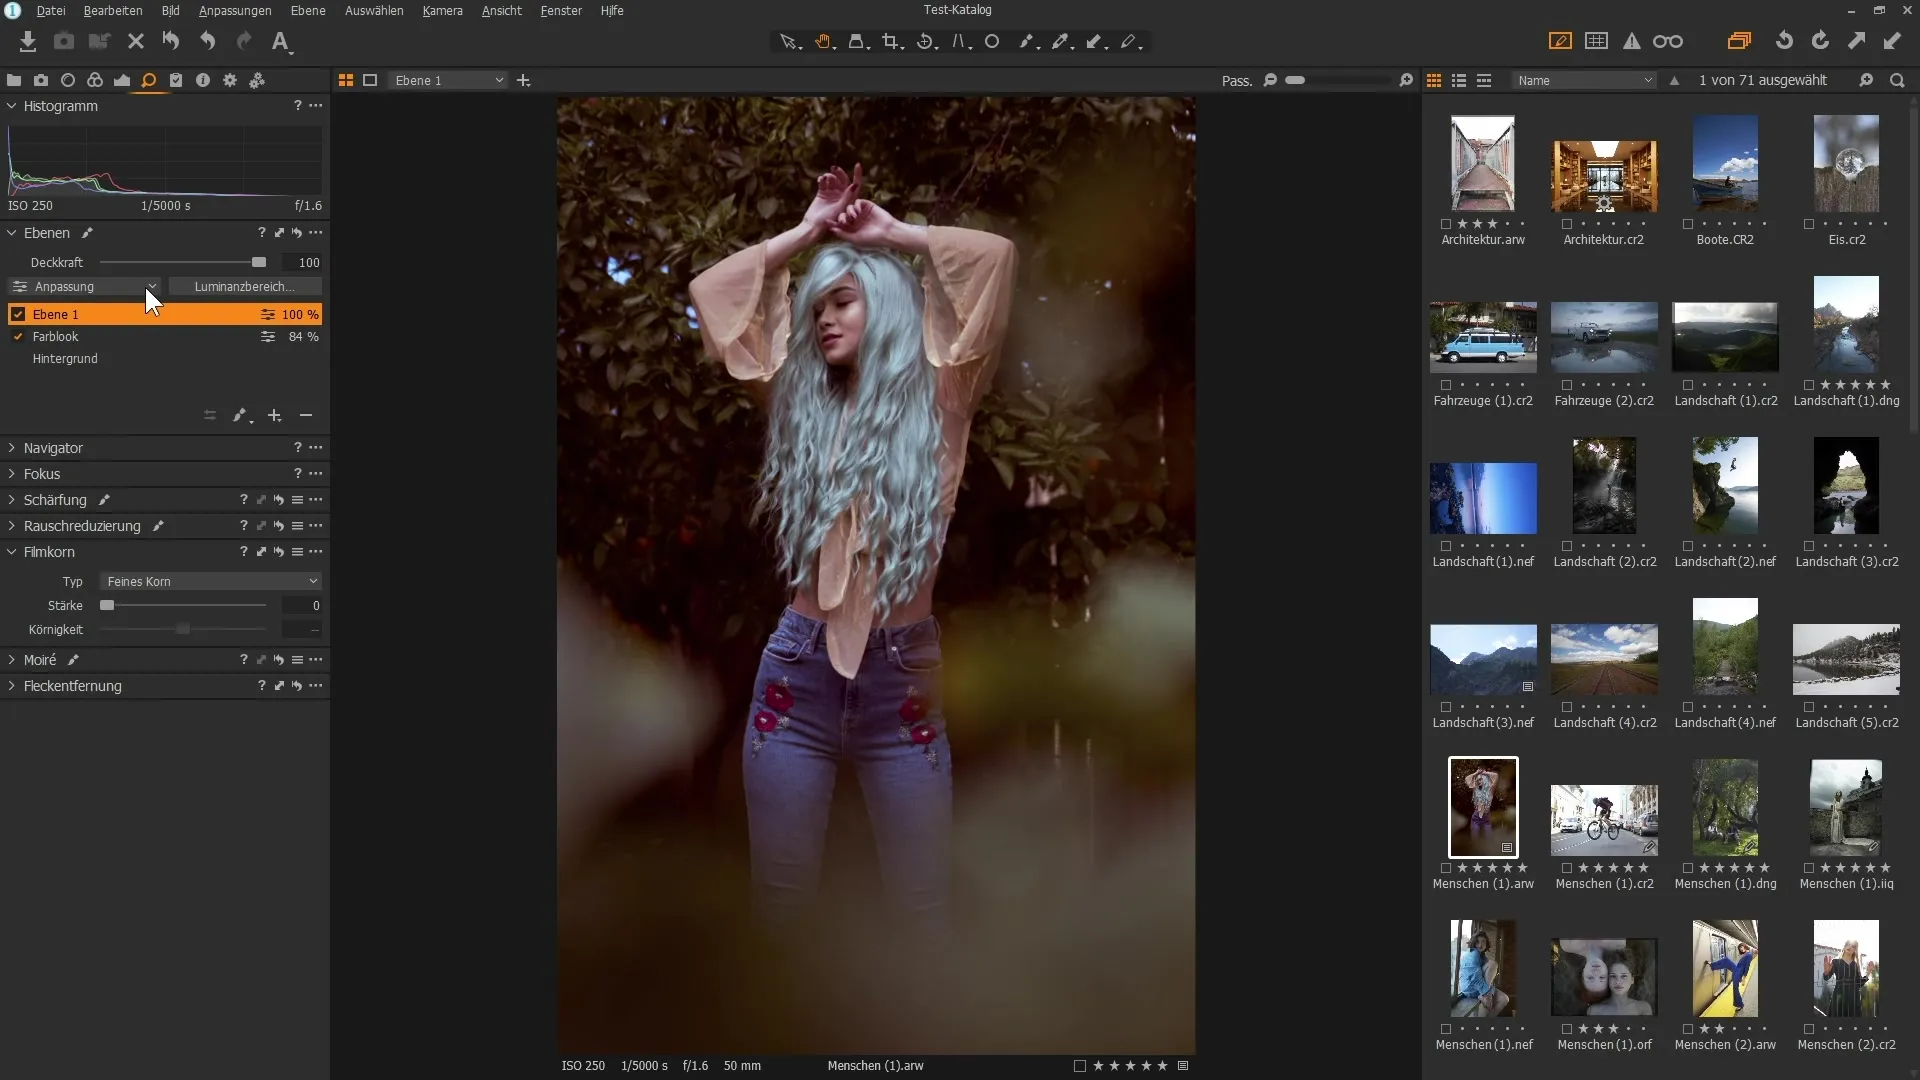
First, you need to ensure that you have the "Layers" panel open. You can find it in the upper user interface under the tabs for color and exposure settings. To activate the Layers panel, click on the corresponding icon or go to the "Window" menu and select "Layers."
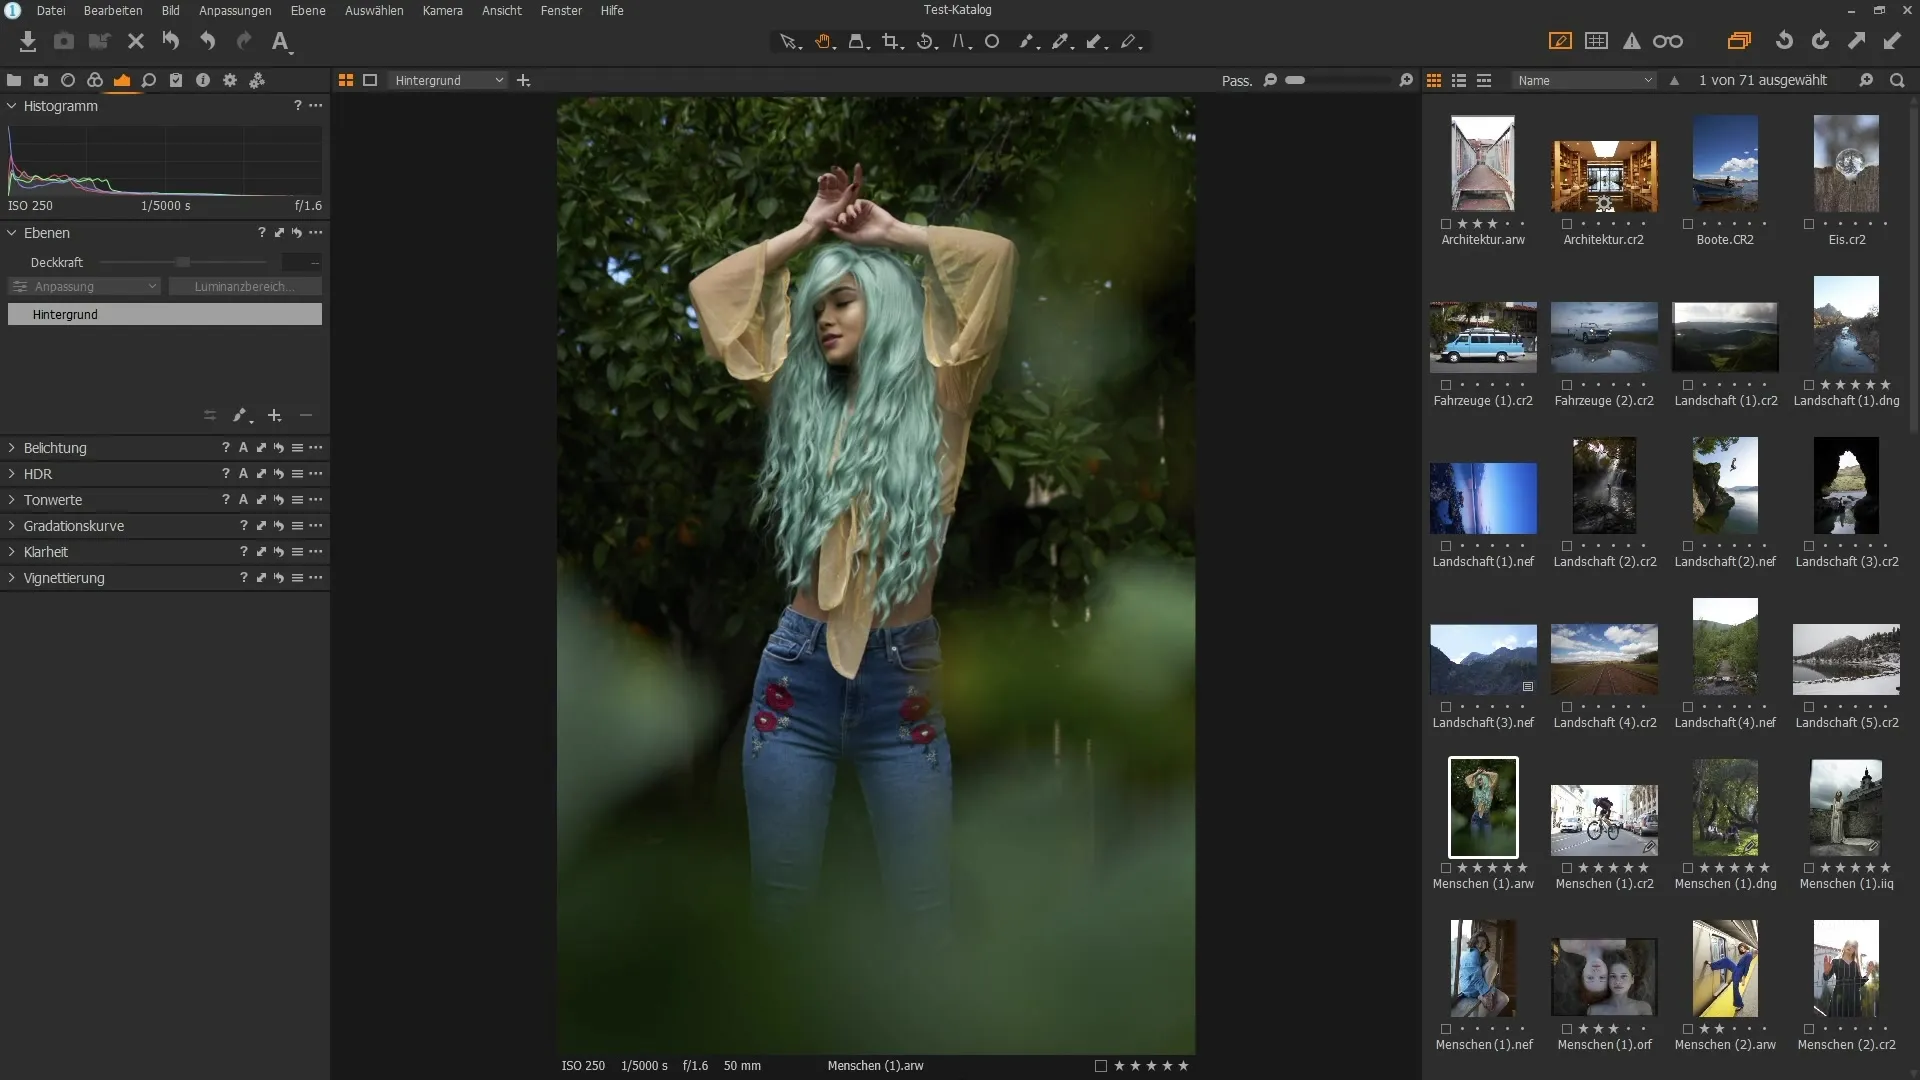
Now you see the background layer of your image. This is active by default and will be used for all changes. At this point, you can make adjustments, such as changing the color balance.
However, if you want to distribute your adjustments across separate layers, you should create a new layer. To do this, click the PLUS symbol in the layers panel. You have now created an empty layer that you can work on.
Before making changes to this new layer, it is important to work with masks. When you view the change on the empty layer, you will notice that nothing happens in the image because you do not yet have a mask. To add a mask, you can right-click on the PLUS symbol and select "New Filled Layer."
After creating a filled layer, the mask will be displayed in a red tone when you press the M key. This is so you can clearly see which area of the layer is selected. All areas that are displayed in red are active for later changes.
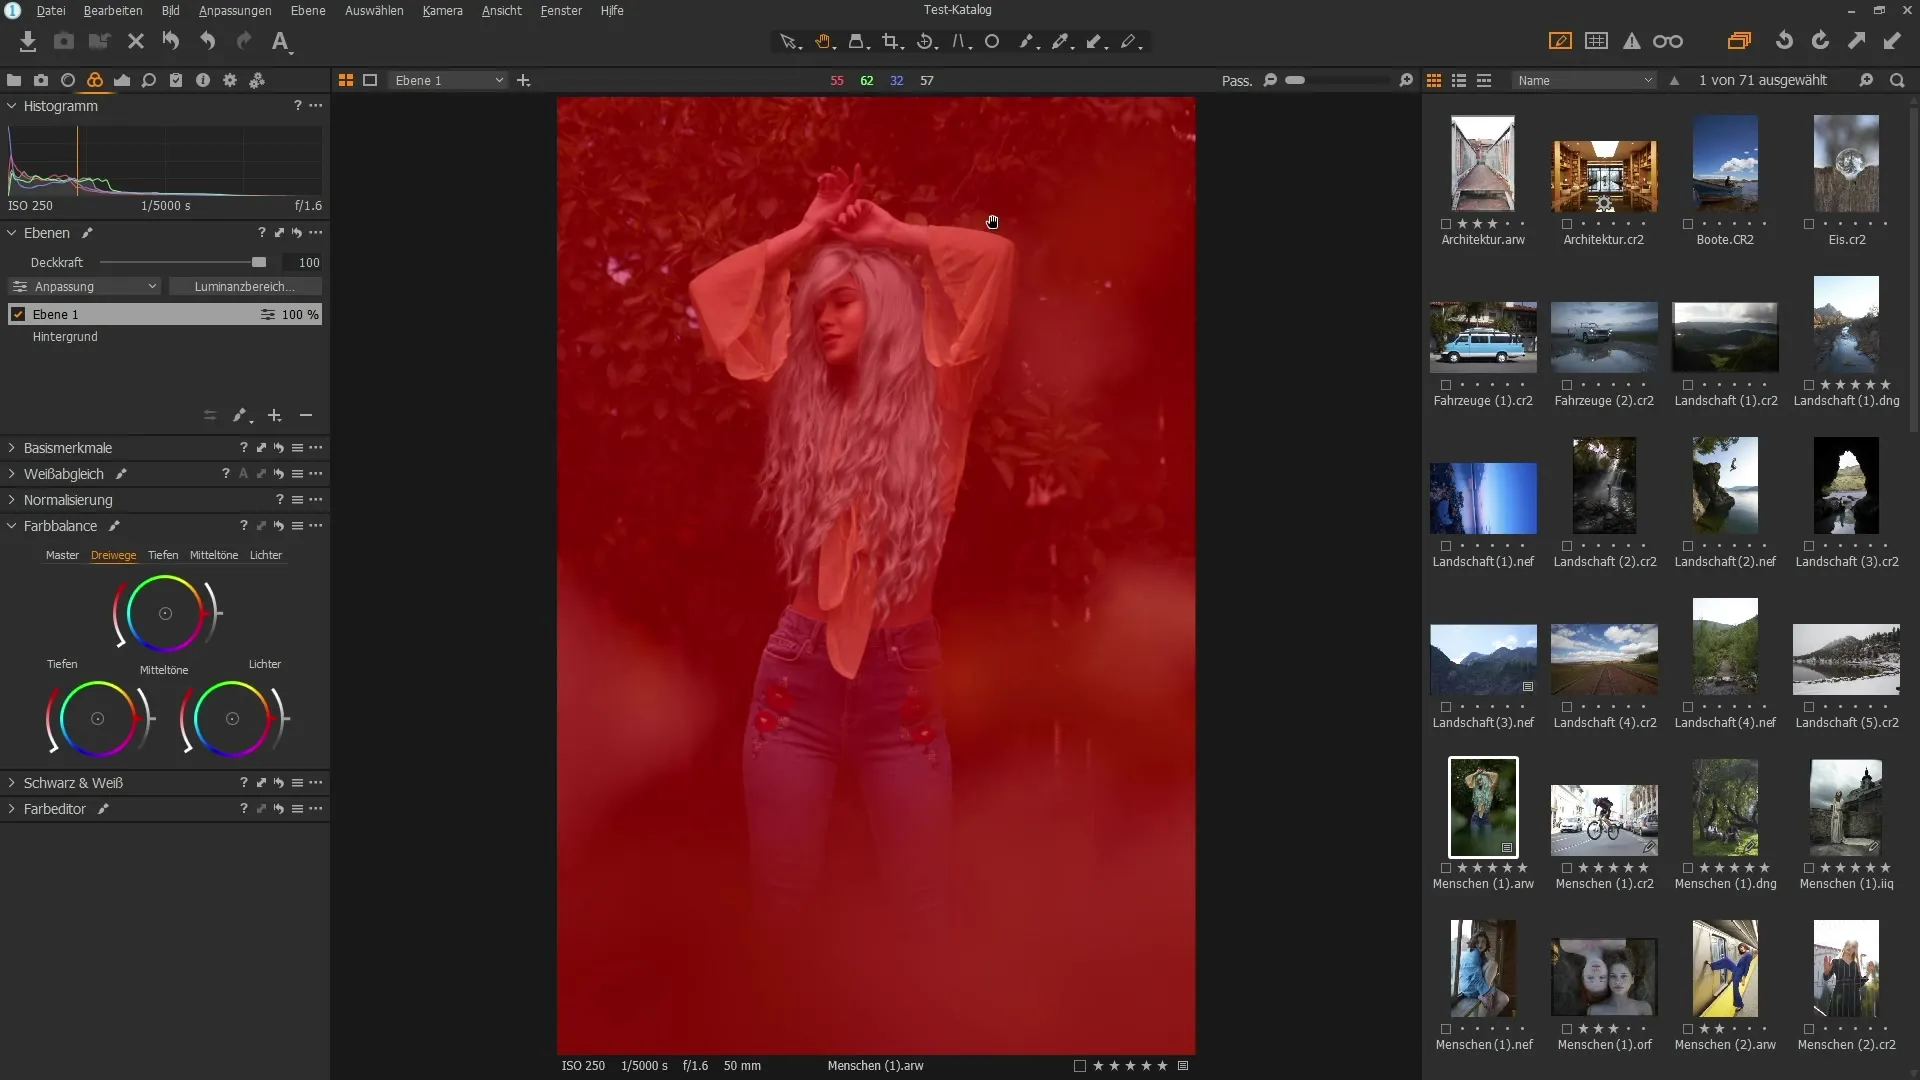
To work efficiently, you can rename this new layer with a click to better identify its purpose. For example, you could choose the name "Color Look," as you want to make color adjustments on this layer.
If you now want to adjust the shadows and highlights of your images, simply select the appropriate tool. With the color balance, you can easily make the shadows slightly reddish and the lights bluer. These changes will then all be saved on the specific layer, so you do not affect the others.
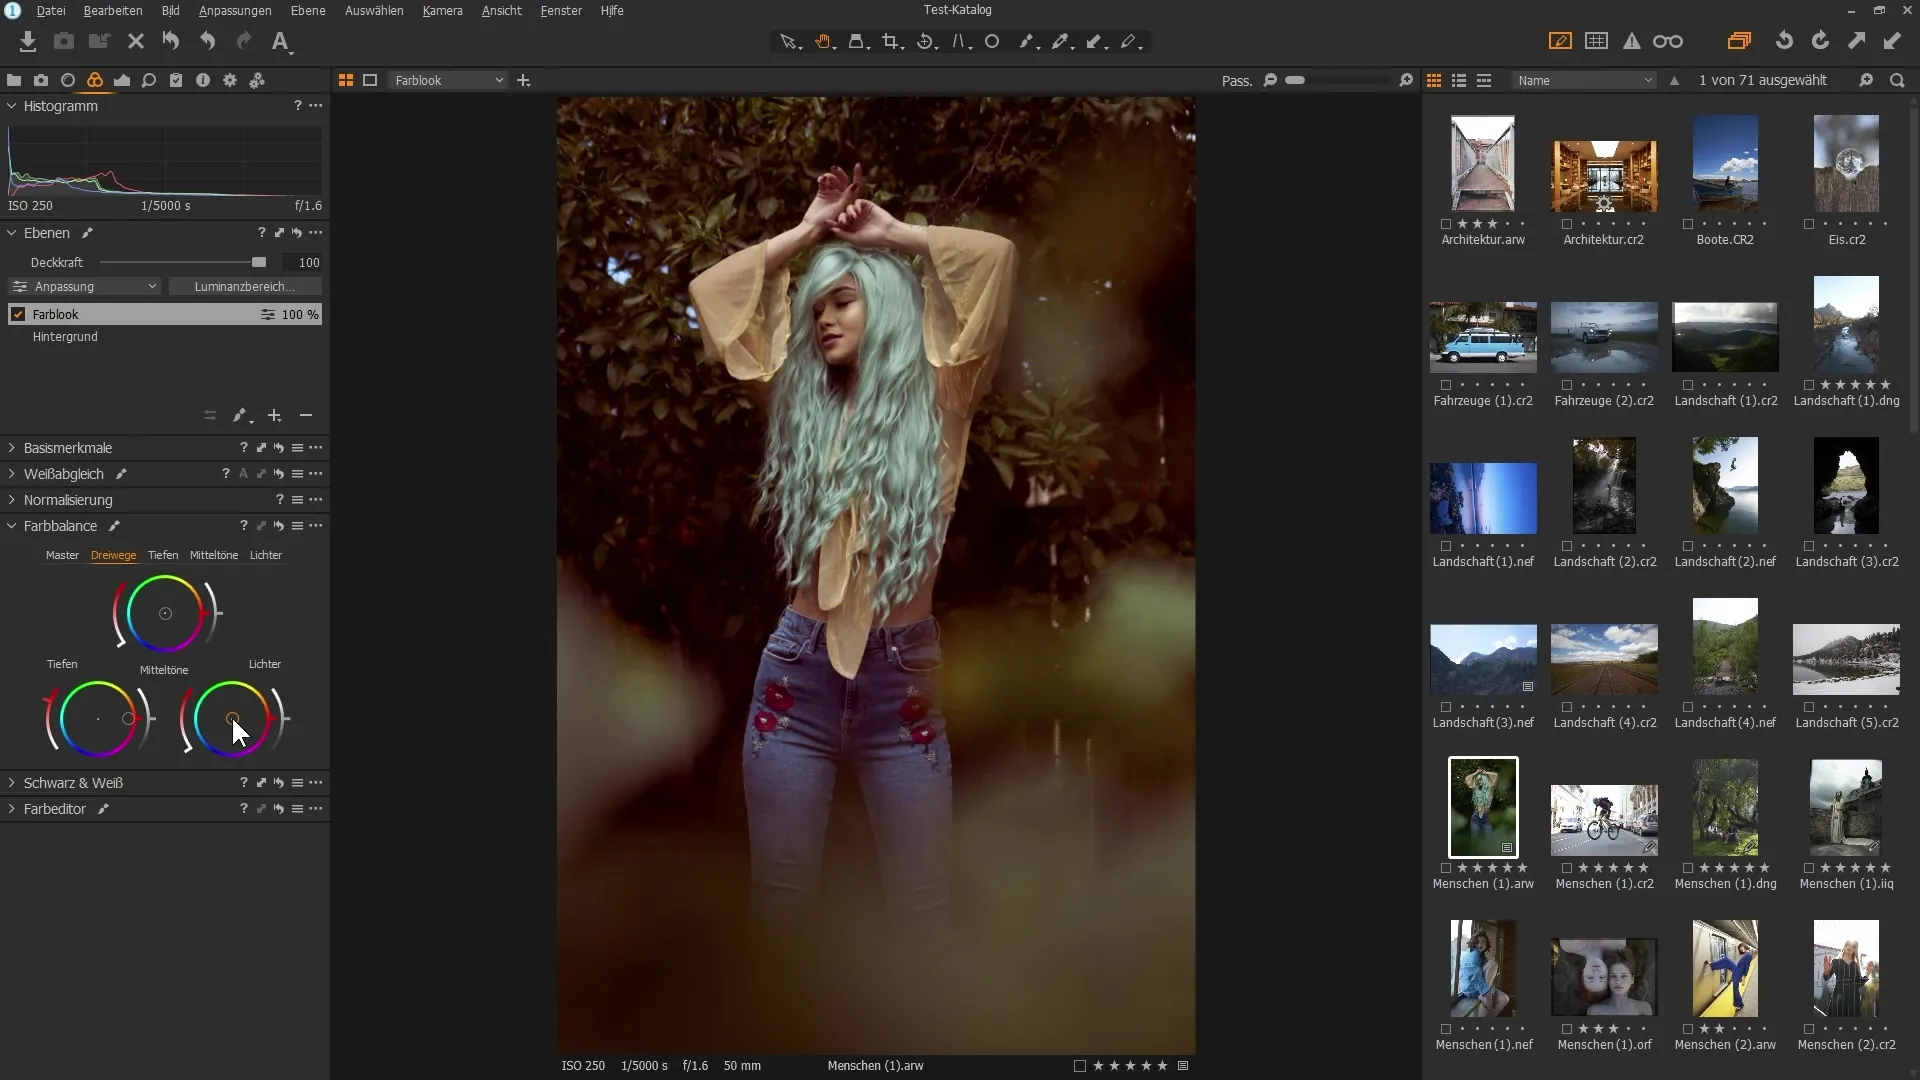
A particularly interesting feature is the ability to control the visibility of the layer. Simply click on the checkmark next to the layer to hide it and check the previous state of the image. This gives you a direct comparison of "before" and "after."
Another advantage of layers is that you can individually adjust the opacity of each layer. This is done via a slider located at the top of the panel. At 100%, the full effect is displayed, while you can move this slider to the left to make the change more subtle. This way, you can have more control over the final image.
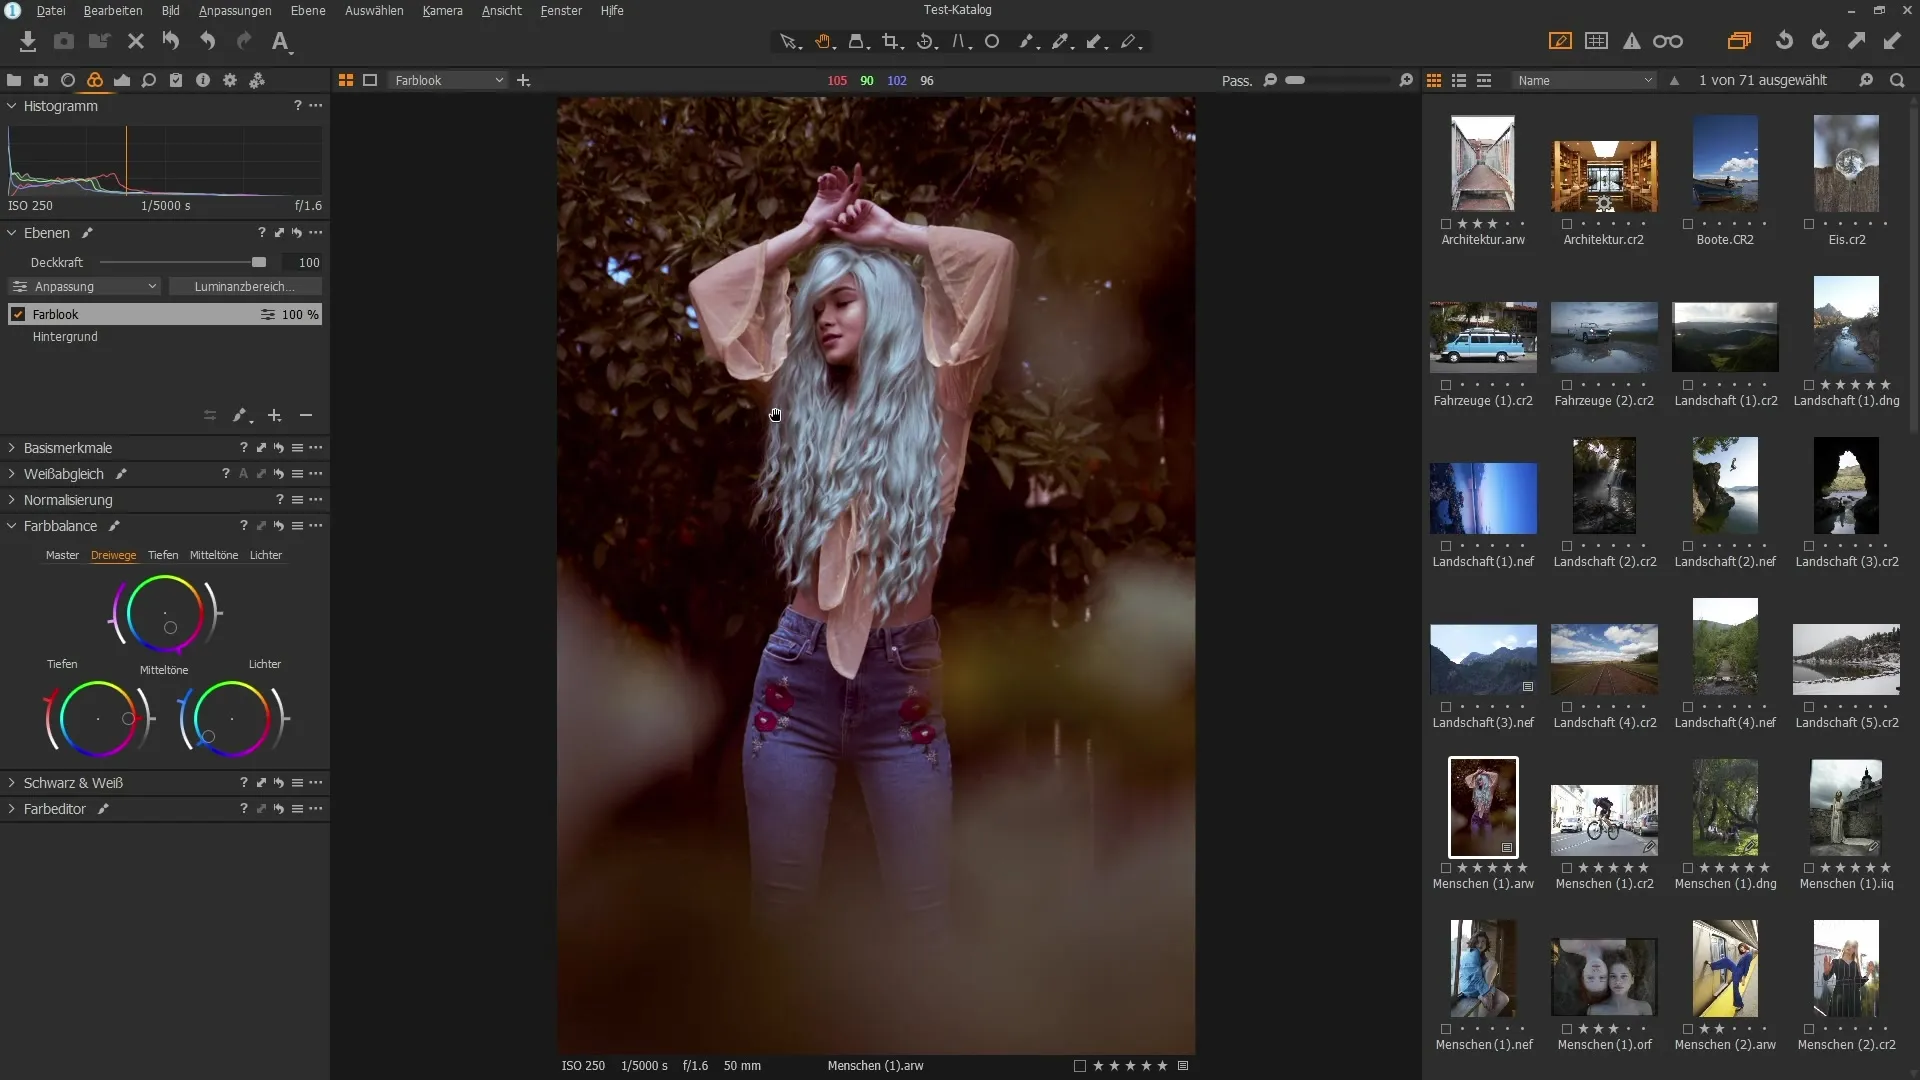
However, note that some filters, such as "Grain," can only be applied to the background layer. This means that these filters are not visible on a separate layer.
To fully leverage the potential of your edits, you should also explore the possibility of creating additional layers with different adjustments. If you no longer need a specific mask, you can remove it with a click on the MINUS symbol.
Additionally, there are different types of layers that you can create based on your needs. You might create a new layer for repair or cloning work to retouch specific areas of your image.
Summary - Capture One Pro: Guide to Layers and Their Use
Working with layers in Capture One Pro gives you the ability to make precise adjustments and elevate your photo editing to a new level. By working specifically with masks, adjusting opacity, and toggling changes on and off, you can be creative and control effects deliberately.
FAQ
What are layers in Capture One Pro?Layers allow you to perform different editing steps on separate layers to have more control over photo editing.
How do I create a new layer?Click the PLUS symbol in the layers panel to create a new empty or filled layer.
What is the difference between an empty and a filled layer?An empty layer is initially invisible and requires a mask, while a filled layer is immediately active and allows you to make changes visibly.
How can I adjust the visibility of a layer?Simply click on the checkmark next to the layer to show or hide it.
Can I change the opacity of a layer?Yes, you can adjust the opacity using a slider in the layers panel to enhance or soften the effect.


