Capture One Pro 20 brings many innovations, and one of the most significant improvements is the revised noise reduction filter. With this filter, you can effectively reduce image noise in your photos without losing the details that characterize your images. In this guide, you will learn how to make optimal use of this new filter to keep your images clear and detailed even in low light.
Key Insights
- The noise reduction filter in Capture One Pro 20 not only detects luminance and color noise but also considers patterns and contours.
- Using the sliders for brightness and details, you can effectively reduce noise in your images without compromising image quality.
- The real-time preview allows you to see changes immediately, making the editing process more efficient.
Step-by-Step Guide to Noise Reduction
1. Select an Image
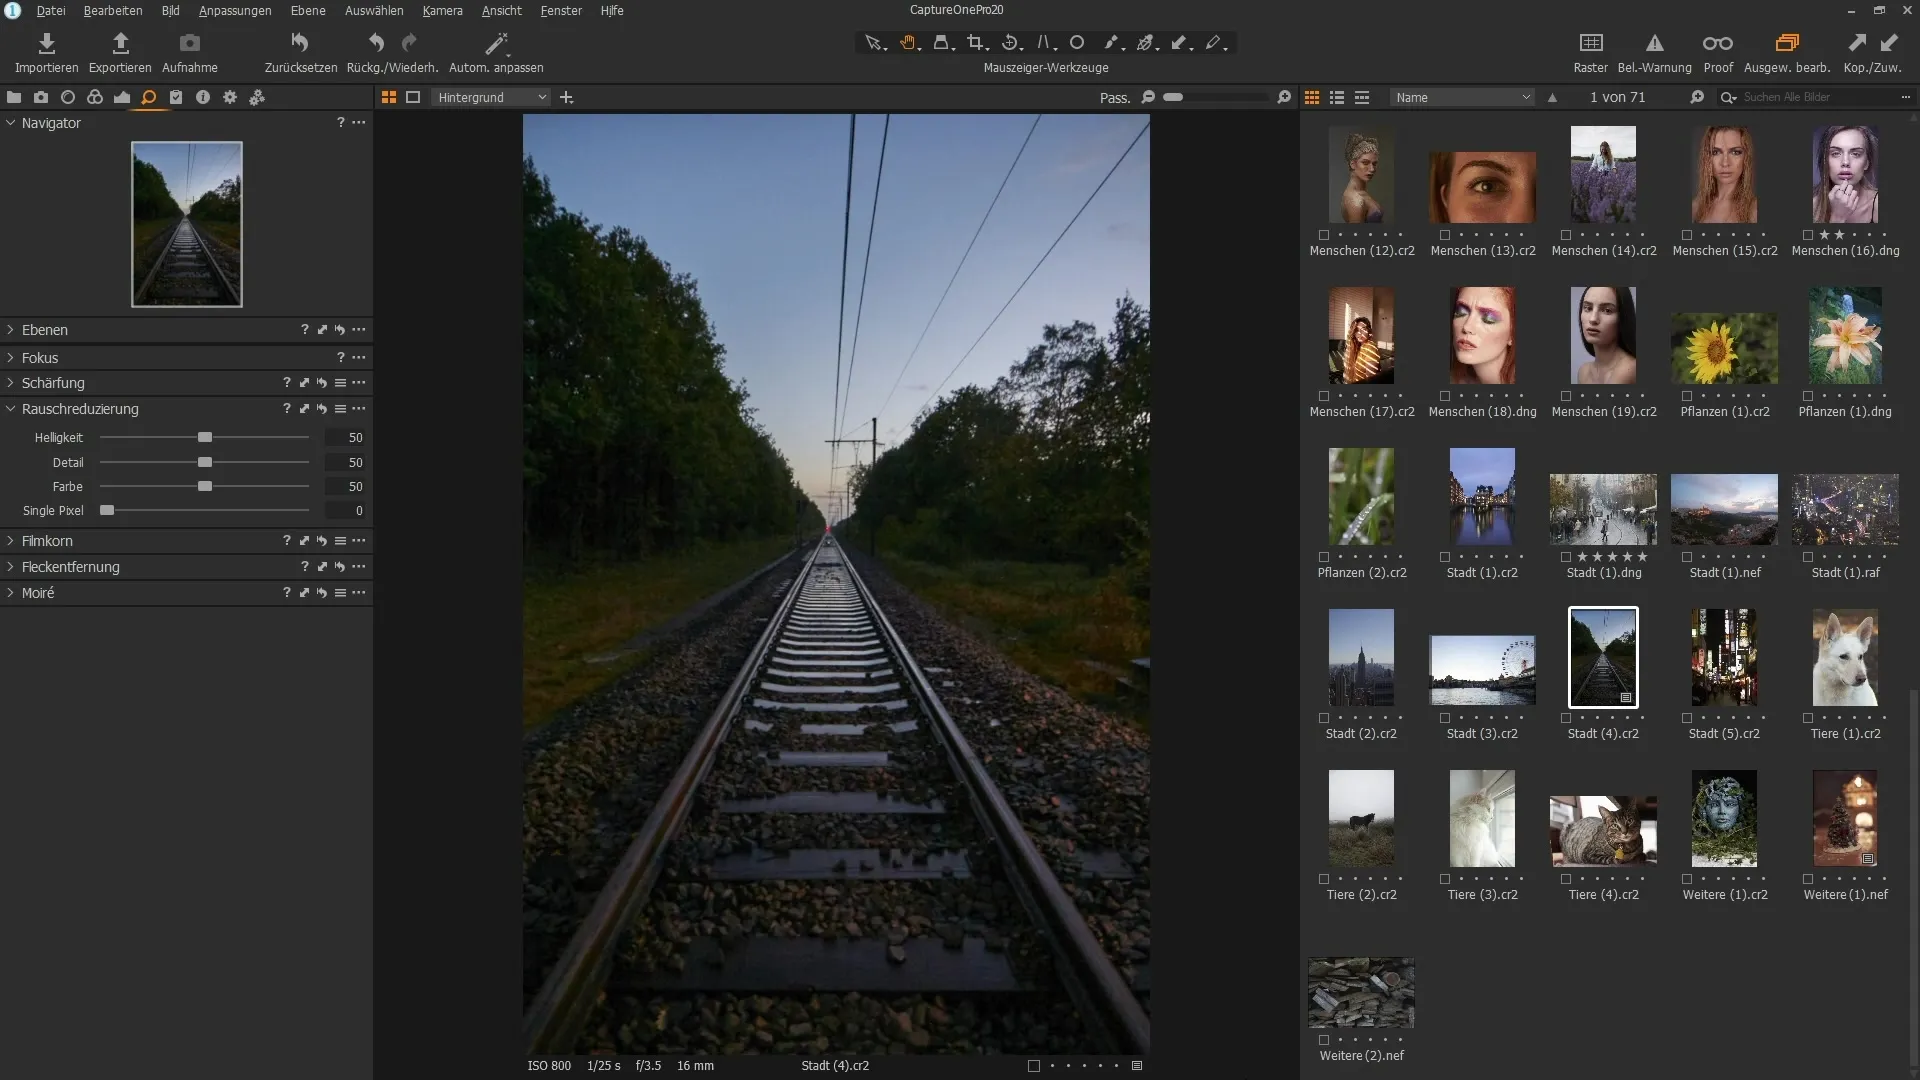
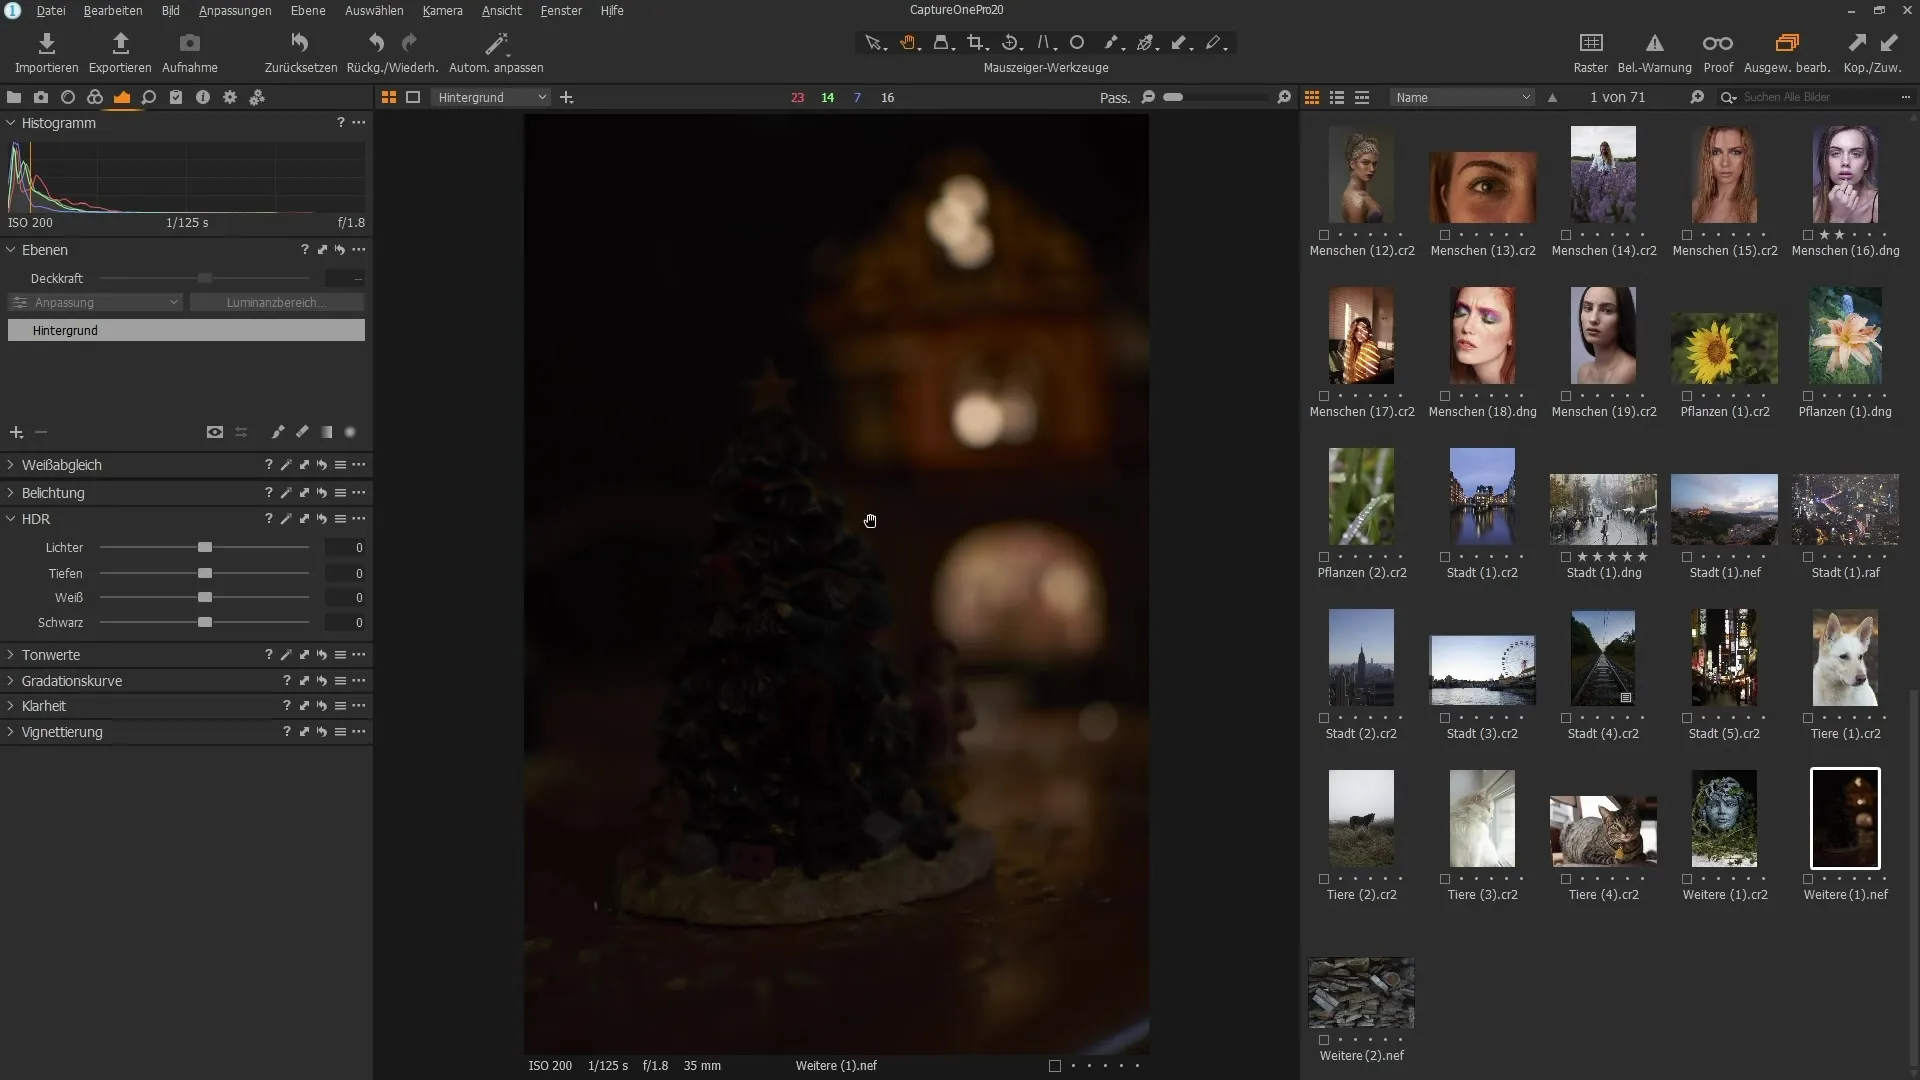
Start with an image that exhibits significant noise, especially after adjusting brightness or contrast. In this case, select an image you previously edited with the HDR filter.
2. Activate Noise Reduction
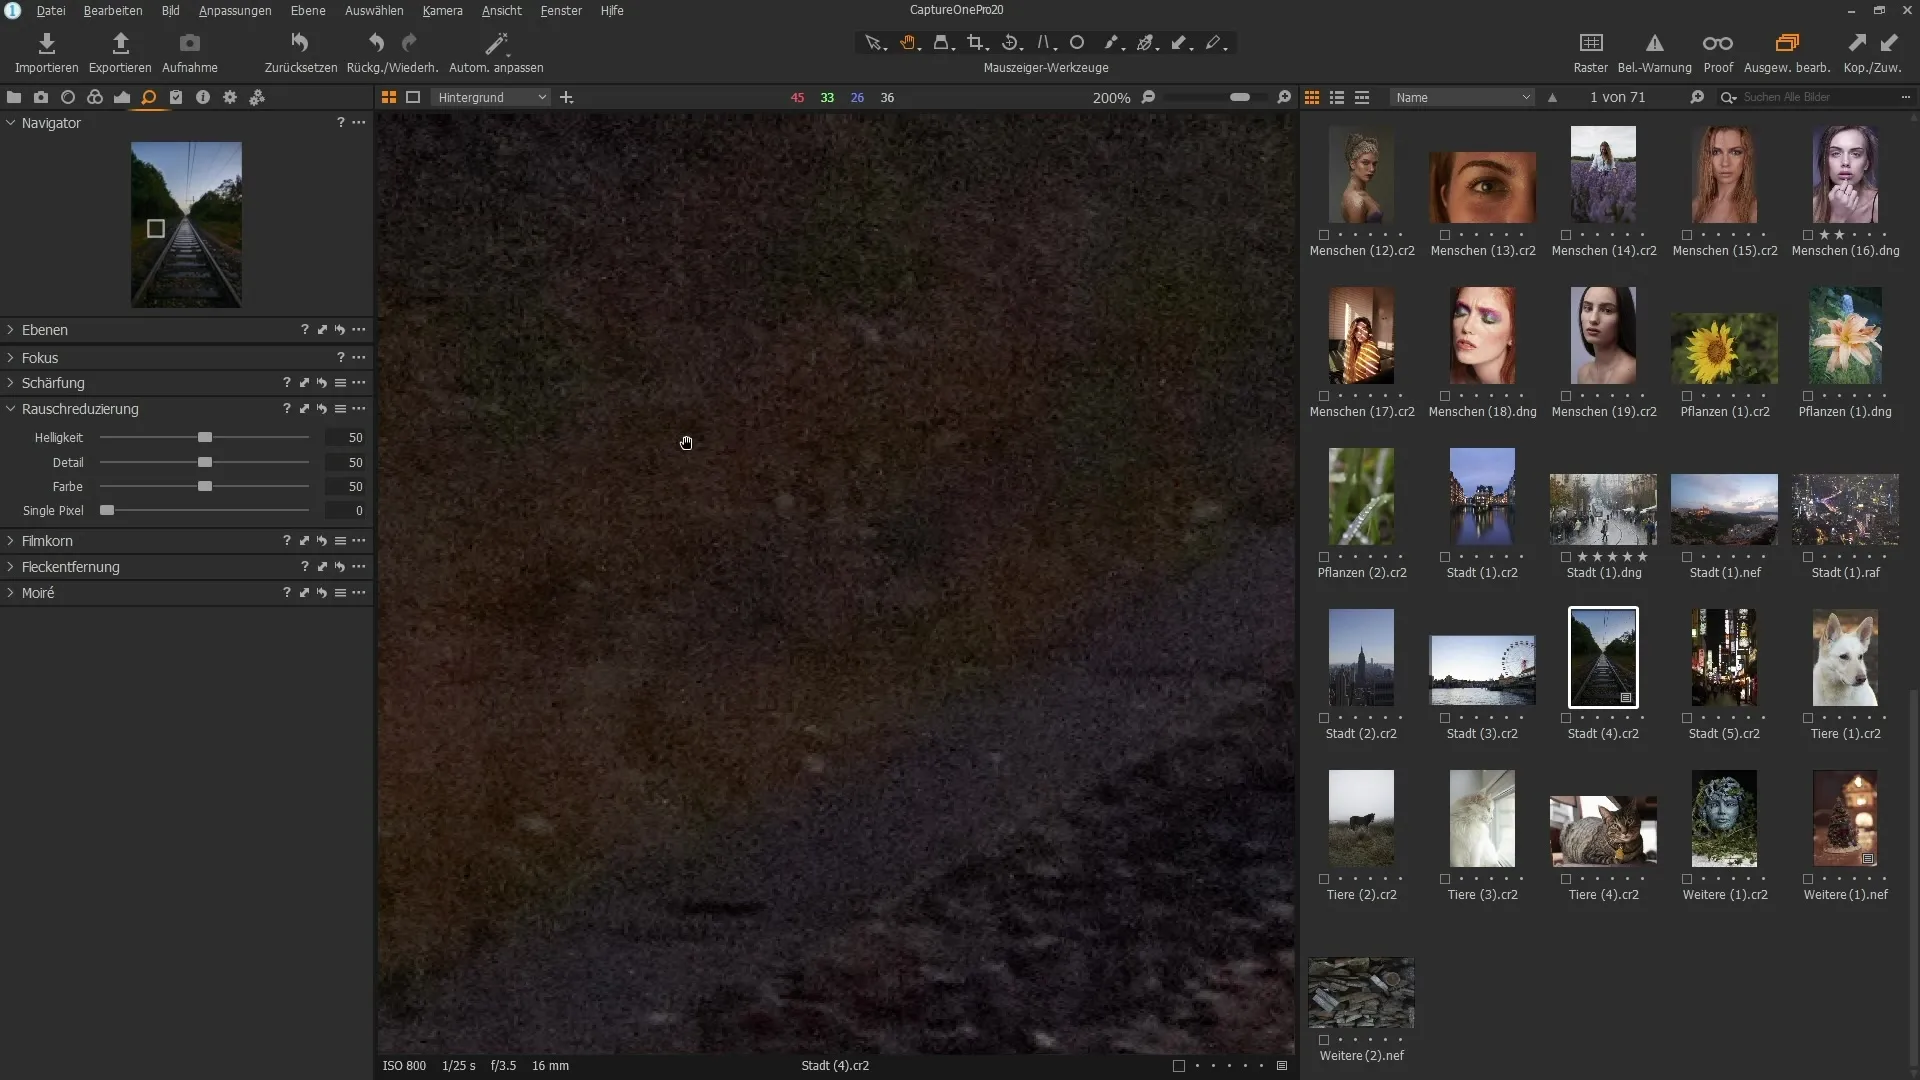
Open the noise reduction settings in Capture One Pro 20. Here, you will find new options for noise reduction. The filter has been completely redesigned, allowing you to work much more precisely.
3. Adjust Brightness Slider
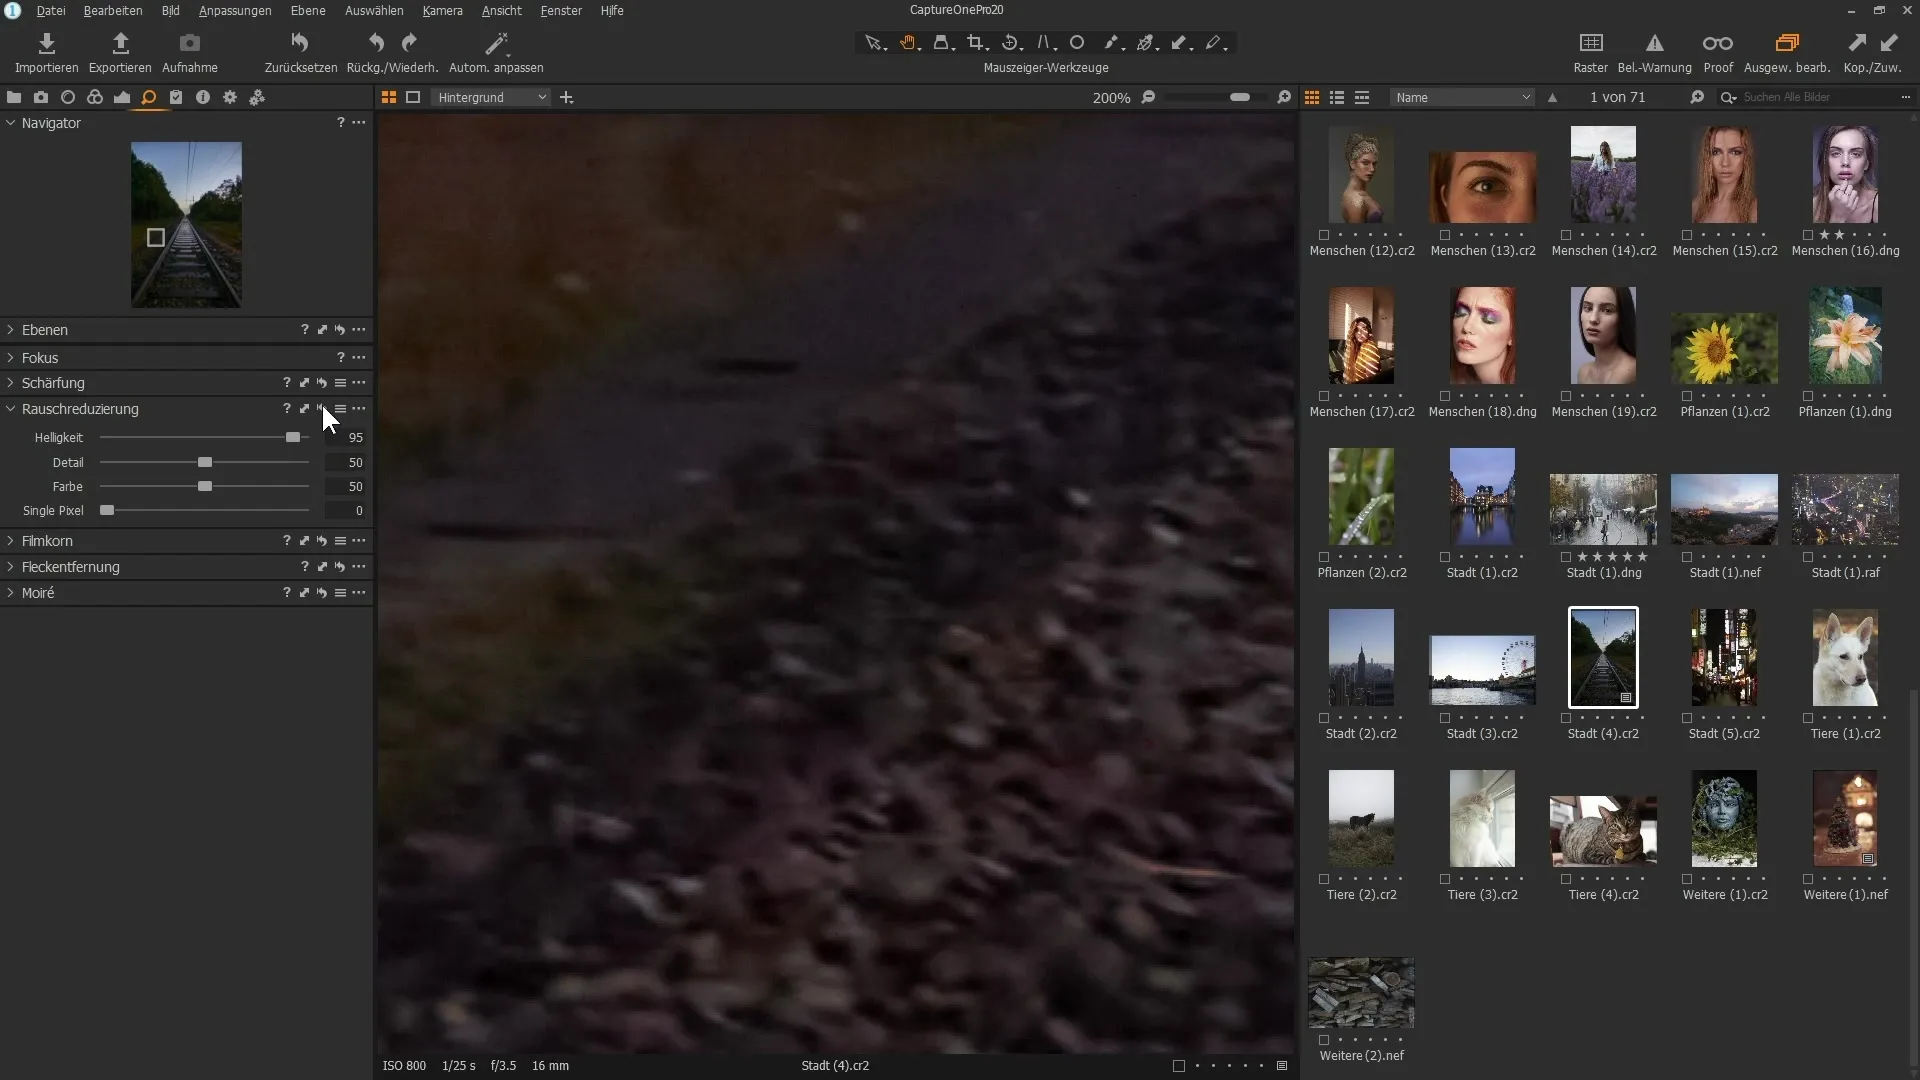
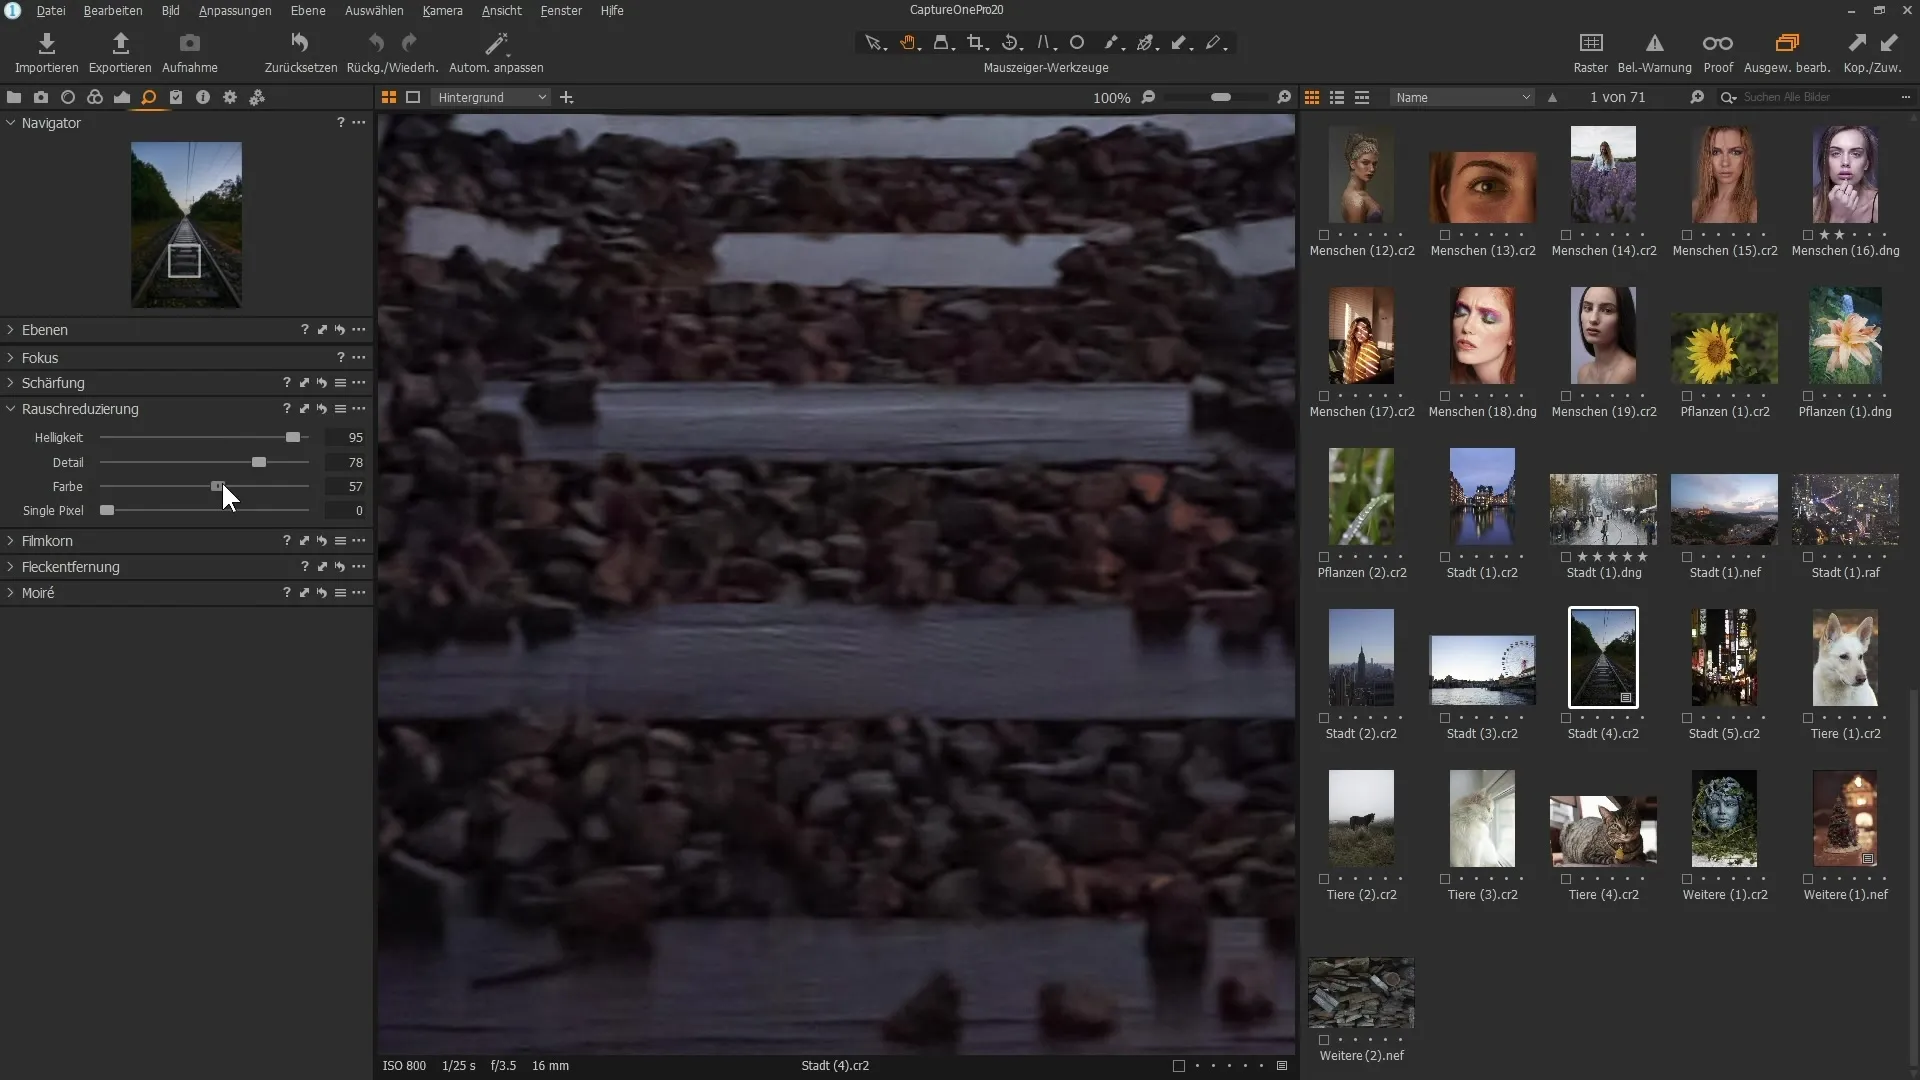
Move the brightness slider to the right to reduce luminance noise in your image. Be careful not to move it too far, as this can impair image details. Perform this adjustment in real-time to see immediate results.
4. Create a Comparison
Hold down the Alt key and click the arrow icon to see a before-and-after comparison. This allows you to better assess the effects of noise reduction and see how well the details have been preserved.
5. Recover Details
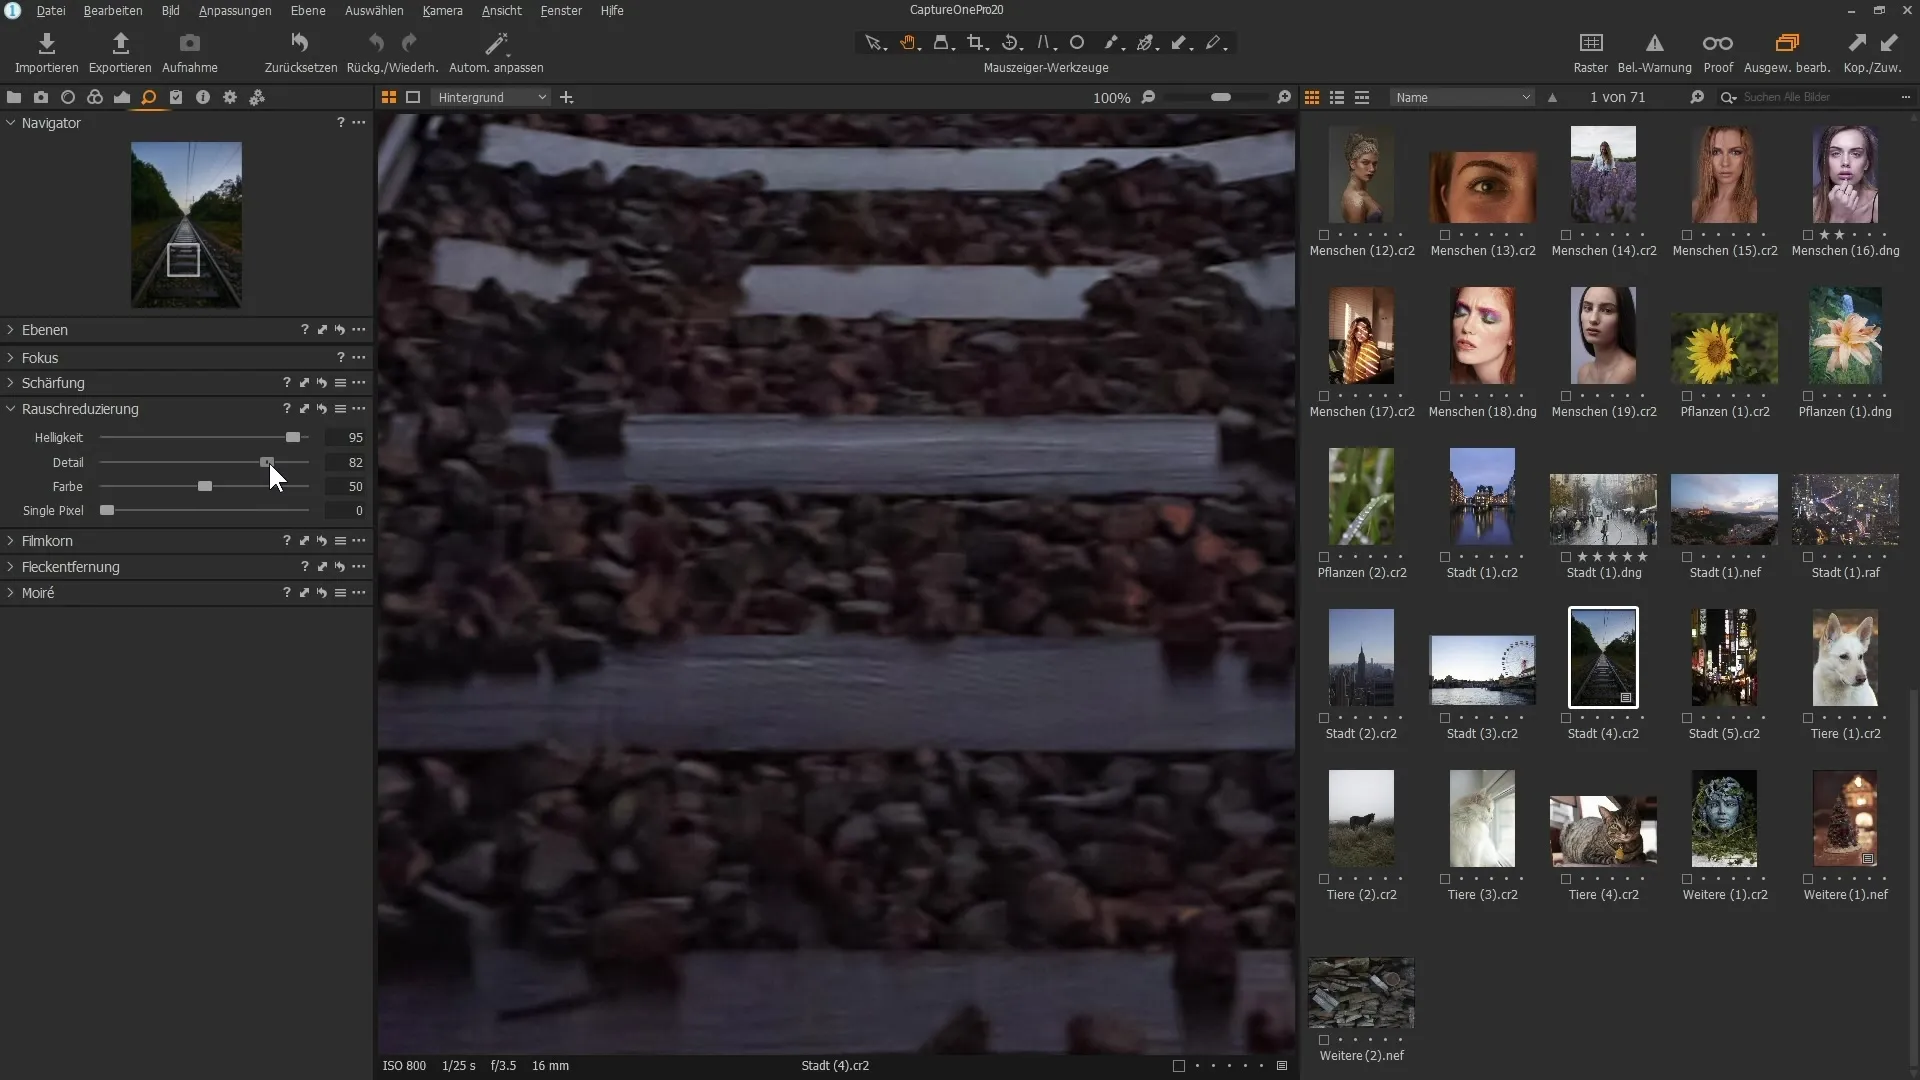
Use the details slider to bring out the subtleties in your image. Be cautious not to bring back the noise; fine-tuning here is crucial.
6. Reduce Color Noise
If your image has color noise, you can slightly increase the color noise slider to reduce it. Be careful here, as an excessive adjustment can negatively affect the color intensity of your image.
7. Test with Additional Images
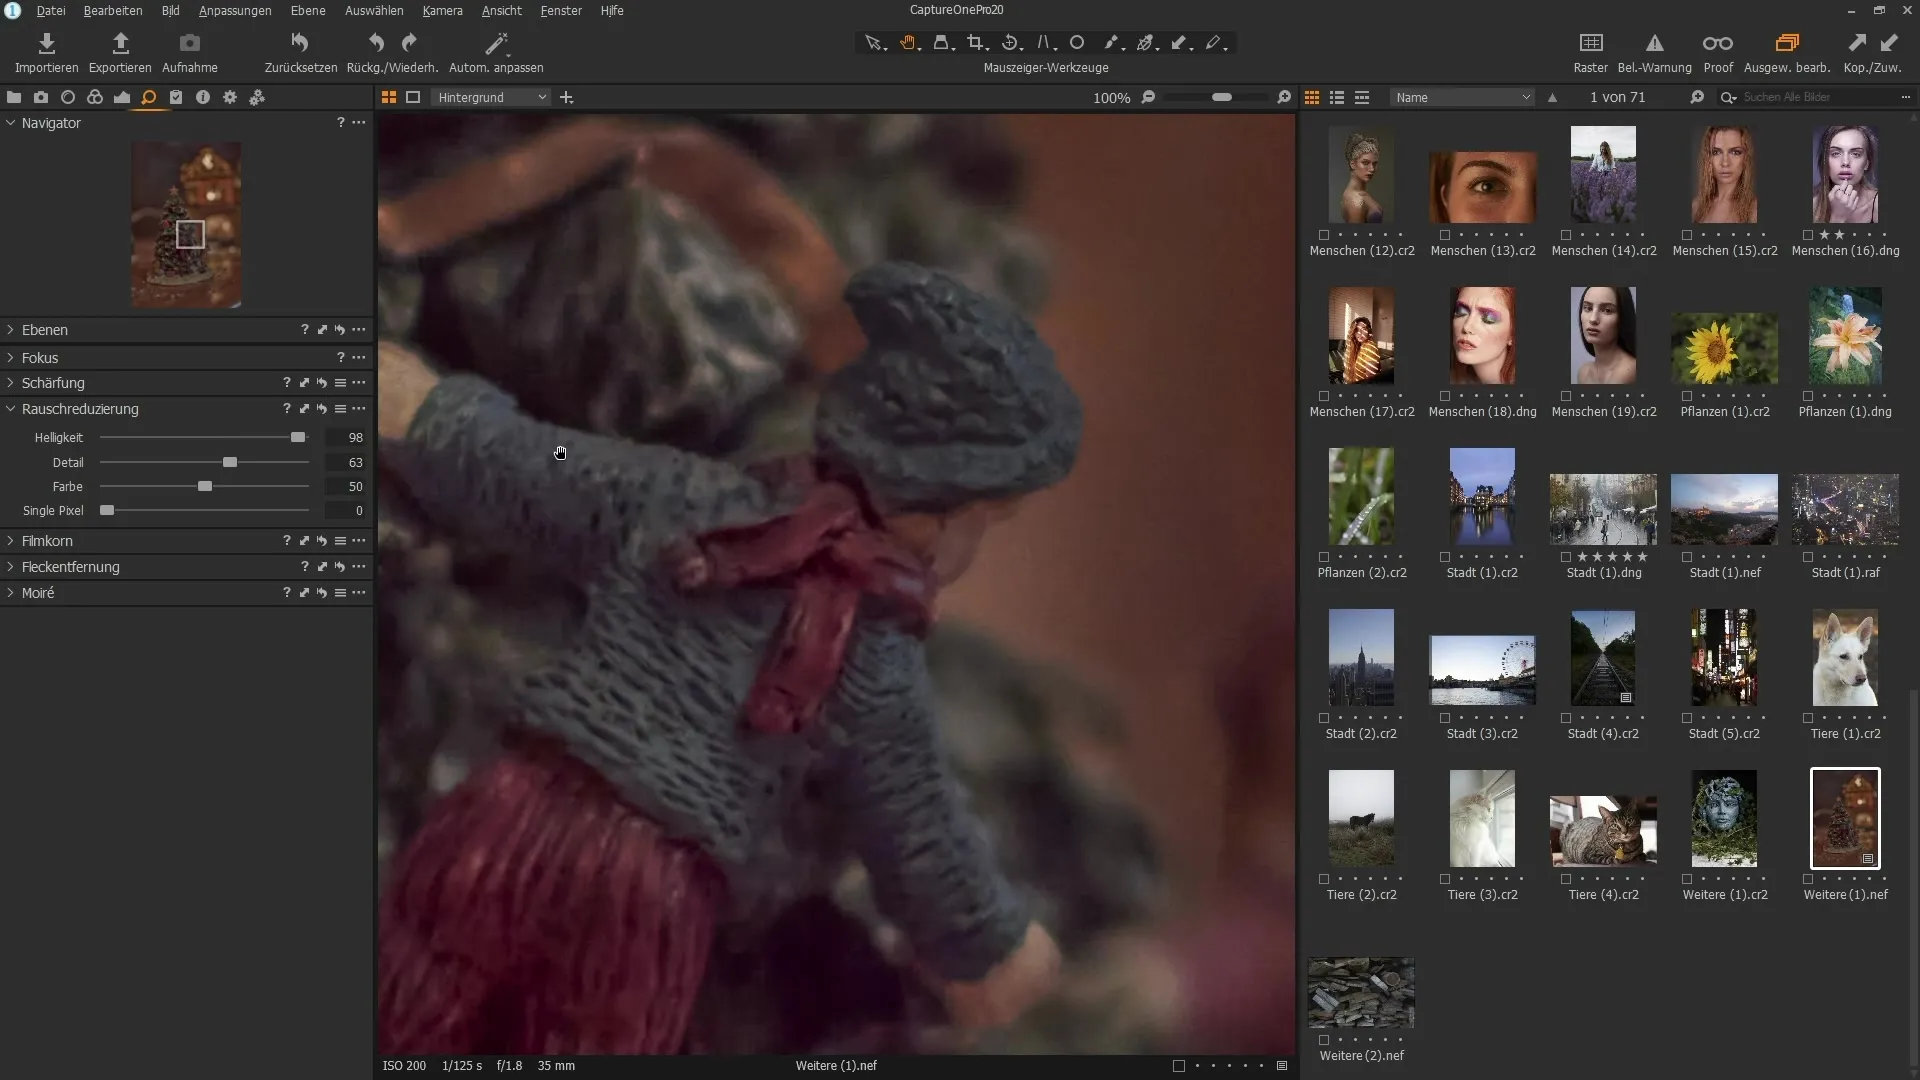
In the next step, take another sample image to test the noise reduction. Apply the same steps to find out how the filter works under different conditions.
8. Evaluate the Results
Compare before and after applying noise reduction to recognize the difference. Features such as textures and patterns should remain clear and detailed while noise is significantly reduced.
9. Try it Yourself
To get a better impression of the improvements, download the trial version of Capture One Pro 20. Experiment with the new features and find out how noise reduction improves your workflow.
Summary – Noise Reduction in Capture One Pro 20 – How to Improve Your Images
The noise reduction in Capture One Pro 20 is a powerful tool that can help you enhance your photos in any situation. By adjusting brightness and details, you can precisely reduce image noise while preserving image quality. Test the new features for yourself and enjoy the benefits of these refinements.
Frequently Asked Questions
How does the new noise reduction filter in Capture One Pro 20 work?The filter considers patterns and contours in the image and effectively reduces both luminance and color noise.
Can I see noise reduction in real-time?Yes, all adjustments can be made in real-time, so you can immediately see the effects of your changes.
Tips for optimal use of noise reduction?Start with a moderate adjustment of the brightness slider and ensure to maximize image quality with the details slider.

